Cute Paper Caterpillar Craft (With Free Template!)
Looking for a cute caterpillar craft for kids? This paper caterpillar craft is fun and easy using our free caterpillar craft template!
So grab some colorful craft paper and some scissors and lets make some caterpillars!!
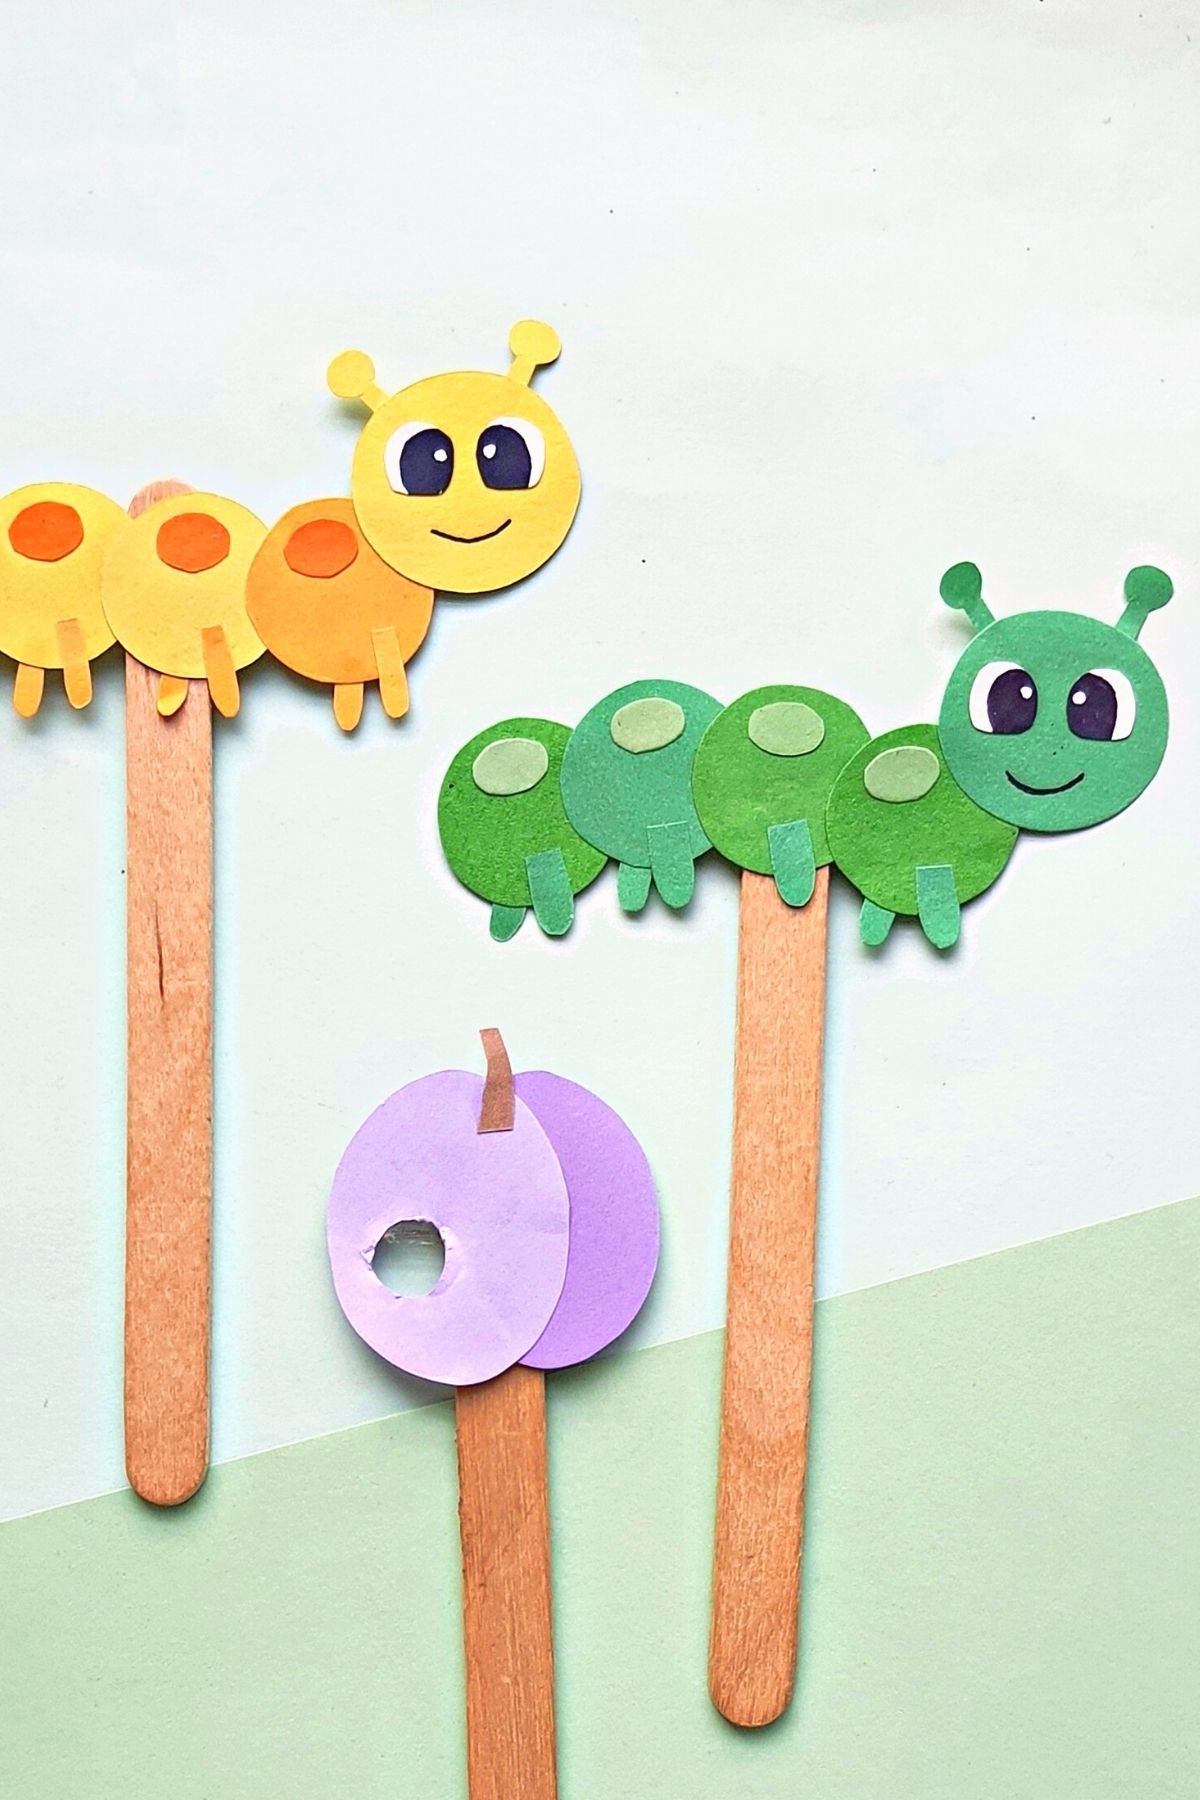
It’s spring time so we’ve been whipping up lots of fun spring crafts!
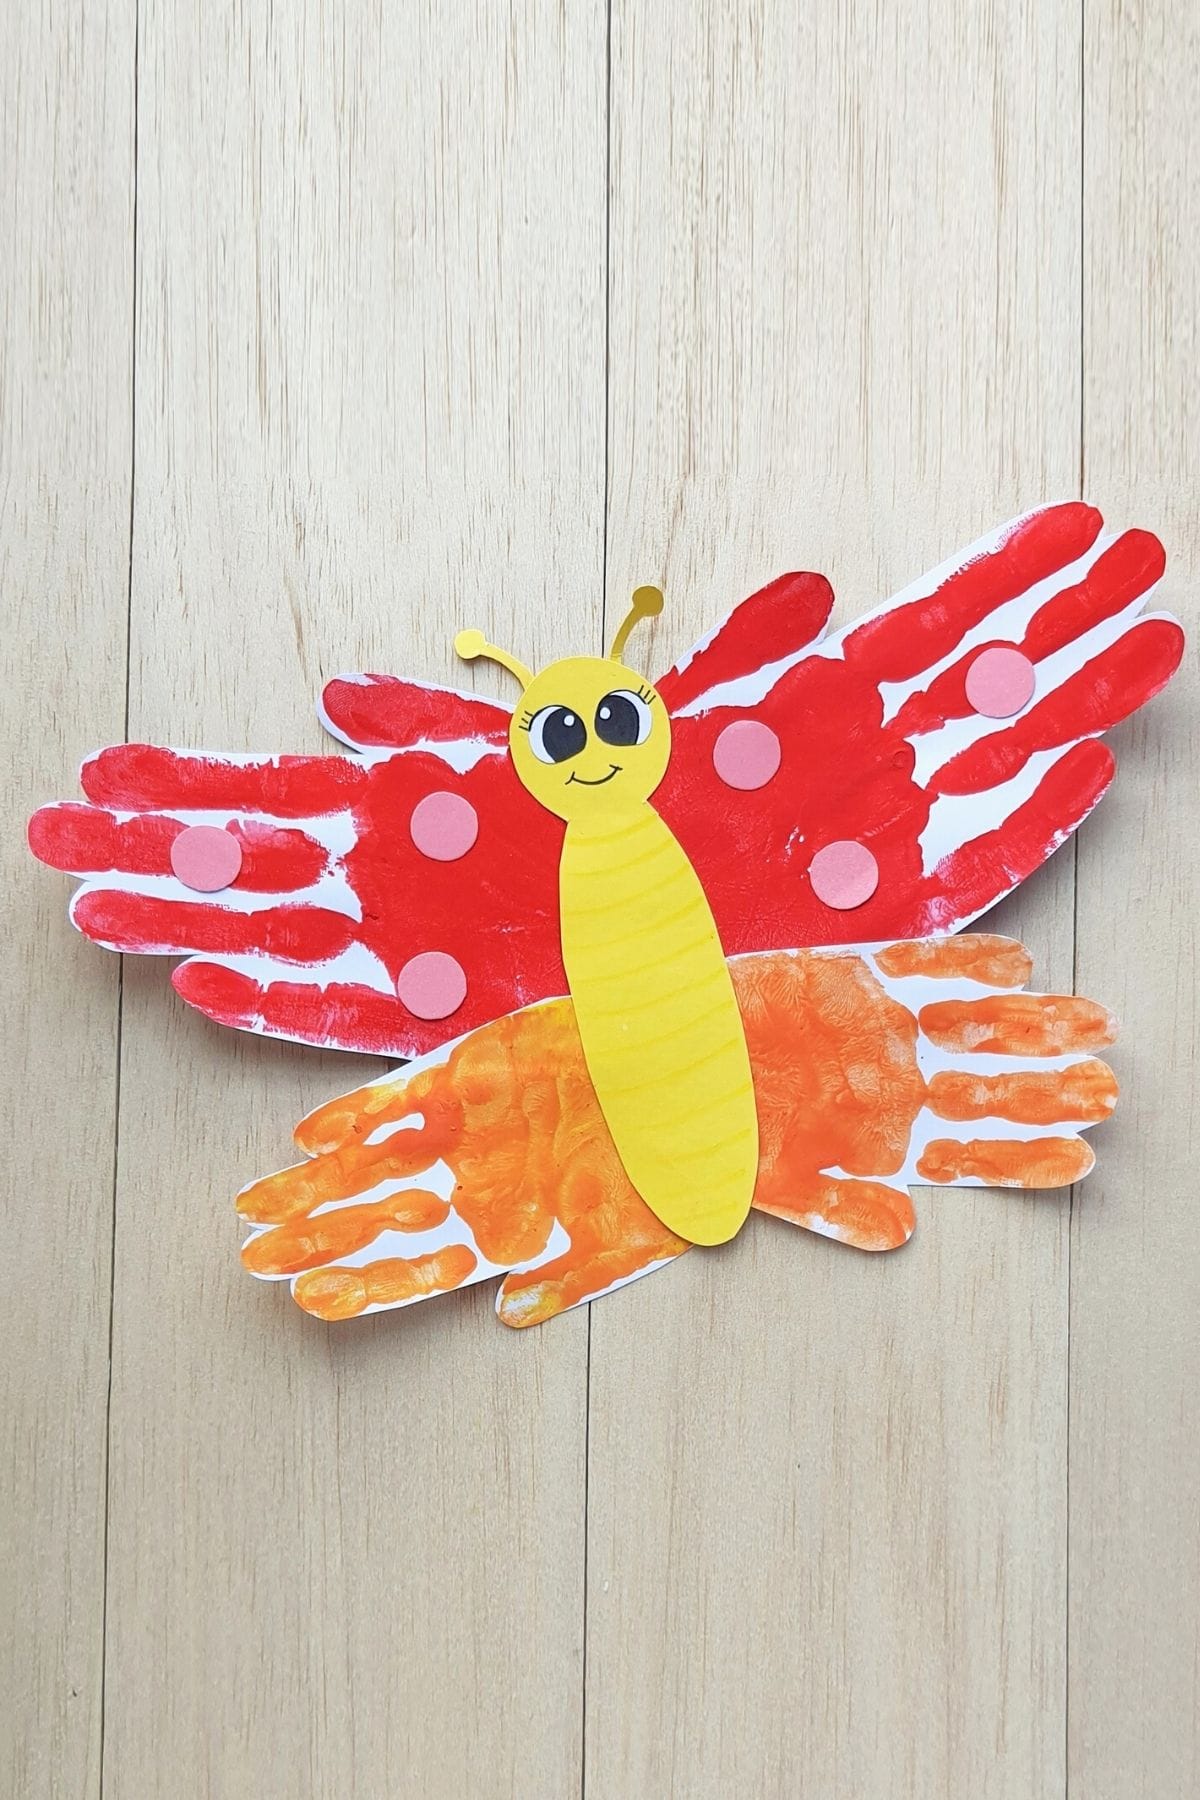
From fun bug crafts including our pom pom caterpillar craft, our printable caterpillar craft and this super easy paper butterfly craft.
You can add a little extra cuteness of your own to your paper butterfly crafts with this easy caterpillar craft tutorial!
It may be one of my favorite summer craft ideas for kids.
This paper caterpillar is super easy to make, and only requires a few simple materials that you likely already have at home.
Plus, it’s a great way to use up any scraps of paper you might have lying around.
So if you’re looking for a fun and easy paper craft to do with the kids or are learning about the butterfly life cycle, follow this tutorial and you’ll have your very own caterpillar crafted in no time!
Materials Needed
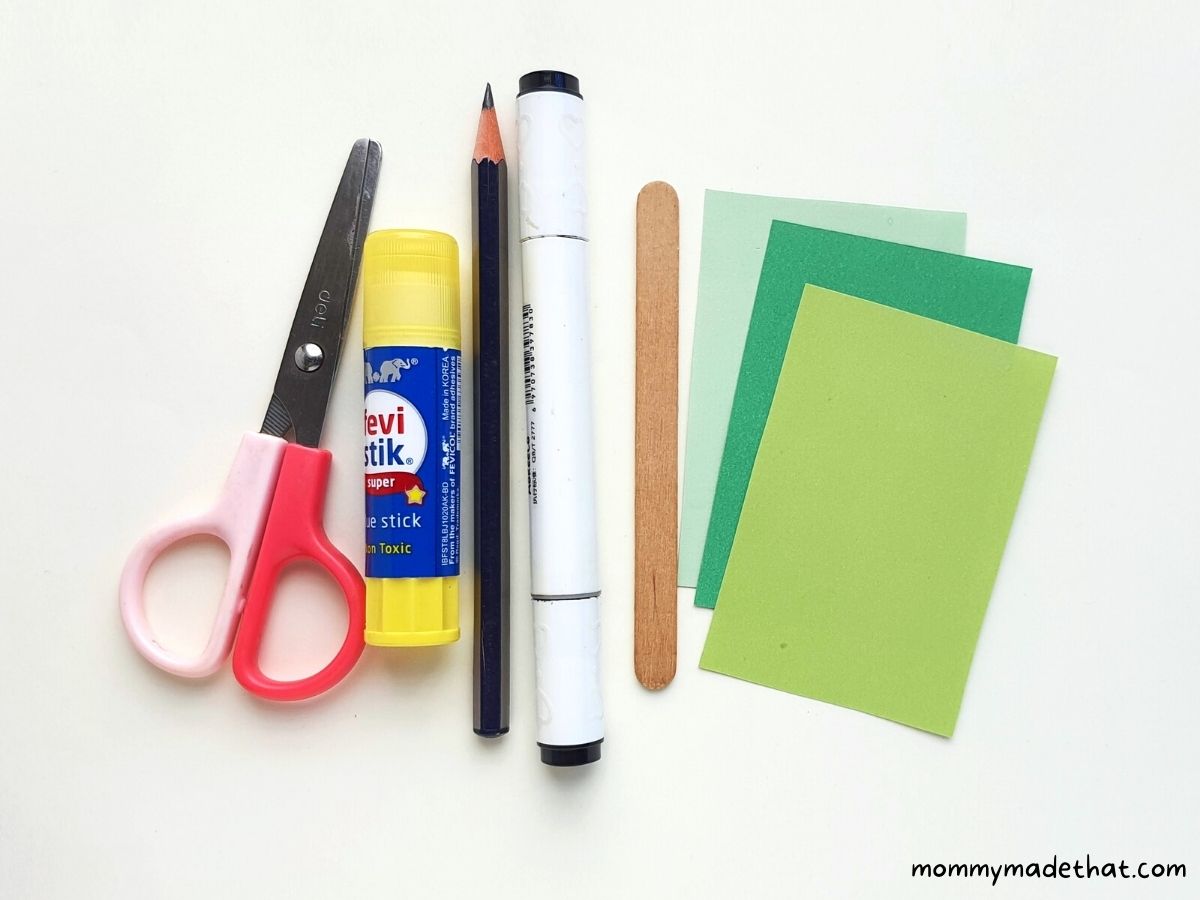
To make this caterpillar craft you’ll need just a few materials.
Colored craft papers: Whatever colors you want your caterpillars to be. We used a variety of green paper for one and yellow and orange for the other. You could also use construction paper.
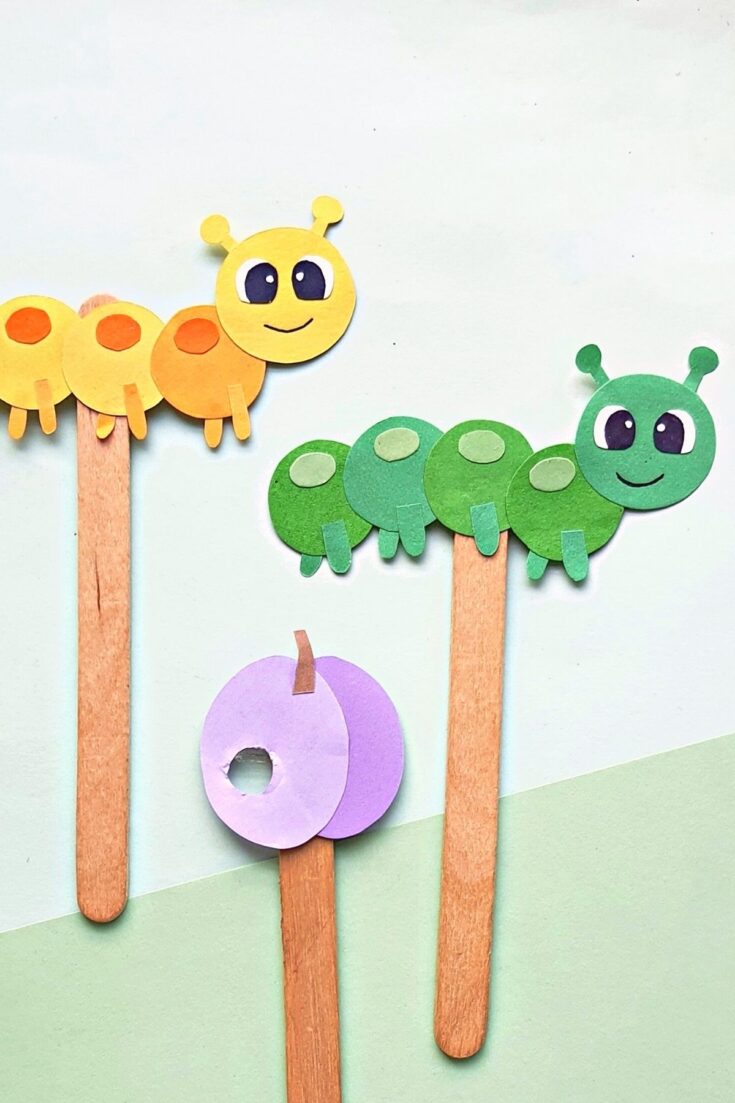
Popsicle sticks: Optional, but we turned ours into little puppets while learning about the very hungry caterpillar.
Caterpillar Template: For this craft, we used our paper caterpillar template found in our craft printable library.
Other Supplies:
- Black marker or sharpie
- Glue
- Pencil
- Scissors
How to Make a Paper Caterpillar
This caterpillar is made super easy with our free paper caterpillar craft template, which you can find in our printable library.
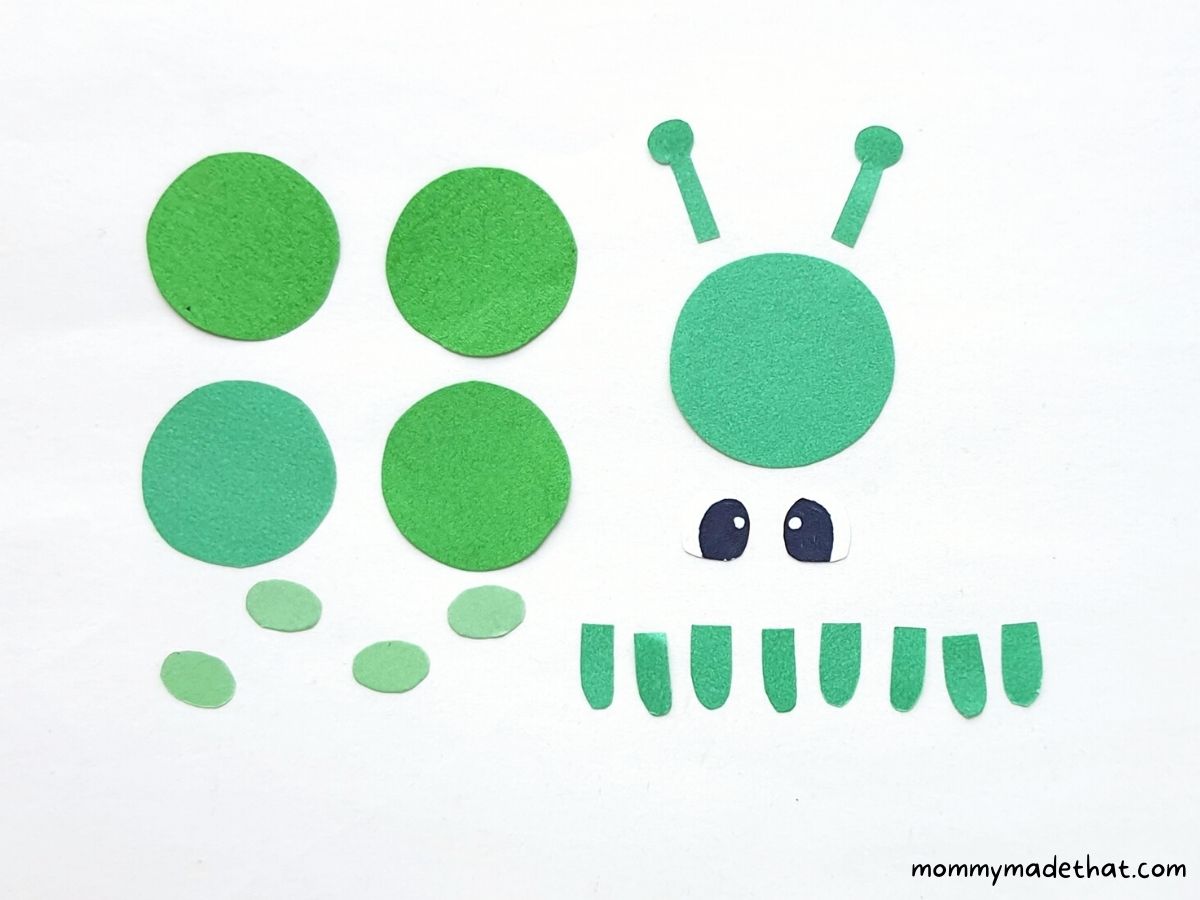
To start, figure out what colors you want your caterpillars to be and select 2 or 3 different shades of that same color.
It provides some nice depth to your caterpillars.
We are using three different shades of green paper for ours.
Then trace out the head and body template pieces on two different shades of your paper. Then trace the spots on a different color.
Really it’s all up to your own preference and creativity! You can pick any color you like for your little critters.
Then trace out the caterpillars legs and antennas onto another color.
Trace out the eyes onto white paper, or you can just draw cute little eyes with your black marker.
Then cut out all of your template pieces so you end up with a bunch of caterpillar parts similar to the image above.
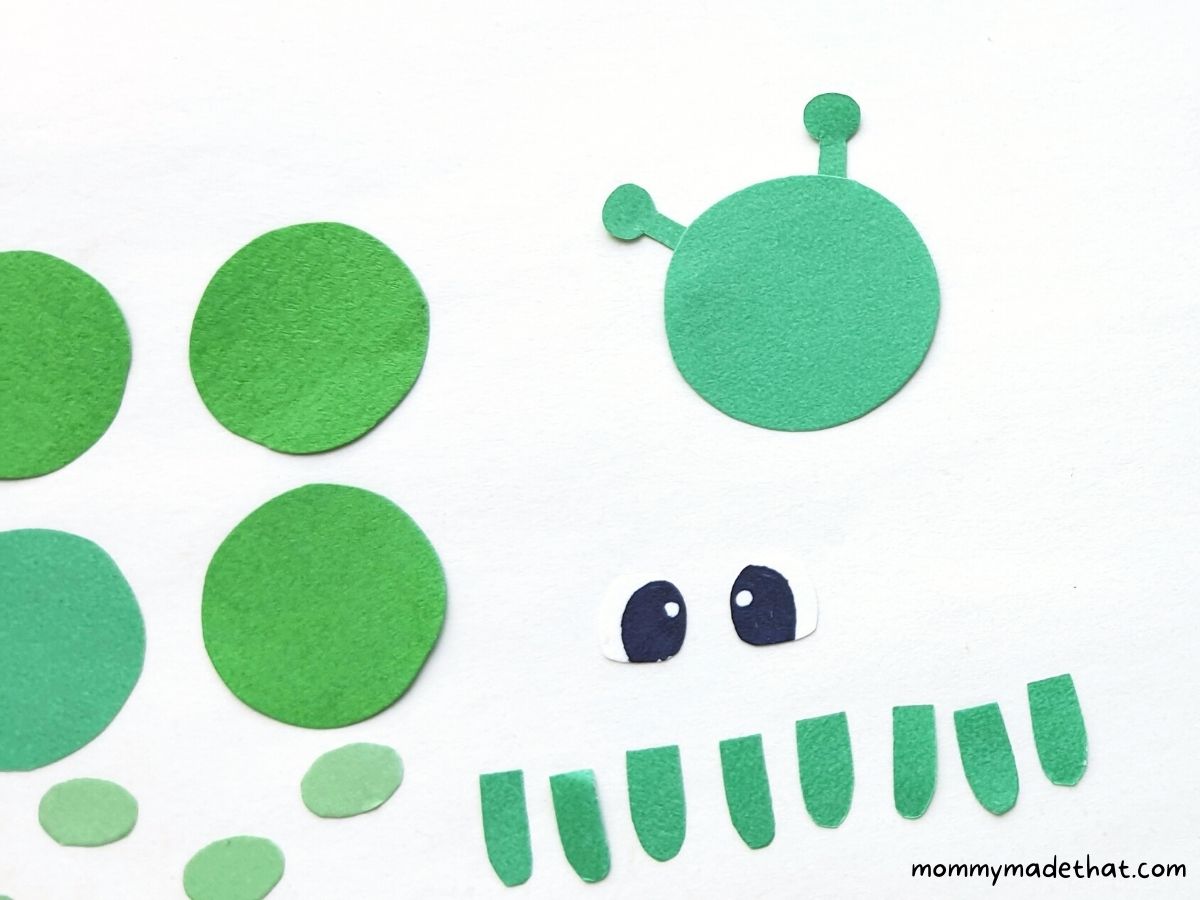
Next, attach the antennas to the larger circle to make the caterpillars head.
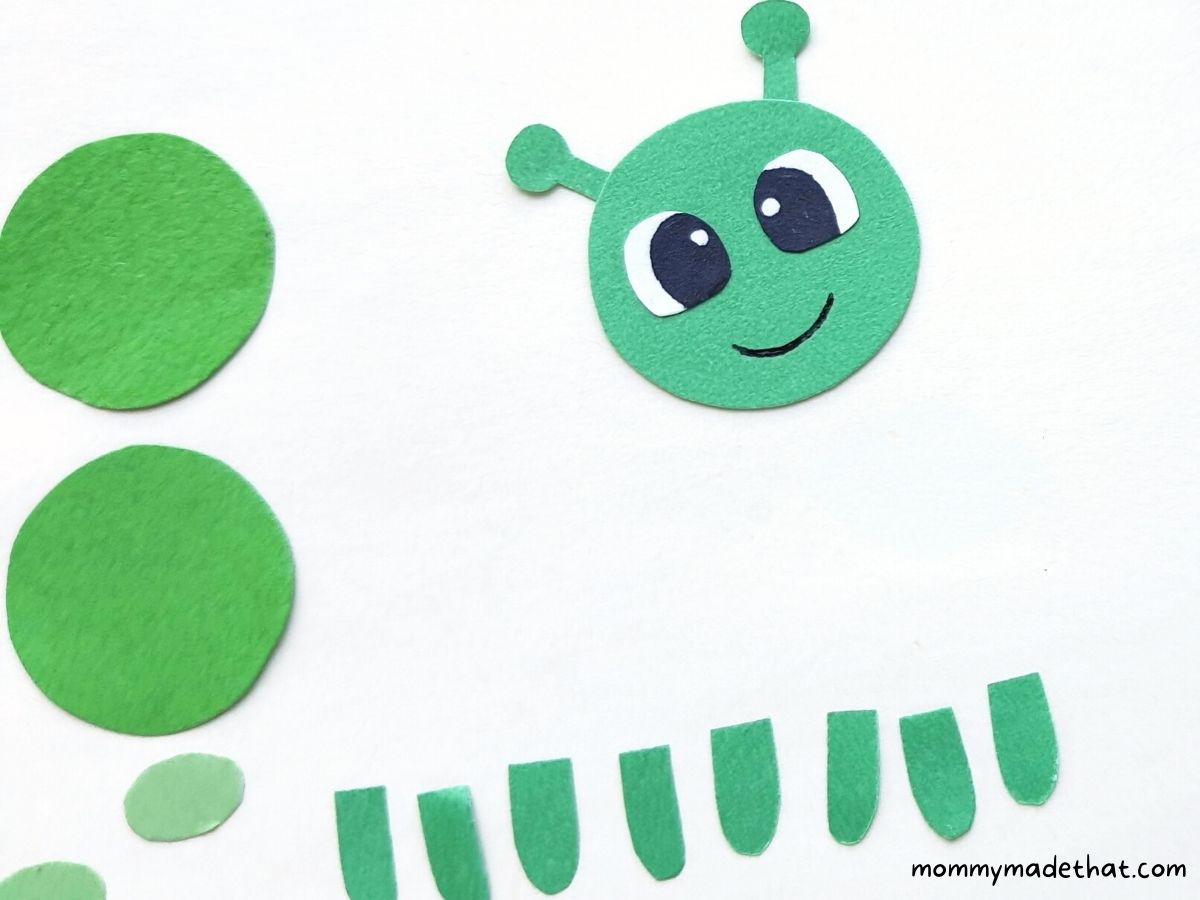
Next, attach the eyes to the head part, closer to the antennas, and draw on a cute smile with a marker.
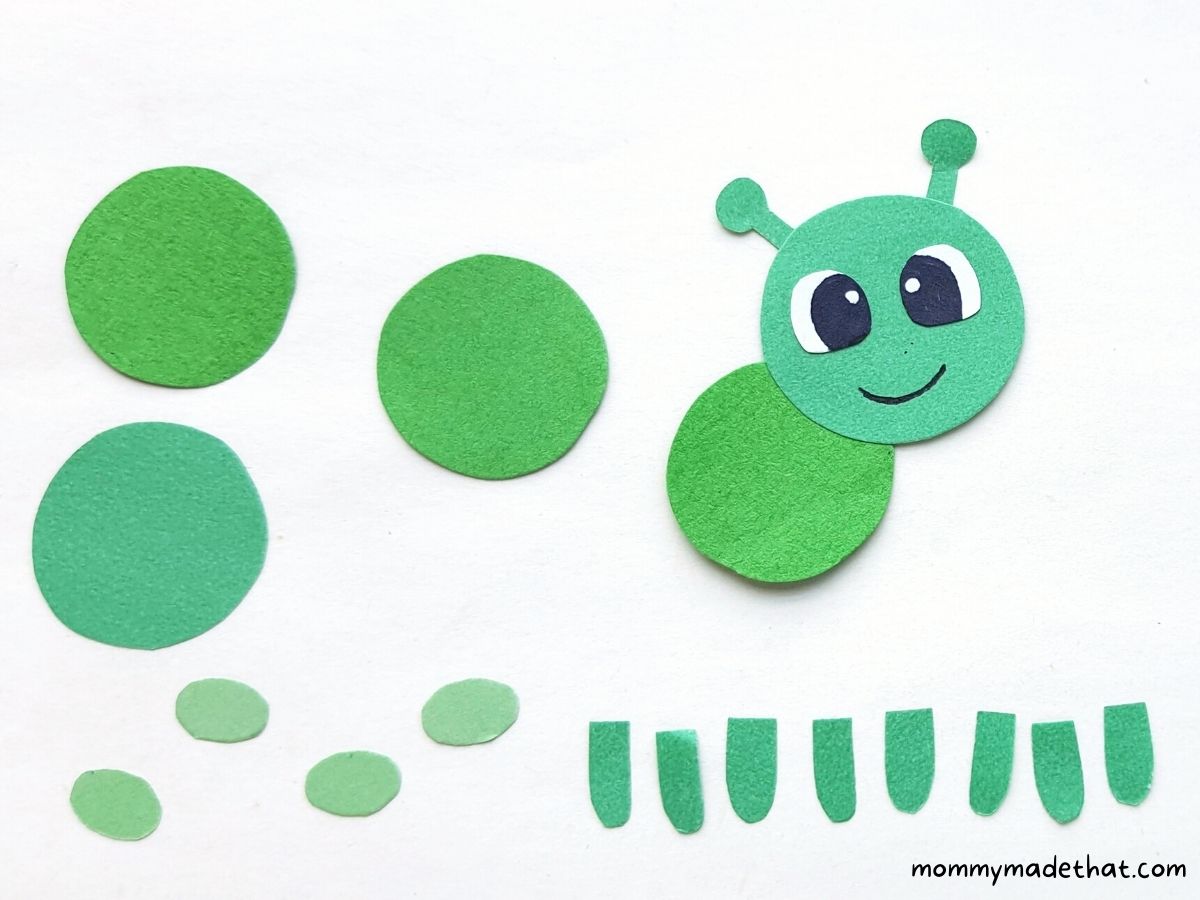
Now you can start assembling the caterpillar’s body by attaching one of the smaller circles to the bottom back of the head.
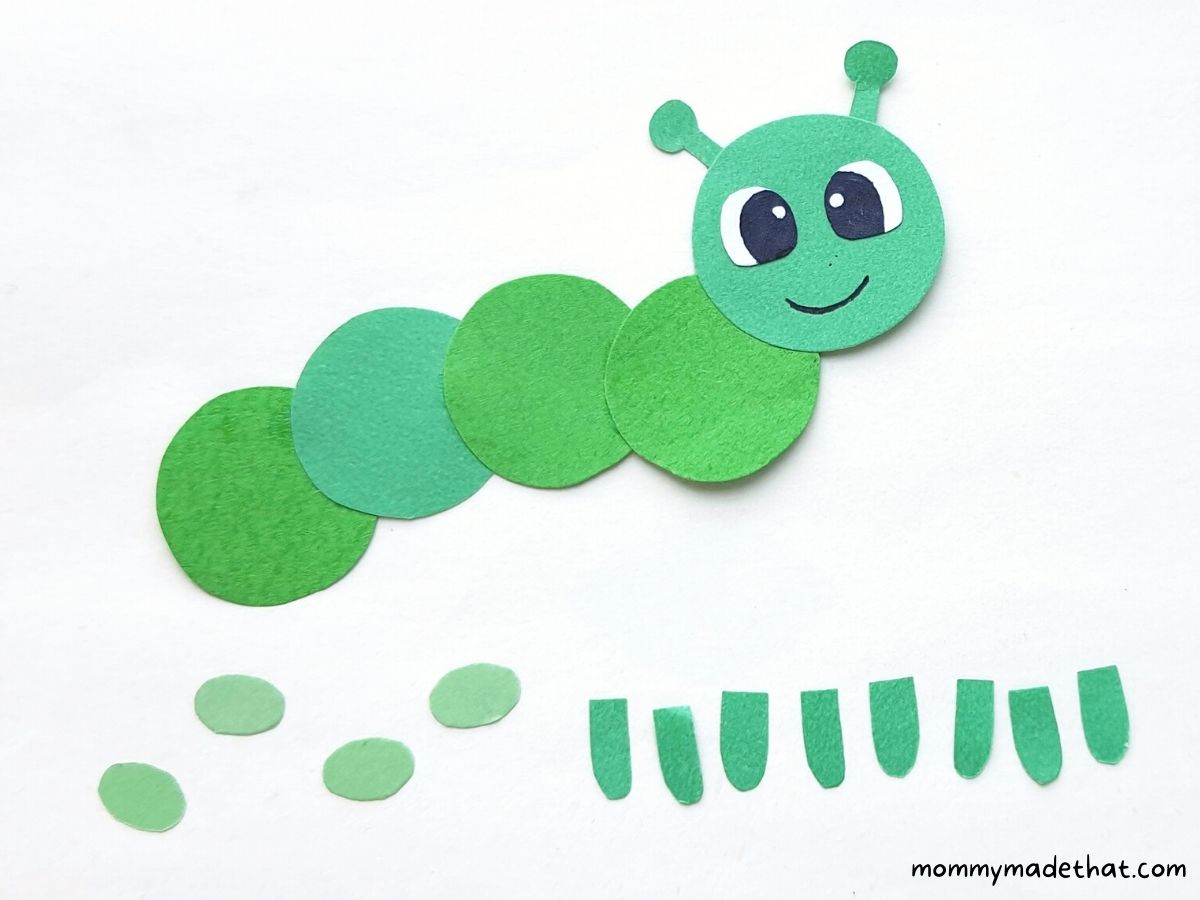
Keep adding more of the circles to your caterpillar slightly overlapping them.
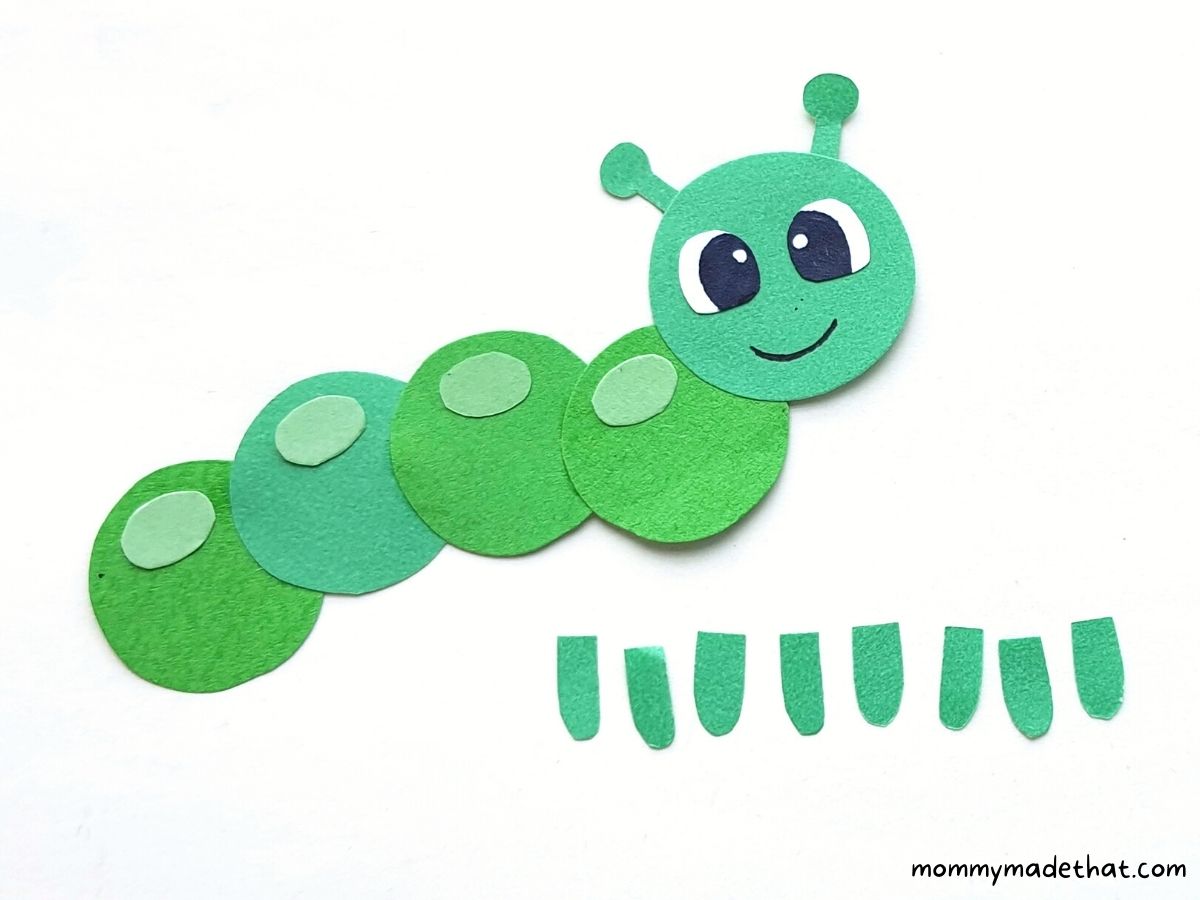
Now you can attach a cute spot to each of the paper circles to create cute spots on your caterpillar. This is one of my favorite parts of this caterpillar craft.
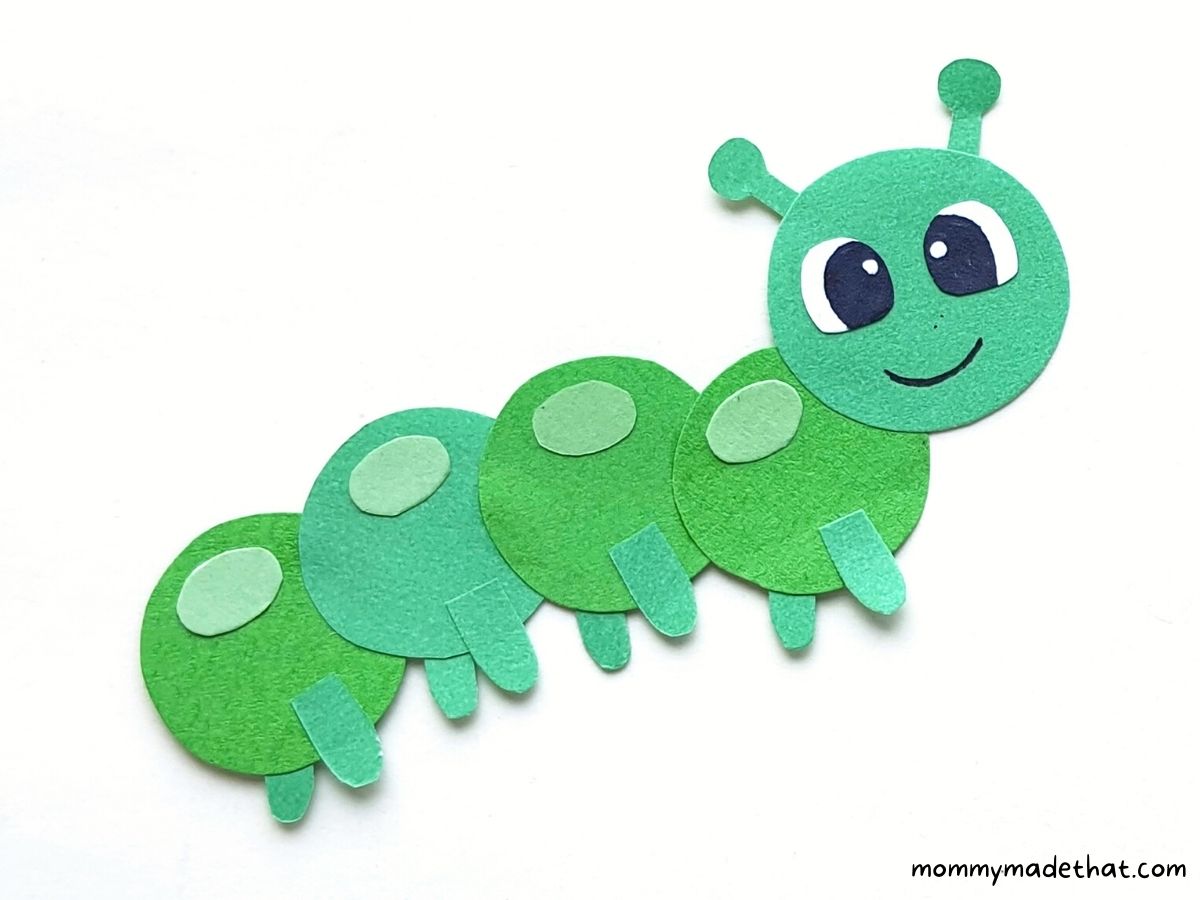
Finally, add two legs to each circle, attaching one leg behind and one leg to the front like shown above.
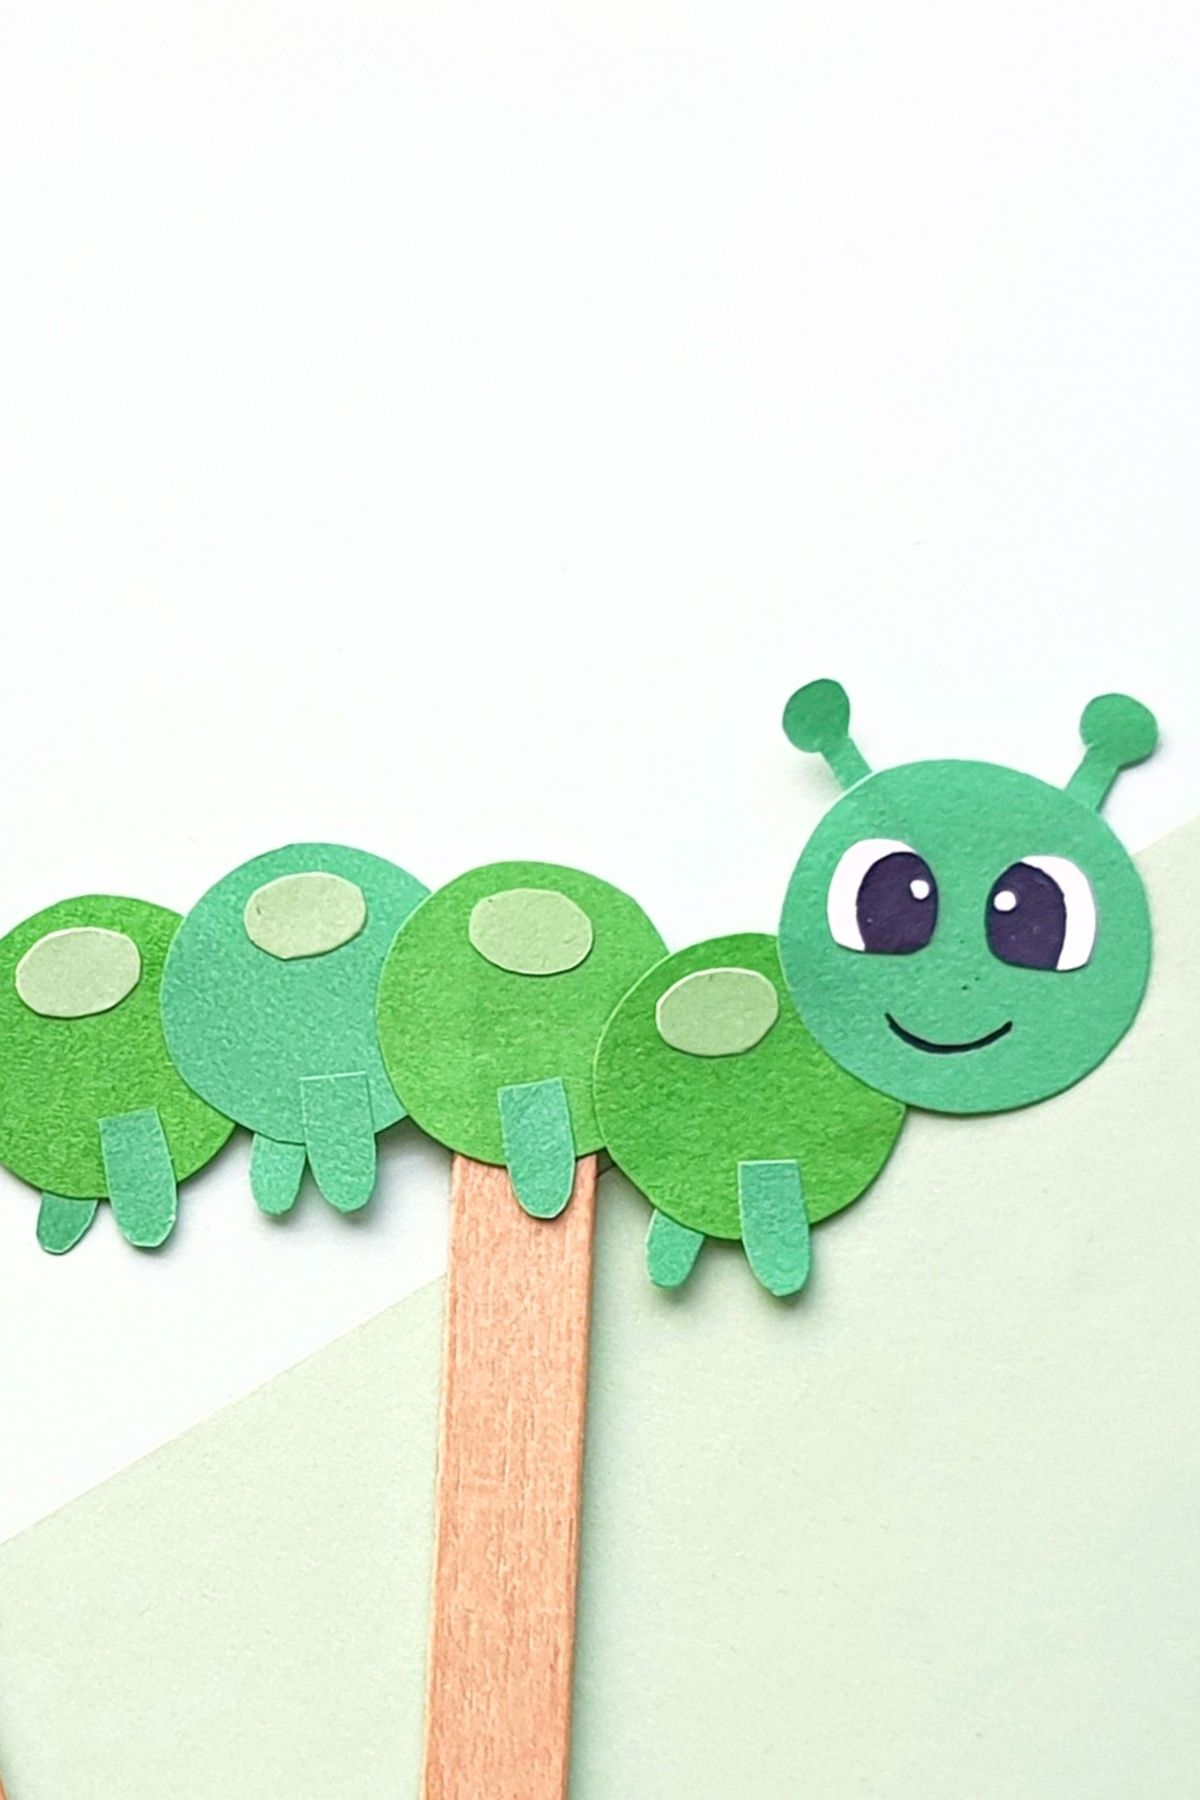
And here’s our little yellow caterpillar.
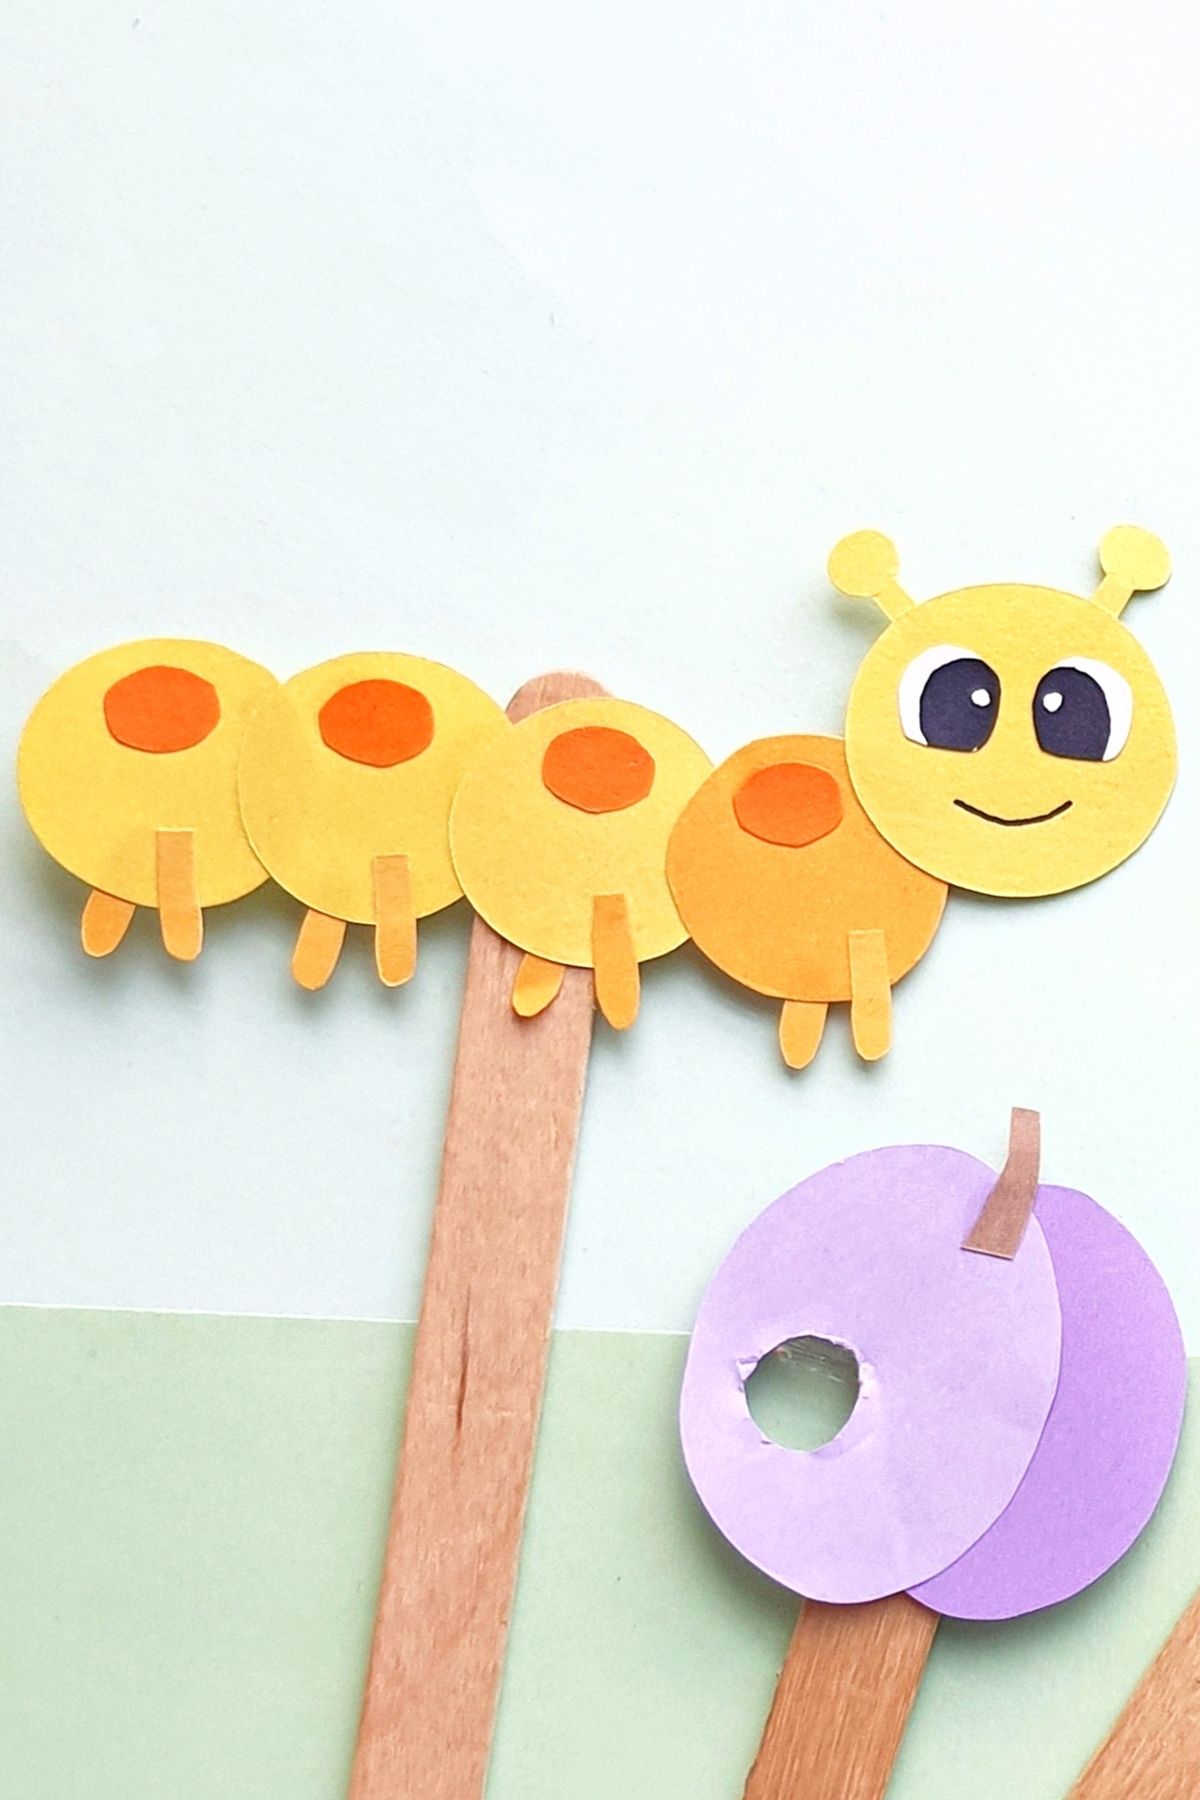
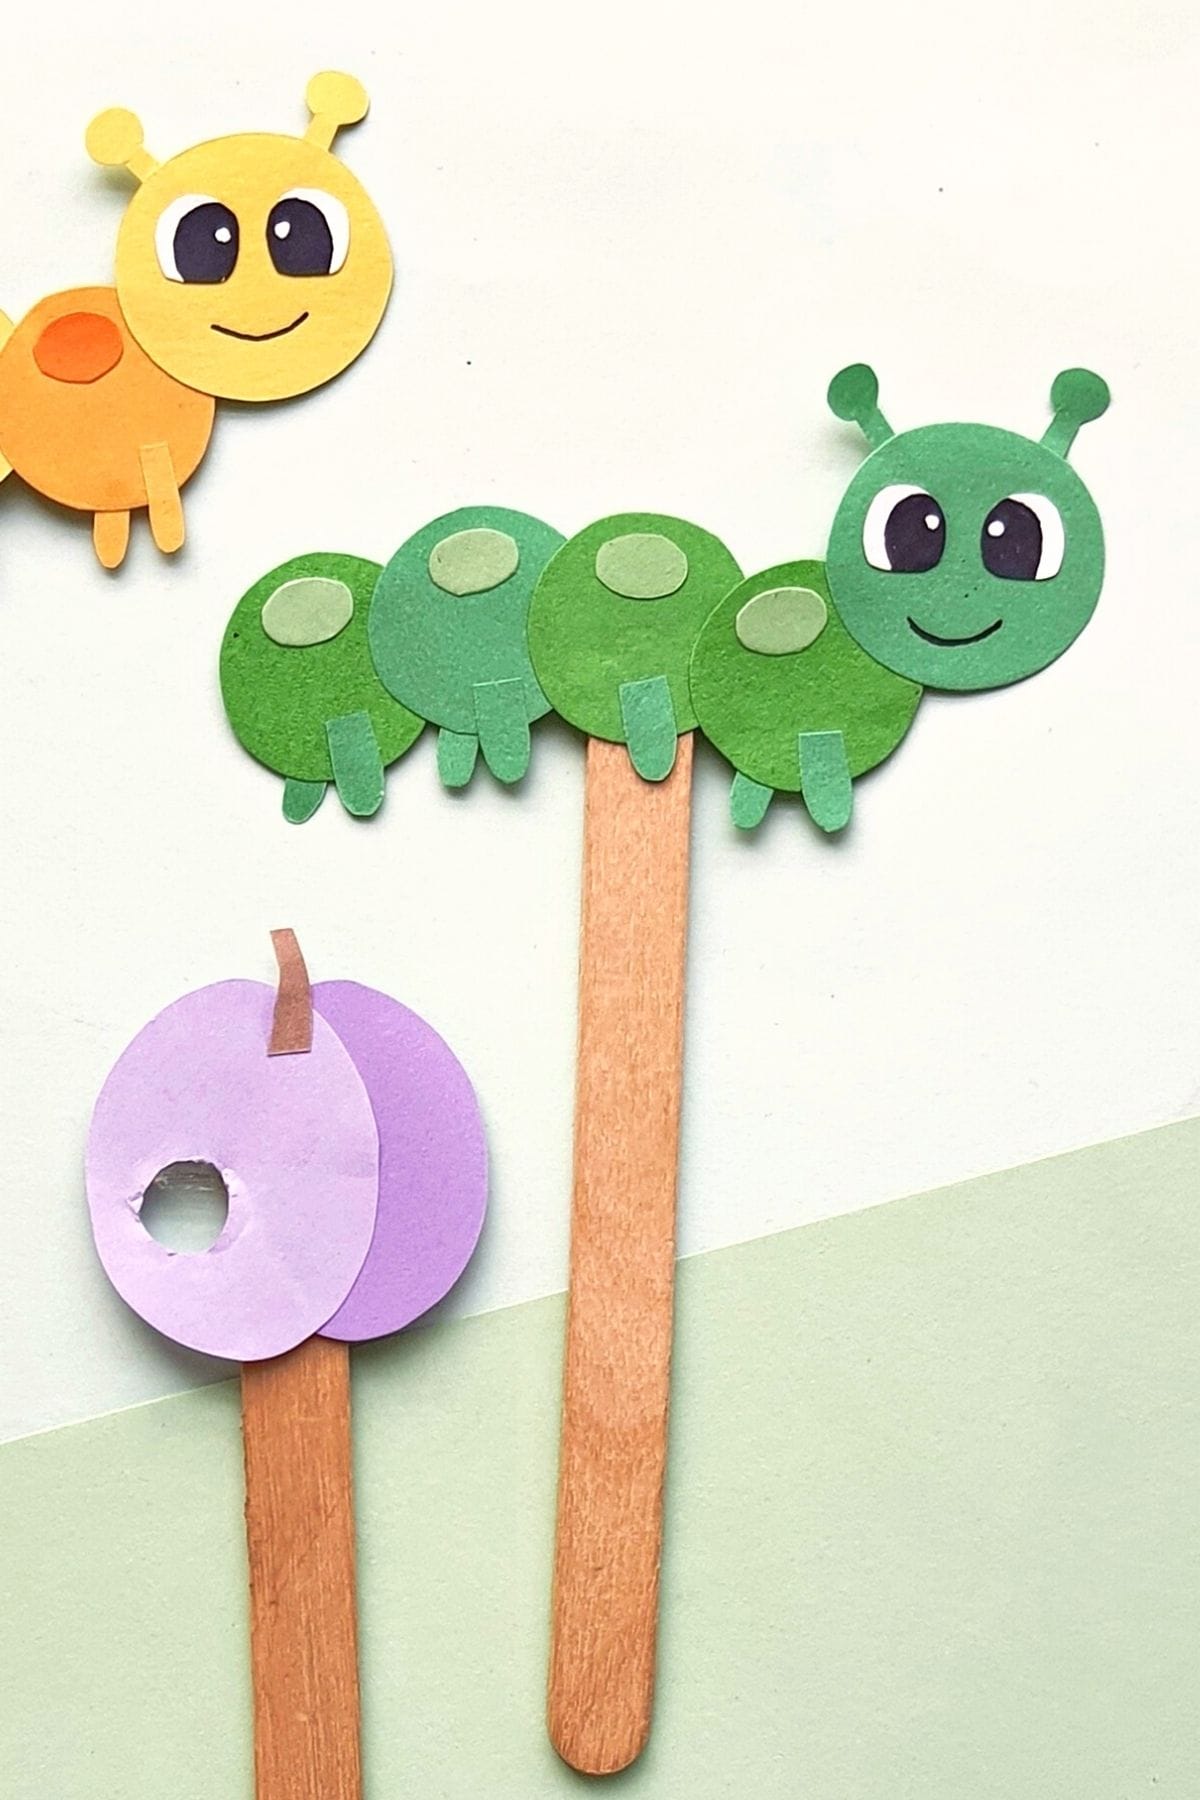
And that’s it! This is such a fun and easy craft kids love.
Now, obviously ever caterpillar get’s hungry!
So we also include fun fruit shapes in our template that you can make with your caterpillar so he can happily eat just like the Eric Carle’s very hungry caterpillar.
It’s a easy way to add some fun while learning and reading about the book.
Paper Caterpillar Craft
We love caterpillar crafts! And this adorable little paper caterpillar is one of our favorites! This super easy craft turns out so cute and the kids will love coming up with fun colors to create their own little bug.
Materials
- Paper caterpillar craft template
- Colored craft paper (in three different colors)
- Popsicle stick
- Craft glue
Tools
- Scissors
Instructions
- Grab and print the caterpillar craft template from the printable library.
- Pick the colors of your caterpillar from 3 different colors of craft paper. We used coordinating shades of the same color for ours.
- Trace out the head and body template onto two different colors of paper. Then trace the spots onto the third color.
- Trace out the caterpillar legs and antenna onto any of the colors you like.
- Trace out the eye shapes on white paper, or draw your eyes onto the caterpillar's face later.
- Cut out all of your template pieces.
- Next, attach the antennas to the larger circle to form the caterpillars head.
- Next, attach the eyes to the head part, closer to the antennas, and draw on a cute smile with a marker.
- Start assembling the caterpillars body by attaching one of the body pieces to the caterpillars head in the bottom corner from the back.
- Then attach the rest of the body pieces one by one in a zig zag shape.
- Now attach the spots to the top of each circle.
- Finally, add two legs to each circle, attaching one leg behind and one leg to the front like shown above.
- Attach your popsicle stick to the the back of your caterpillar (optional)
- All done! Enjoy your caterpillar fun.

How cute! We’ll be using the caterpillar template to make our own today! Thank you!
This looks great for my Me and My Shadow Class to make! Very cute!