
DIY Felt Fox Ornament (with free pattern)
Make a little felt fox ornament with our free printable felt fox pattern and step-by-step photos. This hand-sewn fox has a white face and belly, a fluffy-looking tail, and a felt scarf for a cozy Christmas decoration or handmade gift.
You’ll use craft felt, a needle and thread, and a little stuffing. Get the pattern through the signup form near the end of this tutorial, then follow the photos to assemble your fox. For a leafy decoration to pair with your fox, try our felt holly berry ornament with a free pattern.
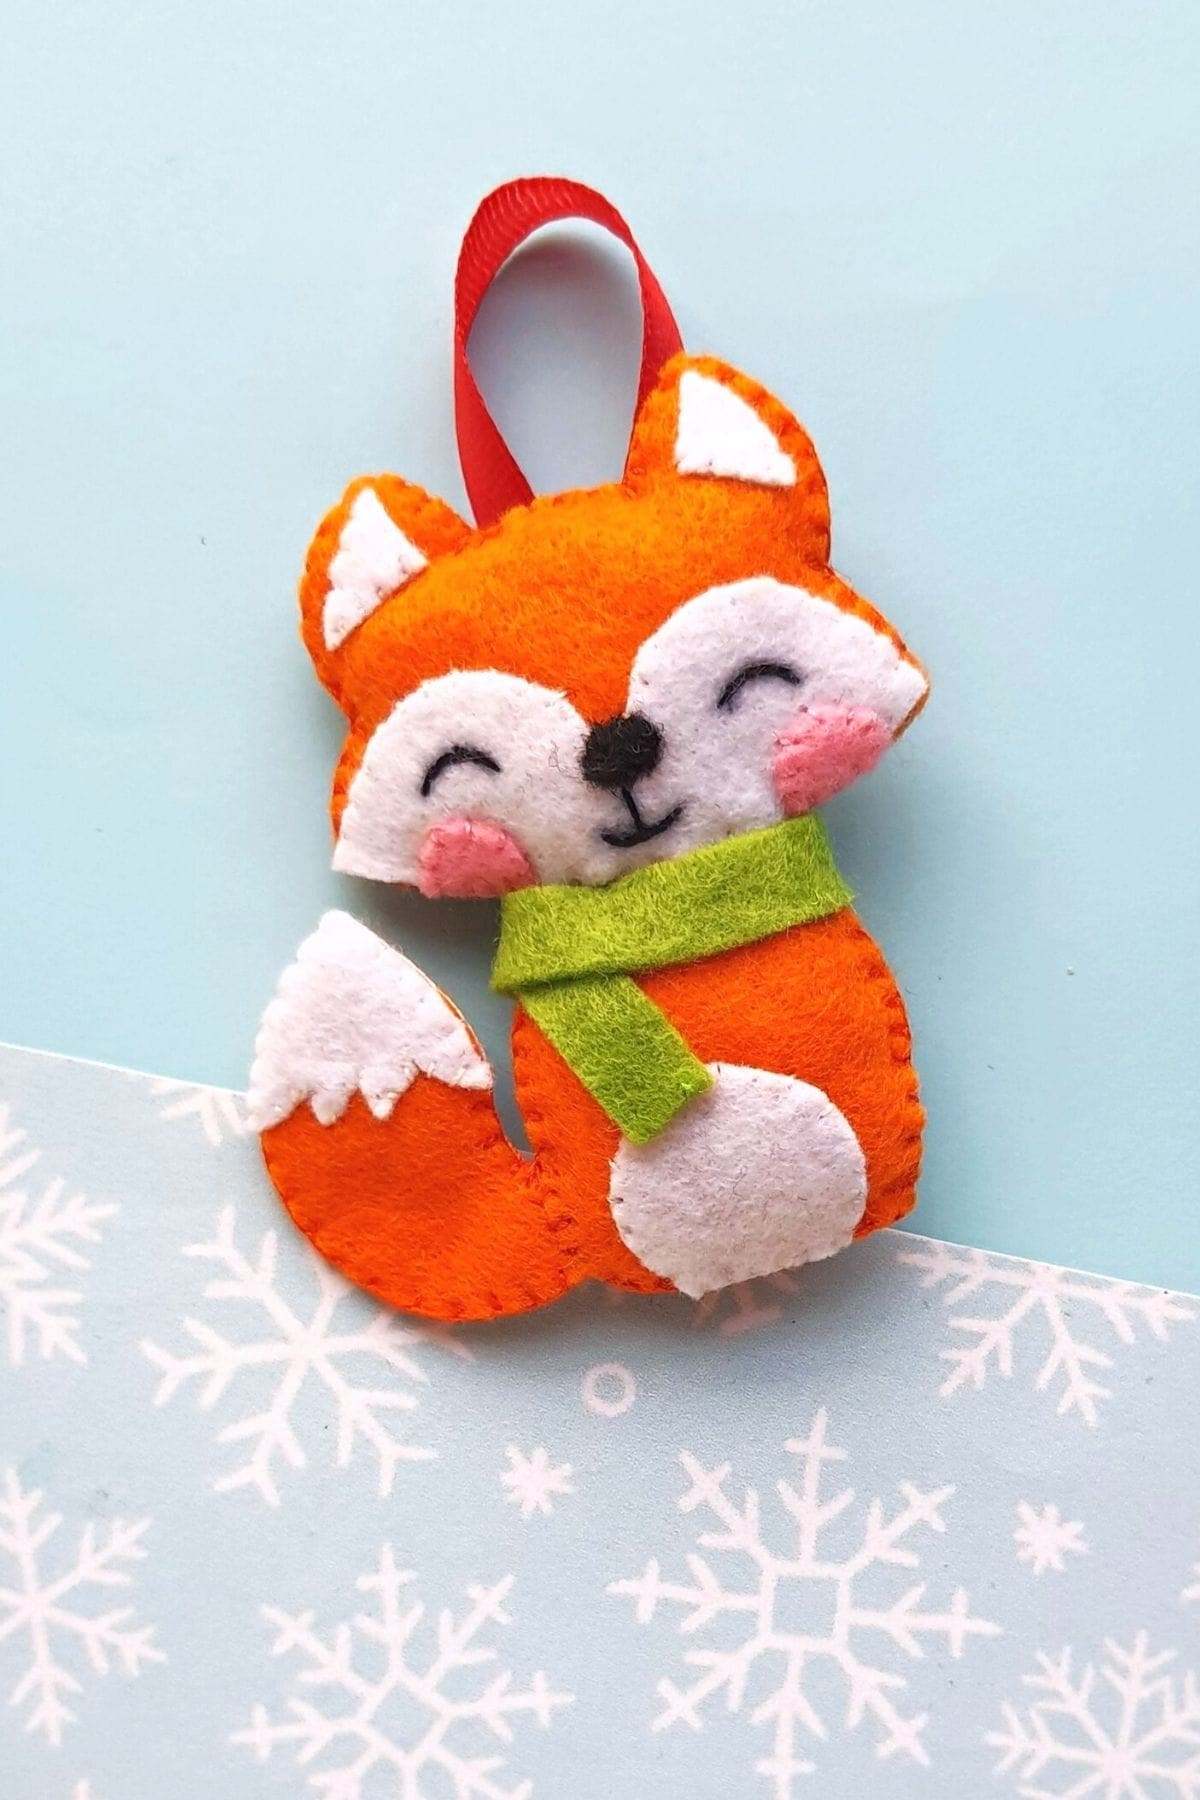
This little felt fox makes a great DIY Christmas ornament for your tree or it can be given as a gift. It’s also a fun Christmas craft to make and sell at craft shows or even on Etsy.
The pattern includes the separate pieces for the fox’s back, head, lower body, tail, and small facial details.
For children who are comfortable using a needle, this can be a fun Christmas craft for kids to make with an adult. Younger children can help choose colors while an adult handles the cutting and sewing.
Read through the steps before you start. Sew the small details onto the front pieces first, then join the front and back and add a little stuffing.
So, if you’re ready to get started making this fun DIY felt ornament, follow the instructions below!
Supplies Needed
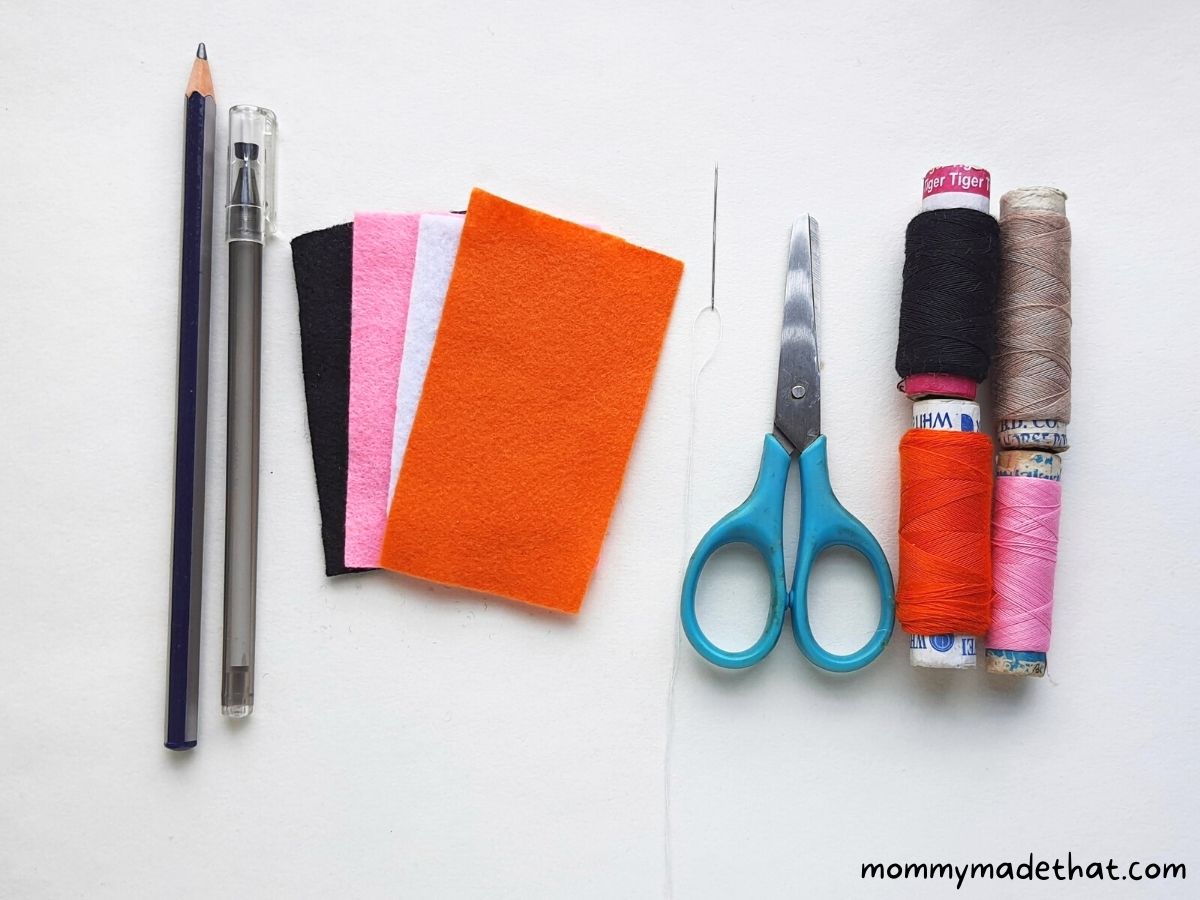
To make this little felt fox ornament you’ll need some pieces of felt fabric. We just used the cheap felt that comes from the craft store.
The colors we chose are as follows:
- Orange: For the fox body and base
- White: For the accents on the belly, face and tail.
- Black: For the nose, but this is optional, you can always just stitch a little nose instead.
- Pink: For blushing cheeks
You’ll need the printable fox template which you can grab below.
You’ll also need a sewing needle, thread to coordinate with your felt, black thread for the eyes, scissors, and a pencil or fabric-marking pen. Set aside a little scrap felt or a cotton ball for stuffing, a strip of felt in your chosen scarf color, and a short piece of ribbon for the hanging loop.
How to Make a Felt Fox Ornament
Here we’ll show you step by step how to make your own little felt fox Christmas ornament.
We include a free printable fox pattern that can be printed and used again and again.
If you plan on making several foxes, I suggest going through the steps fully once, then batch creating your foxes doing several copies of each step.
Step One: Grab the Felt Fox Pattern
Use the signup box under “Grab the Free Felt Fox Template” to receive the printable pattern by email. Download the file and open the PDF before printing.
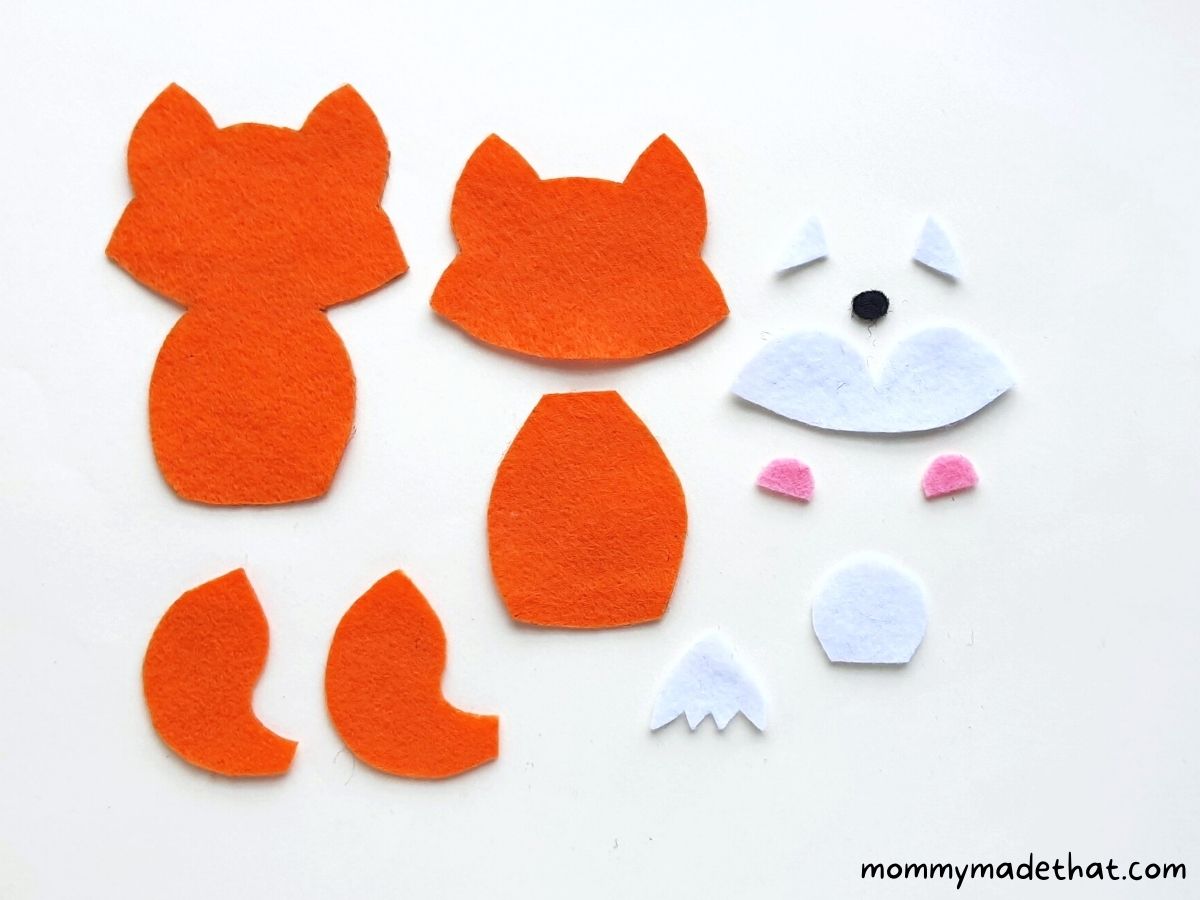
The template includes the fox base, head, lower body, tail, tail tip, inner ears, face, nose, belly, and cheeks. Keep the full base piece intact: it forms the back of the ornament.
Print all the pattern pieces at the same scale so they fit together. Check that none are clipped in the print preview, then cut out the paper pieces.
Next, trace the base, the head, the lower body and 2 tail patterns on orange or brown felt.
Then trace the belly, the tip of the tail, the inner ear pieces and the face on white colored or cream colored felt.
Then trace the nose pattern onto some black felt and the blush pattern on the pink felt.
Then cut all of your traced pattern pieces from the felts.
Step Two: Create the Fox Ears
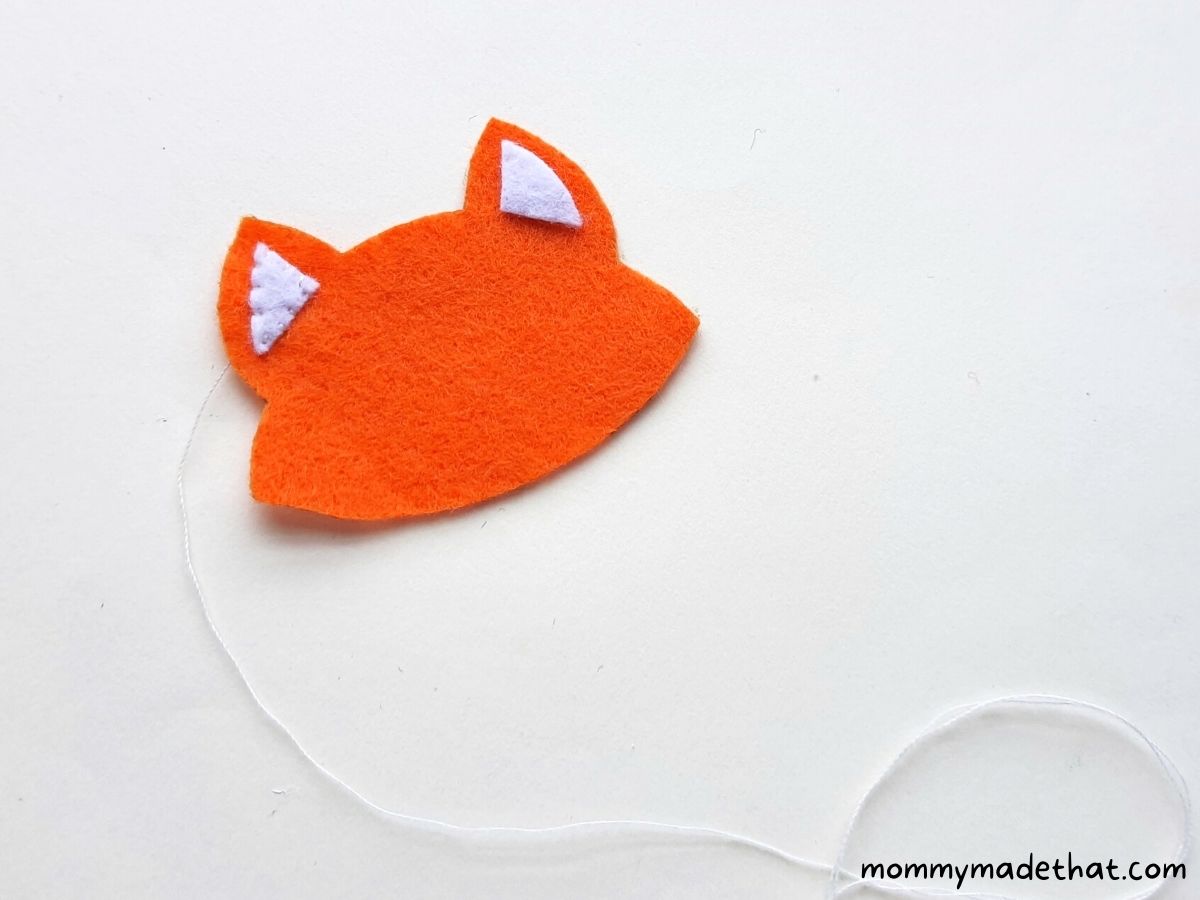
Now grab the inner ear template pieces and stitch them into the center of the ears of the fox’s head pattern.
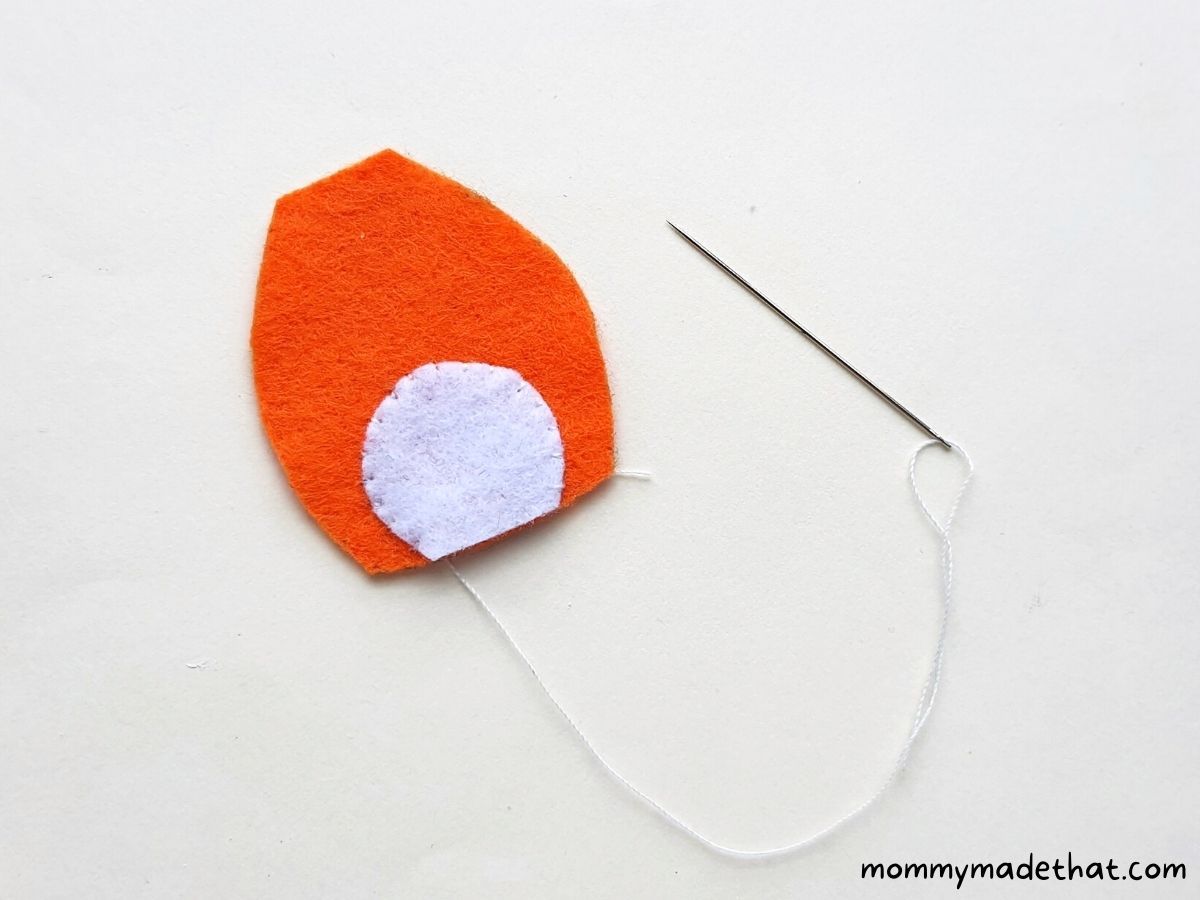
Step 3: Stitch the Belly
Next, stitch the white belly piece on the center of the fox’s lower body template like shown above.
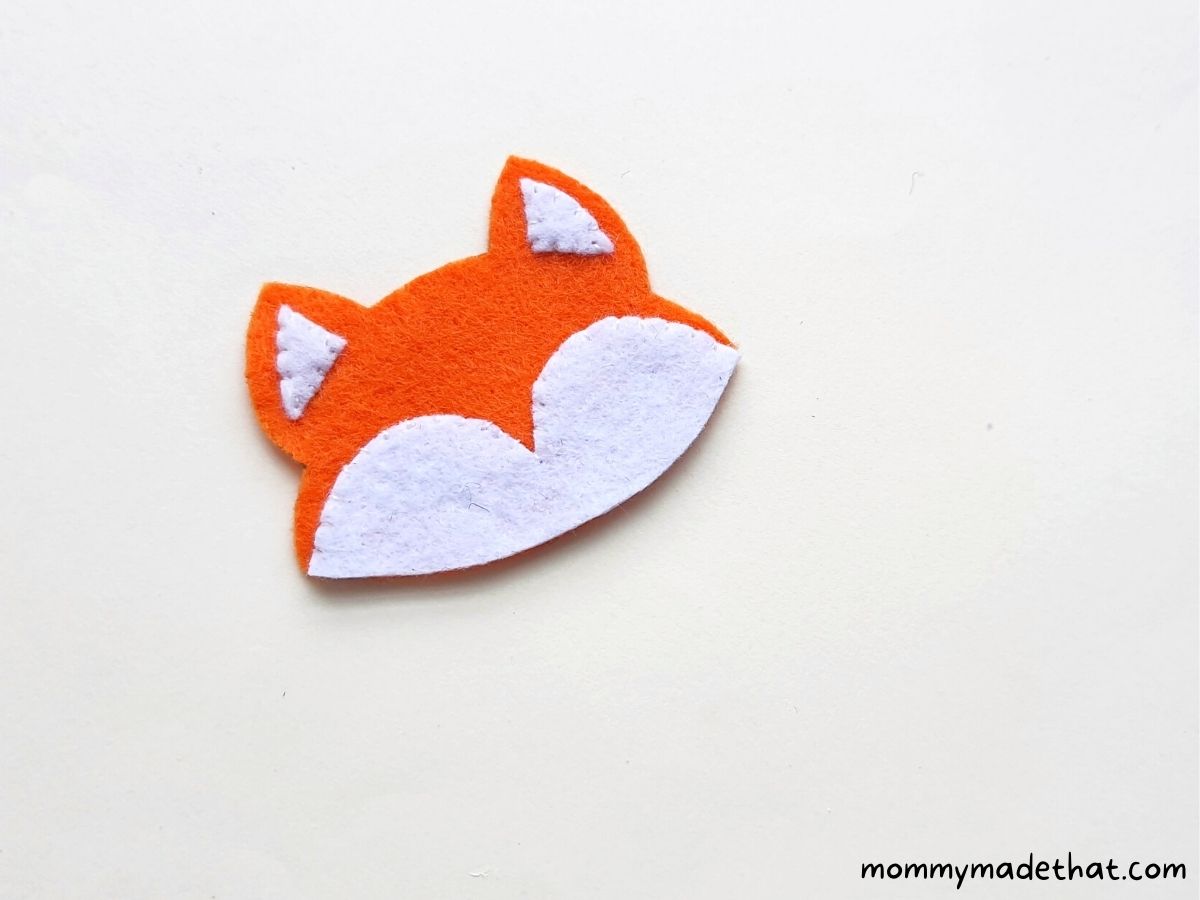
Step 4: Stitch the Fox’s Face
Stitch the white face cutout onto the lower part of the orange head piece, following the placement shown in the photo.
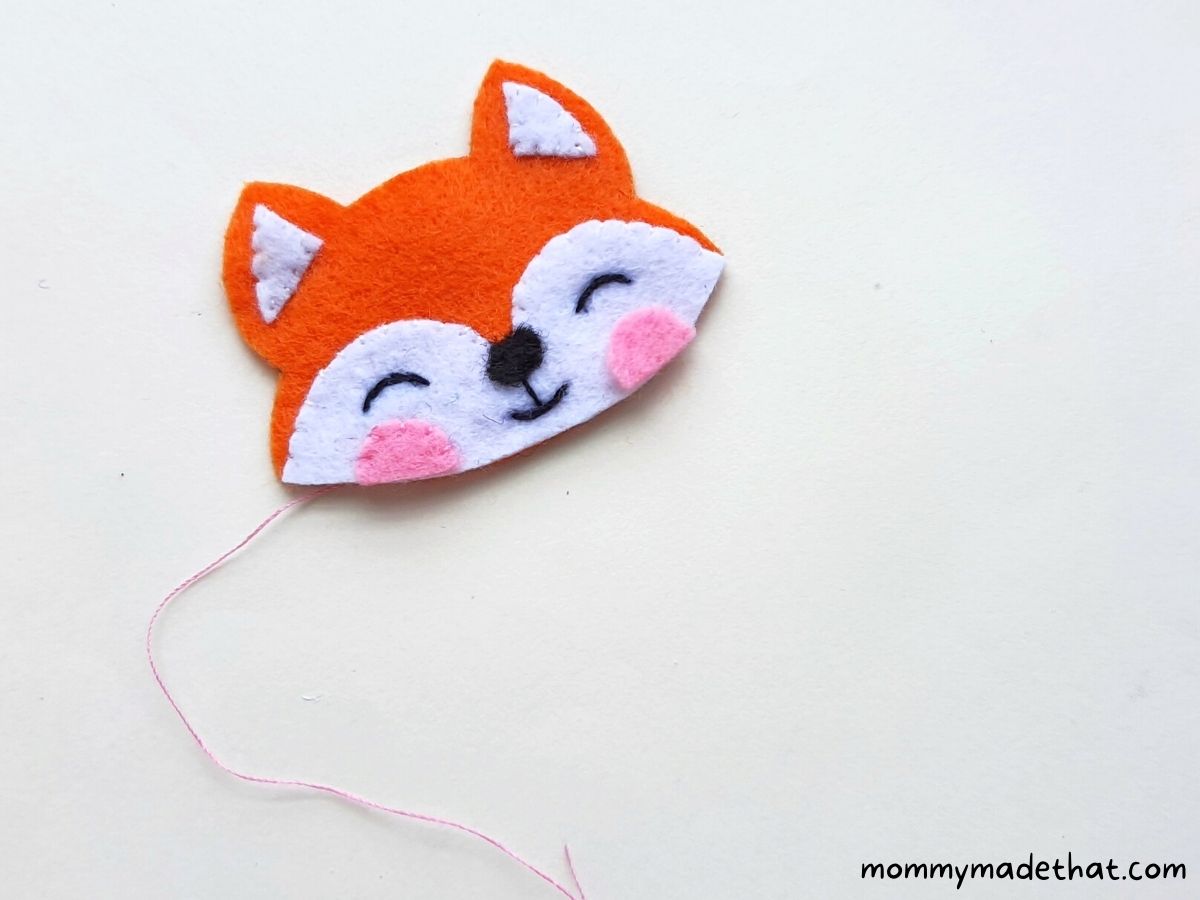
Step 5: Create the Fox’s Face
Use black thread to stitch the eyes onto the white face. Stitch the black felt nose in the center, or embroider a small nose instead.
You can also create a small mouth for your fox as well or leave him without one. It’s up to you.
Finally, using pink thread, stitch on the blush cutouts onto each side of the face.
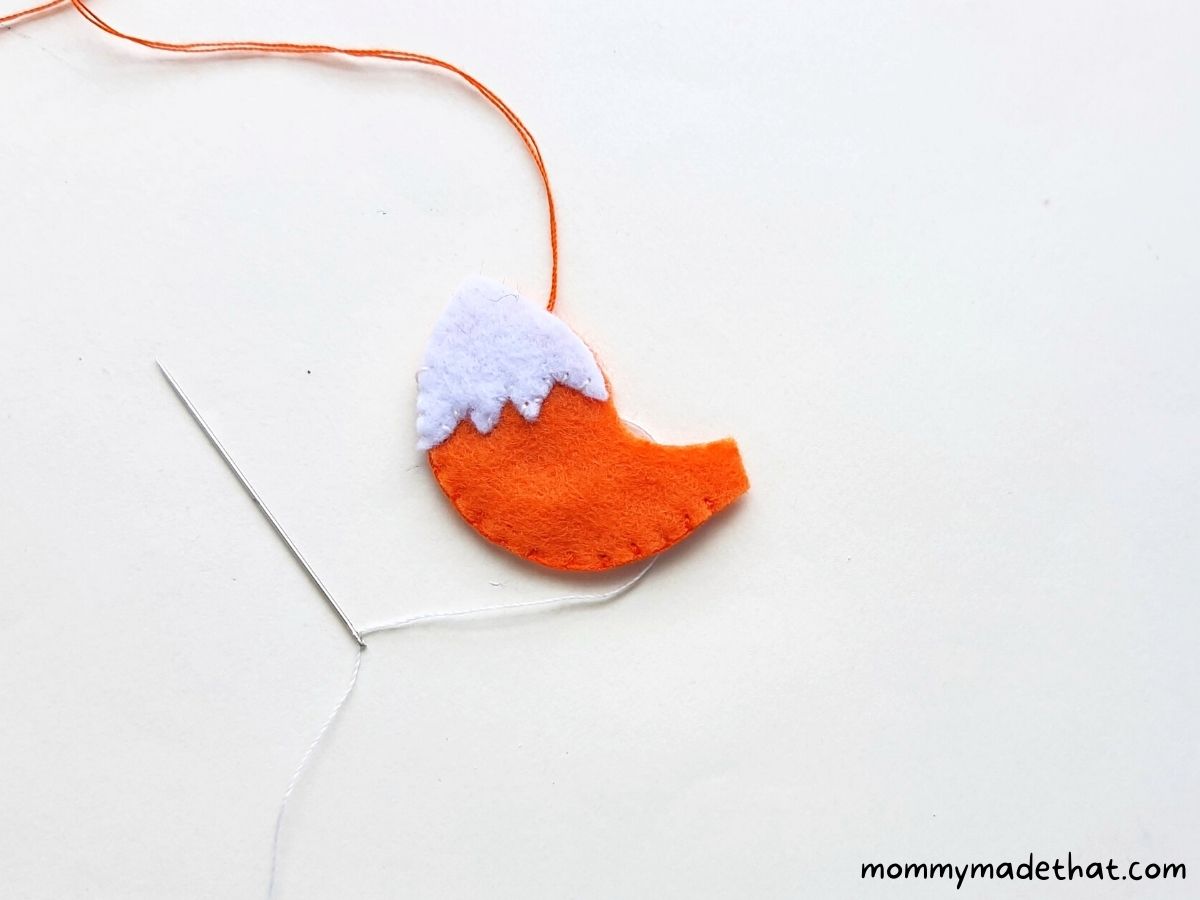
Step 6: Stitch the Tail
Next, stitch the white tail tip on either one of the tail cutouts and then attach both of the tail patterns together around the sides.
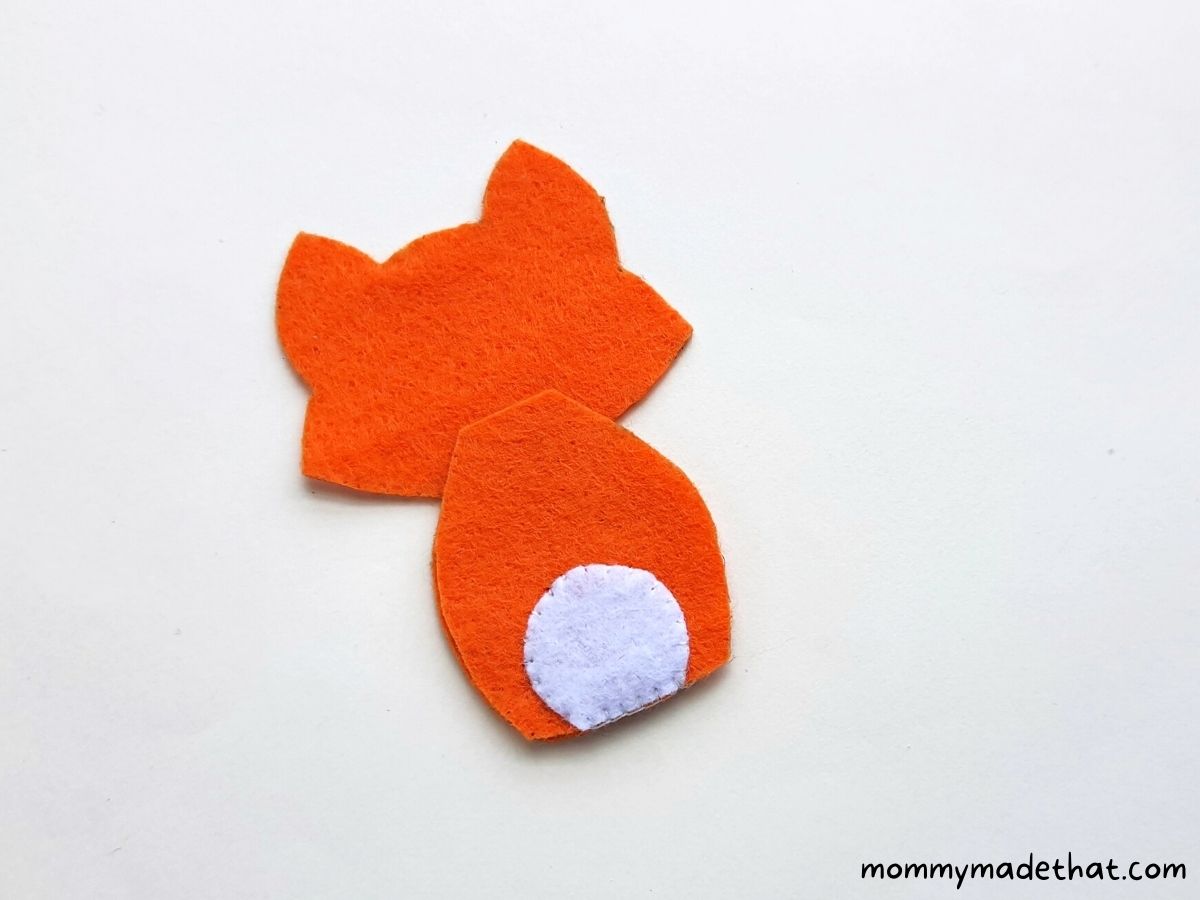
Step 7: Create the Base of the Fox Ornament
Place the lower body piece over the bottom of the full fox base, with the white belly facing outward. Line up the bottom edges and stitch them together, leaving the sides open for now.
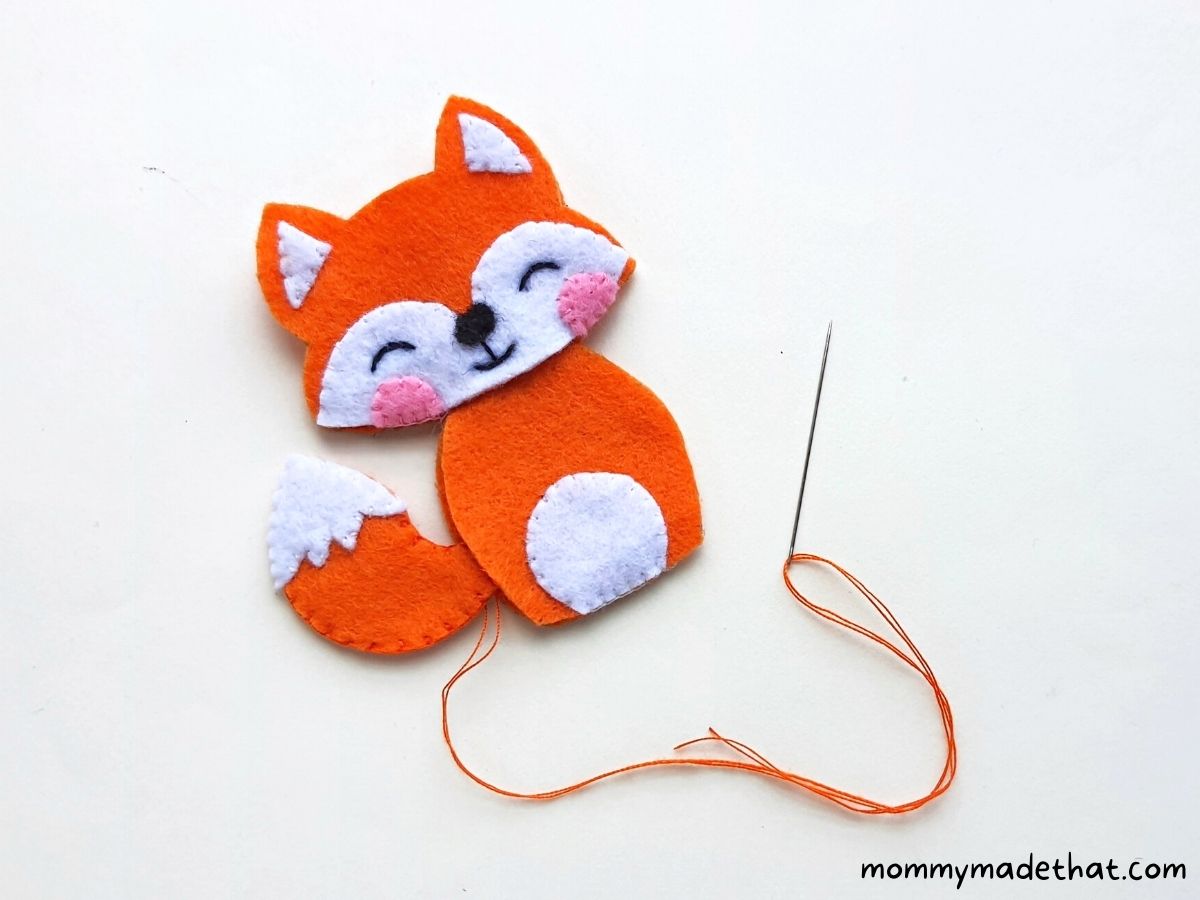
Step 8: Putting the Pieces Together
Tuck about 1 cm of the tail’s bottom end between the base and lower body at one side. Keep the white tail tip facing forward and the rest of the tail sticking out beside the body.
Stitch through the base, tucked-in tail end, and lower body to secure all three layers together.
Place the decorated head over the top of the base, with the face outward. Line up the ears and outer edges, and let the bottom of the head overlap the top of the lower body.
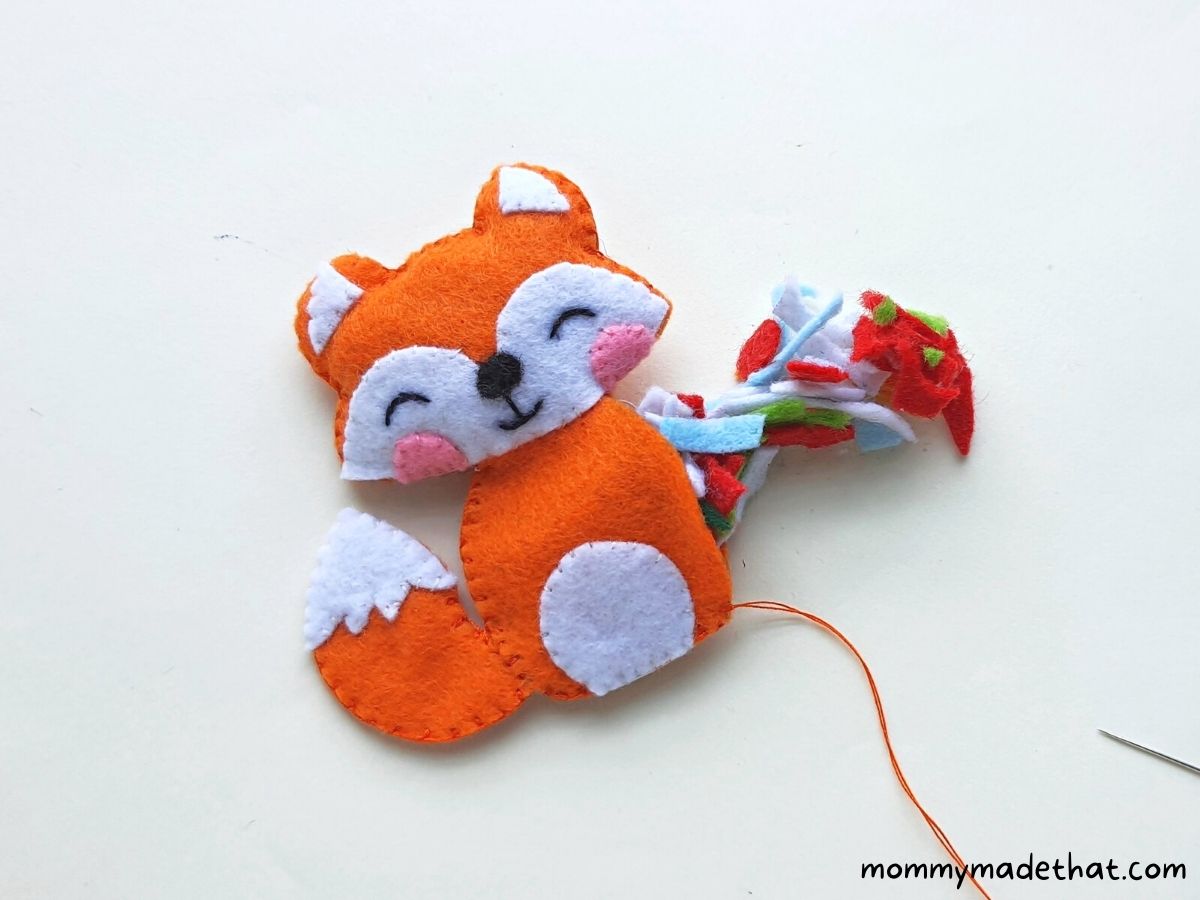
Step 9: Stitch up the Pieces
Stitch the head to the back piece around the outer edges. Secure the lower edge of the head to the front body where the pieces overlap, then continue sewing the body edges.
Leave a small opening along one side of the lower body so you can add stuffing before closing the ornament.
Add small bits of scrap felt or a little cotton through the opening. Keep the filling light so the fox looks softly padded and the seams don’t pull apart.
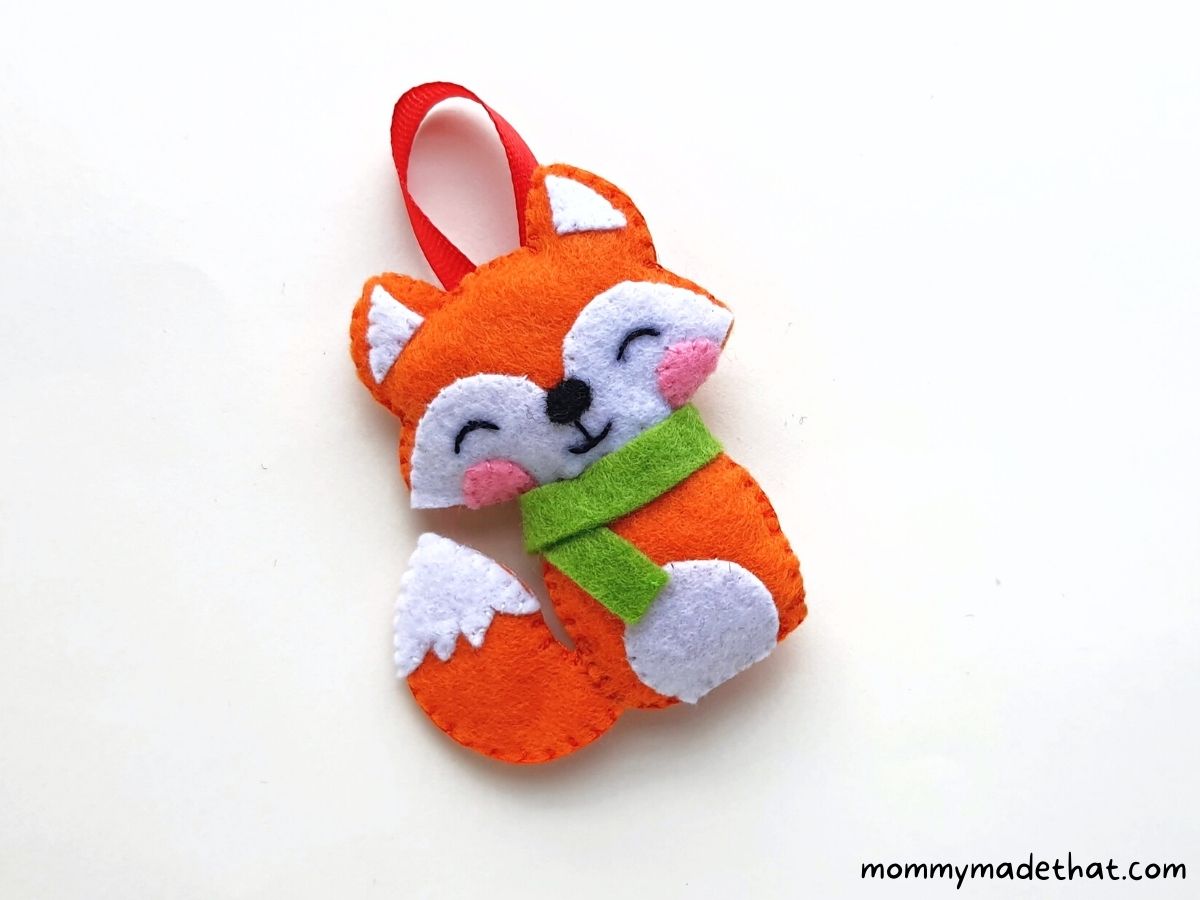
Step 10: Finish up your Felt Fox Ornament
Once your little fox is all stuffed (but not overstuffed) sew together the opening to close it up. Then cut out a small strip of felt and tie it around the fox’s neck to look like a scarf.
Fold the ribbon into a loop and stitch both ends securely to the upper back of the fox. Check that the loop holds before hanging the ornament.
Your felt fox is ready to hang or give as a handmade gift. Make a woodland collection with our felt reindeer and felt koala patterns.
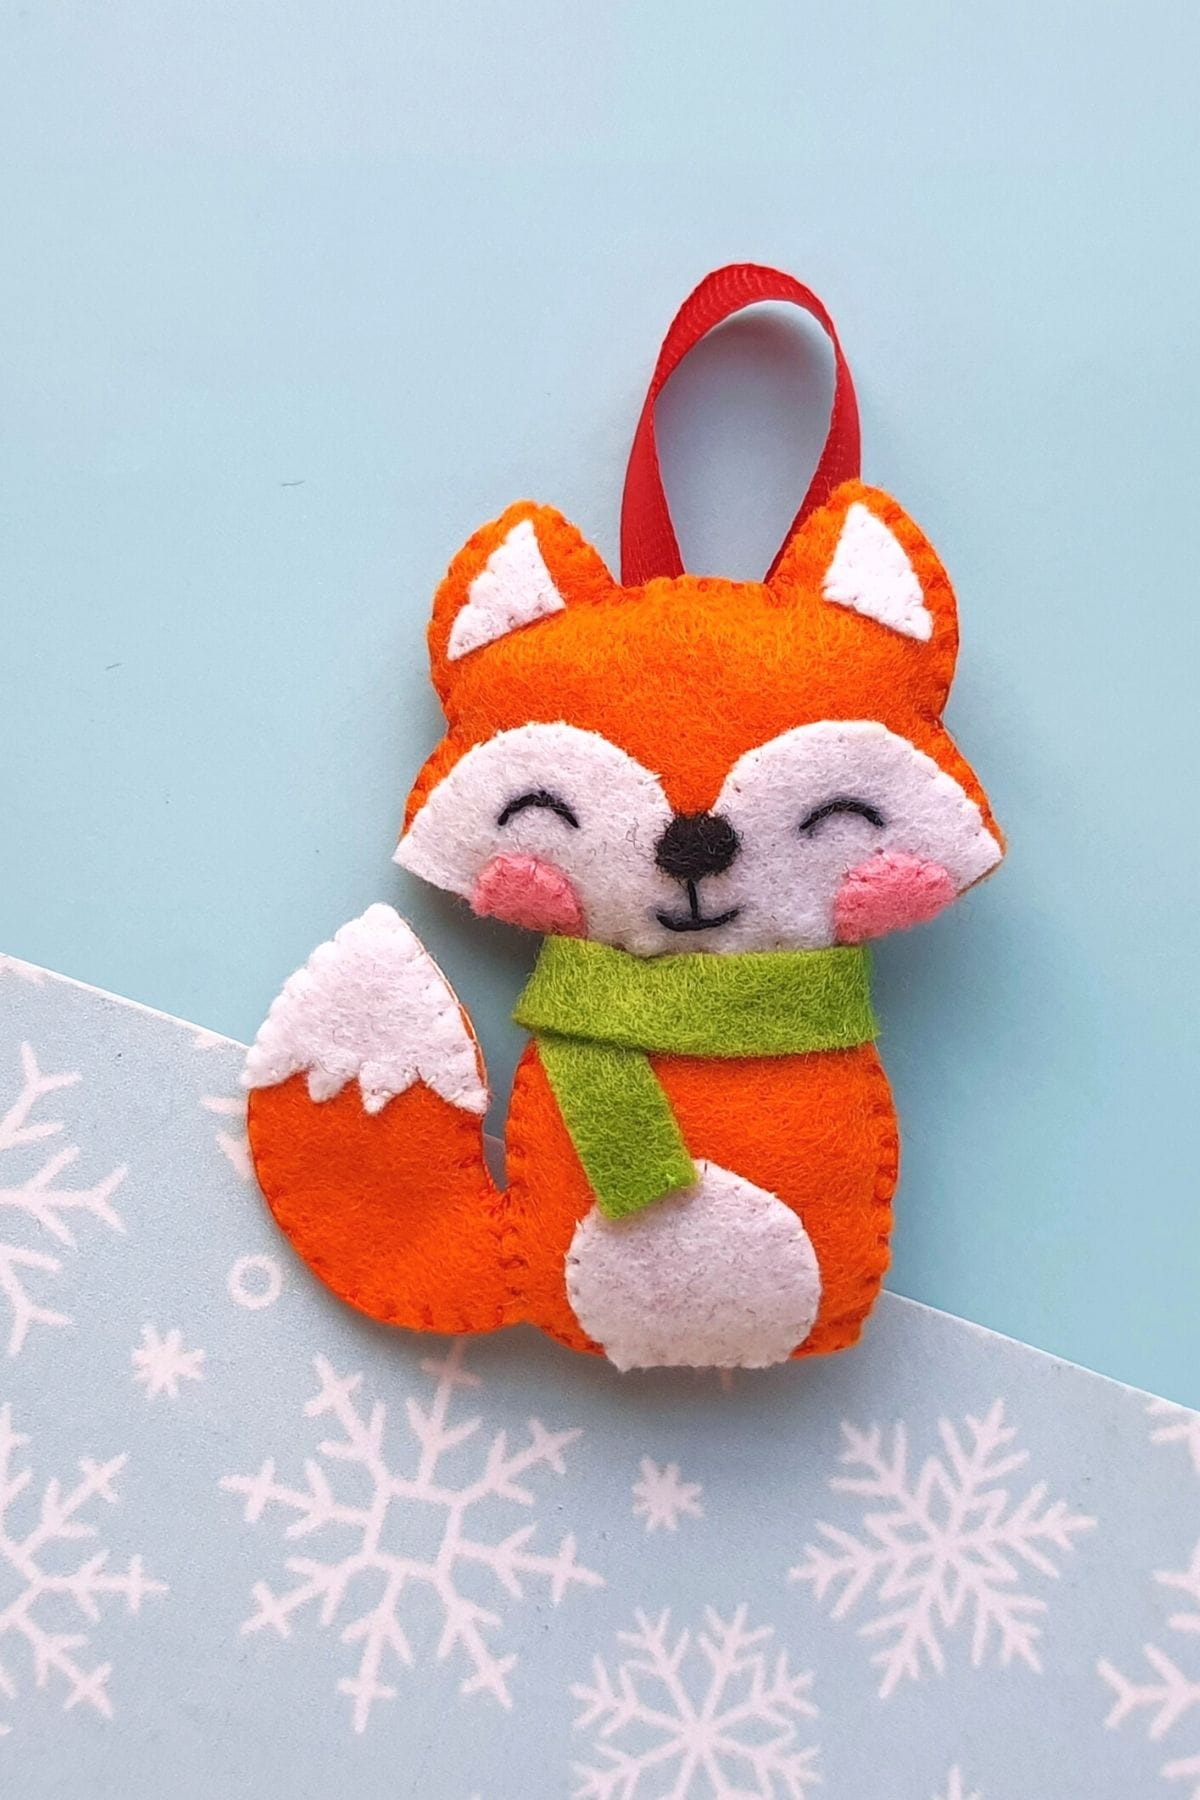
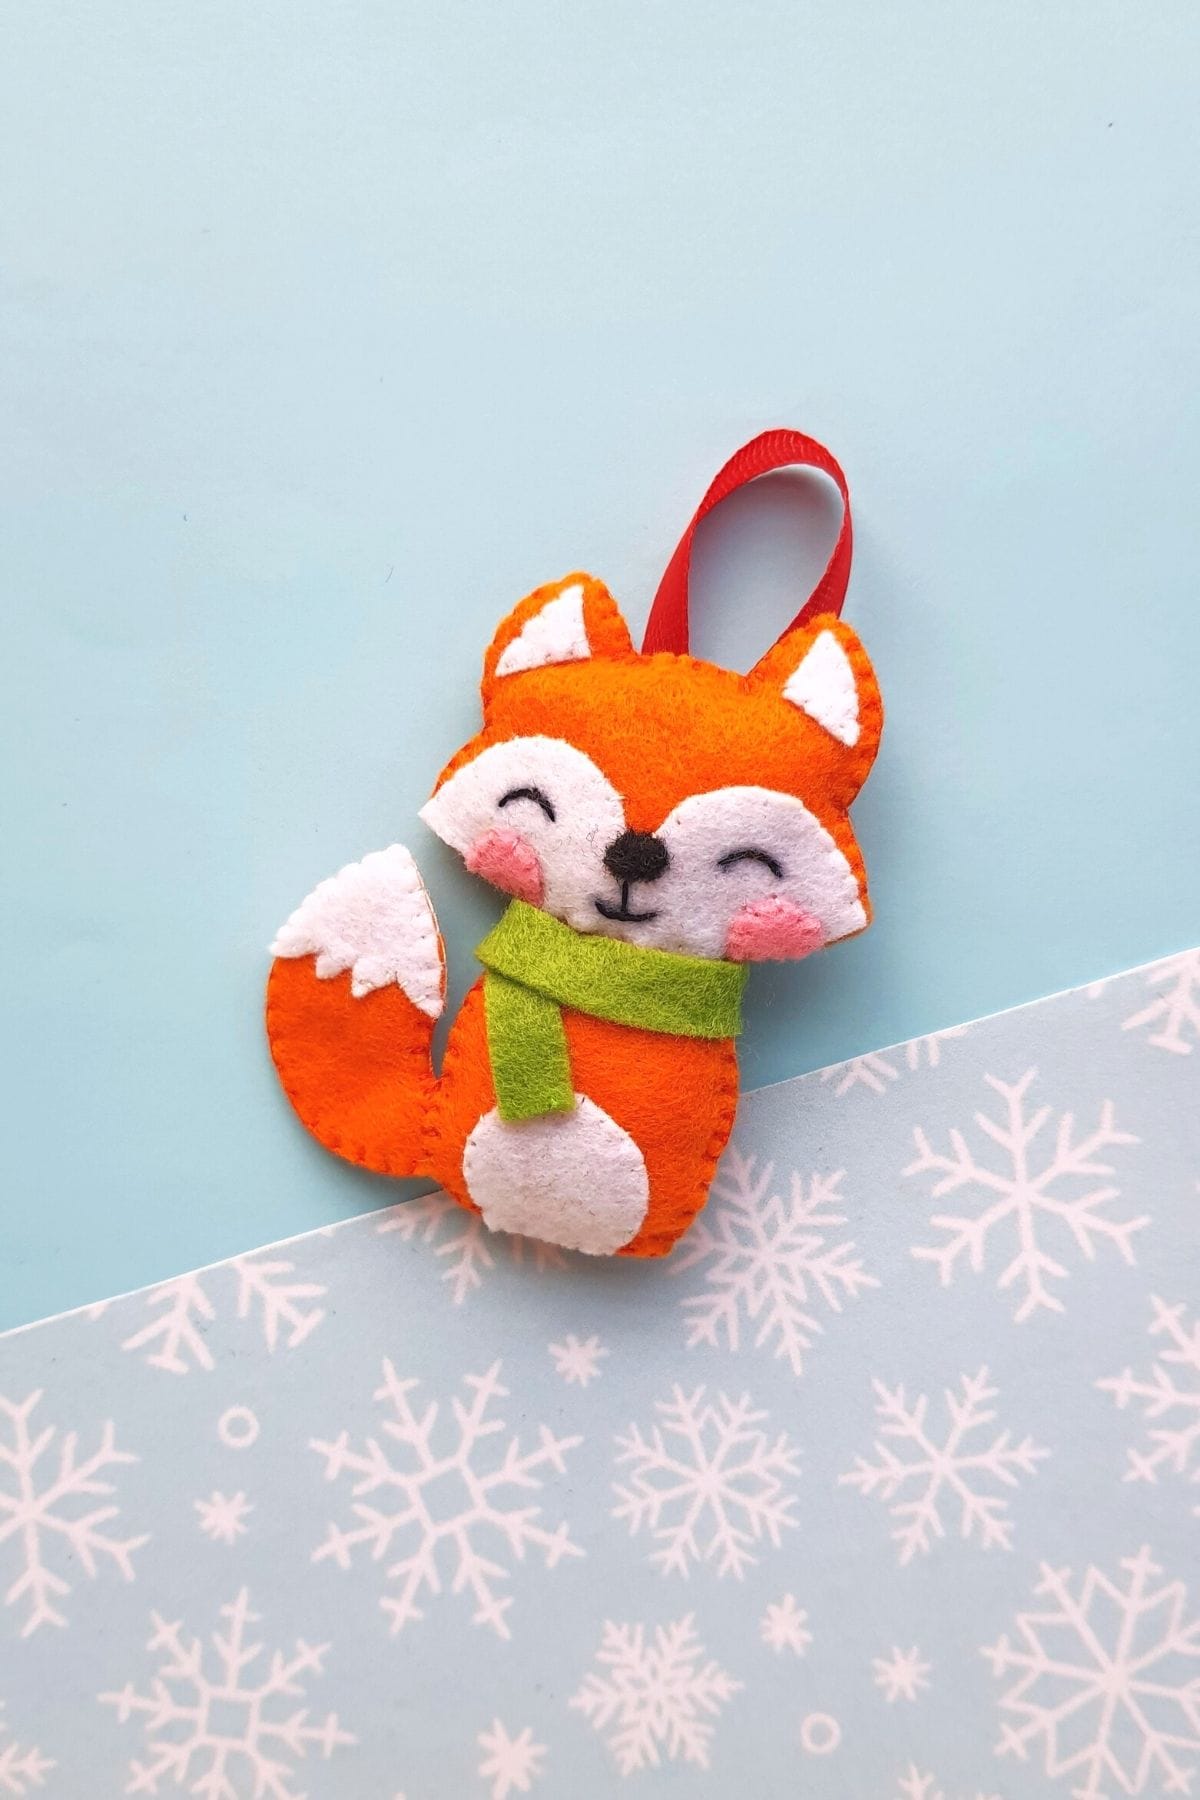
I didn’t get a chance to snap a photo of this little fox on the actual Christmas tree, but I photoshopped him into one so you can see how cute he’d be in his little fir home.
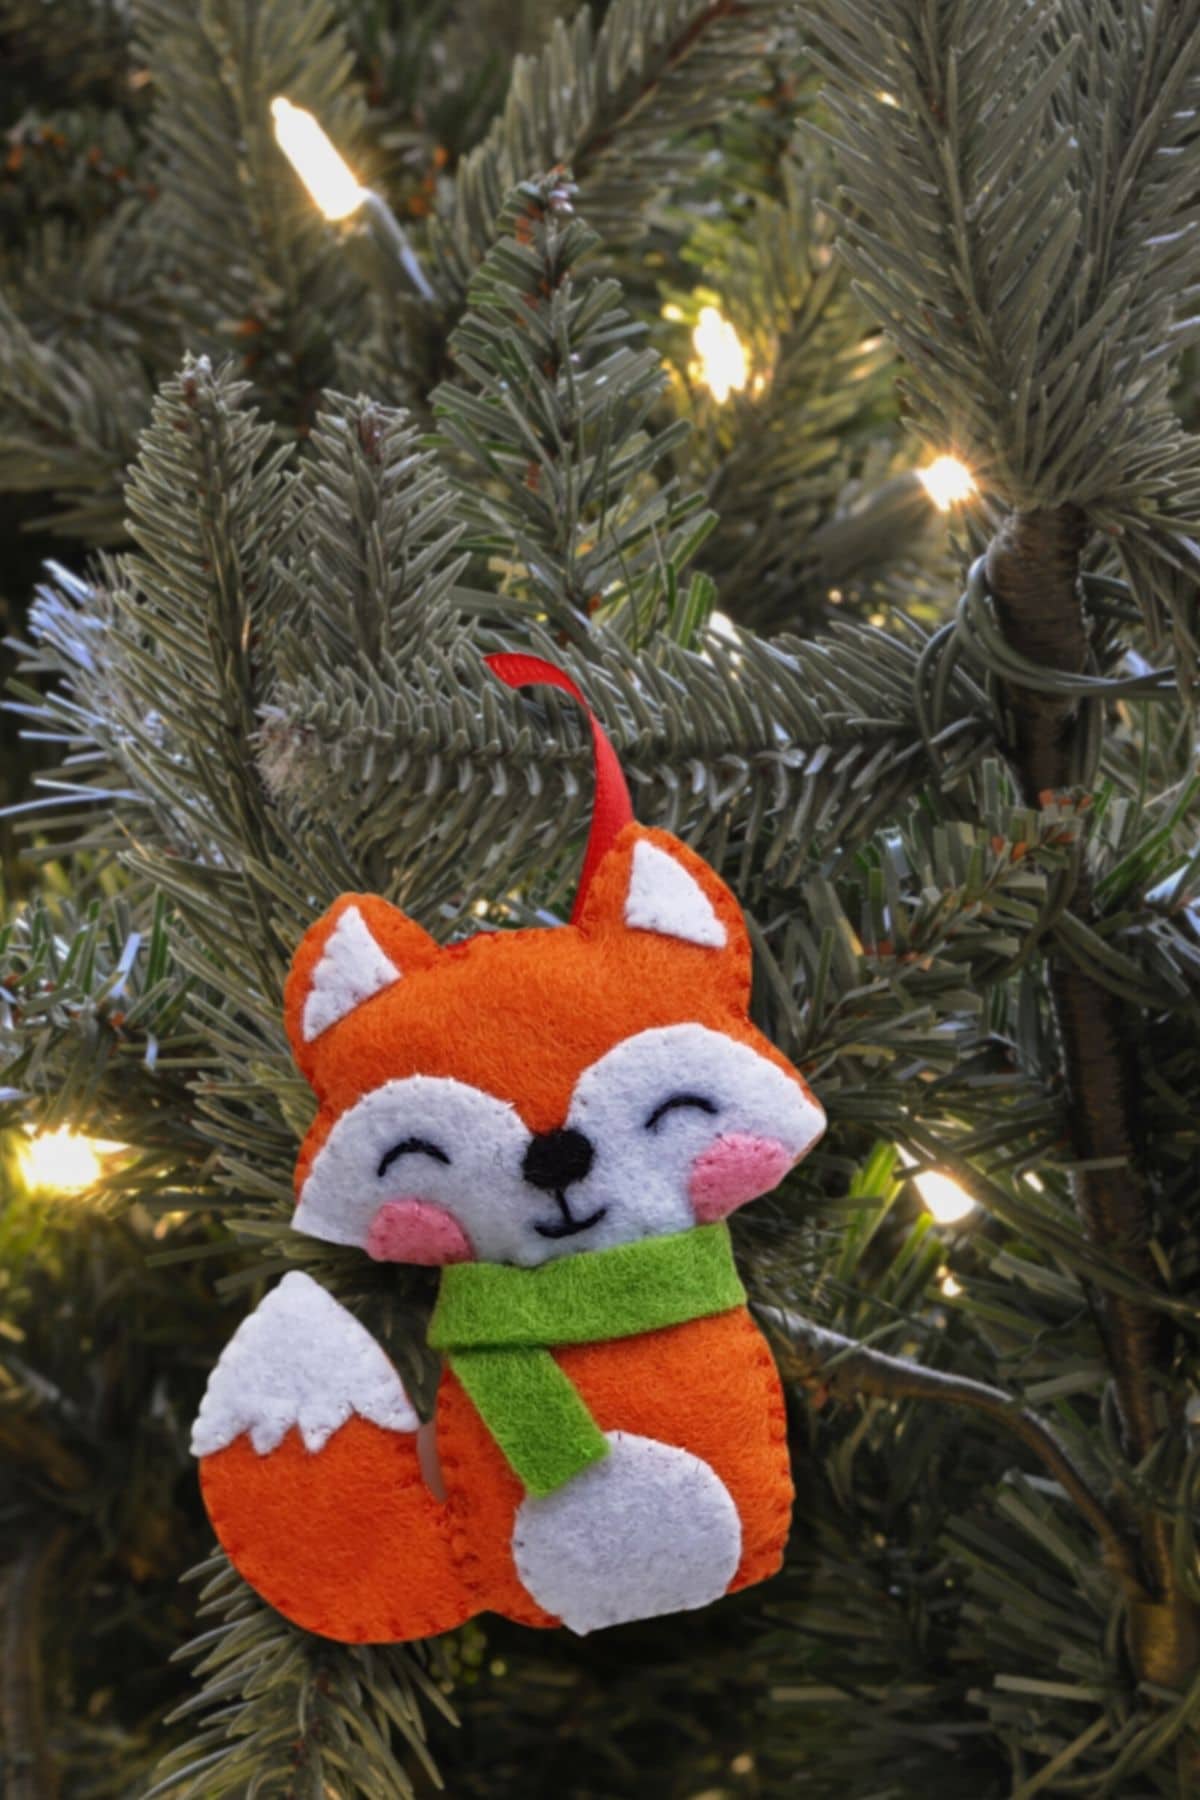
He looks super cute and cozy right?
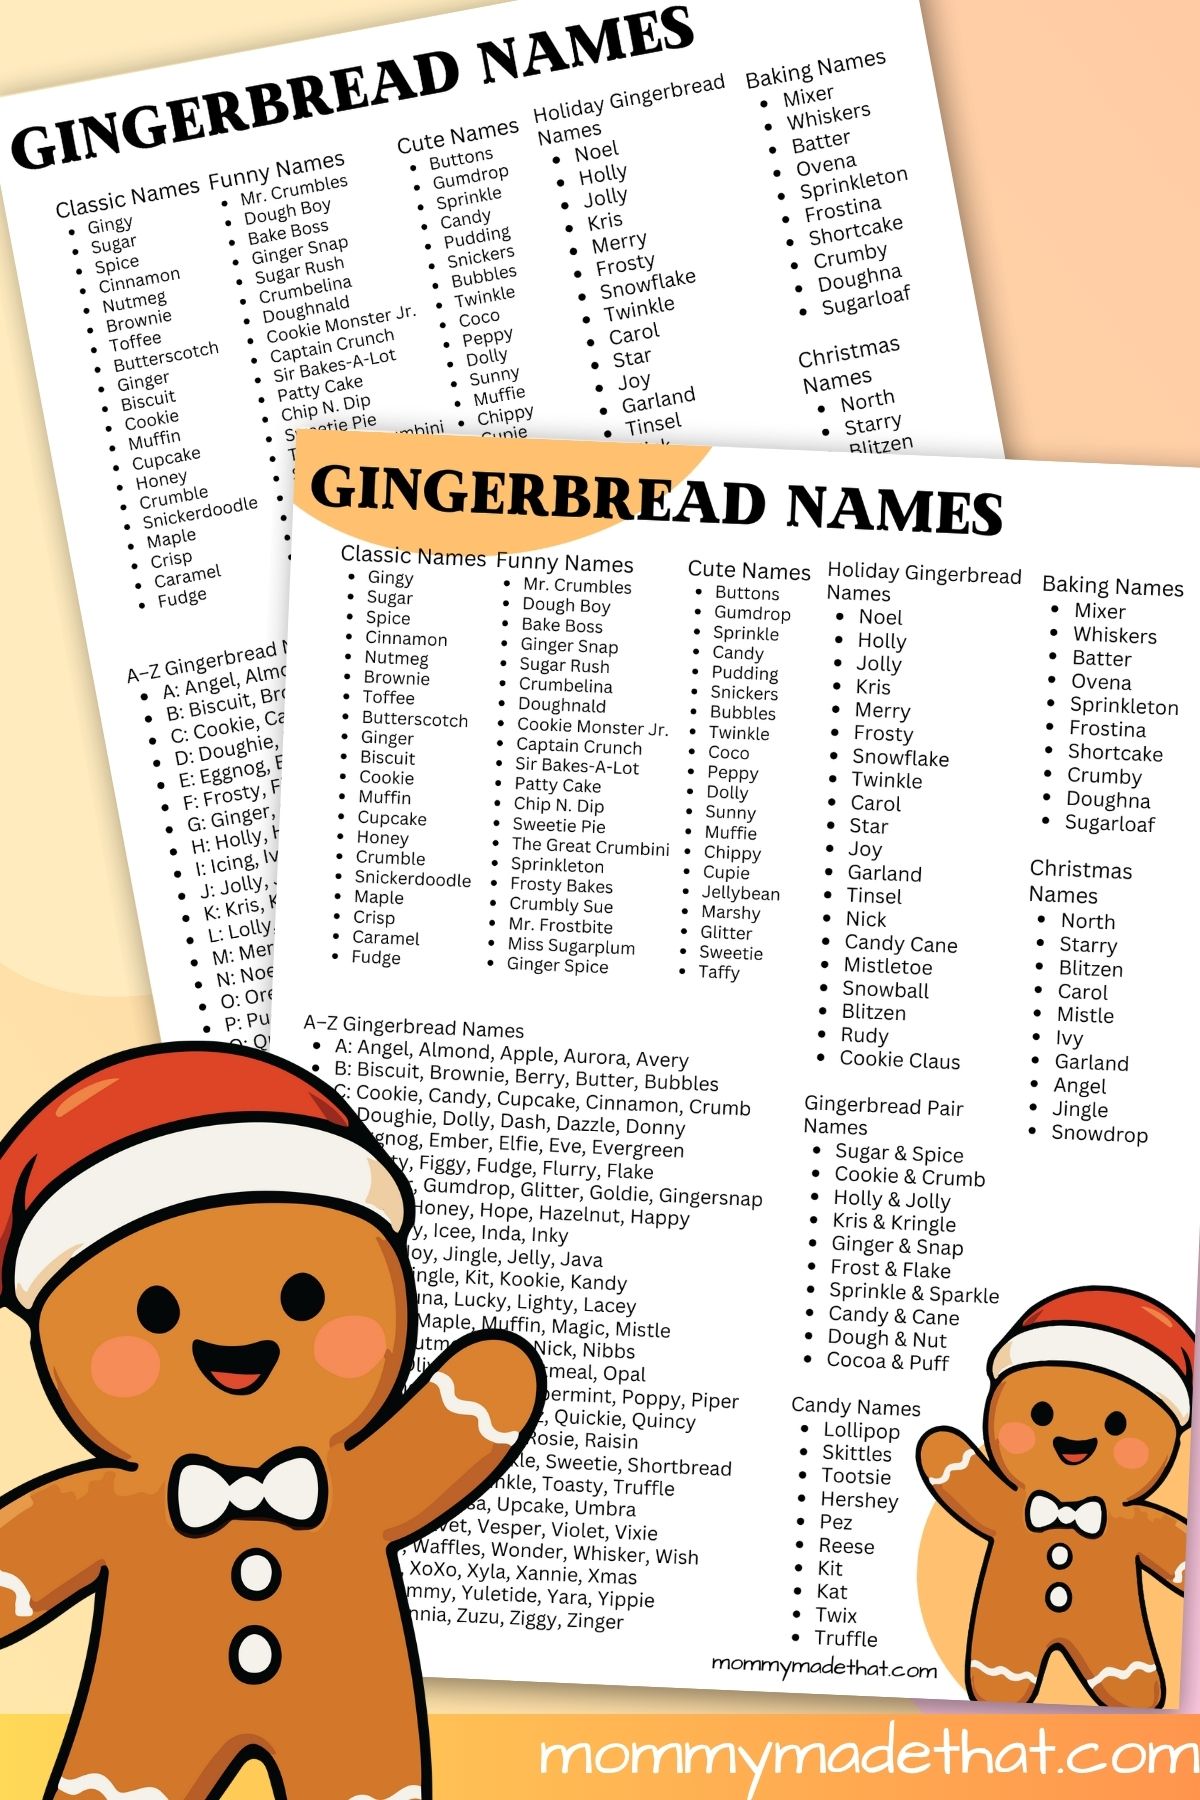
Now that your fox is complete, don’t forget to give it a name! Browse these fox names to find one that’s just right.
Grab the Free Felt Fox Template
Grab the felt fox pattern printable here! Put your name and email in the pink box below, and we’ll send the free pattern straight to your inbox.
The pattern is for personal or classroom use. You may sell finished fox ornaments you make by hand, but please don’t sell or redistribute the pattern itself.
Subscribe to our newsletter and get these printables sent straight to your inbox! Already a subscriber? Don’t worry you won’t be subscribed twice but it will send this printable straight to your inbox!
(We will never share or sell your personal information. Read more on our privacy policy.) We will use the information below to send you our newsletter with latest posts and special offers.
Make sure to check out the rest of our winter crafts for kids.
DIY Felt Fox Ornament
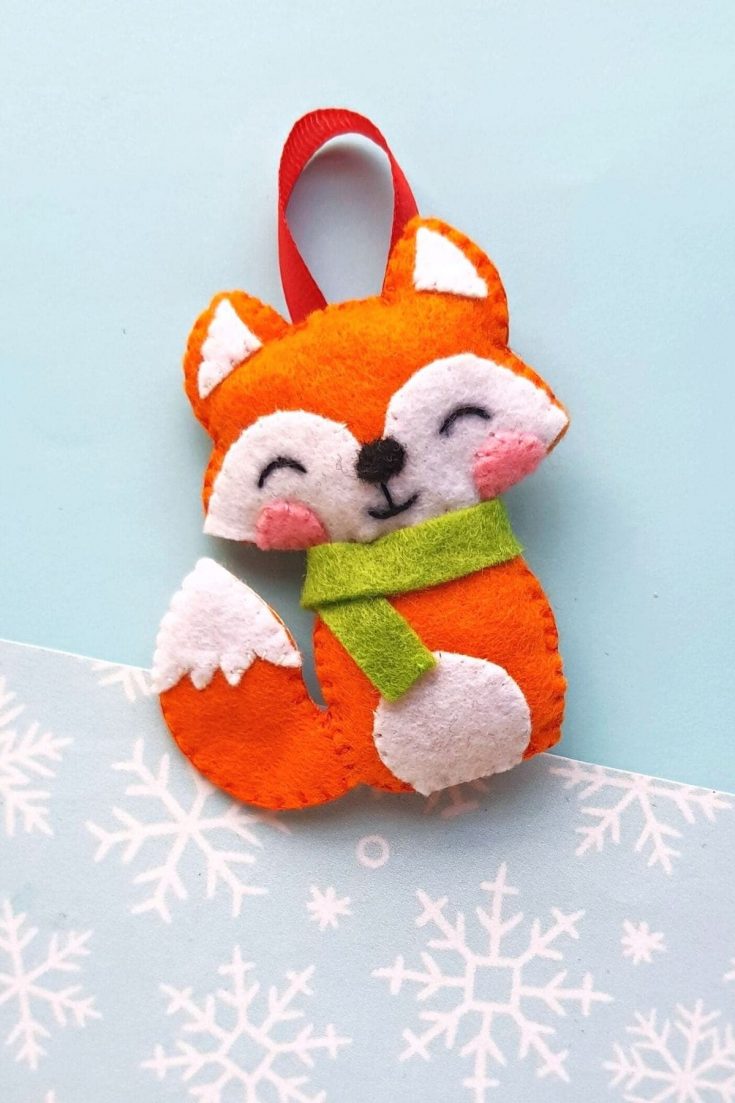
This adorable DIY felt fox ornament is a gorgeous handmade felt Christmas ornament that looks great on any tree. It also makes a wonderful gift or a fun craft to make and sell for extra holiday money.
Materials
- Felt fabrics (We used orange, white, black and pink)
- Thread (We used orange, brown, black and pink)
- Scrap felt or cotton ball
- Felt strip in your chosen scarf color
- Ribbon for the hanging loop
- Free printable felt fox pattern
Tools
- Sewing Needle
- Pencil or pen
- Scissors
Instructions
- Get the free felt fox pattern through the signup form in this post. Open the emailed PDF and print all pieces at the same scale. Cut out the paper pattern. Trace the full base, head, lower body, and two tail pieces onto orange or brown felt; trace the belly, tail tip, inner ears, and face onto white or cream felt. Trace the nose onto black felt and cheeks onto pink felt. Cut out the felt pieces, keeping the full base intact for the back.
- Stitch the white inner ear pieces onto the front head piece.
- Stitch the white belly onto the front lower body piece.
- Stitch the white face onto the lower part of the head piece.
- Embroider the eyes with black thread, then stitch on the felt nose or embroider a nose. Add the pink cheeks and an optional stitched mouth.
- Stitch the white tail tip onto one tail piece. Place the two tail pieces together and sew around their edges.
- Place the lower body over the bottom of the full base, belly facing outward. Align and stitch the bottom edges, leaving the sides open.
- Tuck about 1 cm of the tail’s bottom end between the base and lower body at one side, with the white tip facing forward. Stitch through all three layers to secure it. Place the decorated head over the top of the base, aligning the ears and outer edges and overlapping the lower body.
- Stitch the head to the back around the outer edges and secure its lower edge to the front body where they overlap. Continue sewing the body edges, leaving a small opening along one side. Add a little scrap felt or cotton through the opening without overstuffing.
- Stitch the opening closed. Tie a small felt strip around the neck for a scarf. Fold the ribbon into a loop and stitch both ends securely to the upper back. Check the loop before hanging.
Notes
Use thread that matches each felt piece for less visible stitches. Print every pattern piece at the same scale. Children should sew with adult supervision.
You may sell finished fox ornaments you make by hand, but please don’t sell or redistribute the pattern itself.

where is the pattern. it doesnt print one. i found patterns for a bead craft, not the felt fox. the instructions do not include a printed pattern.
Whoops, when updating a different post it some how changed it. Thanks for letting us know. You should be able to grab it now!
I don’t see a pattern just instructions
You can grab the pattern by putting your email in the pink box =)
Looking for the DIY Felt Fox Christmas Ornament pattern printout. Thanks!
I would love to make my kids some
I can’t enter my email to grab the pattern. Same for other fox related crafts.
I find the most common problem seems to be that certain organizations, especially schools, have blockers on that prevent the box from showing on the system computers.