
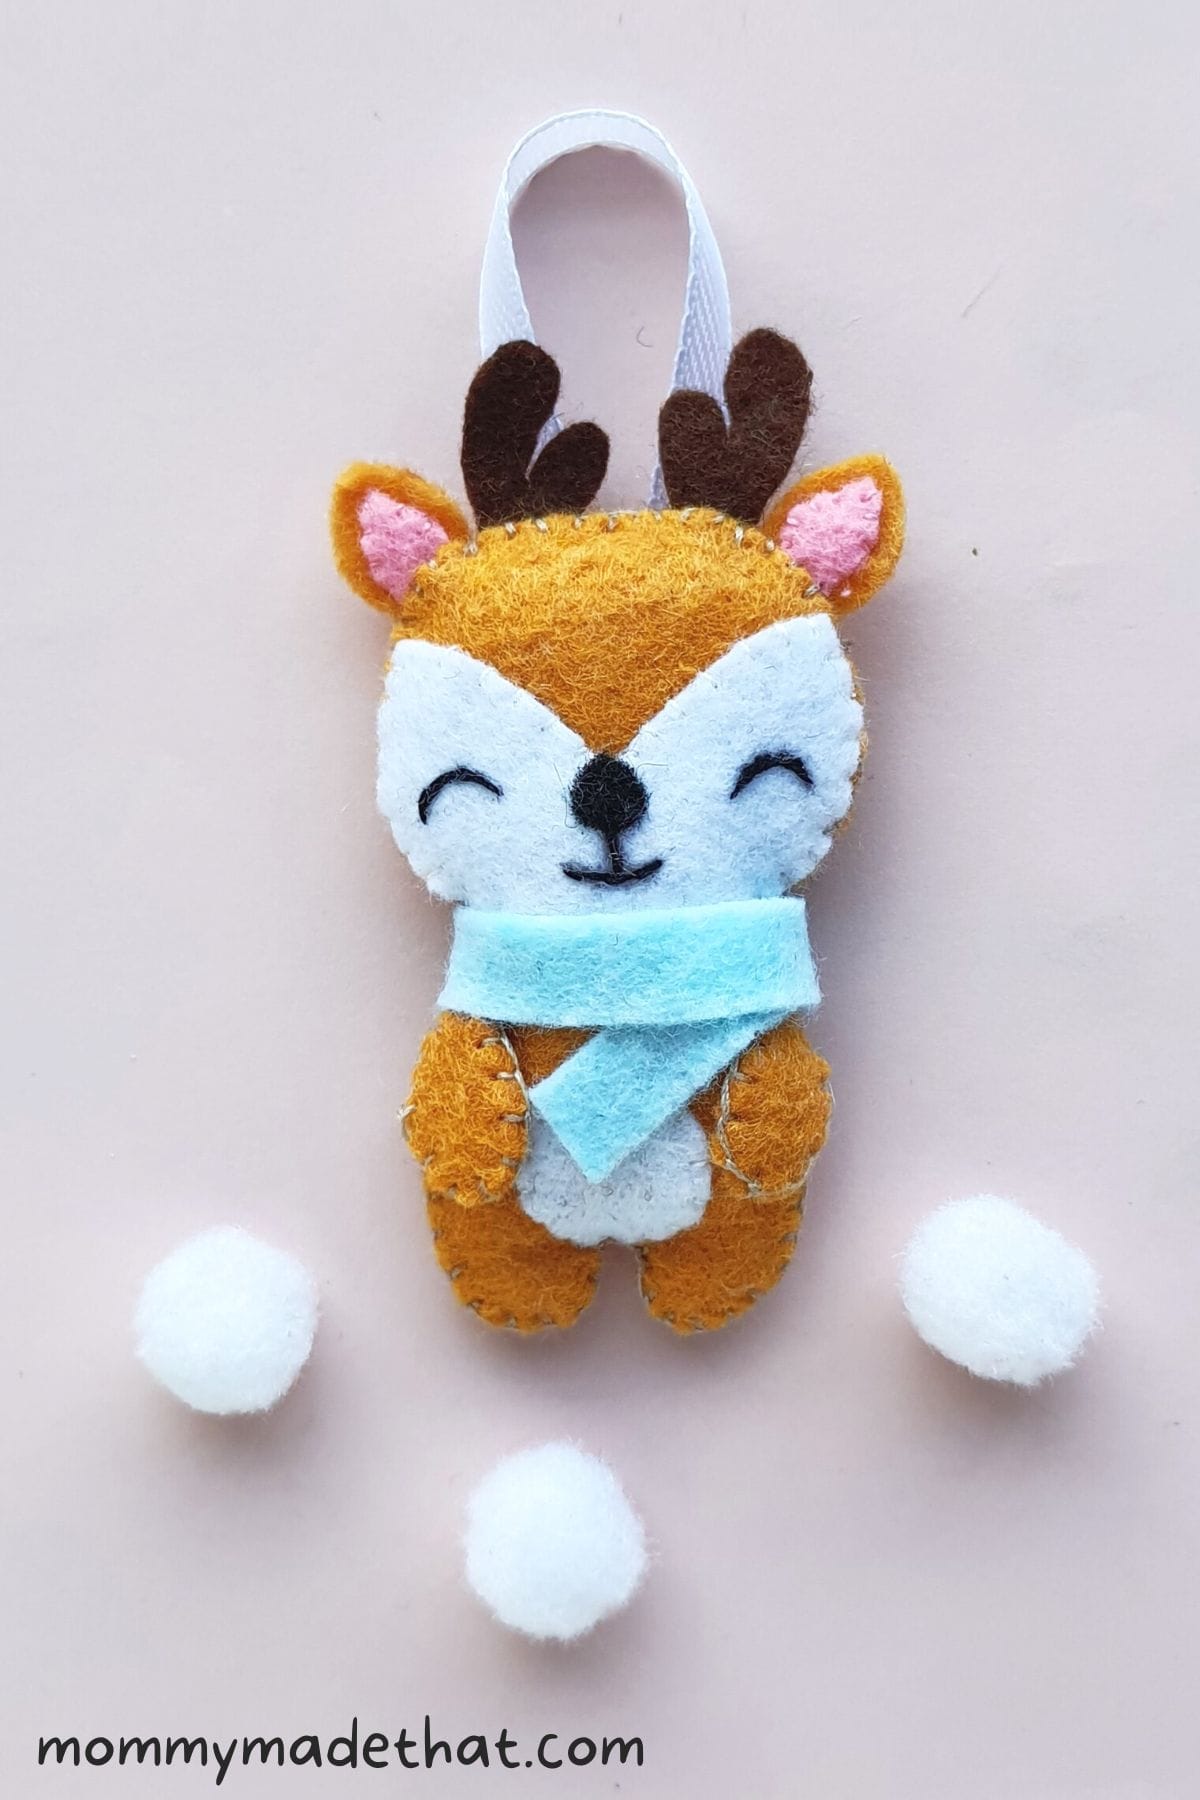
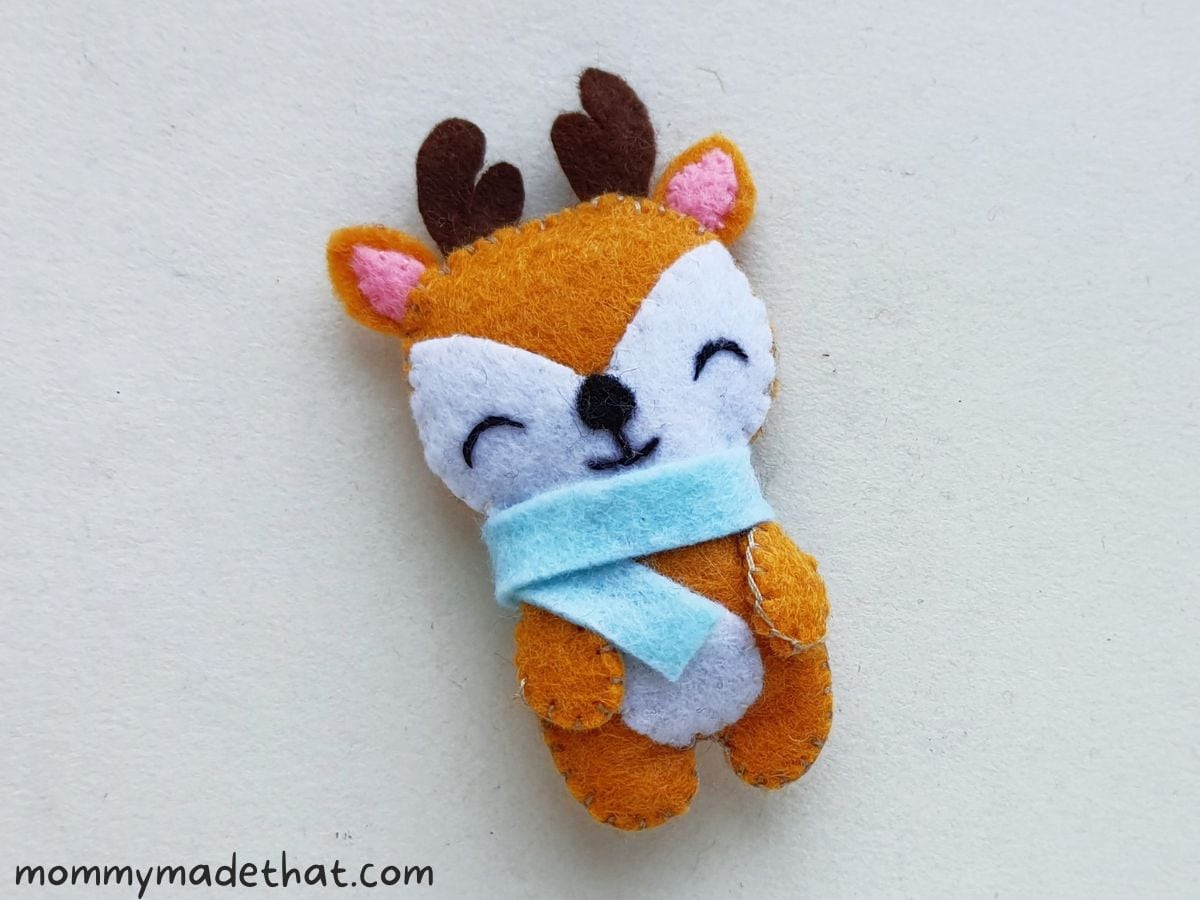
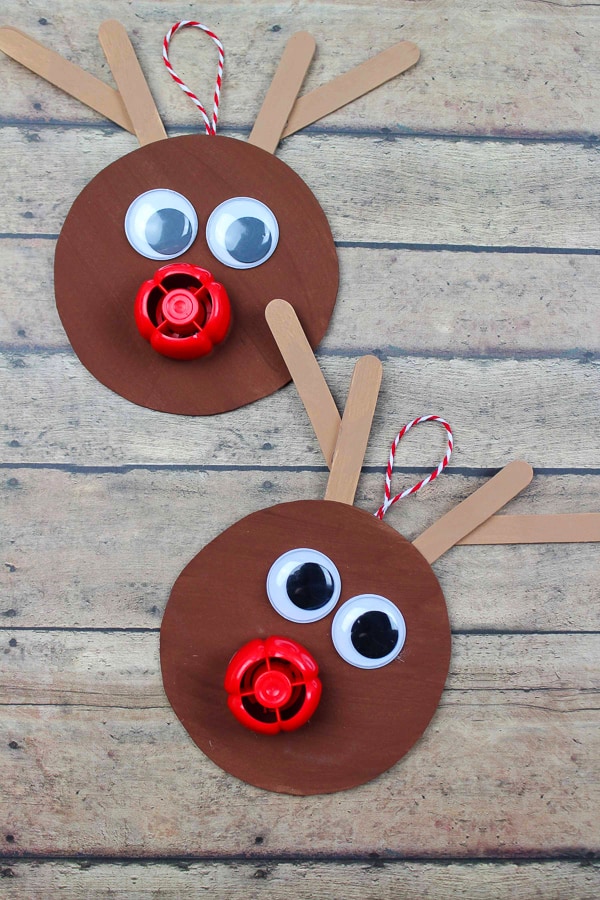
Cute Felt Reindeer with Printable Pattern
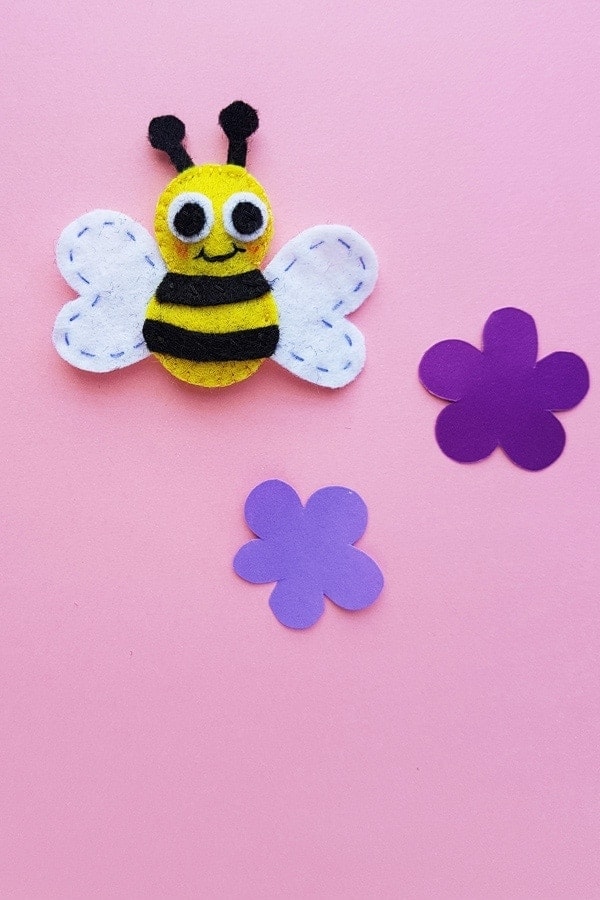
Today we have this cute felt reindeer! You can make one too by using our printable reindeer pattern. It makes for an adorable felt Christmas ornament.
Making this felt reindeer is a great way to get into the Christmas spirit! It’s a fun Christmas craft for kids and adults.
It makes for a cute homemade reindeer Christmas ornament, and we have lots of DIY Christmas ornaments on this site!
We also have a few other cute felt animals like our felt fox and felt koala.
It’s easy and fun, and the finished product is really cute.
So if you’re ready, let’s get started making this DIY felt ornament.
Materials
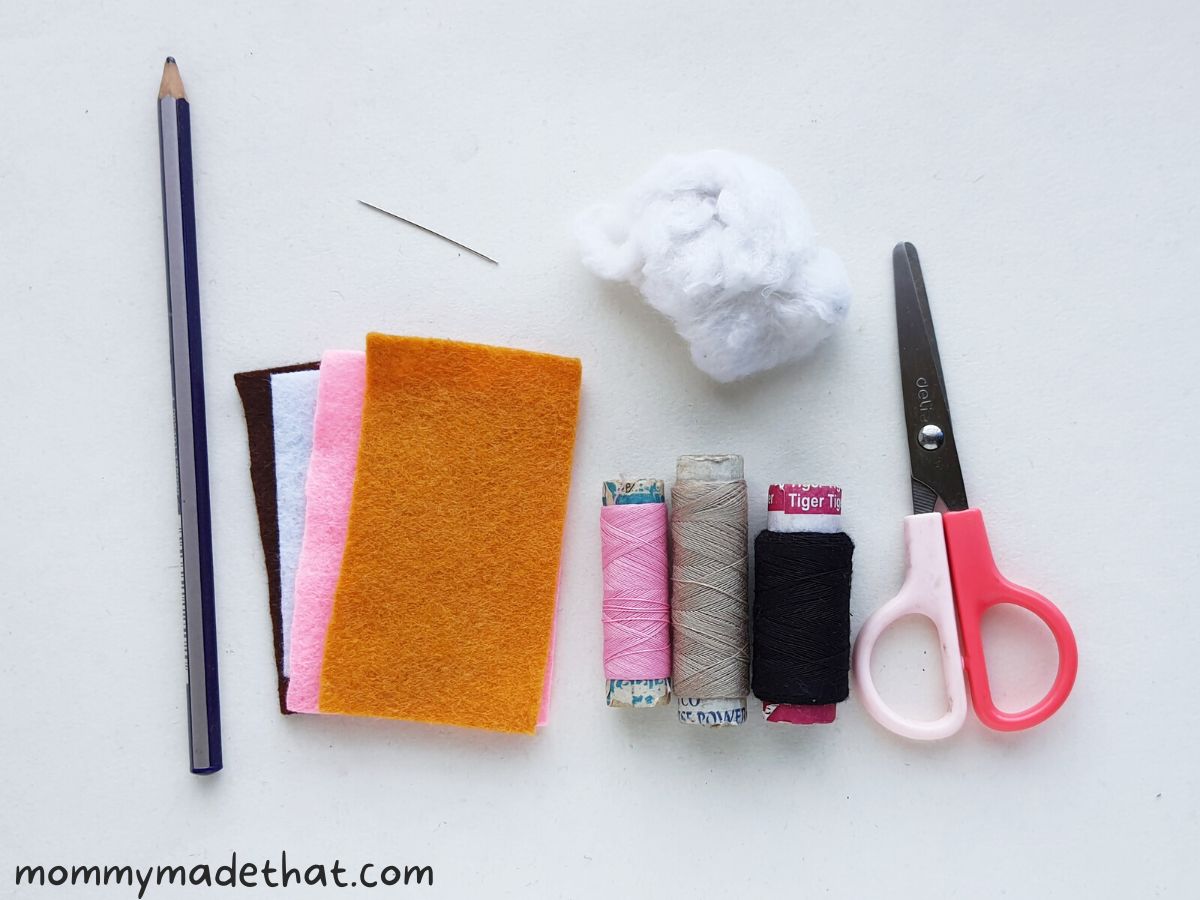
Felt Reindeer Pattern: You can find our printable template at the bottom of this post.
Felt Fabric: We used a brown-orange color for the reindeers body, brown for the antlers, white for the face and belly, pink for the ears and baby blue for his little scarf.
Cotton: For filling the reindeer. Or you can use leftover bits of felt to fill your ornament.
You’ll also need some basic supplies like:
- Needle
- Thread
- Pencil
- Scissors
How to Make a Felt Reindeer
Download and print out the felt reindeer template and then follow the instructions below.
Step 1: Cut Out the Pattern
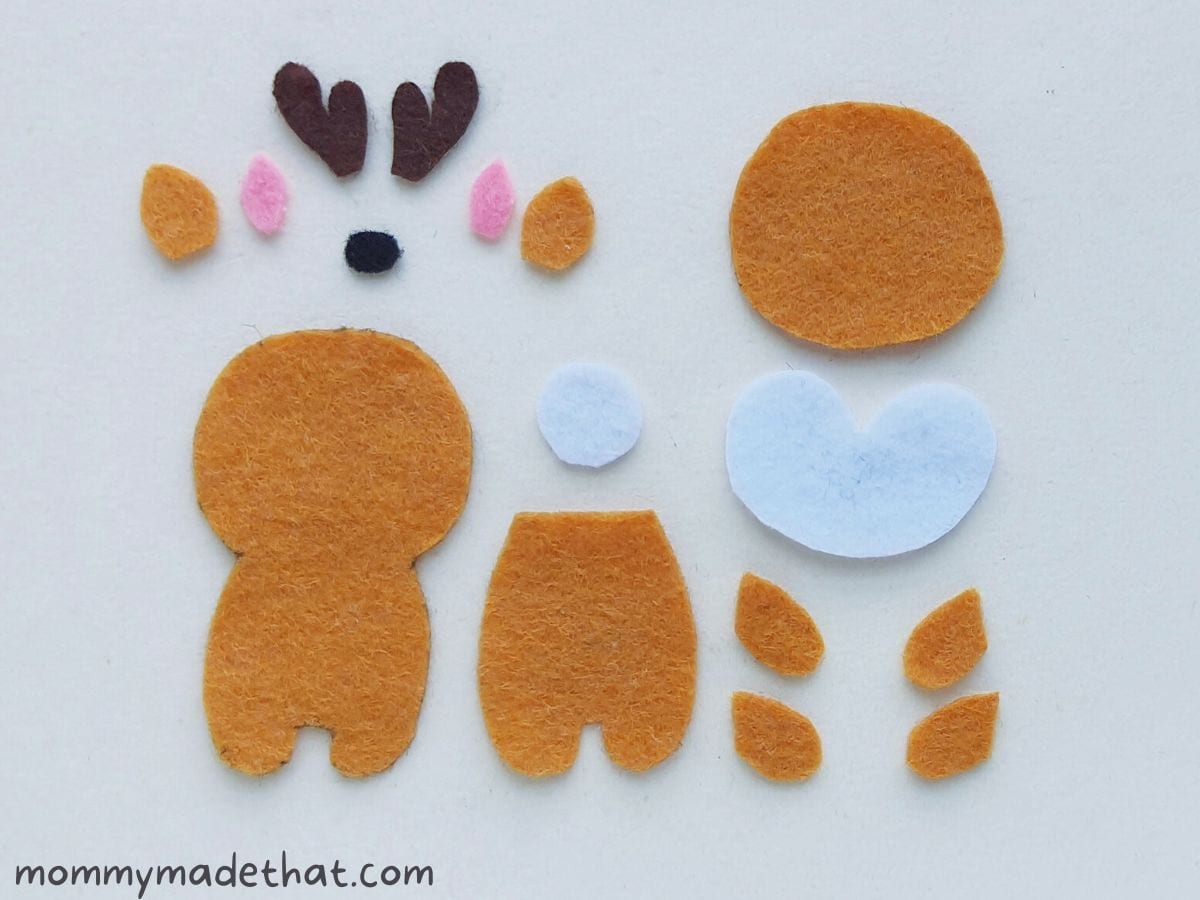
Our pattern includes the base of the reindeer, the head, lower body, the upper legs, his antlers, ears, head, face and belly.
Cut out 2 pieces for each of the upper leg pieces.
Then cut out the base piece, the head, lower body, upper legs and out ears onto your main color felt. We used a brownish orange color.
Then cut out the face and belly onto a lighter color, we like white or cream for this part.
Then cut out the inner ears onto pink, the nose on black and the antlers on a dark brown of black colored felt.
If you are making a Rudolph ornament, then use a red nose instead of black.
Step 2: Start Stitching
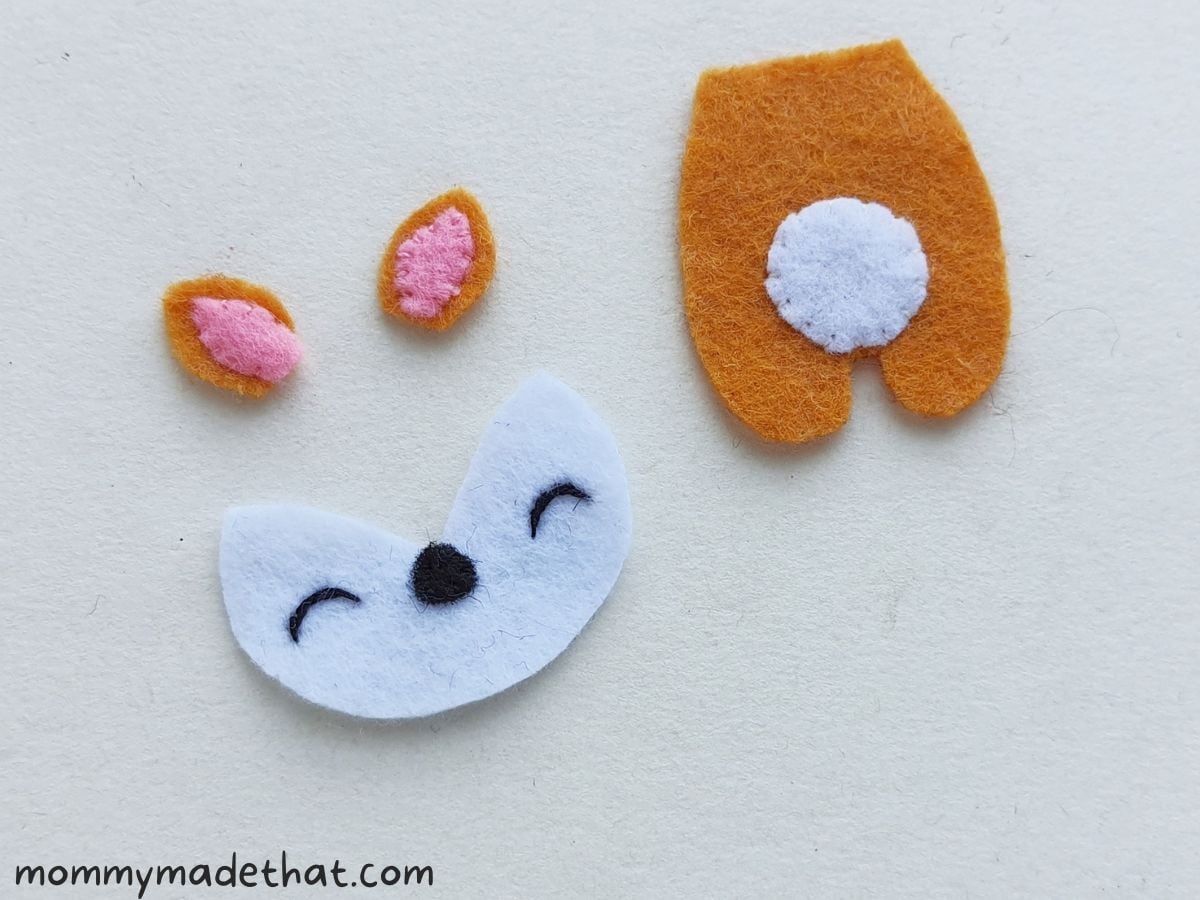
Now that you have all of your pieces cut out and ready, start by attaching the nose to the upper part of the face cut out like shown above.
I suggest using black thread. Then stitch eyes onto your little guys face.
Sew the inner ear pieces to the outer ear cutouts and attach the belly to the bottom part of the lower body.
Step 3: Connect the Legs
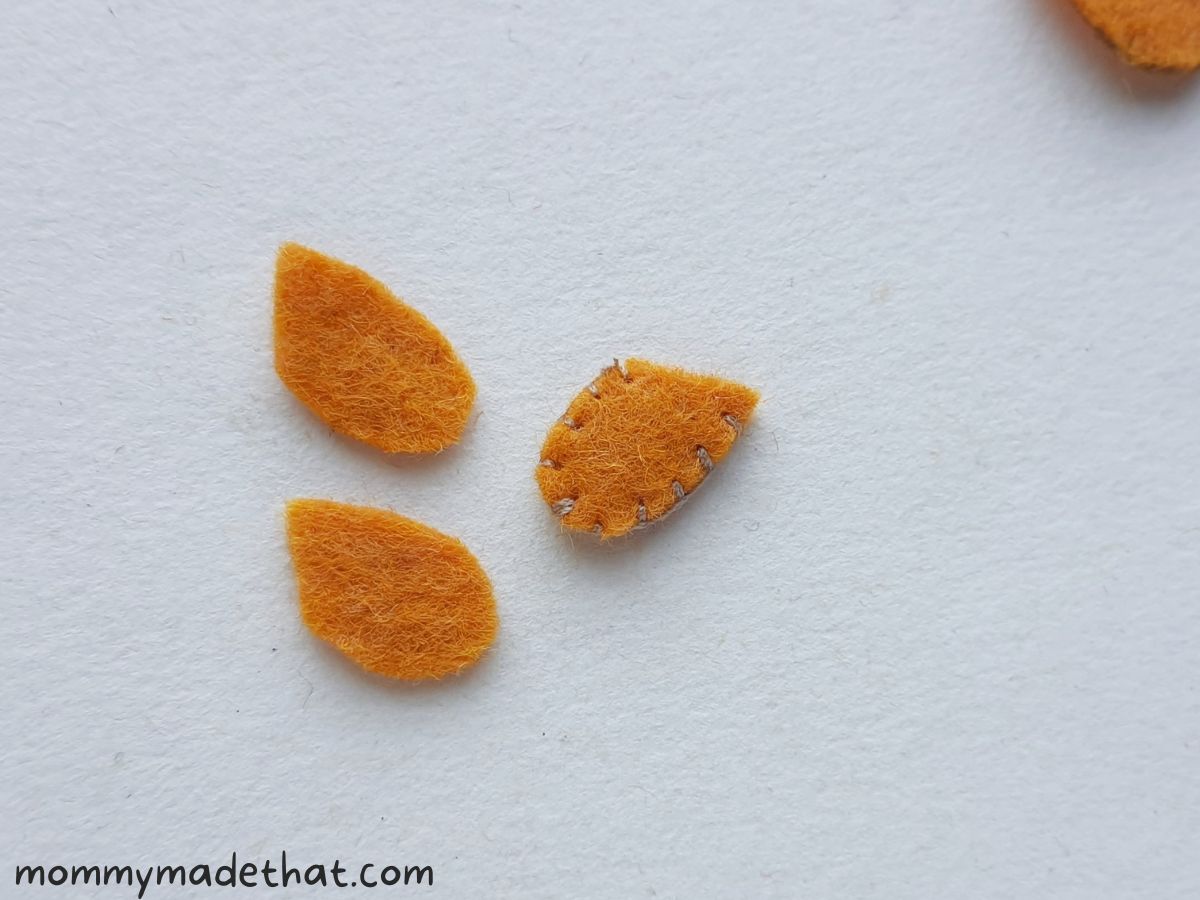
Now sew the two upper leg pieces together.
Step 4:
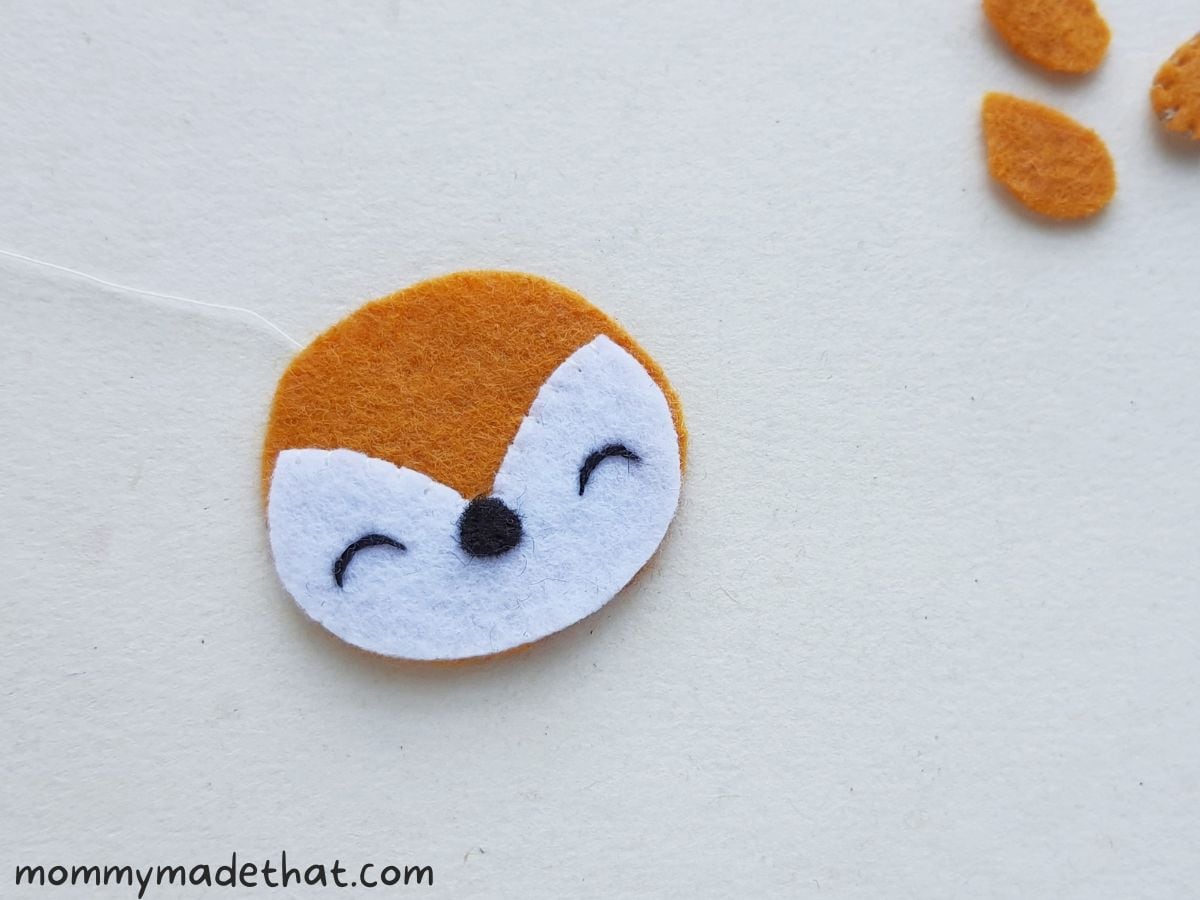
Next, attach the face piece to the head, only stitching along the top of the face.
Step 5:
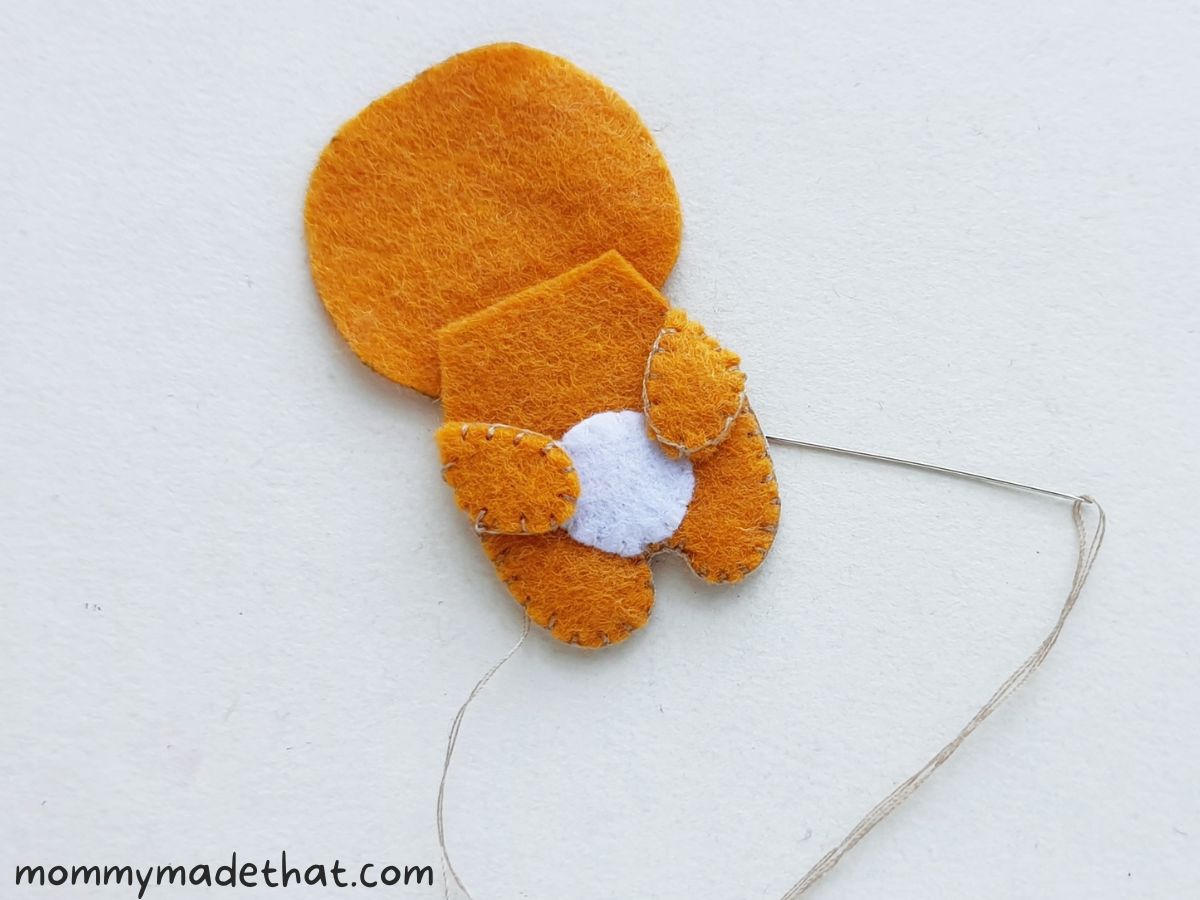
Now it gets a little tricky so follow along closely.
Lay the lower body piece over the bottom side of the base.
Then place the 2 upper leg pieces on both sides of the his body.
Stitch around the sides and bottom to join all of the pieces together, (the body base, the lower body and the upper legs) but keep the top open.
Step 6: Get the Ears and Antlers Ready
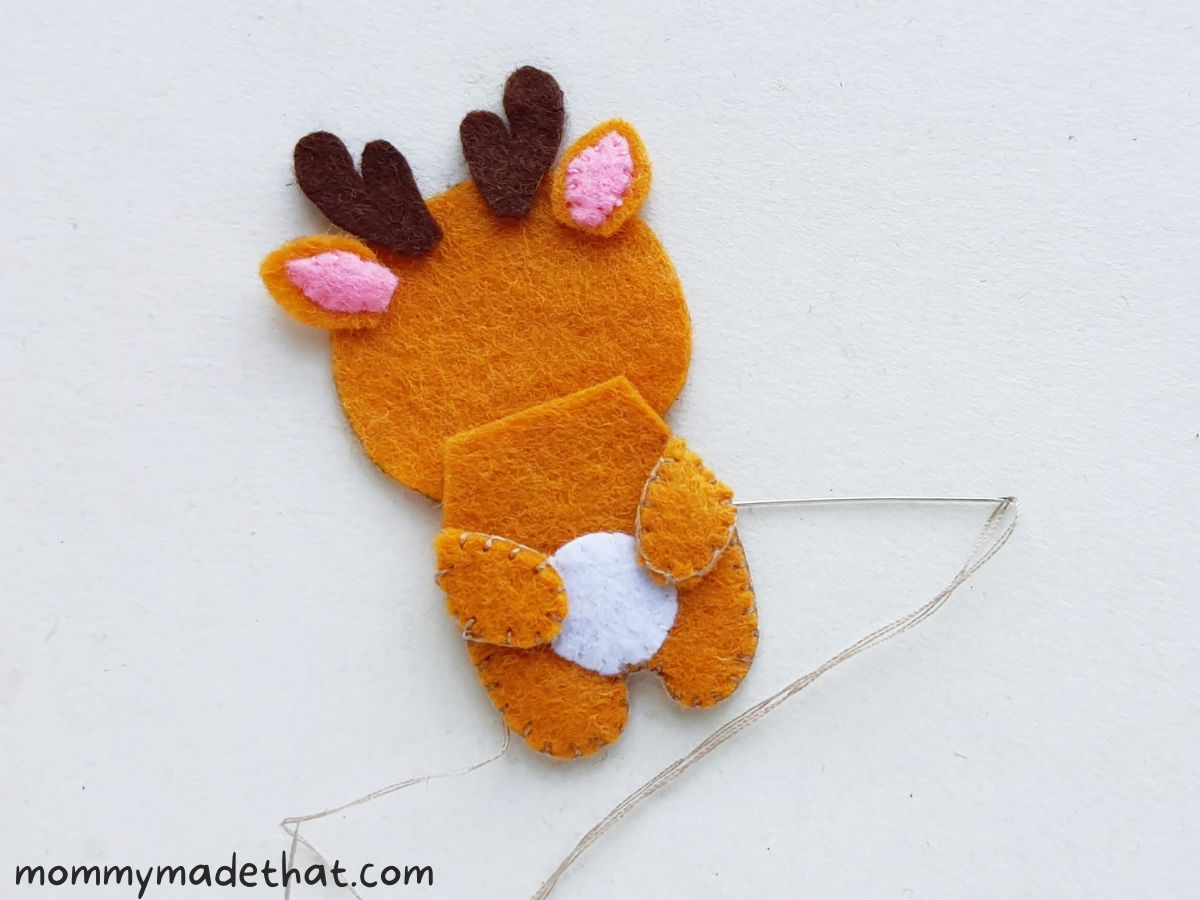
Now, place the ears and antlers onto the top of the base.
Step 7: Get the Head Ready
Next, put the head piece on top of the other pieces. It’ll cover up a little bit the ears and antlers.
You want the ears and antlers sandwiched in between the base and the head piece, like shown above.
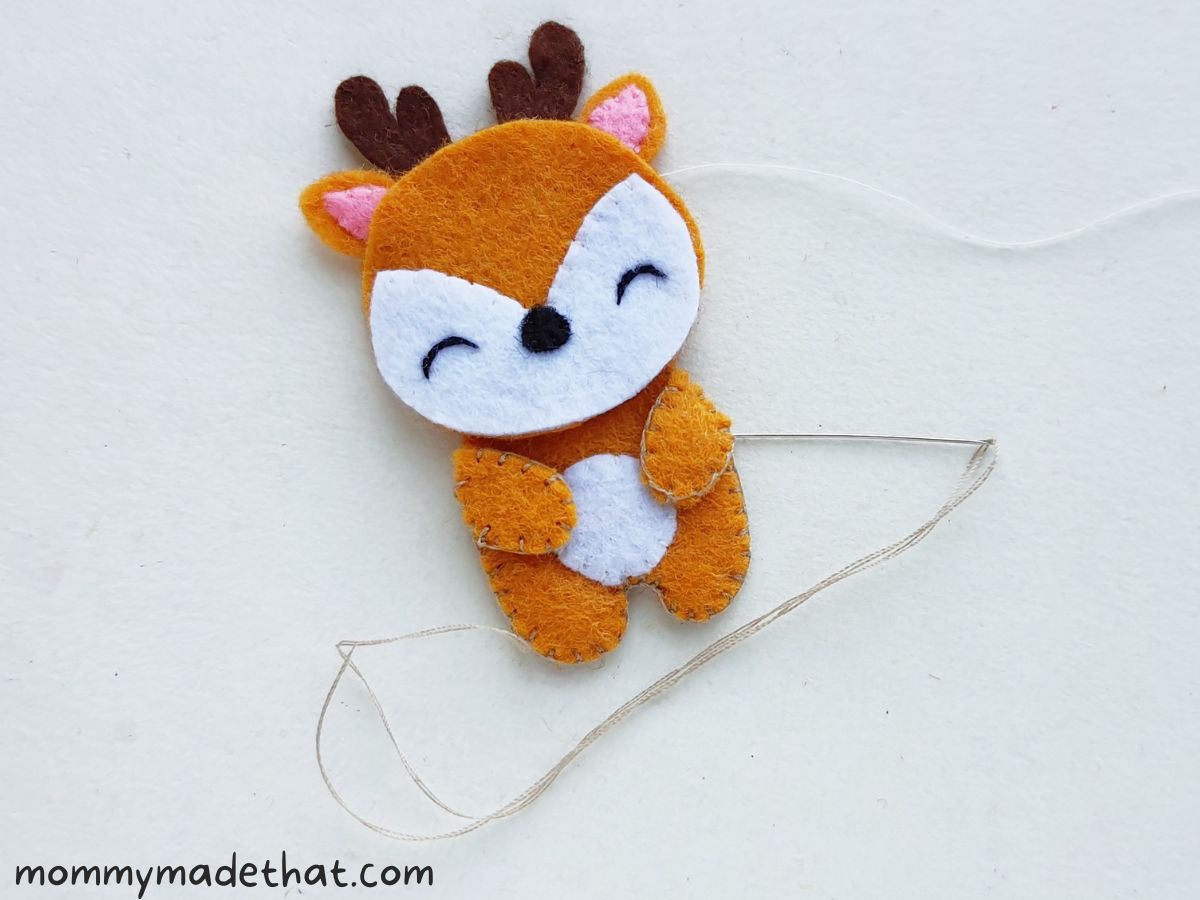
Step 8: Stitch Together
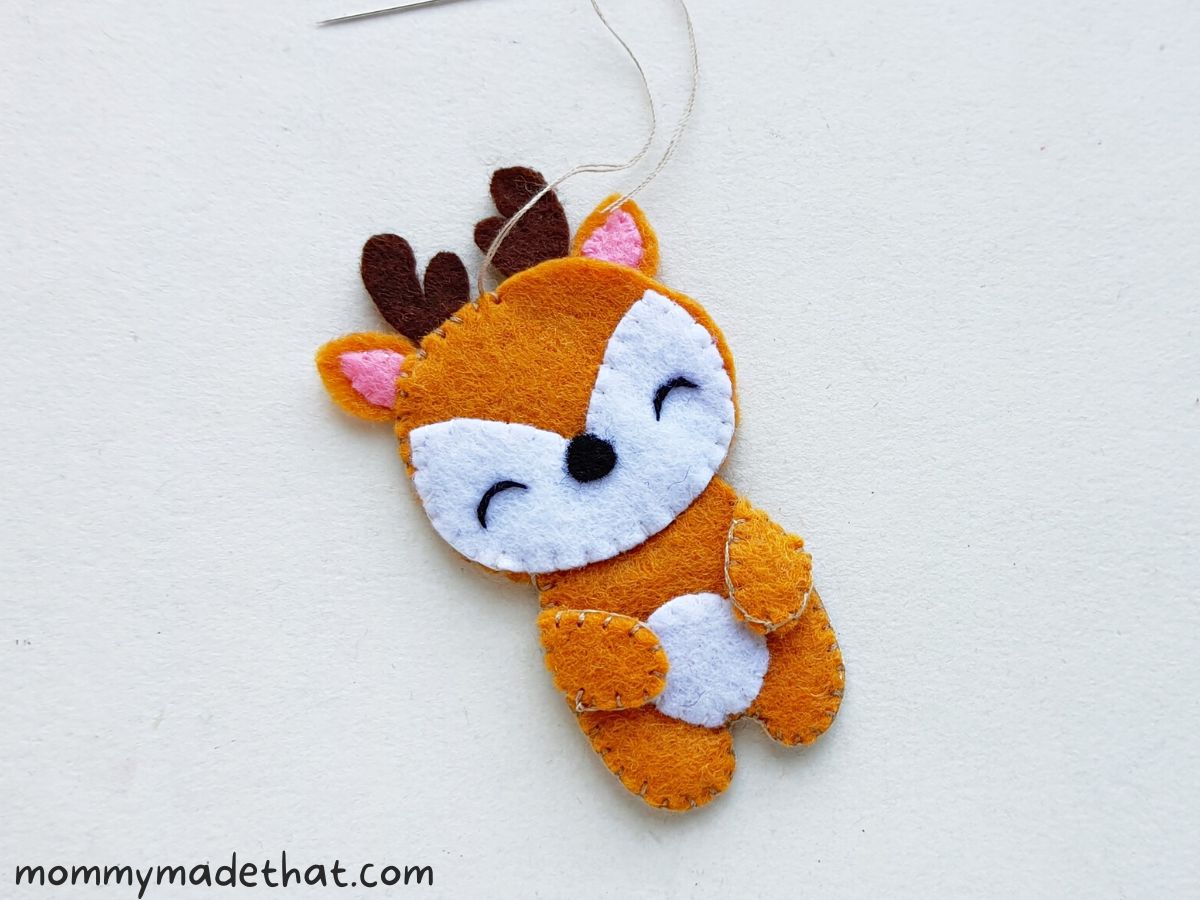
Start stitching around the open side of the head to attach it to the base and the lower body, keeping a small part open on the side of the head.
Step 9: Stuff the Reindeer
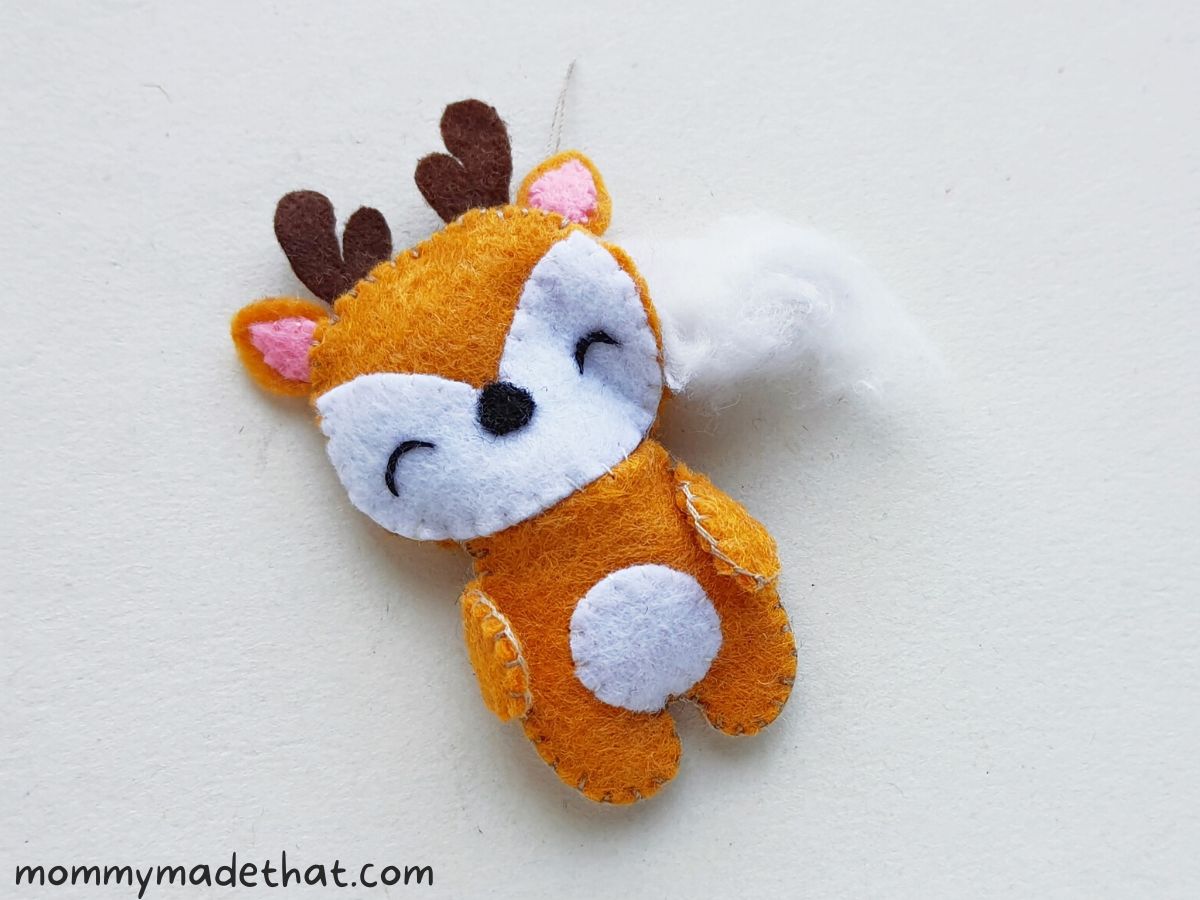
Stuff your felt reindeer pattern with cotton from a cotton ball or some of your left over felt material.
Step 10: Close Up
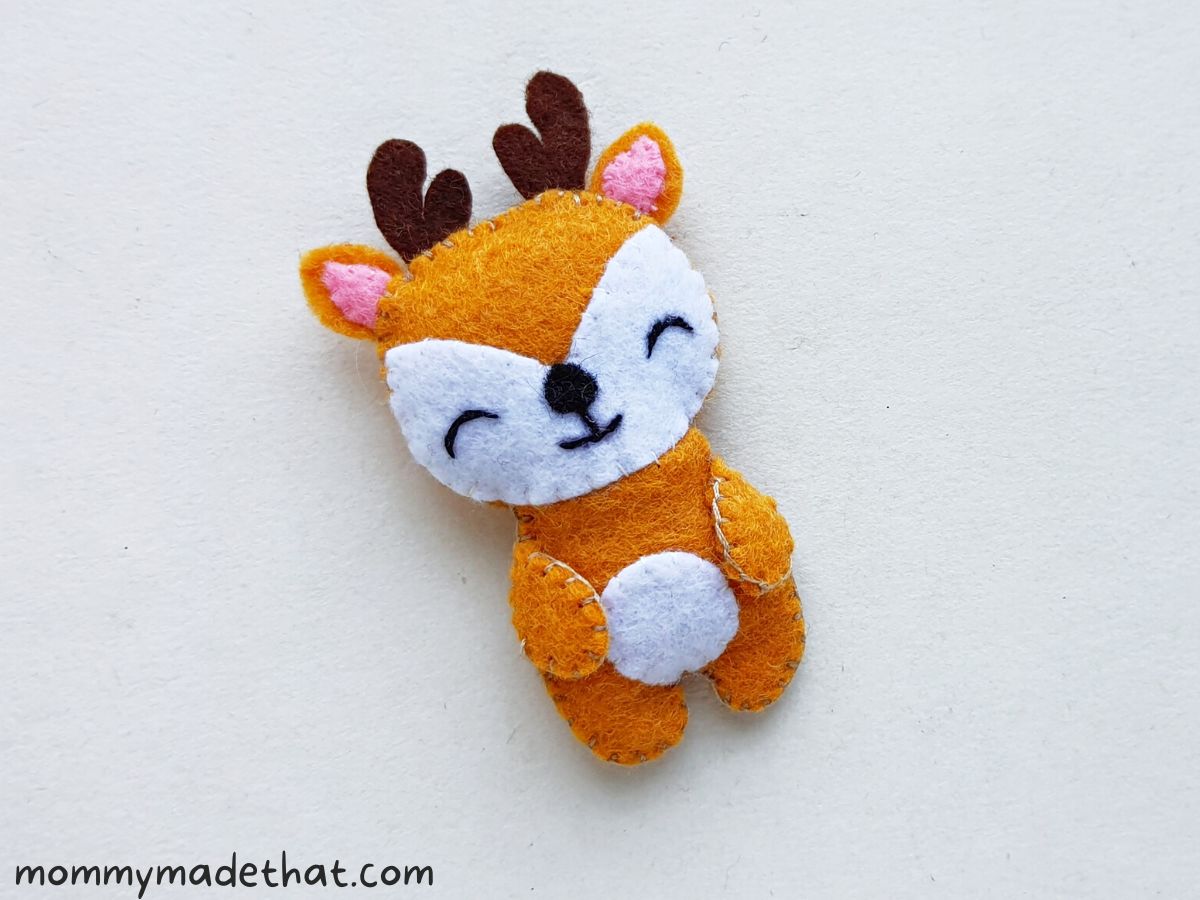
Next, close him up by stitching up the open part. You can also stitch a little mouth on at this point if you’d like.
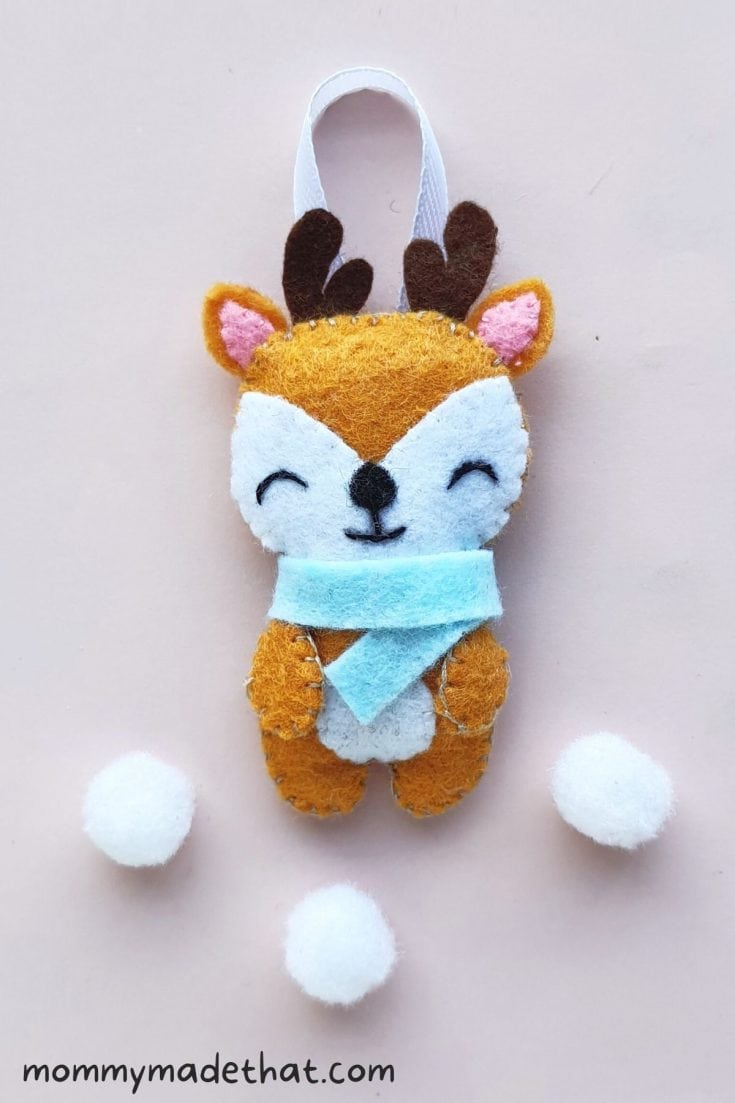
Step 11: Finish Off the Reindeer Ornament
If you want your reindeer to be an ornament, then attach a small piece of ribbon to the back side of the felt reindeer, making it a loop.
We attached a small scarf by wrapping a piece of long thin felt around his neck and gluing it down with a little craft glue.

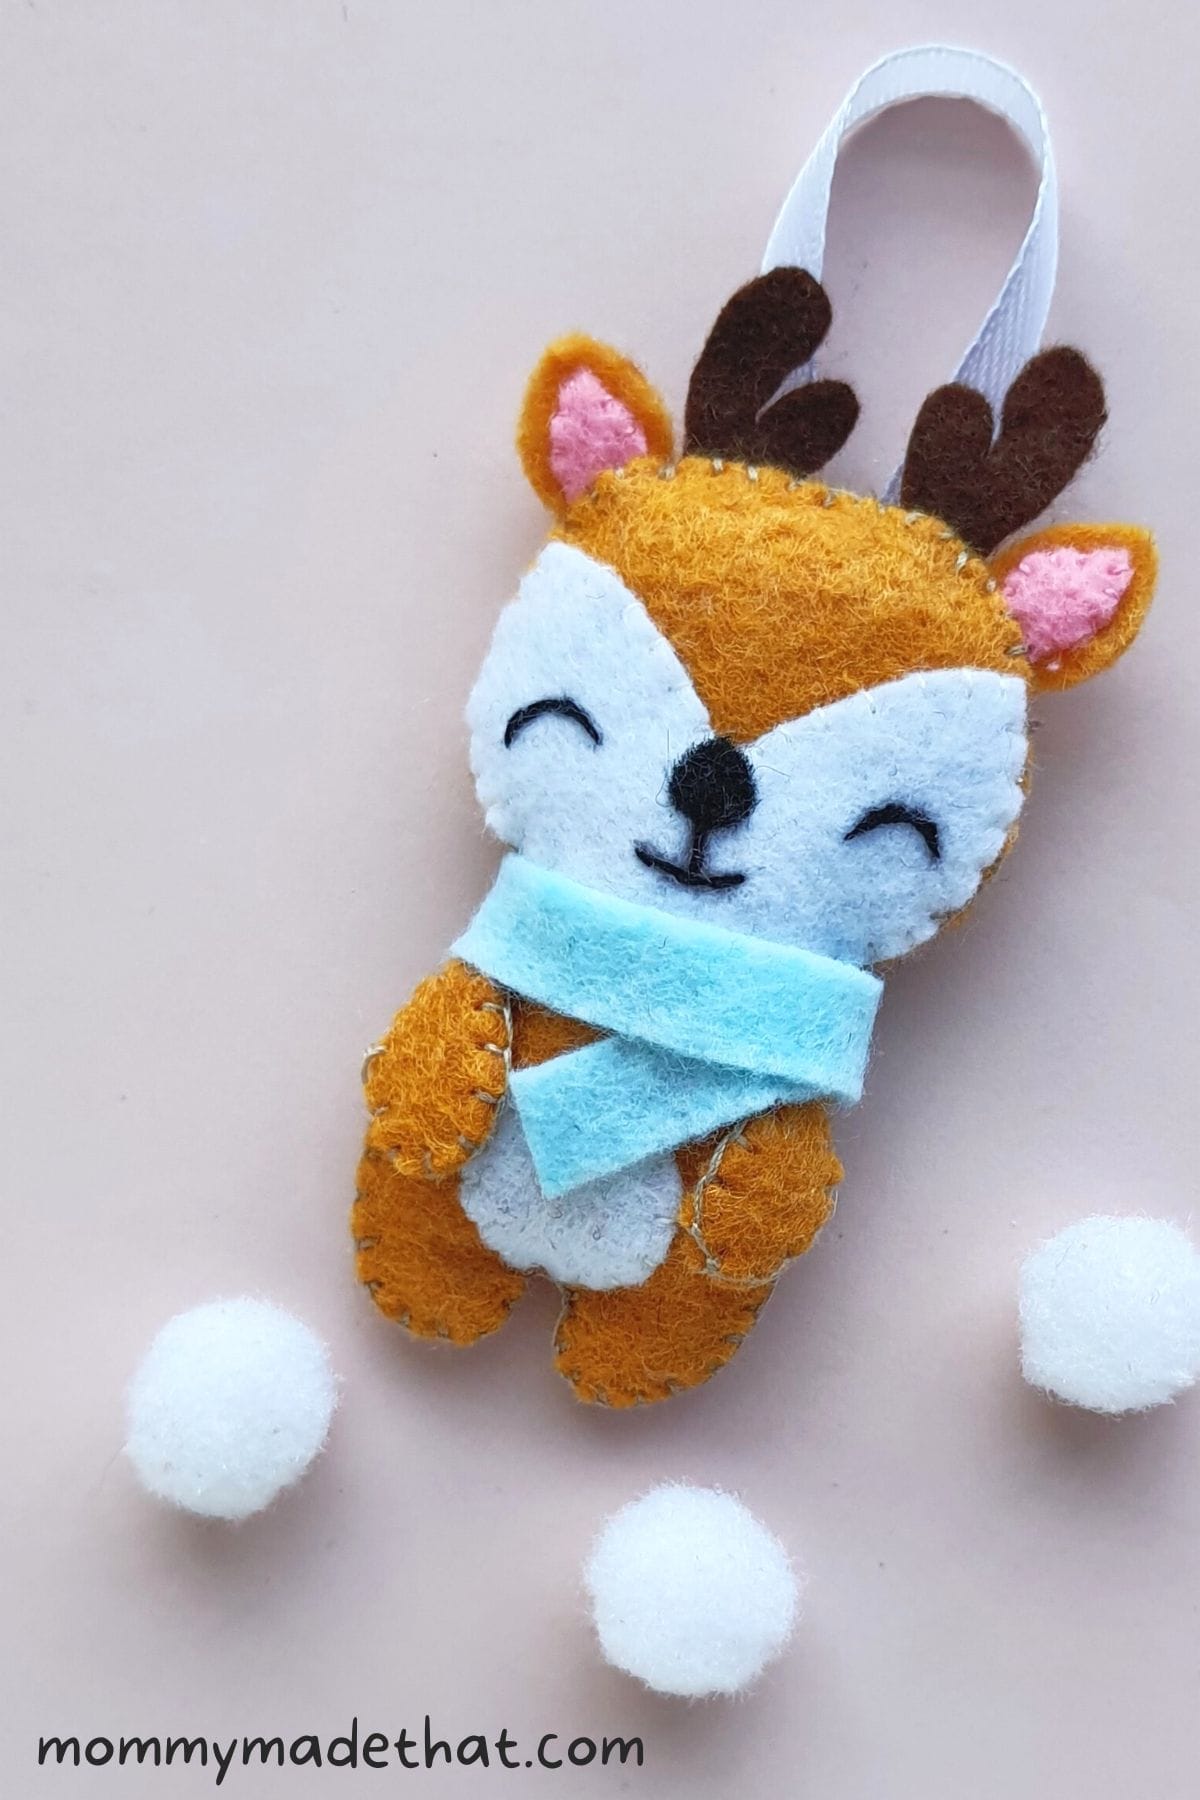
I seriously think this makes for the cutest little reindeer Christmas ornament.
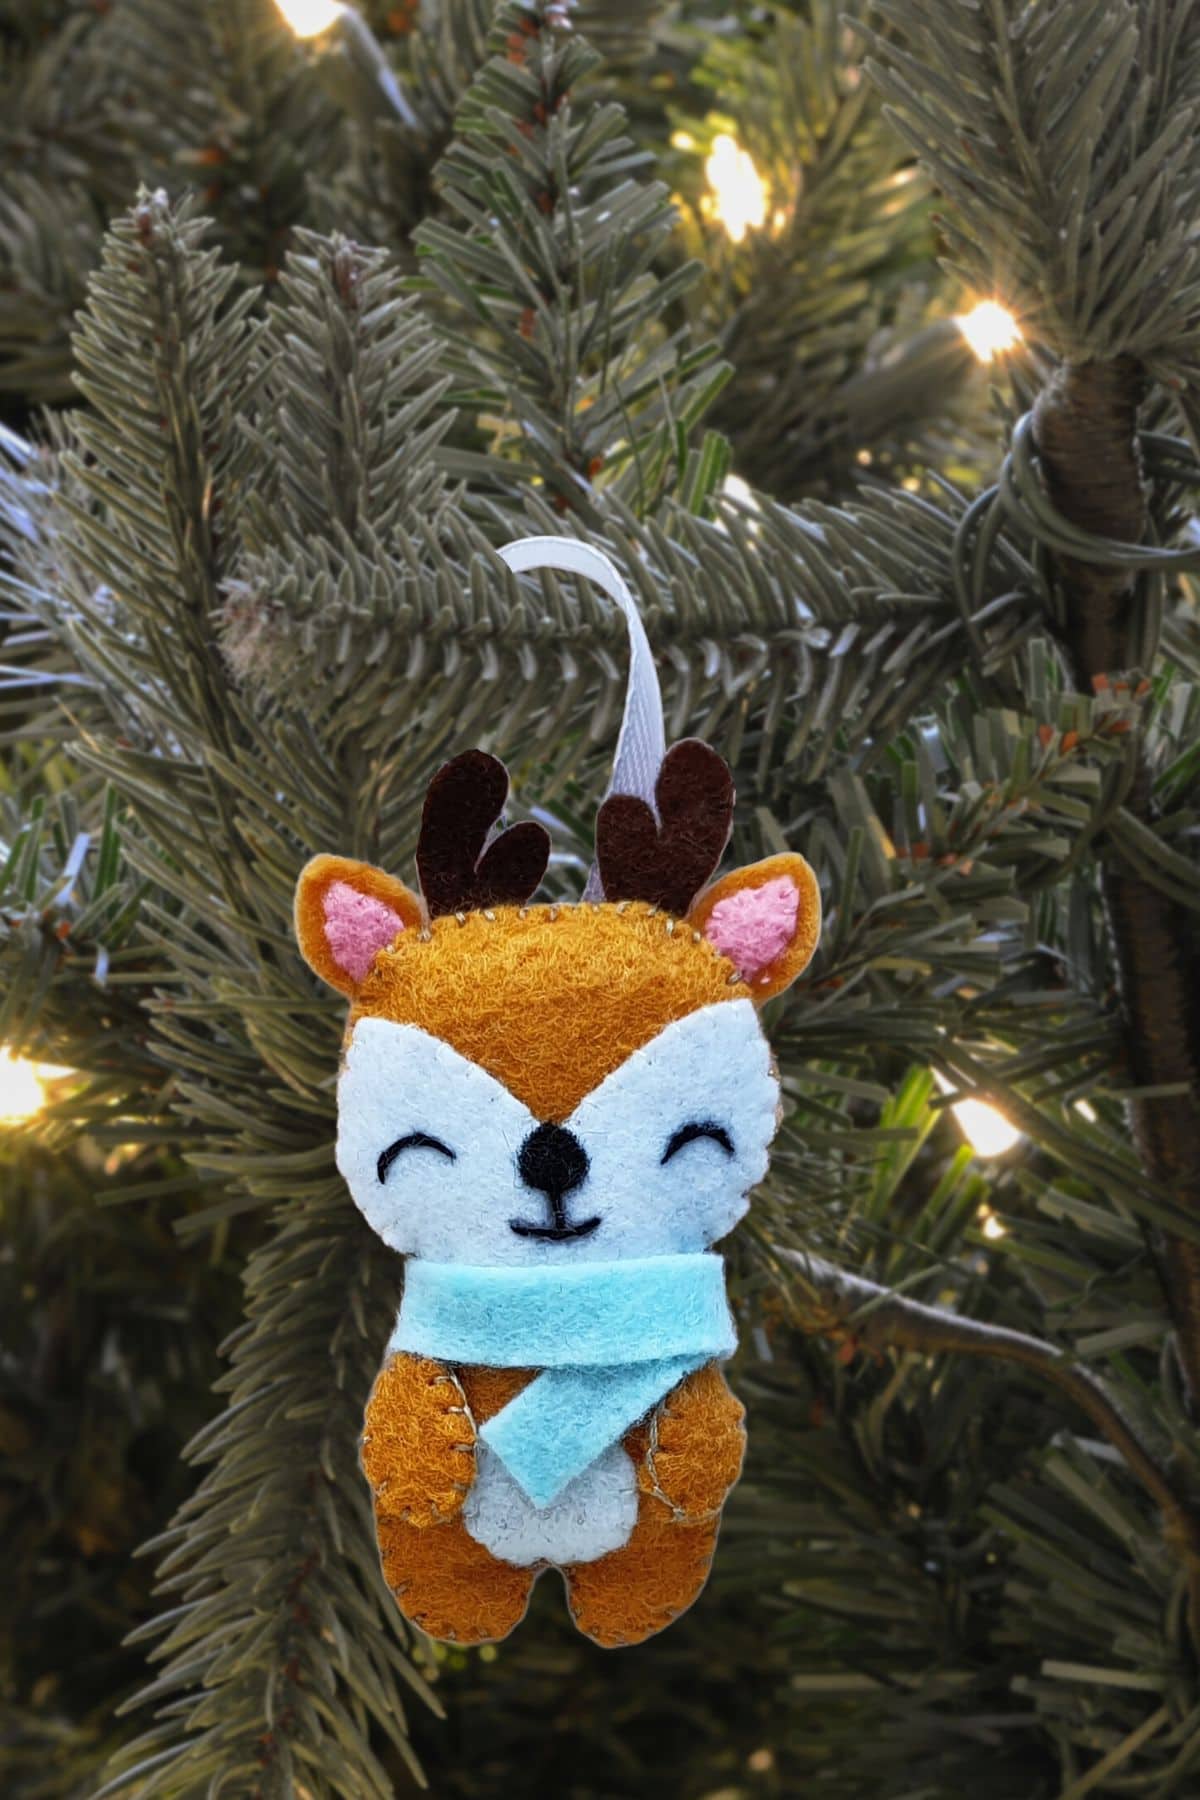
Felt Reindeer Ornament
This adorable little felt reindeer makes for a perfect DIY Christmas ornament or gift to give during the holidays.
Materials
- Felt reindeer pattern template
- Colored felt fabric
- Cotton or left over scraps
Tools
- Scissors
- Thread
- Needle
- Pencil
Instructions
- Cut out all of the pattern pieces using the printable template to trace out the different parts of the pattern. Cut out all parts.
- Attach the nose to upper face part. Then sew inner ear's onto out ears. Stitch on eyes.
- Sew the upper leg pieces together.
- Attach face piece to head, only stitching along top of face area.
- Place lower body piece onto bottom side of base piece. Place both upper leg pieces onto both sides of the body. Stitch around the sides and bottom, but keep the top open.
- Next, place the ears and antlers onto the top of the base.
- Place head pice over the other pieces, sandwiching the ears and antlers between the head and base.
- Stitch around open side of head, attaching it to the base and lower body. Keep an area open on the side of the head.
- Stuff your reindeer with cotton or left over felt material.
- Close up the open area.
- Optional: Add a ribbon to the back of the reindeer ornament and add a scarf if desired.
Notes
Adding a scarf to your reindeer is easy. Just take a thin piece of felt and wrap it around the reindeer's neck. Tack it down with a small amount of glue.
