Adorable Dinosaur Bookmarks (With Printable Template)
Today we have these fun DIY Dinosaur bookmarks. They are so easy to make with just a few supplies and they are perfect for kids to help make too! You can use any kind of paper or cardstock to make these dinosaurs, but we love how bright and colorful these ones are.

Making dinosaur bookmarks is a fun and easy way to get into the spirit of reading.
They’re a great DIY bookmark craft and dinosaur craft for kids.
With just a few materials, you can make your very own set of colorful and creative bookmarks.
Not only will they keep your place in your favorite books, but they’ll also add some extra flair to your reading experience.
Best of all, this project is a great opportunity to let your imagination run wild!
Be sure to give your dinosaurs a great dinosaur name when you’re all finished!
Table of Contents
Materials
To make these cheerful dinosaur bookmarks you’ll need the following supplies
Our printable dinosaur bookmark template: You can grab them in our craft library.
Colorful origami paper or craft paper: Origami paper has lots of fun colors perfect for crafting dinosaurs.
Plus basic craft supplies like
- Scissors
- Craft glue or glue stick
Instructions
First, download and print out the dinosaur bookmark craft template. You can find it at the end of the tutorial.
Then follow the rest of the instructions to make your bookmark.
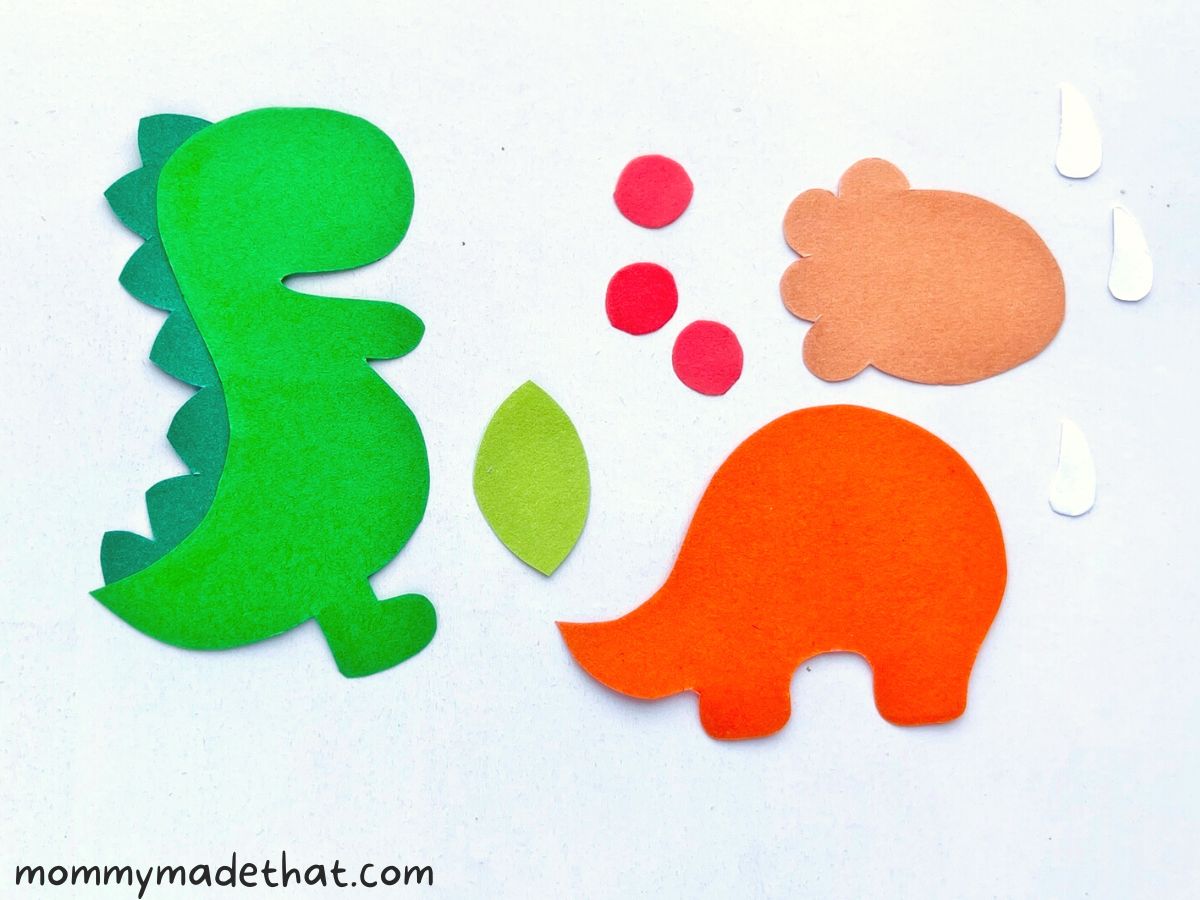
Step 1: Select Your Colored Paper
Grab craft papers that you want your dinosaur bookmarks to be.
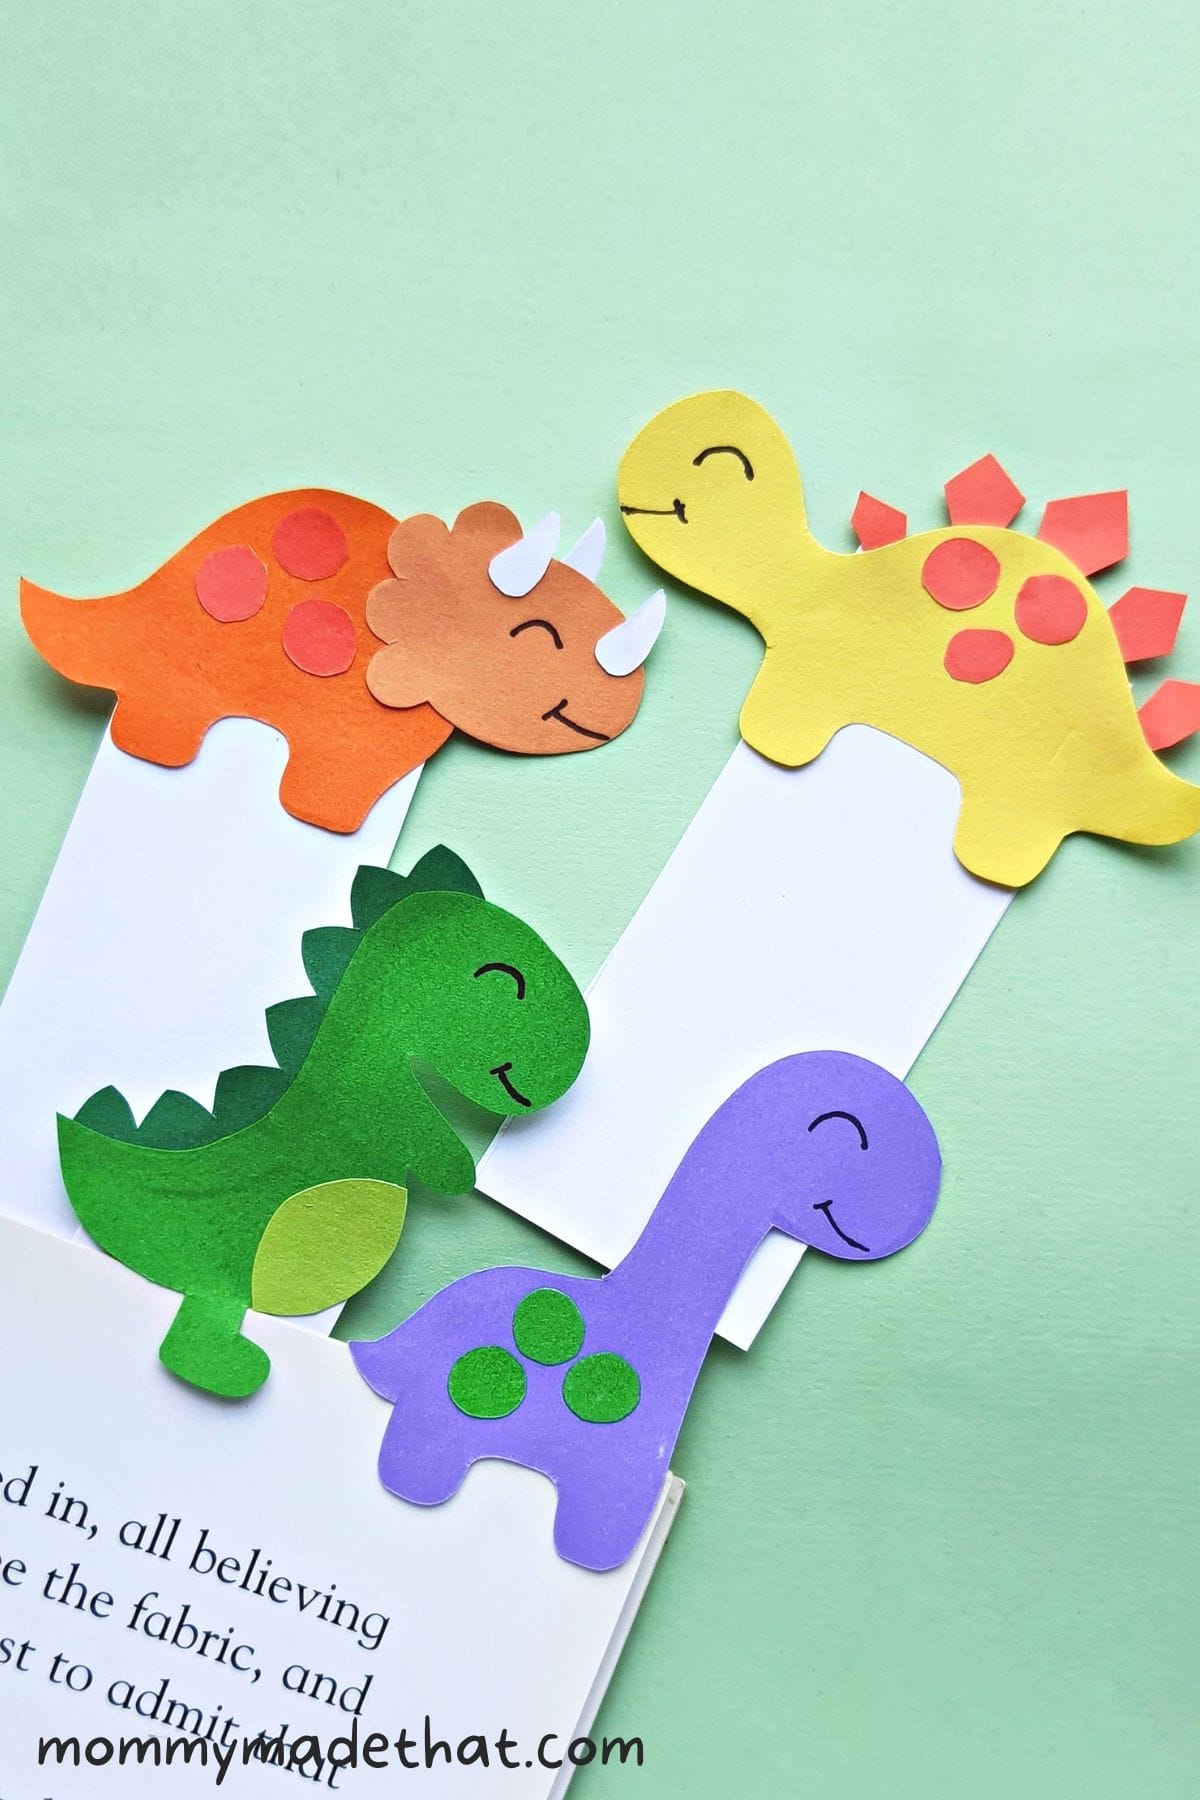
Our dinosaur bookmark template offers 4 different types of dinosaurs.
So you can pick different colored craft papers for each of the dinosaur patterns.
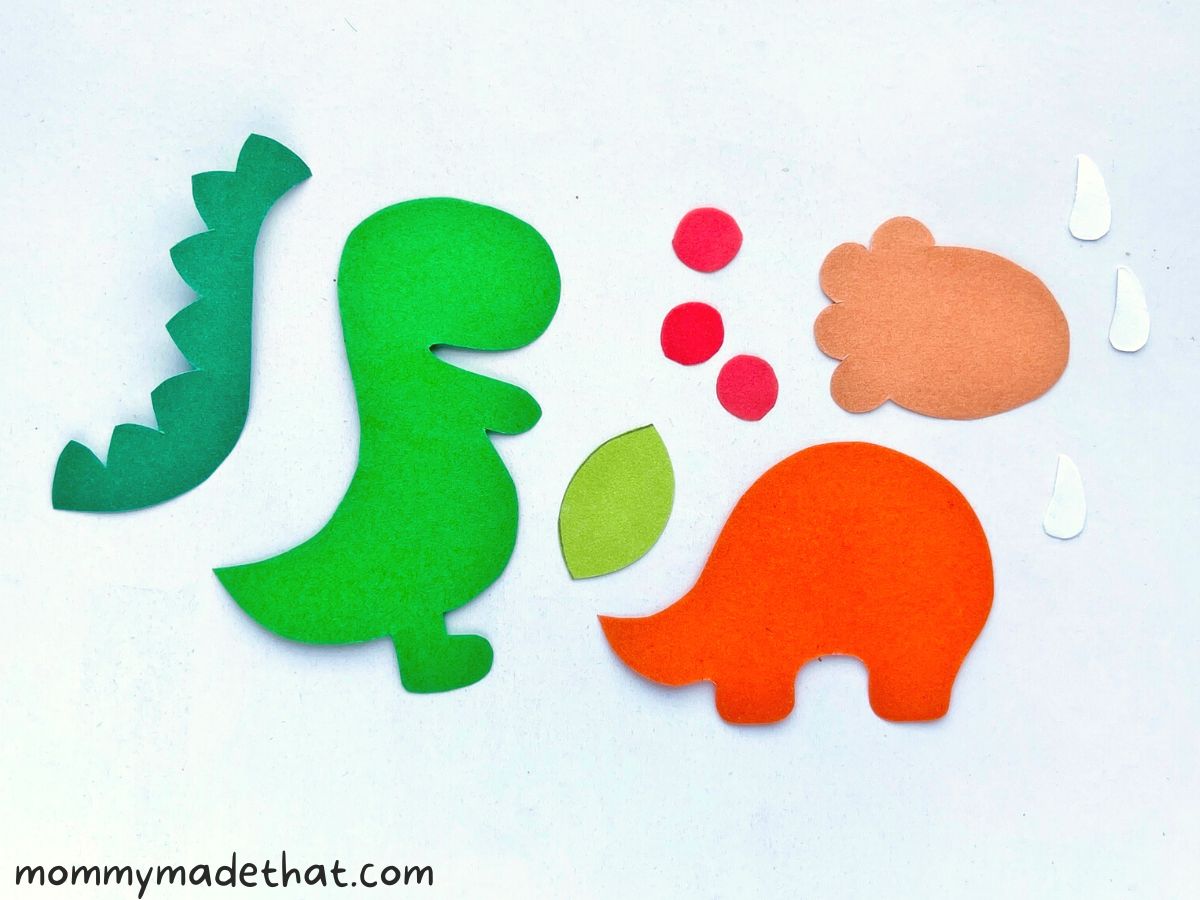
Trace and cut out the pieces from your colored paper.
We’re going to start the T-Rex and the triceratops dinos.
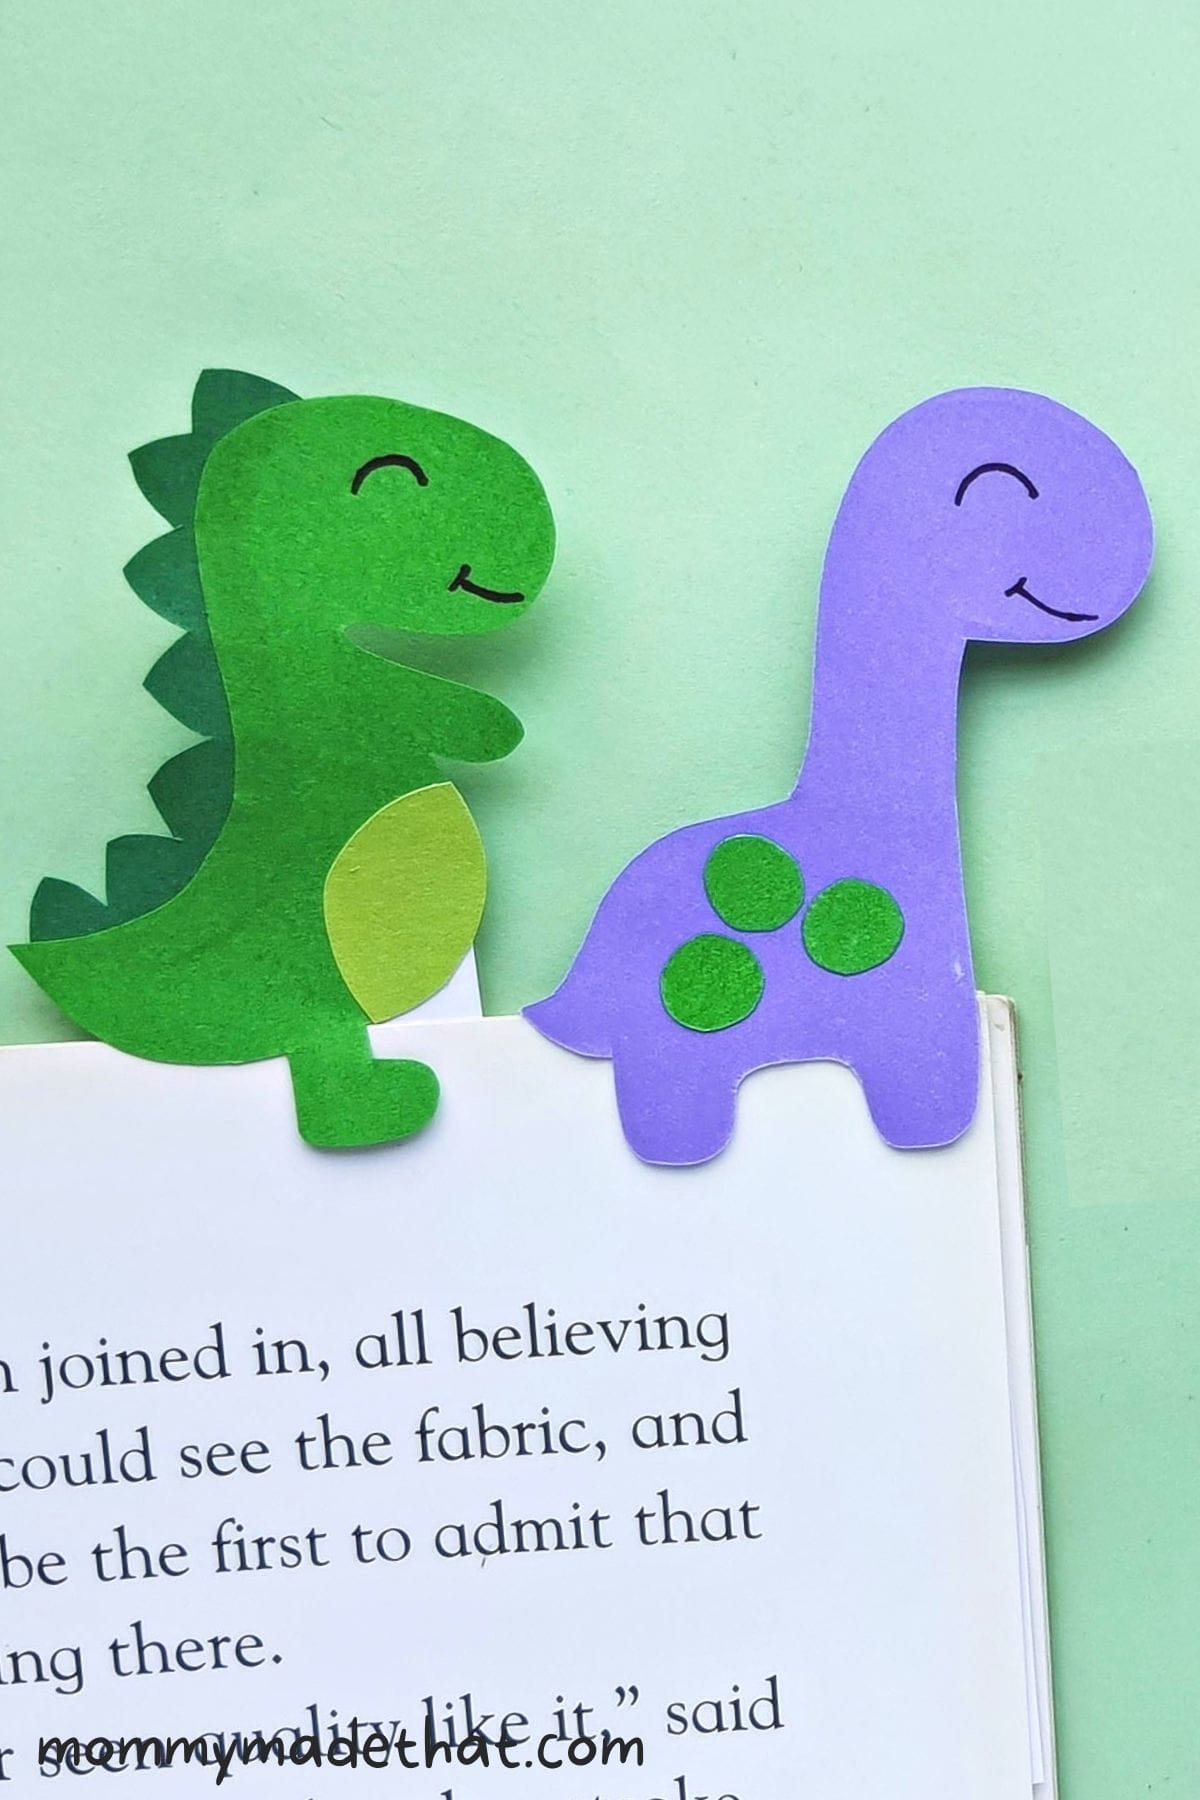
Step 2: Start Gluing the Scales
Starting with the T-rex, apply a small amount of glue to the backside of his back, and attach his scales.
Step 3: Attach the Belly
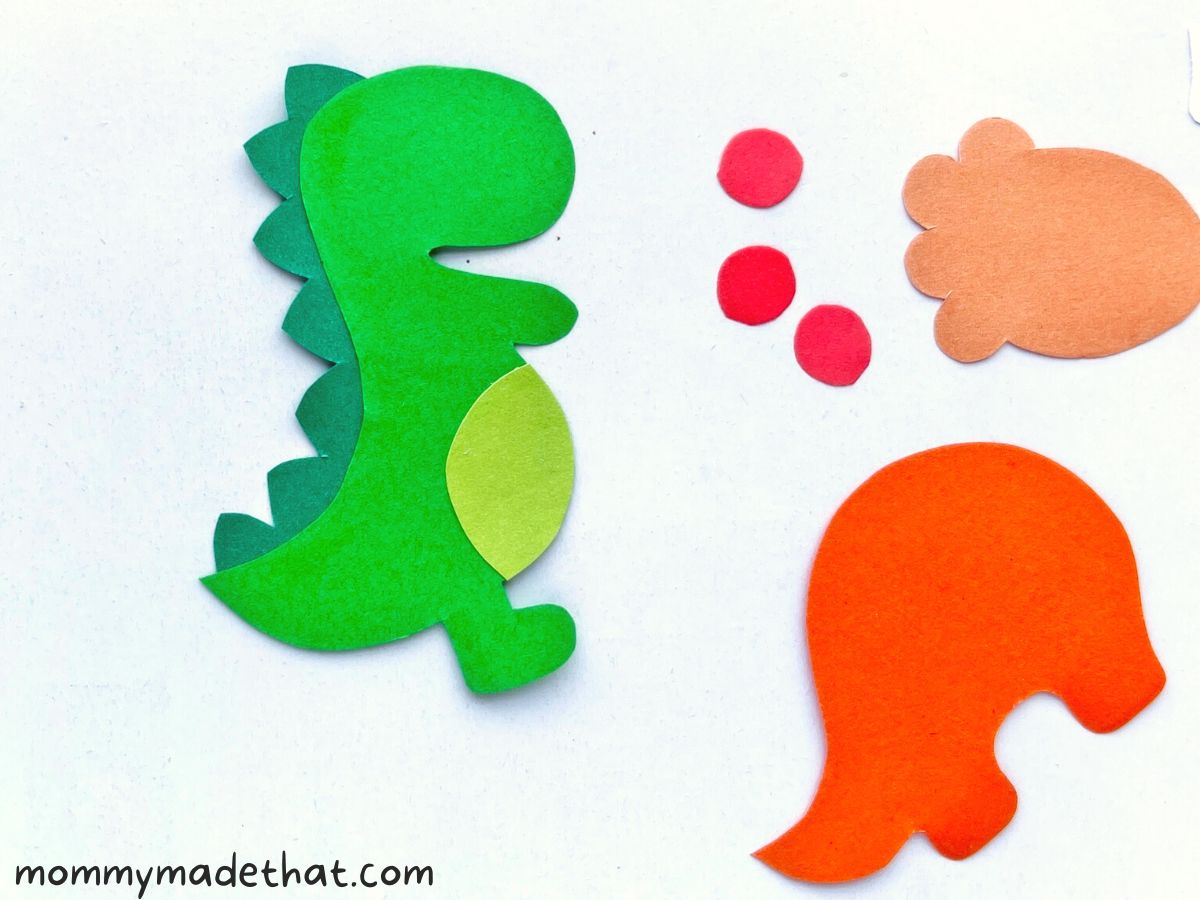
Next, glue on the T-rex’s belly pieces. It’s a semi-circle piece. Now you can put your T-rex to the side as we put together the triceratops.
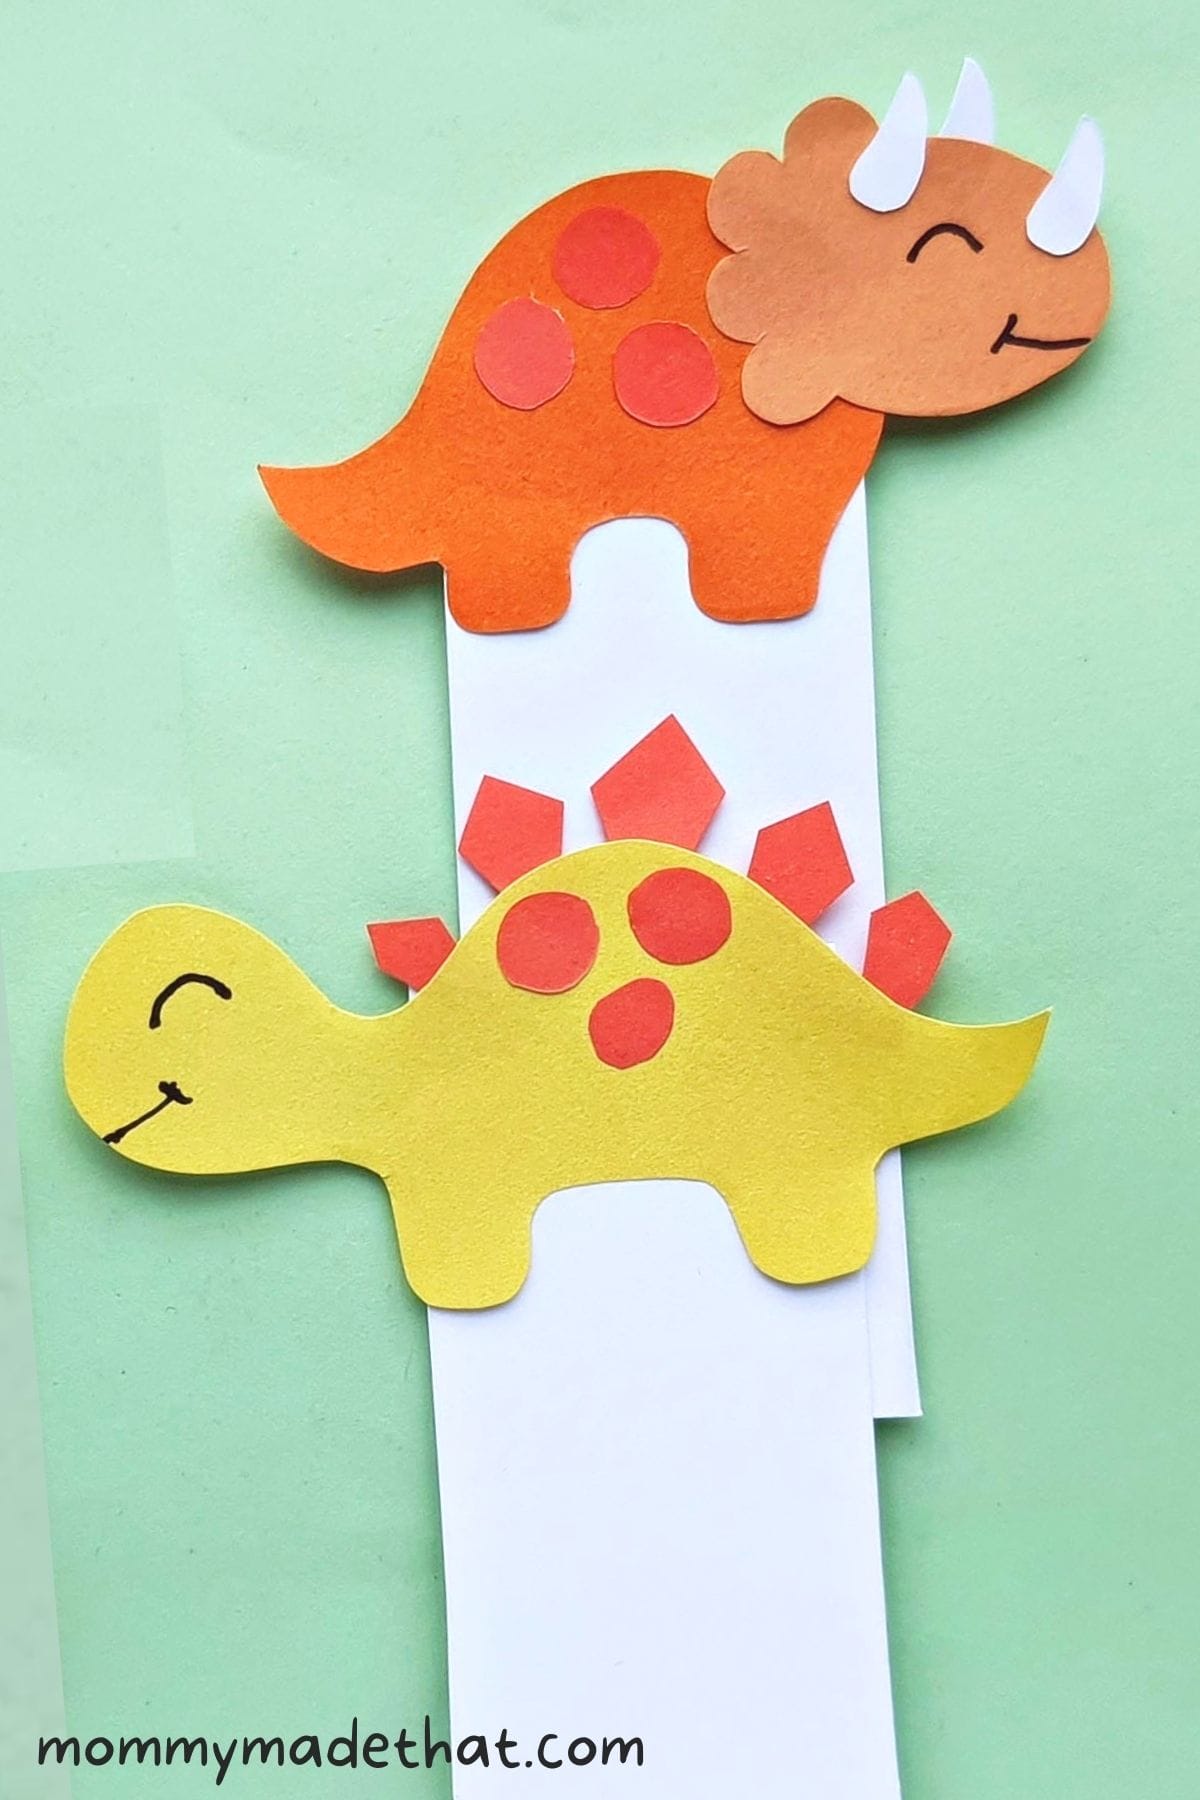
Step 4: Attach the Head of the Triceratops
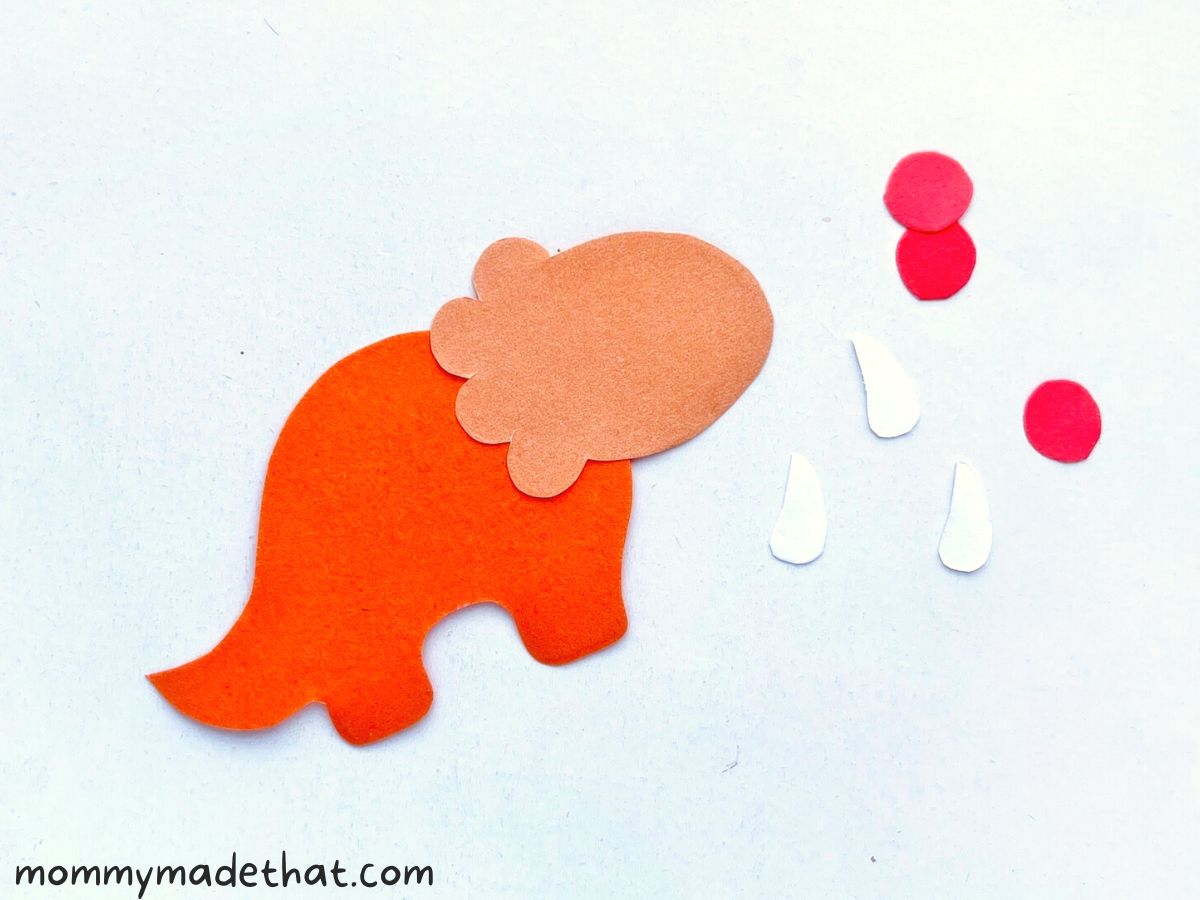
Grab the triceratops pieces. Grab the body piece and attach the dinosaurs headpiece to the top of the body base.
Make sure to attach the head part to the opposite side of the tail.
Step 5: Attach the Spots
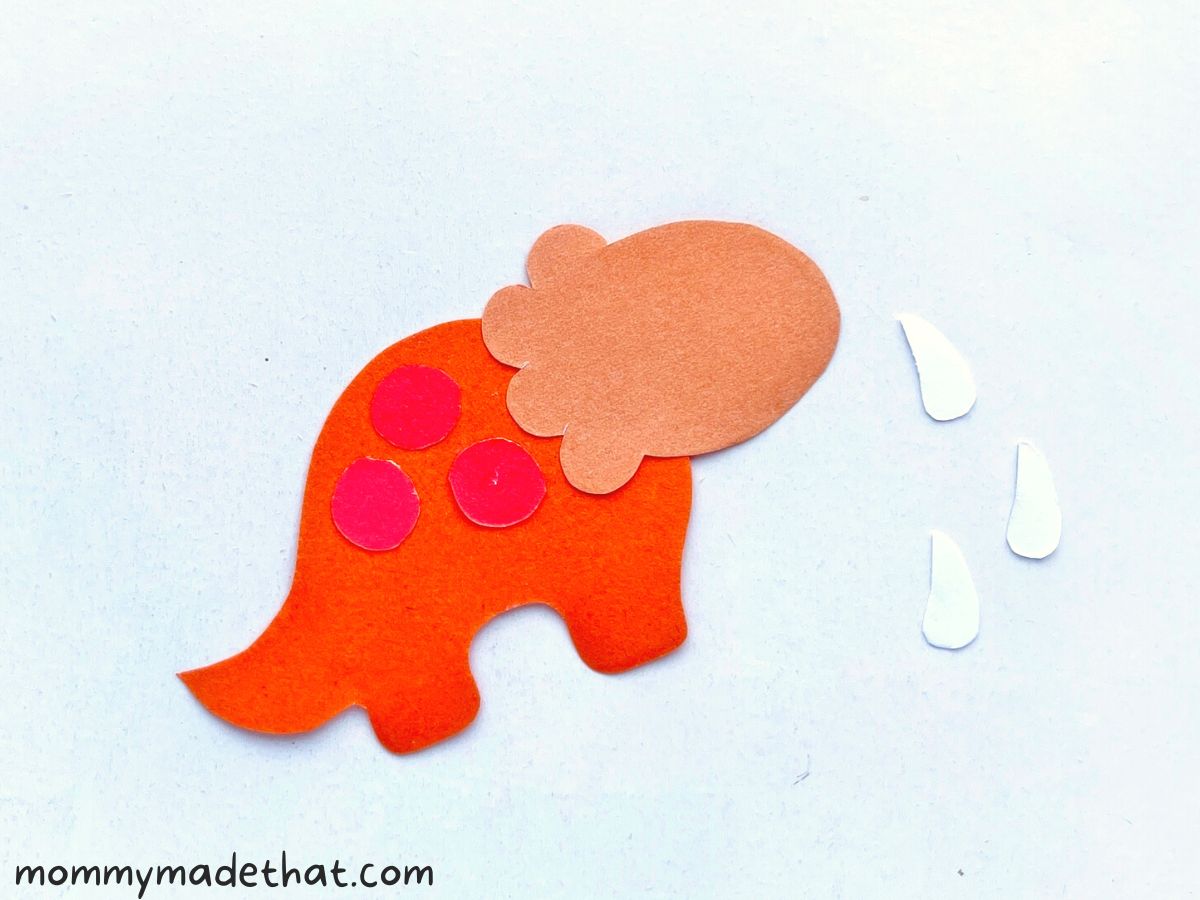
Next, grab the circle cutouts, to make spots on the dinosaur’s back.
Step 6: Attach the Horns
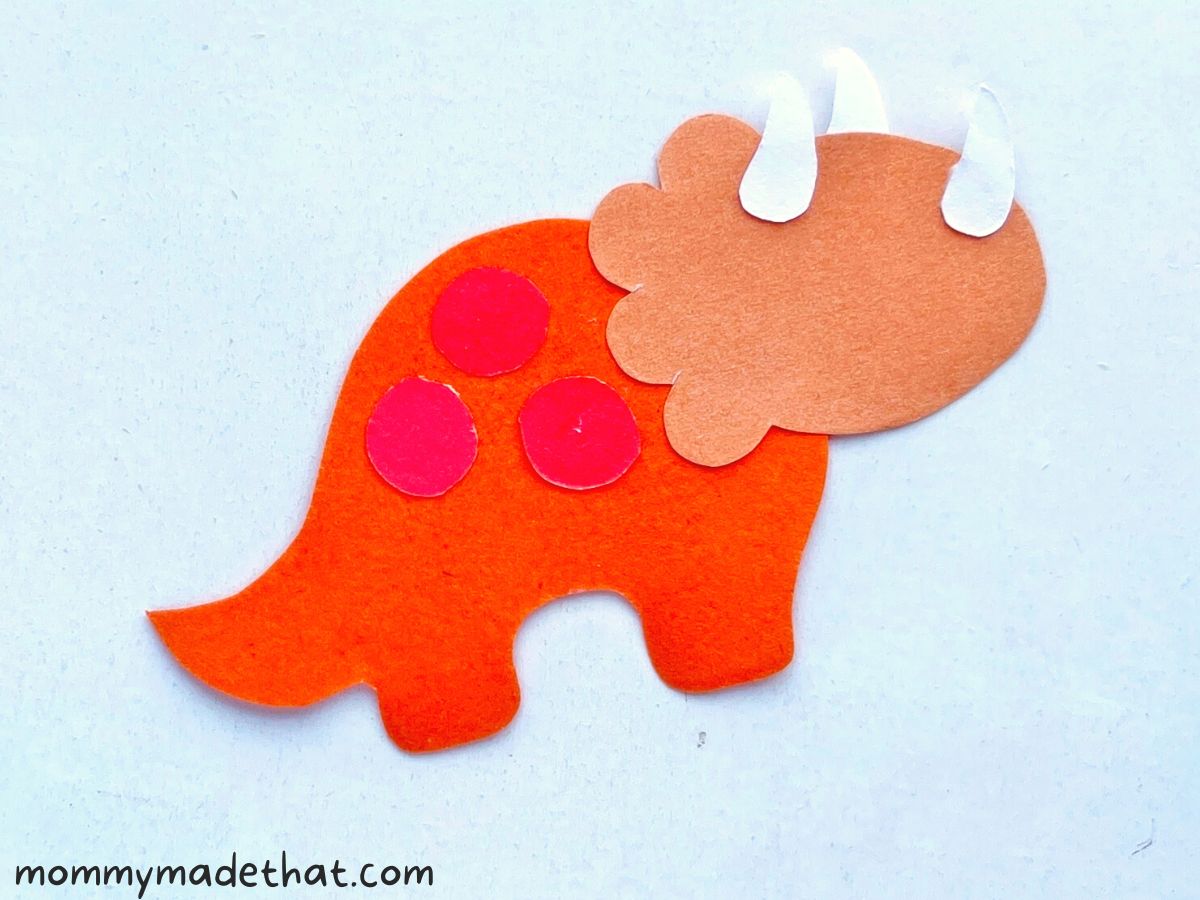
Now that your dinosaur is mostly done, you can attach the three horns on top of his head like shown above.
There will be two on the front side of the dinosaur, and you’ll attach the third one behind so that just the top of it peaks out from over the dinosaur’s face.
Step 7: Draw the Dinosaur Faces

When all of your dinosaurs are assembled, you can draw face’s on them.
We made ours cute, friendly dinosaurs. But you can make angry faces or silly ones too!
Step 8: Turn the Dinosaurs into Bookmarks
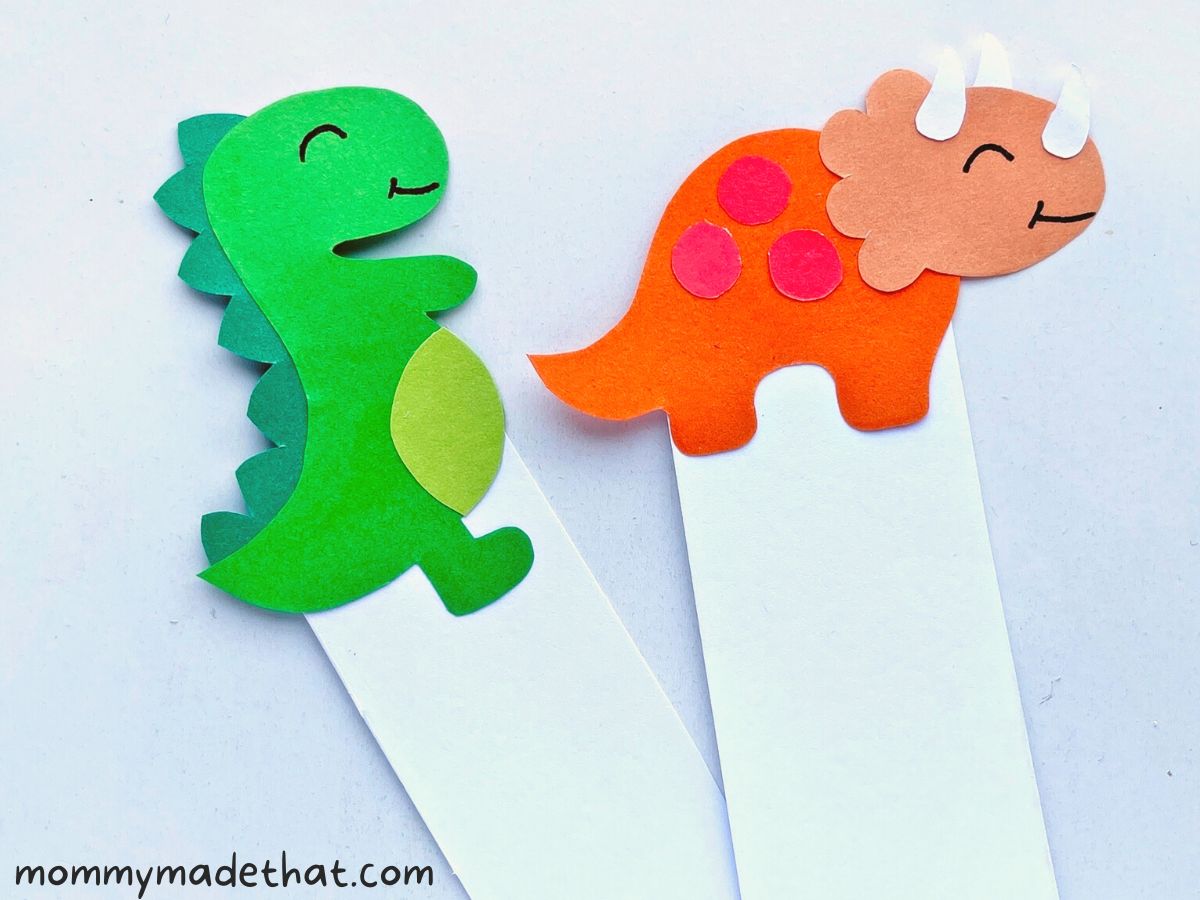
Once you have your dinosaur made, it’s time to turn it into a bookmark!
All you have to do is cut out some cardstock pieces into long rectangle shapes, like a regular bookmark.
Then attach the paper dinosaur to the top of one of the bookmarks.
Make sure to keep the dinosaur’s legs free from glue, and don’t attach it to the bookmark piece.
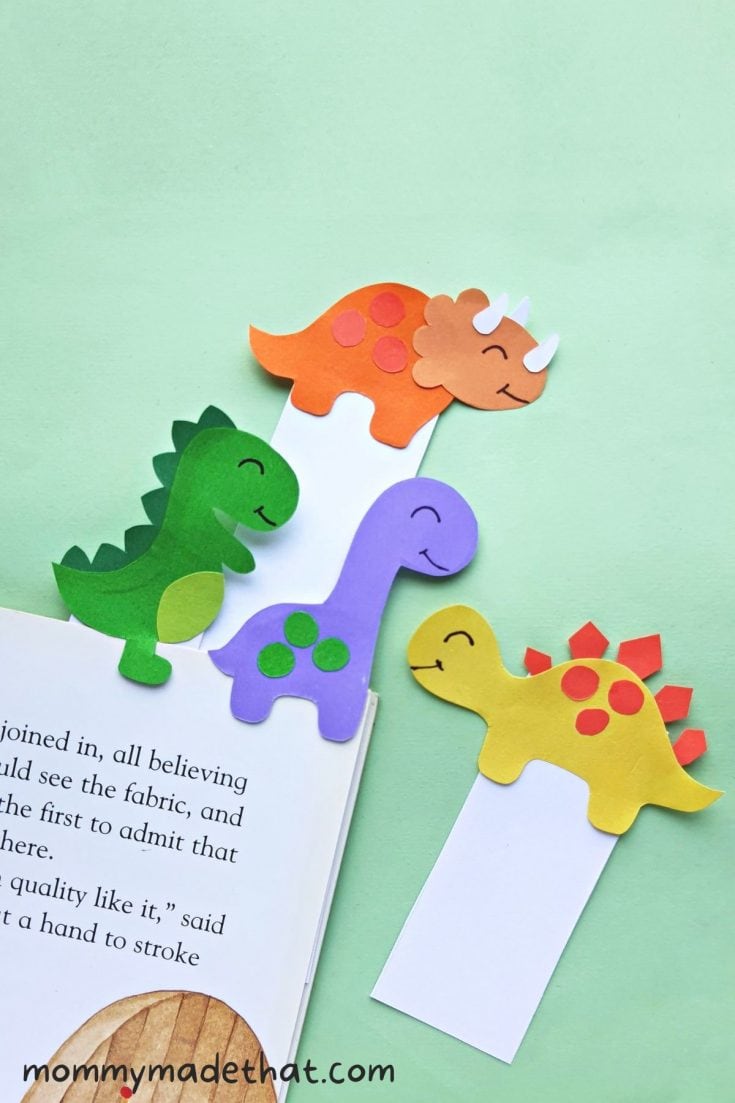
Now you can use the dinosaur bookmarks by inserting the page of the book in between the cardstock piece and the dinosaur’s legs.
They’ll look like this when finished.
Aren’t they cute!
You can decorate the bottom half of the bookmark too with crayons or colored pencils.
You can write a name, a favorite dinosaur joke or just color it with dino like stripes and polka dots.
Using the Dinosaur Bookmark Template
When using the bookmark template to make your dinosaurs, it’s a black and white printout of the dinosaur body parts.
You can either cut the pieces out on colored paper and use the template like a stencil, or color in the pieces with colored pencils and cut them out to assemble your dinos.
Grab the Template
To grab our free dinosaur template for the bookmark, put your email in the box below.
We’ll send the printable straight to your inbox along with lots of other goodies.
This is for personal or classroom use only, not for commercial use. Thank you!
Dinosaur Bookmarks
These dinosaur bookmarks are a hit for kids looking for a fun dino craft that also doubles to get them excited for reading!
Materials
- Dinosaur bookmark template
- Colored craft paper
Tools
- Scissors
- Craft glue or glue stick
Instructions
- Download the dinosaur bookmark template and print it out. Grab your colored craft paper and cut out the different pieces onto the colors of your choice,
- Starting with the T-rex, attach the scales to the back of the T-rex.
- Attach the belly piece to the front of his body.
- Next, grab the triceratops pieces. Attach the head part to the front of the body base, on the opposite side of the tail.
- Attach the spots to the triceratops body.
- Attach the horns to the head of the dinosaur. Finish the rest of your dinosaurs in a similar fashion.
- Draw faces onto your dinosaurs.
- Using cardstock, cut out a rectanlge shape, the size of a typical bookmark. Attach a dinosaur to the top of the bookmark piece, making sure not to glue down the legs. Once dry, you can use the bookmark by sliding a page of a book in between the cardstock and the legs.
Notes
You can use the dinosaur template as a stencil, or color in the pieces and assemble your dinosaur using the same instructions above.