Penguin Valentine Craft (With Free Printable Template)
This fun penguin valentine craft is a cute and engaging craft for kids. We include a free printable penguin template to make it super easy to make. So let’s get crafty and celebrate the season of love with this charming penguin craft!
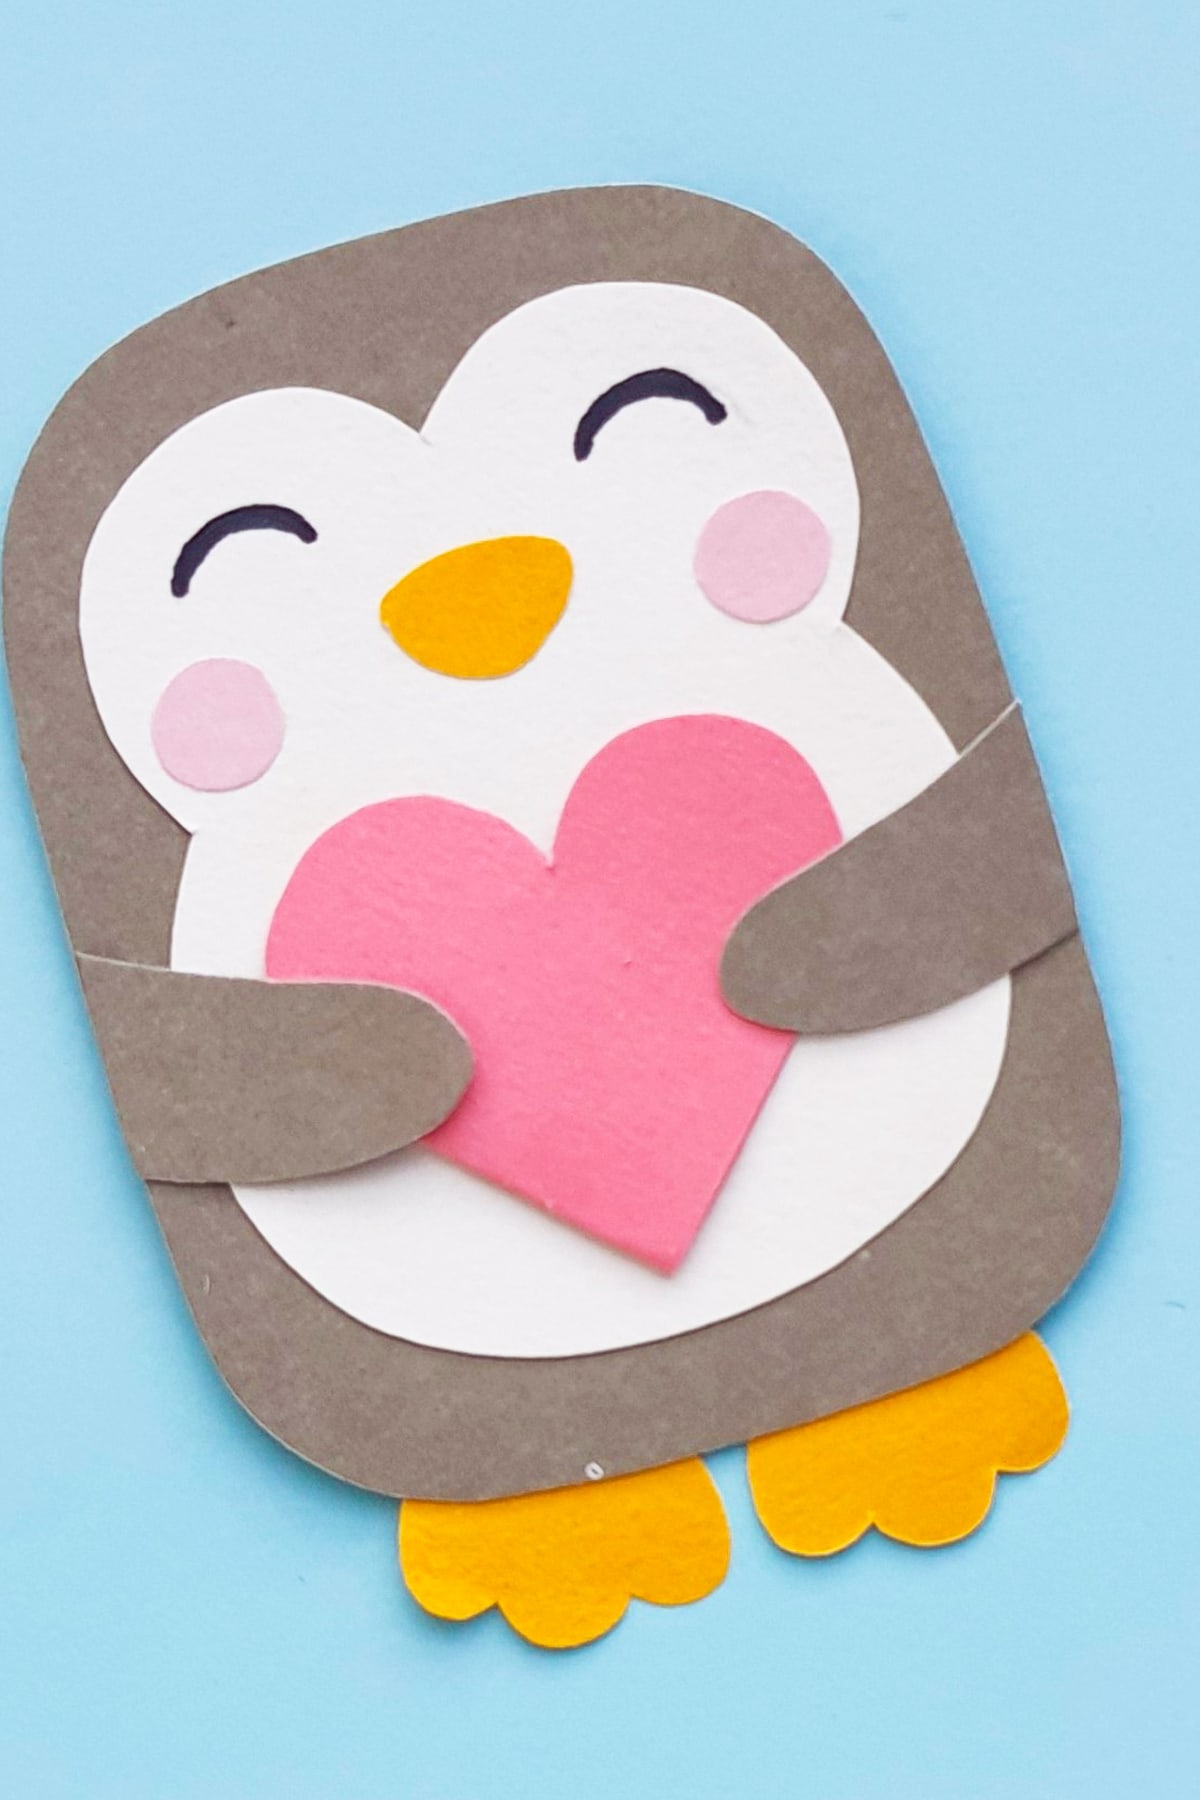
Get ready for some love-filled crafting with this adorable penguin Valentine’s craft for kids!
Penguins are not only cute but also symbolize love and togetherness, making them perfect for Valentine’s Day.
As we embark on this crafty journey, we can’t help but be reminded of a famous penguin quote: “Love is like a penguin. It may waddle slowly, but it always finds its way to the heart.”
These words beautifully capture the essence of our craft project, where we’ll be crafting our way to the hearts of our loved ones.
So, let’s gather our materials, unleash our creativity, and create some heartwarming penguin Valentine crafts that will make everyone smile.
Be sure to check out more of our penguin crafts, like our paper penguin craft and our printable penguin craft template.
Materials
To make our cute little penguin Valentine, we used the following materials.
Colored craft papers: We used gray, white, orange and pink craft papers for this craft. However, feel free to use any colors you prefer or have available. Scrapbook-type paper or construction paper are great options.
Valentine Penguin template: You can find the free printable penguin template at the end of the tutorial. It will serve as a guide for cutting out the different parts of the penguin.
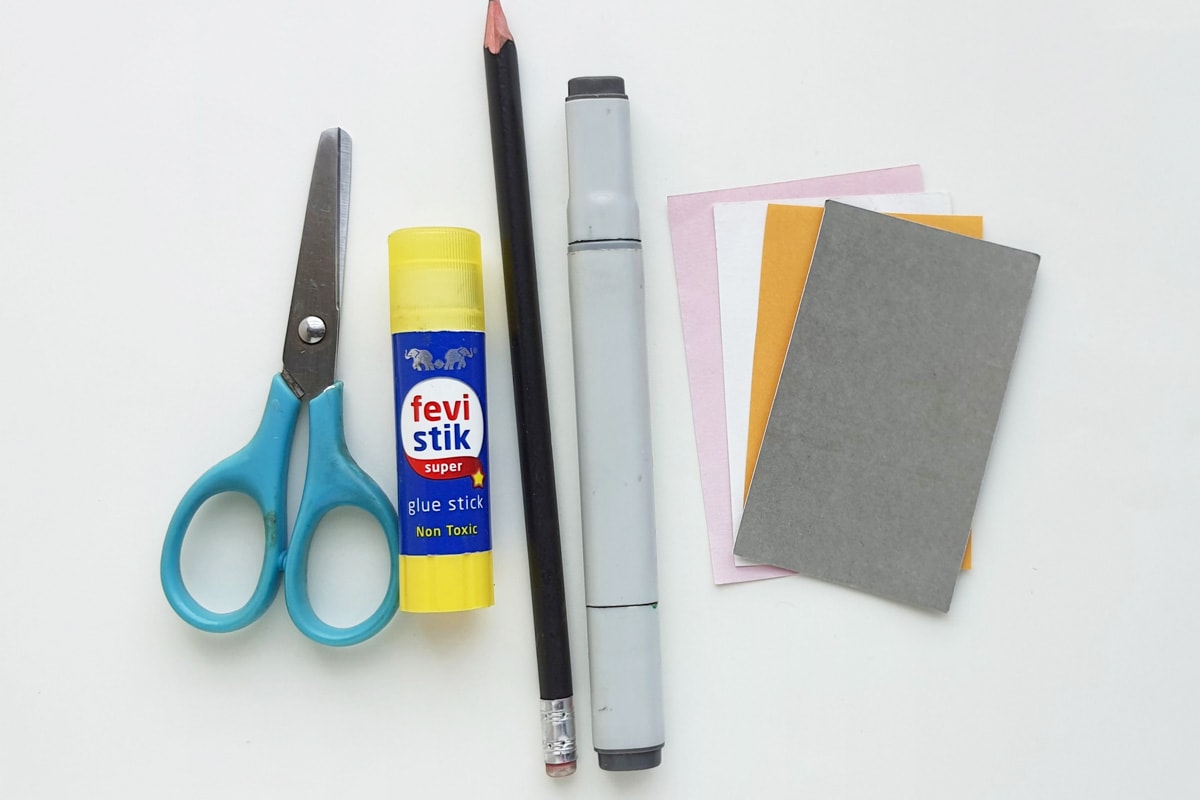
You’ll also need some basic craft supplies like:
- Sharpie
- Craft glue
- Pencil
- Scissors
Instructions
Here are our step-by-step instructions for creating the penguin Valentine craft:
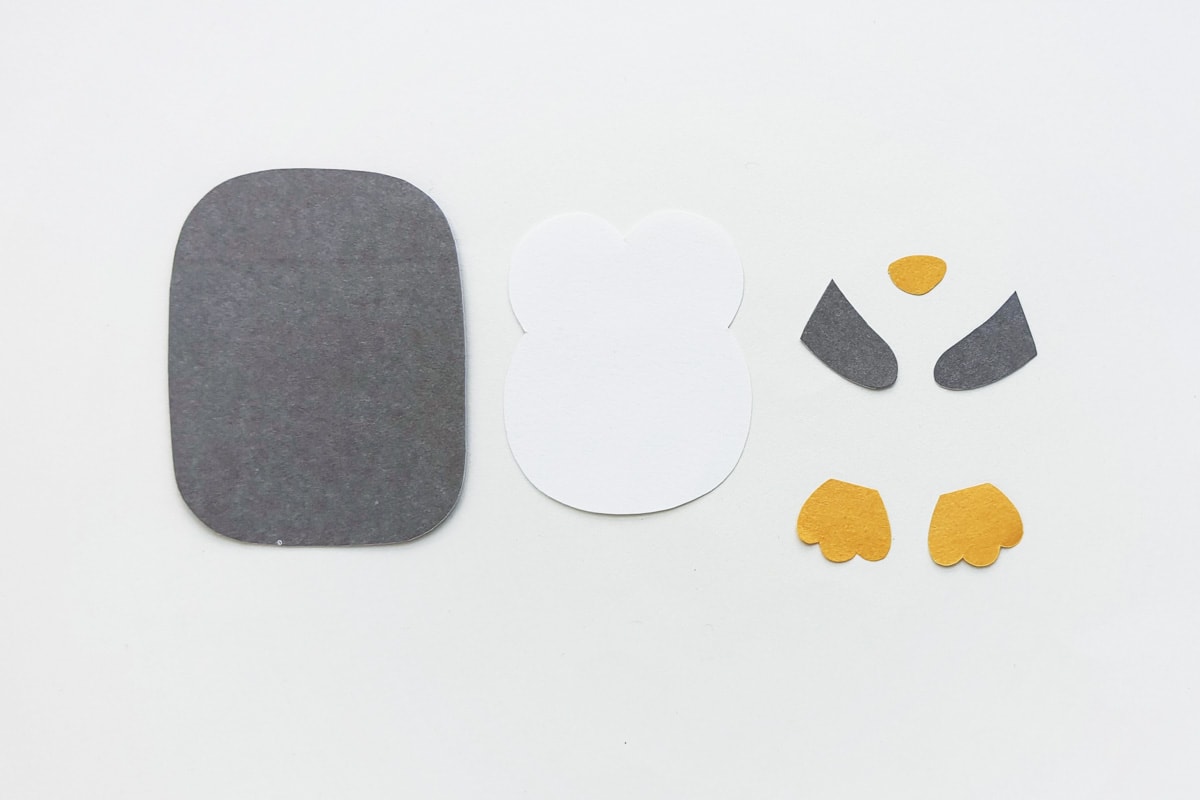
Step 1: Trace and Cut Out the Patterns
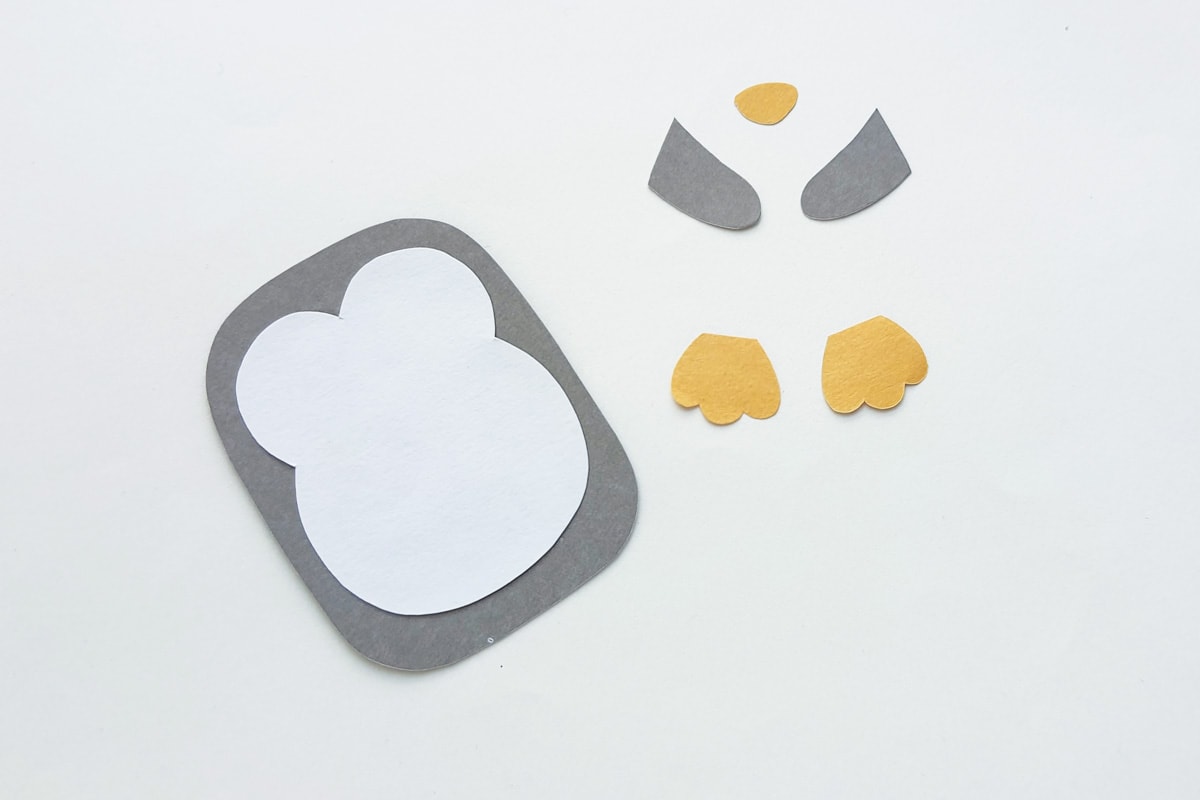
Gather all the materials needed for the craft. You will need colored craft papers (gray, white, pink, and orange), the Valentine Penguin template, a Sharpie, craft glue, a pencil, and scissors.
Grab your colored papers according to the colors mentioned or use other fun colors and make a red or purple penguin.
Use the template provided to trace the body base and wing patterns onto gray craft paper. This will give our penguin its main body shape.
Next, trace the beak and the feet patterns onto vibrant orange craft paper. These will add a pop of color to our penguin’s face and feet.
Now, the rosy cheeks! Trace the blush patterns onto lovely pink craft paper. This will give our penguin a cute and blushing expression.
For the front part of our penguin, trace the pattern onto crisp white craft paper. This will complete the look of our craft and add a nice contrast.
Once you have traced all the patterns onto the respective colored craft papers, it’s time to carefully cut them out using a pair of scissors. Take your time and make precise cuts to ensure neat and tidy shapes.
Step 2: Attach the Front of the Penguin Belly
Next, take the cutout of the front part and carefully attach it to the body base cutout.
Ensure that they are aligned properly and securely glued together.
Step 3: Attach the Feet
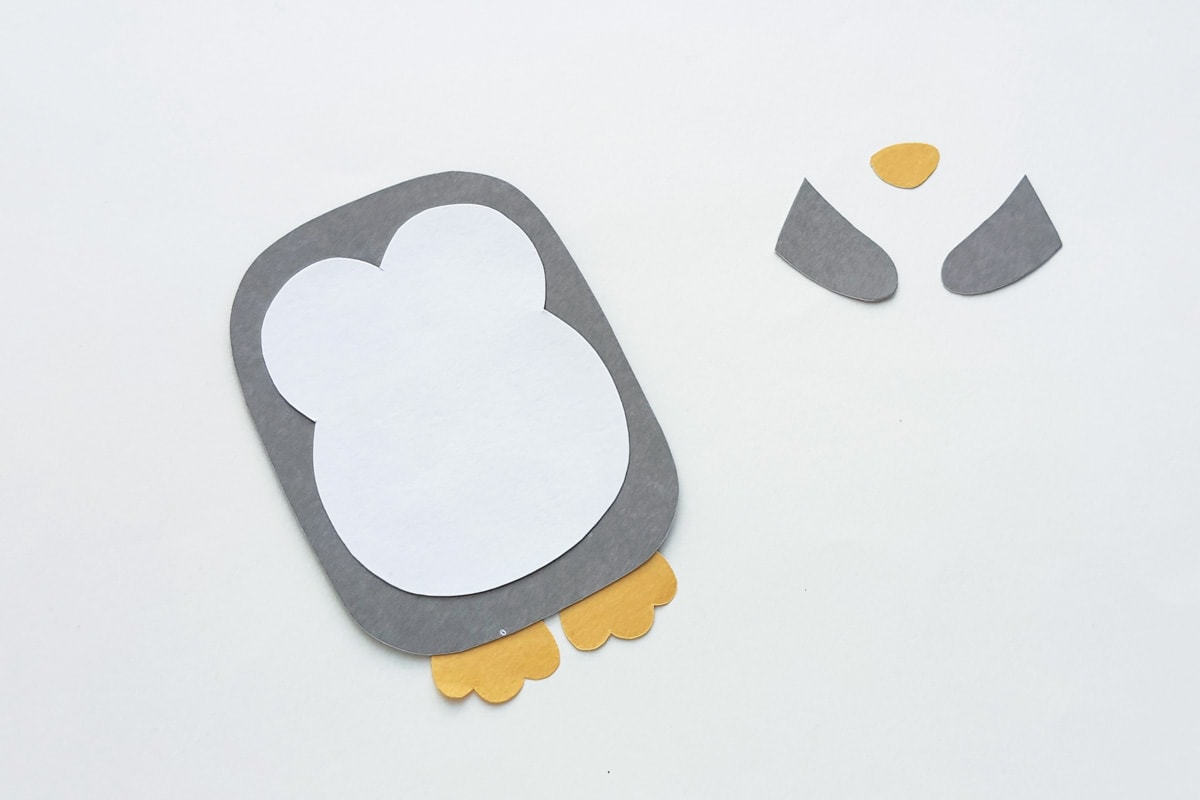
Next, take the two feet cutouts and position them on the bottom side of the body base pattern.
Make sure to attach them in a way that the feet are facing outwards.
Step 4: Attach the Wings
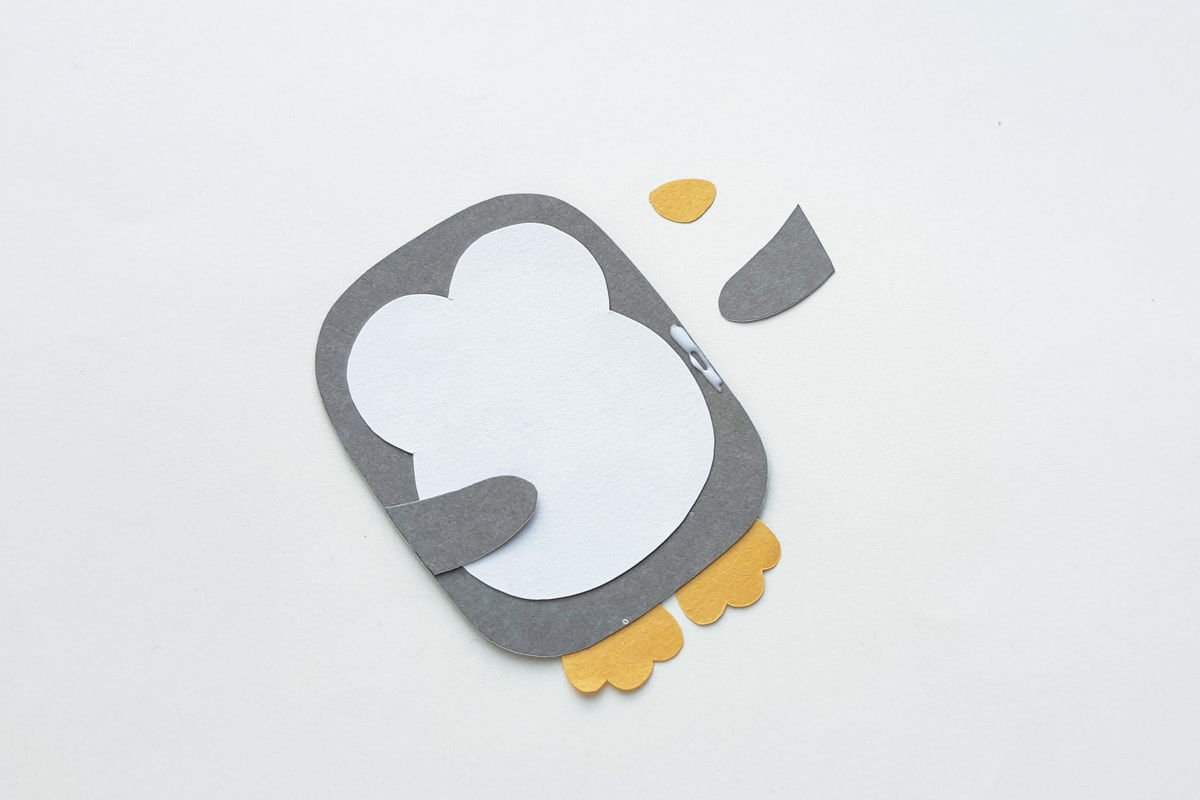
Next, select one of the wing cutouts and apply glue along its outer side. Ensure that the glue is evenly spread along the edge of the wing.
Then, carefully place the glued side of the wing aligned with the body base outline.
The wing should be attached to the body base along the side only, leaving the remaining part of the wing free from glue, this will allow the penguin to hold the heart.
Repeat the same process for the other wing.
Step 5: Add the Beak and Blush
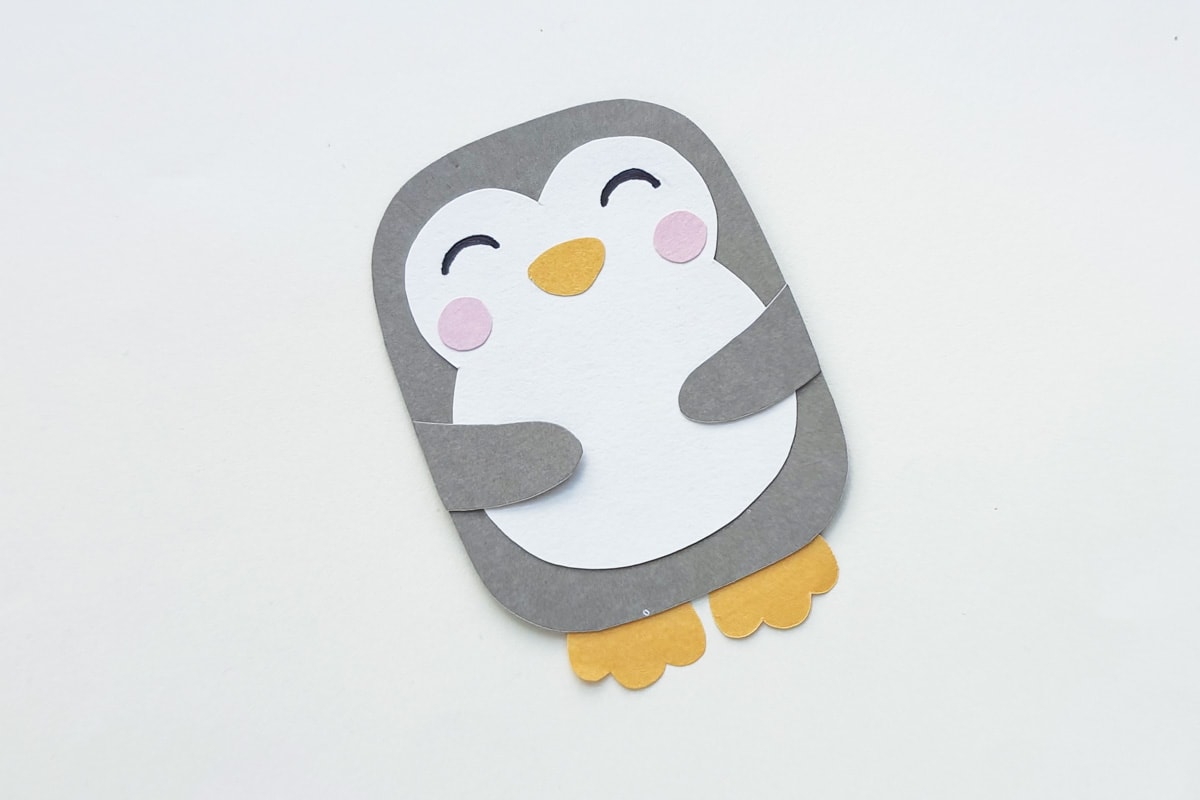
Now it’s time to attach the beak cutout to the front part of our penguin craft.
Take the beak cutout and position it near the top side of the front part, right in the middle.
Apply craft glue to the back of the beak cutout and press it firmly onto the front part, ensuring that it is securely attached.
Next, we’ll add some adorable blush to our penguin’s cheeks.
Finish off his face by drawing on his eyes.
Step 7: Add the Heart
Now, let’s add a heart to our penguin Valentine craft. Select a colored craft paper of your choice for the heart template.
It can be red, pink, or any other color you prefer.
Cut out a heart shape from the colored craft paper using scissors.
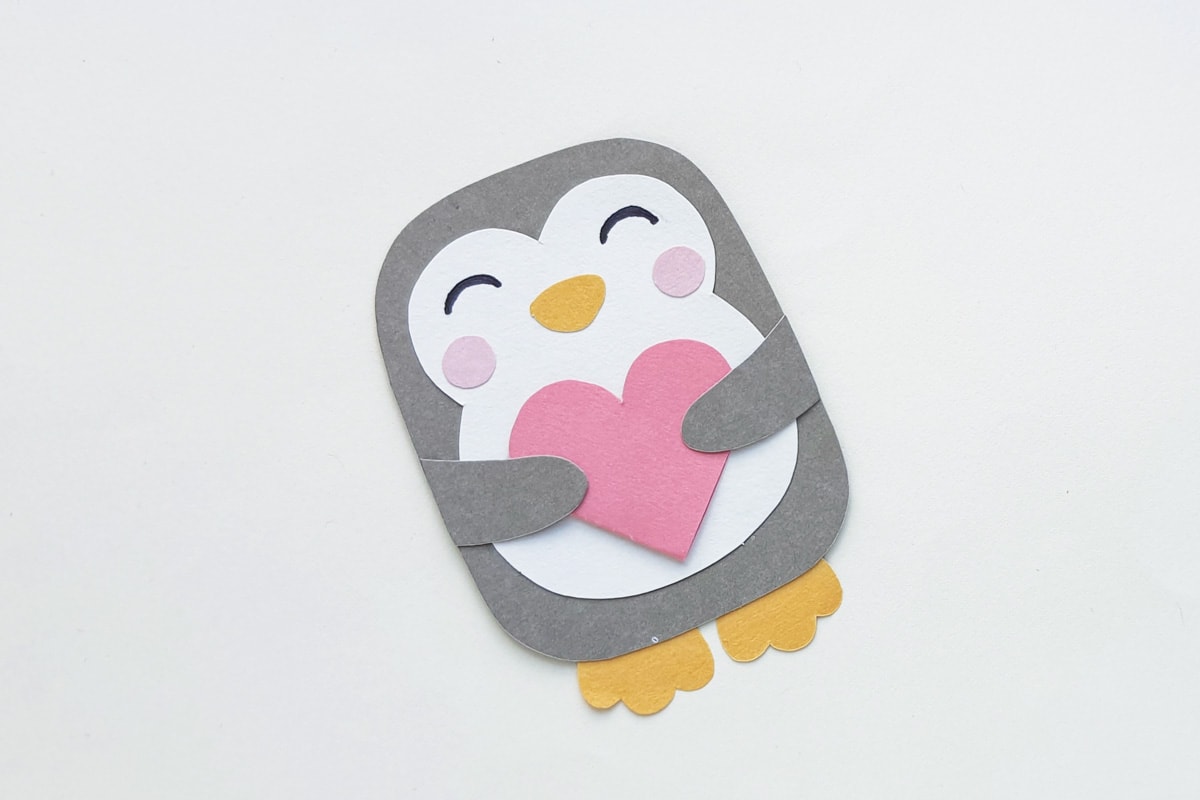
Once you have the heart cutout ready, it’s time to complete our craft. Take the wings of the papercraft penguin and gently lift them slightly.
Slide the heart cutout under the wings, positioning it in the center. Make sure the heart is fully inserted and visible between the wings.
Ensure that the heart is securely placed under the wings, so it doesn’t fall off. If needed, you can use a small amount of craft glue to fix the heart in place.
Isn’t he cute! Be sure to give him a cute penguin name!
If you need ideas on what to write inside the heart, check out our adorable valentines sayings for kids.
Grab the Printable Penguin Template
To grab the free printable penguin Valentine template, put your email in the box below. We’ll send it straight to your inbox.
This is for personal use or classroom use only please. Not for commercial use. Thank you!

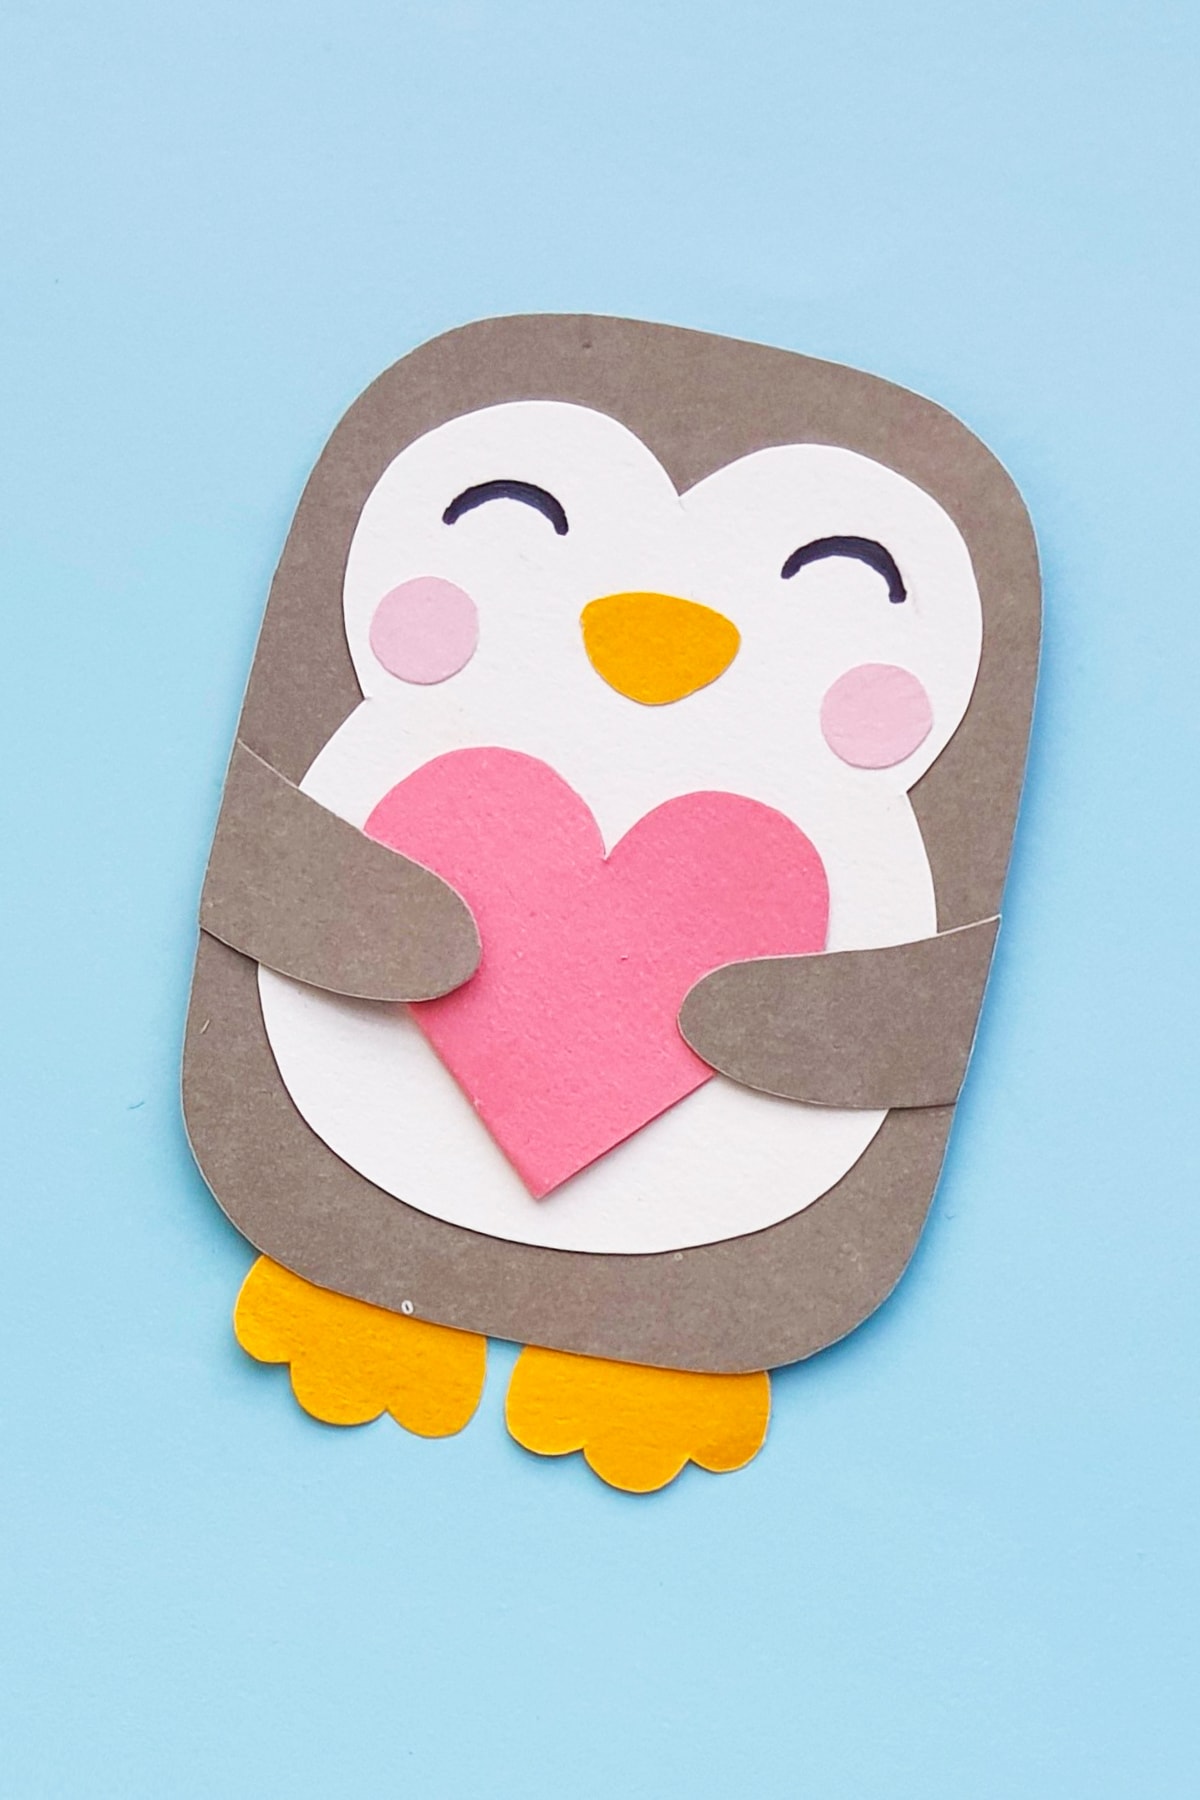
Valentine Penguin Craft
Create a heartwarming craft full of love with this adorable penguin Valentine's craft for kids. Let your creativity soar as you craft your way to the hearts of your loved ones!
Materials
- Colored craft papers
- Valentine penguin template
- Sharpie
- Craft glue
- Pencil
- Scissors
Instructions
- Trace out the penguin template pieces onto colored paper. Or printout
and color your template pieces. Cut out all the pieces. - Attach the front part on the body base.
- Attach the feet to the bottom of the penguin.
- Attach wings, being sure to only apply glue to the edges and leave the
inner wing areas free of glue to lift up. - Attach the beak and blush. Draw eyes on your penguin.
- Cut out the heart shape from colored paper.
- Slide the heart under the wings of the penguin.
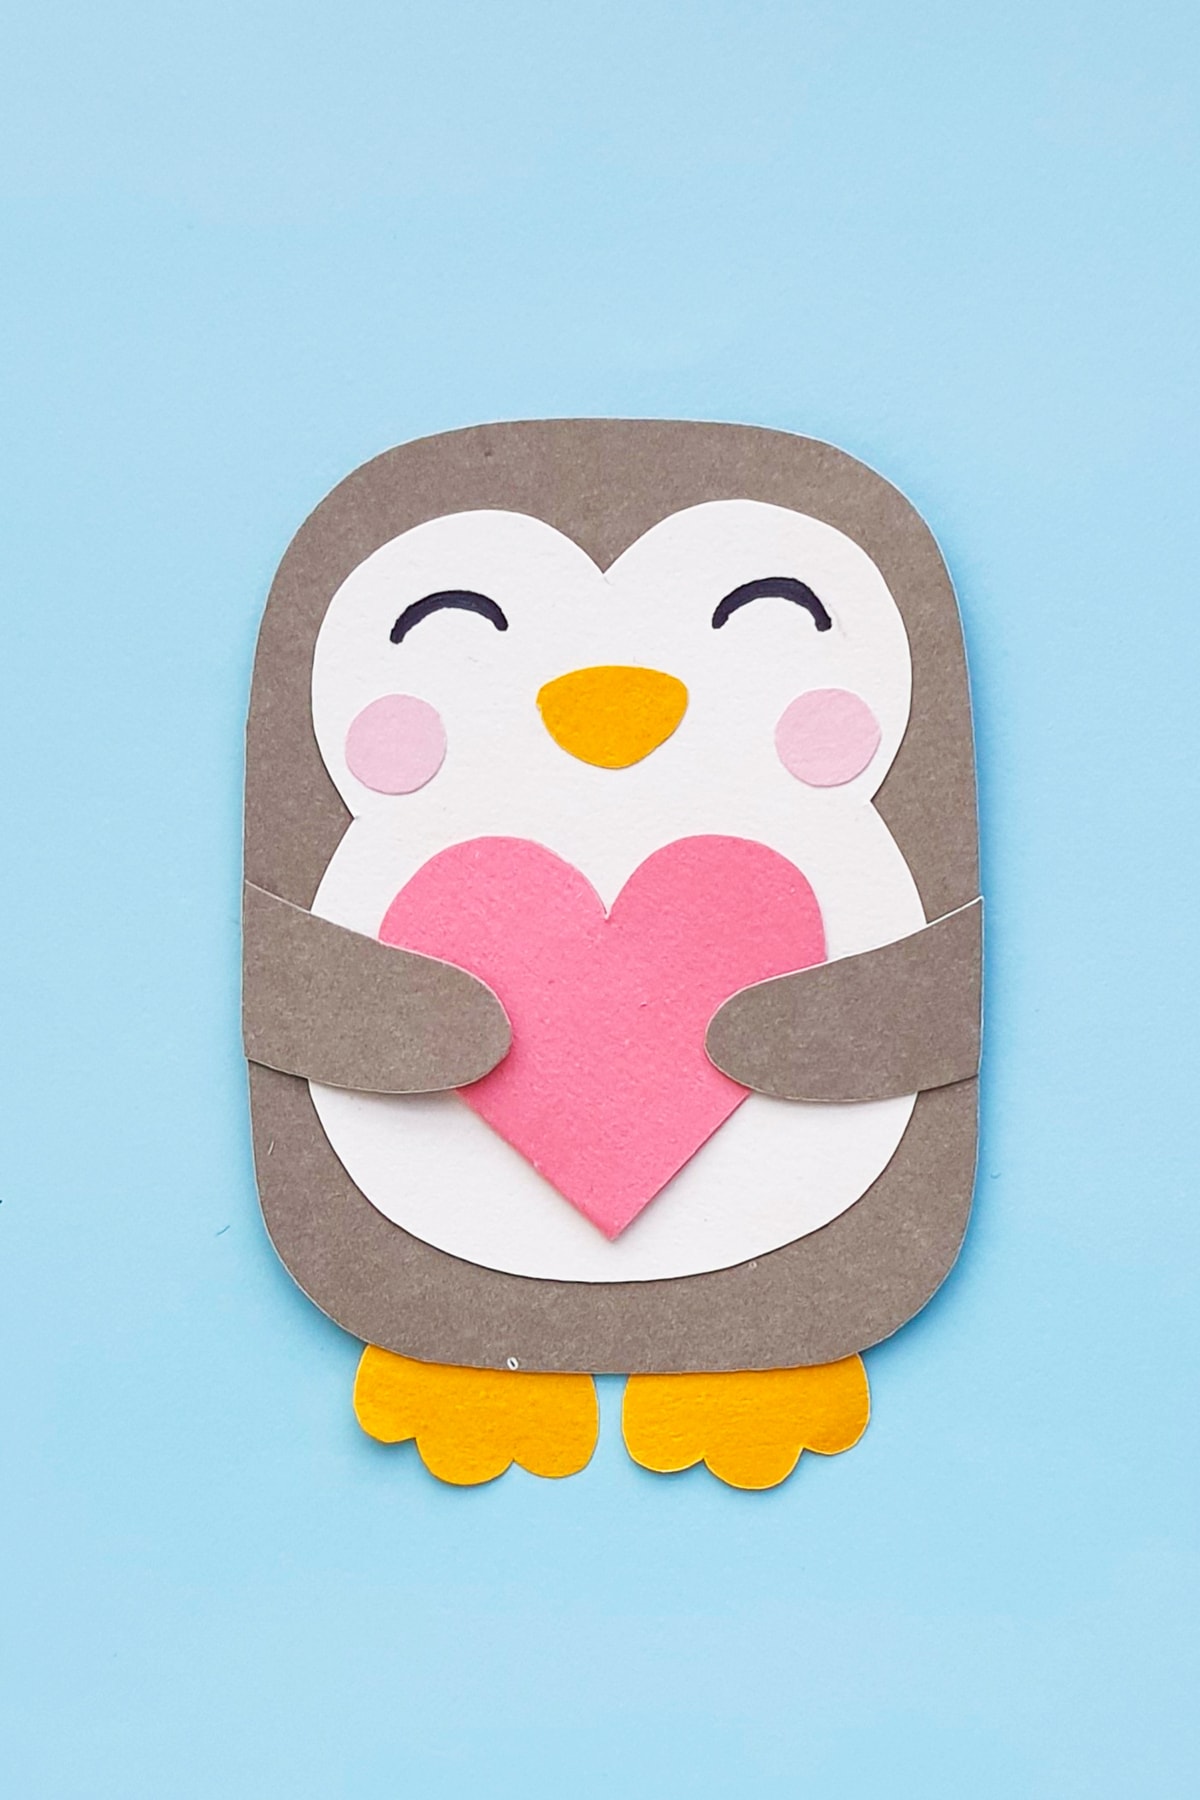
Notes
Since these are valentine penguins, they don't have to be black or gray. You can make yours in fun shades of red, purple or pink!