Paper Penguin Craft (With Free Printable Template)
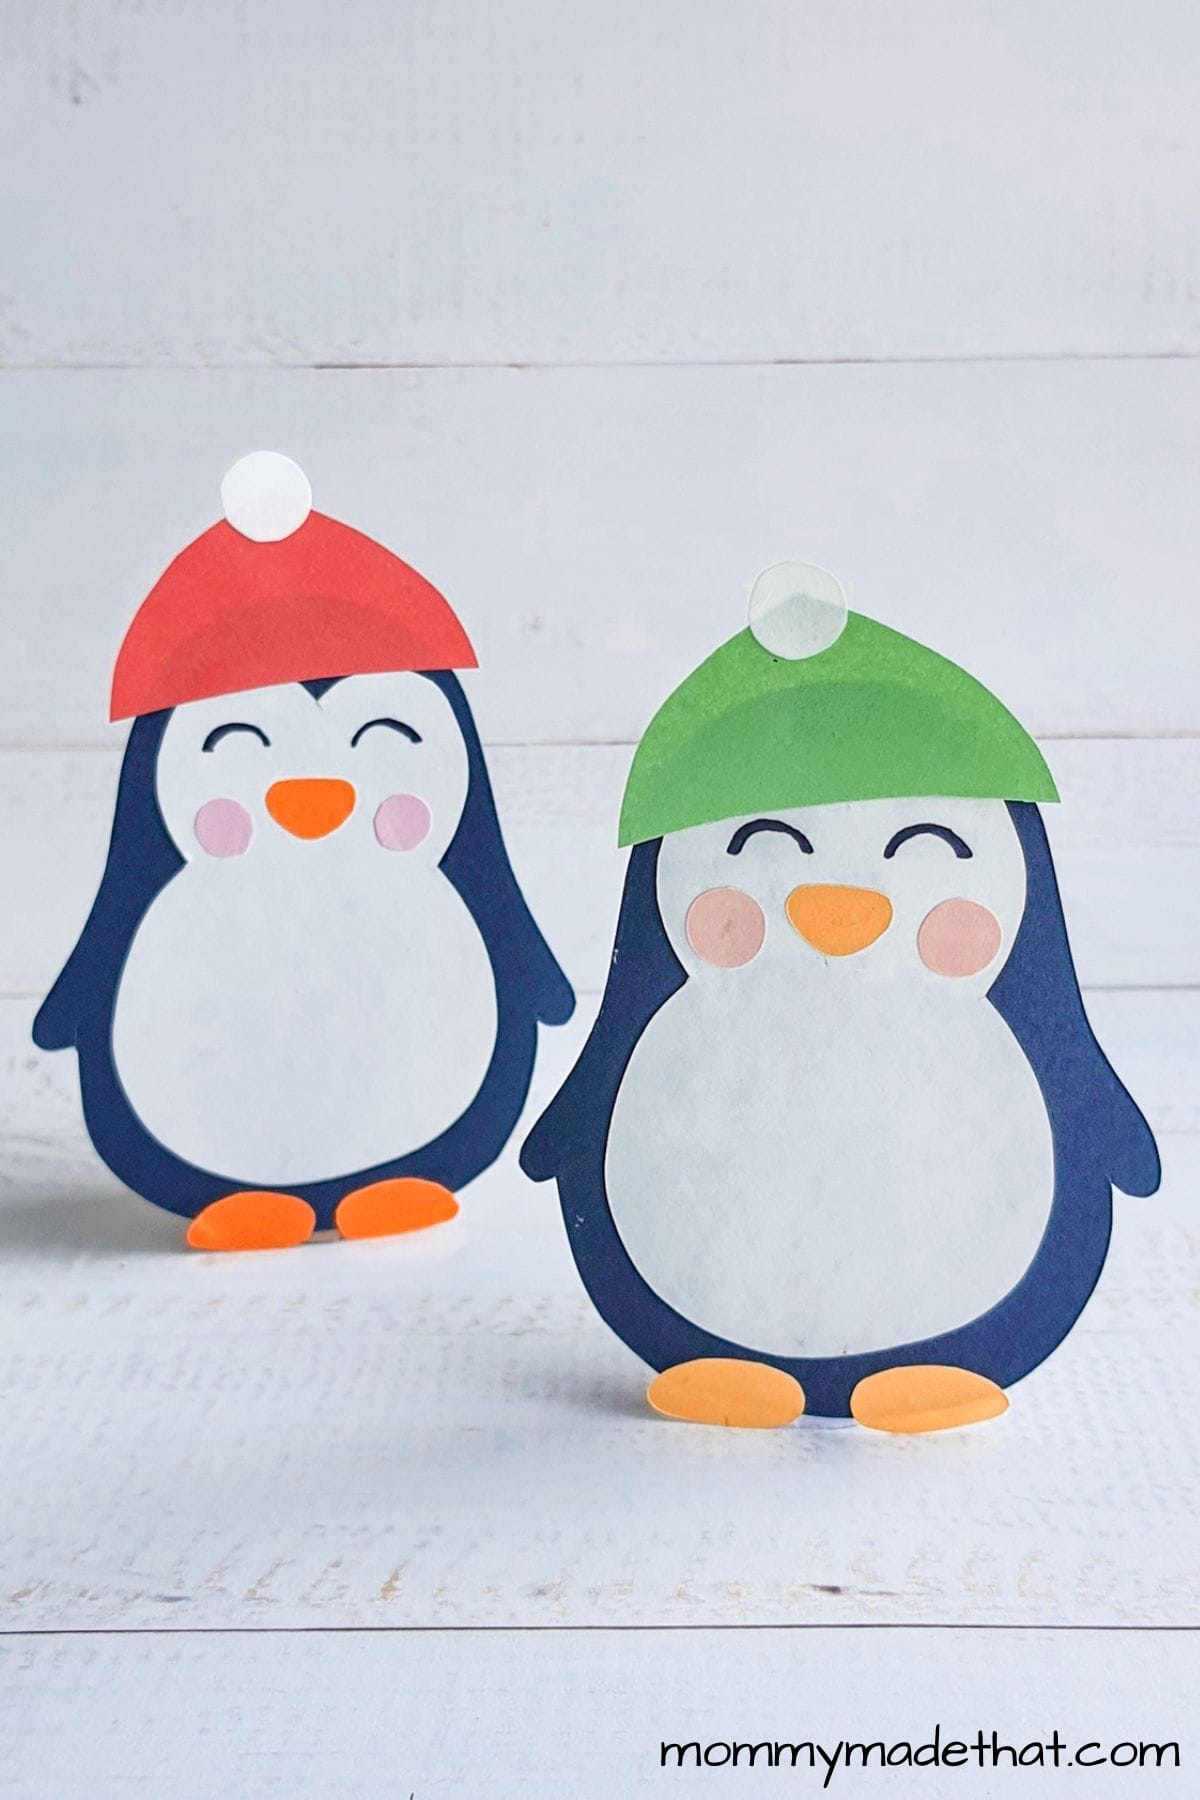
Today we have an adorable paper penguin craft! Make sure to grab the free printable template so you can whip up your own little gathering of penguins.
Winter is upon us, and there’s no better time to embrace the season with some delightful, winter crafts!
One of our favorites is the charming paper penguin craft, which not only adds a touch of festive cheer to your home but also serves as a fun activity for the whole family.
The best part? We’re providing a free printable template to make this craft even easier and more enjoyable!
Be sure to check out some of our other fun penguin crafts and activities like our printable penguin craft template and our adorable Valentines Day penguin craft where our little guy is holding an adorable heart you can write a special message in. And our paper bag penguin craft that turns into a cute puppet!
We also have some adorable penguin quotes and hilarious penguin jokes that kids will love!
Materials Needed
Before we begin, let’s gather all the materials required for this delightful paper penguin craft. Having everything on hand will ensure a smooth and enjoyable crafting experience for everyone involved.
Printable penguin template: You can grab the printable at the end of this tutorial.
Colored craft paper: We used black and white for the penguin, orange for his beak and feet, pink for his cheeks and a color for his cute little hat.
Cardstock: We attach a piece of rolled up cardstock to make our penguins stand up. You could also use a toilet paper roll if you like, or not stand him up at all.
You’ll also need some basic craft supplies like:
- Sharpie
- Craft glue
- Pencil
- Scissors
- Optional: additional decorations such as googly eyes, glitter, or colored markers
Step 1: Print the Template and Cut out the Pieces
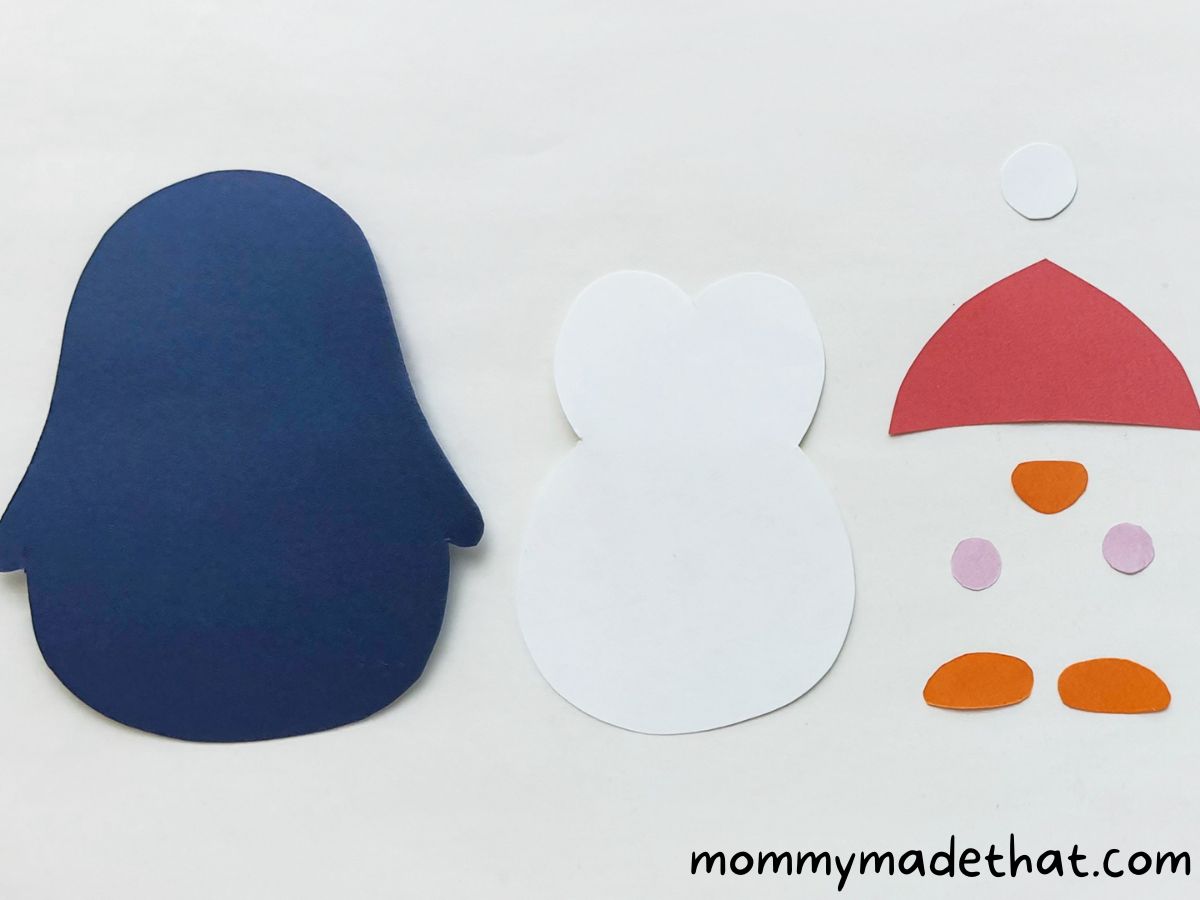
Start by printing out the penguin template. Cut out all pieces. Then grab your colored paper. Trace out all the pieces of the penguin and cut them out.
Step 2: Attach the Belly and Pom Pom
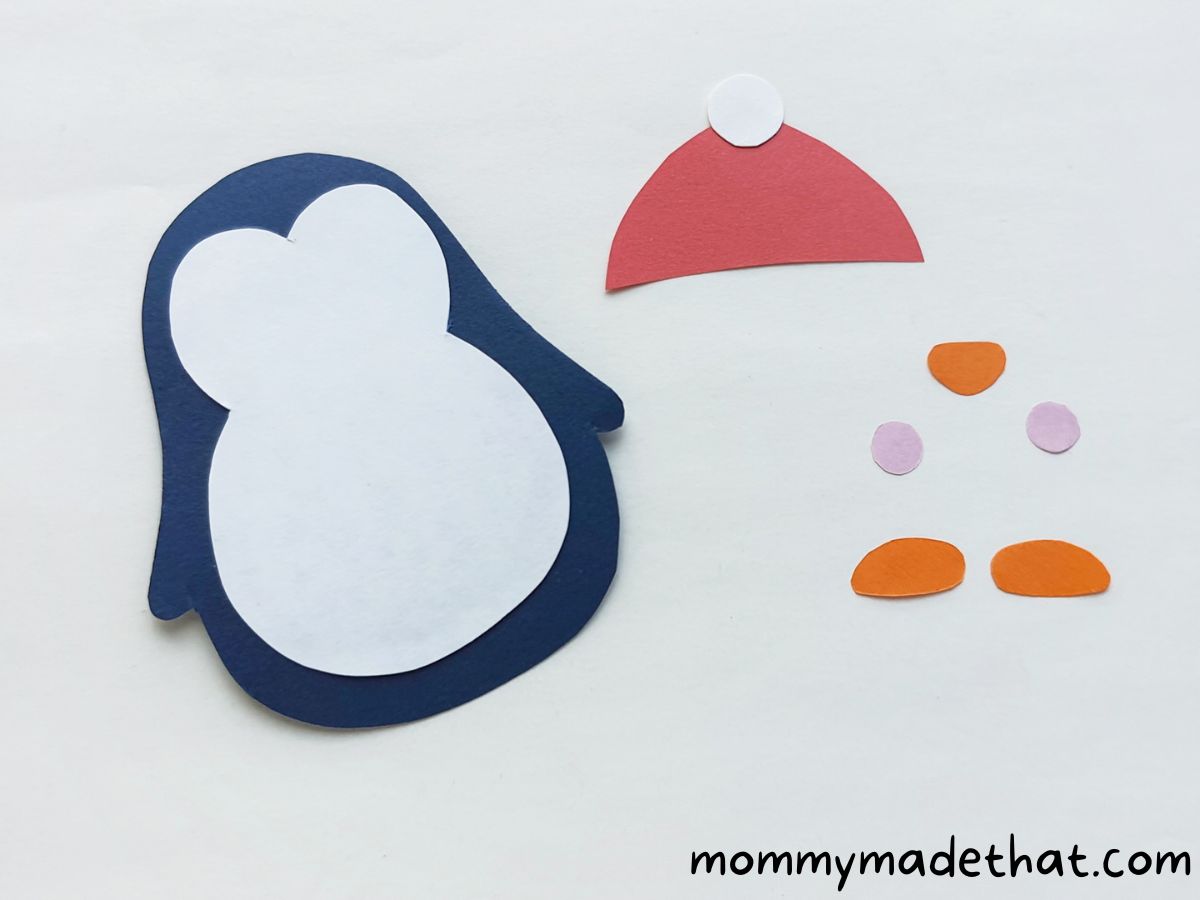
To start assembling your penguin, start by attaching the belly piece to the body. Then attach the small round piece to the top of the hat, making a cute little pom pom. Like a Santa hat!
Step 3: Add the Feet
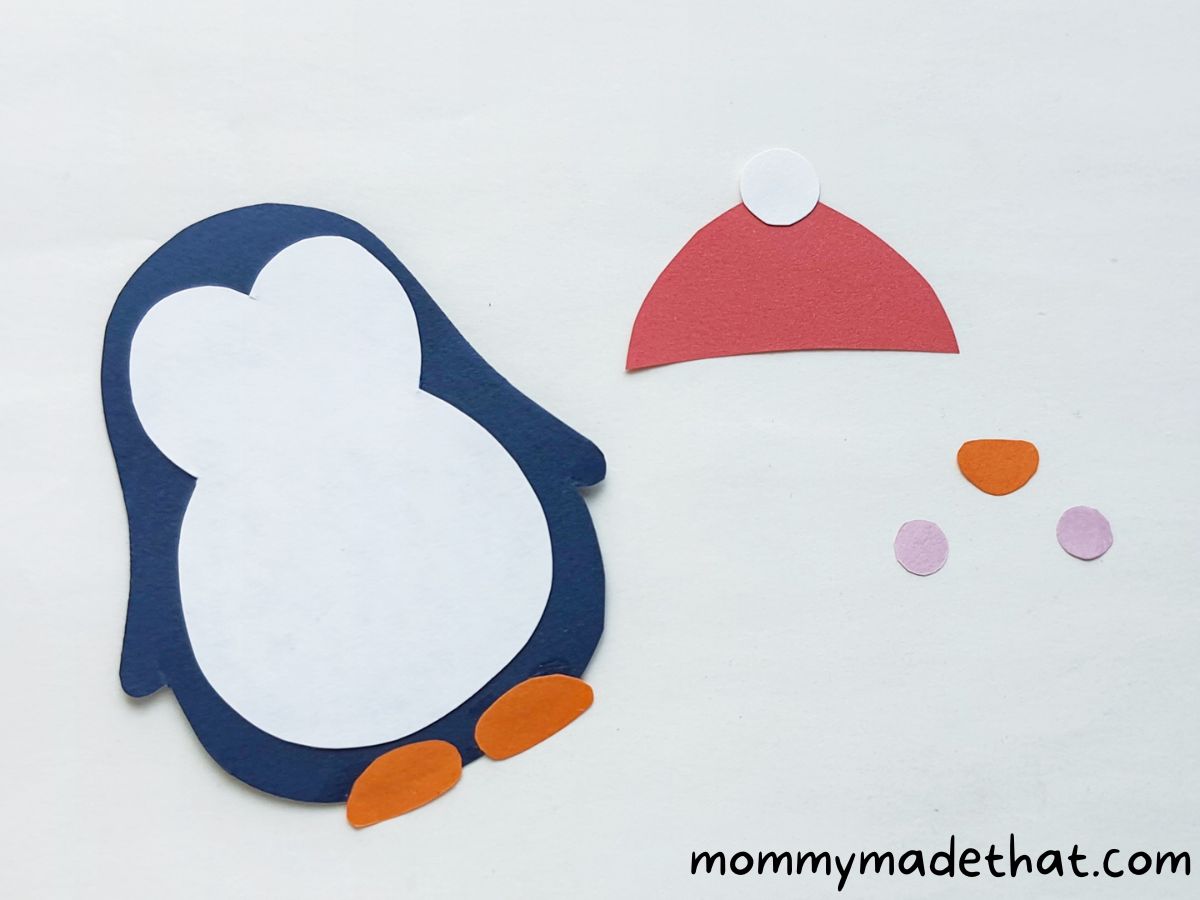
Next attach the feet to your penguin.
Step 4: Create Your Penguin’s Face
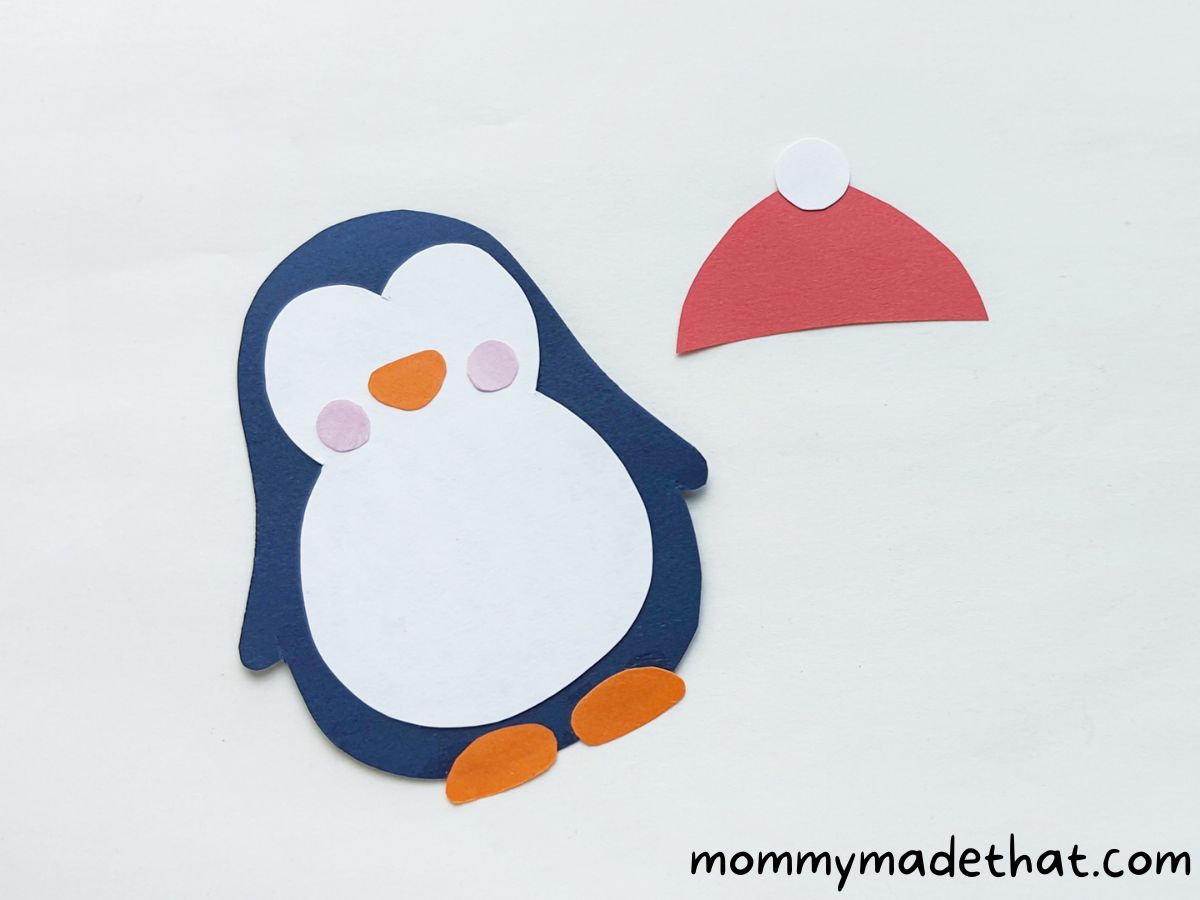
Then you can add the penguins beak and cheek pieces to start making his face.
Step 5: Draw the Eyes and Attach the Hat
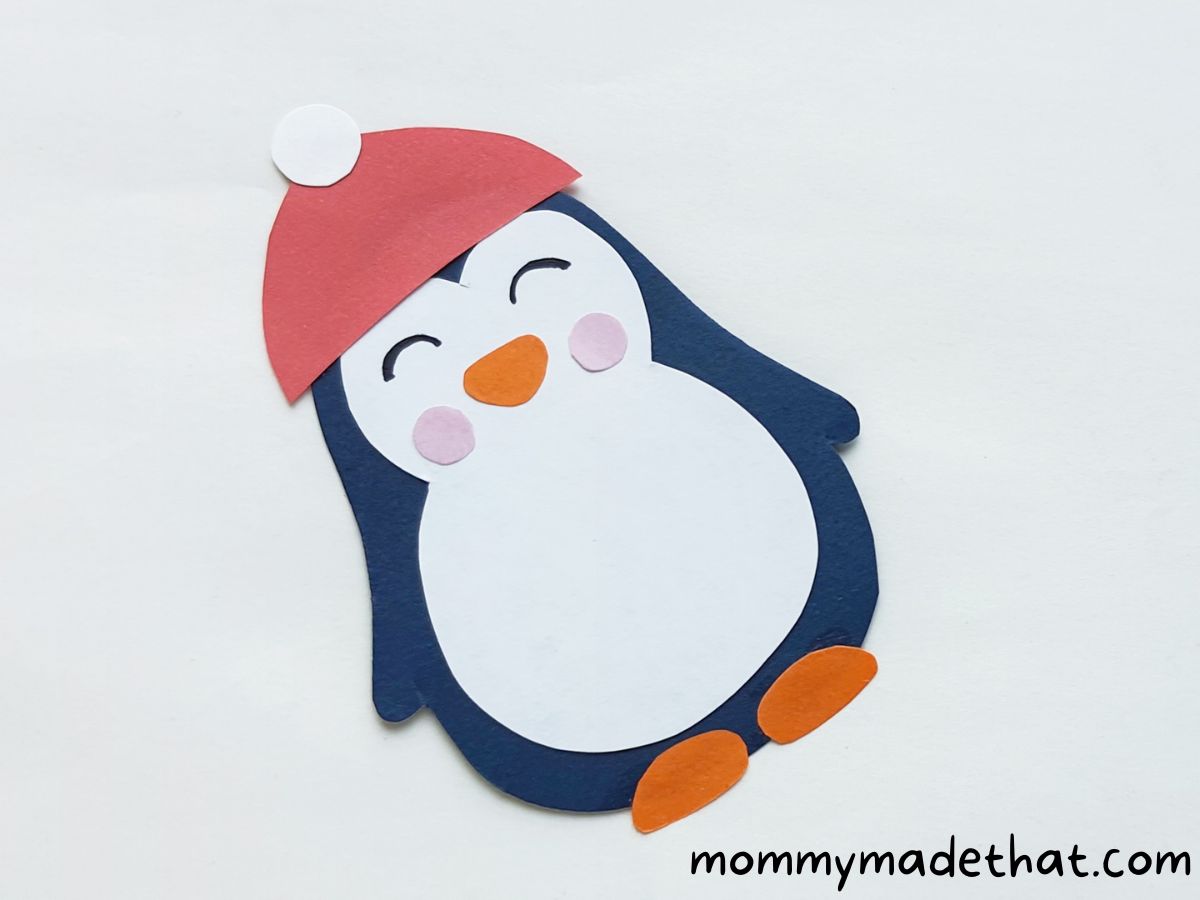
Next using a black pen or marker, draw eyes on your penguin’s freshly created face.
Then attach his hat to the top of his head. The hat is optional though! The penguin is totally adorable with out it.
Step 6: Prepare the Cardstock Roll
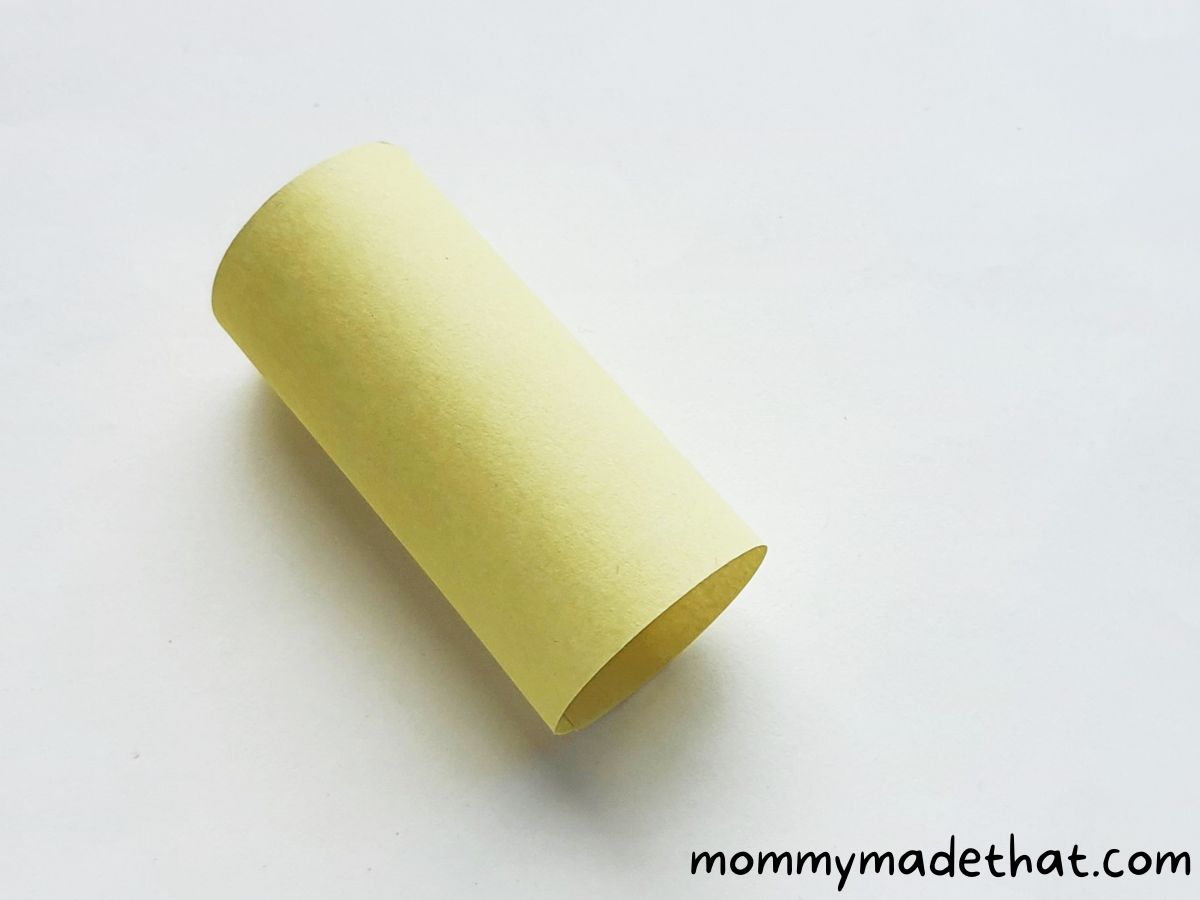
Now, you can stop here and have a cute little paper penguin. But if you’d like to have him standing up, cut a piece of cardstock paper.
Make sure its about the same height as your penguin. Then roll it up.
Step 7: Attach the Roll to the Penguin
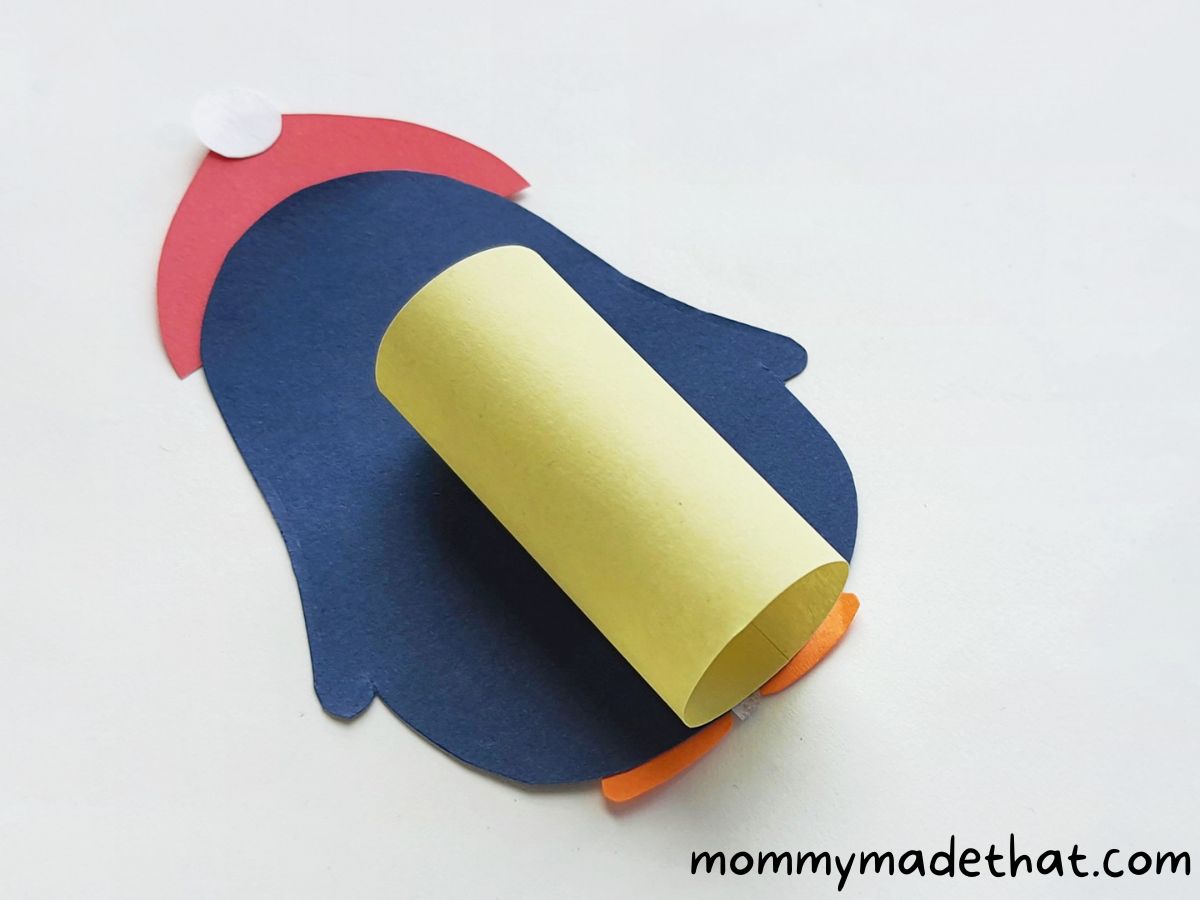
Attach the rolled up piece of paper to the back of your penguin.
Step 8: Test Your Penguin’s Stability
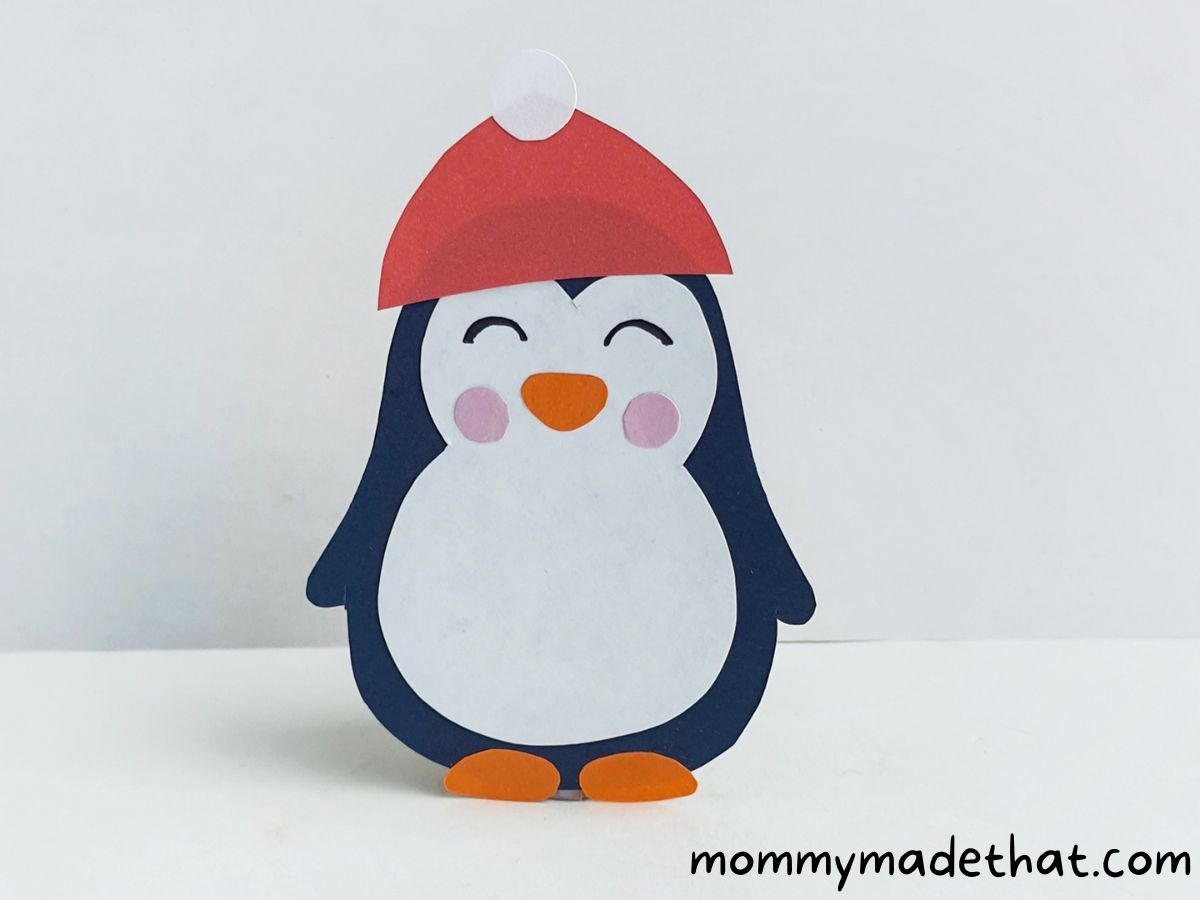
Check if your penguin can stand up with the roll attached to it. Once it can stand on its own, your craft is complete and ready to be displayed!
Now that you have all the steps laid out, it’s time to create your very own papercraft penguin! Enjoy the process and have fun crafting.

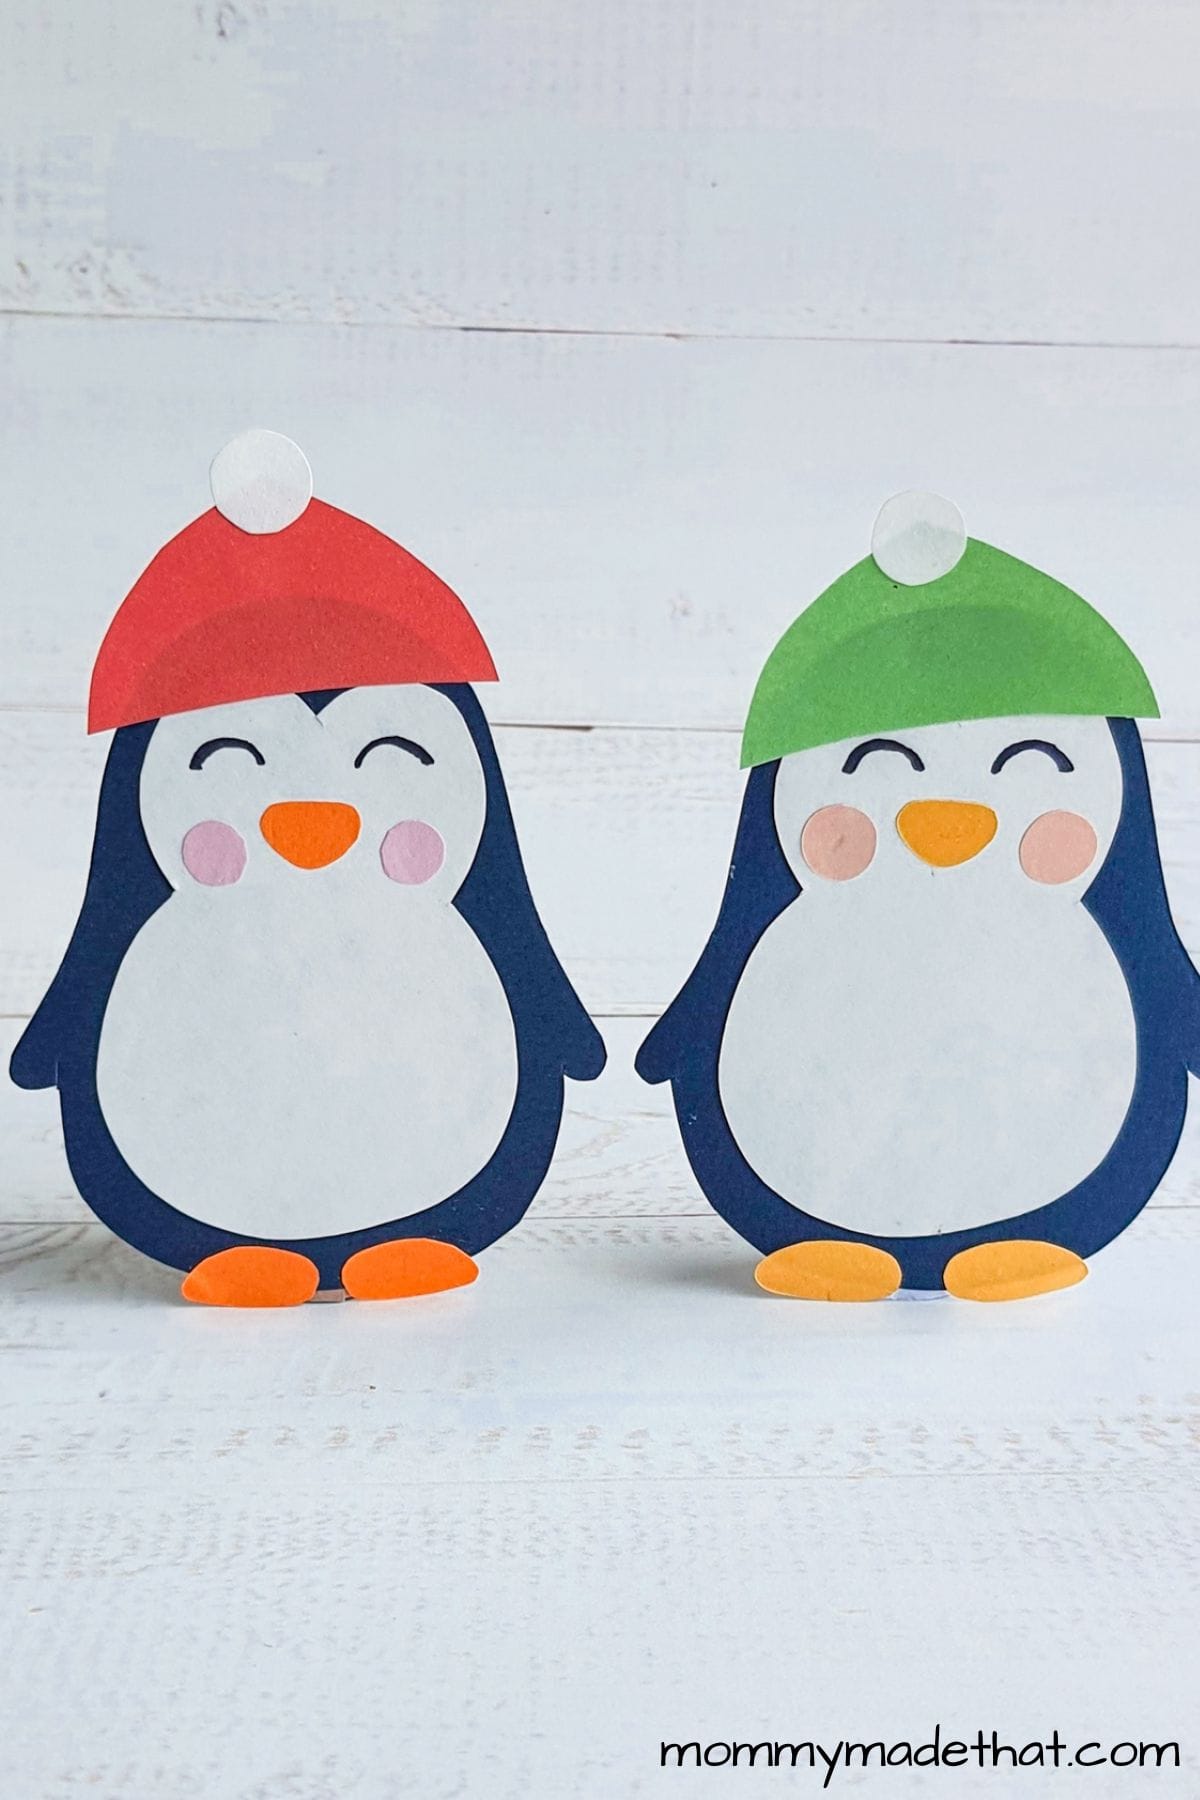
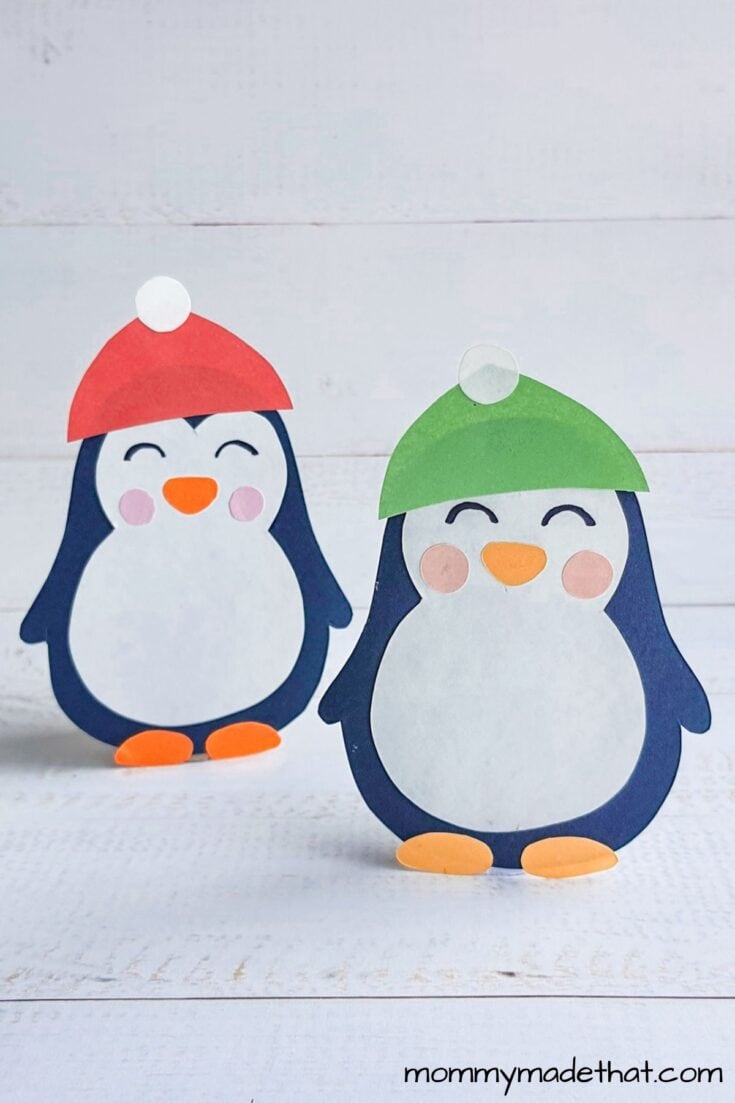
We made two of our paper penguins. One with a cute red hat.
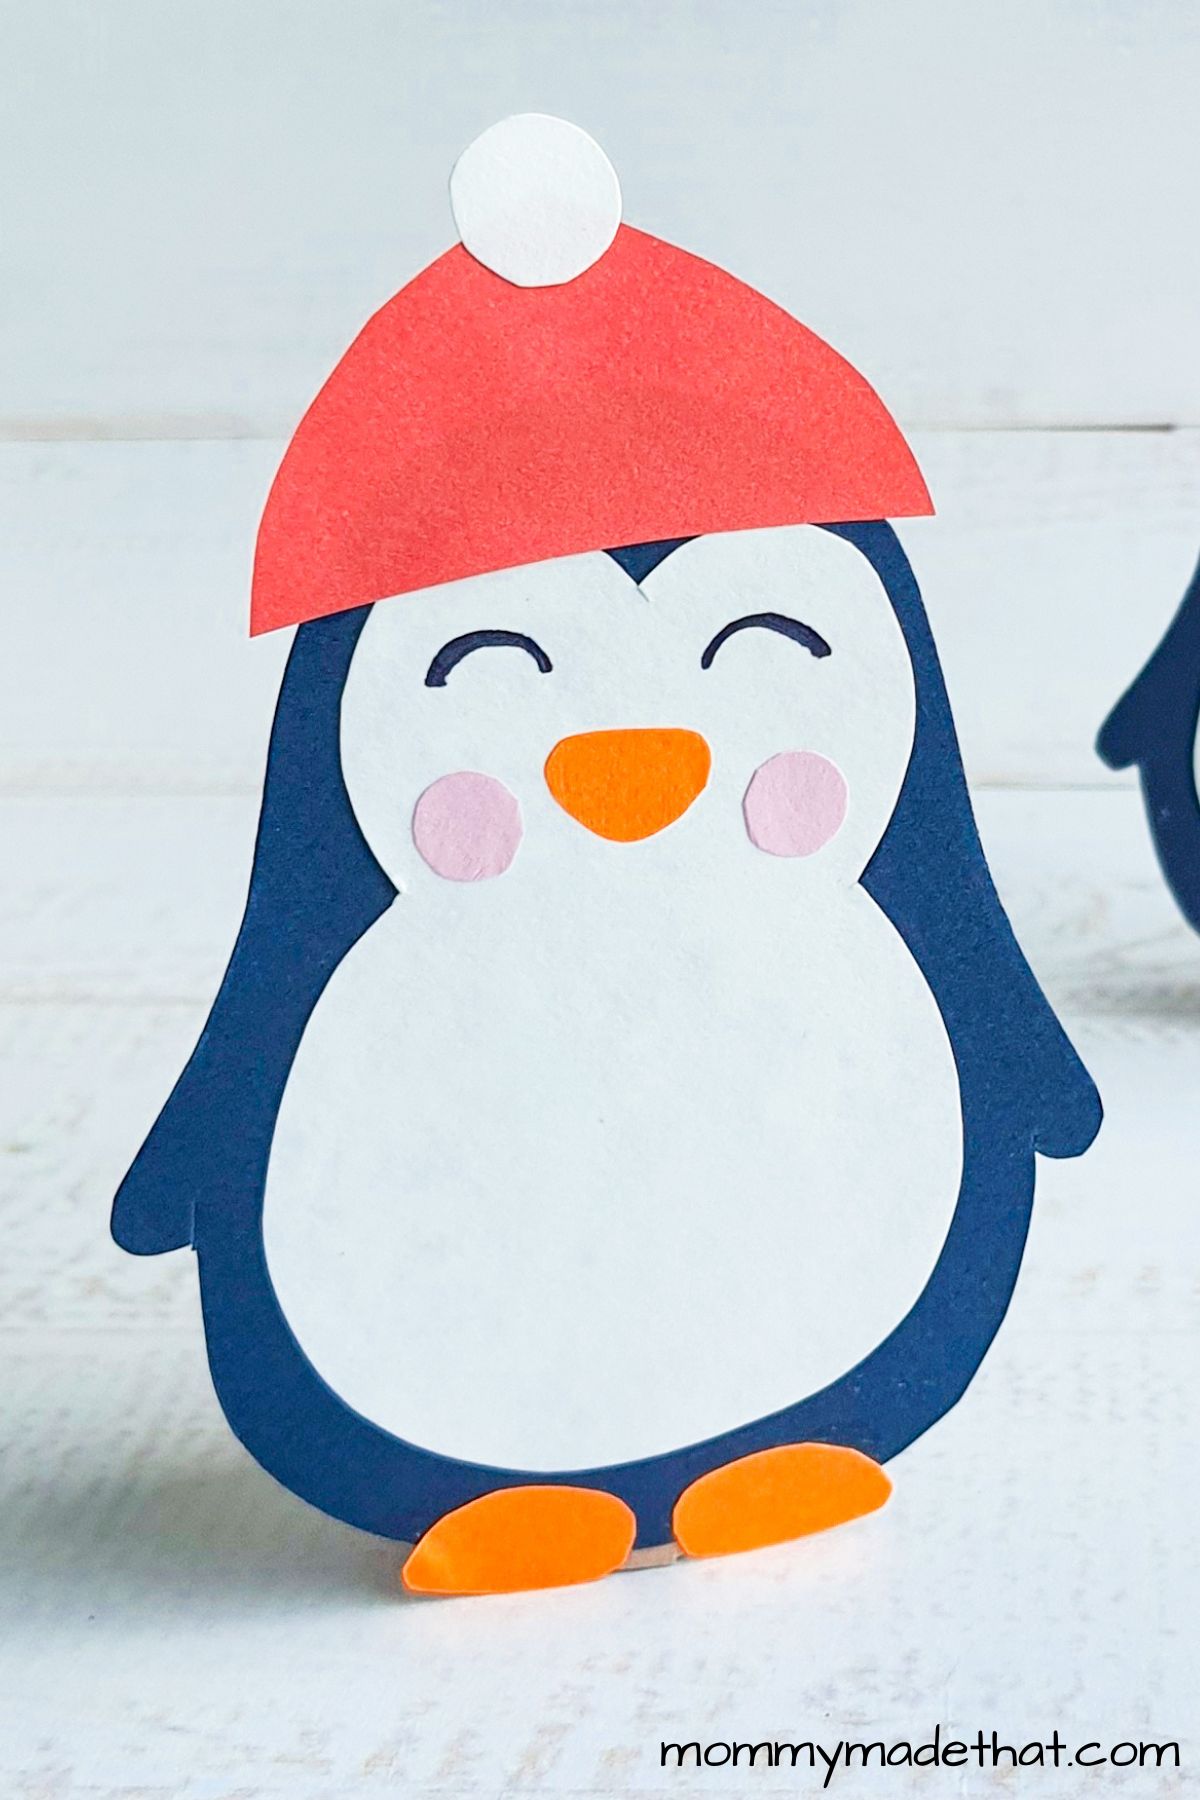
And one with a green hat.
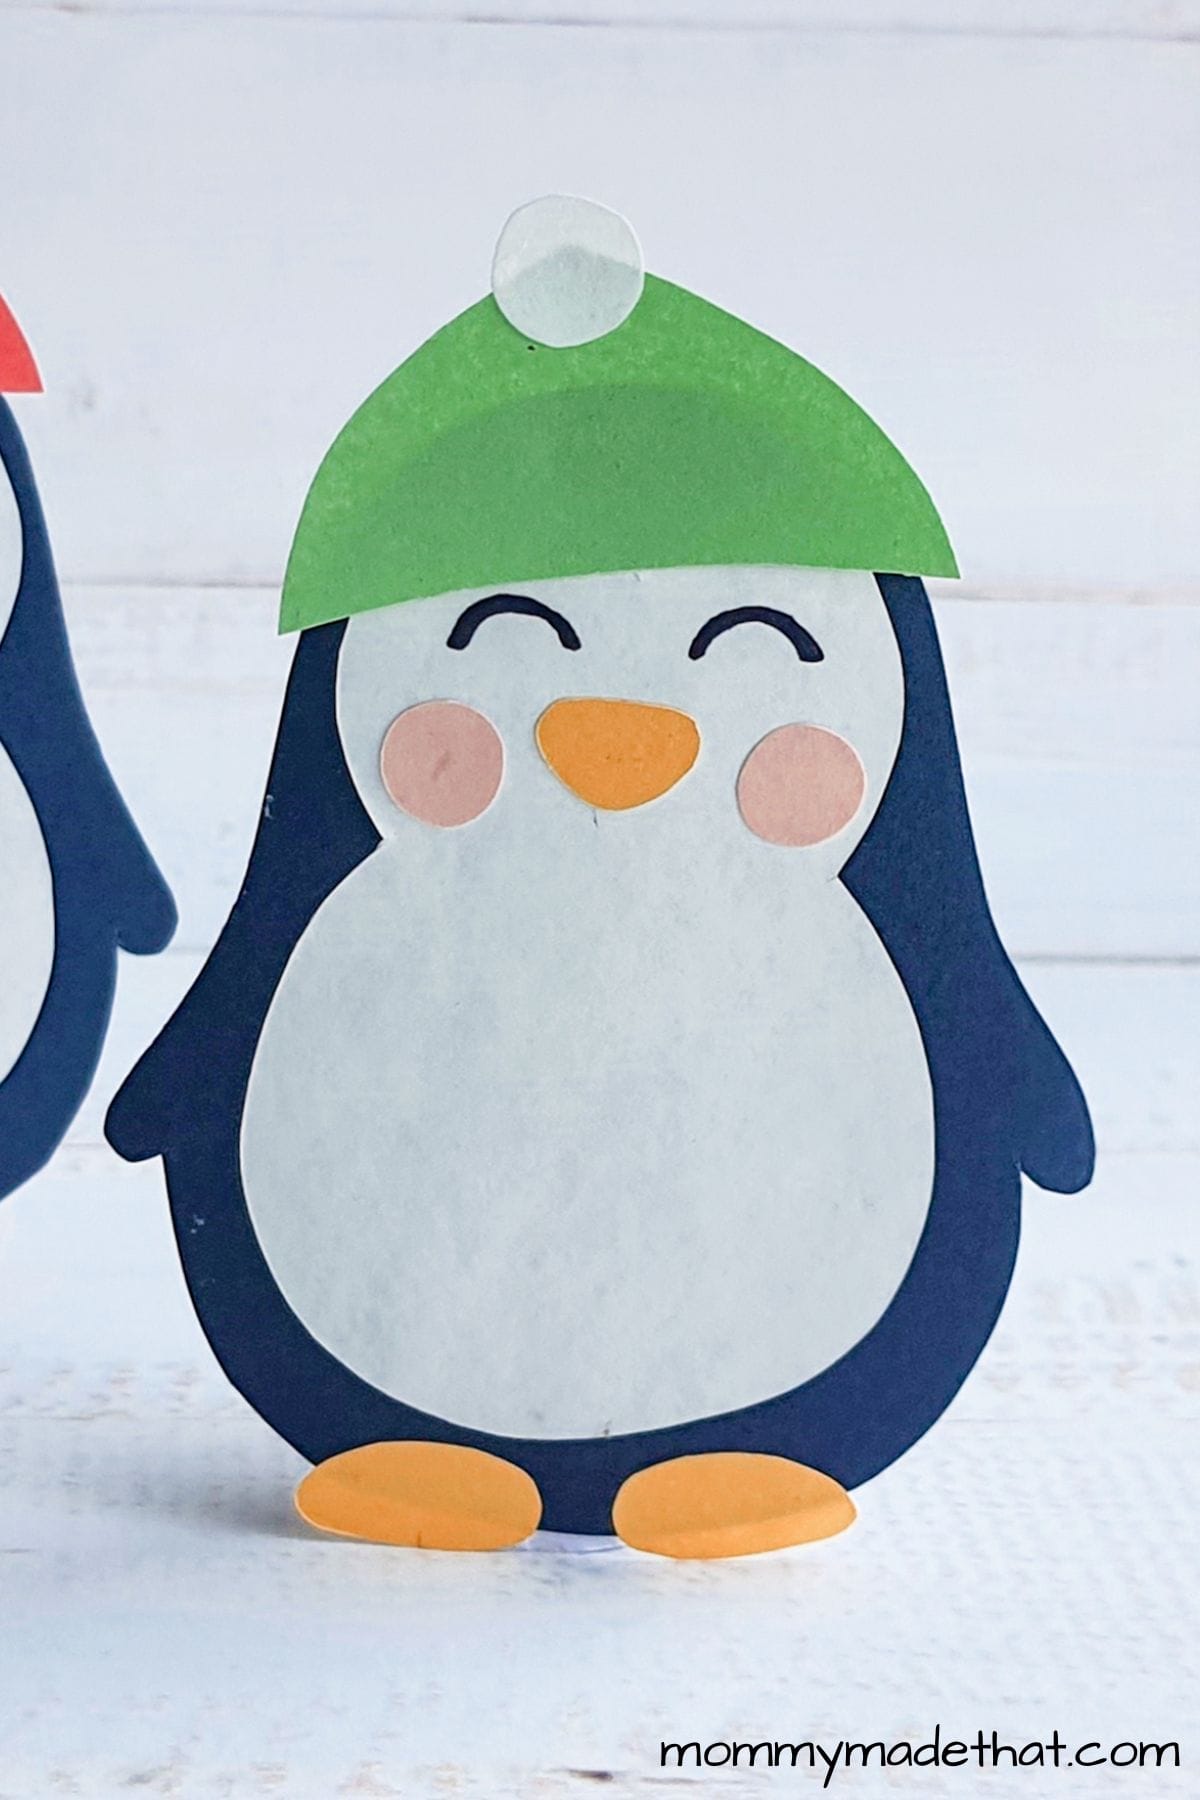
Once you’ve created your cute little penguin craft, make sure to give them a cute penguin name to go along with it!

Grab the Free Printable Penguin Template
To grab the free penguin template, put your email in the box below. These are for personal or classroom use only please. Not for commercial use. Thank you!
Paper Penguin Craft
This adorable paper penguin craft is easy to make using our free printable template.
Materials
- Penguin template
- Colored craft paper
- Piece of cardstock
- Glue
Tools
- Scissors
- Pencil
- Black pen
Instructions
- Print penguin template, cut out pieces, trace on colored paper, and cut them out
- Attach belly piece to body, add pom pom to hat
- Attach feet to penguin
- Add beak and cheeks to create face
- Draw eyes with black pen, attach hat (optional)
- Cut cardstock the same height as penguin, roll it up
- Attach rolled cardstock to penguin's back
- Test penguin's stability; if it stands, the craft is complete
Notes
You can add the hat to your penguin or leave it off. It's totally up to you.
Be sure to check out some of or other fun winter and Christmas crafts like our toilet paper roll reindeer craft or our pipe cleaner Christmas trees.

