
Paper Bag Penguin Craft (With Free Printable Puppet Template)
This adorable paper bag penguin is a cute and fun penguin craft perfect for kids of all ages.
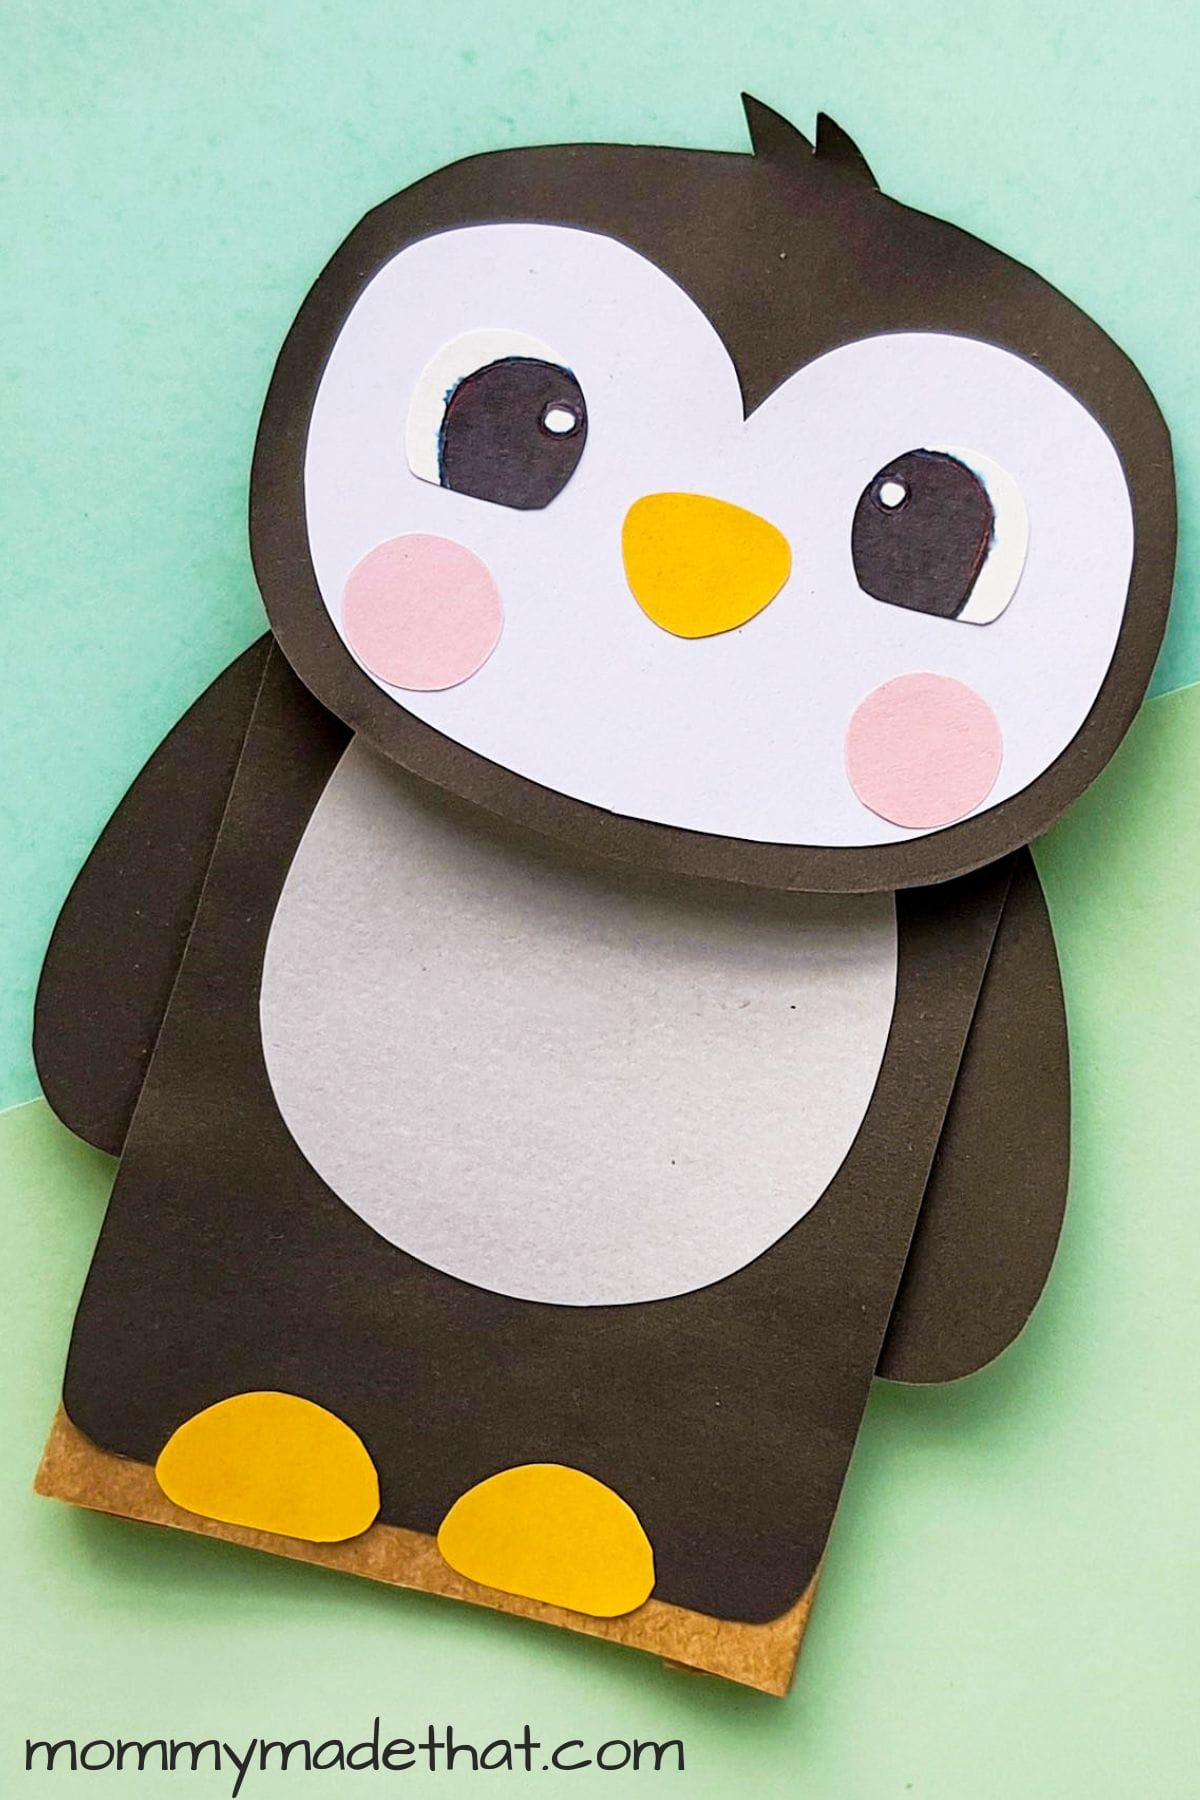
Looking for a fun and easy winter craft to do with your children? Look no further than this adorable paper bag penguin puppet!
This craft is perfect for kids of all ages and can be made using common household items.
Not only is it a great way to get creative, but it also provides an opportunity to teach children about penguins and their natural habitat.
Grab our craft template, some glue, paper bags, and paper and get ready to have some wintery fun!
This is a fun winter craft for kids but also makes for a great Christmas craft.
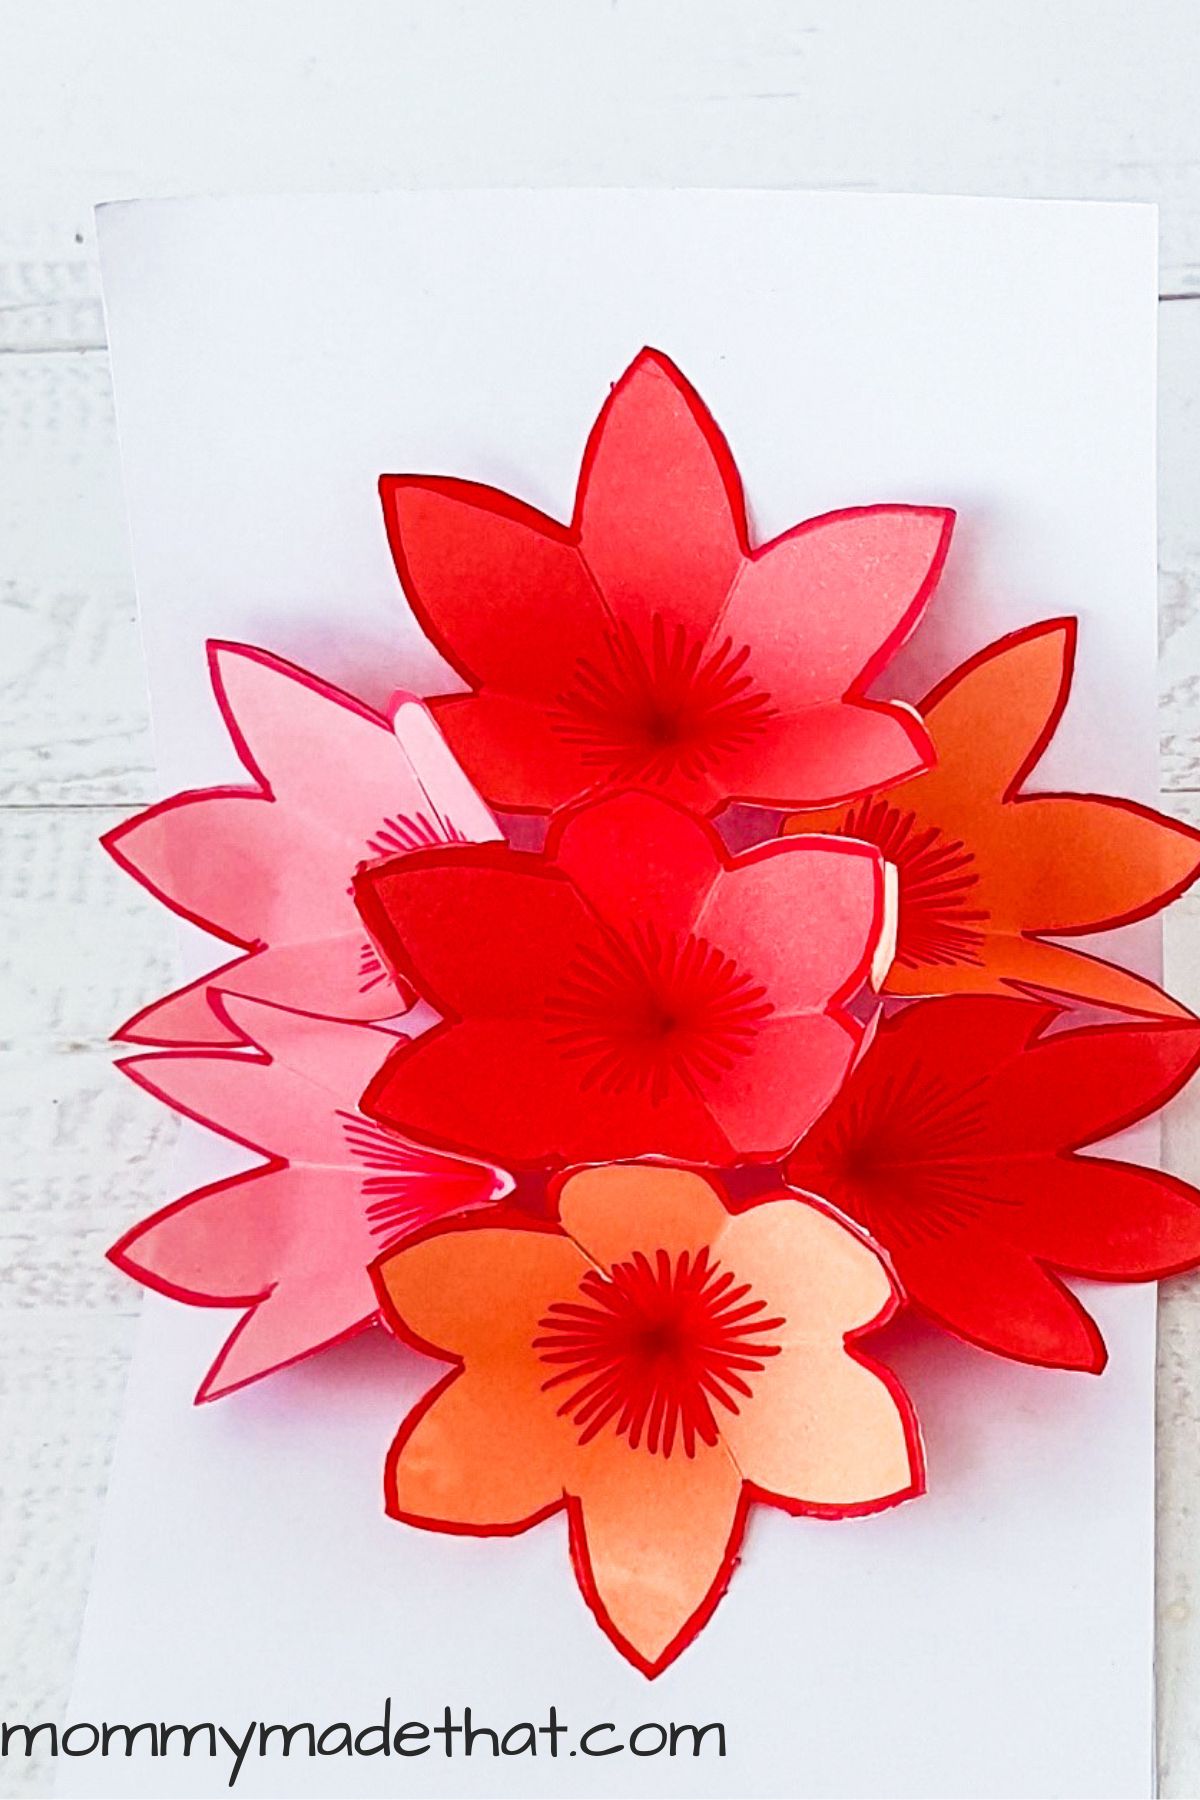
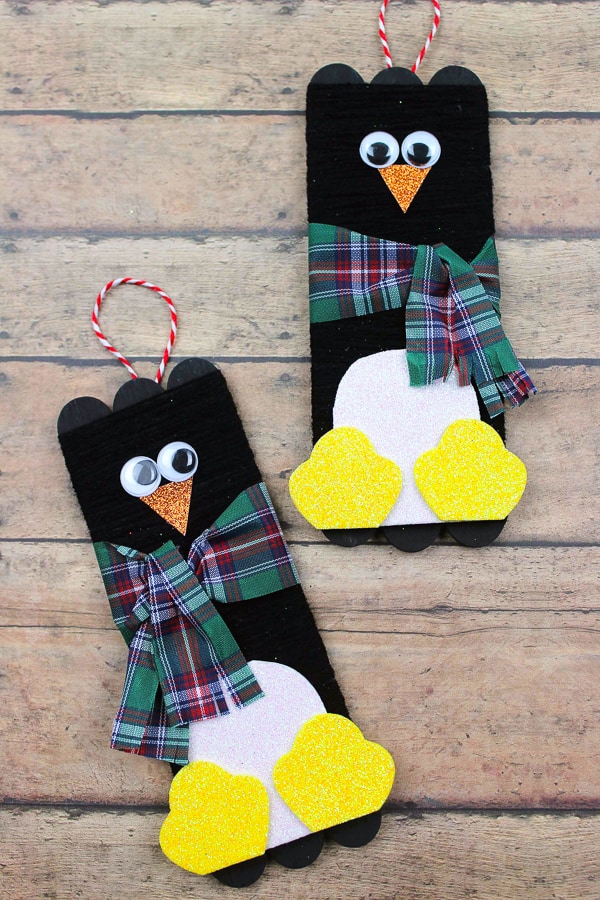
We also have a cute penguin popsicle stick craft to check out if you’re working on penguin activities.
Table of Contents
Materials
Colored craft paper: We used black and white along with a tiny bit of orange and pink. If you don’t have colored craft paper, you can print out the template and color it in with colored pencils or crayons instead.
Penguin craft template: You can grab the free printable template at the bottom of this post.
Paper bag: The small paper lunch sack size is what we used for this.
You’ll also need some basic craft supplies like:
- Black marker
- Pencil
- Scissors
How to Make a Penguin Puppet
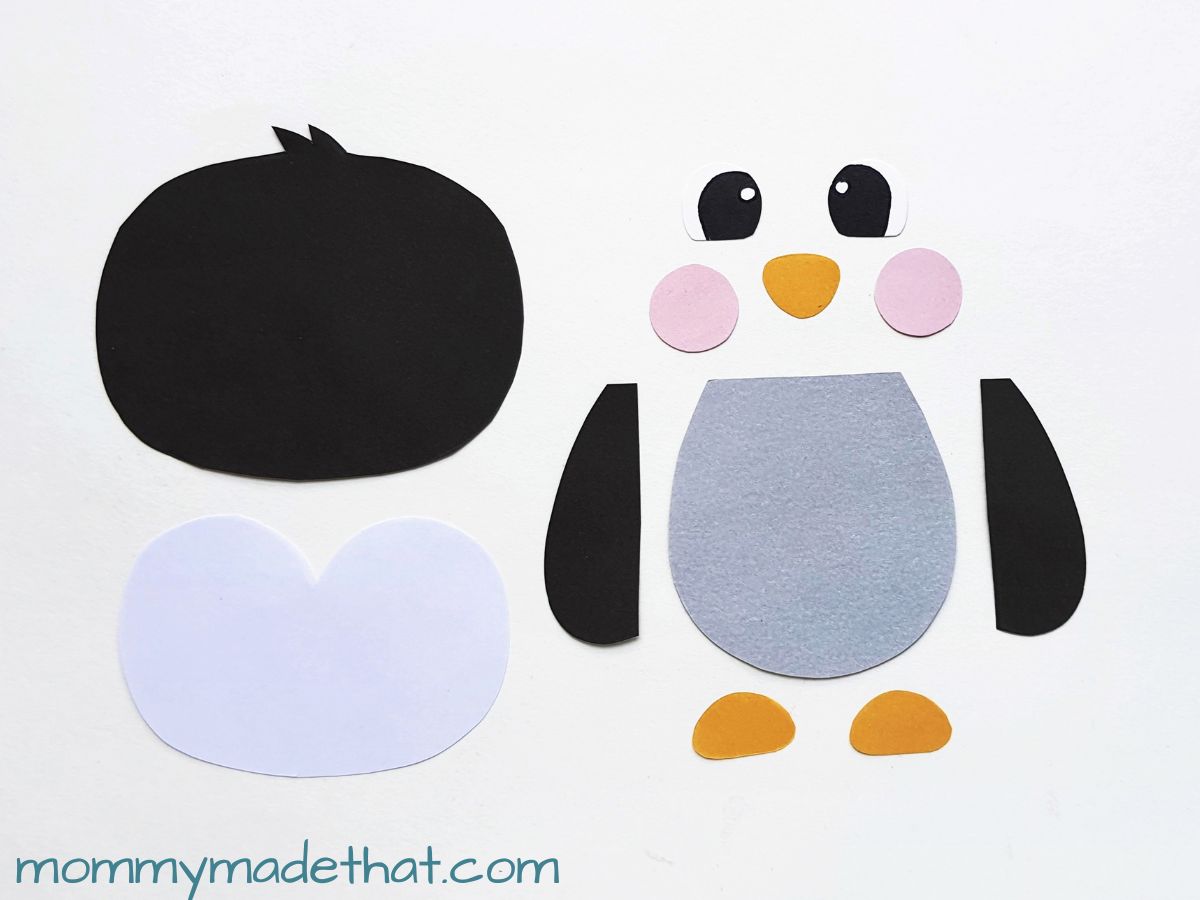
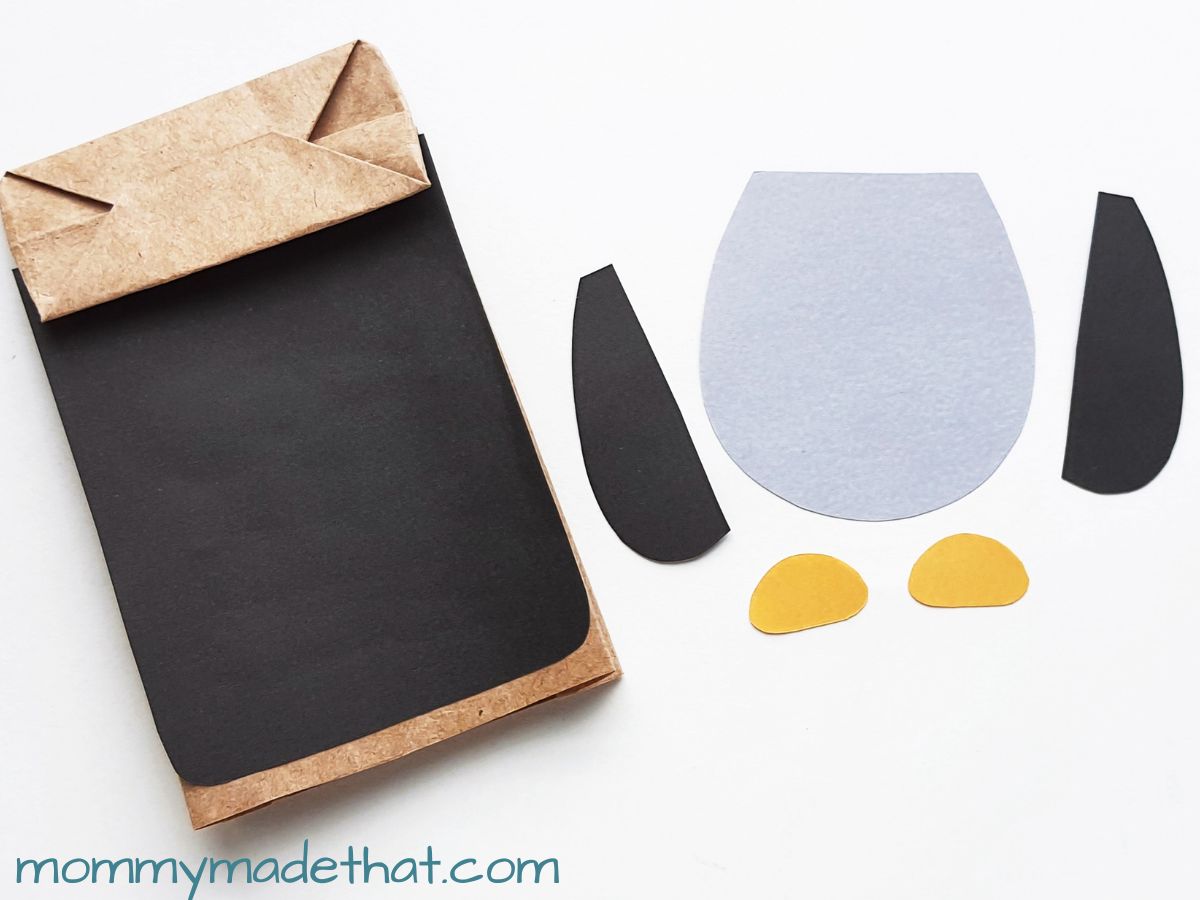
First print out the penguin template. Then either color in the template pieces or grab some colored craft paper. Cut out the template pieces and trace onto your colored papers and cut out. Our template includes the penguins head, face, wings and body, along with their beak, feet and cheeks.
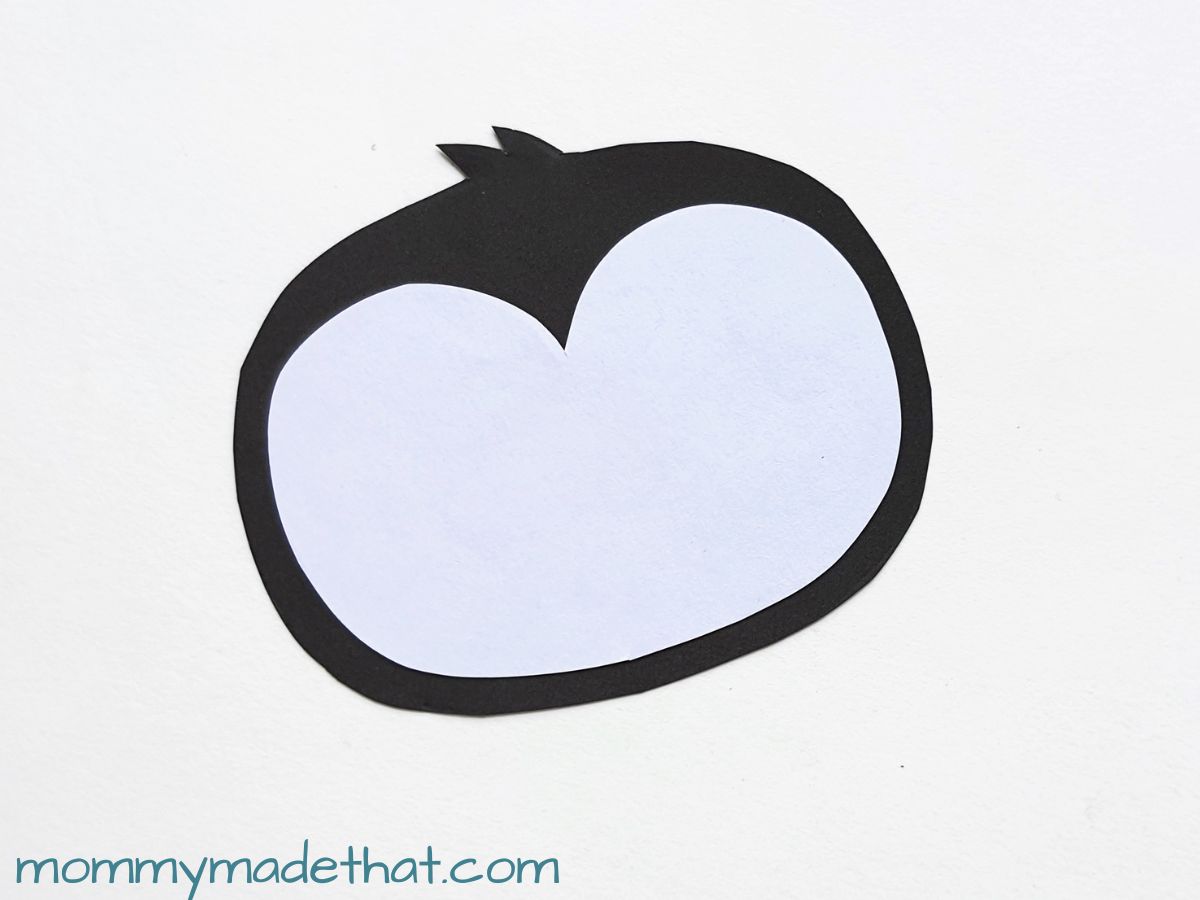
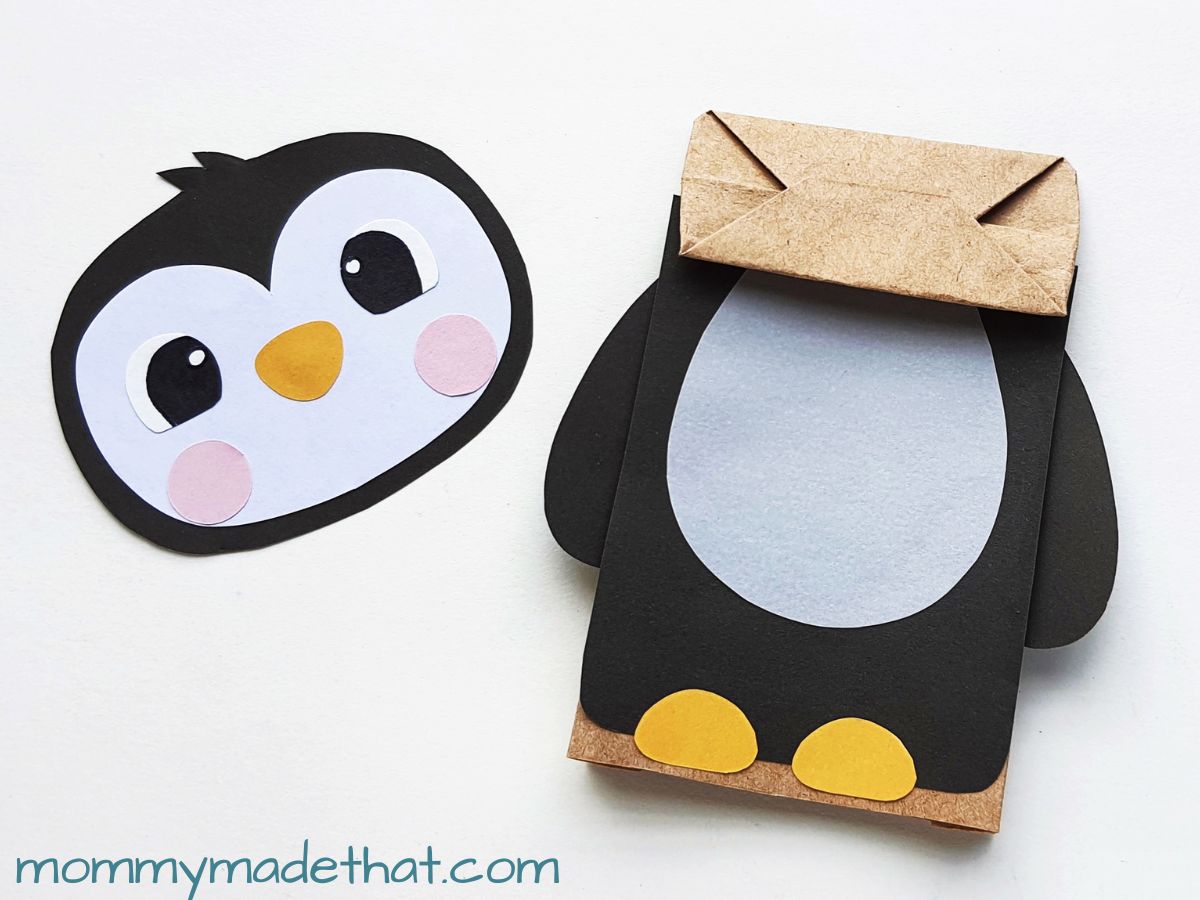
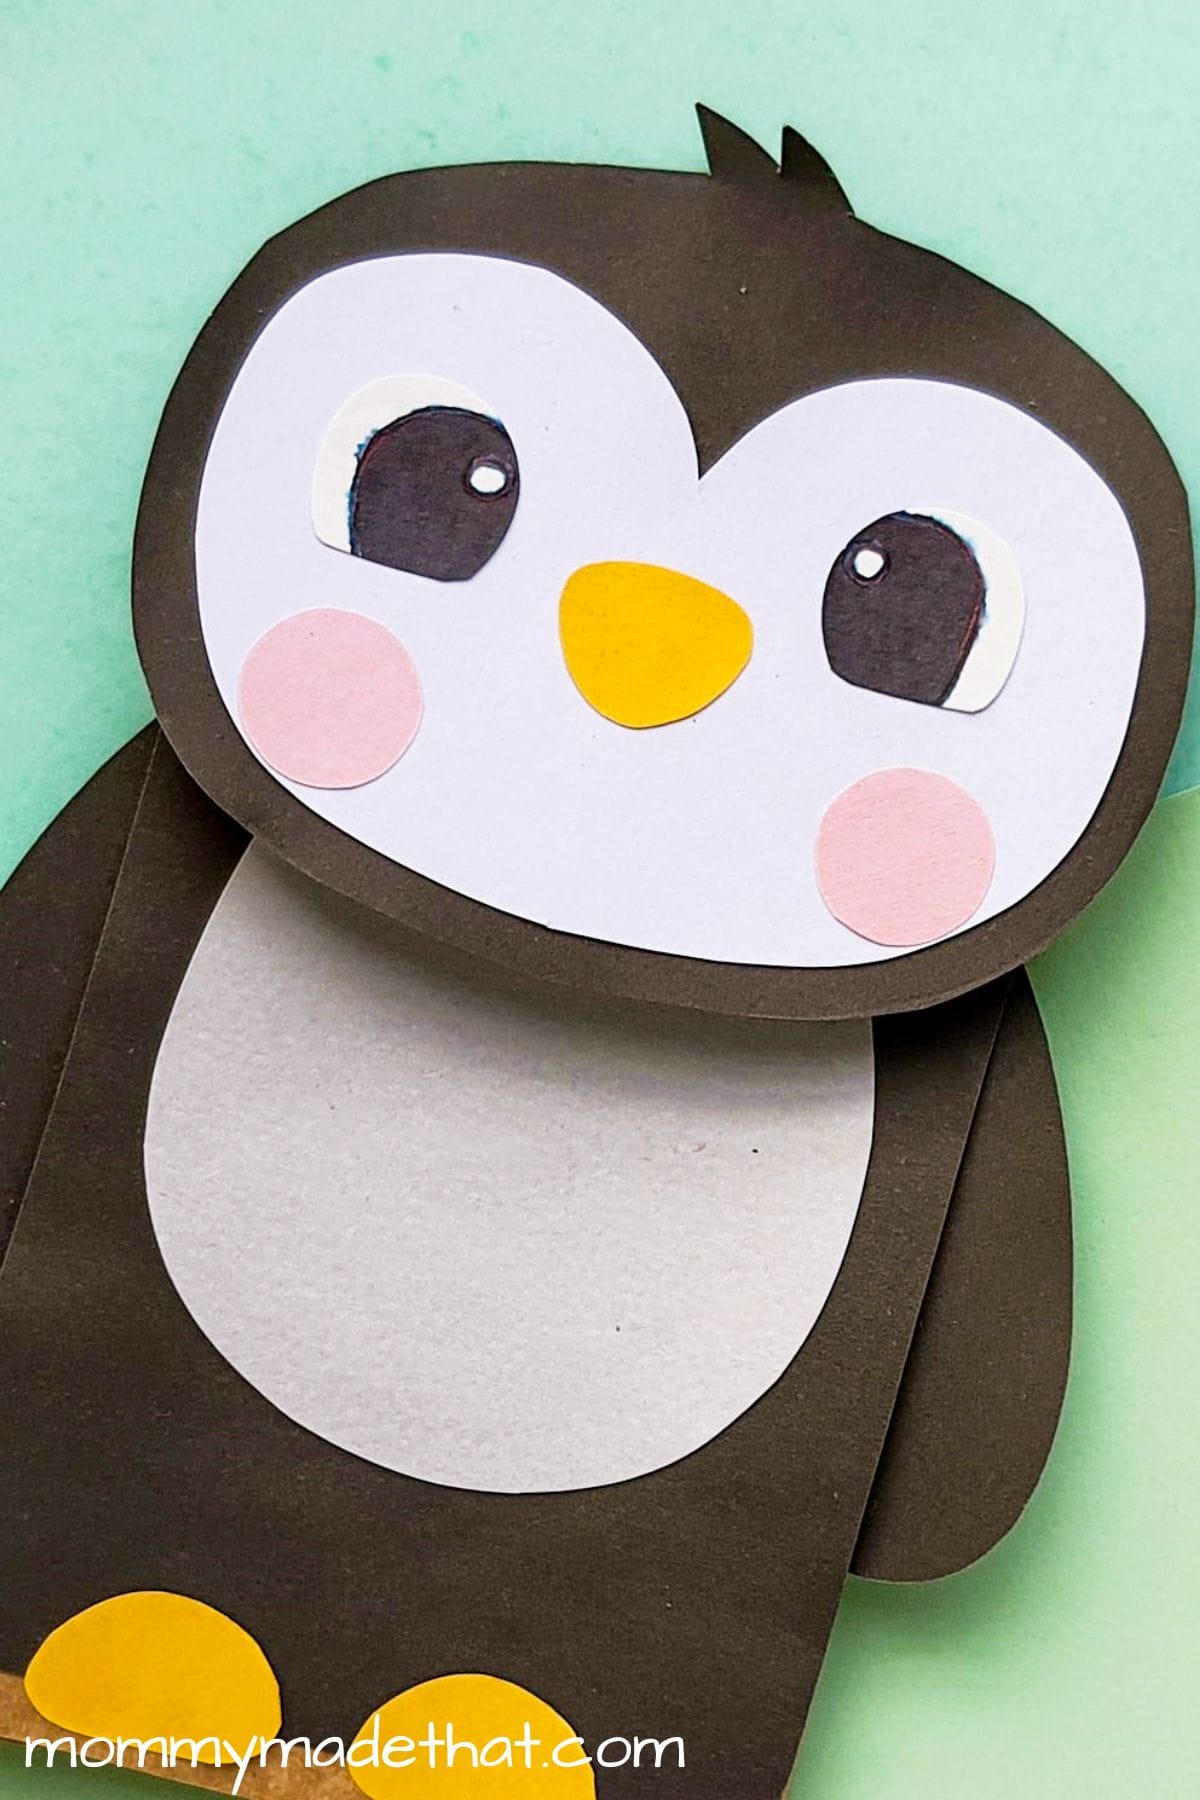
Start by attaching the face piece to the middle of the head like shown below.
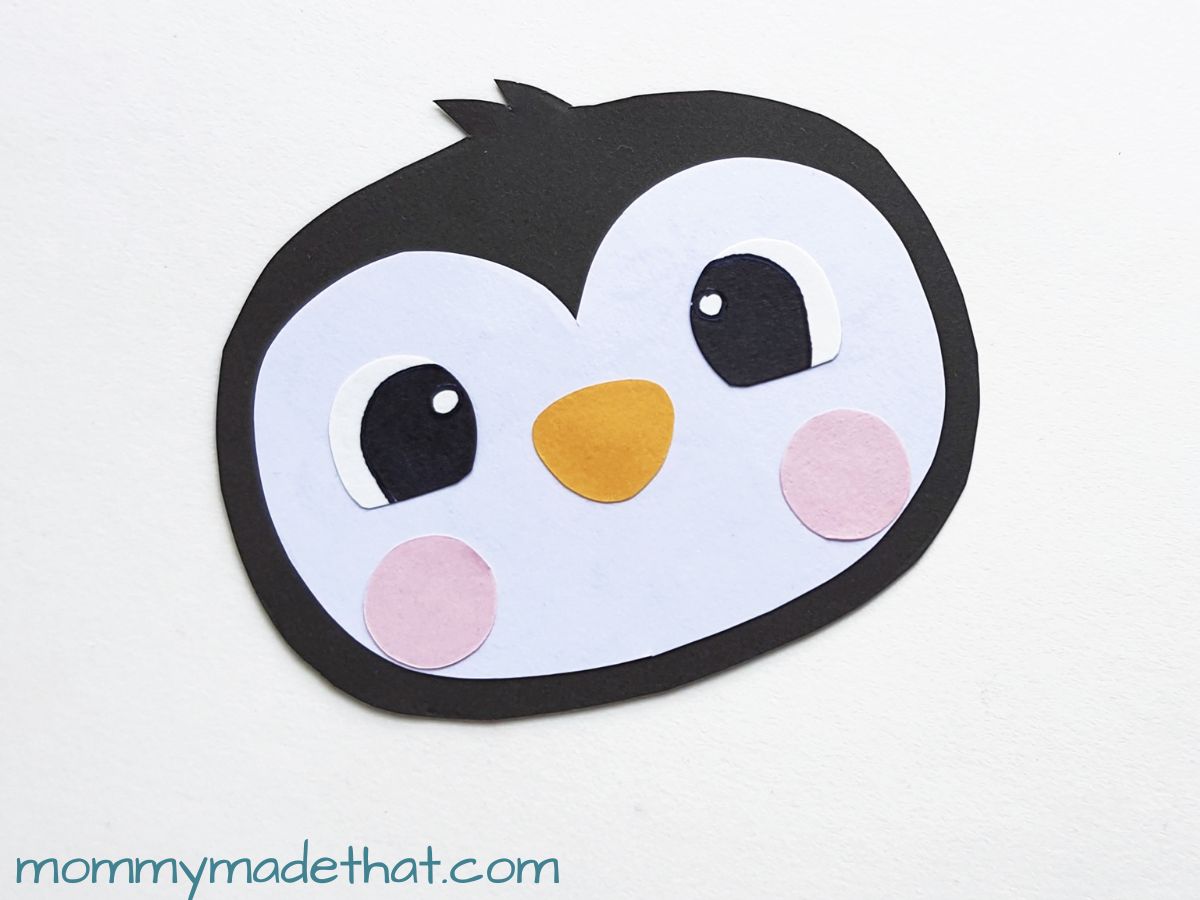
Then glue on his eyes, beak and cheeks.
Grab the paper bag and a black piece of paper. Measure out a piece of the black paper big enough to cover the front of the paper bag, like shown below.

Then attach it to the front of the paper bag. This will be the front of your penguin puppet.
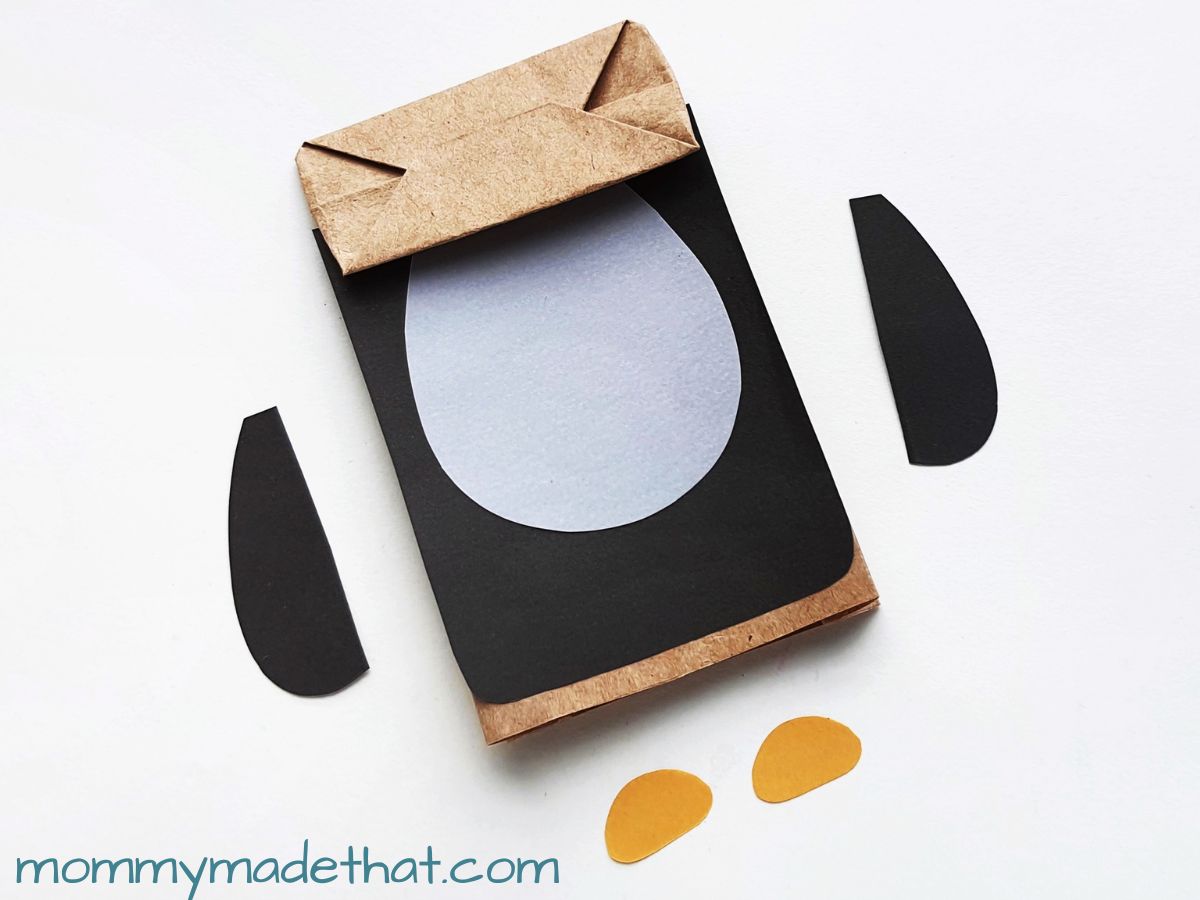
Next, attach the penguin’s belly toward the top of the black part of the bag.
Then attach his feet to the bottom and the wings to each side of the paper bag.
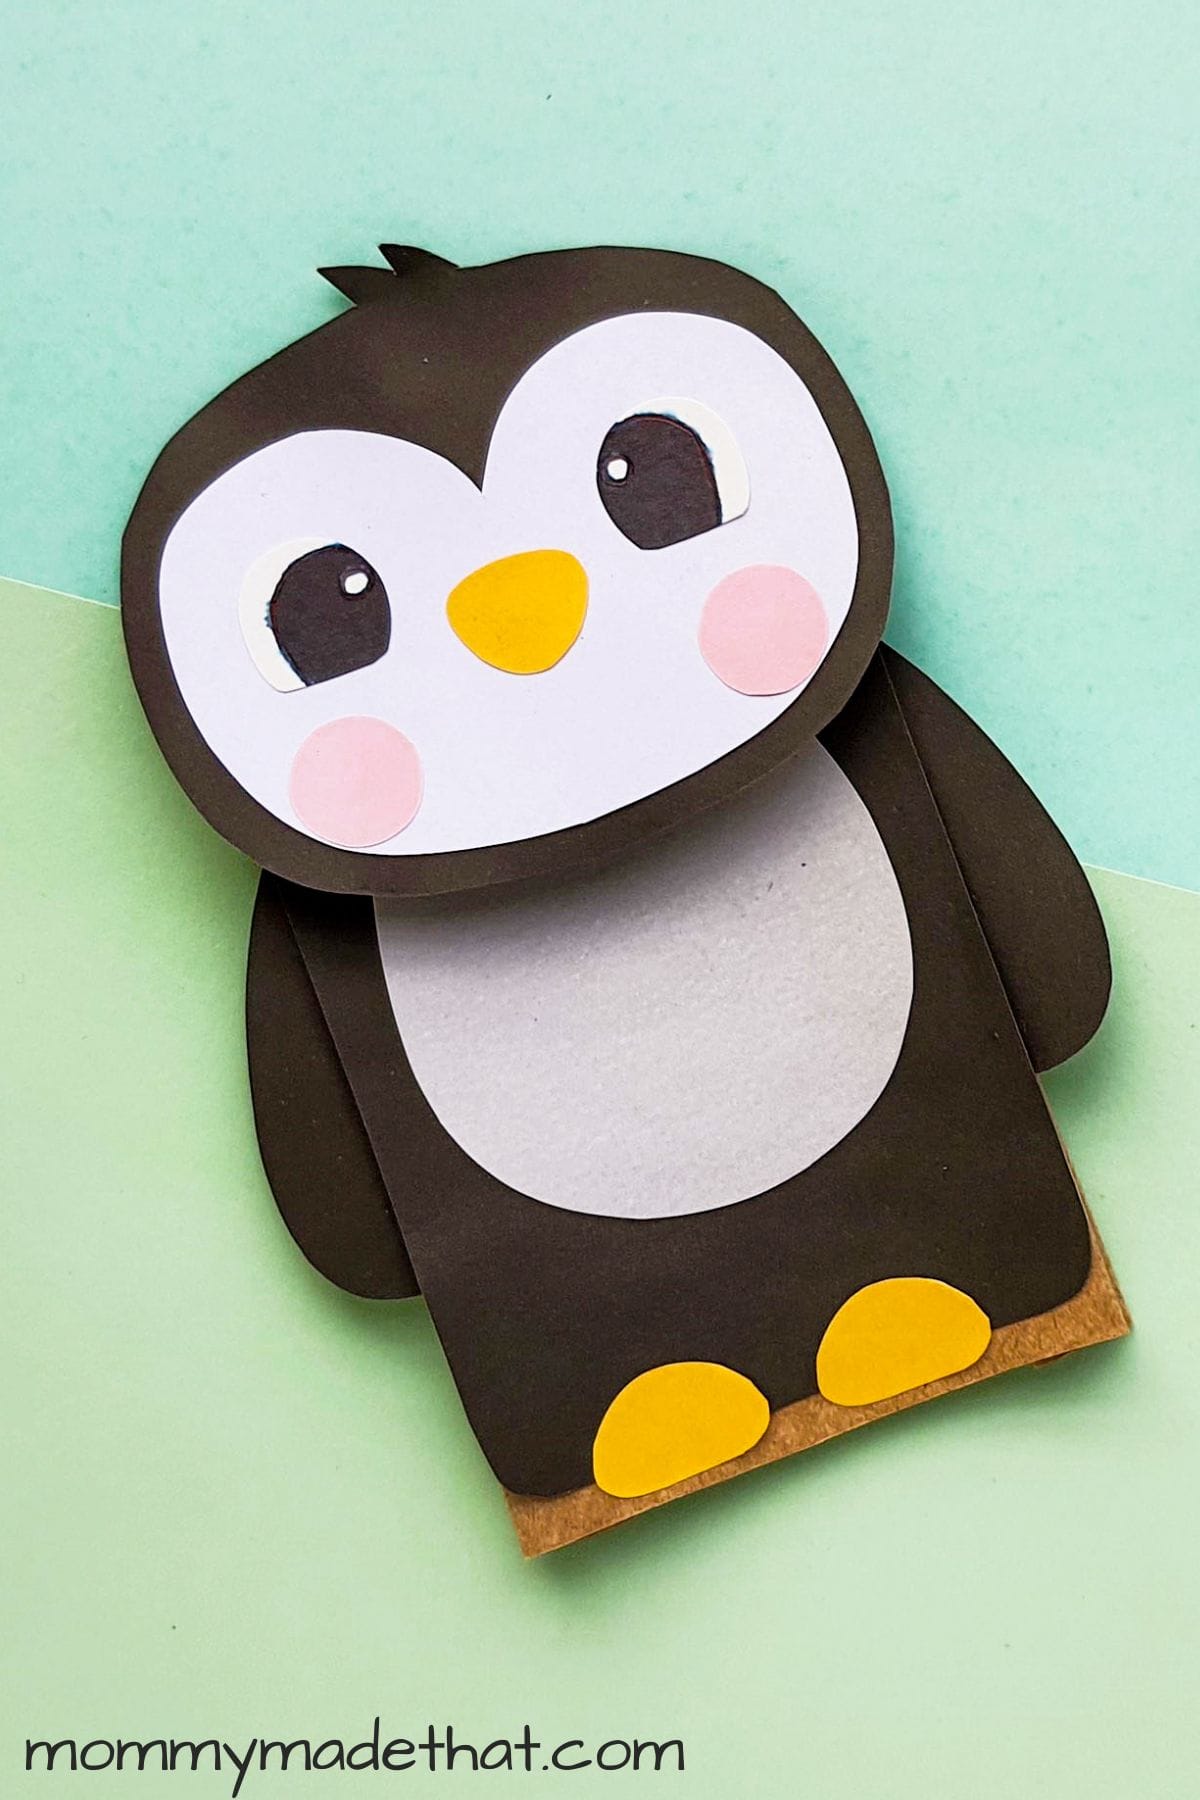
Finally, flatten the “bottom” of the bag so you can attach the head on the front side of the penguin puppet.
Glue the head on and let everything dry completely before playing with your cute little penguin puppet craft!
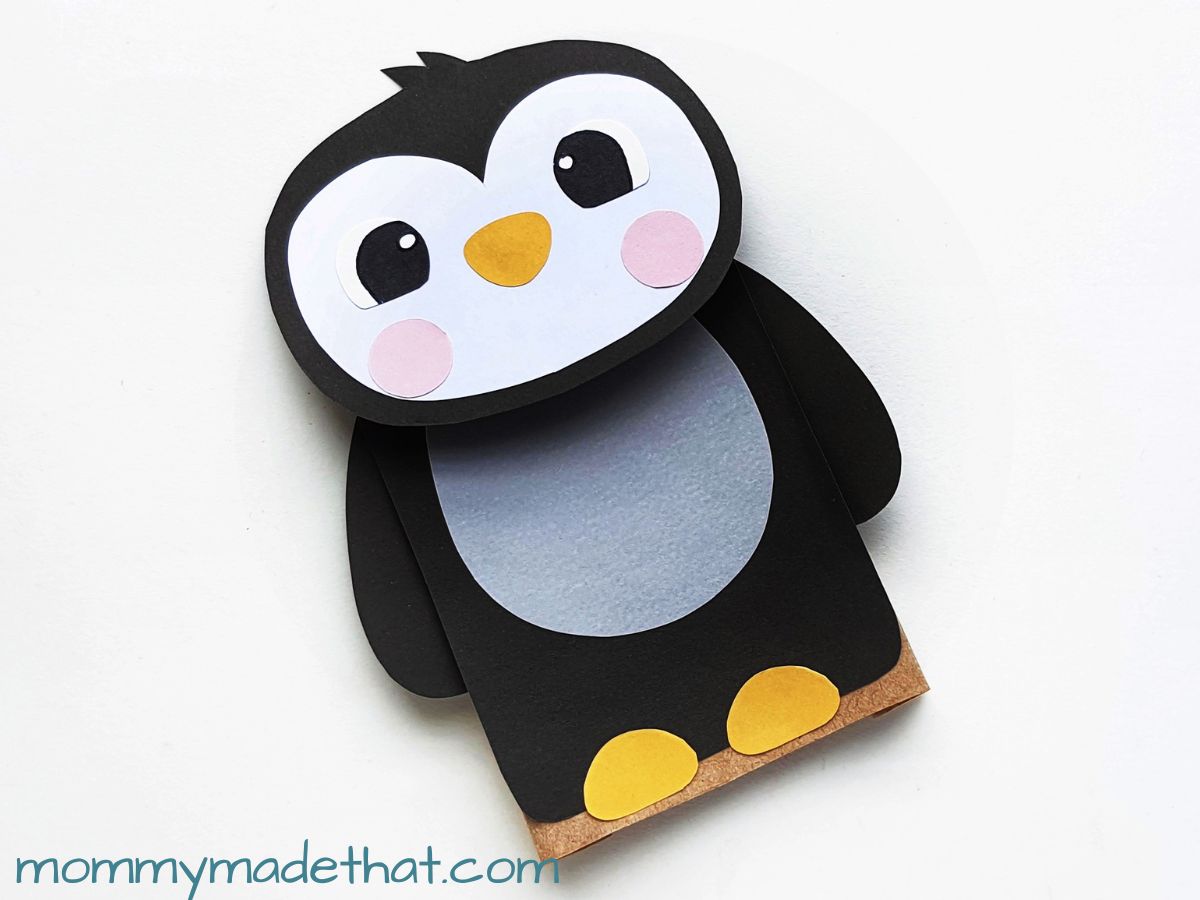
And that’s it! Now you’ve finished making this adorable penguin and can have lots of fun playing make believe.
Grab the Free Penguin Template
To grab the penguin template, put your email in the box below.
We’ll send it straight to your inbox.
This is for personal or classroom use only please. Not for commercial use. Thank you!

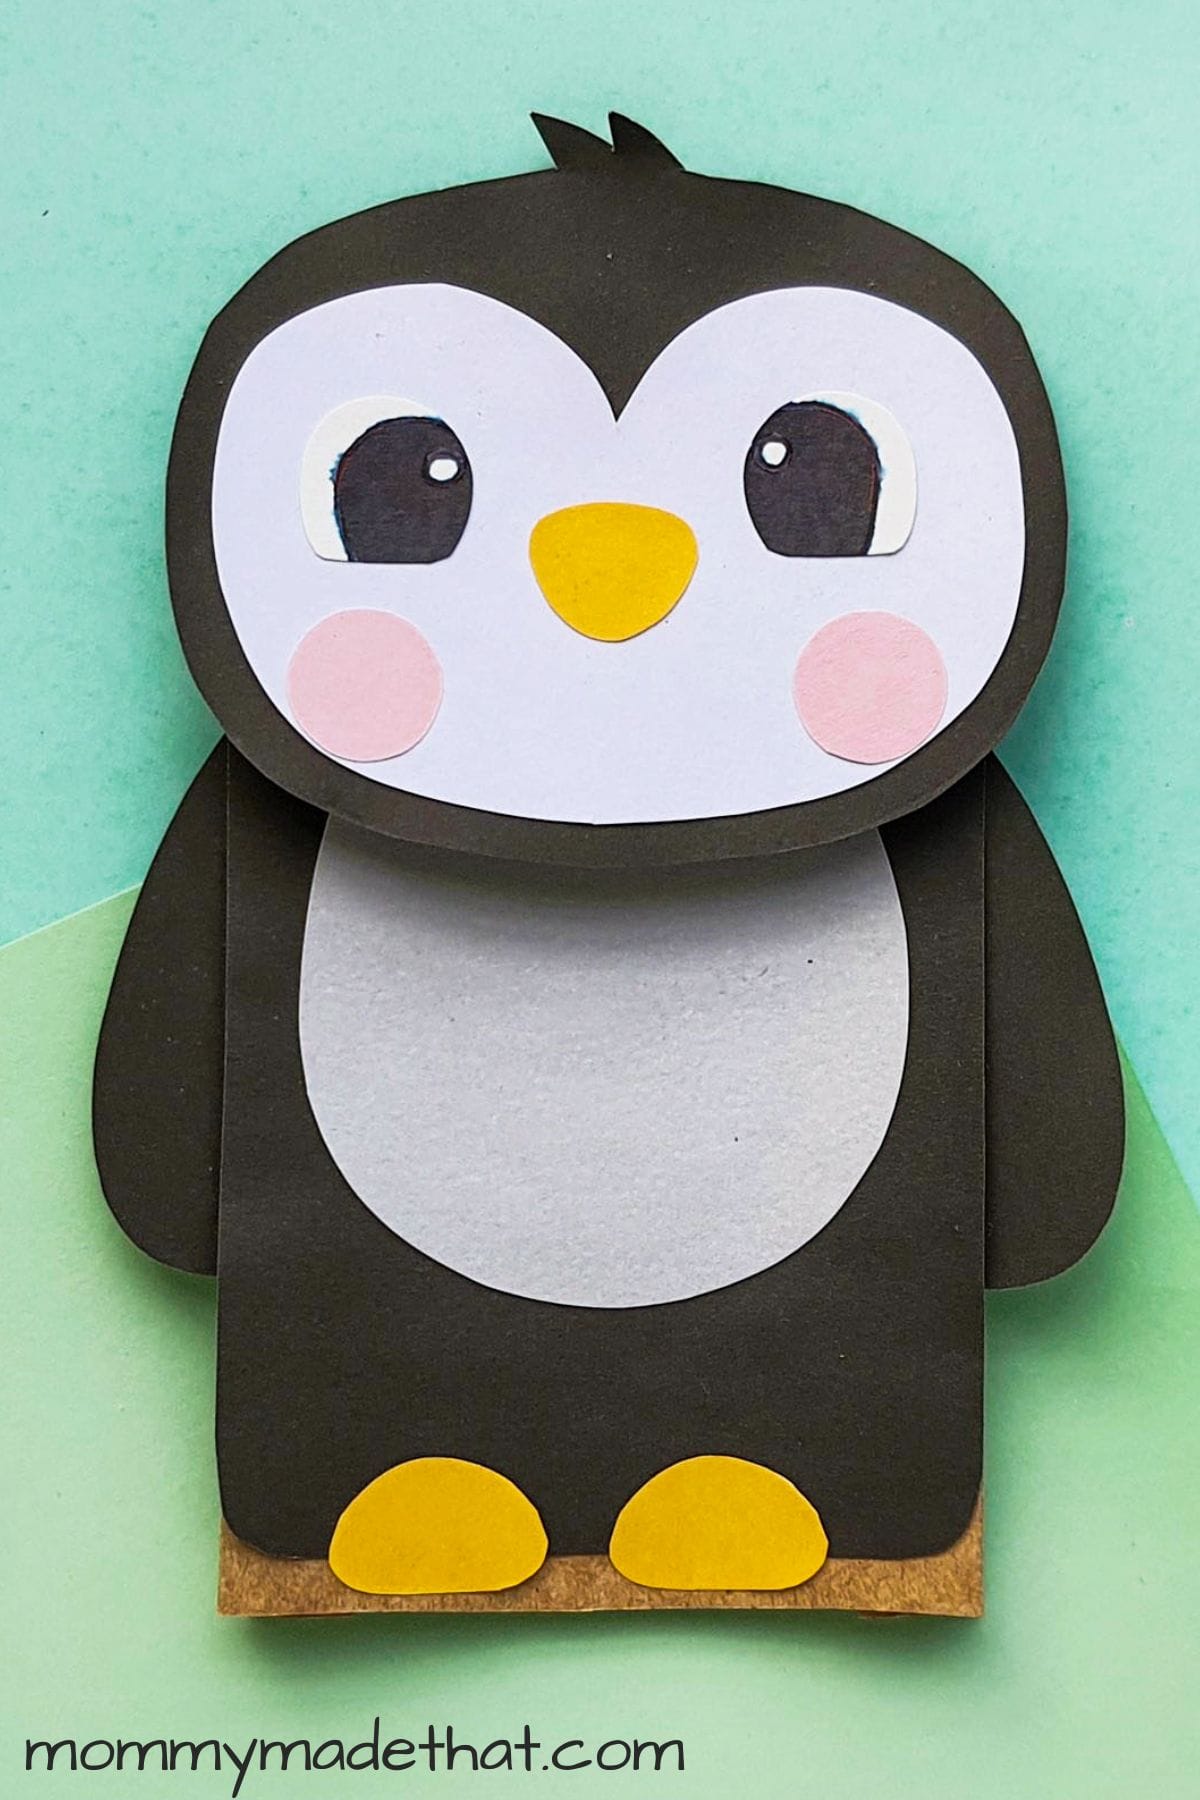
Paper Bag Penguin Puppet
This adorable paper bag penguin puppet is made using our free printable penguin template along with a simple paper bag.
Materials
- Colored craft paper
- Penguin puppet template
- Craft glue
Tools
- Scissors
- Pencil
- Black marker
Instructions
- Download and print out the penguin puppet template.
- Cut out all the template pieces onto colored paper, or color them in with colored pencils.
- Assemble the penguins head by attaching the face cut out to the penguins head.
- Then attach the eyes, beak and cheeks.
- Trace out a piece of black paper big enough to cover the front of the paper bag (under the flap, not over)
- Attach it to the paper bag.
- Attach the belly cut out, the feet and the wings.
- Attach the head of the penguin to the bottom of the paper bag flap, finishing your puppet.


Thanks for the adorable penguin craft.