
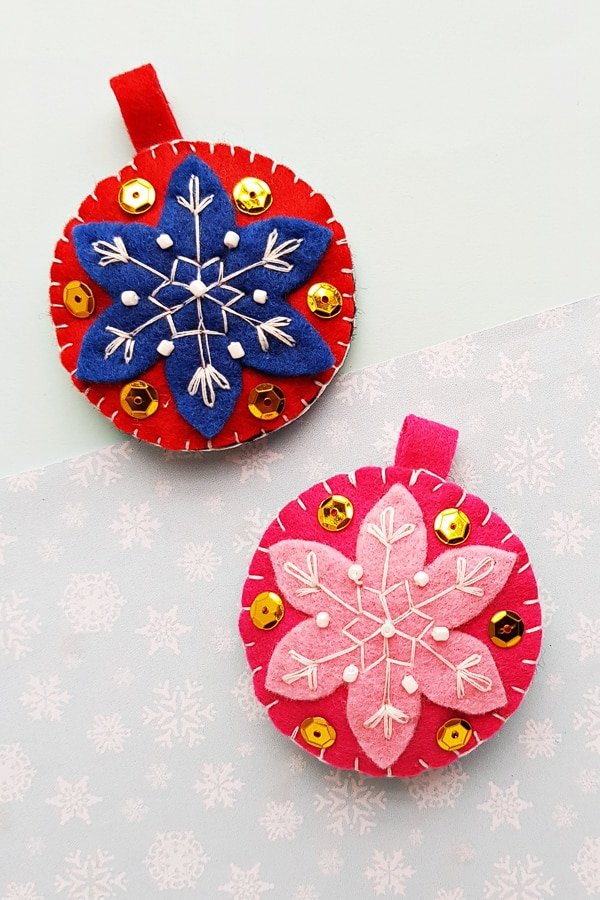
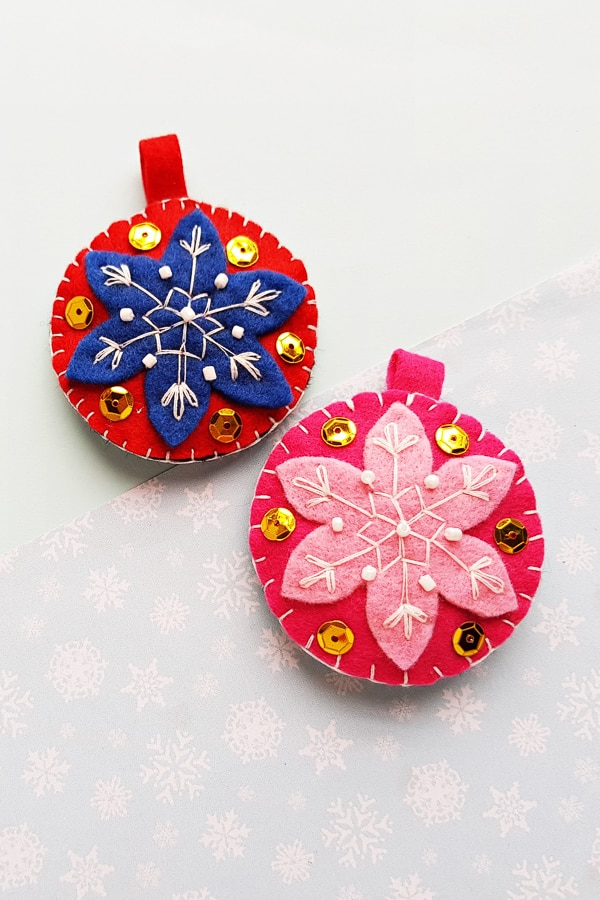
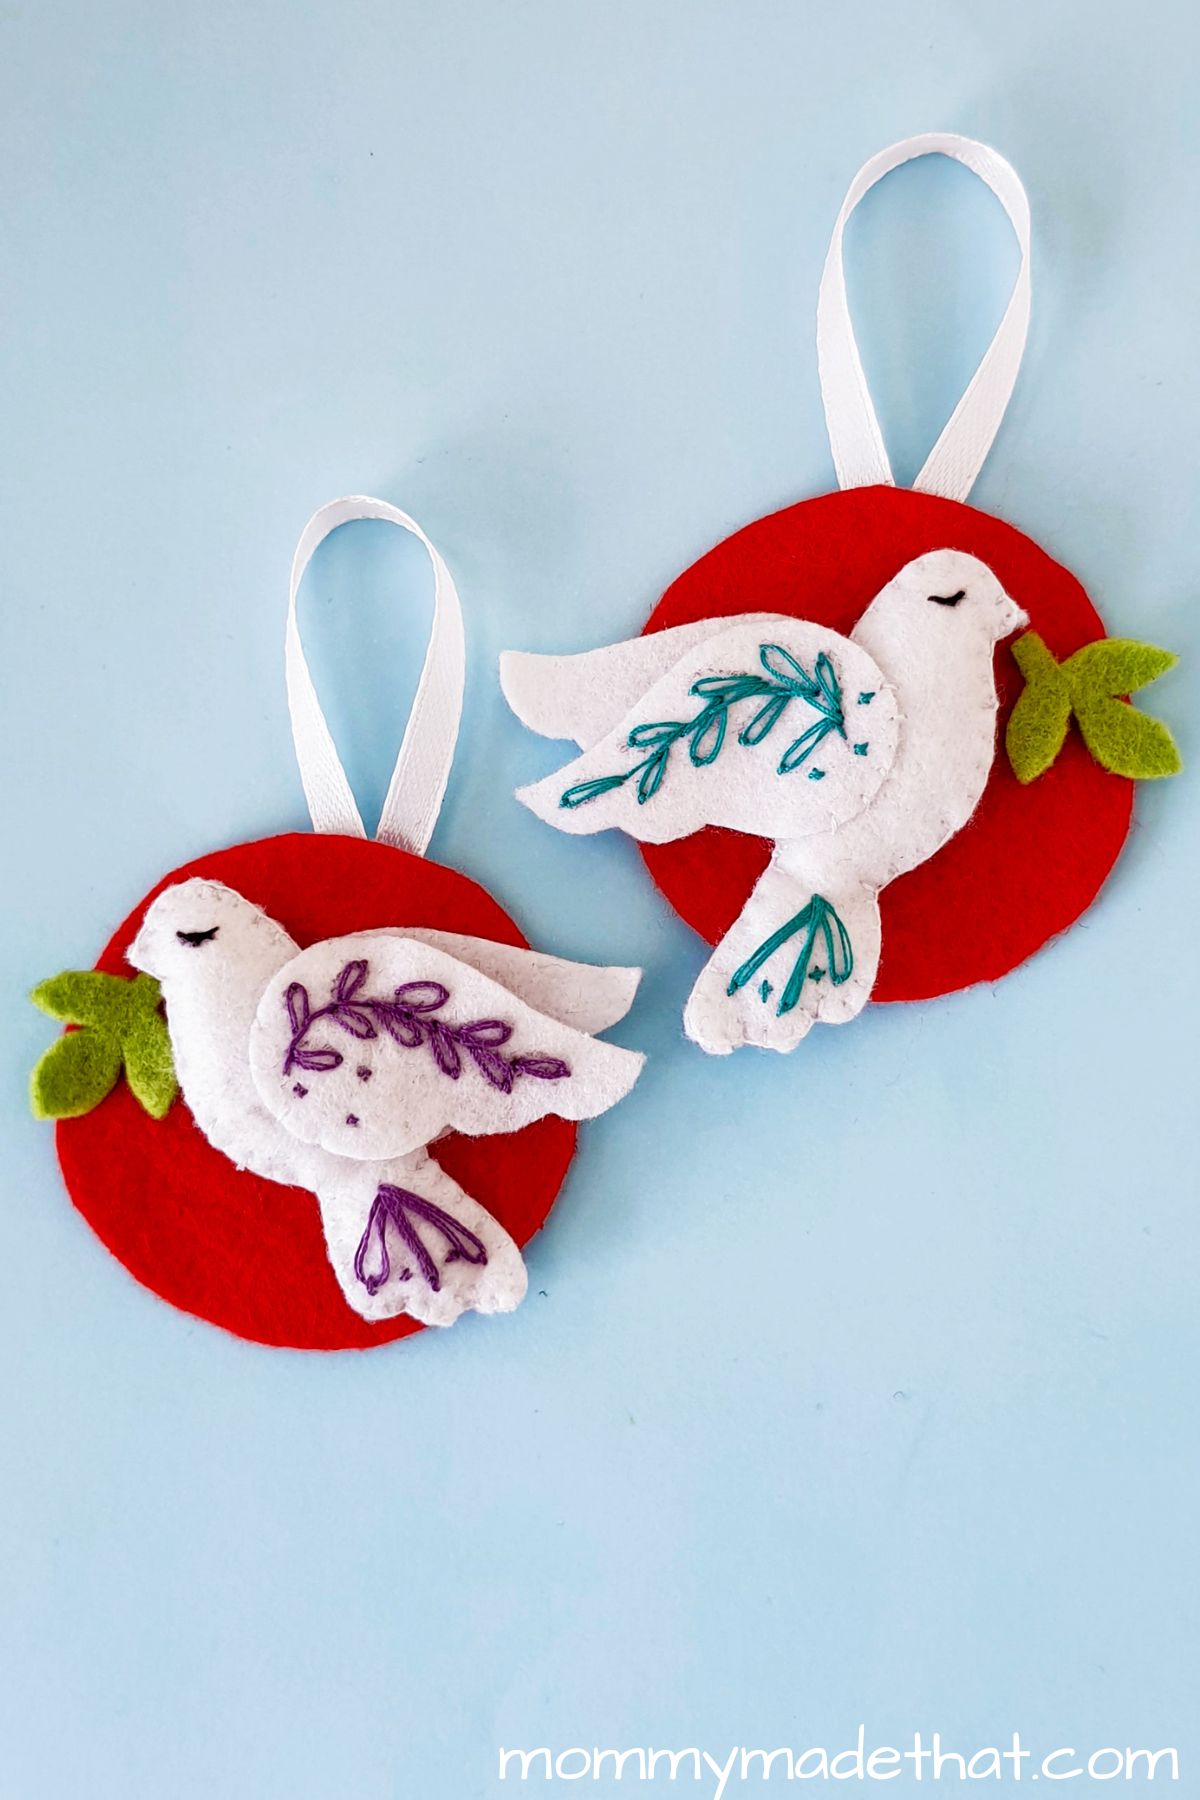
Simple DIY Felt Ornament
You’re going to love making this super simple DIY Felt Ornament. With just a few supplies, you’ll have some brand new homemade festive ornaments to hang in no time at all. This holiday craft is perfect to make as a family.
My kids love decorating for the holidays. Even more than decorating, they love creating things to decorate our house with.
This is why we’re loving these DIY Felt Ornaments.
Each step is easy to do and with a little bit of practice, your little ones can create them almost entirely on their own. It’s a fun Christmas craft for kids and adults.
The fun part about these DIY Christmas ornaments is that they’re able to be a wide variety of colors as well.
This makes this felt activity really fun as it gives the children a way to create different ones that showcase fun colors.
This post may contain affiliate links. This means, if you click a link and make a purchase, we may earn a commission at no cost to you. You can read our full disclosure here.
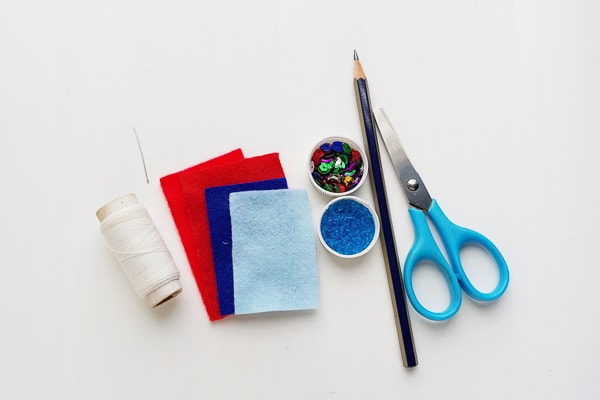
SUPPLIES YOU’LL NEED FOR THis DIY Felt Ornament
- Felt fabric
- Pencil
- Scissors
- Needle and thread
- Seed beads
- Sequins
HOW TO MAKE THESE felt Christmas ornaments
Trust me on this one…these homemade Christmas ornaments are so simple to make! Just gather up your needed supplies and let’s get started.
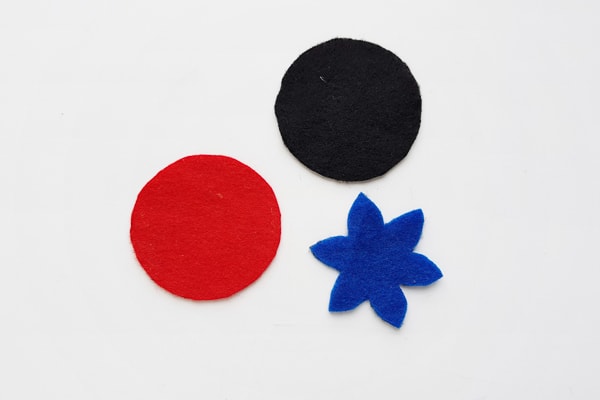
Step 1: Tracing the Patterns Onto Fabric
Start by printing out and cutting the template patterns. Choose the felt fabric colors for the craft and then trace the patterns onto it and cut them out.
We used a snowflake shape for the center. But you can also use a regular star shape to change up your ornament a bit.
We have lots of sizes of star templates to choose from.
Step 2: Creating the patterns
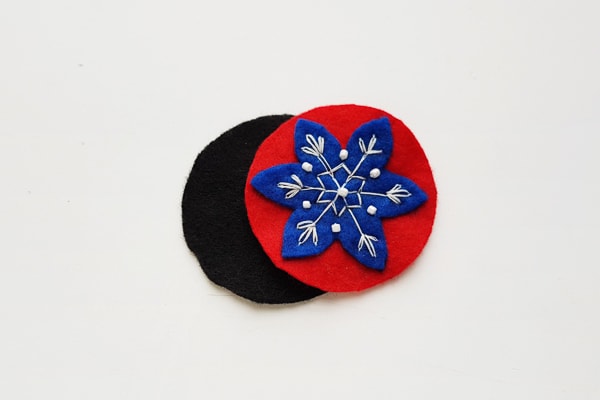
Grab one of the circle cutouts and a 6 point star pattern and then put the star pattern on top of the round pattern.
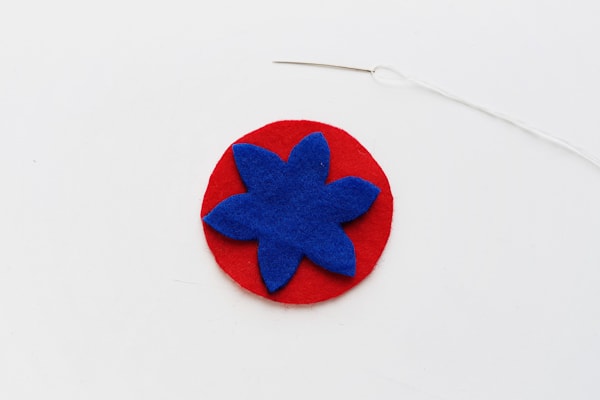
Step 3: Begin stitching together the pieces
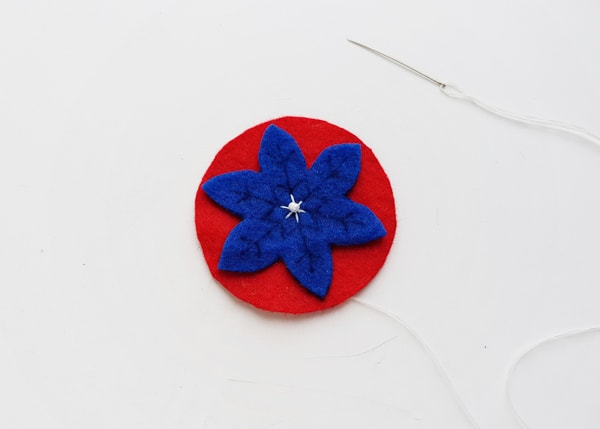
Gather your needle and thread and start to stitch. Begin from the center to connect the star and the round piece together.
You can then attach a seed in the center as shown in the picture below. You can then use a pen/pencil and trace a snowflake layout on the star as well.
We have lots of other snowflake templates to choose from to get your creative juices flowing.
Step 4: Thread beads
Use any colored beads and thread that you want to start stitching the snowflake layout.
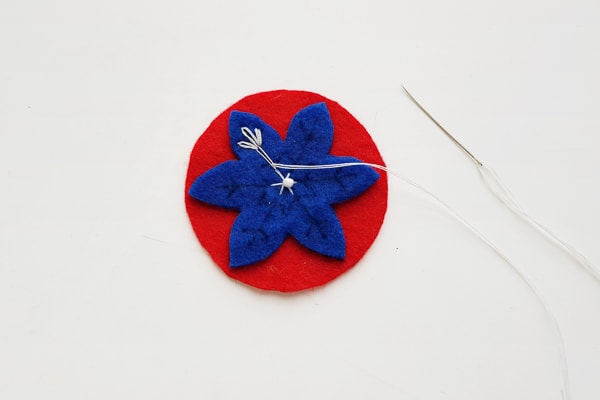
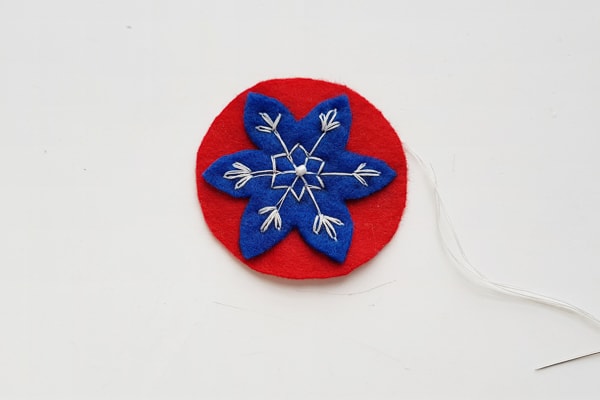
Step 5: Create the snowflake layout
Continue to stitch around the layout of the snowflake, stitching through the star piece and the round piece.
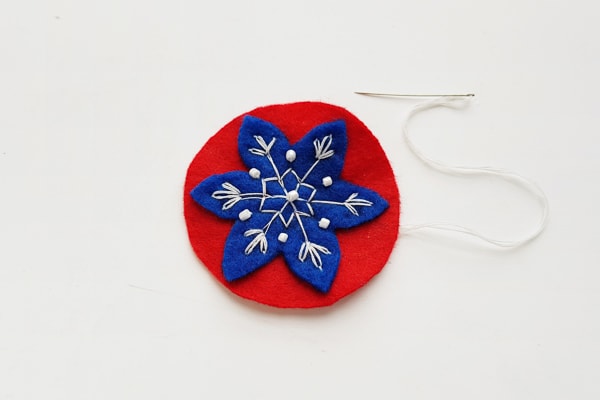
Step 6: Add beads and tie knots
Once done, add on the beads by stitching them right onto the felt. Once done adding beads, take the needle to the backside and tie two knots. If there is extra thread, cut it off.
Step 7: Attach the round felt to the back
Take the other round piece of felt and put it on the back of the stitched round piece.
Then also cut out a tiny felt stip, about 1 cm wide and 4 cm long.
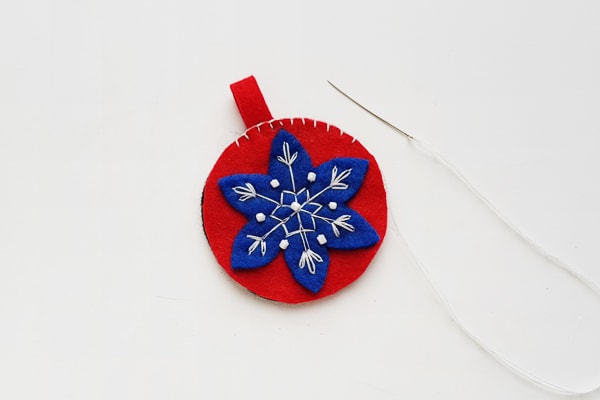
Step 8: Begin stitching together the round felt pieces
Take the strip that you just cut out and fold it in half.
Put 1 cm of the open end between the two circle felt pieces.
Then take your needle and thread and stitch around the sides to join them together.
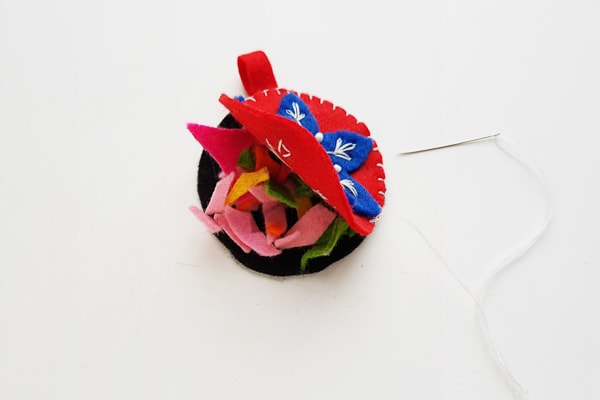
Step 9: Fill the felt ornament with scraps
Make certain to leave a small opening to add in the filling.
For the filling, you can use scrap felt pieces, just make certain to cut them into tiny pieces and put them in through the opening.
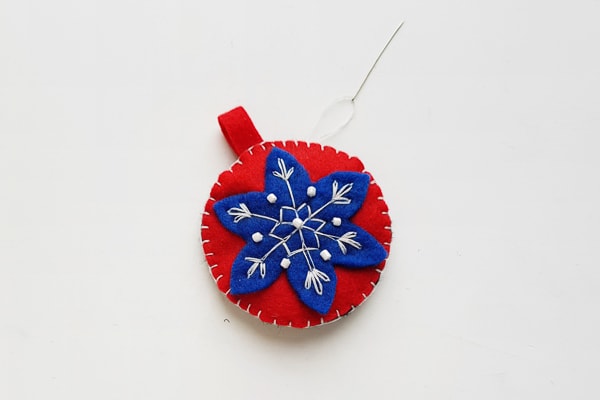
Step 10: Stich the opening to secure the filling
After you’ve filled it, stitch the opening shut. Tie a couple of knots and cut off the extra thread.
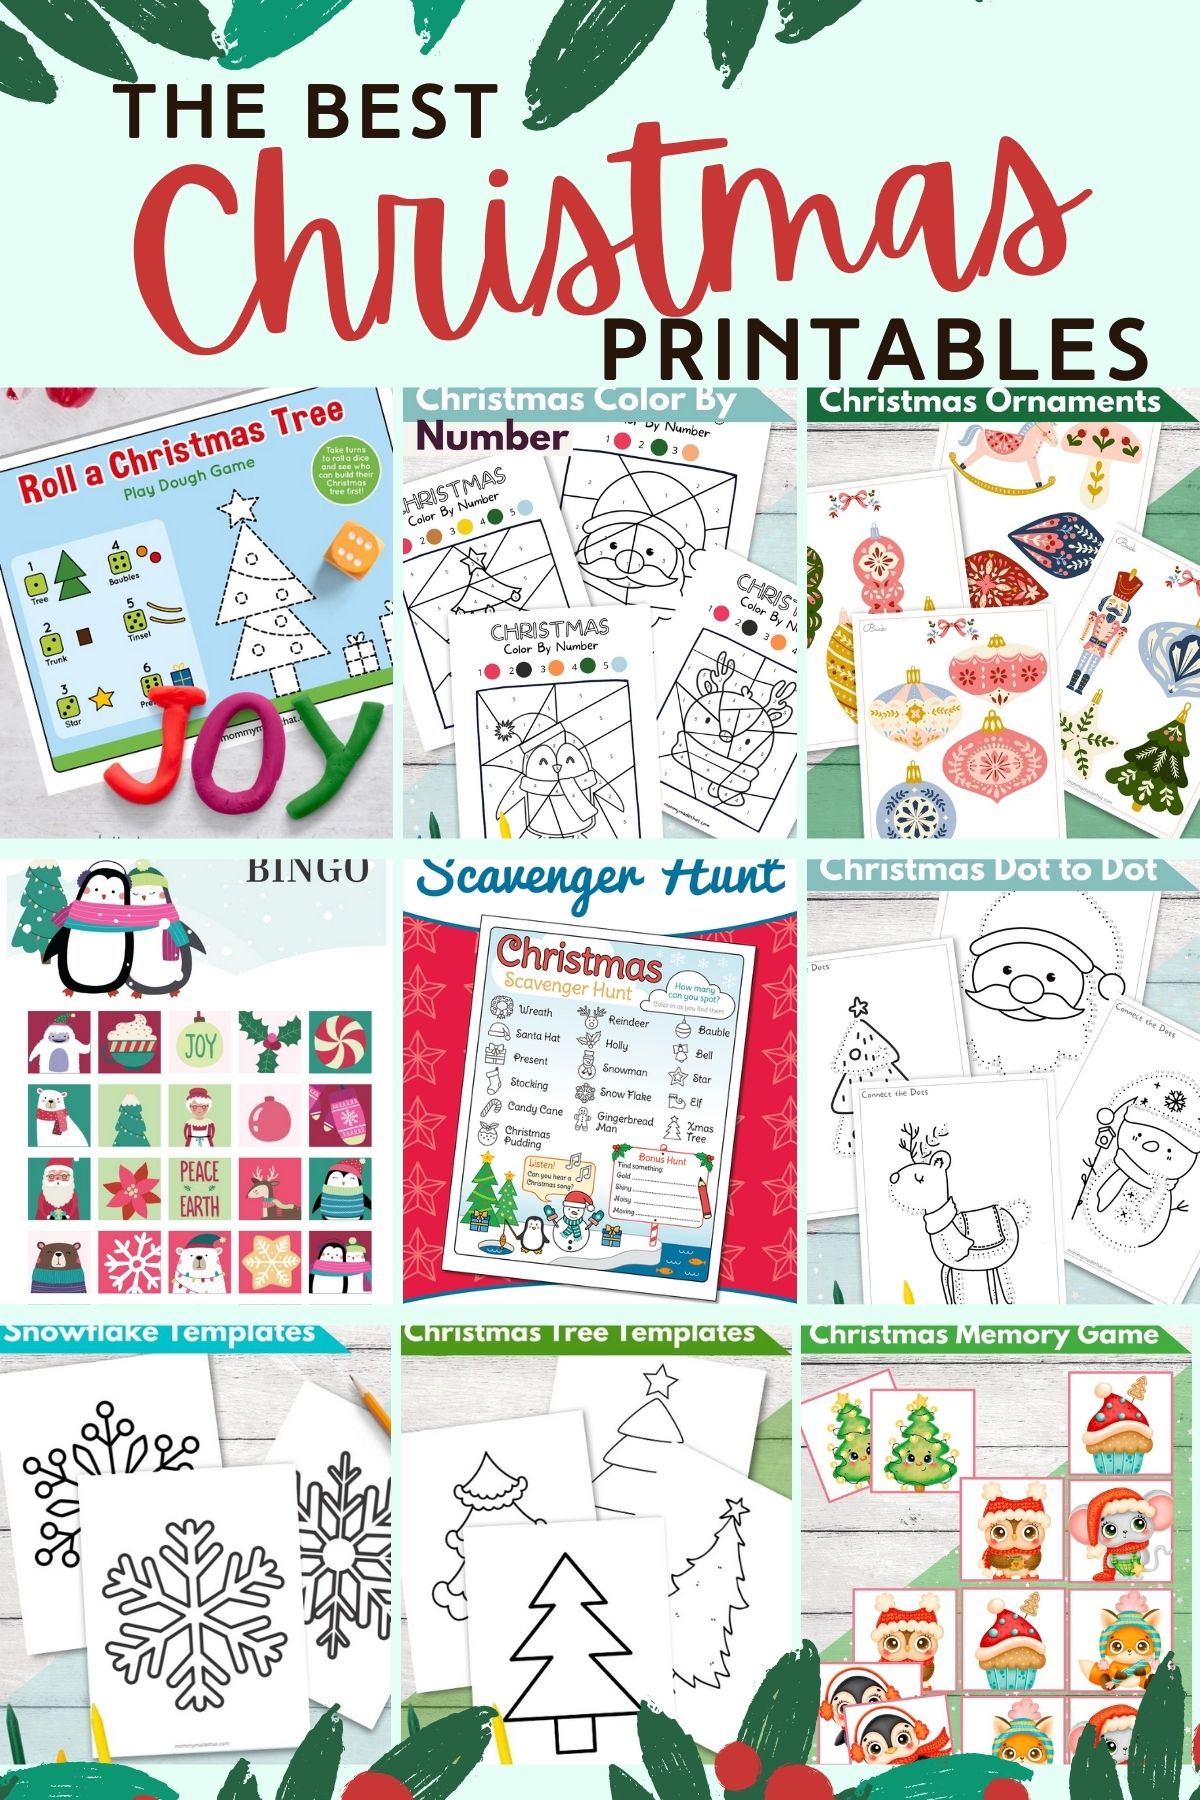
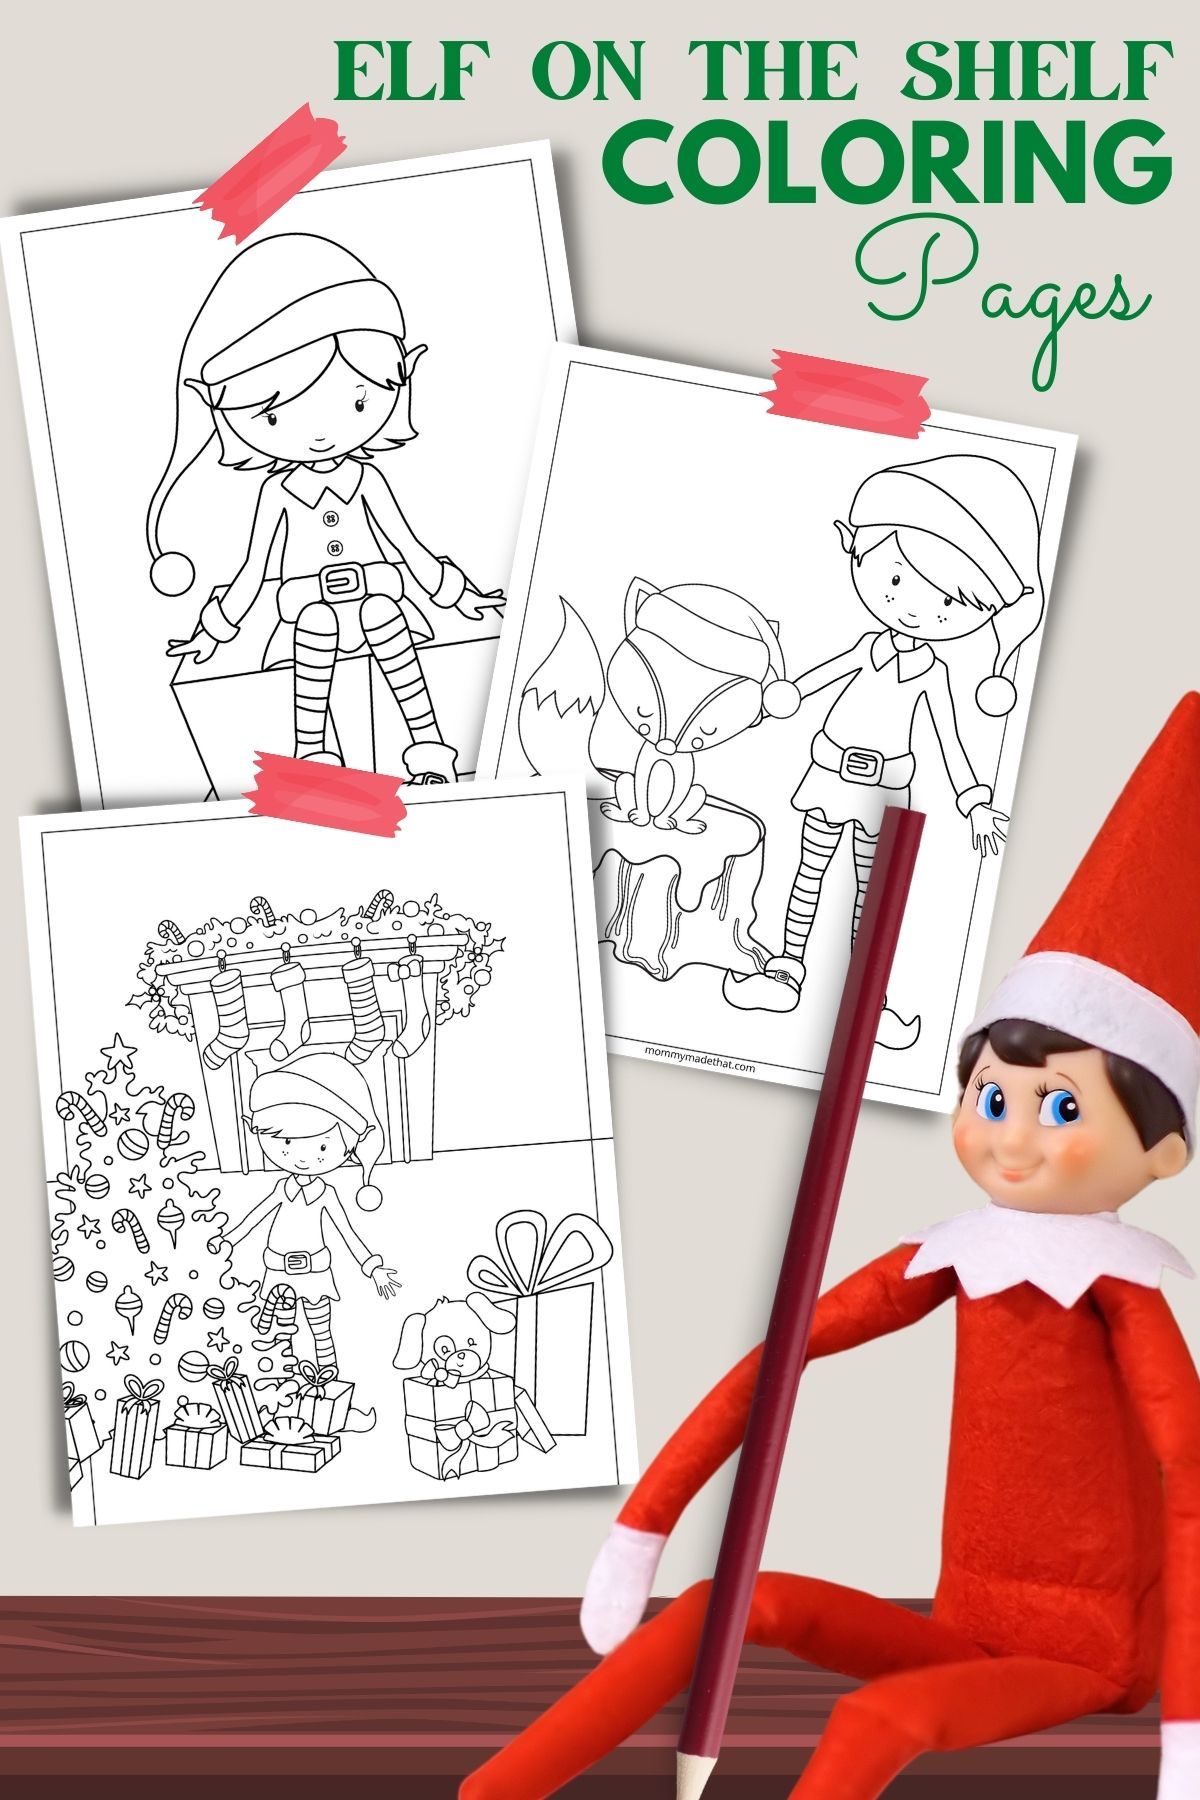
For more fun Christmas activities, check them out here.

I am really enjoying these xmas crafts and the fact that templates are included