Felt Birds (DIY Christmas Ornaments)
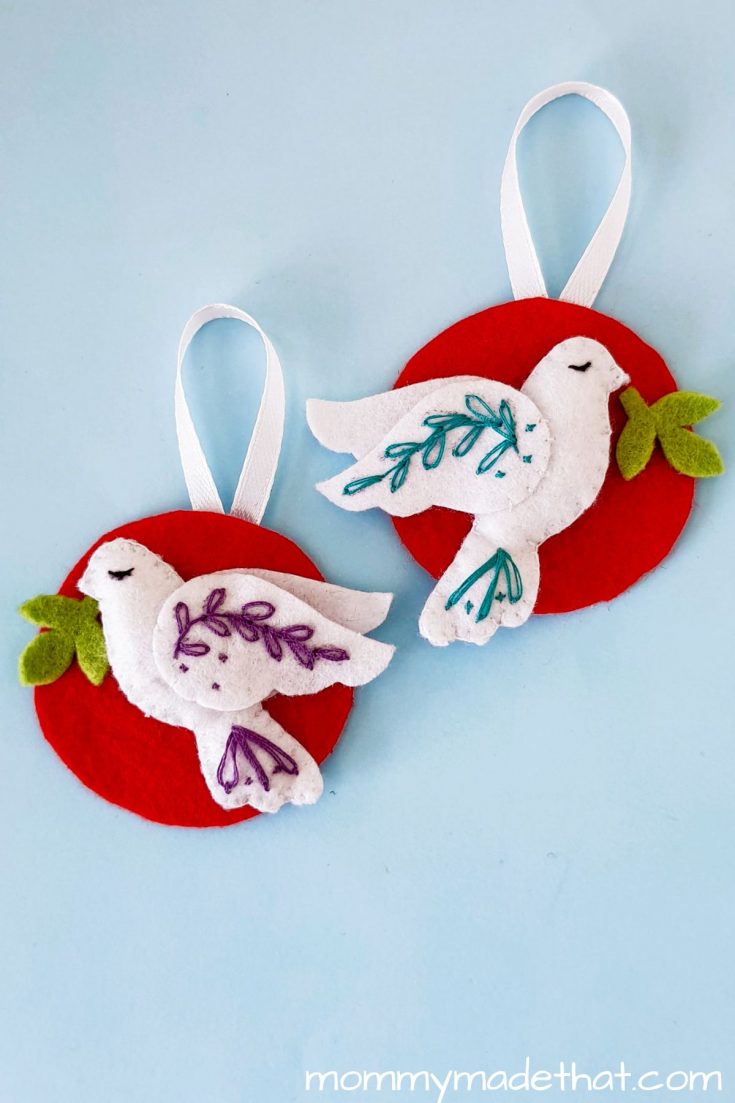
These felt birds are actually felt doves! They’re one of my favorite DIY felt ornaments. Be sure to grab the free pattern and make a few of your own!

These felt doves make adorable DIY Christmas ornaments. They’re actually pretty simple to make, but the details of the embroidered wings and tails make them so pretty.
These are perfect for hanging on your own Christmas tree or to give as a sweet homemade gift.
It’s a fun Christmas craft for kids and adults. But they’d also be a great Christmas craft to make and sell.
Be sure to grab our free printable pattern, so you can make a few this holiday season.
Materials
Felt fabric: We used white for the bird, and red to create a base for the ornament, and green for the olive branch.
Thread: We used white for stitching around the bird, and different colors for the embroidering on the wings and tail.
Some basic craft supplies like:
- Sharp scissors
- Needle
- Cotton or scrap felt for stuffing
- Pencil or fabric chalk
Instructions
To start making your felt bird, grab and print out the free printable pattern.
Then grab the color of felt you want to make it. We used white, but gray, beige or any light color would look great. We also used green for the olive branch.
Step 1: Cut out the Pattern Pieces

Trace out all the pattern pieces and cut them out of the felt, like shown above.
The bird pattern has two bird bases, two wings and the branch.
Step 2:

Next, draw a floral or vine pattern onto one of the wing pieces, and draw an eye onto your bird base.
Step 3:

To embroider the wing, start by threading your need with a contrasting thread color.
Then stitch on a simple decorative pattern.
Step 4:
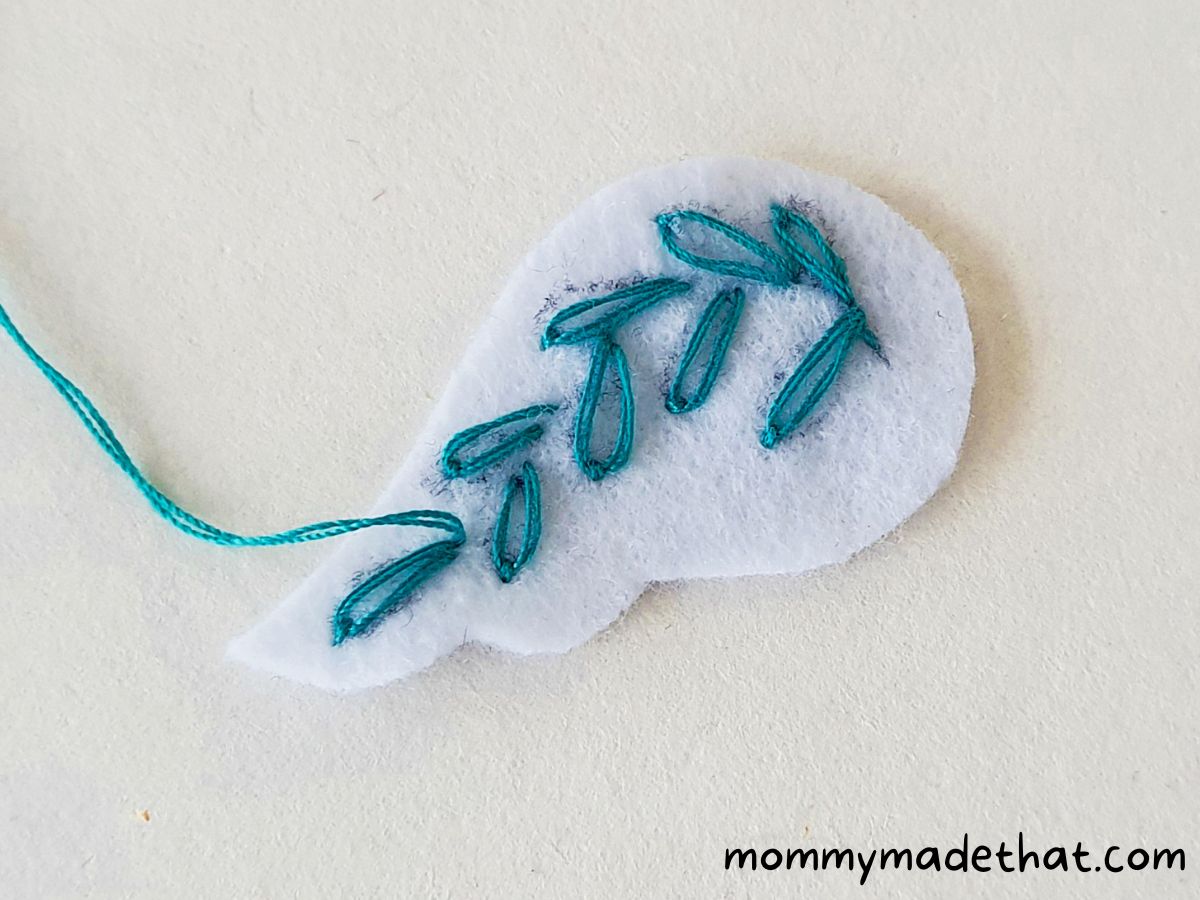
I thought it was easiest to stitch out the leaves first.
Step 5:
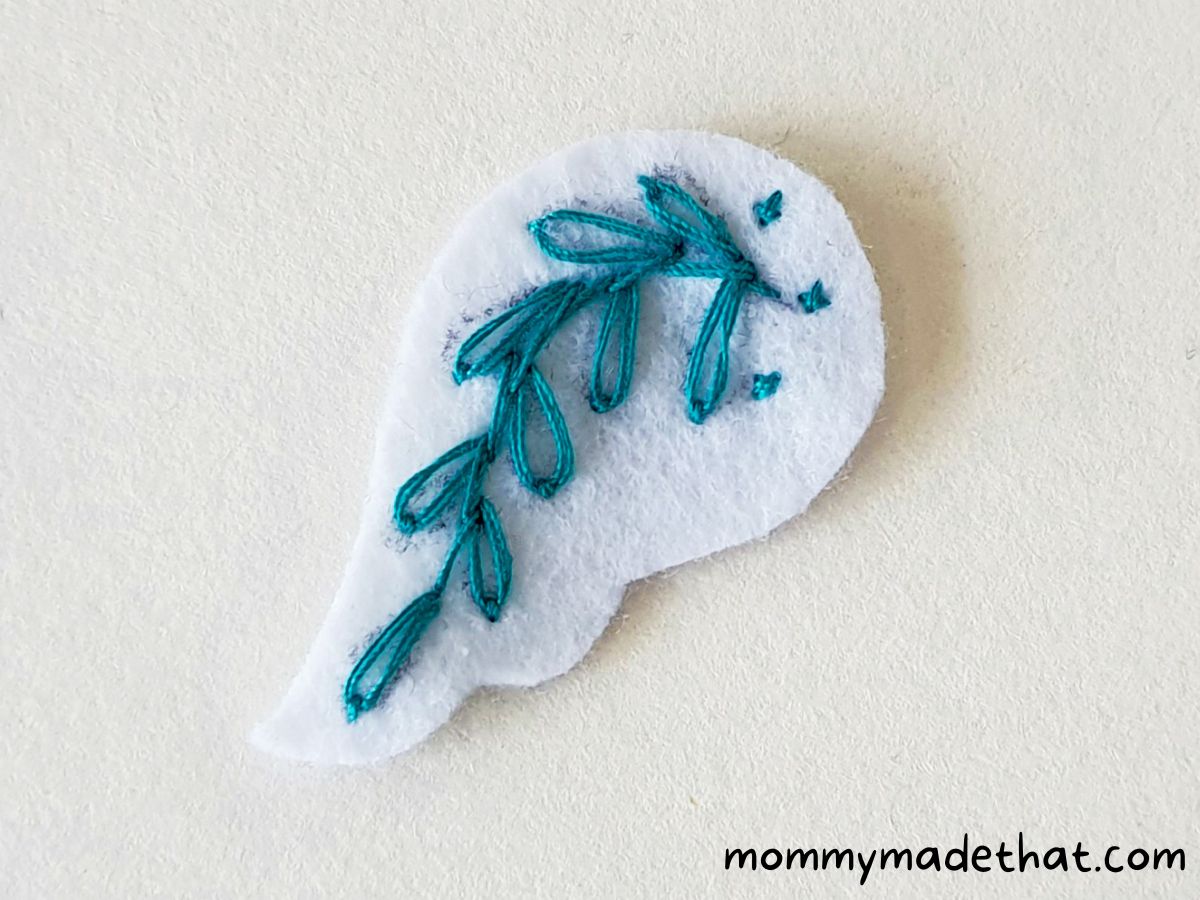
Then stitched out along the vine, adding a little more detail.
Step 6:

On the bird pattern piece where you drew the eye, stitch the eye with black thread.
Then add a little detail stitching on the tail to create a decorative pattern similar to the wing.
Step 7:

Place the other bird base pattern under your decorated one and start stitching them together using a matching thread, the same color as your felt.
Step 8:
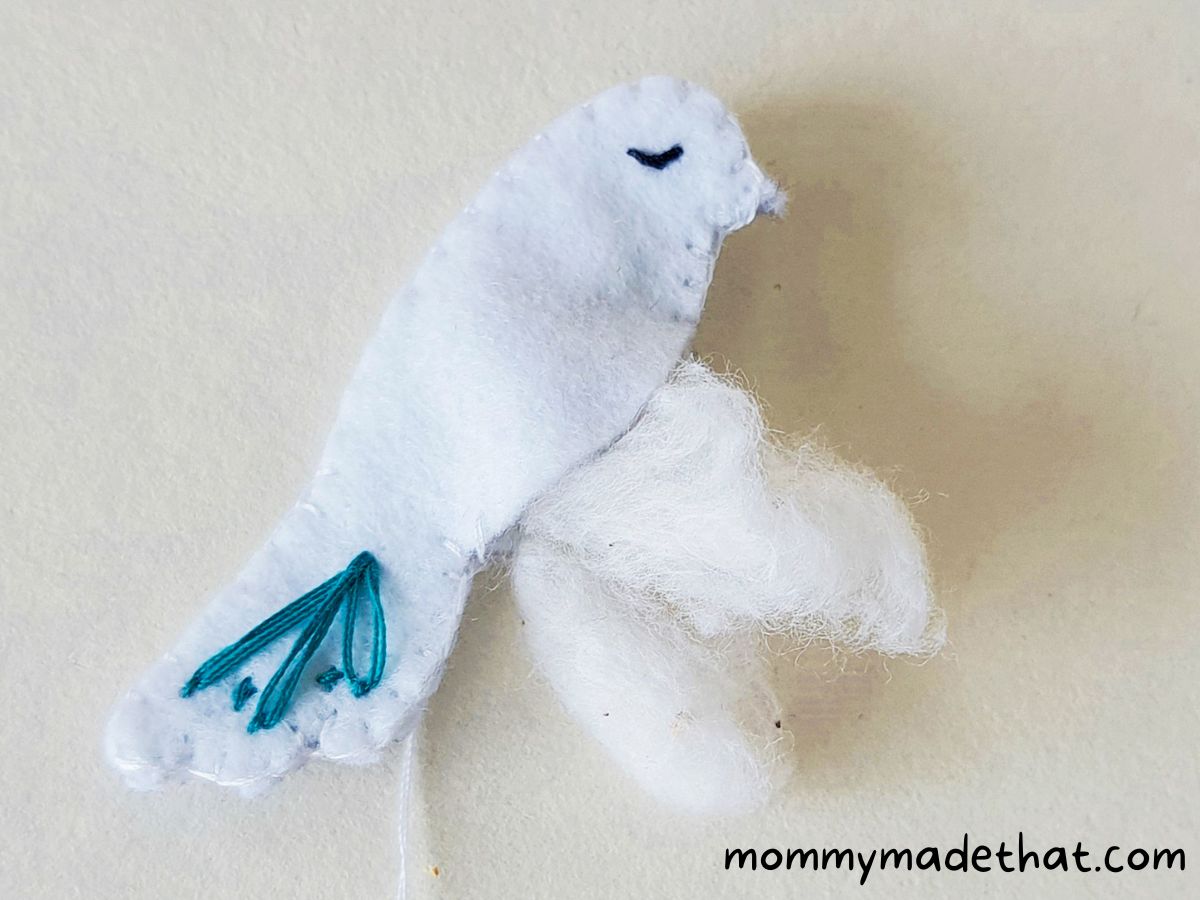
Leave a small opening to let you stuff the bird with cotton or left over felt scraps.
Step 9:

Then close up the opening after the bird is stuffed.
Step 10:
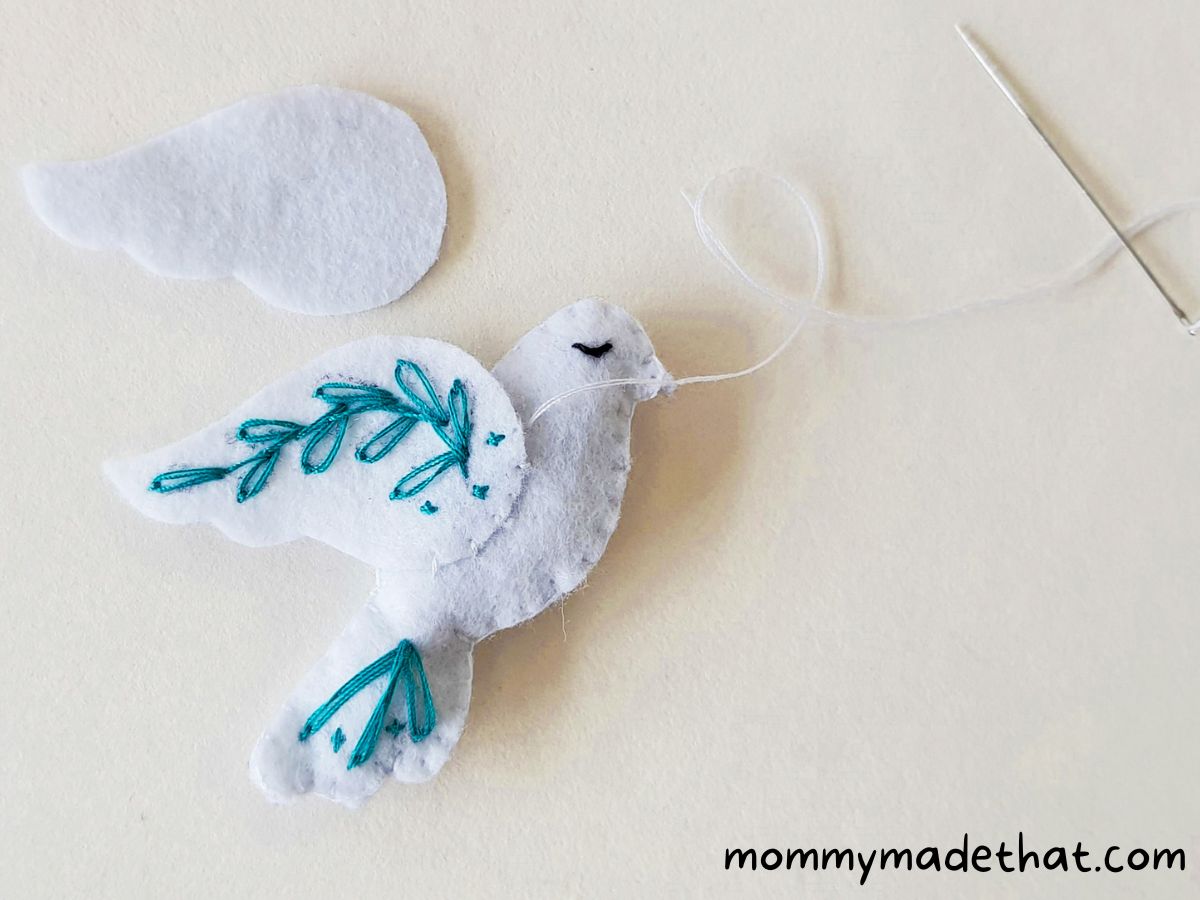
Next, attach the embroidered wing to the front of the bird base.
Step 11:
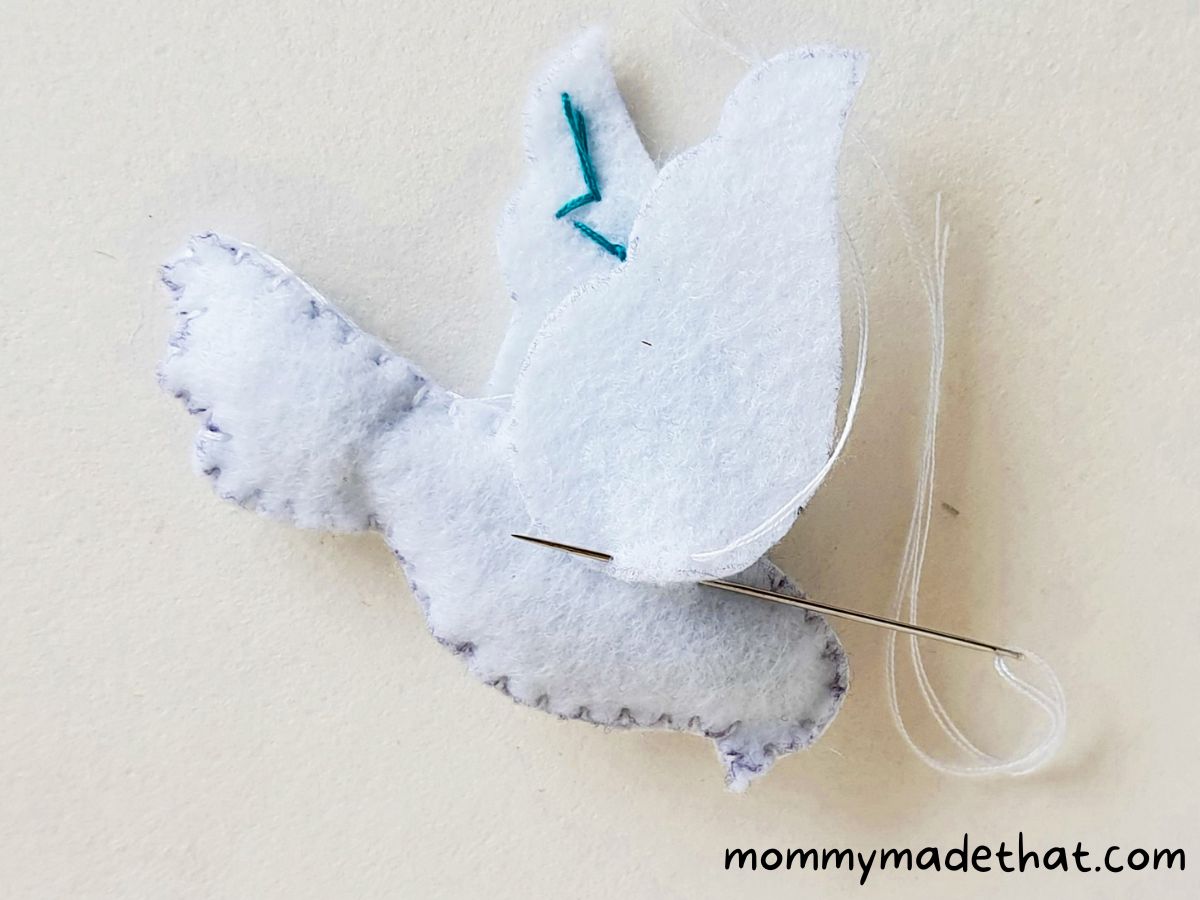
Then flip the bird over and stitch on the second wing to the back of the bird, making sure to move it forward a bit so it shows behind the front wing.
Step 12:
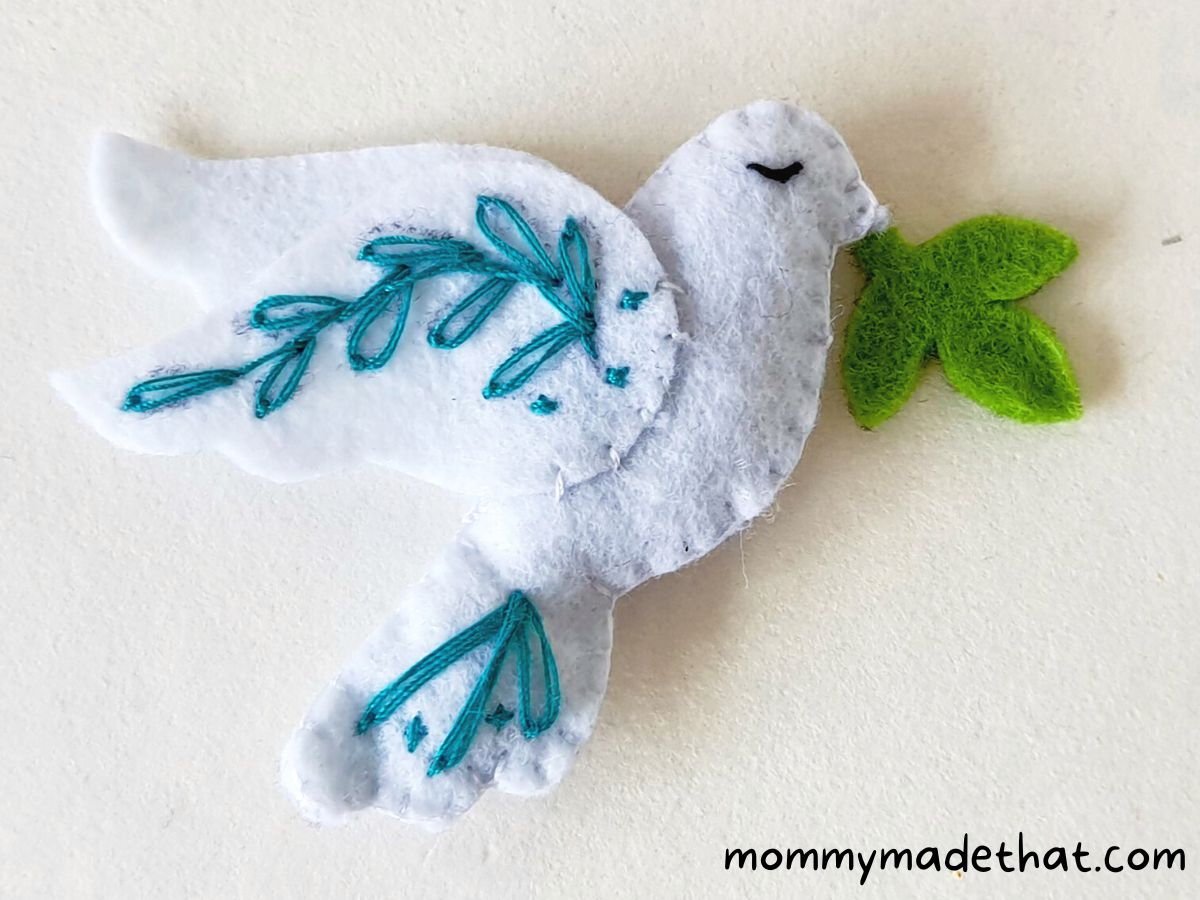
Finally, stitch on the olive branch onto the end of the birds beak. From here you can either leave it as is and attach a ribbon to the back to hang your bird ornament.

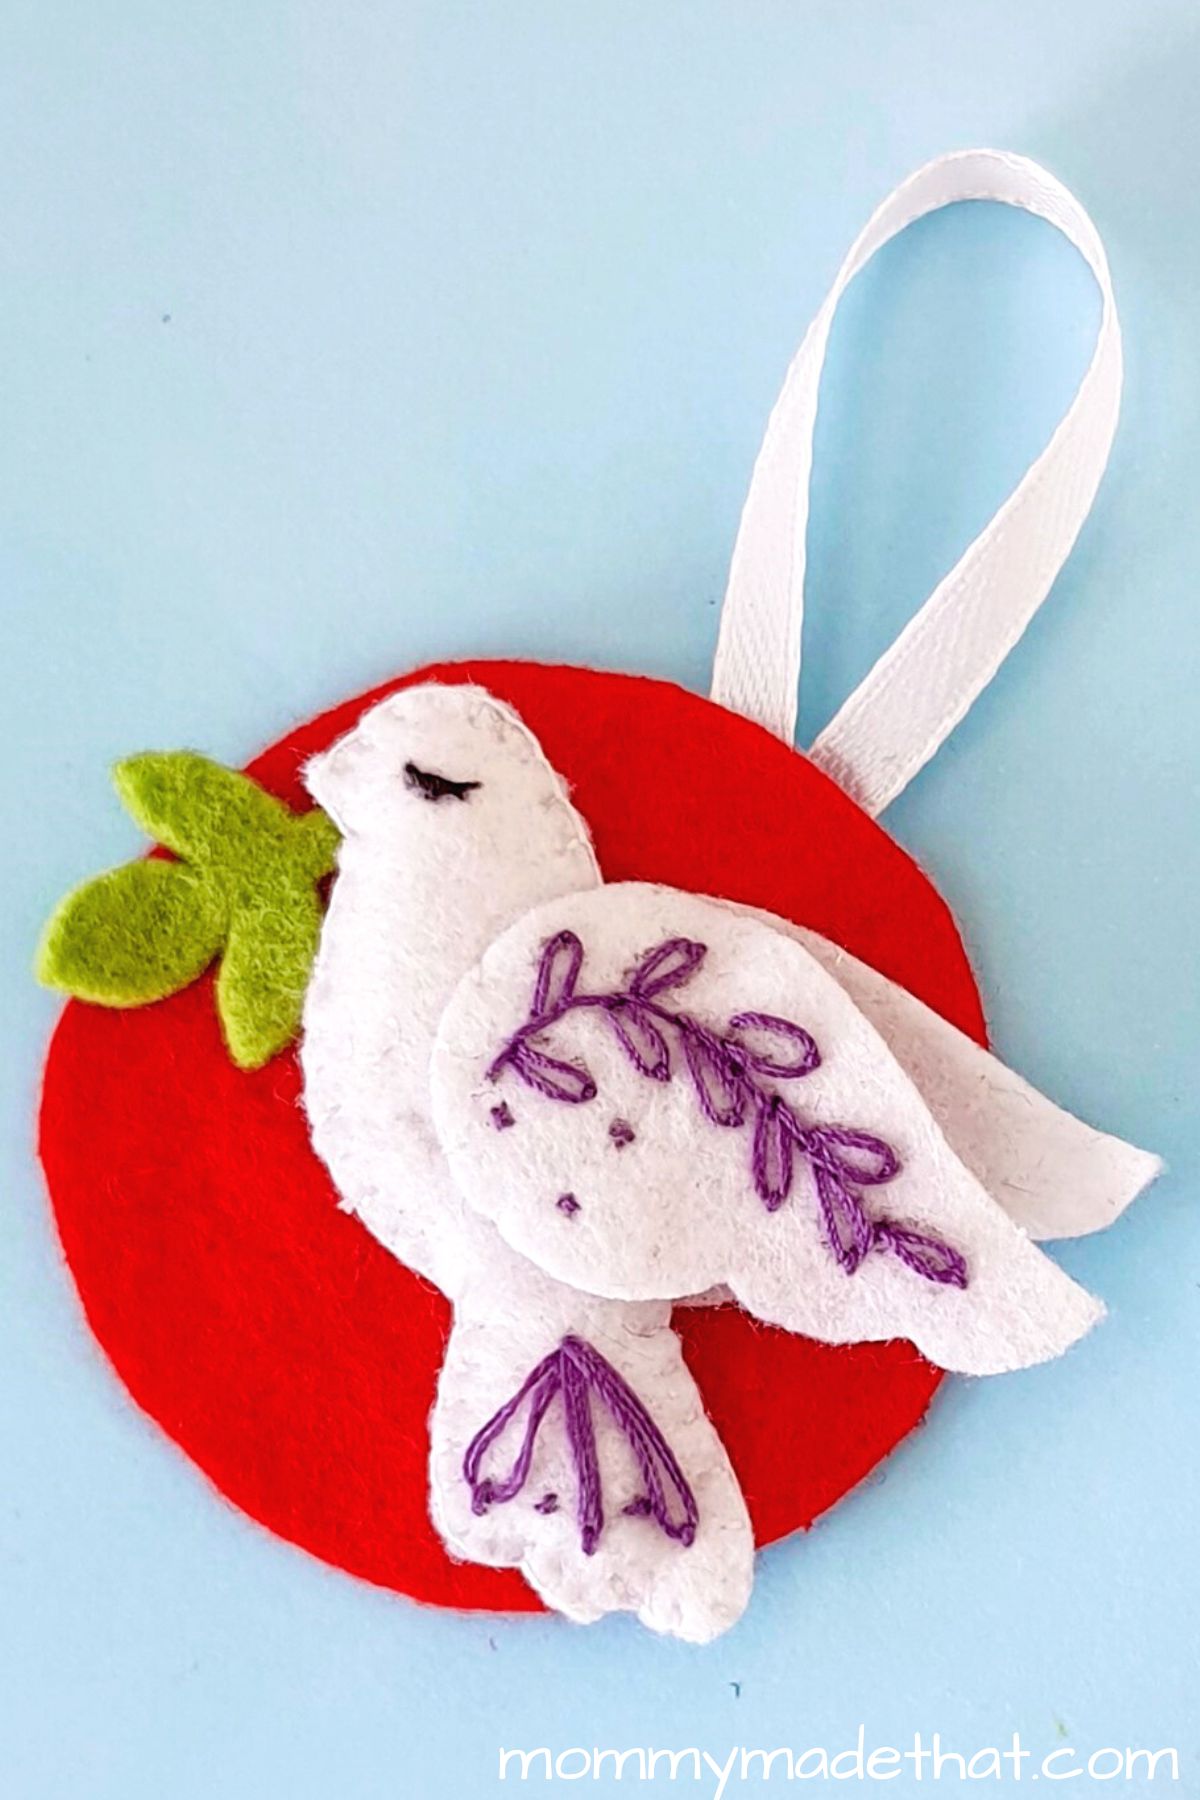
Or you can for a base and attach your bird to it like we did. I love the bright pop of color personally.

Grab the Free Printable Felt Bird Pattern
To grab our free printable bird pattern, place your email in the box below.
We’ll send the template straight to your inbox, and let you know when we come out with more free printable patterns!
These patterns are for personal or classroom use only, not for commercial use. But you are most certainly welcome to sell any felt ornaments you make! (Just not the pattern!) Thank you!
Felt Bird Ornament
This adorable felt bird ornament is a gorgeous felt dove. Be sure to grab the printable bird pattern and make one of your own.
Materials
- Felt fabric
- Various colored thread
- Cotton or scrap felt (for stuffing)
Tools
- Needle
- Sharp scissors
- Pencil or fabric chalk
Instructions
Grab and print out the felt bird pattern. Then choose and grab your felt fabric colors. Cut out all of the bird pattern pieces onto the felt.
Draw a floral or vine decorative pattern on on of the bird wings, and draw an eye onto one of the bird bases.
Thread a needle with a contrasting color, and work a simple embroidered pattern along the traced vine/floral drawing on the wing.
Embroider the leaves first.
Then go back and stitch in more detail.
Stitch the eye with black thread and work a small embroidered pattern on the tail part of the bird base.
Place the decorated bird base pattern piece onto of the plain bird base and stitch along the sides.
Leave a small opening on one side and stuff the bird with cotton or felt scraps.
Close the open end to secure the stuffing.
Stitch the front (embroidered) wing to the front part of the felt bird pattern.
Stitch the back wing next, keep the back wing slightly above the front one.
Attach the olive branch pattern to the end of the birds beak.
Attach the bird to a base and then attach a ribbon loop on the backside of the base to complete the ornament. (optional)
Notes
You can leave the birds as is or do like we did and cut out a simple colorful circle from a contrasting felt color. Then attach the bird to that, forming a unique ornamnet.