Paper Cup Turkey Craft
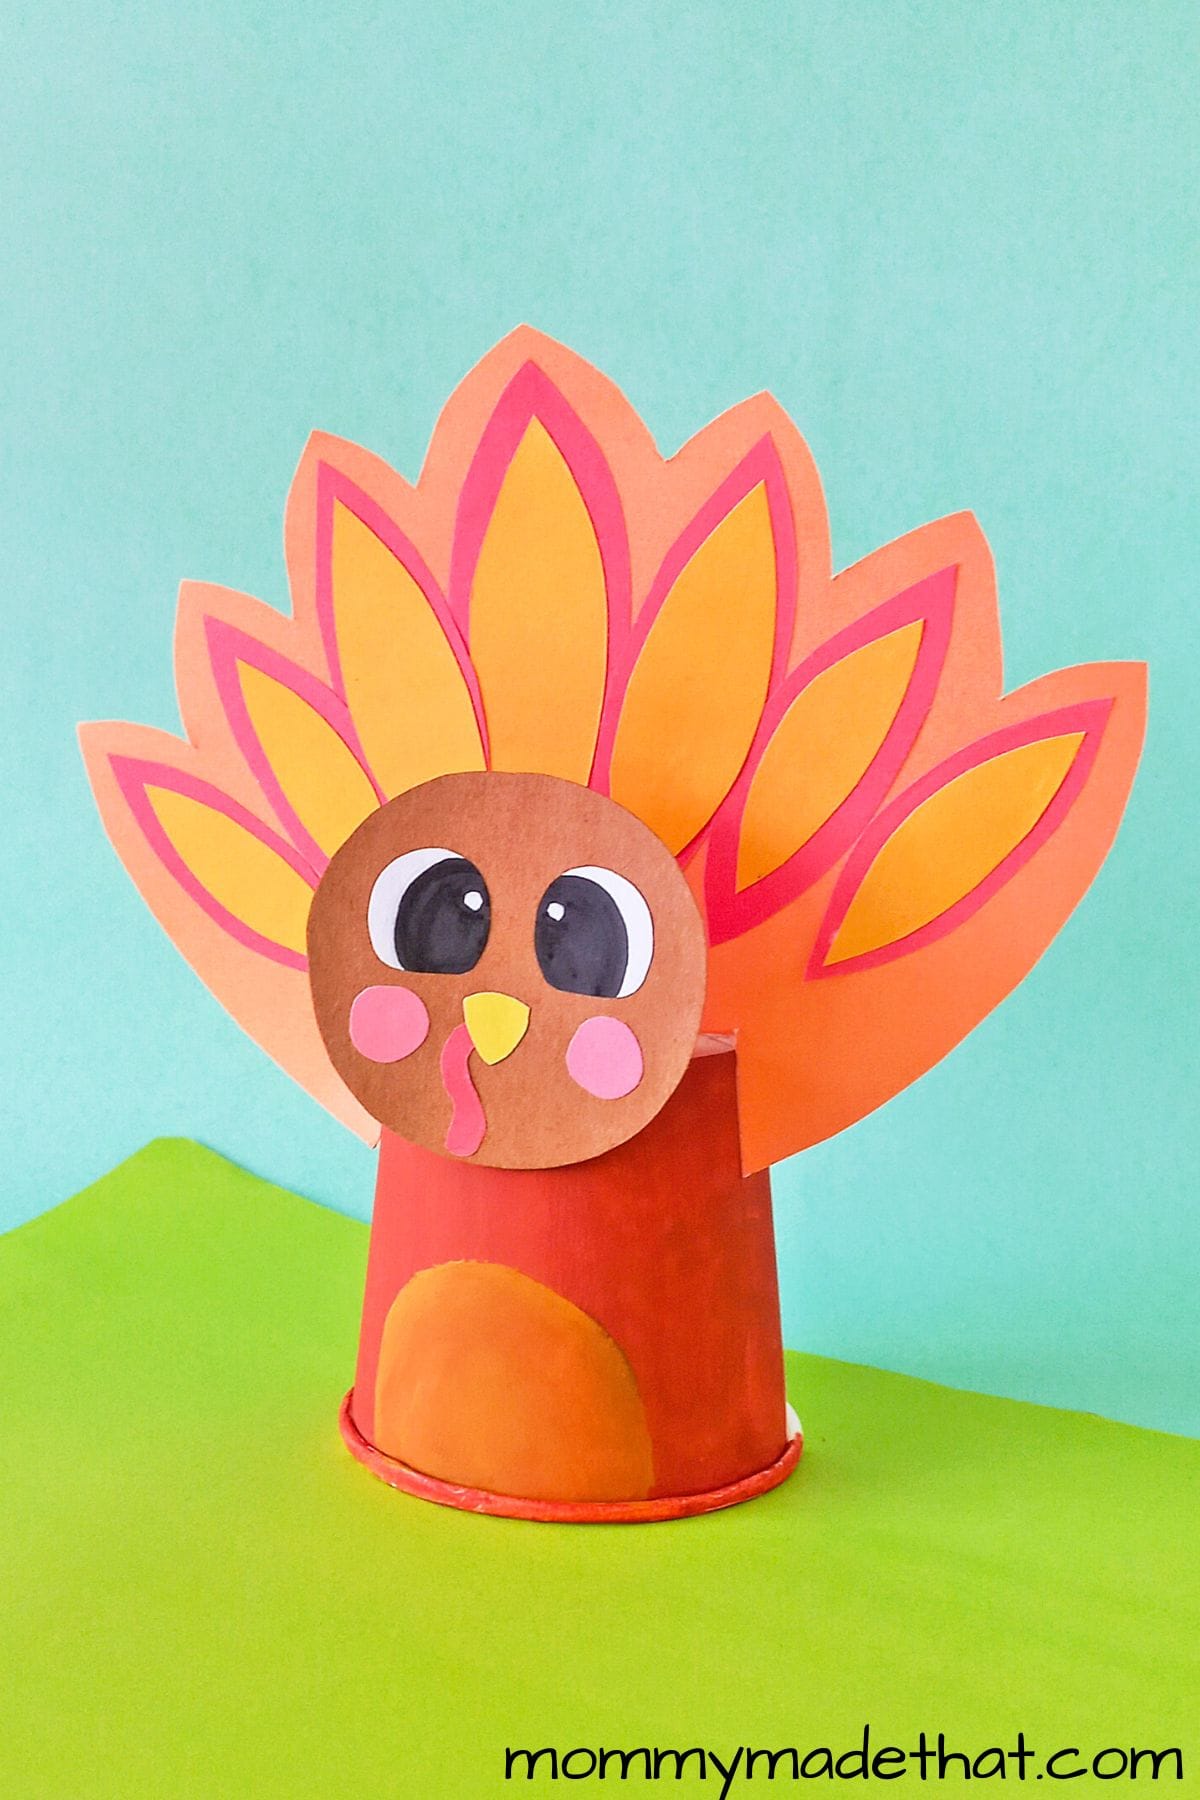
Today we’ve got this adorable paper cup turkey craft! It’s a fun turkey craft perfect for the Thanksgiving season.
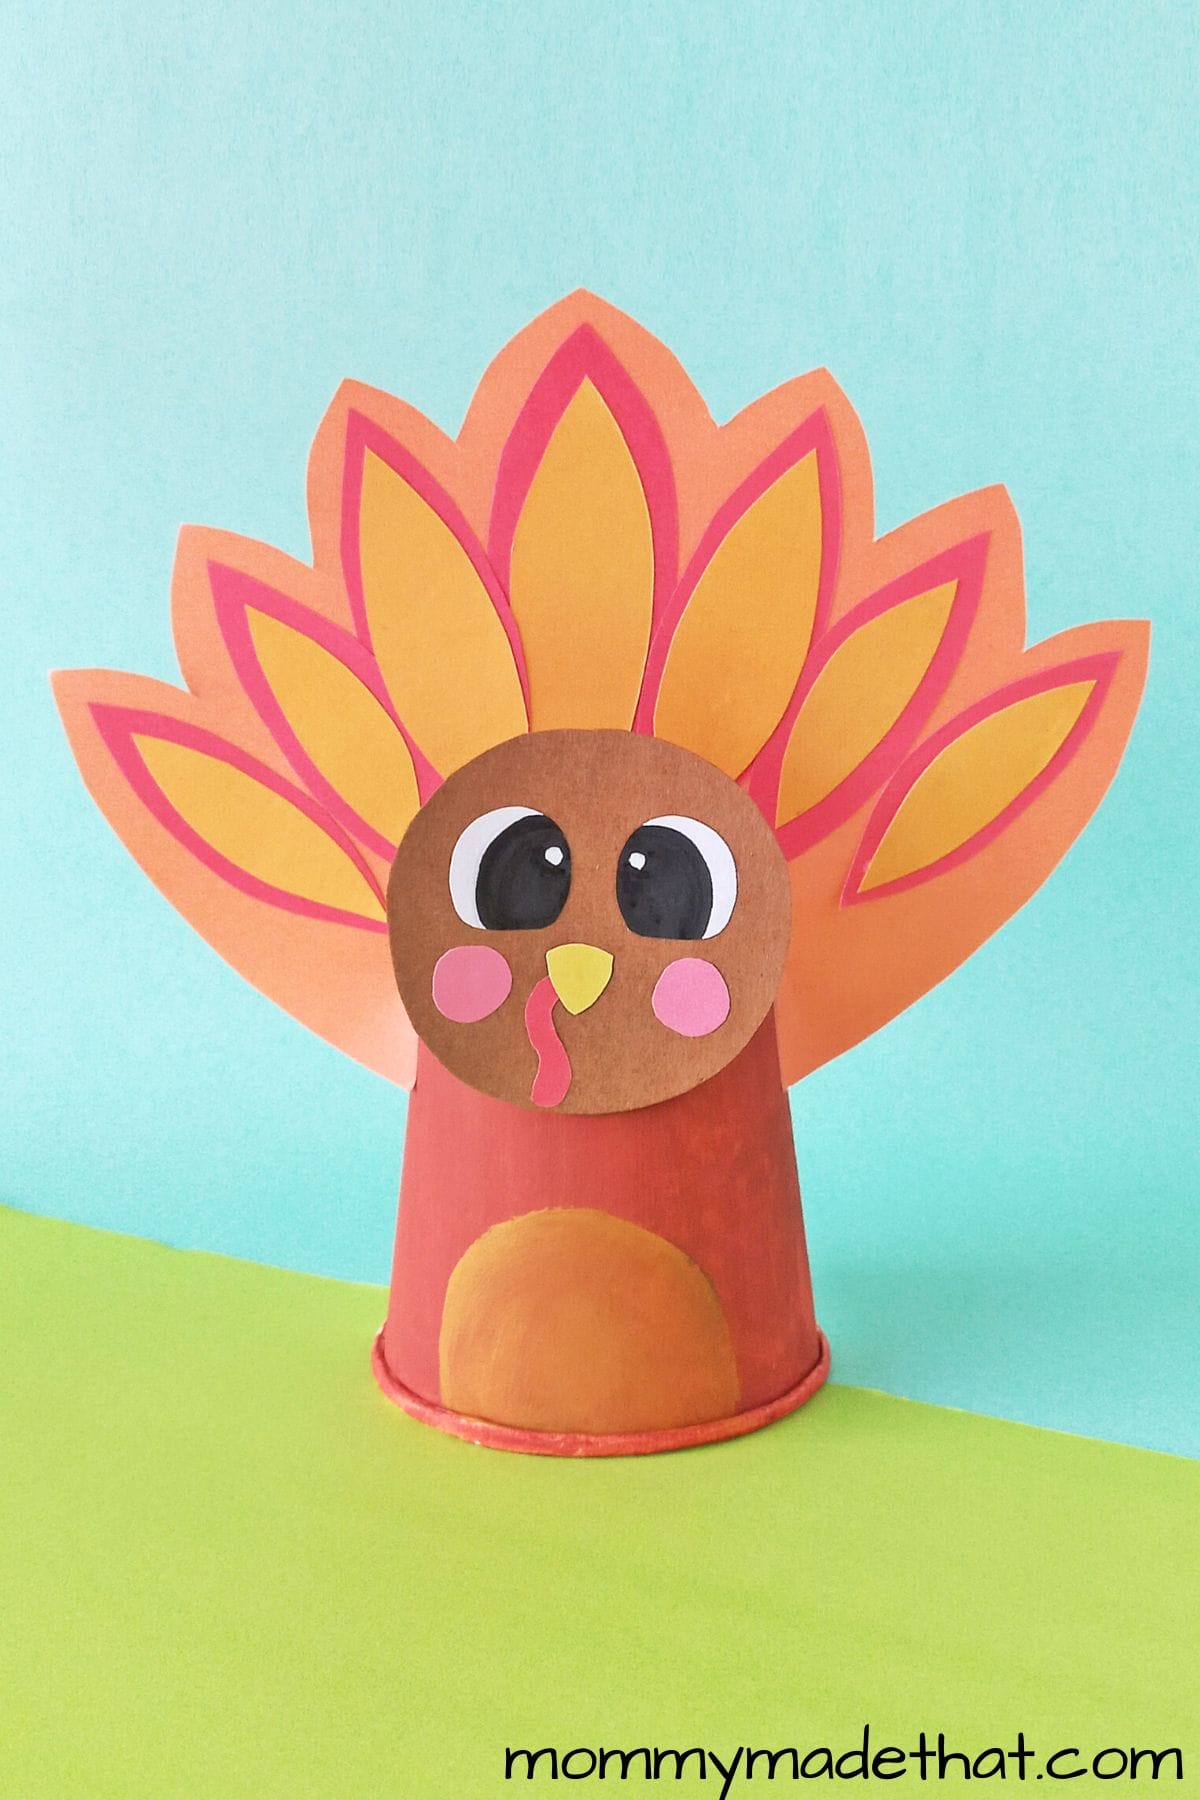
This adorable paper cup turkey craft is a fun Thanksgiving craft made with supplies you probably already have around the house!
We love to whip up some turkey crafts during the month of November, like our super cute toilet paper roll turkey craft and our paper bag turkey.
We also have a fun thankful turkey printable activity that would be perfect to go along with this little craft.
Or our disguise a turkey project, where you help piece together a turkey in disguise escape from being Thanksgiving dinner!
So if you’re ready to get started making your own turkey from a paper cup, grab your materials and let’s go!
And if you like this little guy, make sure to check out some of our other awesome fall crafts for kids and Thanksgiving crafts too!
Table of Contents
Materials
To get started making your cup turkey, start by grabbing these materials.
Paper cup turkey template: You can grab our printable turkey template at the end of this post. It makes it super easy to cut out all the pieces of the turkey.
Colored craft paper: We used several colors for our turkeys, for the body we used brown, but we also used lots of oranges, yellow, red and pink.
Acrylic paint: To paint the cup, we used brown and orange.
Paper cup: Any small paper cup will work!
You’ll also need some basic craft supplies like:
- A paintbrush
- A pencil
- Elmers glue
- Black marker
How to Make a Paper Cup Turkey
Start by downloading and printing out the paper turkey template. Then figure out which colors of paper you’ll use for your turkey craft.
The printable template includes the head and the tail pieces.
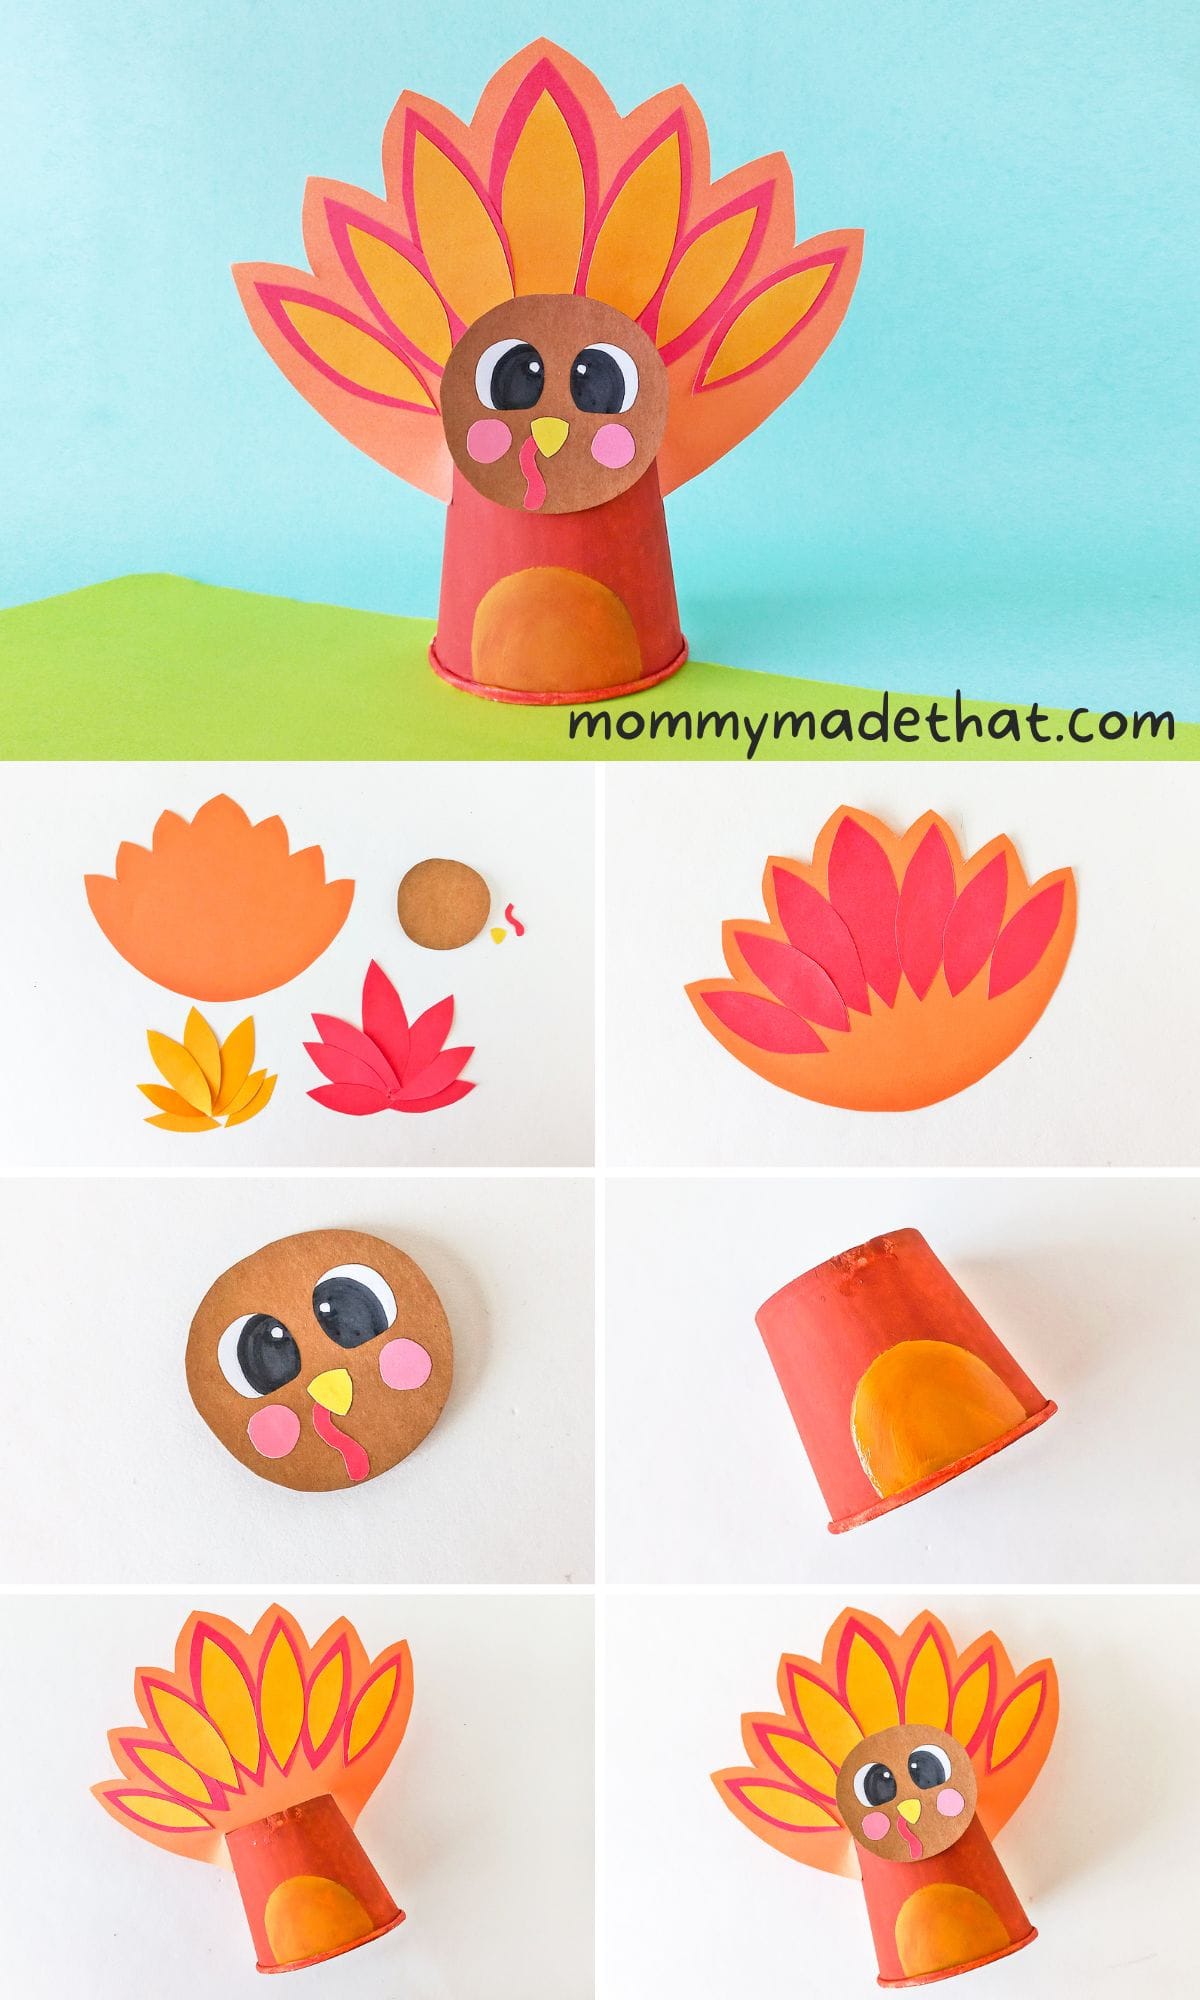
Trace and cut out each of the template pieces onto the colored craft paper. You should end up with something similar to the photo below.

Now, start assembling all the tail pieces onto the base of the tail. We started with the larger pieces and overlapped them onto the tail base.

Then attach the smaller feather patterns onto the big ones to finish the turkey’s tail.

Then grab the head piece and attach the turkey’s waddle and beak to the face area.

Next, attach the eyes and checks to the turkey’s face.

Next, grab your paper cup and make sure the outer surface is clean and free of any debris.

If your cup is colorful, first apply a white base coat of paint to cover up the details, and allow it to dry completely.
Next, paint the cup whichever color you want the turkey’s body to be. We used brown and added an orange belly.

Now, grab the tail feather piece you finished previously. Cut 2 slits into the bottom of the tail about a half inch deep, like shown below.

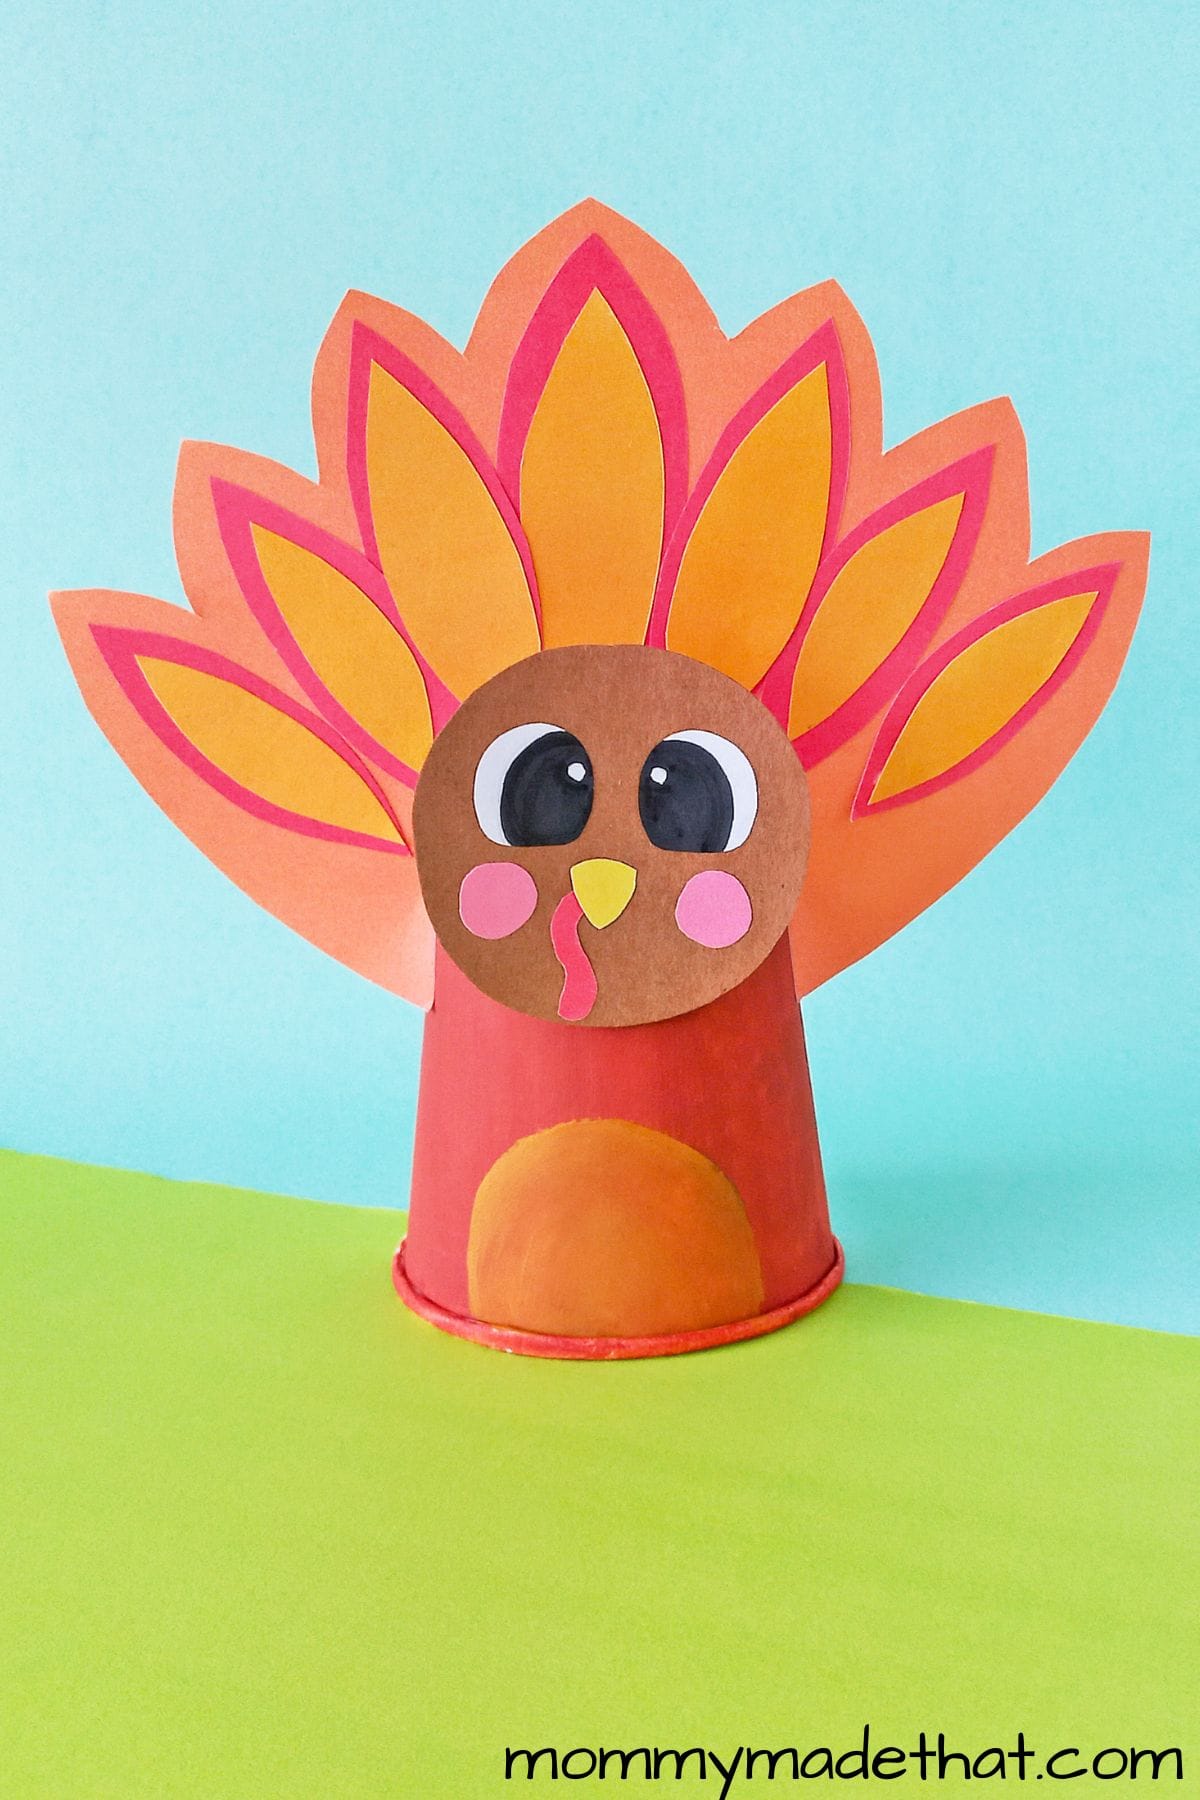
The bottom of the cup will be the top of the turkey’s body. So attach the tail to the backside of the paper cup (with the cup being upside down.)

Finally, attach the turkey’s head to the front of the cup, opposite to the tail.

And that’s it! Your paper cup turkey craft is finished!
These make super cute decorations the kids can make.
Grab the Turkey Template
To grab the turkey template, put your email in the box below! We’ll send the template straight to your inbox along with other fun freebies.
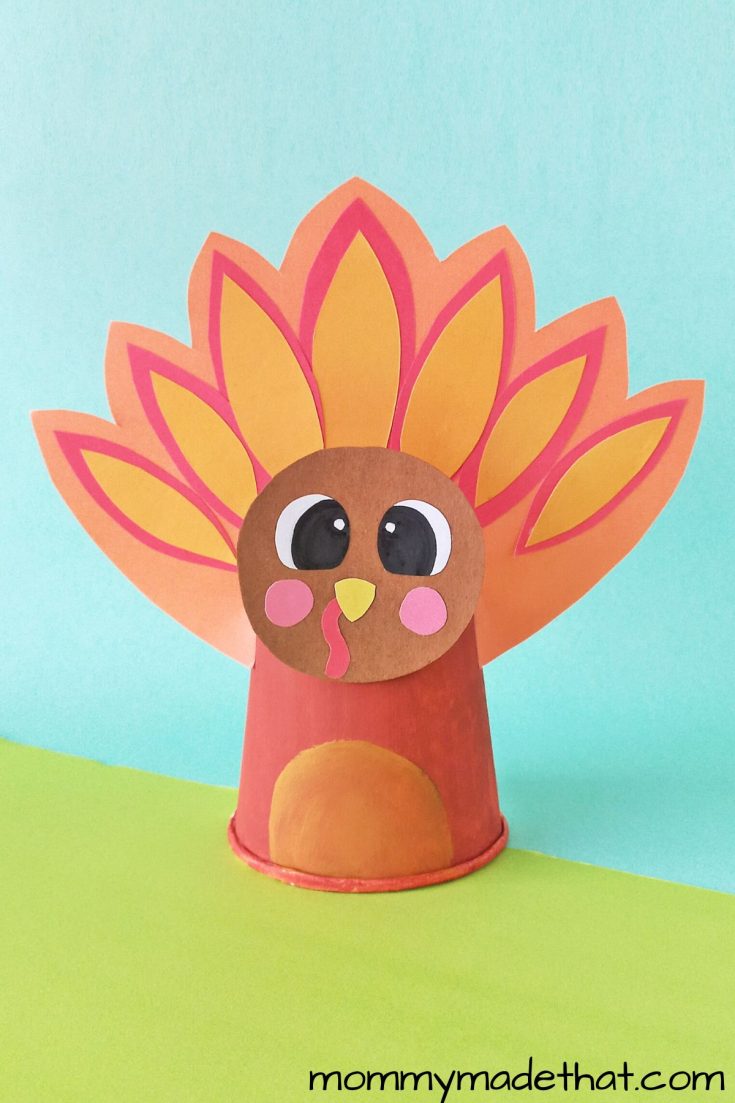
Paper Cup Turkey Craft
This adorable paper cup turkey craft is a fun and easy craft for kids to make for Thanksgiving. Make sure to grab the free printable template!
Materials
- Paper cup turkey template
- Colored craft papers
- Acrylic paint
- Paper cup
Tools
- Paint brush
- Pencil
- Elmer's glue
- Black marker
Instructions
- Print out the turkey template. Choose your colors for your craft papers and then trace and cut out all the template pieces onto the colored craft paper.
- Attach the big feather pieces to the base of the tail.
- Then attach the smaller feather pieces over the big feather ones on the base.
- Attach the waddle and beak piece to the turkey's head.
- Then attach the eyes and cheecks.
- Grab your paper cup and coat with a base coat of white paint. Allow to dry and then paint the cup brown and orange.
- Cut 1/2 inch slits into the bottom of the tail piece, wide enough apart to fit over the bottom of the paper cup.
- With the cup turned upside down, attach the tail piece to the back of the cup, with the tail facing foward.
- Attach the head piece to the front side of the cup, opposite to that of the tail.
Notes
Have fun using different colors in your turkey craft! You don't have to stick with the brown and orange towns!