Easter Bunny in Grass Craft | Free Rabbit Craft Template!
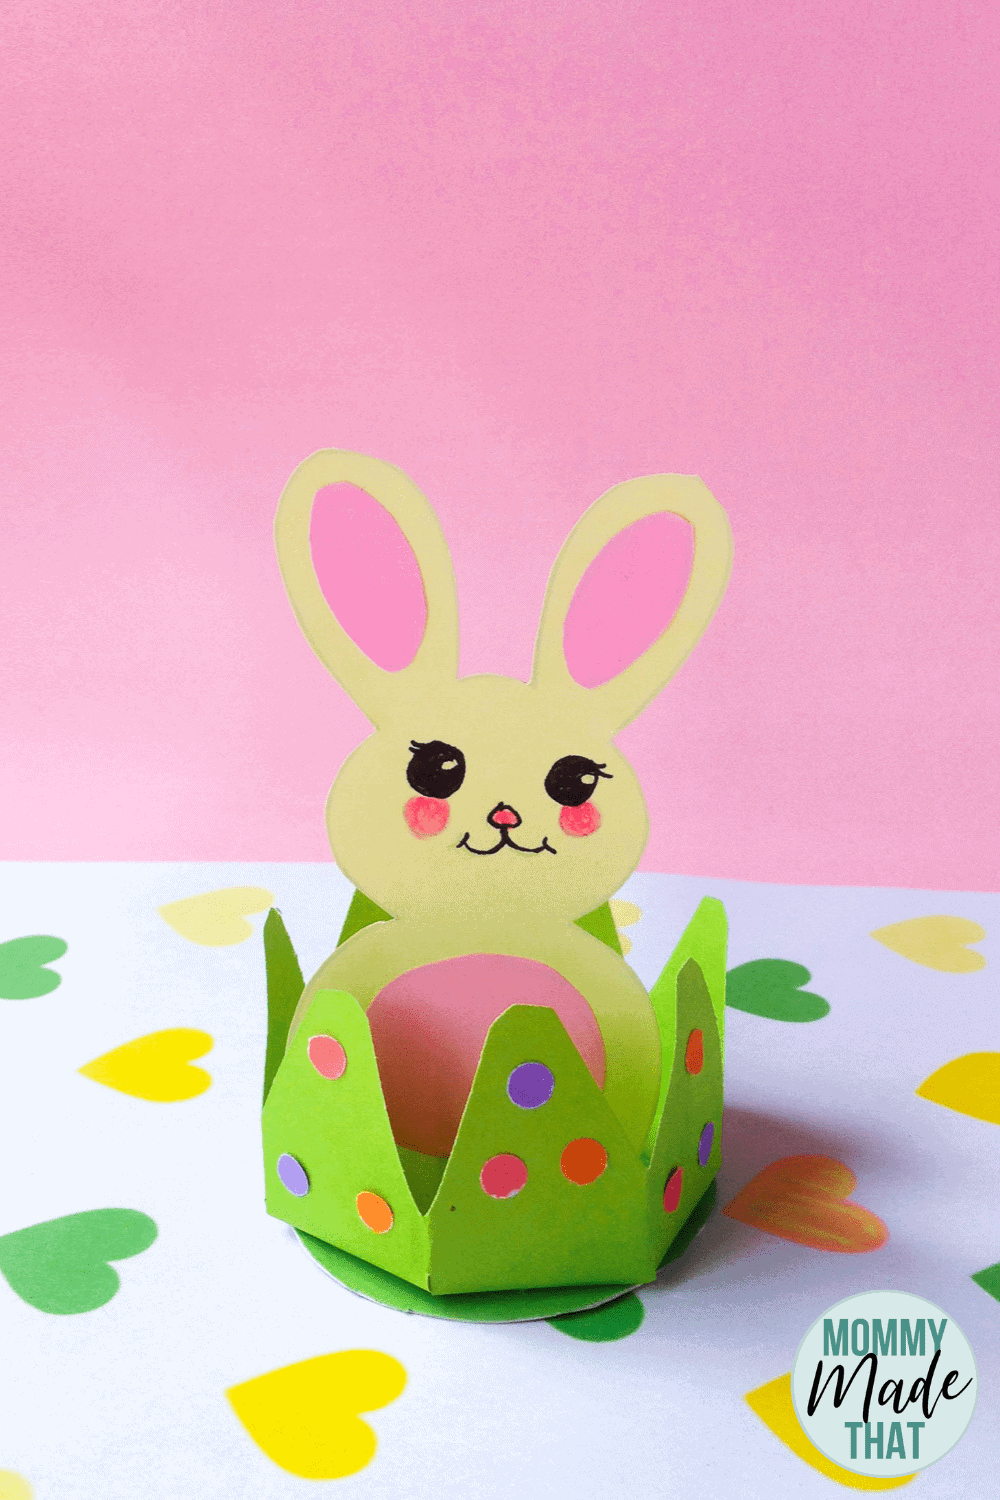
Today we have this adorable Easter bunny craft! It’s fun and cute 3D bunny craft perfect to make for Easter time.
Spring is here. And we have been trying to come up with lots of fun spring craft ideas.
This is a fun little bunny craft that looks so stinkin cute when finished!
It’s definitely a fun Easter craft for kids and we even included it in our big list of the best Easter printables.
Since it ends up being a cute 3D shape, it ends up being a fun and creative toy for the kids to play with after.
It’s all pretty simple to create too, just simply download the PDF rabbit craft template, trace out your shapes and follow along with these directions.
It makes for a fun afternoon project.
I think this year we are going to make several of them to decorate our Easter table with!
It’ll be cute to add a name tag to add to each one. Then our Easter guests will have their own little bunny greeting them to brunch!
We also have some awesome bunny templates here for you to grab to make more Easter bunny crafts with.
The same concept would be great for any bunny themed party as well!
Paper Bunny Craft
Supplies
- Colorful craft paper
- Paper glue
- Colorful thin tip markers
- Hole punch
- Rabbit craft template
Step by Step Instructions for your Easter Bunny in Grass Craft
Step 1:
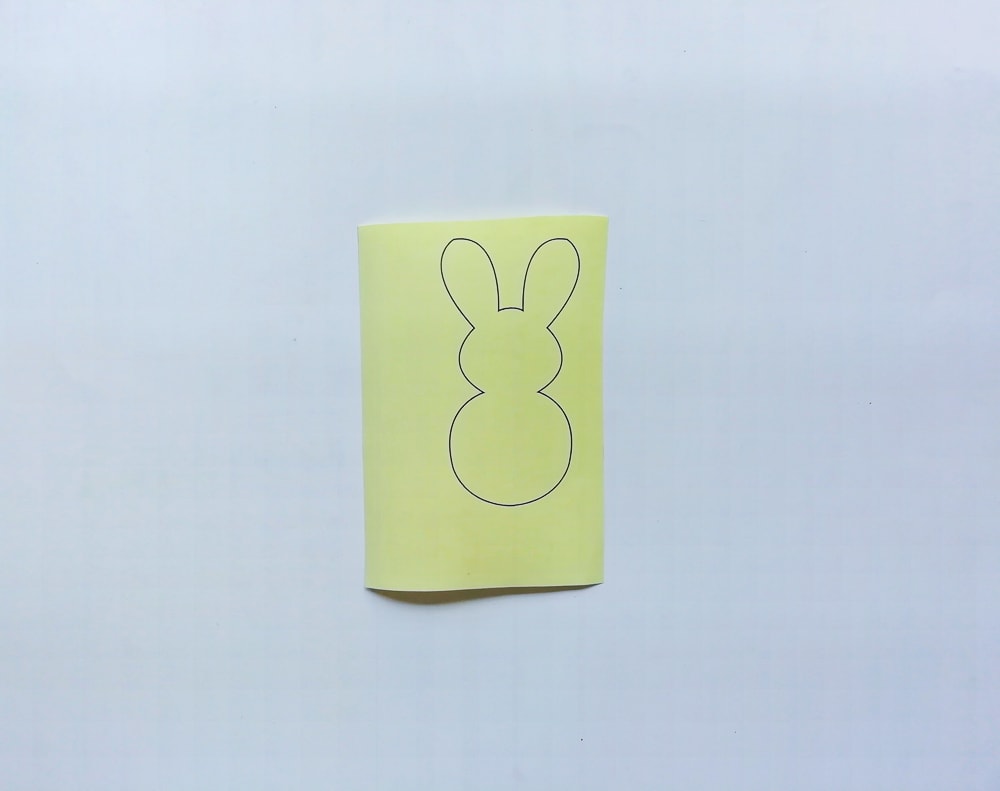
Print out the bunny figure using our downloadable rabbit template.
Step 2:
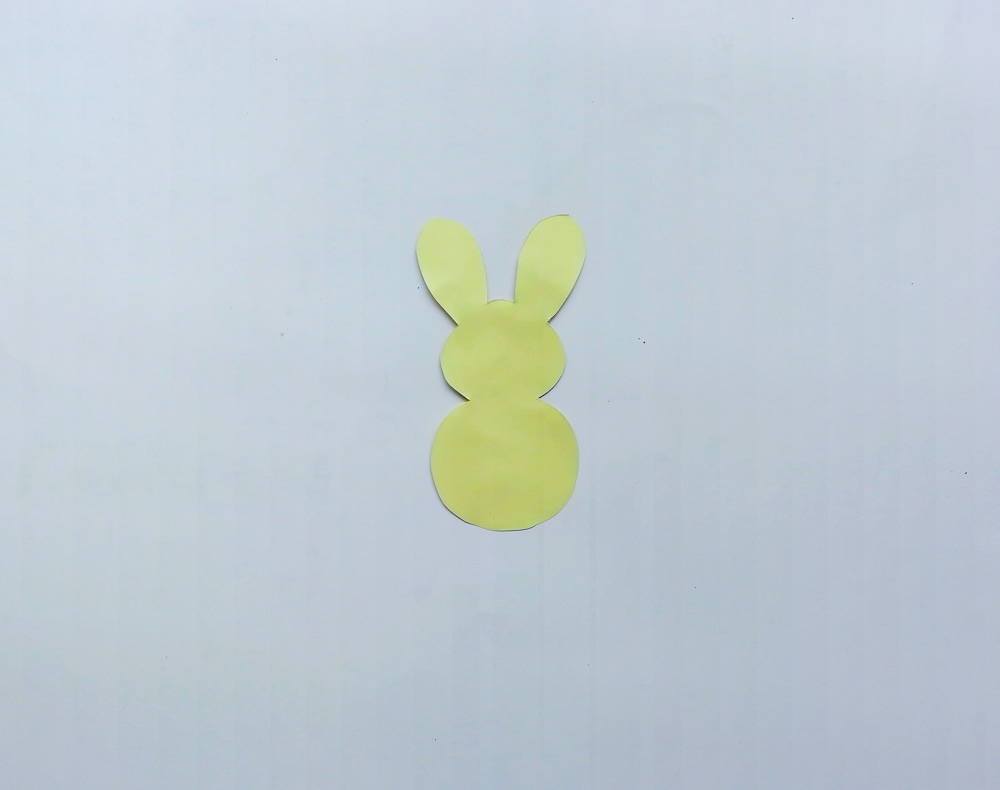
Next carefully cut out your rabbit from the template, like shown below.
Step 3:
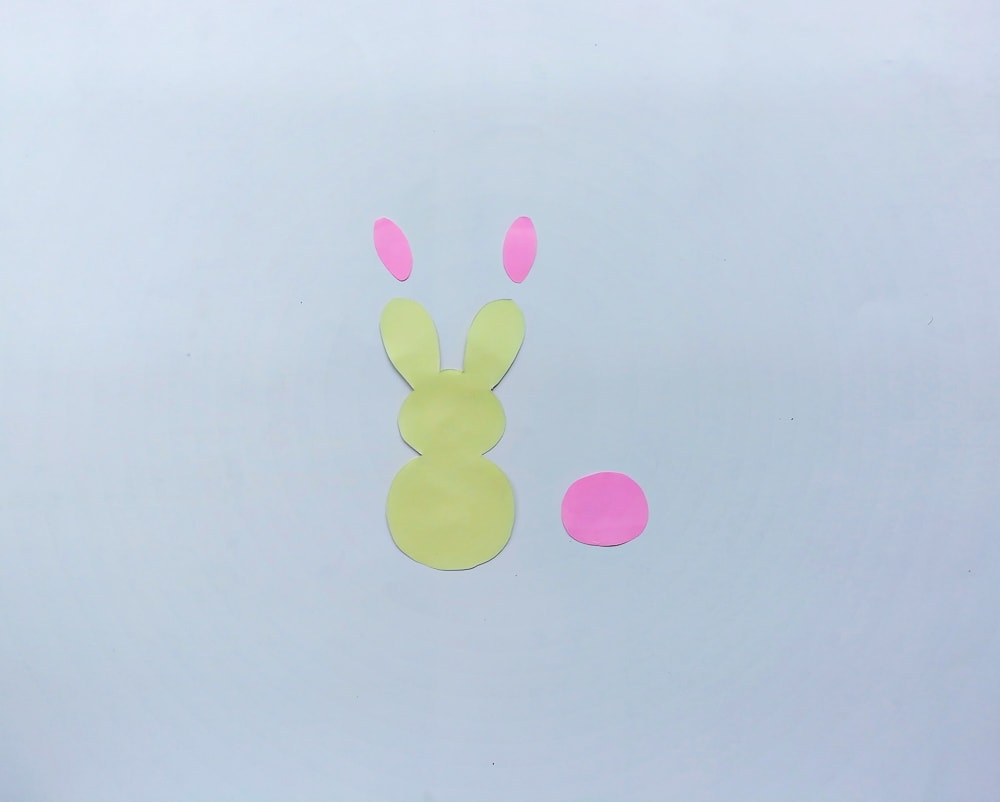
Now cut out the rest of the pieces from your template. This will be your rabbit’s inner ears and belly. We used pink paper, but you can use any color you like.
Step 4:
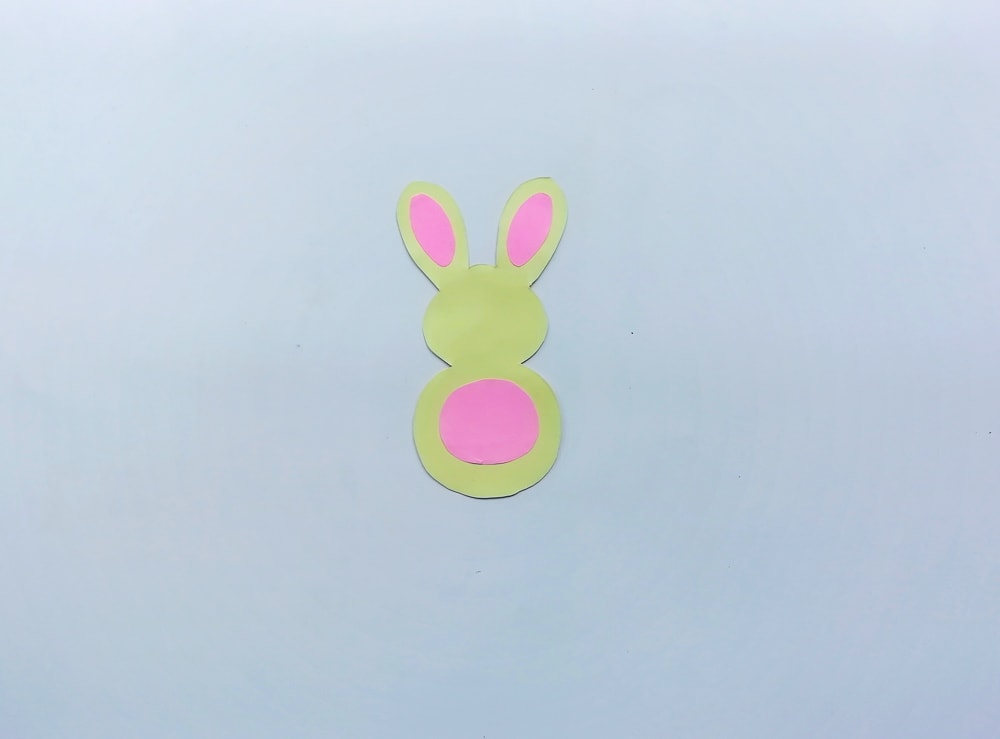
Glue down the bunnies inner ears and belly pieces as shown below.
Step 5:
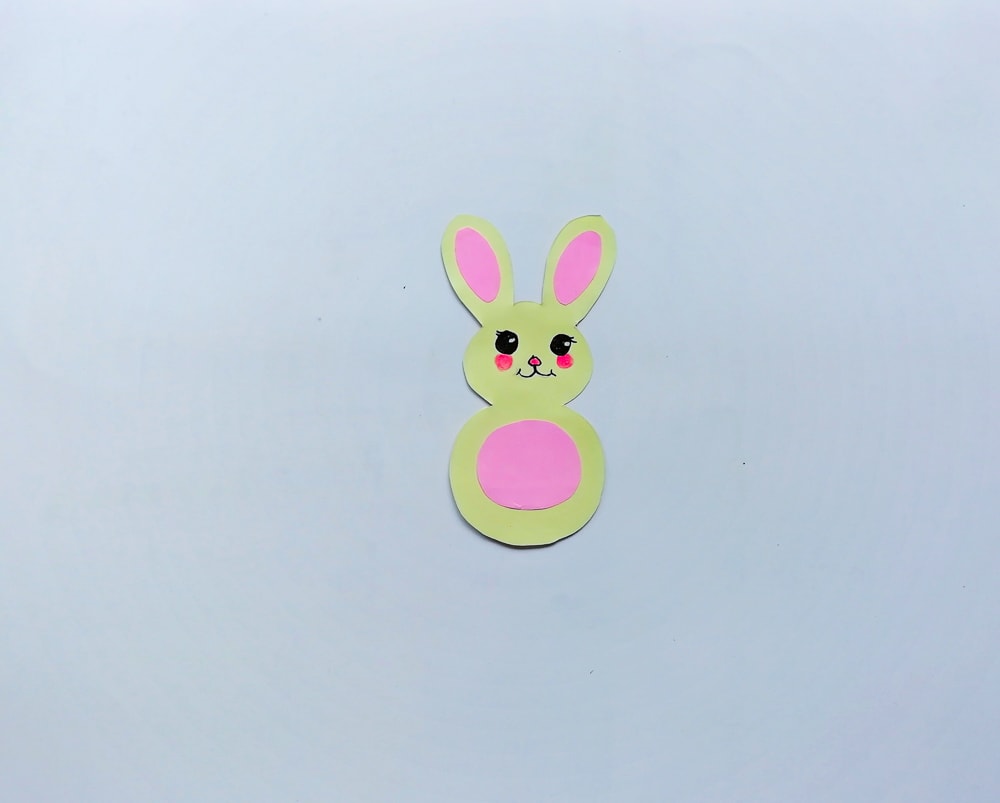
Using your fine tipped markers, draw on eyes, a mouth, a nose and rosy cheeks.
Step 6:
Using the circular template, cut out one circle from a thin piece of cardboard, and one circle for your grass bottom. We used green paper for our grass.
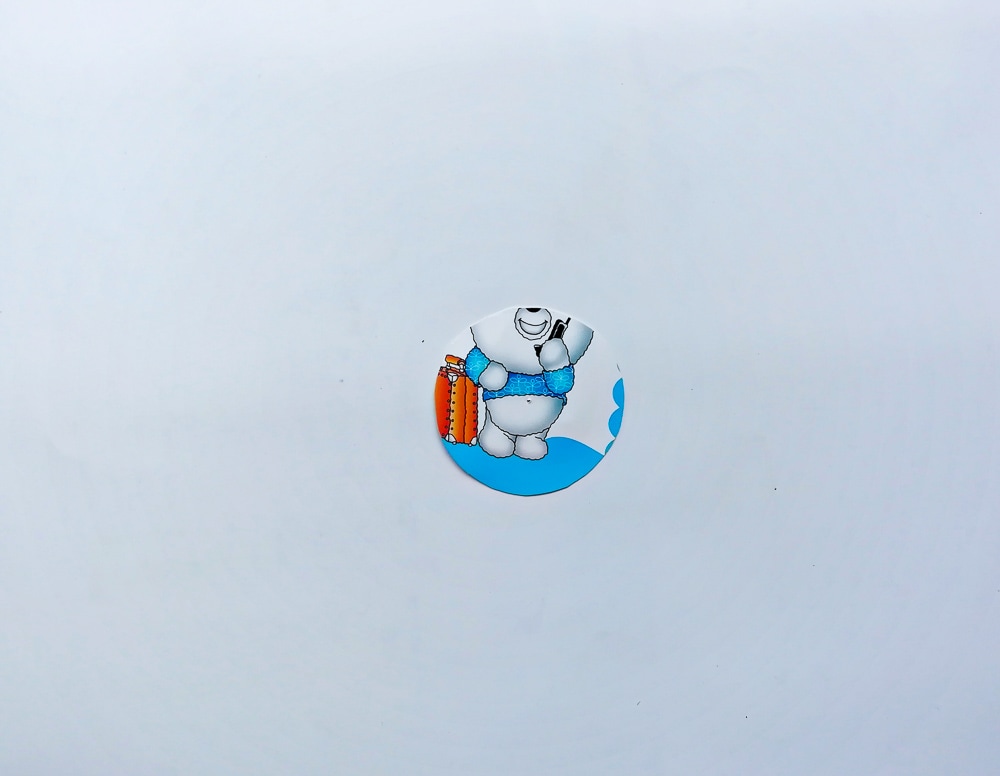
Step 7:
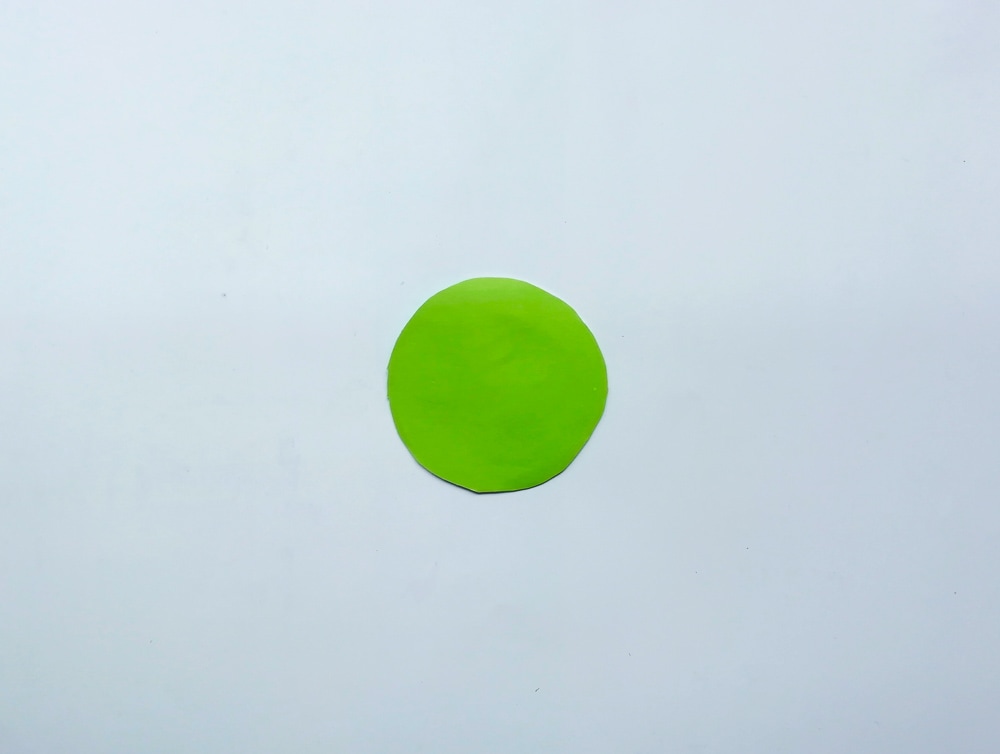
Now glue down your green circle onto your thin cardboard circle to create a sturdy base for your rabbit.
Step 8:
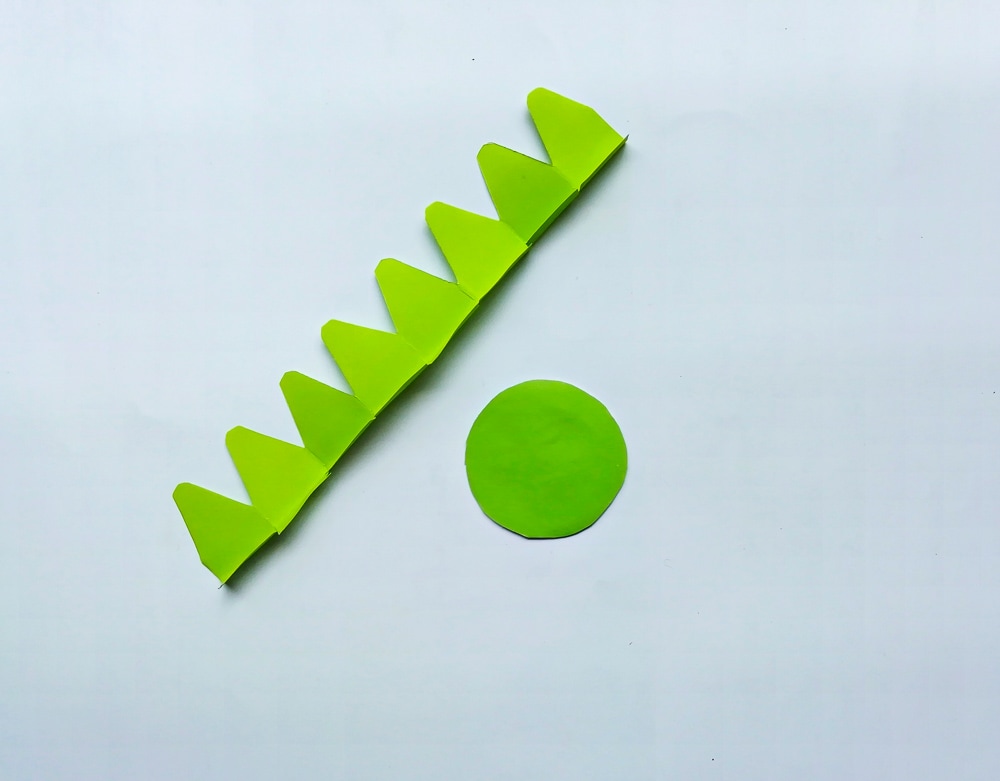
Using your template, cut out the triangular grass area.
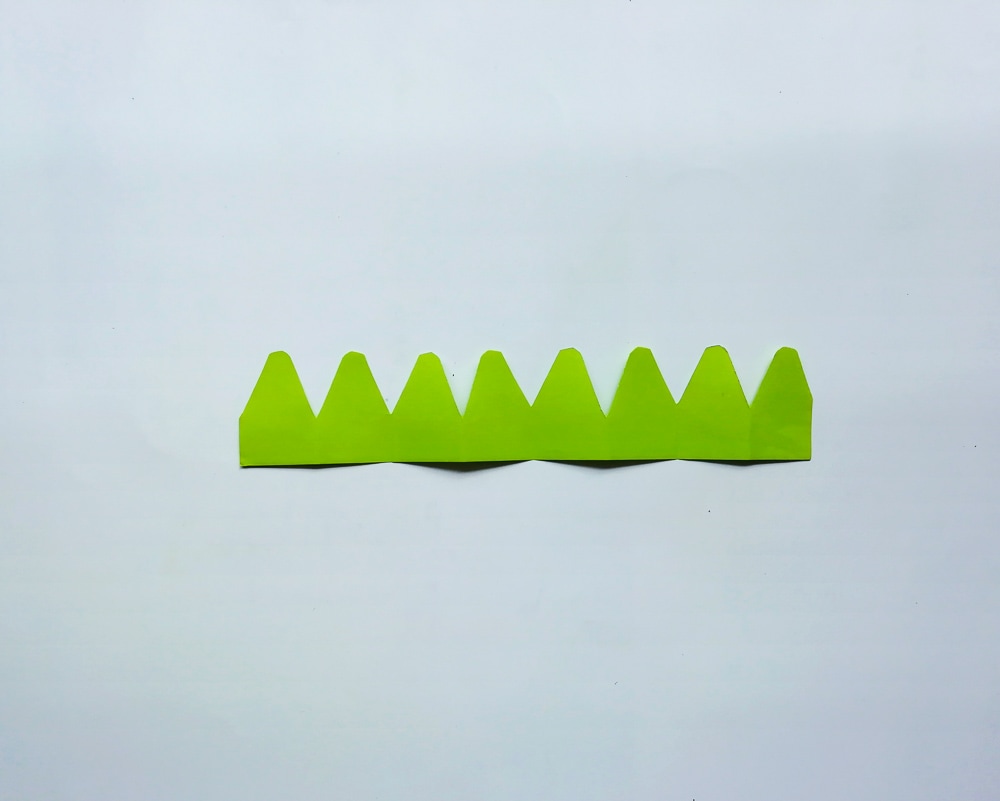
Step 9:
At the bottom of your zig zag cut out, make tiny vertical cuts like shown below. This will help glue your grass to its base.
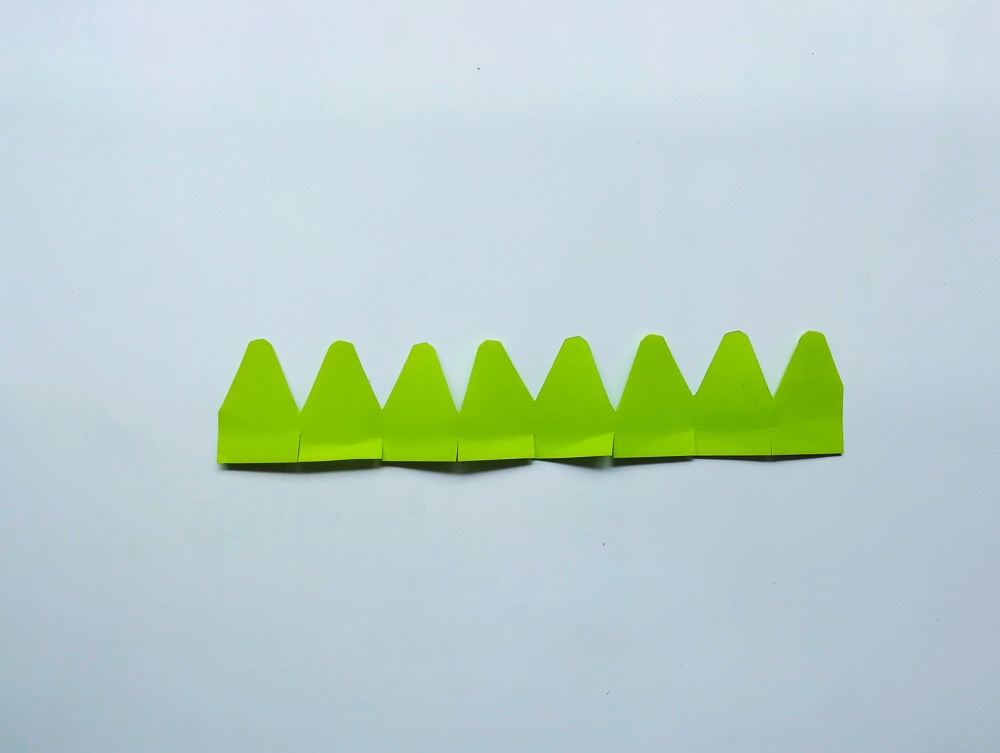
Step 10:
Fold the areas of the grass slightly on the bottom where your cuts are to form tabs on the bottom of your grass cutout.
Step 11:
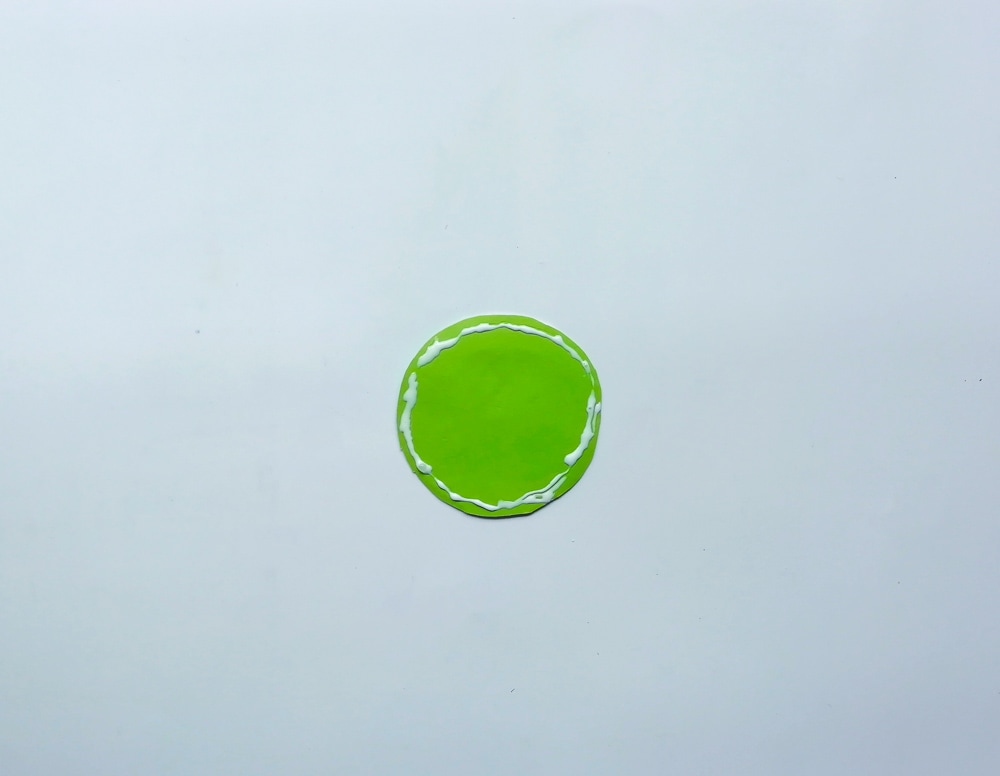
Now create a ring of glue on your grass bass circle, like shown below.
Step 12:
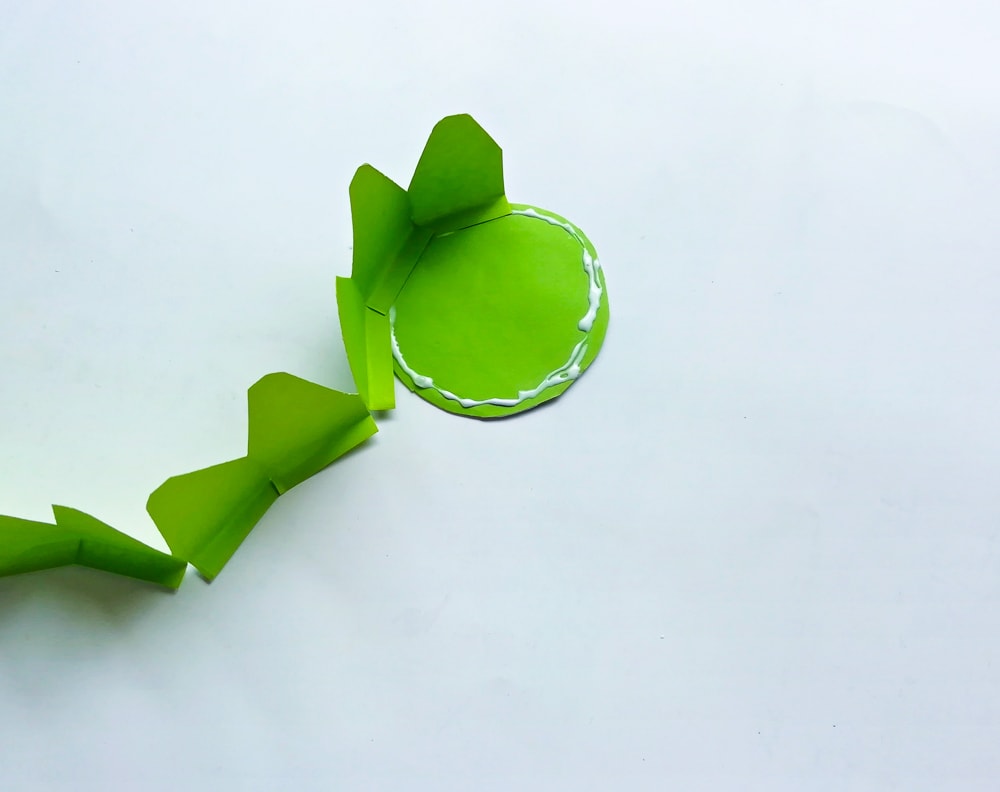
Starting with one of your grass cut out, start placing the tabs onto your glue, creating a standing ring of “grass” from your cut out.
Step 13:
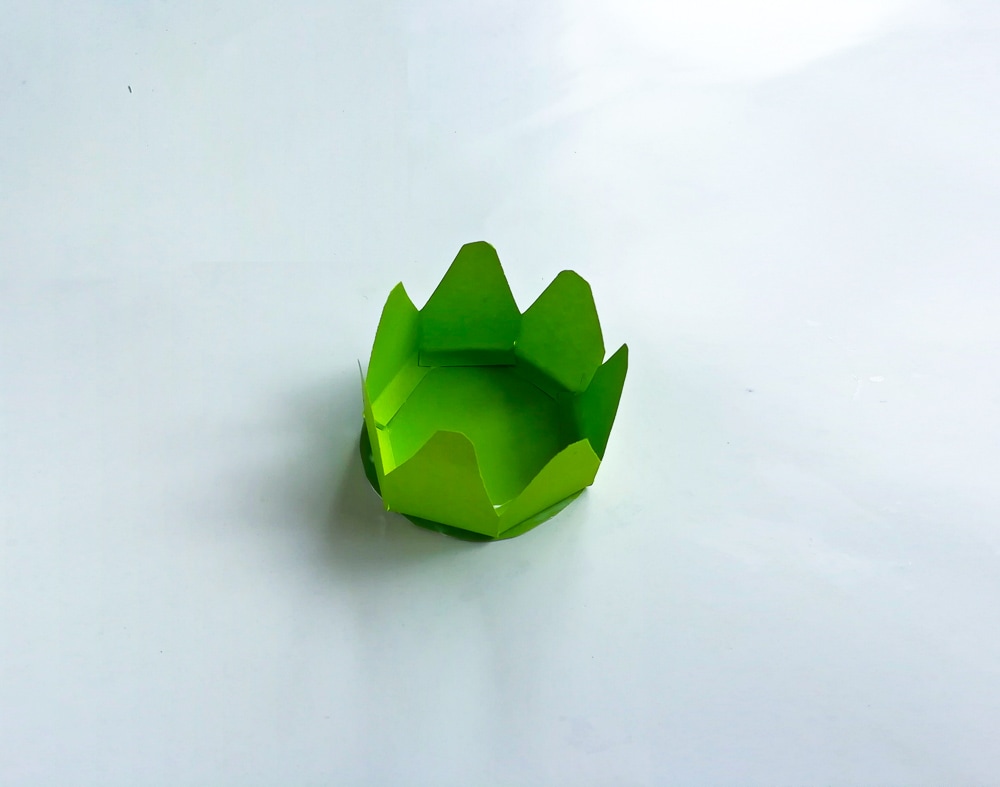
Finish gluing the entire ring around your circle cut out.
Step 14:
Using a small piece of your cardboard, cut out a thin strip.
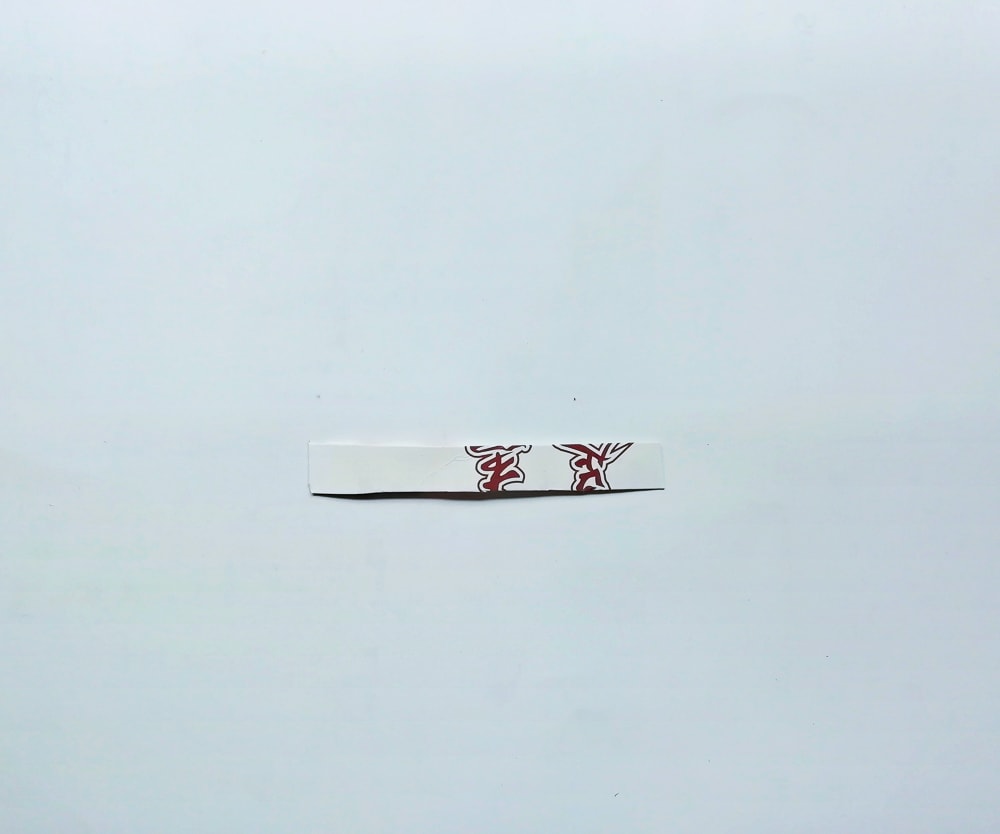
Step 15:
Now fashion it into a small triangle to use as a support of your Easter bunny.
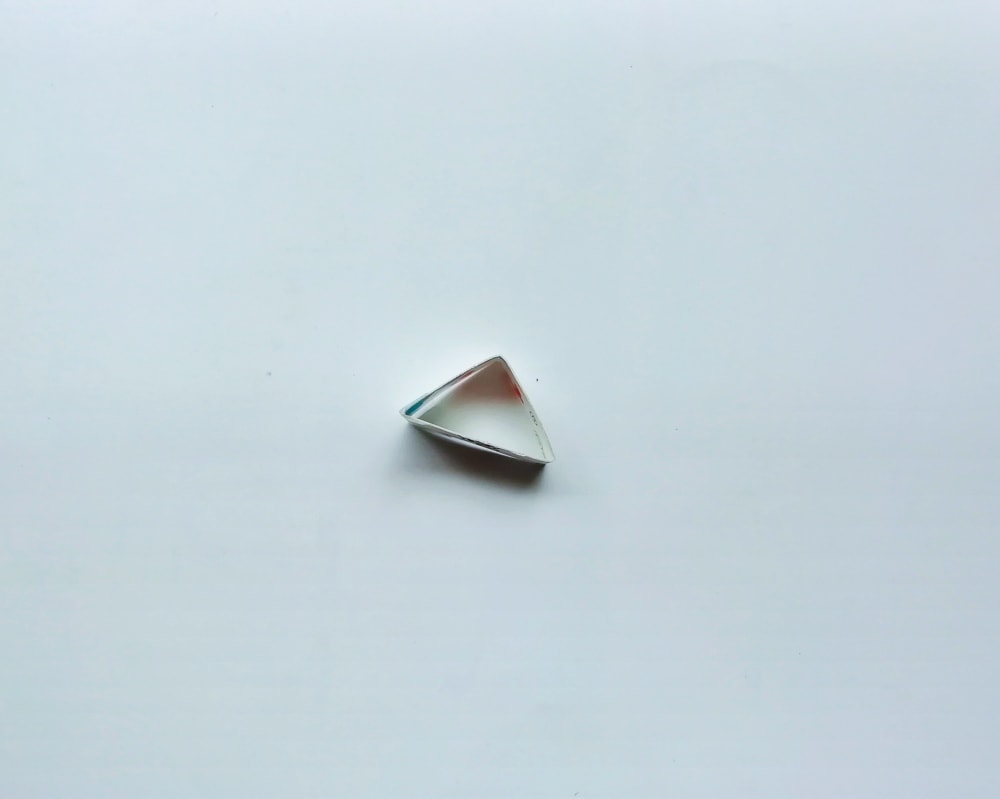
Step 16:
Now glue your small triangle to the back of your bunny rabbit.
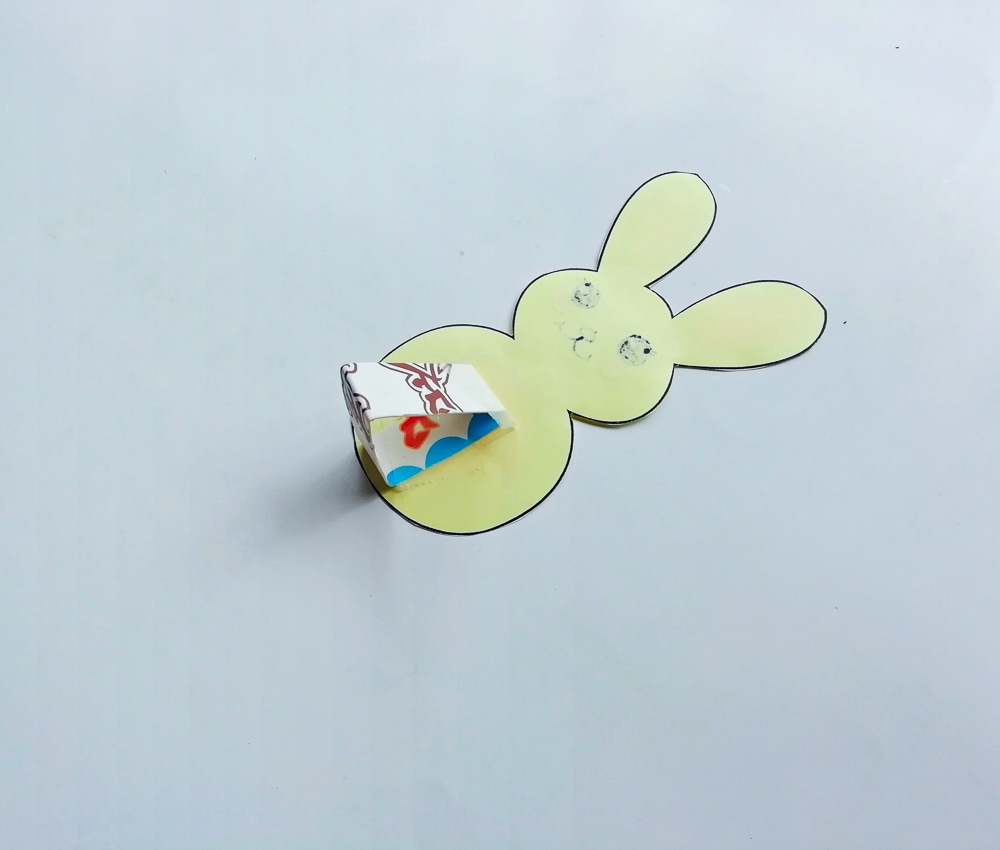
Step 17:
Now place your paper bunny into your grass to make sure he fits with your triangle stabilizer.
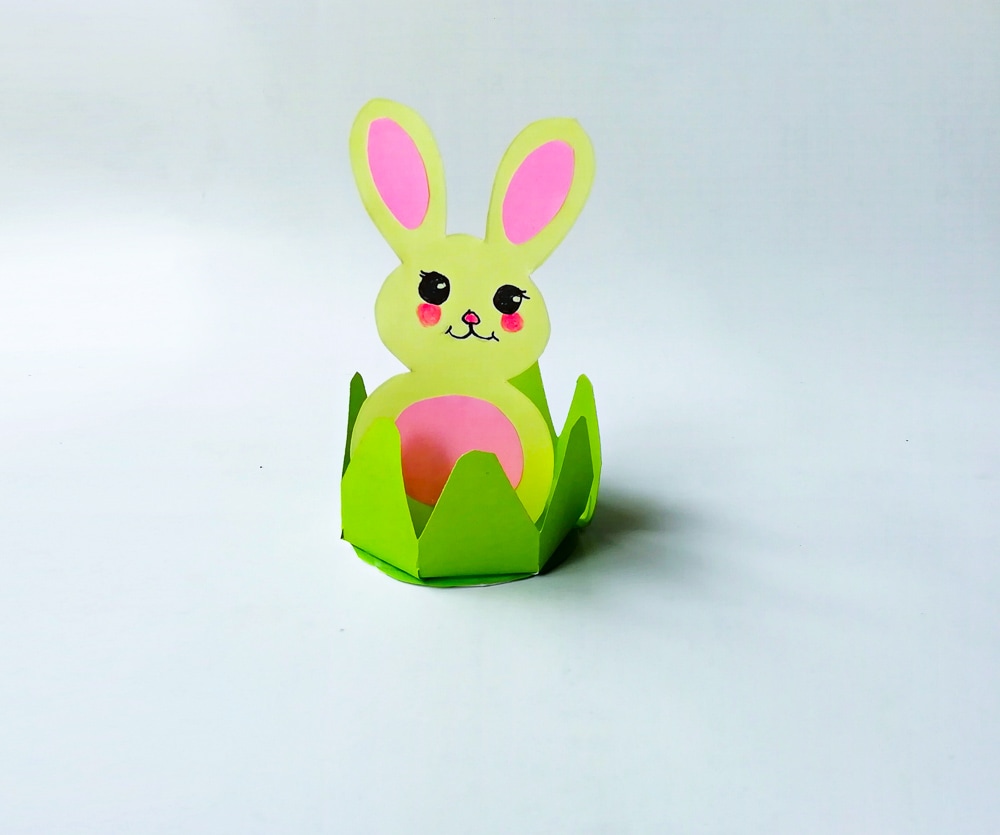
Step 18:
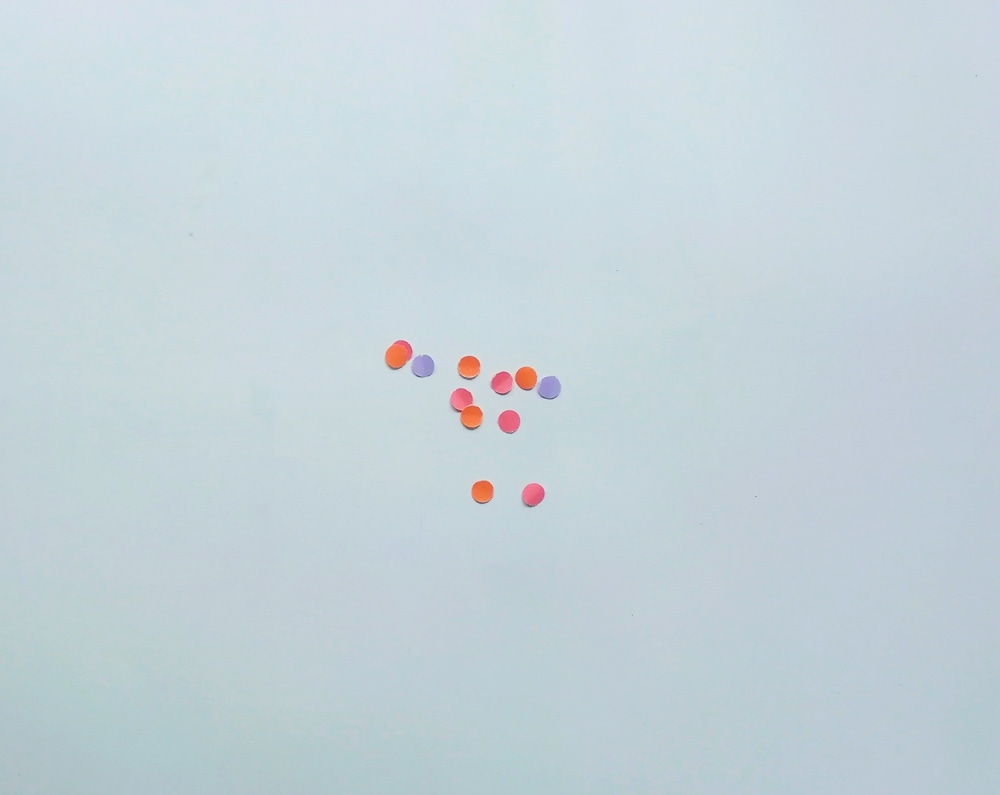
Using a hole punch, punch out a few colorful circles to use to decorate your grass. They’ll end up looking like cute little Easter eggs.
Step 19:
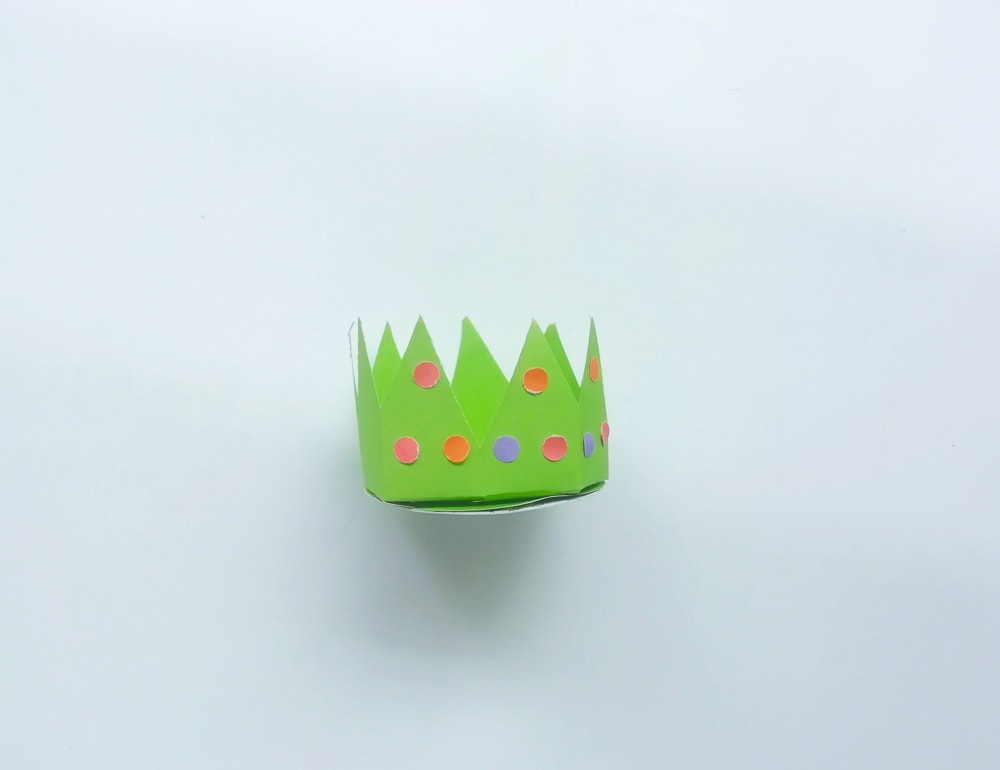
Glue your dots onto your grass.
Step 20:
Now you can glue your Easter bunny into your decorated grass and your all finished!
Of course, you should make a few little friends for you bunny to hang out with!
Be sure to give your cute little easter bunnies a great bunny name!


