Dying Easter Eggs with Cool Whip
Today we are dying easter eggs with cool whip and food dye!! It’s not only a fun easter activity for kids, it’s also a great sensory activity as well. The colors and textures are great experiences for kids. Plus no harsh chemicals from shaving cream!
It’s almost Easter time, so naturally, its time to boil and dye LOTs of Easter Eggs.
I love boiled eggs, and dying Easter eggs gives me the perfect excuse to make batches and batches of these delicious hard boiled treats.
This year I wanted to try something a little different with the kids. I had seen someone post cool photos of dying Easter eggs with shaving cream.
It looked like so much fun! But I wasn’t really sure I wanted to soak our eggs in something non-edible like shaving cream.
So instead, we decided to use something very similar but much more delicious.
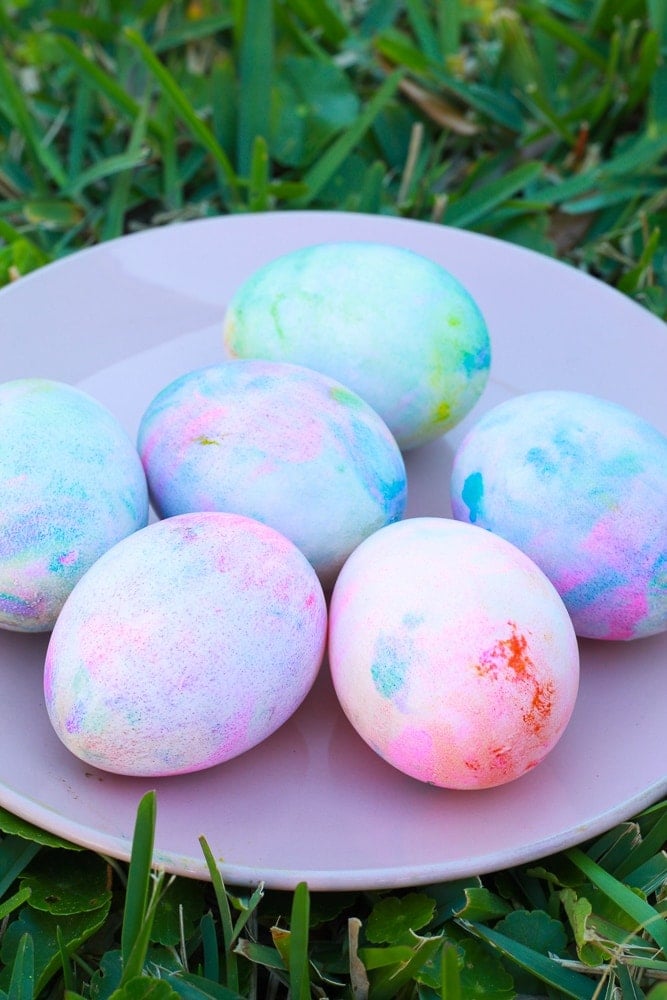
This year we dyed our Easter Eggs with Cool Whip! Not only was it a blast, but our eggs came out beautiful!
This post may contain affiliate links. This means if you click a link and make a purchase, we may earn a commission. You can read our full disclosure here.
How to Dye Eggs with Cool Whip
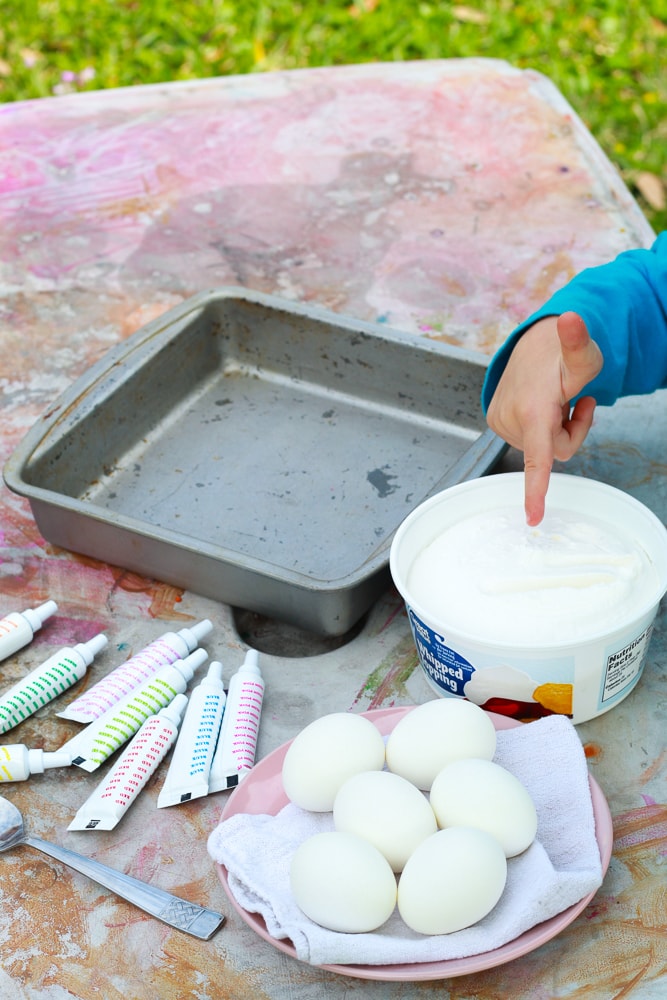
Dying Easter Eggs with cool whip is super simple. As far as supplies go you’ll need:
- 1 tub of cool whip (Or any whipped cream will do!)
- Gel food coloring (Liquid would work too, but gel adds more intense color)
- Hard-boiled eggs
- Container to dye in (We used a deep baking pan)
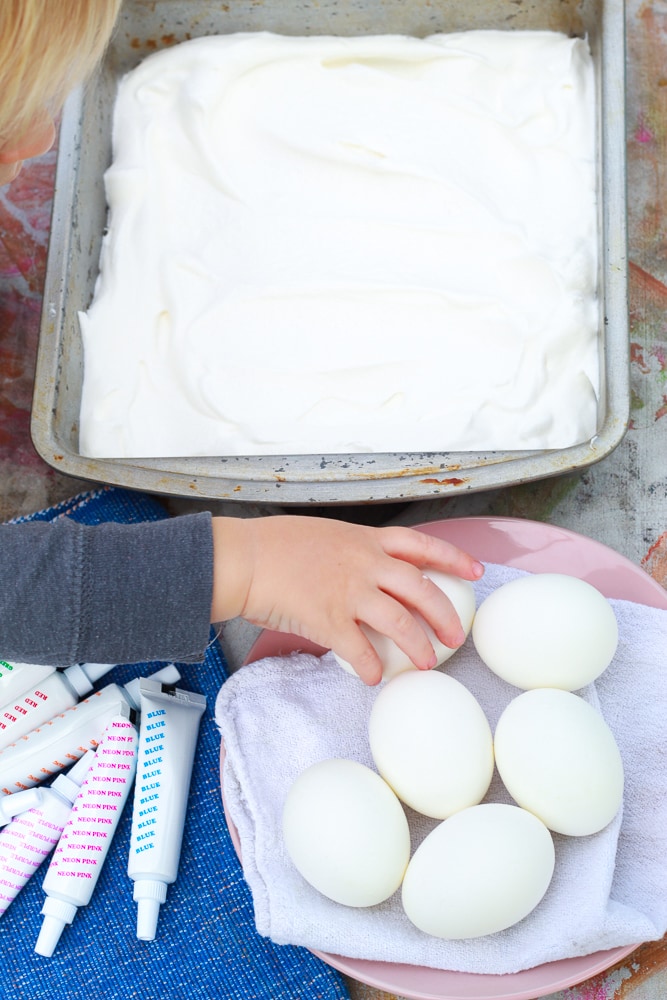
To dye your eggs, start by putting your cool whip, or whipped cream, into your dying dish.
We used a deep baking pan and it worked perfectly for coloring the eggs.
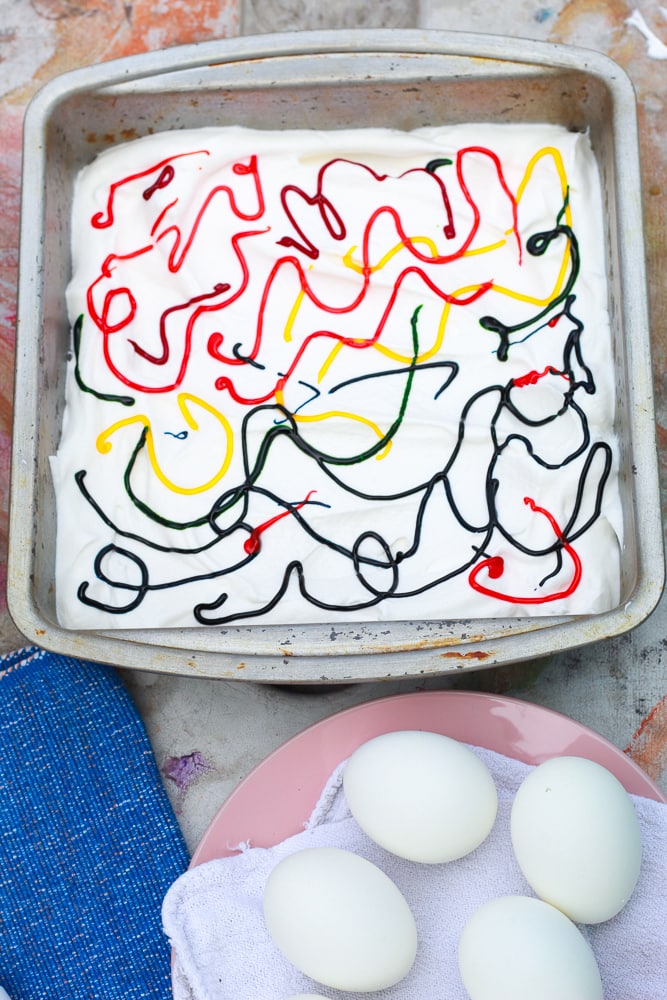
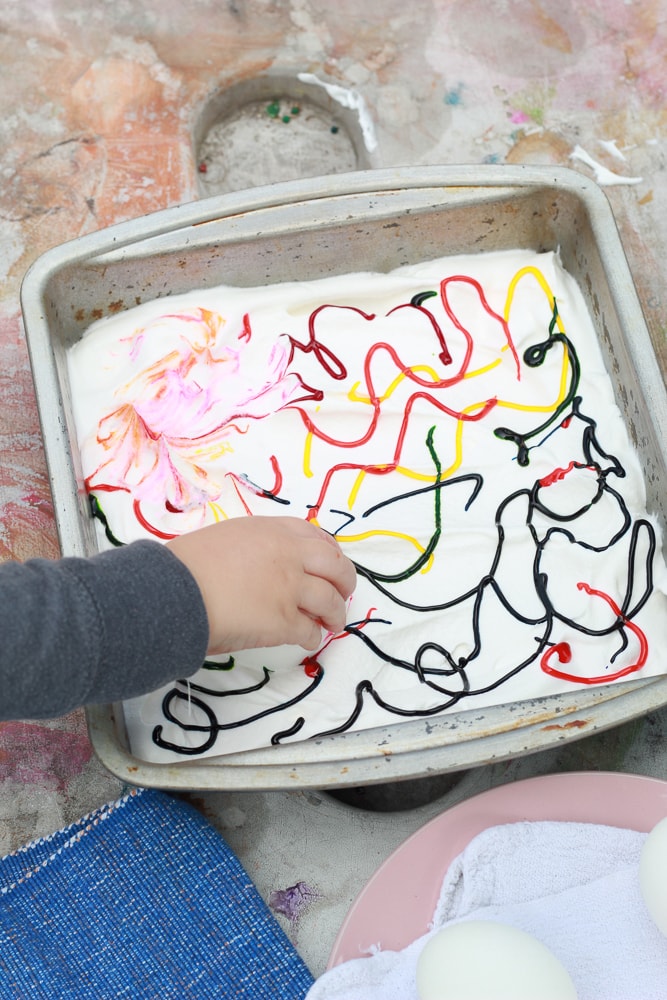
Once you have a good, thick layer of whipped cream spread out into your dish, add your food coloring.
We used squeeze gel food coloring, it’s inexpensive and a little goes a long way.
You can find the kind we used in the cake decoration section at Walmart, or you can find both the neon dye and primary color dye on Amazon.
We started with the reds and pinks at one end and worked our way to the cooler colors at the other end.
I was trying to get some eggs to be warmer hues, while the other easter eggs would be cooler hues.
I think it worked out pretty well.
And finally comes the fun part! Dying the eggs!
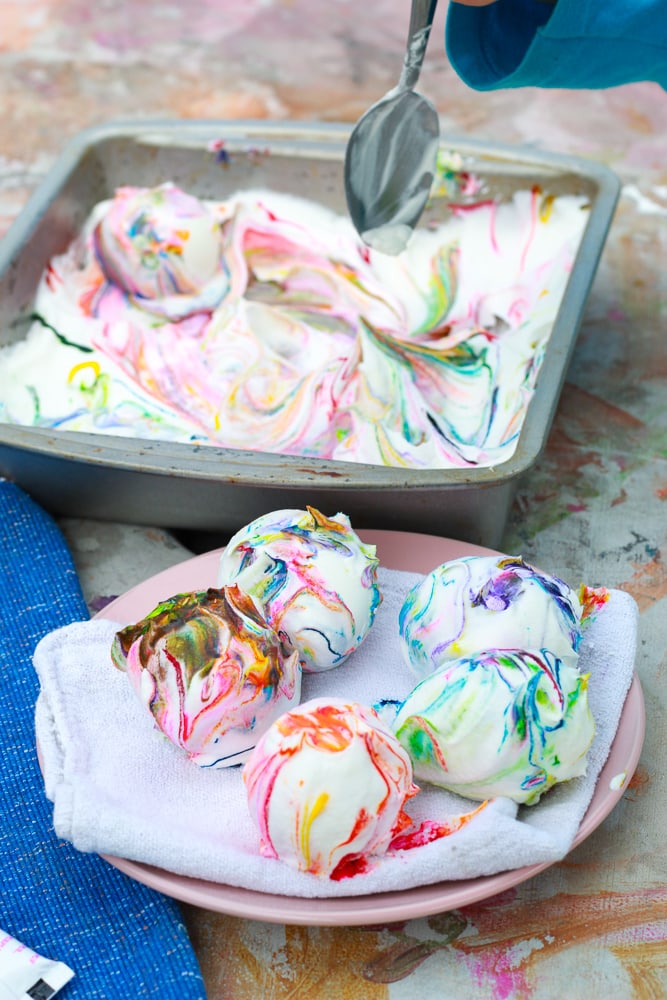
We started by placing an egg in the coloring and slowly turning it, being sure to get as much of the color onto the egg as possible.
We rolled around each egg until they were all covered with the cool whip.
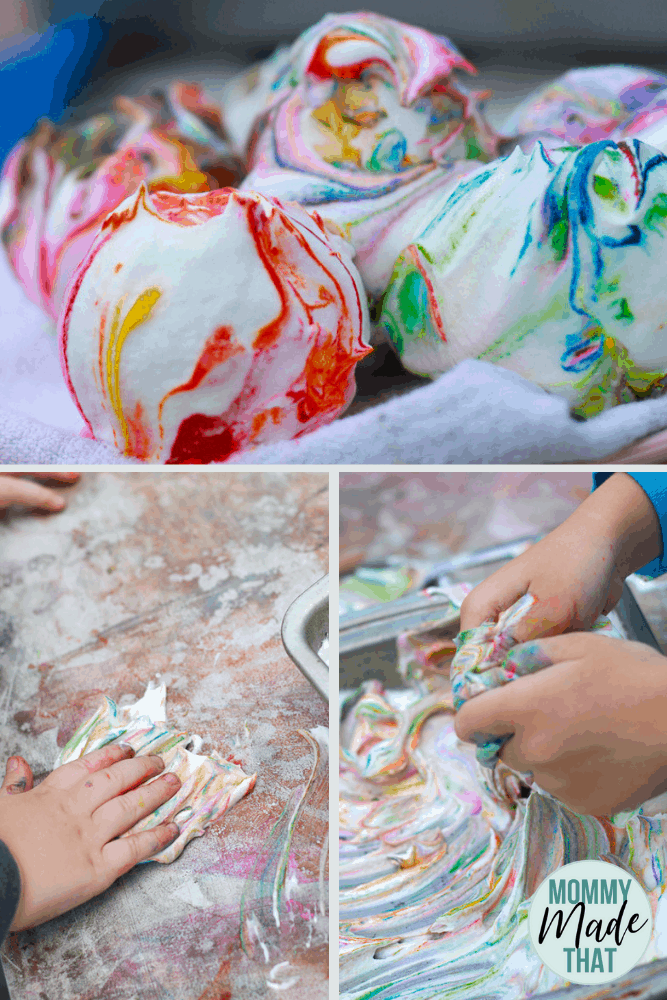
To be honest, as much fun as dying our Easter eggs were, the kids seemed to have much more fun playing with the colored cool whip after all of our eggs were done.
It made for a great sensory activity after!
Be warned though, their hands did stay stained for a day or so after because of the dye.
Once all of your eggs are covered in Cool whip, set them aside for a couple of hours to soak in the color.
When walking by them, it was hard to resist poking the cool whip around a bit to check out the colors.
Once all of your eggs are covered in Cool whip, set them aside for a couple of hours to soak in the color. When walking by them, it was hard to resist poking the cool whip around a bit to check out the colors.
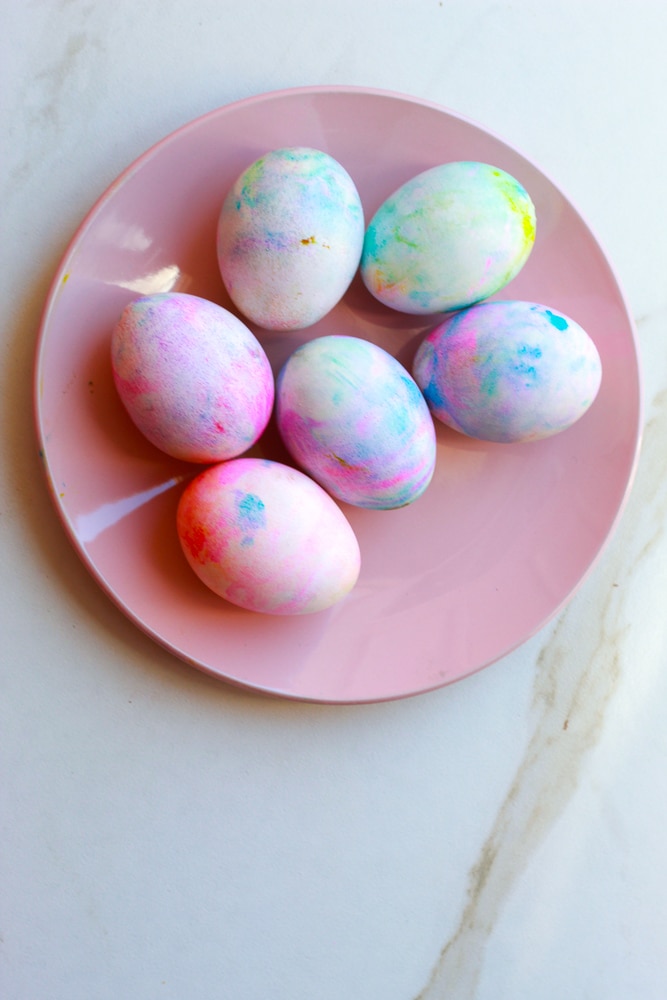
Finally, wipe your eggs of with a dry rag or paper towel. You’ll be able to see your final creation once all of the whipped cream is gone!
You should be left with beautiful, marbled-looking colored Easter eggs.
We loved the bright and fun colors that we were left with.

