
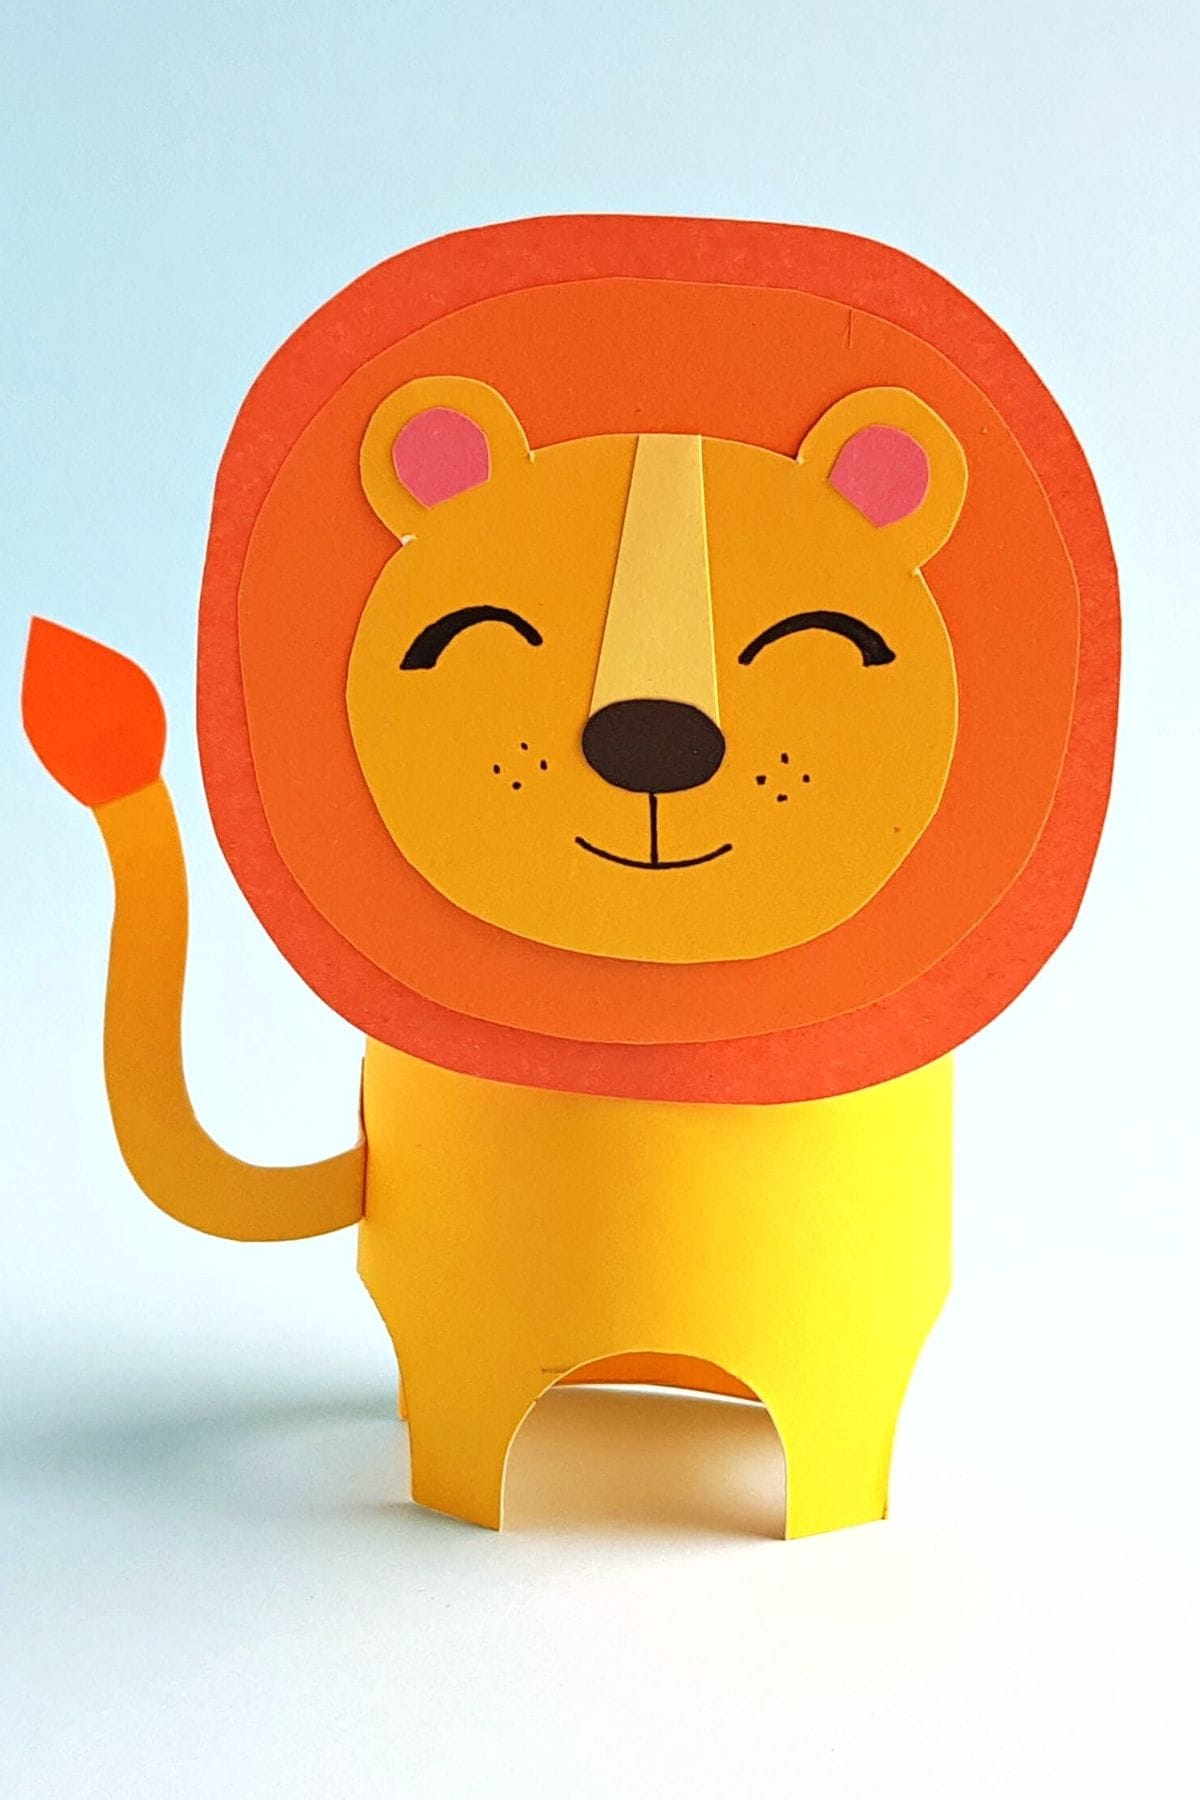
Adorable 3D Paper Lion Craft +Free Template
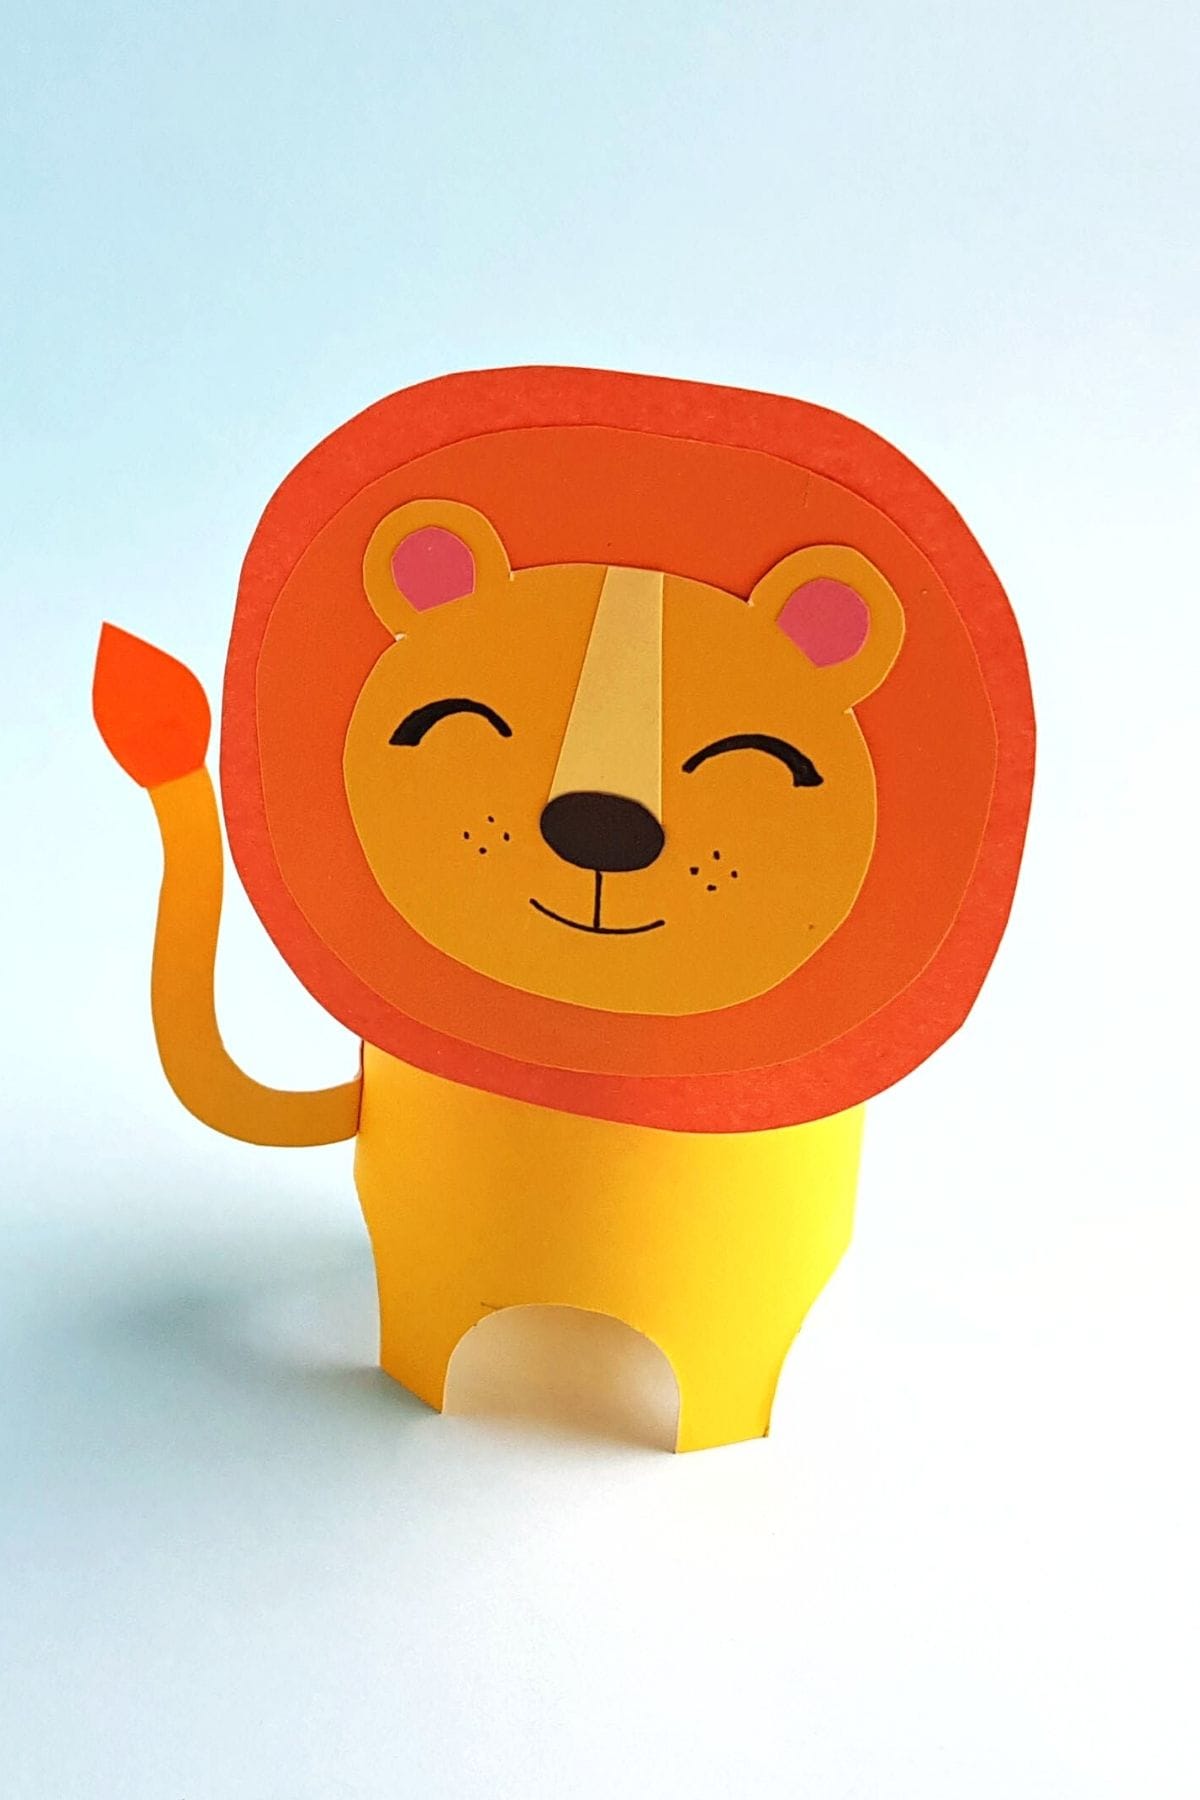
Today we have a cute paper lion craft that stands up all by itself! We love us some lion crafts! And this little guy is no exception.

This cute lion craft is one of our favorite animal crafts for kids! I don’t know about yours, but my kids love animals.
The cool thing about this paper lion is that our lion template makes it where he stands up all on his own! It’s an easy kids craft and makes for a fun toy!
I don’t know what it is, but adding that 3D effect elevates any kids crafts.
And if you’d like to see more of our lion crafts, we’ve got an adorable rainbow lion craft and a fun printable lion craft template.
Table of Contents
Materials Needed
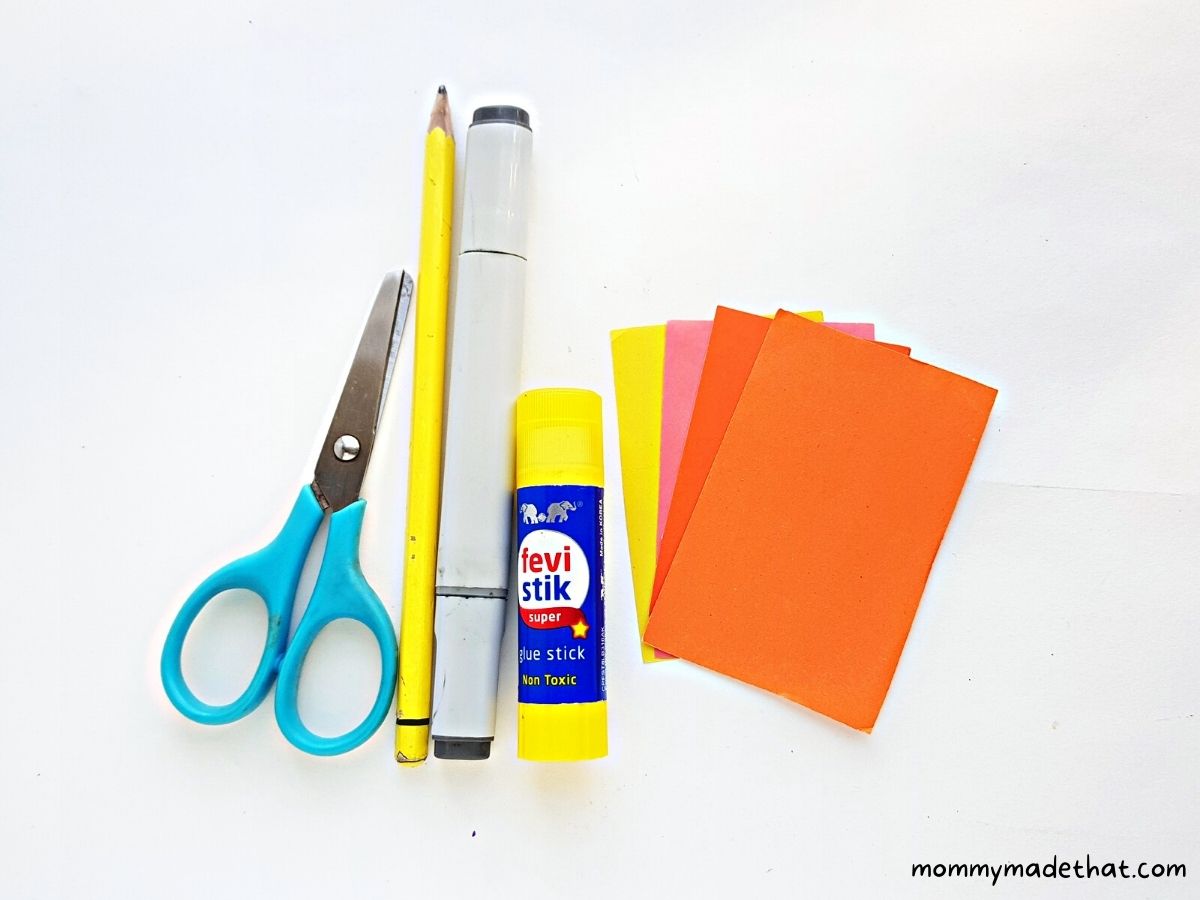
To make our little lion craft we’ll need a few of the following materials:
Colored cardstock papers: In a variety of oranges and yellows and a tiny bit of pink and black or brown. Cardstock will allow the lion will stand up, creating a 3D paper lion.
Lion template: You can grab our paper lion craft template at the end of this post.
You’ll also need the following supplies:
- Craft glue
- Pencil
- Scissors
- Black marker pen
How to Make a Paper Lion
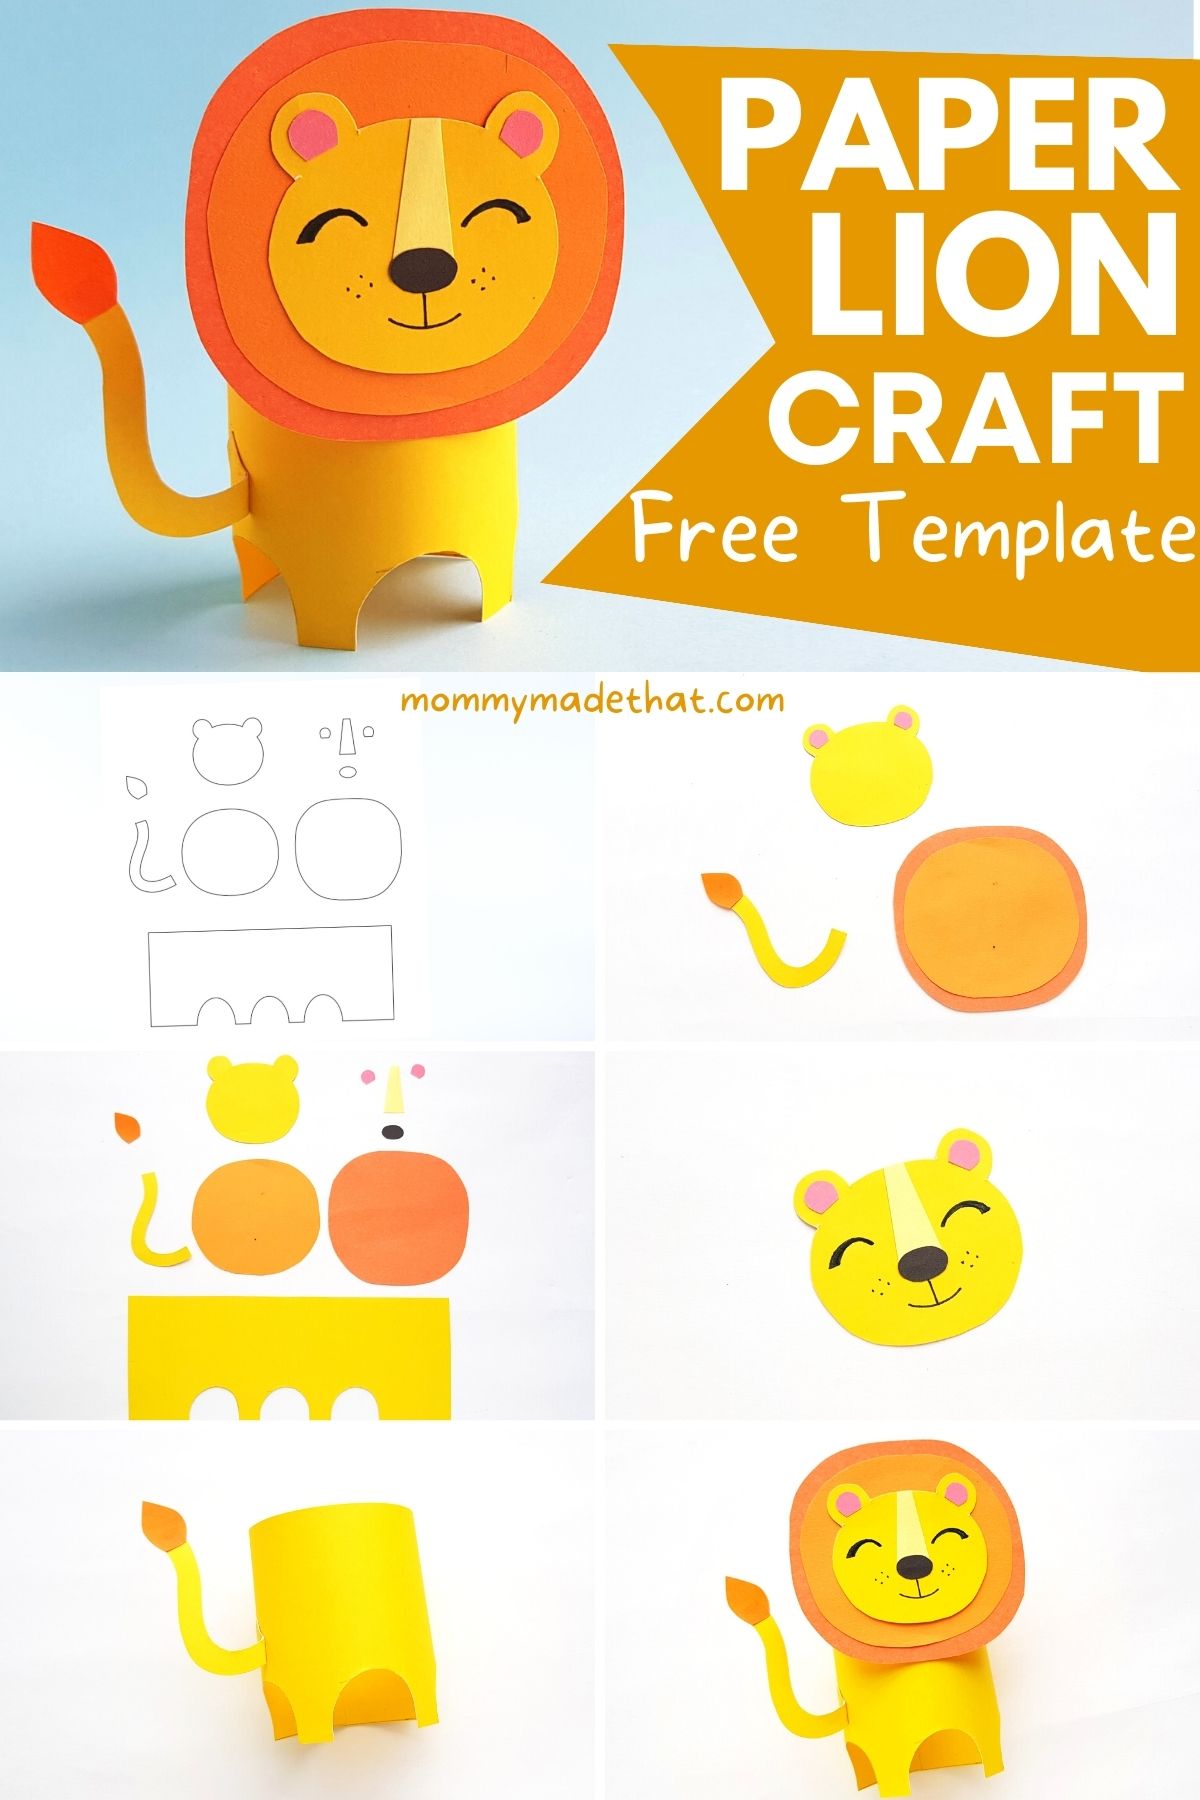
To start, grab and download the lion craft template and cut out the template pieces.
Then grab your colored craft paper. We used 2 different shades of yellow and 2 different shades of orange.
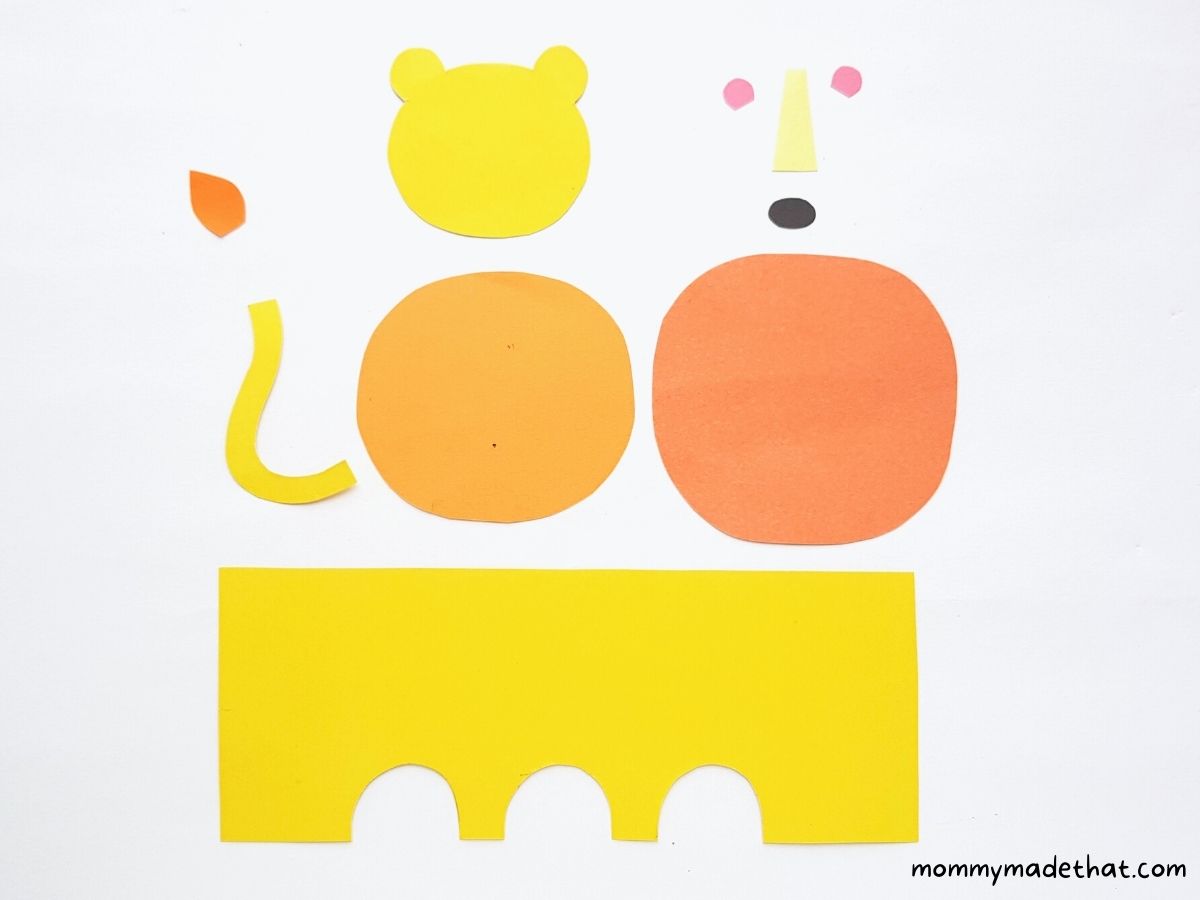
Trace the mane and tail tip pieces onto orange paper.
Trace the tail, lion’s body base and head piece onto yellow paper.
Then trace the inner ear pieces onto pink paper, the nose onto a different shade of yellow and the tip of the nose onto black paper.
Once all of your template pieces are cut out, you’re ready to start assembling your paper lion.
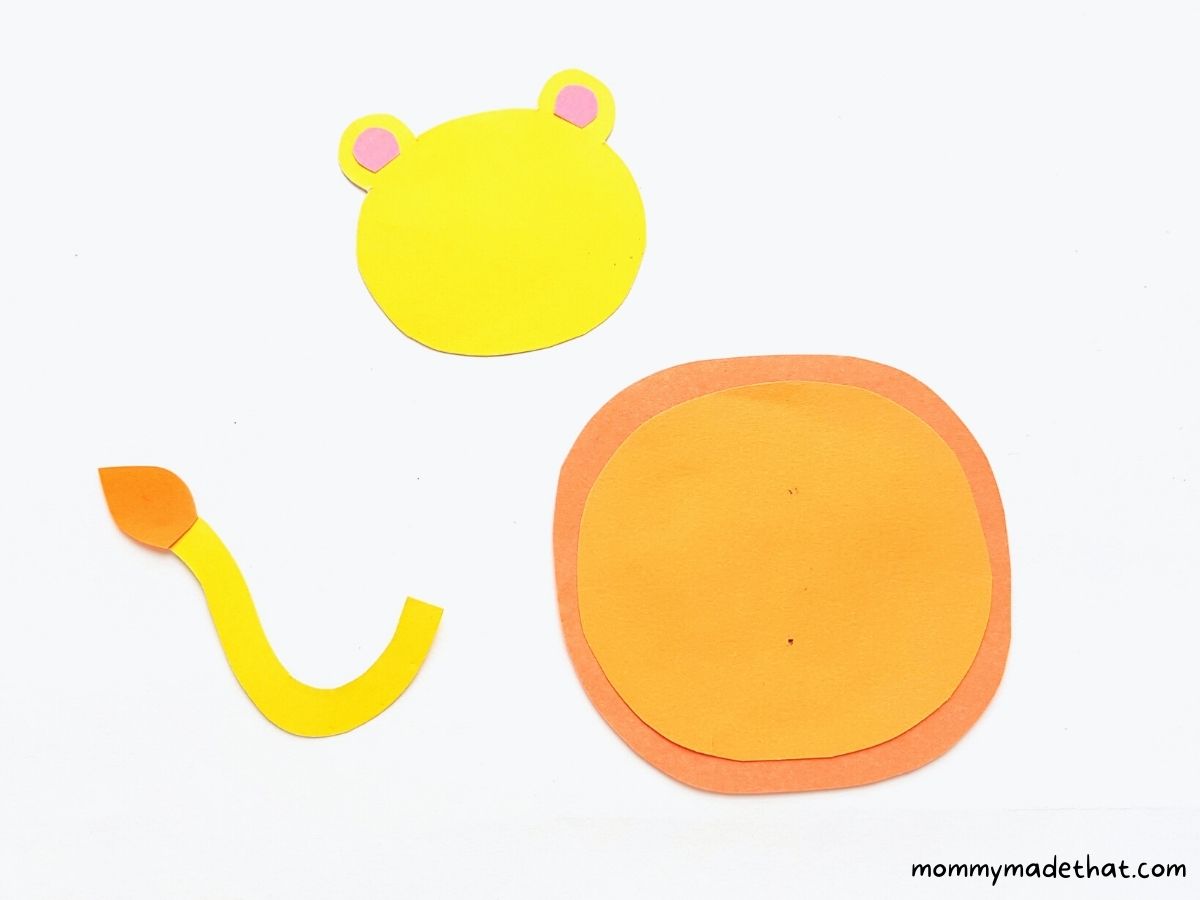
Start by attaching the pink inner ear pieces to the middle of each ear of the lion’s head.
Then attach the orange tail tip to tail.
Then glue the smaller mane piece into the middle of the bigger mane.
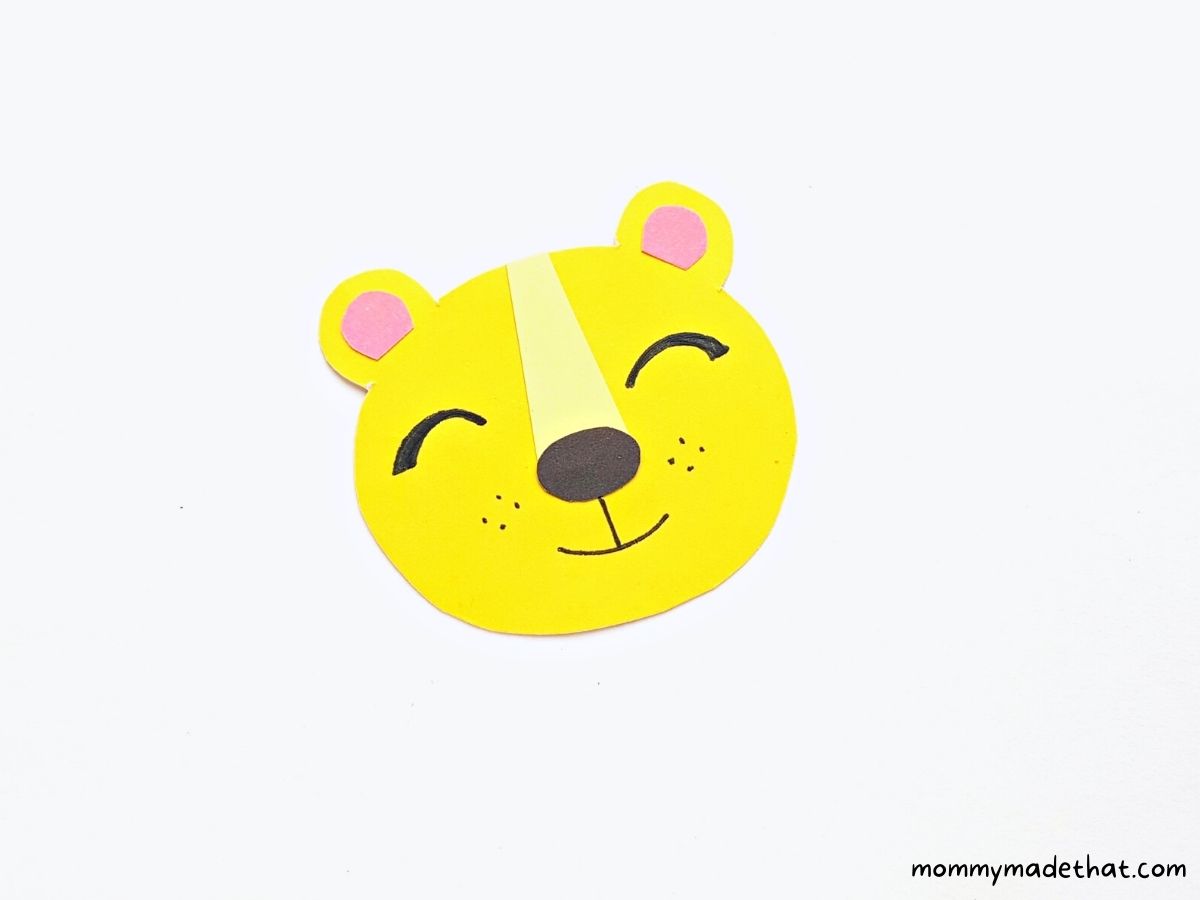
Now it’s time to finish your lion’s face. Secure the nose and the tip of the nose onto the lion head from the top like shown above.
Then use a black marker to draw the rest of your lion’s face. We added eyes, a smile for the mouth, and some dots for whiskers.
Of course, if you’d rather add googly eyes that would be fun too!
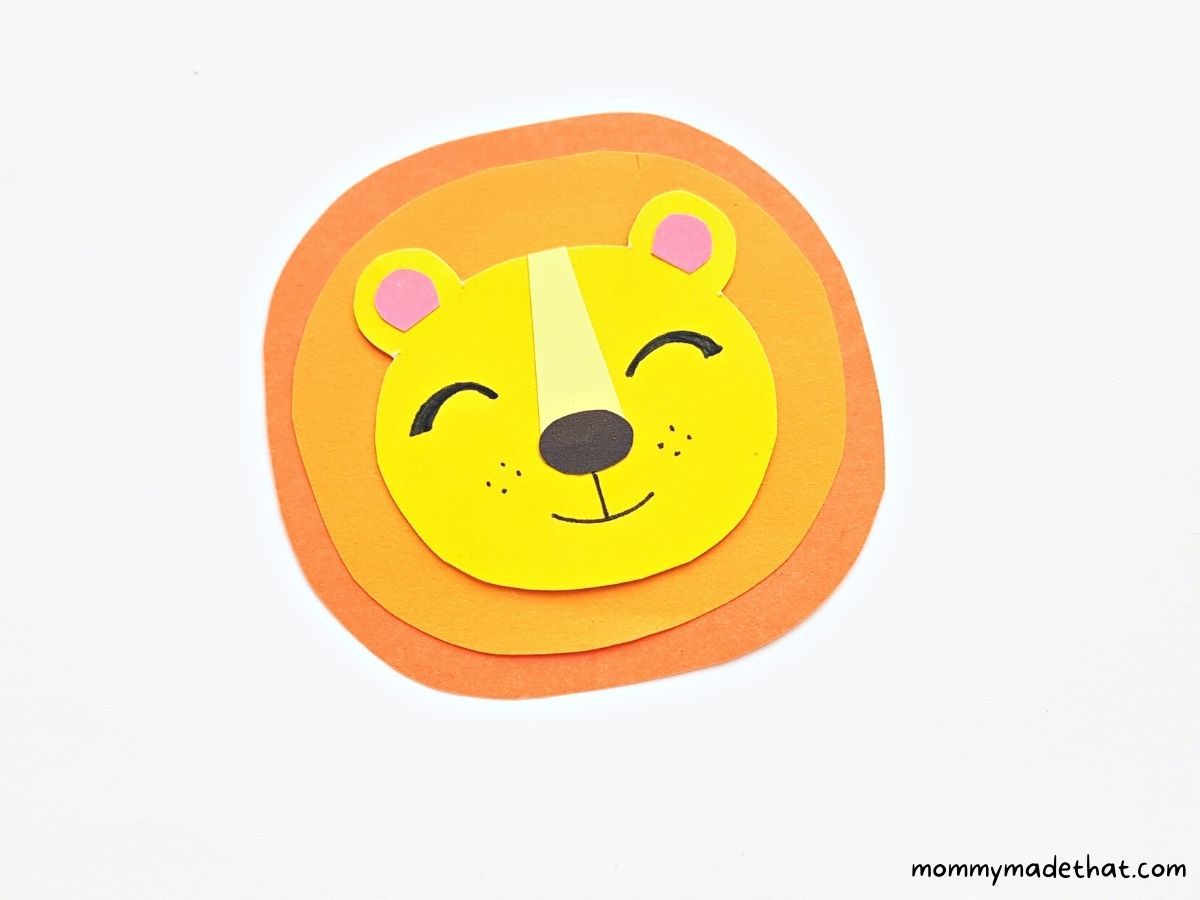
Now attach the lion’s head onto the center of the mane.
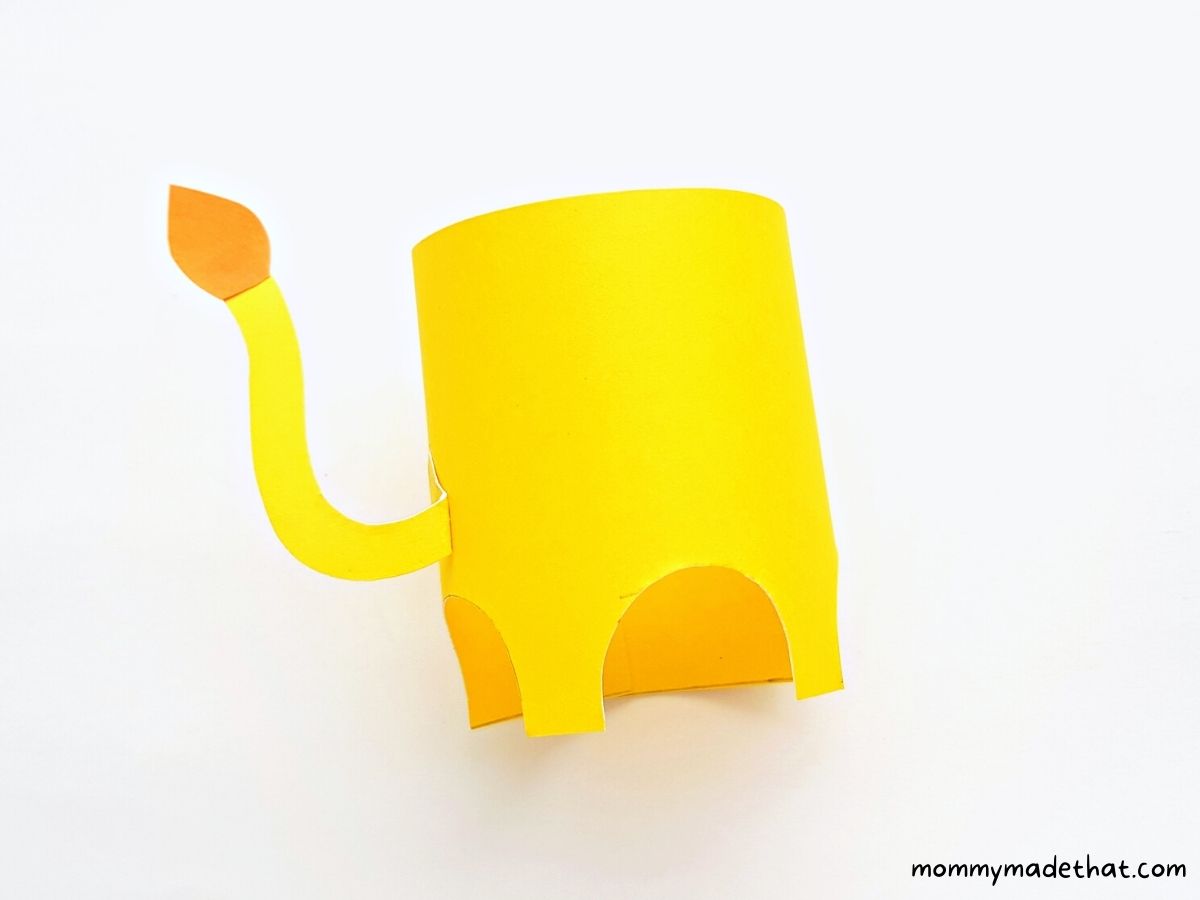
Now this part looks complicated, but the way that the lion’s body is shaped, I promise you it’s not!
Grab the long yellow body base and roll it into a tube shape.
Secure both ends together to form a standing body. Then attach the tail to either side of the paper roll lion body.
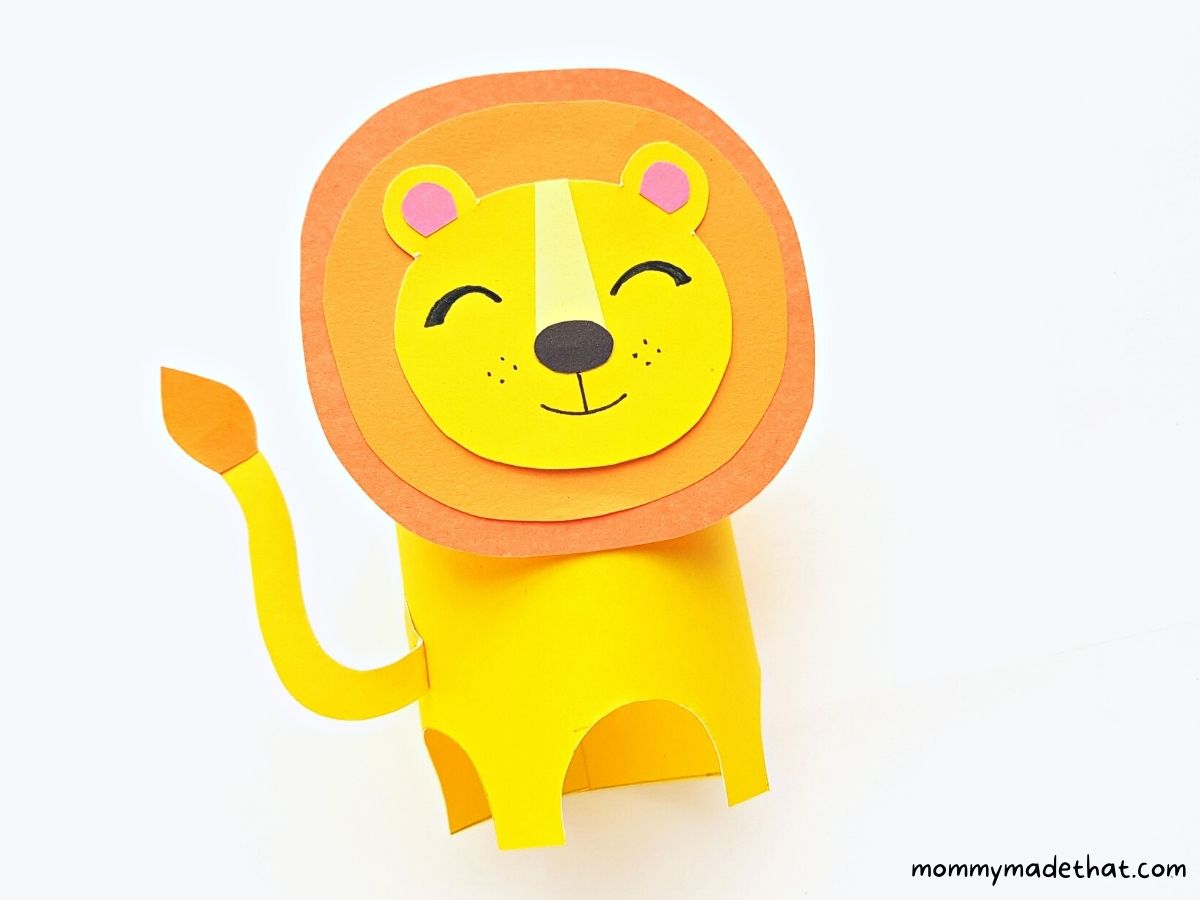
FInally, attach the lions head to the front of his body, above the lion’s belly. And that’s it.
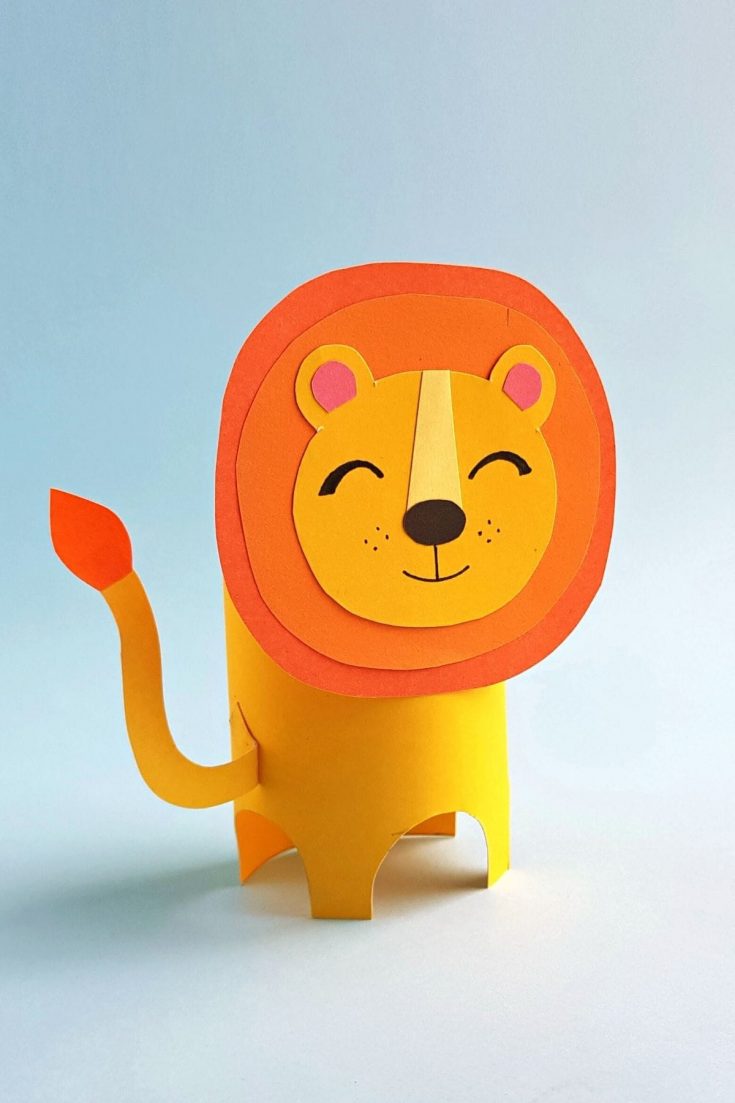
Now you have a super cute, easy peasy, fun lion craft for kids.
I think our little lion is perfectly fit as king of the jungle.
I just love how the little curves under the body act as his feet, urrm, paws?
Grab the Lion Template
To grab the printable lion template, put your email in the box below. We’ll send the template straight to your inbox!
This is for personal or classroom use only please. Not for commercial use.
Other Lion Activities
Paper Lion Craft
Looking for some fun lion crafts? We've got just the one! This adorable and proud lion is colorful and creative using different shades of orange and yellow. Plus he looks darling standing up all on his own.
Materials
- Lion template
- Colored craft paper (Oranges, yellows, pink and black)
- Craft glue
- Black marker
Tools
- Scissors
Instructions
- Print out the lion craft template from the printable library
- Grab two different shades of yellow craft paper and two different shades of orange craft paper. Trace out the mane and tail tip from orange paper.
- Trace the lion's tail body base and head pieces onto yellow paper.
- Then trace the inner ears on the pink craft paper, the nose onto a lighter shade of yellow and the nose tip onto black or brown paper.
- Next, attach the pink inner ear pieces onto the middle of the ears on the lions head. Then attach the tail tip to the end of the lions tail, it doesn't matter which side. And secure the smaller mane part into the center of the larger mane piece.
- Next attach the nose and nose tip to the lion's face from the top of the head. Then draw the rest of the face on. Attach the head pattern in the middle of the mane pattern.
- Grab the body piece roll it into a tube shape, securing the ends into the 3D shape and glue the tail to either side of the back of the body.
- Finally attach the head piece to the rest of your lion's body! And you're all done!

please send me the paper lion craft printable template. Thank you so much