DIY Felt Star Ornaments
These felt star ornaments are a great way to add some extra holiday cheer to your home.

These felt starts are not only cute, but they’re also really easy to make!
In this tutorial, we’ll show you how to make your own felt stars using a simple printable pattern.
We have lots of great felt ornaments on this site, all with printable patterns. So be sure to check them all out.
Let’s get started making your own fun DIY ornaments.
Table of Contents
Materials

Felt fabric: Any color you want your star ornament to be.
Thread: You’ll need a matching color as your felt, and a contrasting thread for the embroidering.
Seed beads: To add a decorative touch to your ornaments.
Satin ribbon: To hang up your stars.
You’ll also need the following supplies
- Sharp scissors
- Pencil
Instructions
To get started, you can grab one of our many star templates. Print out the pattern size you want to use.
Once you have your pattern printed, the next step is to cut out the felt pieces and assemble them.
To make it easier, we recommend using a sharp pair of scissors to avoid fraying.
Then use your pattern as a guide and trace around each piece onto the felt.
Once everything is traced, start cutting out all of the pieces from the felt.

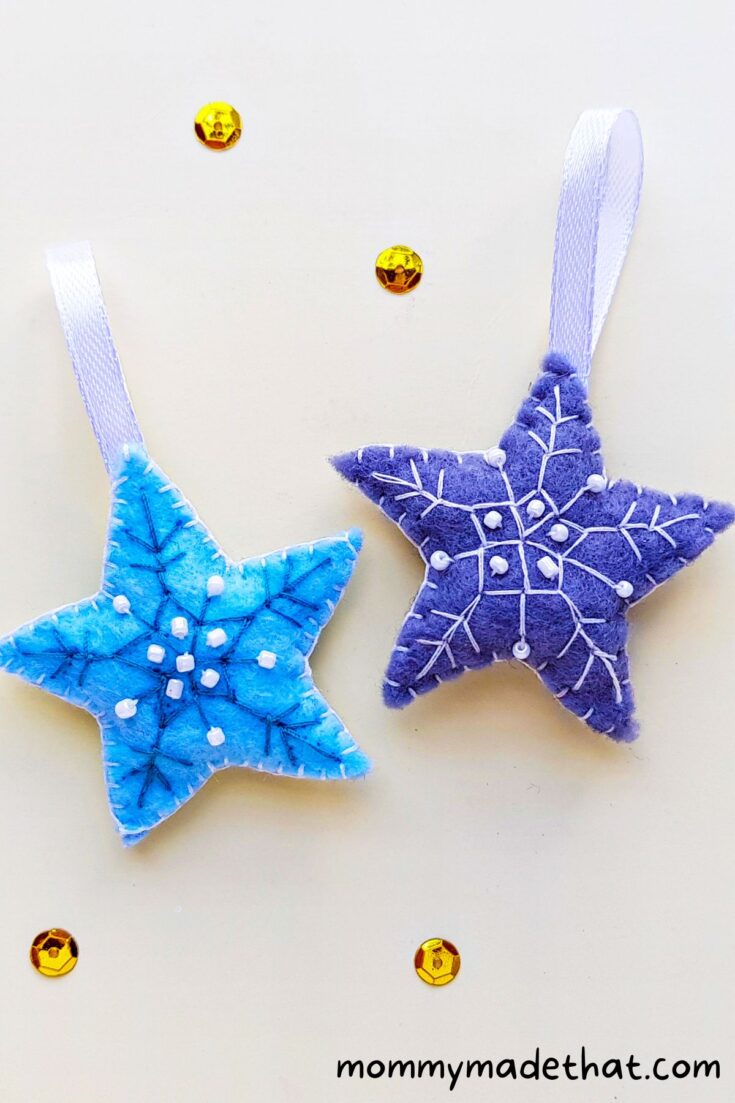
With a fabric pen, trace a pattern onto a star-shaped felt cutout. I used a snowflake design.
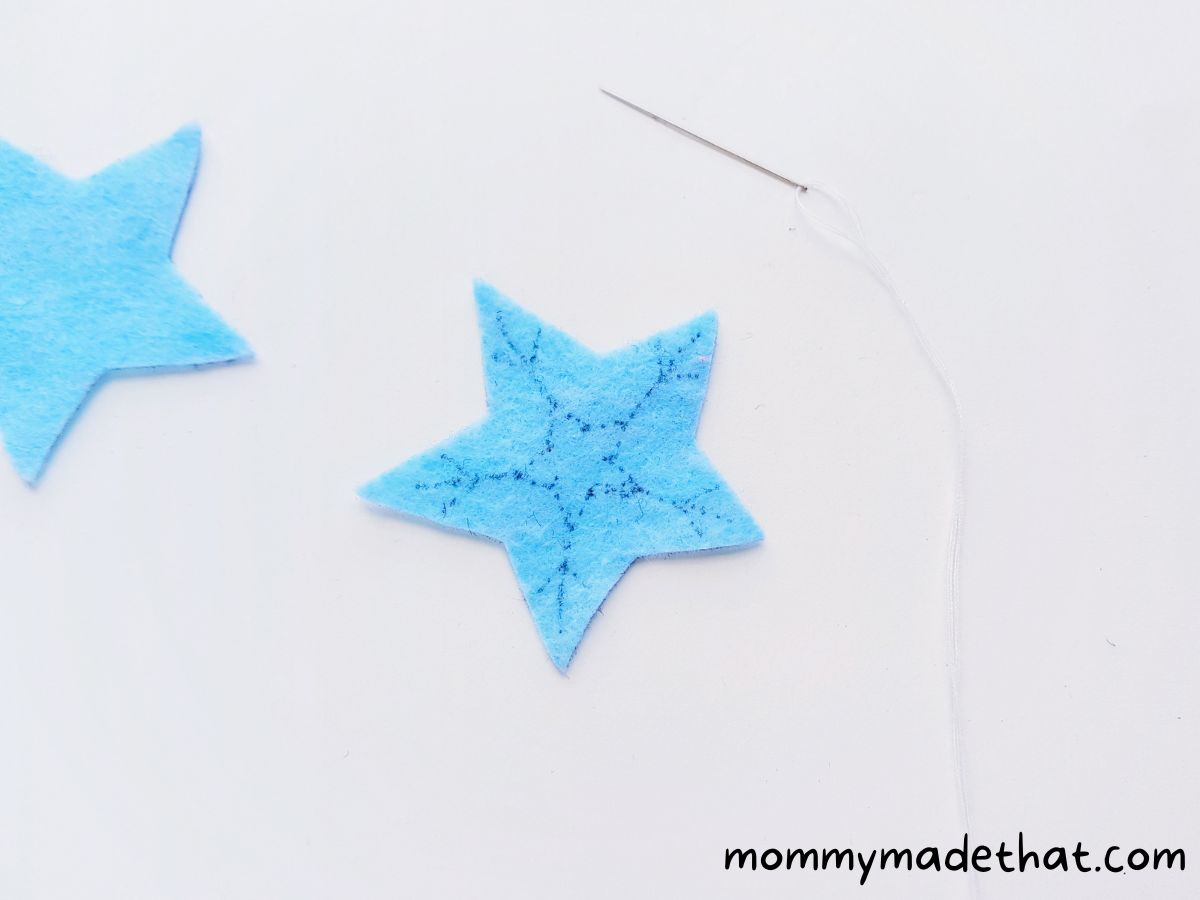
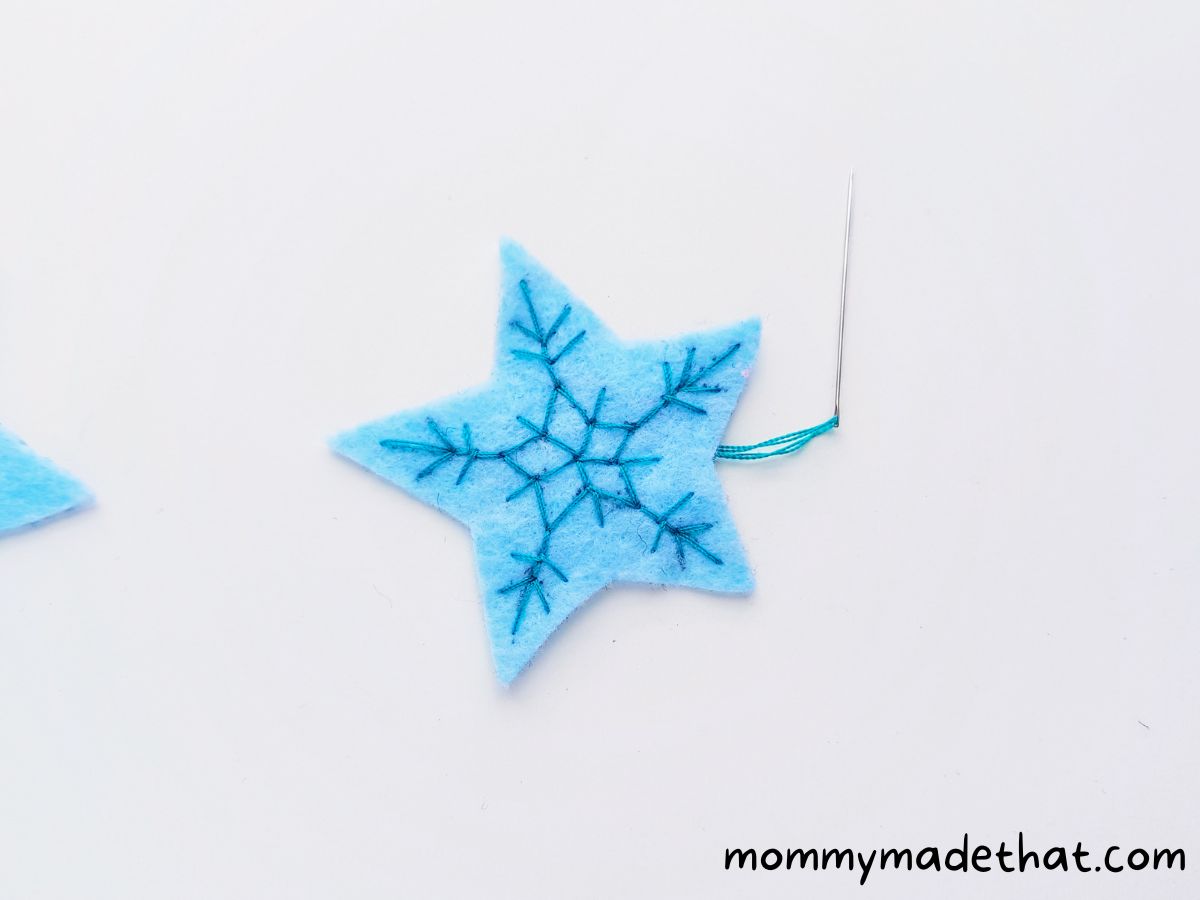
Get your needle and thread ready, then start stitching along the pattern you traced on the star-shaped felt cutout. I did a back stitch to follow the outline.
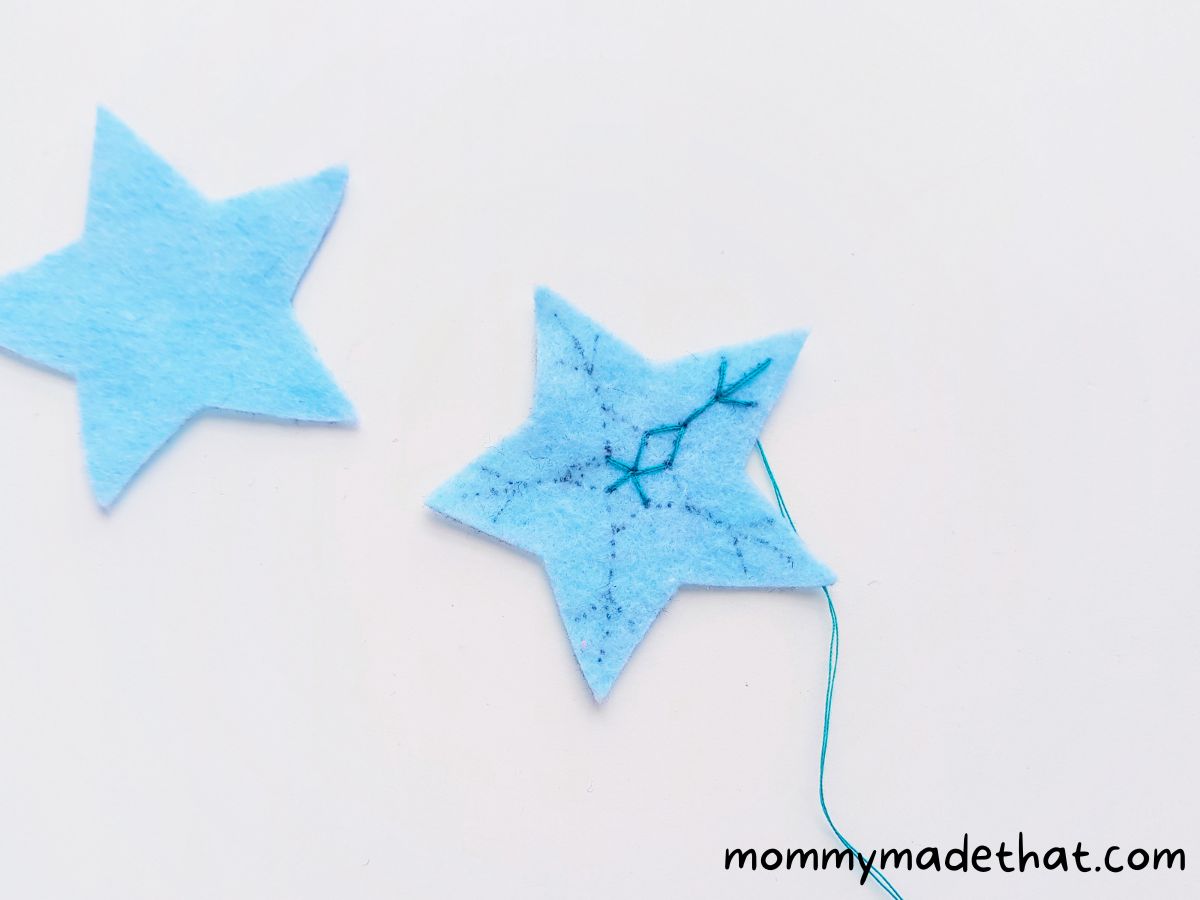
Stitch until the pattern is complete, then draw the needle to the back side and tie a knot or two with any stitch on the back. Cut off extra thread if needed.
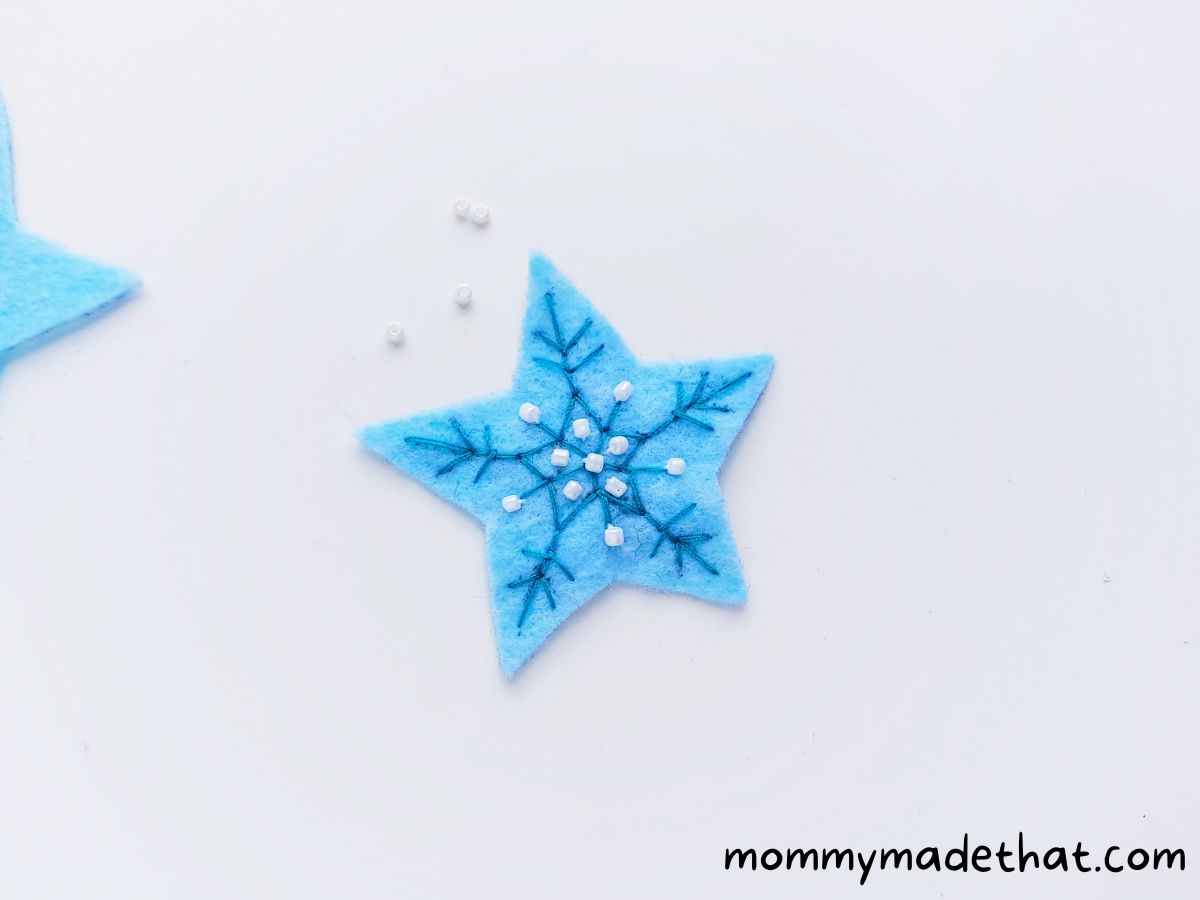
For this step, you can use any color of seed beads. I am using white ones.
Get a needle and thread that match the bead color, then start attaching the beads to the star pattern stitches.
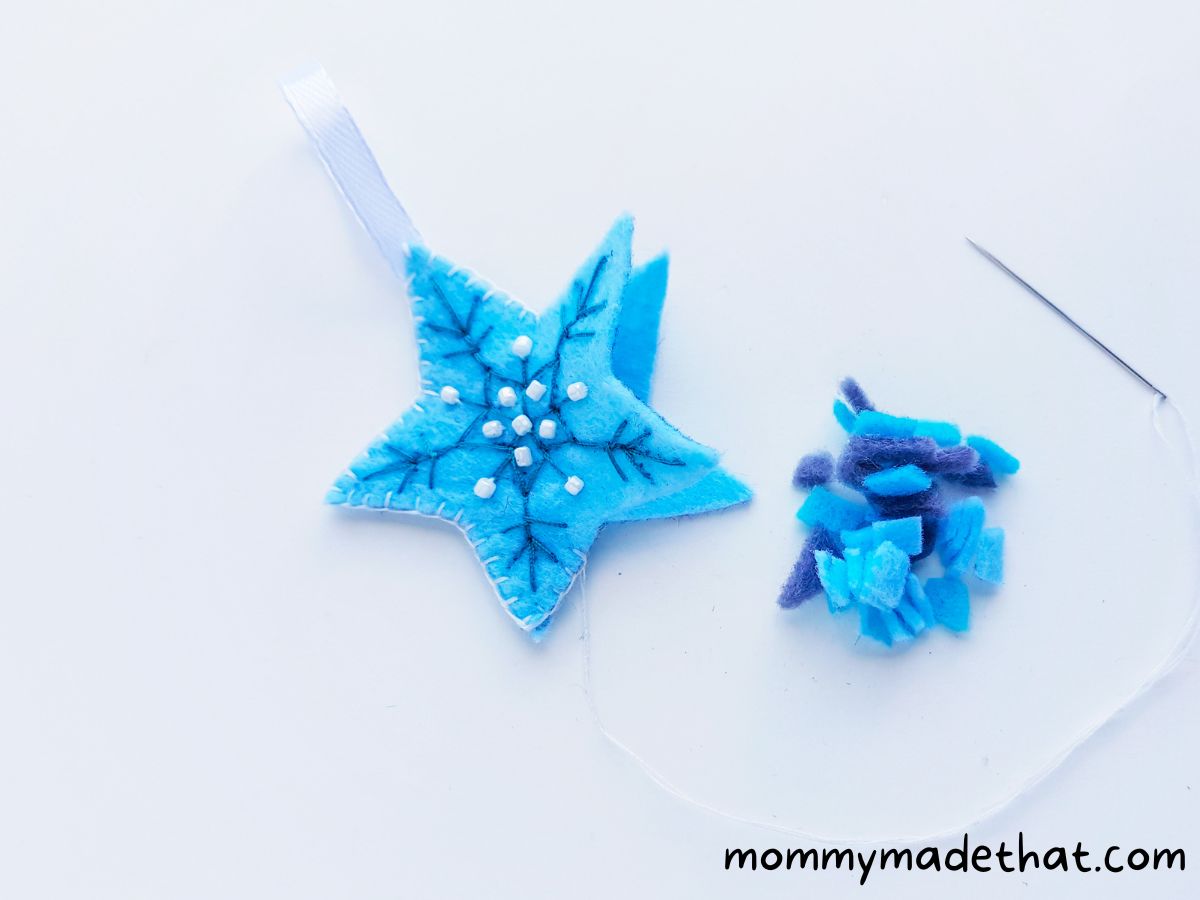
When you’re done adding the beads, place both star cutouts together with their sides matching.
Then, prepare a needle and thread so you can start stitching around the open side of both stars.
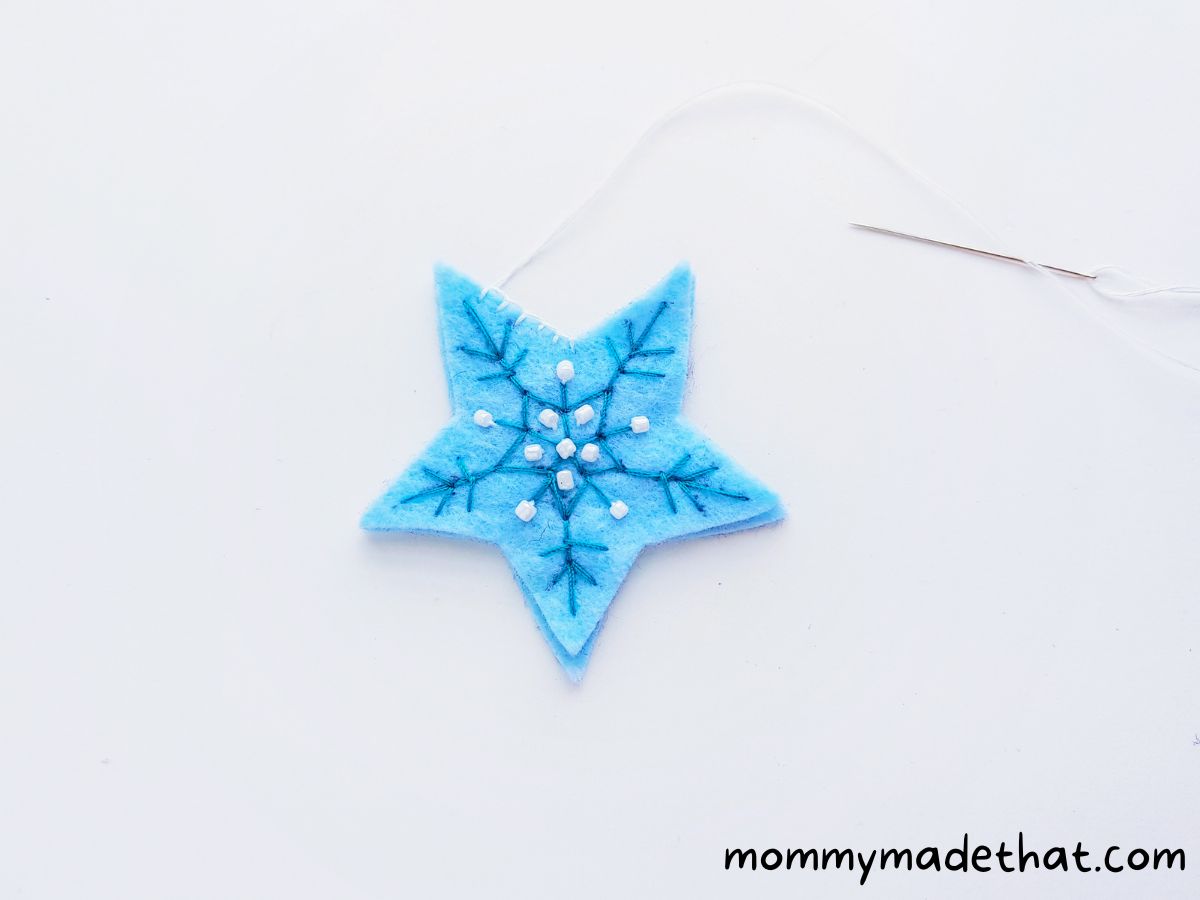
Take a small amount of satin ribbon (I used about 2 inches) and fold it in half.
Next, place the open ends of the ribbon between any 2 points on the 2 star pattern pieces.
Finally, stitch along the length of the joined ribbon and felt stars.
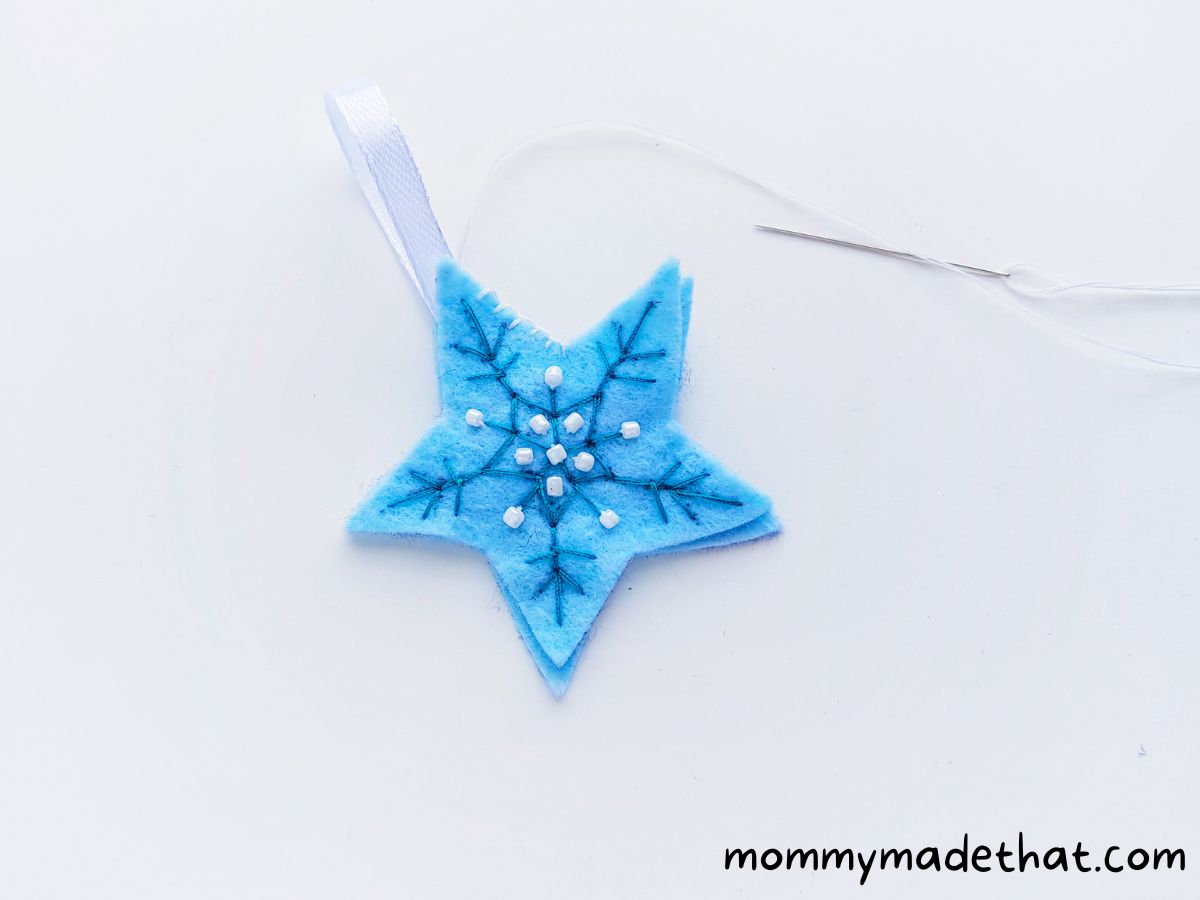
Leave a small opening so you can stuff the felt star. You can use cotton or left over felt scraps to stuff your star.
Add the stuffing into each point of the star, making sure it gets nice and fluffy.
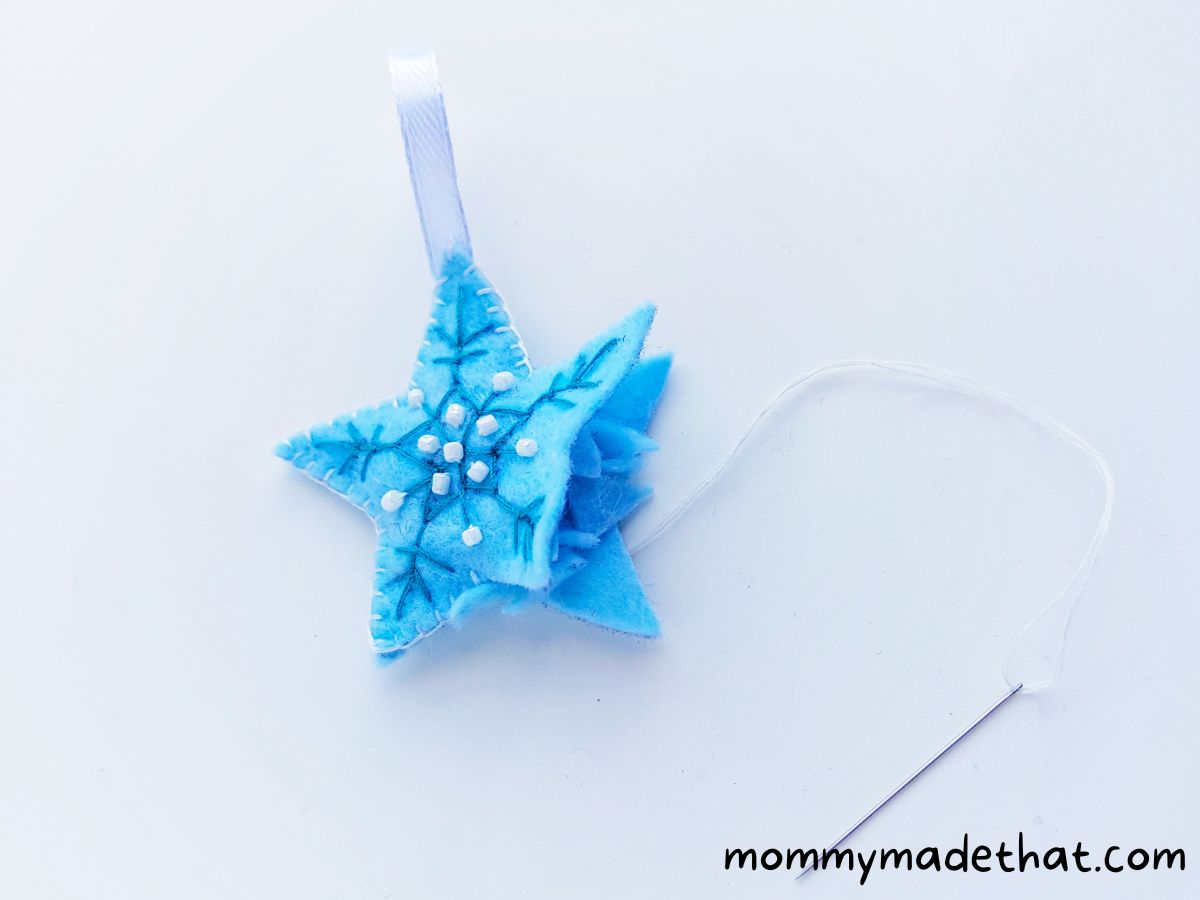
Stitch up the open area of the star to enclose the stuffing.
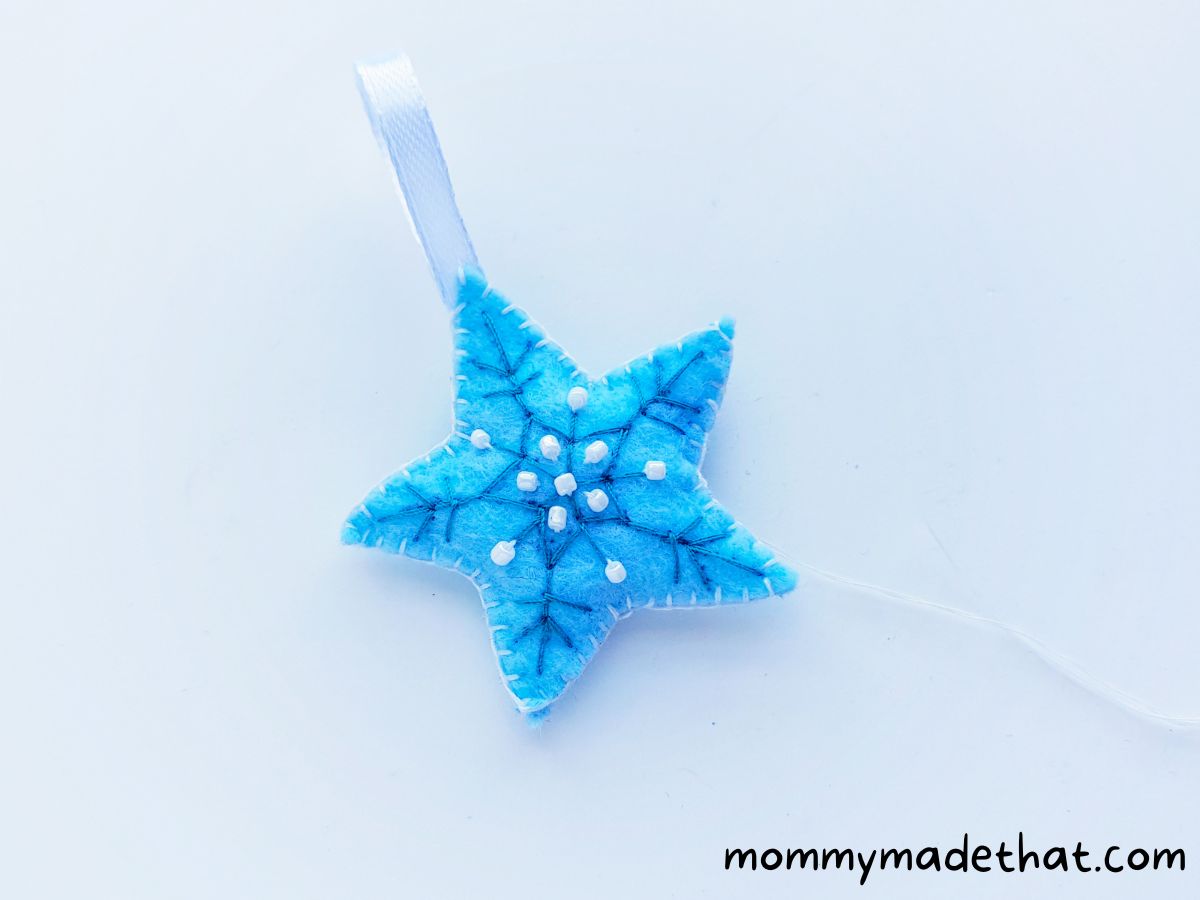
And that’s it. You have a pretty embroidered felt star ornament that’ll look awesome on any Christmas tree, or make a cute Christmas craft to make and sell.
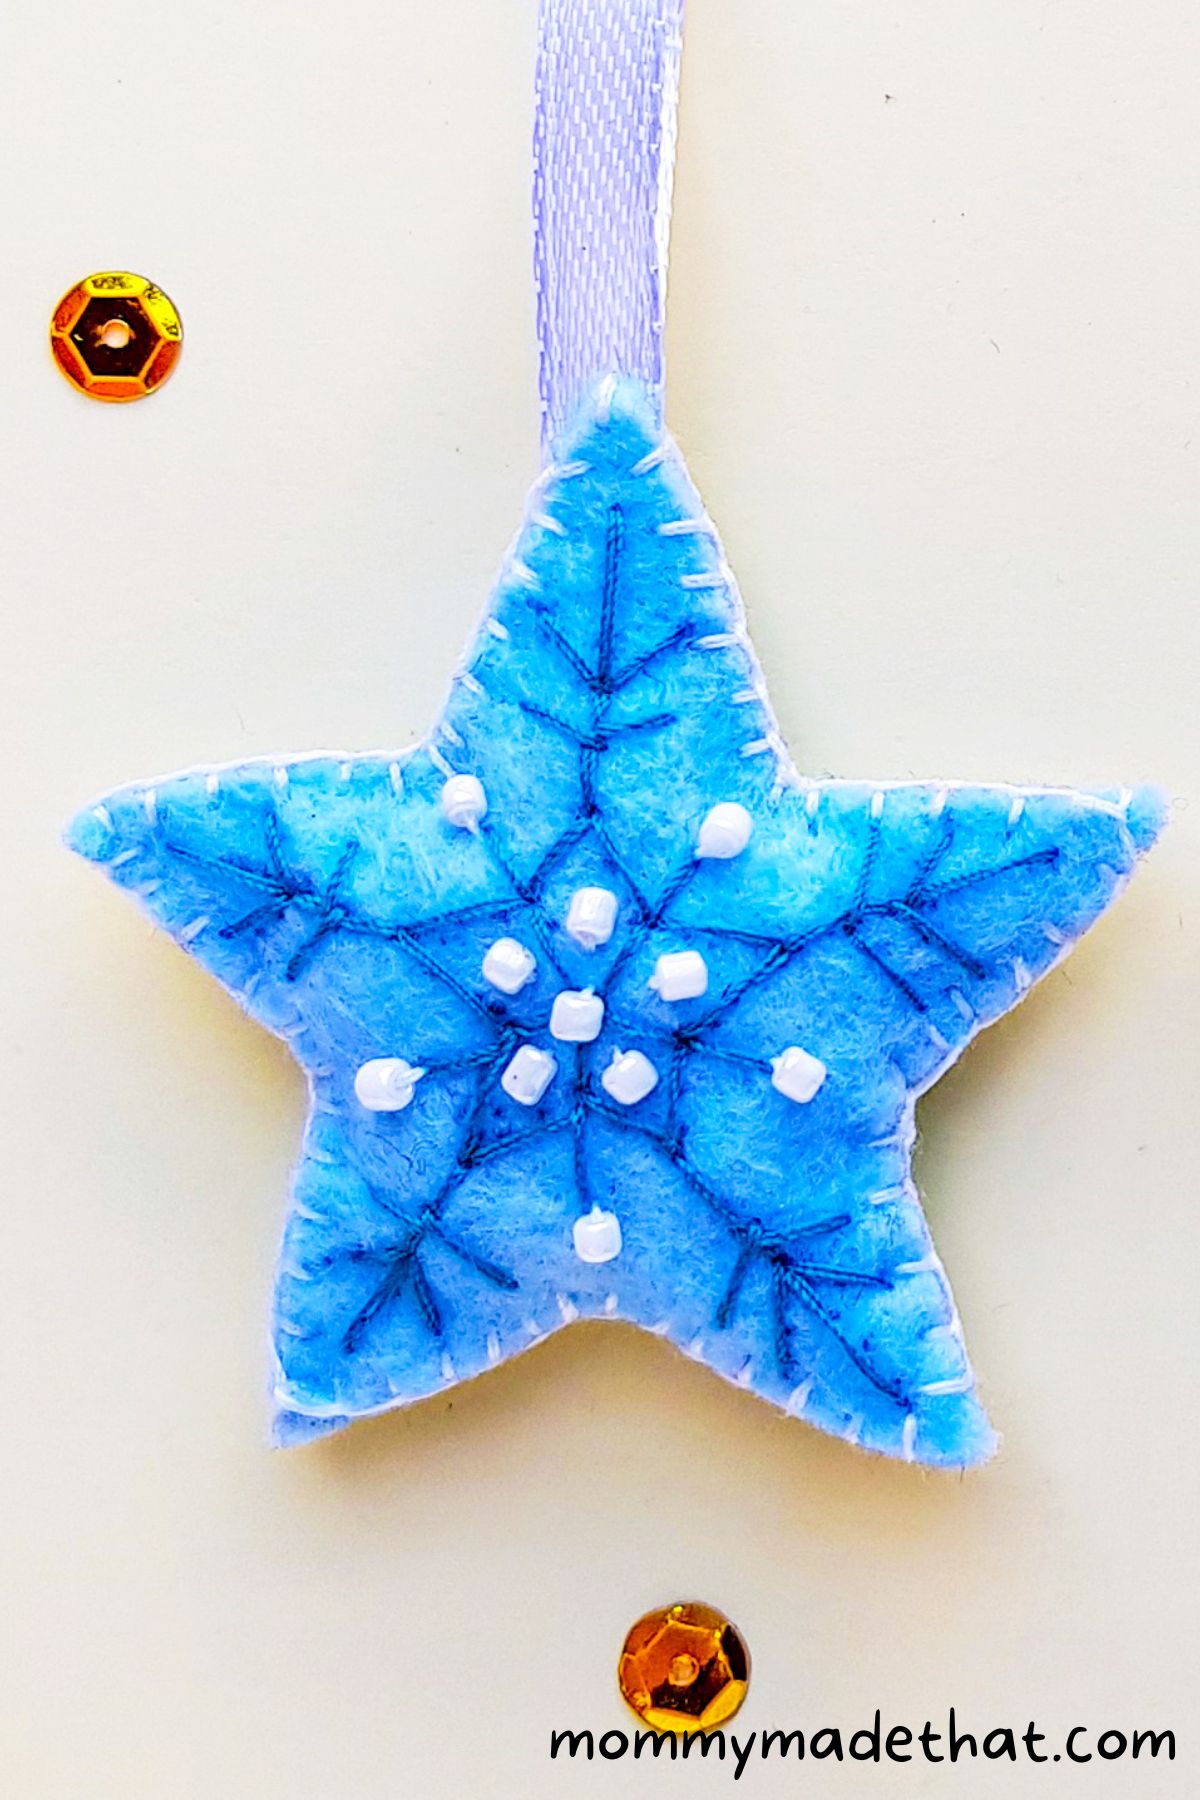

Felt Star Ornaments
These felt stars make gorgeous Christmas ornaments and holiday decor, and are surprisingly easy to make following our step by step tutorial.
Materials
- Felt fabric
- Satin ribbon
- Thread
- Beads
Tools
- Scissors
- Pencil
Instructions
- Star by printing out one of our star patterns and tracing it onto your felt fabric. Cut out the star shapes from the fabric.
- With a fabric pen, trace a pattern onto a star-shaped felt cutout. I used a snowflake design.
- Get your needle and thread and start stitching along the pattern. We used a back stitch.
- Stitch until the pattern is complete, then draw the needle to the back and tie a knot. Cut off any excess thread.
- Get a needle and thread that match the bead color, then start attaching beads to the star pattern stitches.
When you're done adding the beads, place both star cutouts together with their sides matching.
Start stitching around both star patterns. - Take a small amount of satin ribbon and place the open ends of the ribbon between any 2 points on the 2 star pattern pieces.
- Finally, stitch along the length of the joined ribbon and felt stars.
- Leave a small opening so you can stuff the felt star.
- Add excess felt scraps or cotton to fill the star until it's nice and fluffy.
- Stitch up the open area of the star to enclose the stuffing.
- And that's it. You've made a gorgeous felt star.