
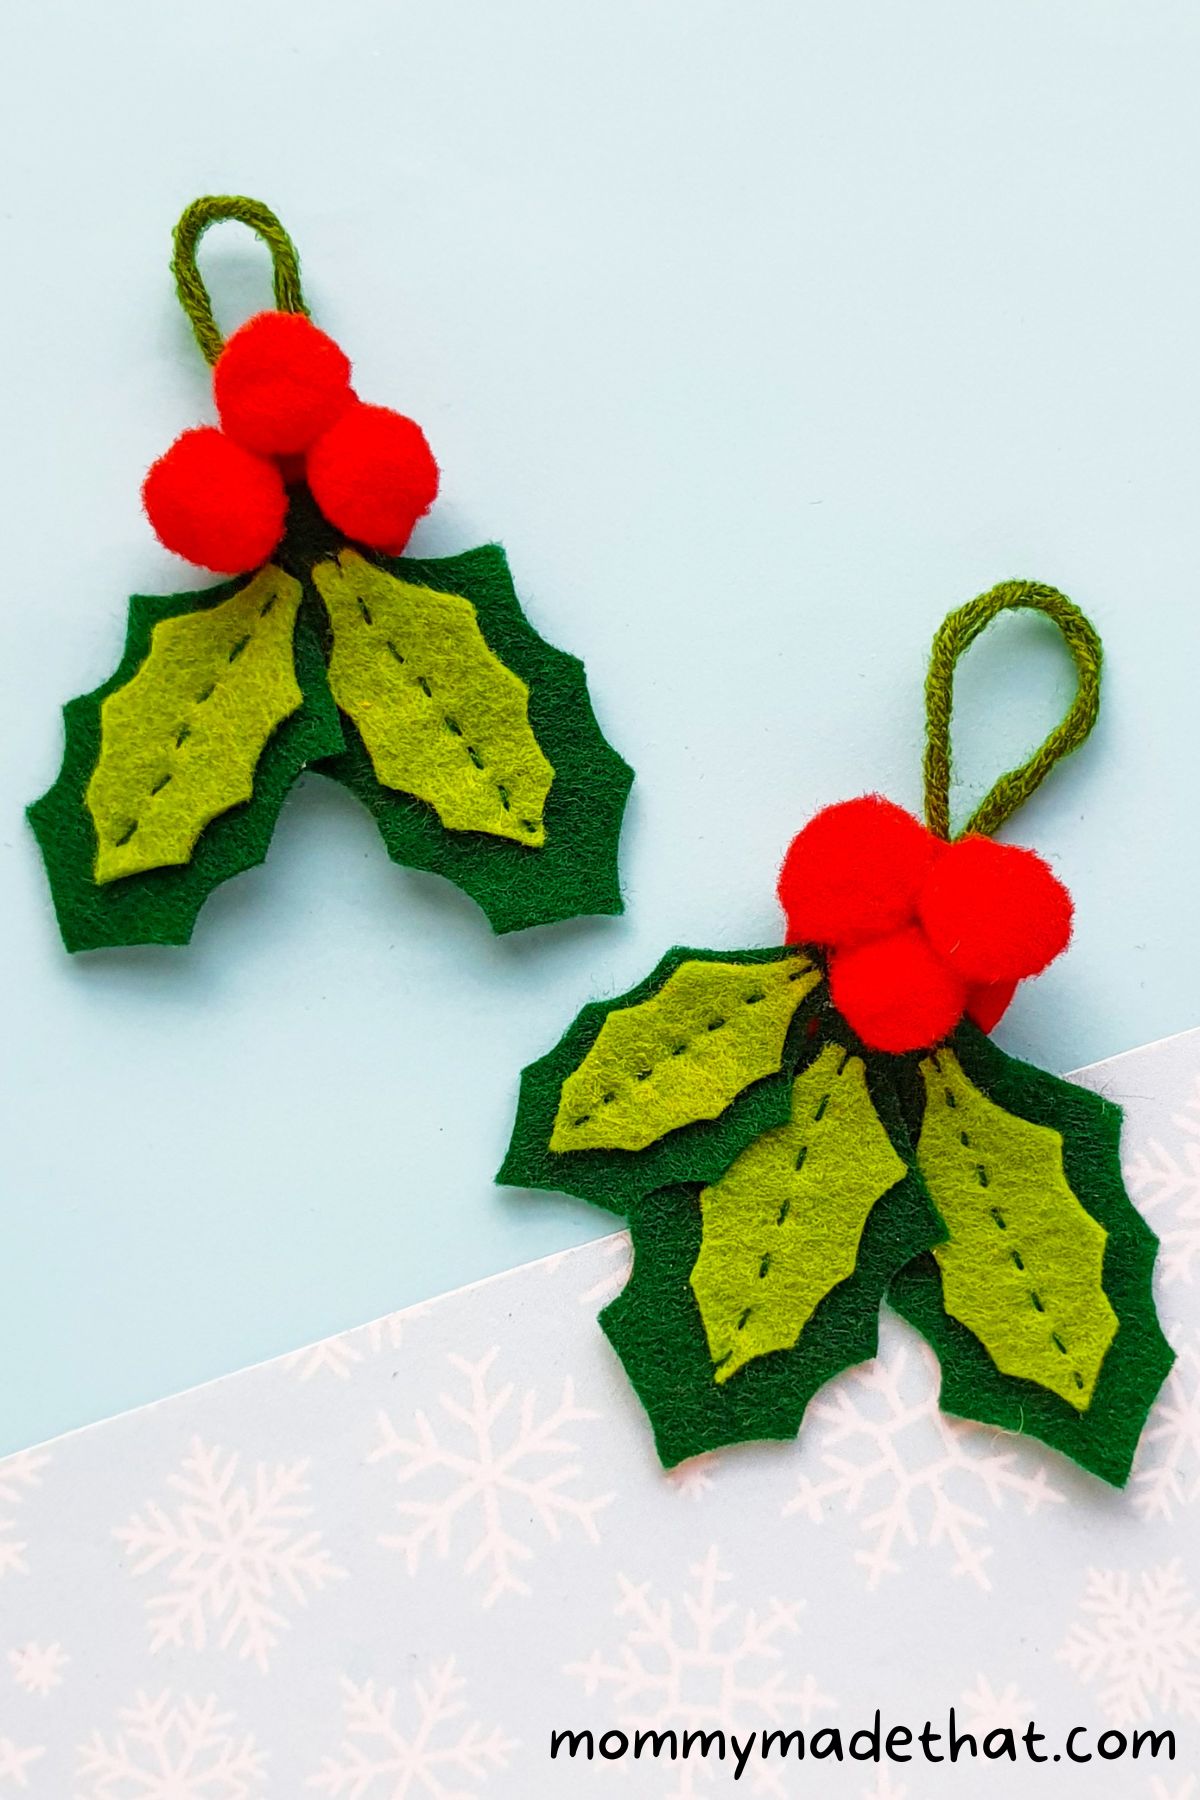
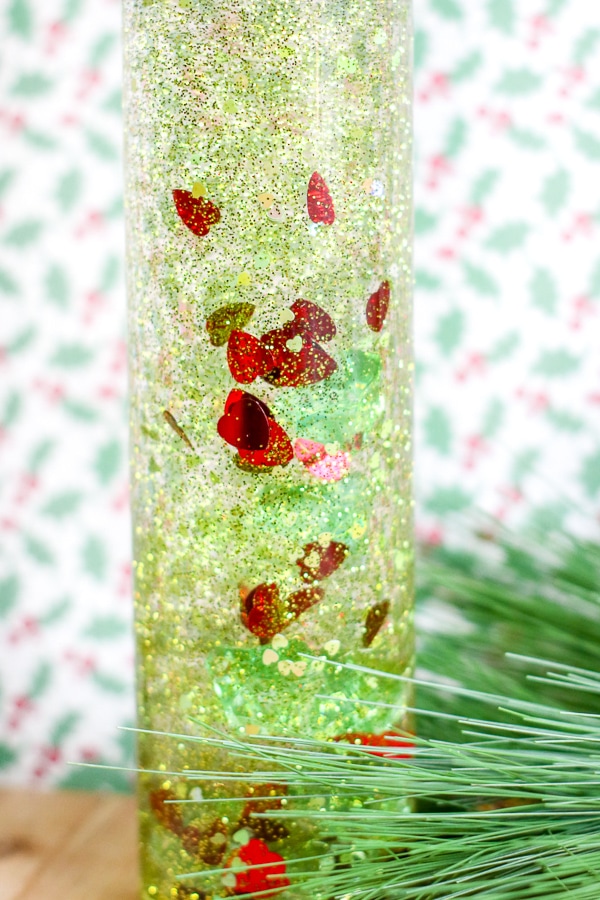
Felt Holly Berry Ornament (With Free Printable Pattern)
Today we are making this sweet felt holly berry ornament. It’s perfect for hanging on the Christmas tree or using to make a felt holly berry garland with.
We’ve been crafting up lots of fun felt ornaments and this holly berry is a sweet addition to add to your tree.
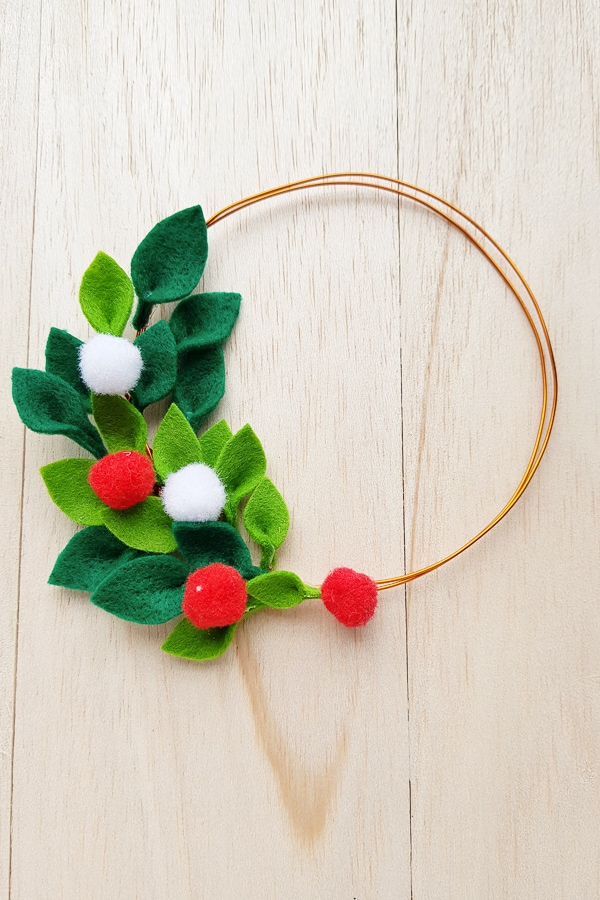
You could also make these to give as gifts to loved ones, as a Christmas craft to make and sell, or even use to create a pretty holly berry garland.
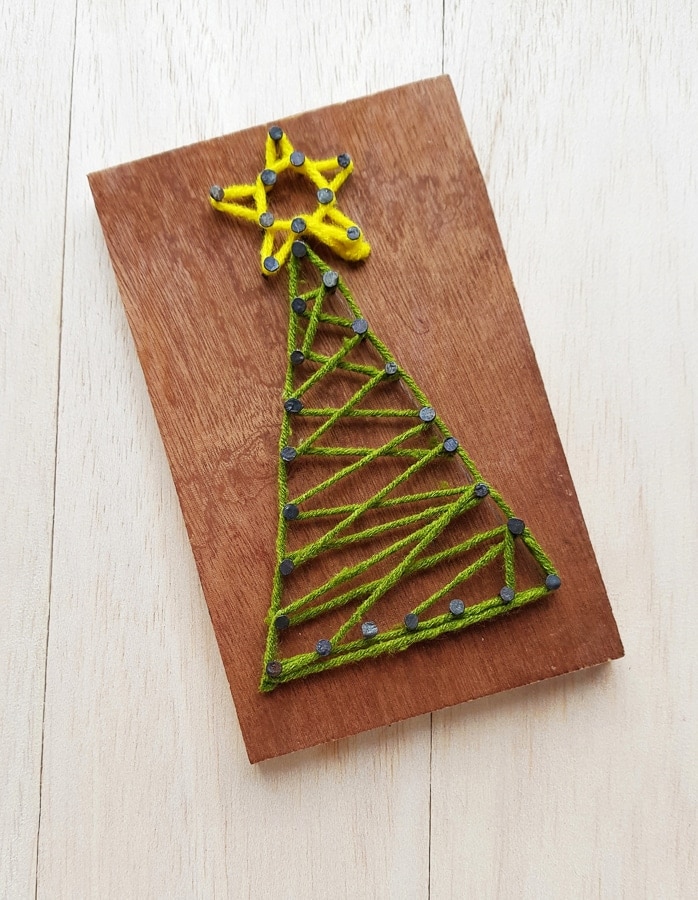
If you love this ornament you’ll also like our felt Christmas tree ornaments, felt fox ornament and felt embroidered ornaments.
Each one has a free pattern to grab, making these easier to make!
Materials
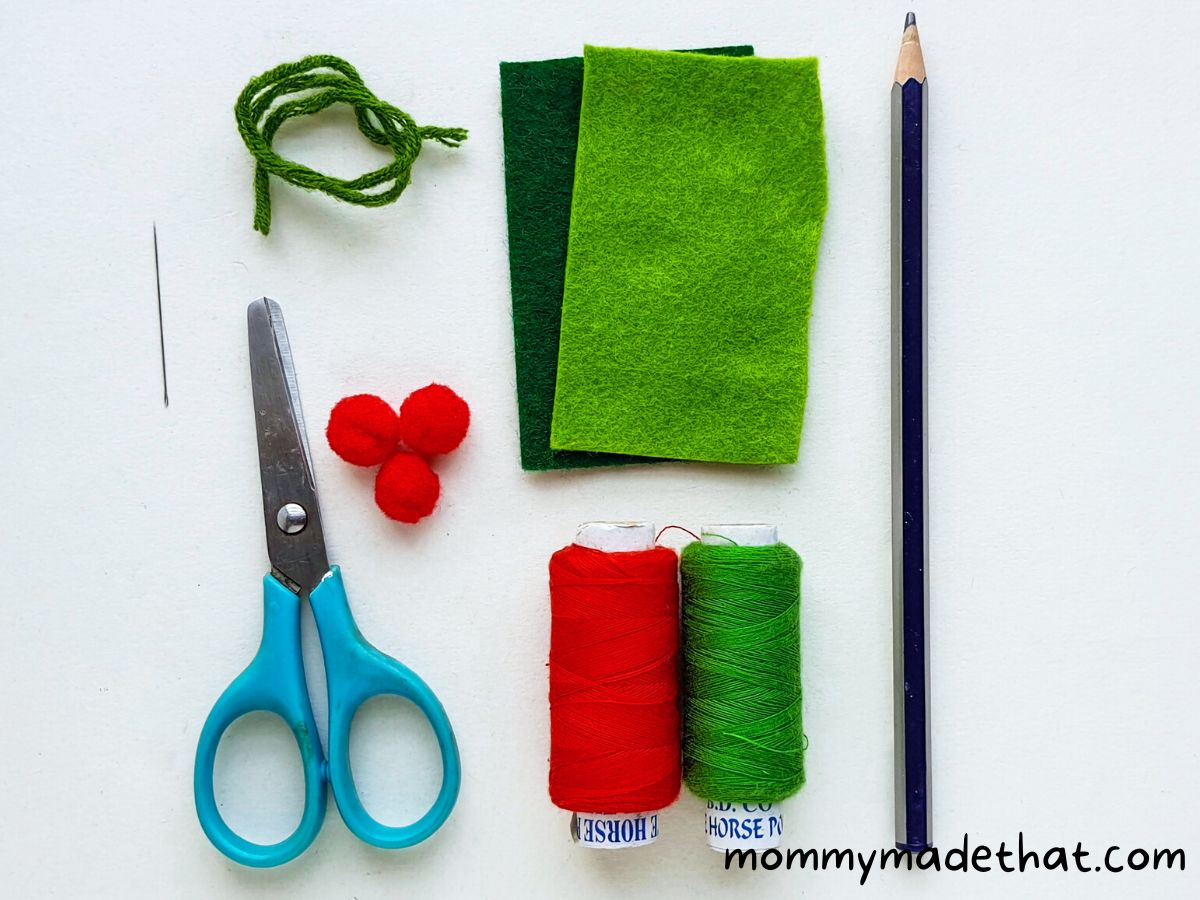
To make your own felt holly berries you’ll need:
Felt holly berry template: You can grab it at the bottom of the tutorial.
Colored felt fabrics: We used two different greens and red.
Ribbon: To hang the ornament with. You could also use string, yarn or twine. We used green yarn for our ornaments
Pompoms: We used red pom poms for the berries.
Thread: Grab matching colors to tie in with your felt fabric colors.
You’ll also need some basic supplies like:
- Needle
- Pencil
- Scissors
Instructions
For this craft, you will need 2 shades of green felt and 1 piece of red felt.
Trace the large leaf pattern onto the dark green felt, trace the small leaf pattern onto the light green felt, and trace a round shape onto the red felt.
Cut out all pattern pieces neatly.

Position the a small leaf cutout on top of a large leaf cutout, in the center. Thread a needle with dark green thread.

Sew both felt leaf patterns together using a running stitch along the center line.
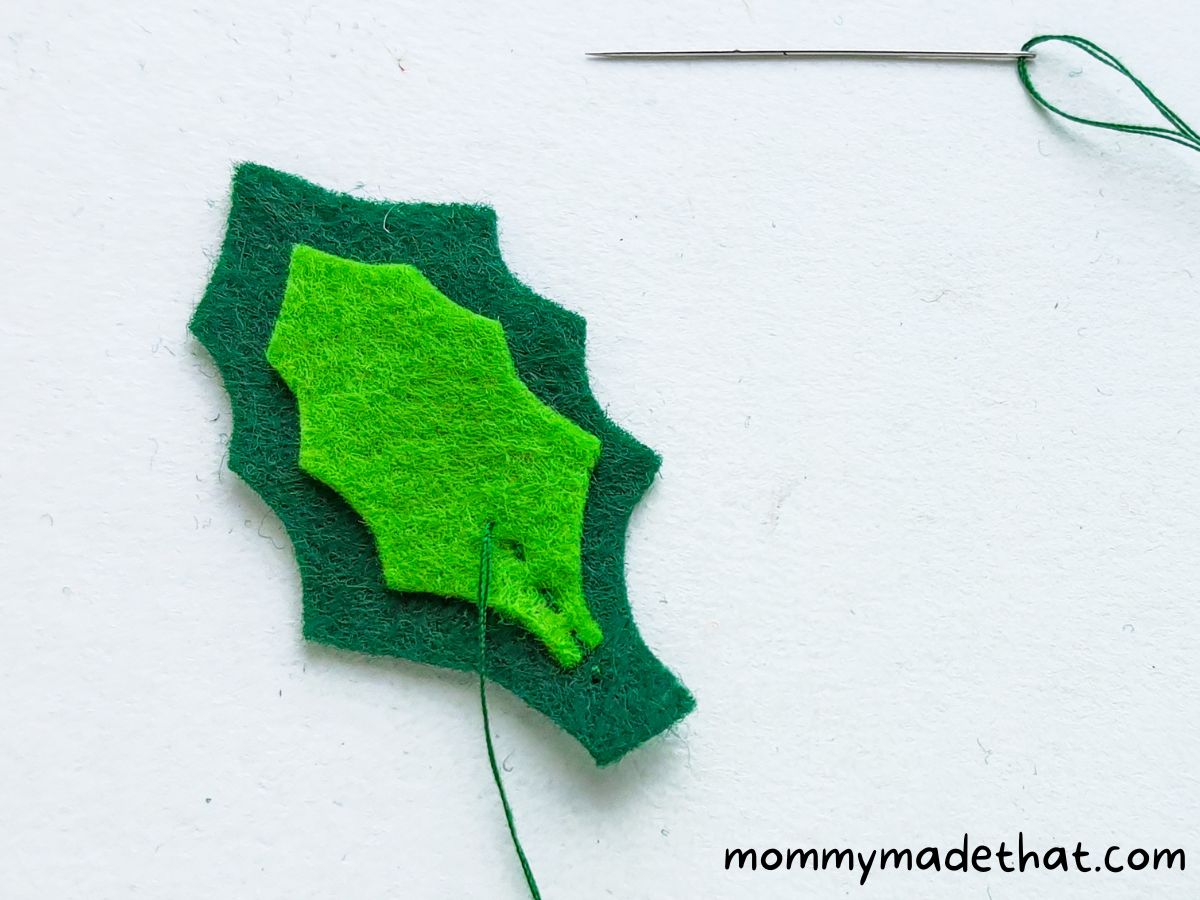
After you finish working the running stitch along the small leaf (you don’t need to cross the small leaf pattern when stitching), take the needle to the backside of the leaf.
Make a knot and cut off any extra thread.

Repeat the process with making one or two more completed felt leaves.

Grab the round red felt cutout and stitch 3 or more red pompoms onto it.

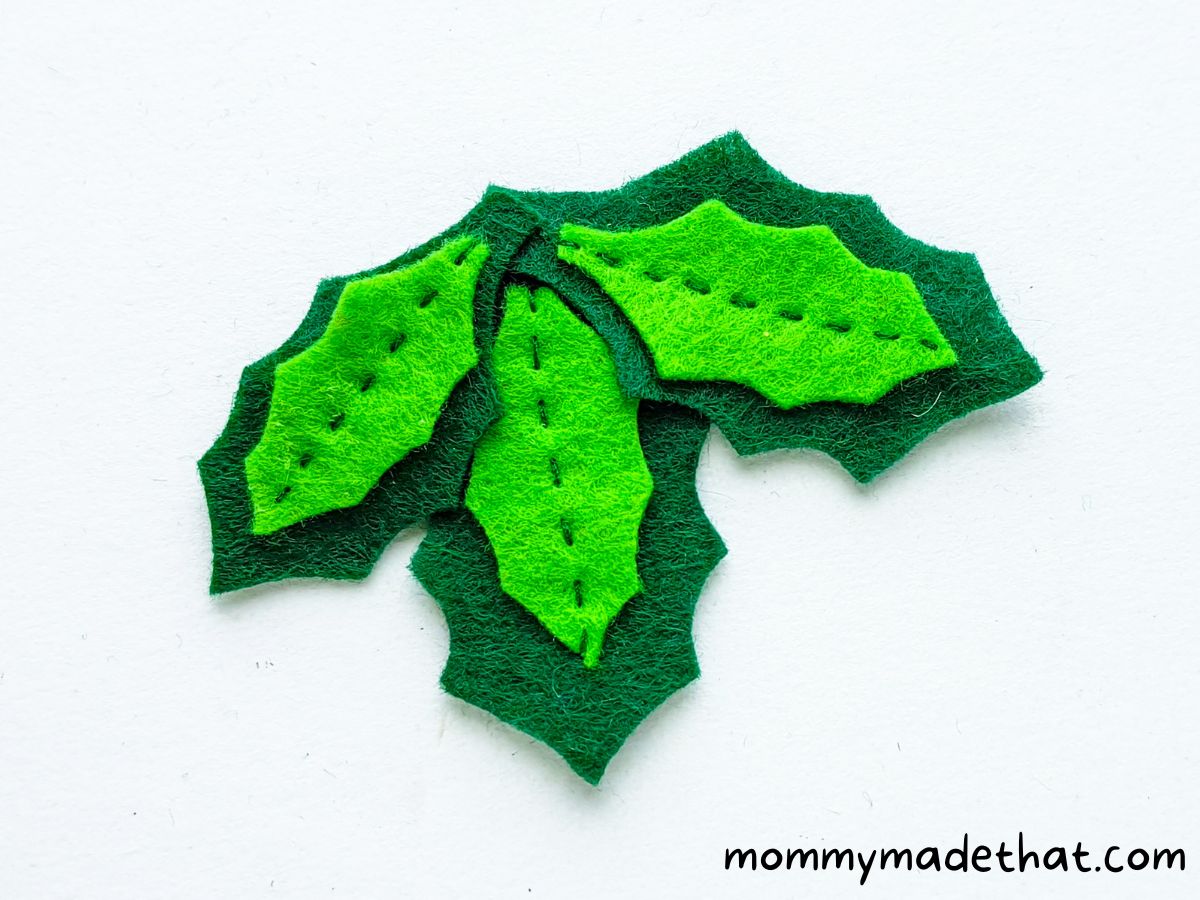
Sew two or three felt leaves together by placing them on top of each other and stitching the stems together.
Now, take the pompom base and place it on top of the stem parts (the overlapped sections of the leaves).
Then, use a needle and thread to stitch the two pieces of felt together.

To finish this ornament craft, take a piece of ribbon or yarn and tie the open ends in a knot.
Take the loop created by the knot and attach it to the backside of the felt Holly pattern with glue or stitches.
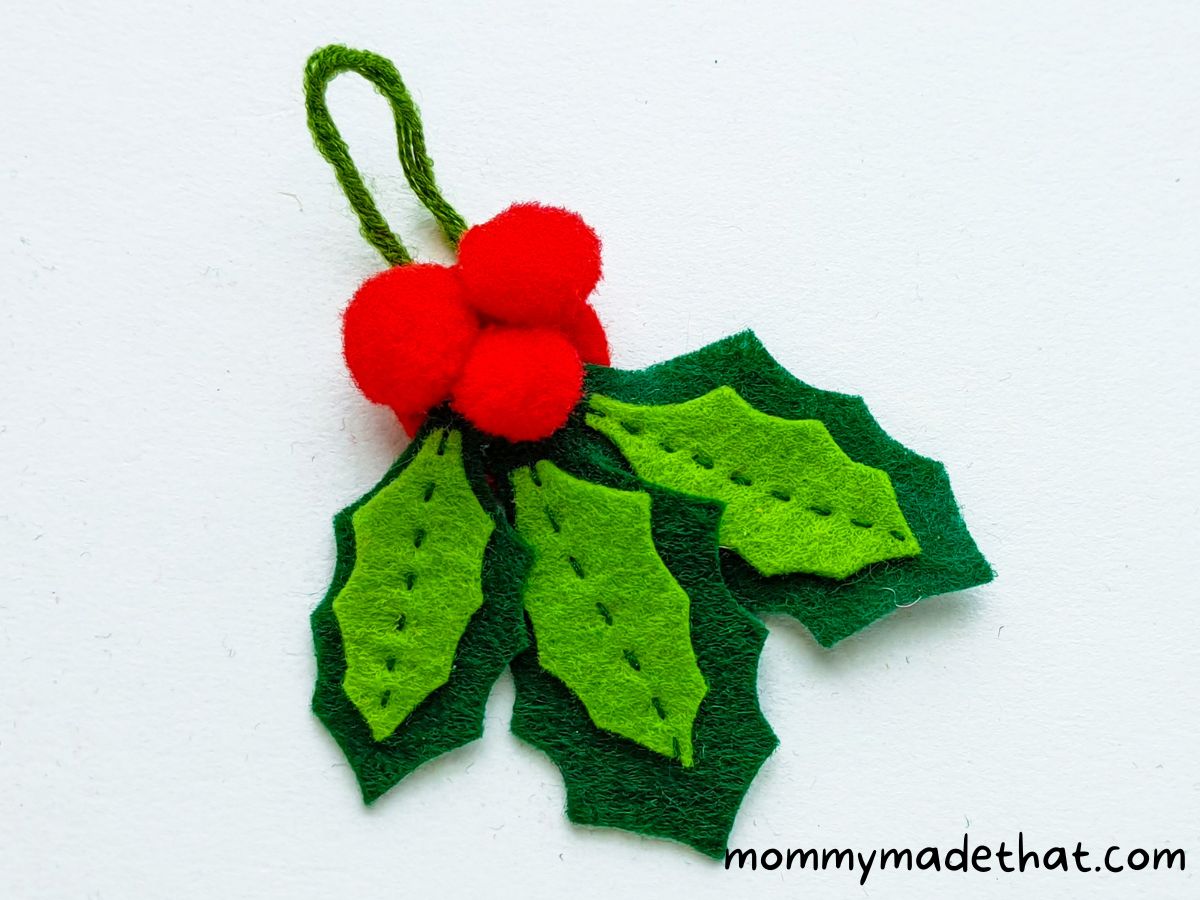
And then you’re first holly berry ornament is complete! You can make several of them for a themed Christmas tree, or use them to create a pretty holly berry garland.
These would also look beautiful on a Christmas dinner table as place holders with a name tag attached.


Grab the Felt Holly Berry Pattern
To grab the free printable holly berry pattern, put your email in the box below. We’ll send it straight to your inbox.
We also give lots of fun freebies away, so we’ll keep you updated when we put out more.
The pattern is for personal use only, not for commercial use. But feel free to sell the completed felt berry ornaments.
What will you be using your felt holly berries for? Let us know in the comments. I love hearing all the creative ideas.

Felt Holly Berry Ornament
This adorable felt holly berry makes a sweet Christmas ornament, or turn it into a fun festive garland.
Materials
- Felt holly berry pattern
- Felt fabrics
- Pom poms
- Yarn or ribbon
- Matching threads
Tools
- Scissors
- Needle
Instructions
- Grab 2 shades of green felt and 1 piece of red felt. Trace the large leaf pattern onto the dark green felt, trace the small leaf pattern onto the light green felt, and trace a round shape onto the red felt. Cut out all pattern pieces.
- Position the small leaf cutout on top of a large leaf cutout, in the center. Thread a needle with dark green thread.
- Sew both felt leaf patterns together using a running stitch along the center line.
- When finished, take the needle to the backside of the leaf and make a knot. trim extra thread.
- Repeat the process making one or two more completed felt leaves.
- Grab the round red felt cutout and stitch 3 or more red pompoms onto it.
- Sew two or three felt leaves together by placing them on top of each other and stitching the stems together.
- Now, take the pompom base and place it on top of the stem parts (the overlapped sections of the leaves).
- Then, use a needle and thread to stitch the two pieces of felt together.
- To finish this ornament craft, take a piece of ribbon or yarn and tie the open ends in a knot.
- Take the loop created by the knot and attach it to the backside of the felt Holly pattern with glue or stitches.
- Your ornament is finished!

Very nice ornament, please send me the pattern of holly
Love this for my theatre arts students who are learning to sew! Please send me the pattern! Thanks!
Your ideas are great. I love them. Thank you so much. Ela
Beautiful! Would love to try this could you send me the pattern? Thank you 🙂