DIY Felt Leaf Christmas Wreath
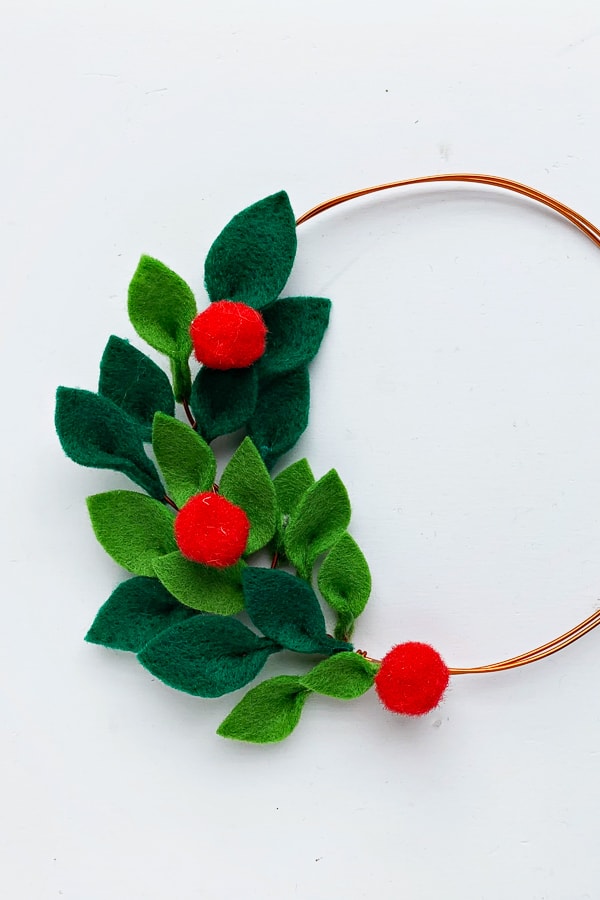
Today we have a fun and beautiful craft to make for winter. This DIY felt Christmas wreath is an easy and inexpensive way to elegantly decorate for Christmas.

I am seriously loving this simple, DIY felt Christmas wreath.
It’s a fun and easy way to decorate for the holiday season and a fun Christmas craft.
This DIY wreath tutorial is an easy one that only requires a few supplies and a little bit of time.
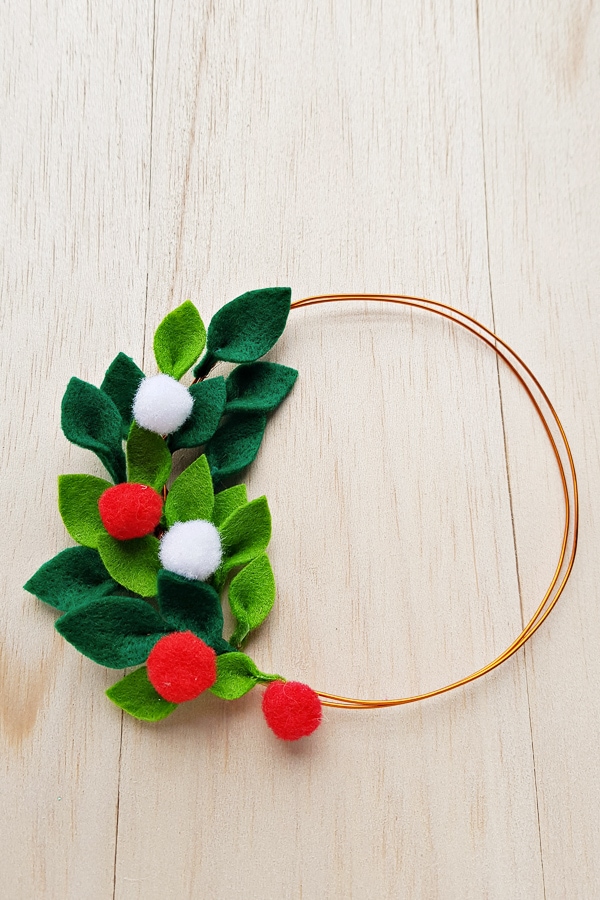
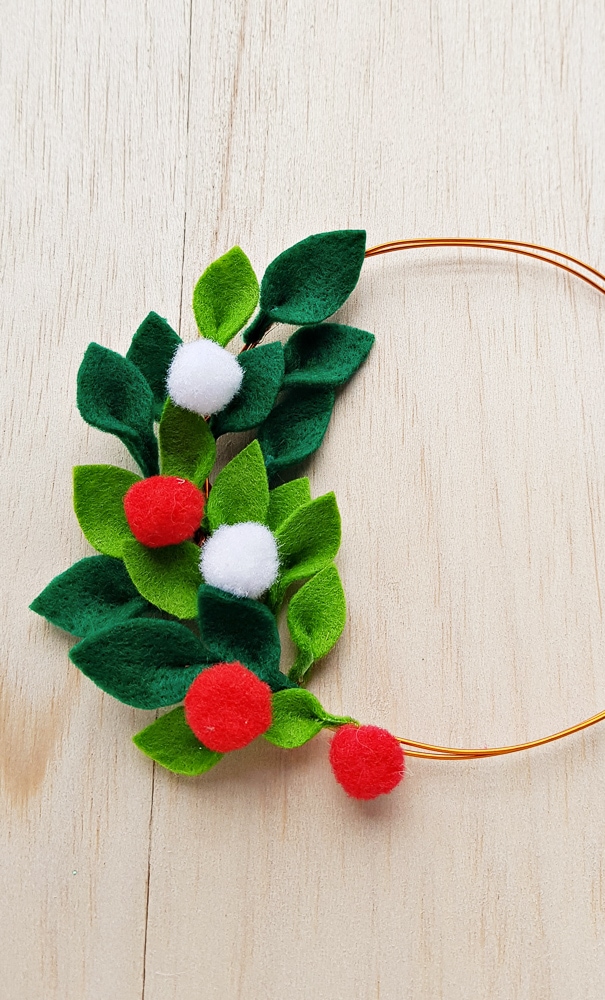
It’s made from felt leaves and poms poms to represent holly berries.
Plus this is a fantastic craft to make and sell at Holiday craft shows.
Supplies Needed for DIY Minimalist Christmas Wreath
- 14 or 16 gauge copper craft wire
- Craft pliers
- Green Felt (We used 2 different shades)
- Scissors
- Craft glue
- Red and White pom poms
How to Make a Minimalist Felt Christmas Wreath
This minimalist wreath is pretty easy to make, but it does take some planning.
We’ll show you how you can make your own felt christmas wreath with this step by step tutorial.
Step 1: Creating the Base
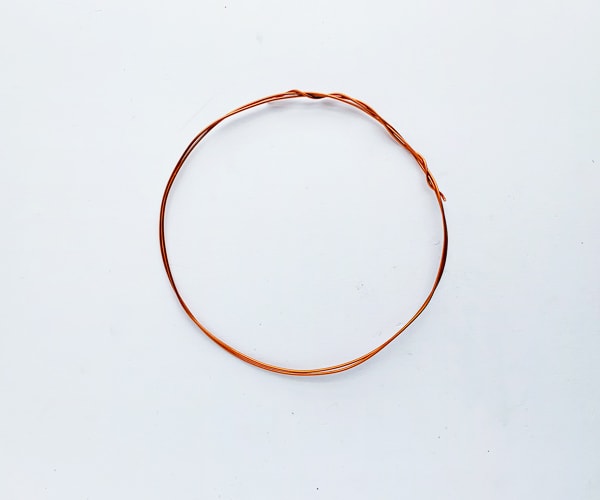
First, decide how large you want your wreath to be and fashion a circle from your craft wire to that size.
Smaller wreaths a little easier to work with, but larger wreaths can make a bigger statement.
Layer your wire circle by wrapping more wire around it 2-3 times for smaller wreaths and more times for a much larger wreath.
Wrap the open ends of the wire around the base of the band.
Step 2: Prepare the Branches
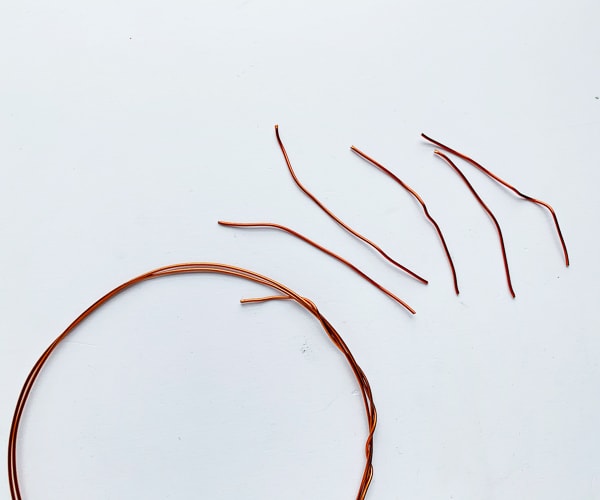
Next, cut small pieces of wires from the same copper craft wire, a few inches long.
These smaller wire pieces will be used to fashion branches around your wire base.
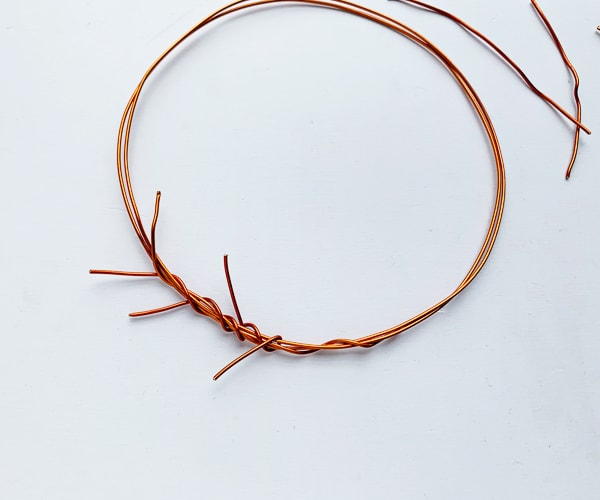
Take one of the smaller wire pieces and coil half of the wire around the base tightly, while having the other half sticking out forming a branch for your wreath.
This is where we will be attaching the felt leaves of your wreath.
It should like the photo below.
Step 3: Attach all the Branches
Continuing attaching the rest of your branches around the wire wreath frame.
Keep the branches close together in one bunched up area to make it look like ours.
You could also fill the wreath with more branches for a fuller-looking wreath. The choice is all yours!
We wanted a more minimalist wreath so we choose to add only a smaller bunch of felt leaves.
Step 4: Finish Wrapping the Branches
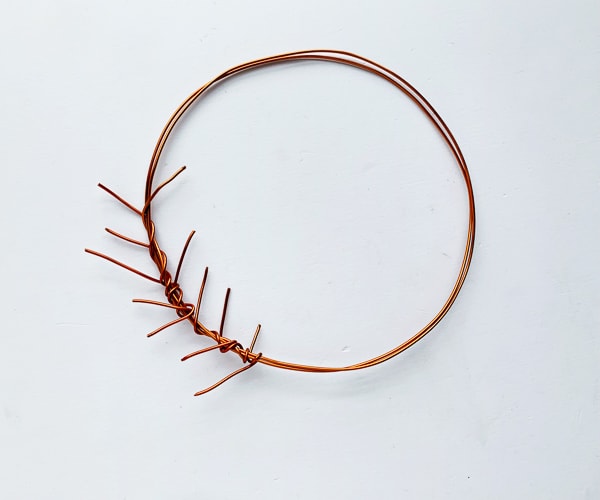
You can keep the branches close together in one bunched up area to make it look like ours.
You could also fill the wreath with more branches for a fuller-looking wreath. The choice is all yours!
We wanted a more minimalist wreath so we choose to add only a smaller bunch of felt leaves.
Step 5: Cutting Your Wreaths Felt Leaves
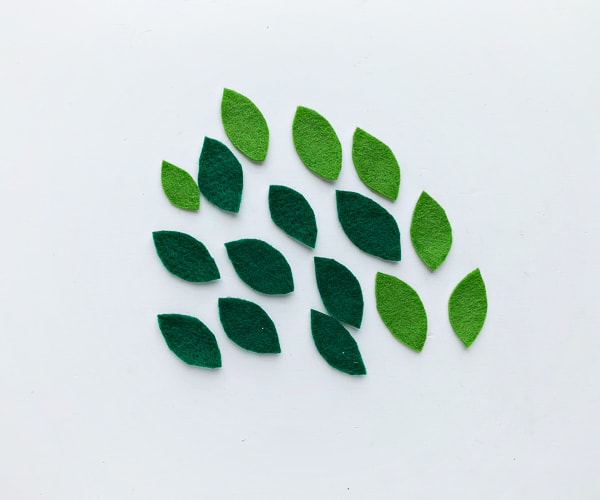
Grabbing your green felts, (we used 2 different shades of green) start tracing out and cutting small leaf shapes.
Step 6: Attach the Felt Leaves to the Wreath
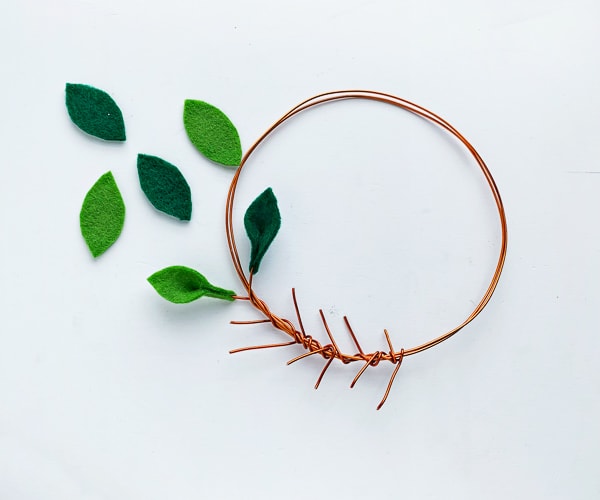
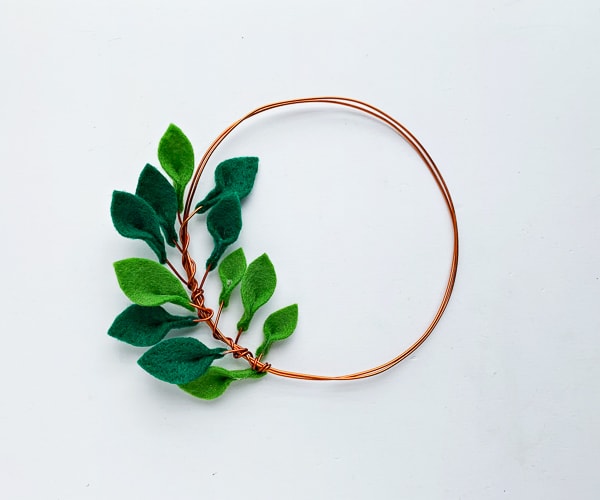
Using your hot glue gun, take one of the felt leaves and attach it to one of the small branches.
You’ll want to attach the leaf to the outer edge of the branch by putting a small amount of glue at the bottom of a leaf and folding over the branch like shown below.
Step 7: Attach the Rest of Your Felt Leaves
Continue to glue the rest of the felt leaves onto the branches of the wreath until every branch has a leaf on its end.
Step 8: Attach Leaves to the Center of the Branches
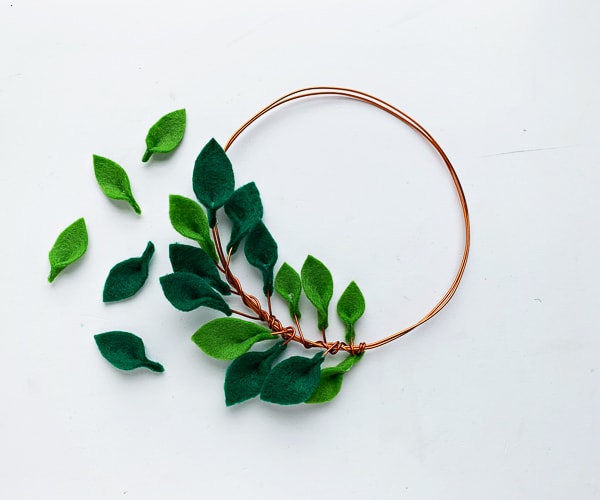
Once all the branches have leafs on the ends, grab the rest of the felt leaves and slightly fold the half of the leaves along the middle and glue together with hot glue.
This helps to give the leaves more dimension.
They should look like the felt leaves below.
Step 9: Fill in the Rest of the Wreath
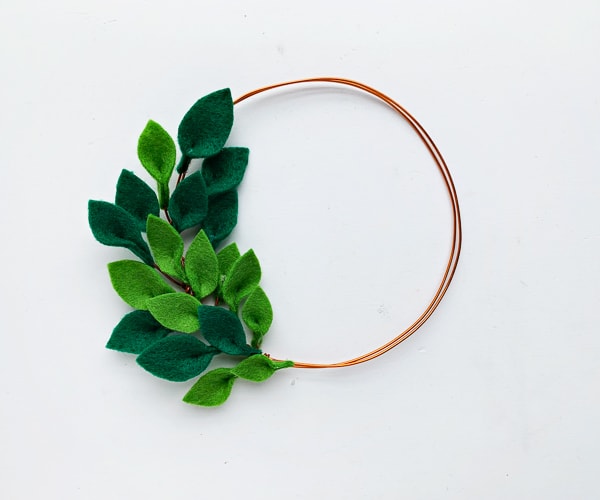
Next, attach the folded leaves in the spaces of the wreath.
Try to completely cover the wire branches for a more finished look.
Step 10: Attach the Pom Pom Berries
Once your wreath is full of felt leaves, start adding a couple red and white pom poms to look like holly berries!
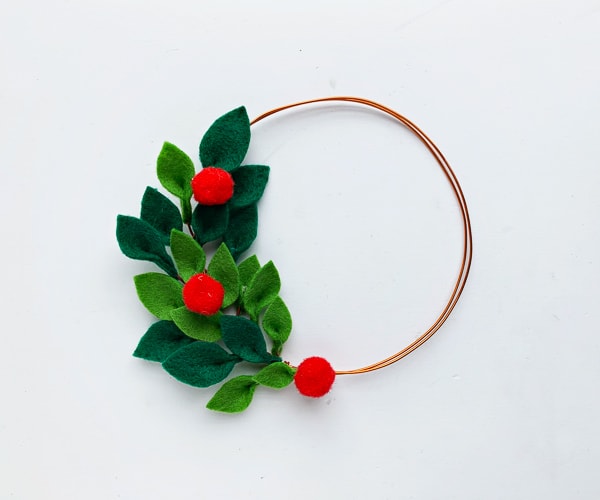
And that’s it!
Your DIY felt Christmas wreath is all done.
