
Origami Shamrock
Today we have an easy Origami Shamrock tutorial! Crafted from just a few sheets of light craft paper, this darling paper shamrock can add a playful touch to your St. Patrick’s Day decorations or become a cherished handmade keepsake. A perfect blend of simplicity and charm, this craft project promises to bring a sprinkle of magic to your day.

Welcome to another day of crafting fun! Today, we’re taking a delightful journey into the realm of origami to create a lovely Origami Shamrock.
This simple yet engaging project is a wonderful way to introduce children to the art of paper folding, enhancing their fine motor skills, creativity, and spatial perception.
This Origami Shamrock is perfect for St. Patrick’s Day festivities, adding a touch of handmade charm to the celebration.
But hey, who’s to say you can’t enjoy some luck o’ the Irish all year round with this evergreen craft?
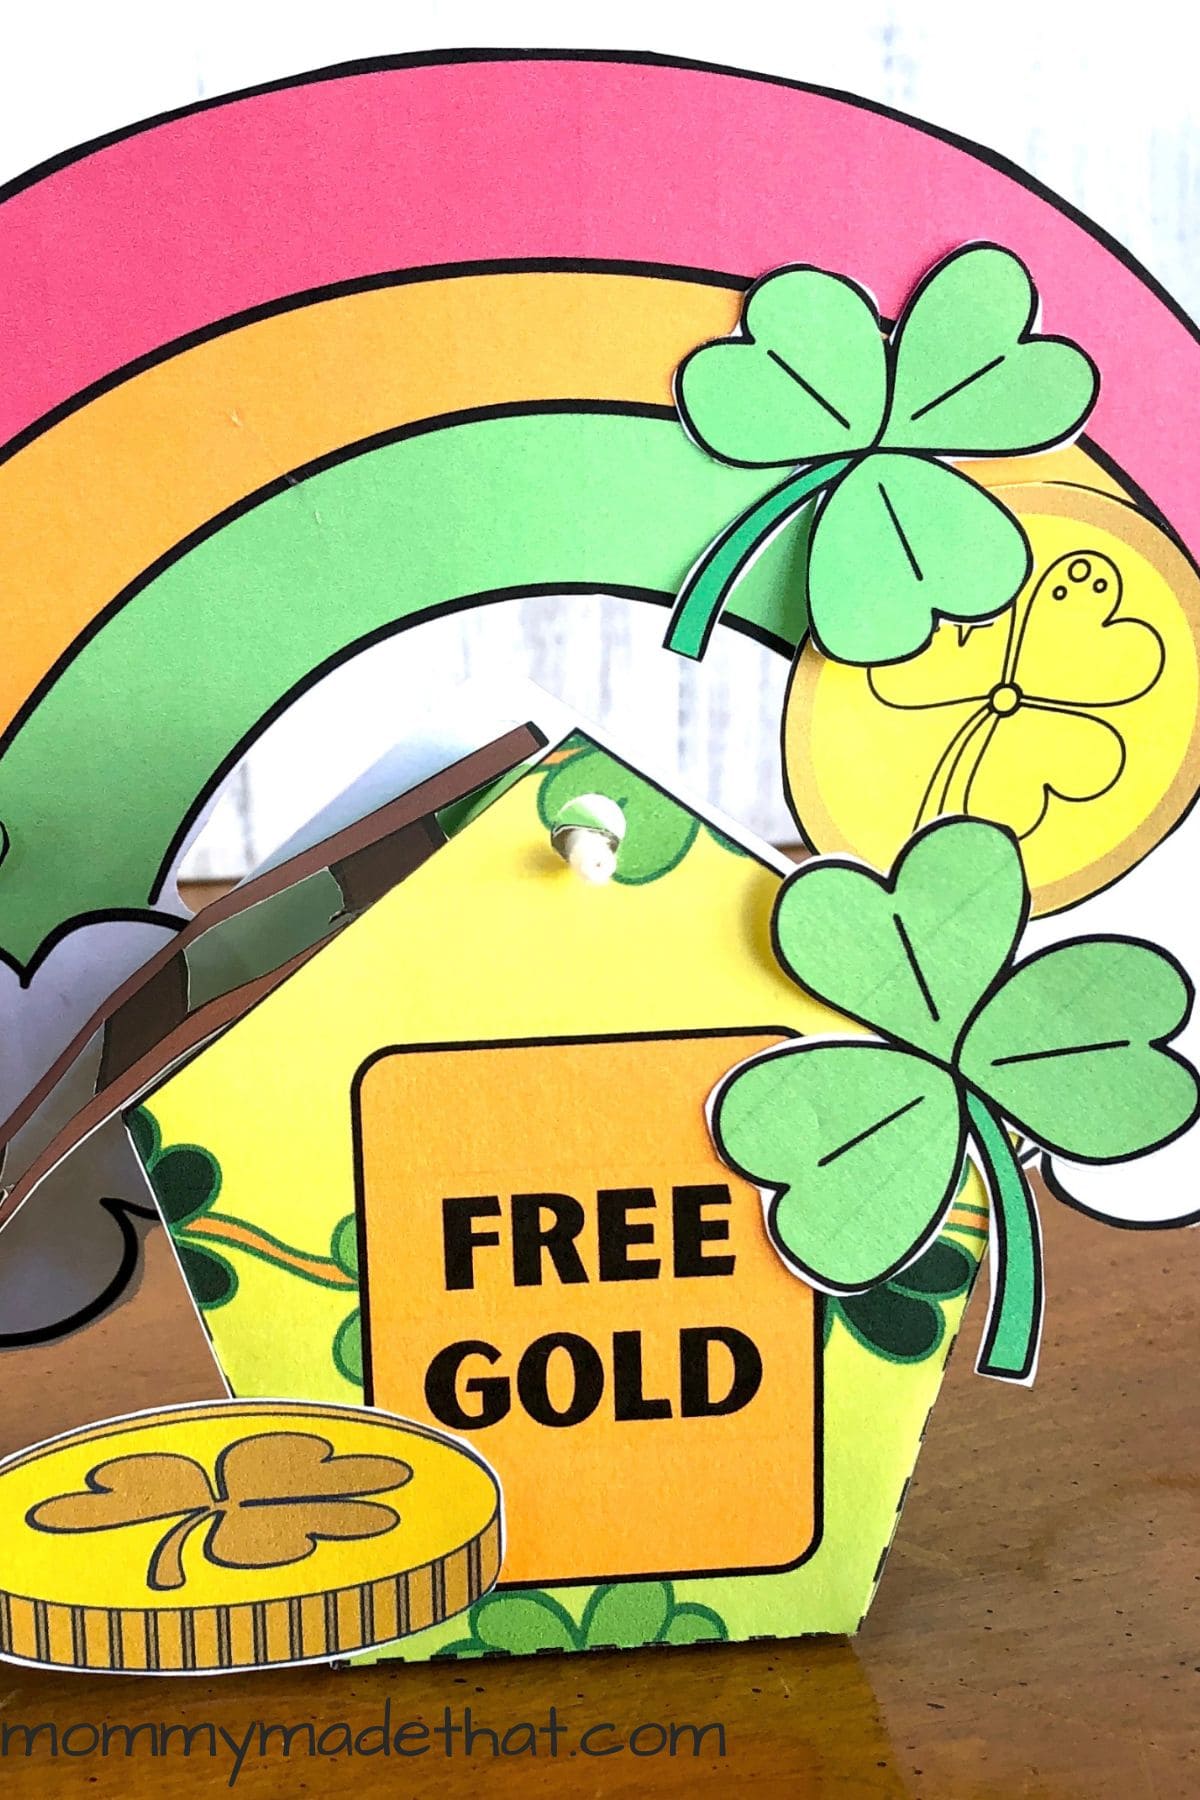
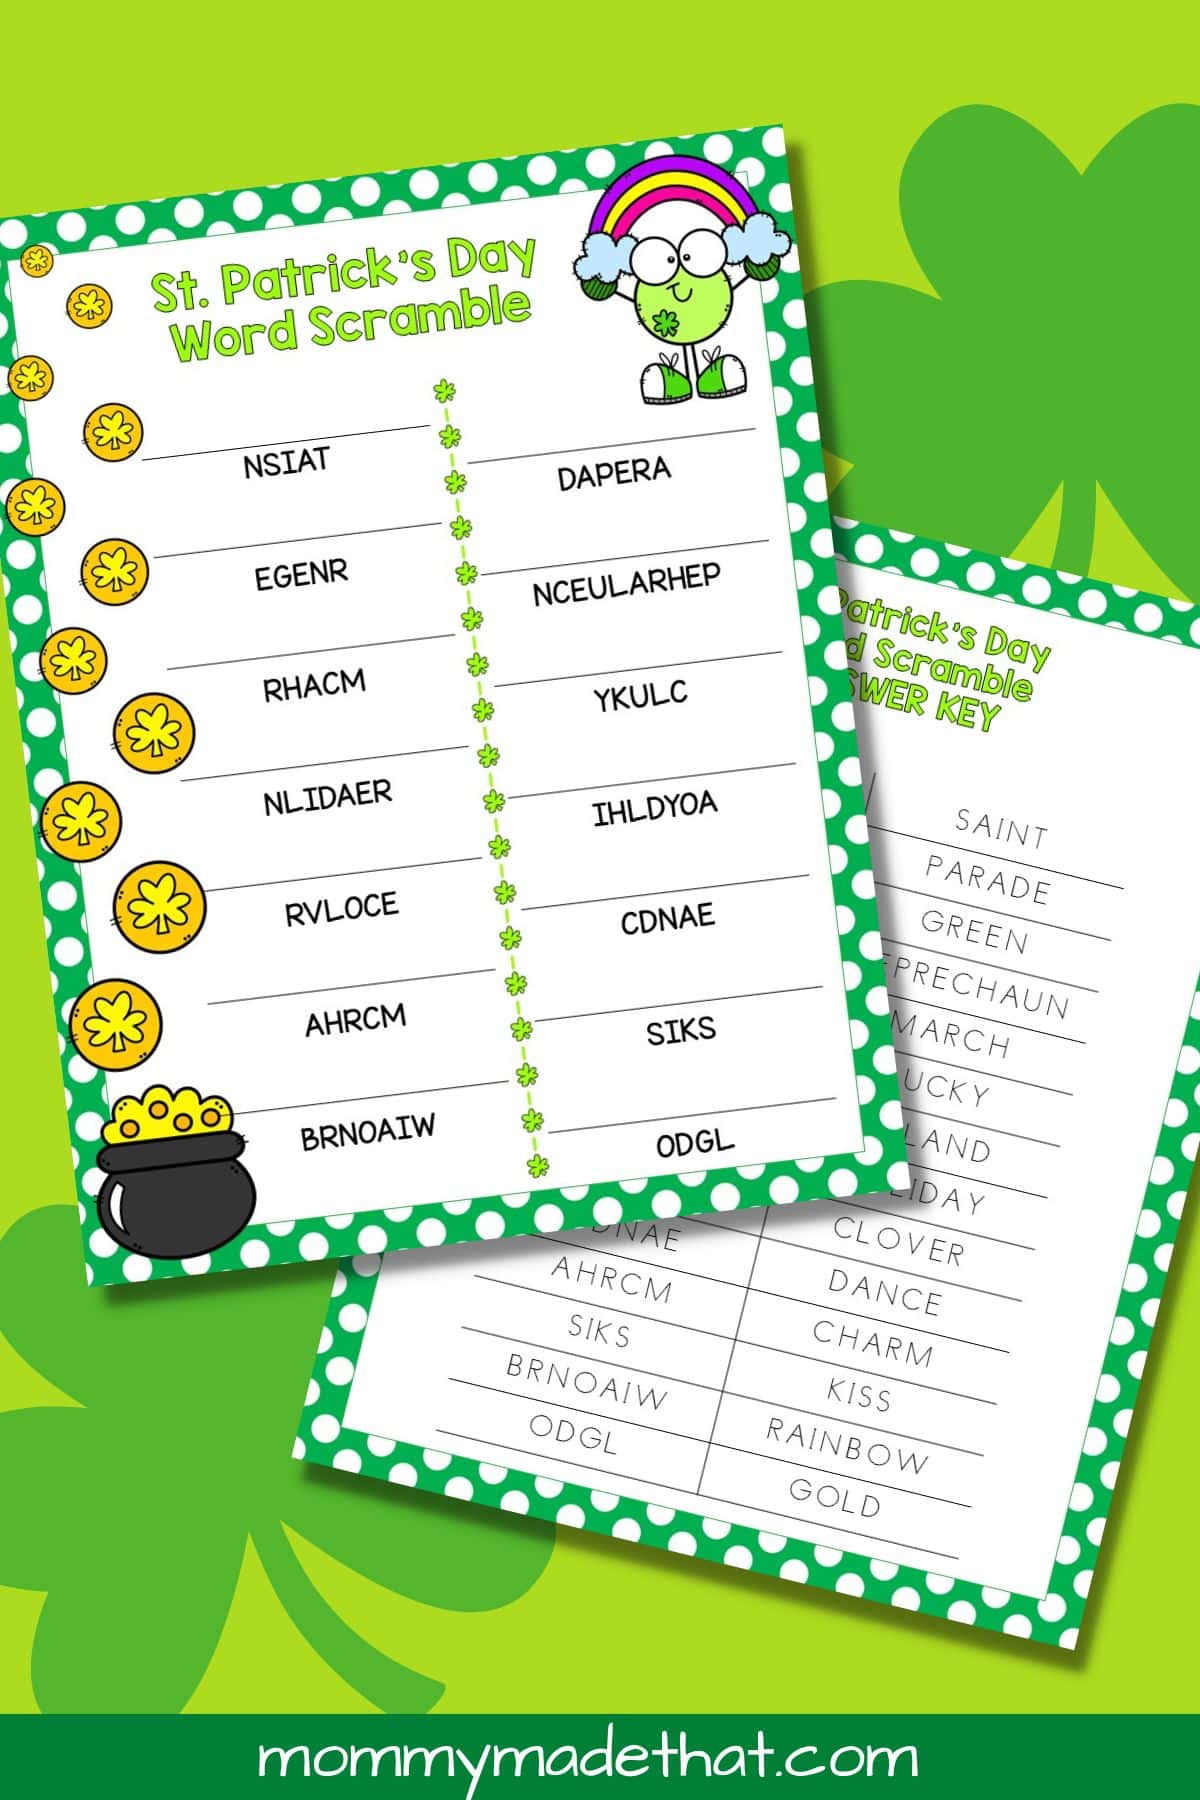
If you are looking for more shamrock fun, we’ve got lots of great St. Patricks day printables like our shamrock template, our printable Leprechaun trap and our pot of gold templates.
Of course, we’ve got lots of fun origami ideas too.
Why You’ll Love This Craft:
- It’s a unique way to celebrate St. Patrick’s Day and embrace the Irish culture.
- It’s an engaging project that helps kids develop their fine motor skills and creativity.
- The final product can be used as a decoration, a keepsake, or a heartfelt gift.
- It’s a fun and cost-effective way to spend some quality time with your little ones.
Table of Contents
Materials
- Colored Craft Paper: Preferably light or medium light. This will form the body of your origami clover. We used green colors for each of our clovers.
- Craft Glue: Just a dab will do to hold your shamrock together.
Instructions
Begin with three same-sized squares of craft paper and a small rectangle (half of a square).
Take one square and fold it in half, opening it up again afterward.

Fold one side to meet the center crease you just created, like shown below.

Then flip your paper over.

Fold the square in half once more, this time from corner to corner, then unfold.

Now, fold both sides in to meet the crease you made in the last step.

Turn your paper over once more.

Fold the paper in half by joining the corner with the opposite side, right in the middle, like shown below.

Flip it again.

Spot the small, thin layer in the center? Open it up gently and flatten it.

Fold in the exposed corner of the newly flattened part.

Repeat the process with the corner on the opposite side.

Slightly fold the open corners inwards.

Fold the square sides inward, aligning them along the center crease.

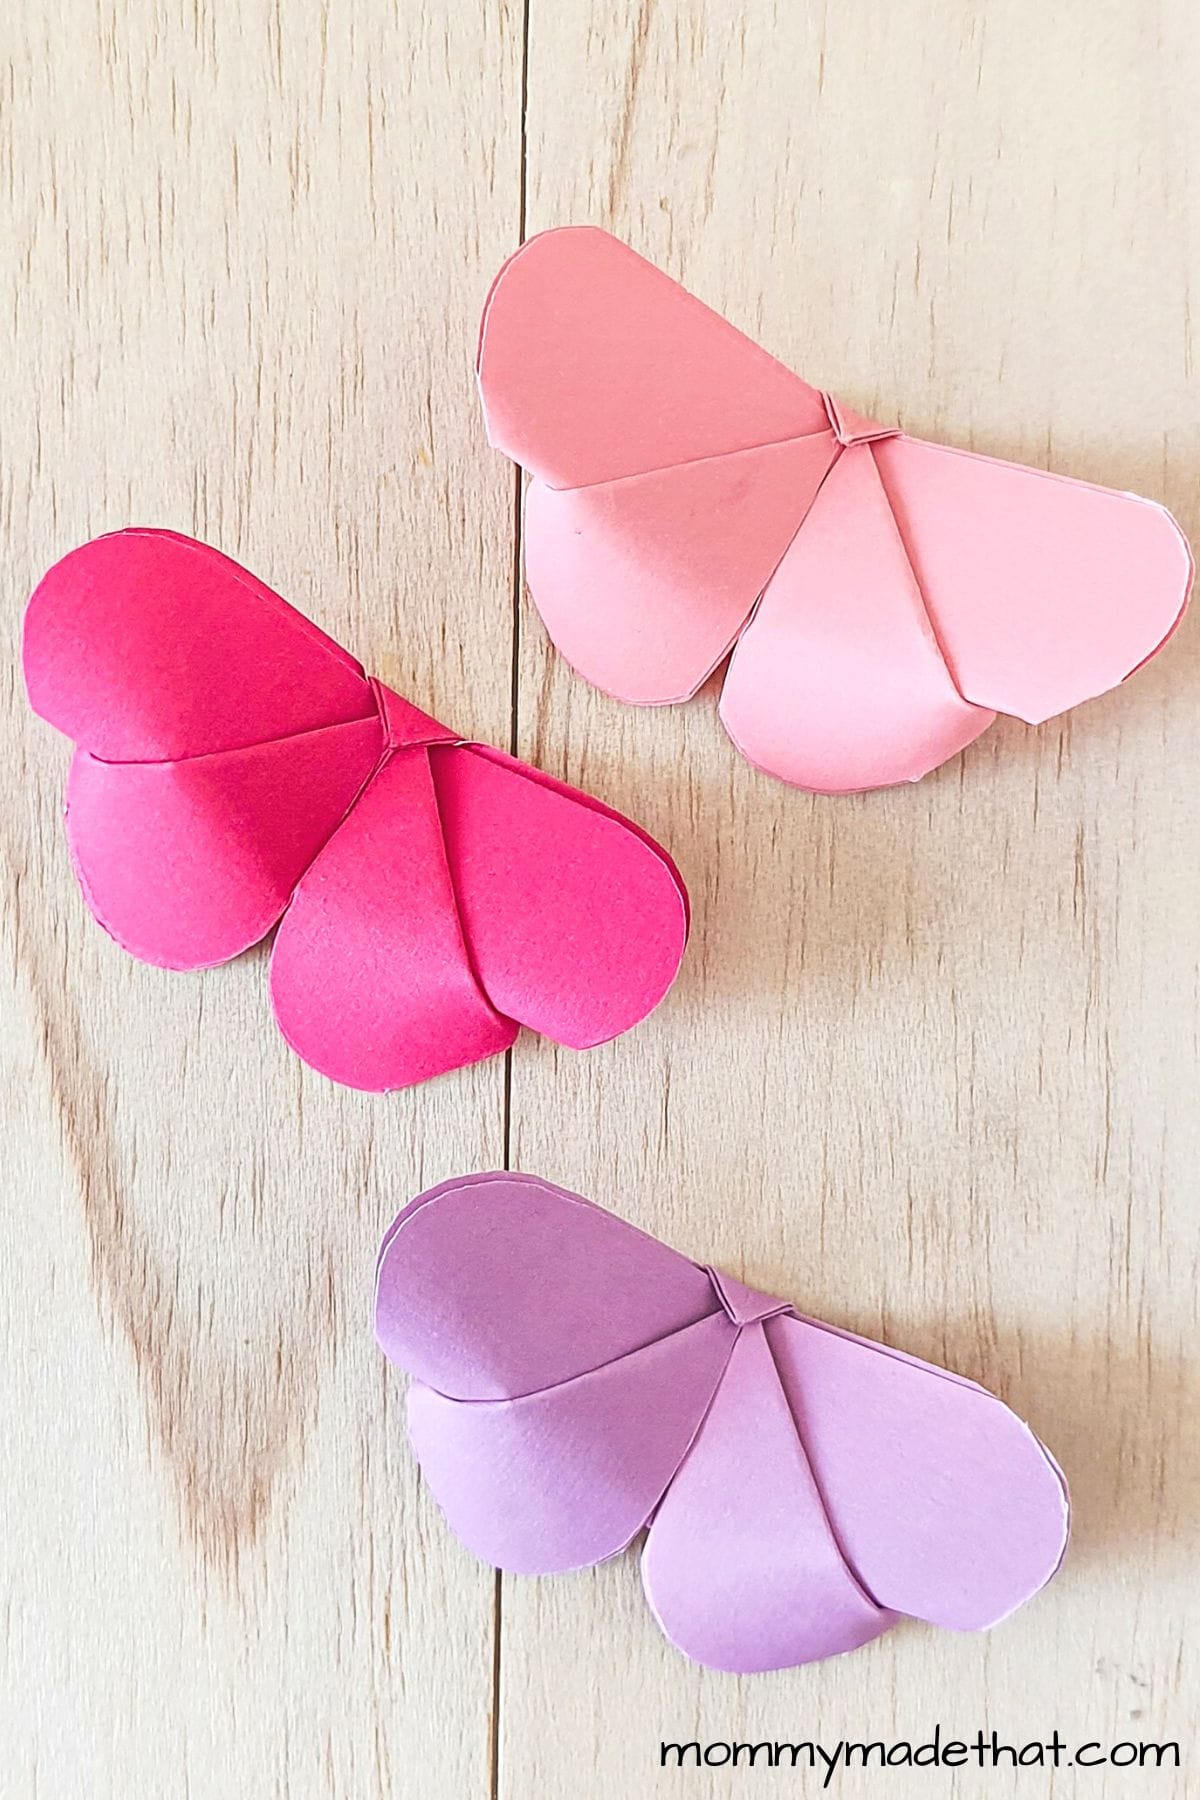
Repeat steps 2-14 two more times to create a total of three origami hearts.

Join two hearts by inserting one’s square side into the other’s pocket.

Add the third heart to the connected pair in the same manner.

Flip the interconnected hearts over.

Fold in the middle open corners so that they align with the edges of the heart layouts.
Turn your creation right side up again.

Now, for the stem. Take your rectangle and fold it into three even parts lengthwise, then unfold.

Diagonally fold the longer sides of the rectangle, meeting the opposite crease from an outer corner.

Fold in the narrow side, leaving a 1 cm gap at the top.

Fold the wider sides lengthwise inward, from the side crease to the opposite corner.

Turn the stem right side up.

Use a little craft glue to attach your origami stem to the shamrock.


We think this is the perfect St. Patrick’s day origami idea.
Top Tips:
- For younger children, it can be helpful to pre-fold the paper to make creases that they can follow.
- Remember to take it slow and steady with origami. It’s all about precision!
- Experiment with different shades of green for a vibrant shamrock.
- Add a personal touch by decorating your shamrock with glitter or stickers once it’s folded.

Origami Shamrock
Creating this origami shamrock is a fantastic opportunity to teach children about Irish culture and traditions while engaging in a hands-on, fun activity.
Materials
- Colored craft paper: light or medium light at least 4 pieces
- Craft glue
Instructions
- Begin with three same-sized squares of craft paper and a small rectangle (half of a square).
- Take one square and fold it in half, opening it up again afterward.
- Fold one side to meet the center crease you just created.
- Flip your paper over.
- Fold the square in half once more, this time from corner to corner, then unfold.
- Now, fold both sides in to meet the crease you made in the last step.
- Turn your paper over once more.
- Fold the paper diagonally from corner to corner.
- Flip it again.
- Spot the small, thin layer in the center? Open it up and flatten it.
- Fold in the exposed corner of the newly flattened part.
- Repeat the process with the corner on the opposite side.
- Slightly fold the open corners inwards.
- Fold the square sides inward, aligning them along the center crease.
- Repeat steps 2-14 two more times to create a total of three origami hearts.
- Join two hearts by inserting one's square side into the other's pocket.
- Add the third heart to the connected pair in the same manner.
- Flip the interconnected hearts over.
- Fold in the middle open corners so that they align with the edges of the heart layouts.
- Turn your creation right side up again.
- Now, for the stem. Take your rectangle and fold it into three even parts lengthwise, then unfold.
- Diagonally fold the longer sides of the rectangle, meeting the opposite crease from an outer corner.
- Fold in the narrow side, leaving a 1 cm gap at the top.
- Fold the wider sides lengthwise inward, from the side crease to the opposite corner.
- Turn the stem right side up.
- Use a little craft glue to attach your origami stem to the shamrock.
Notes
Add a personal touch by decorating your shamrock with glitter or stickers once it's folded.

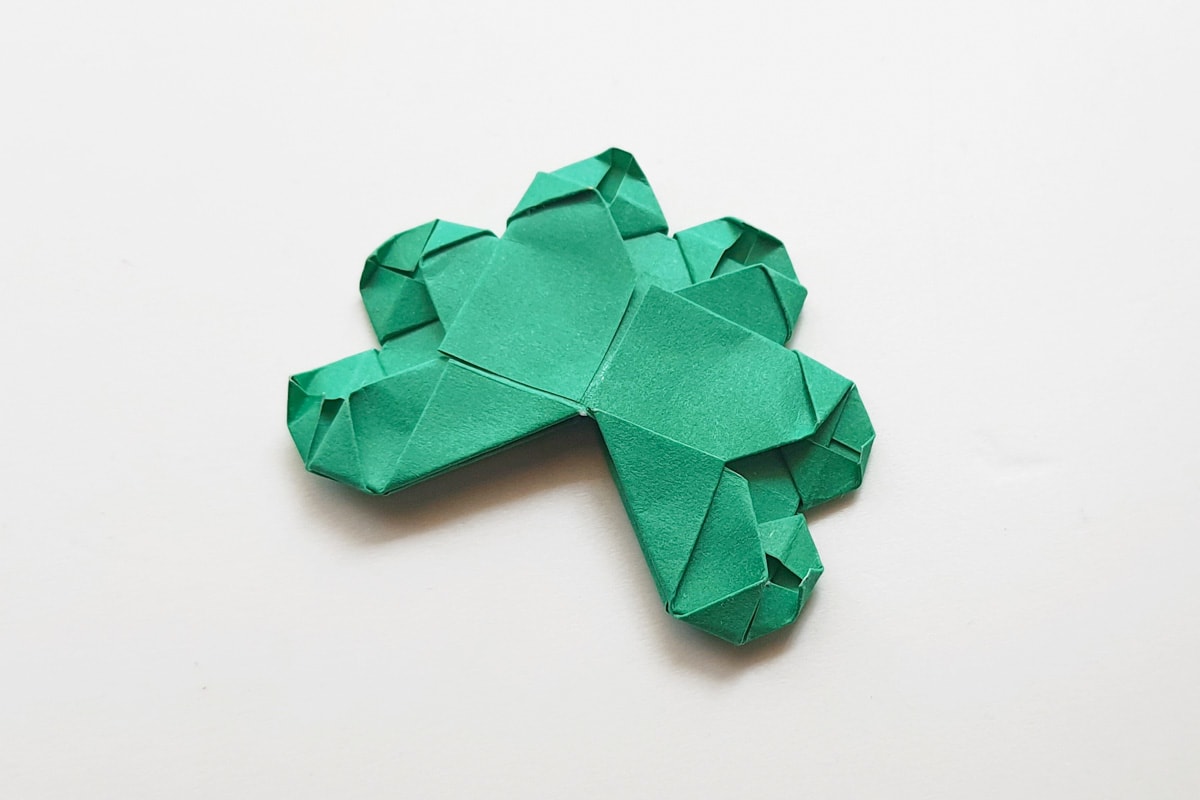
And voilà, your Origami Shamrock is complete! This charming little project is an excellent way to spread the St. Patrick’s Day cheer or simply create a fun keepsake.
Crafting together has never been so rewarding or fun. Keep creating and spreading the magic!
just love it!