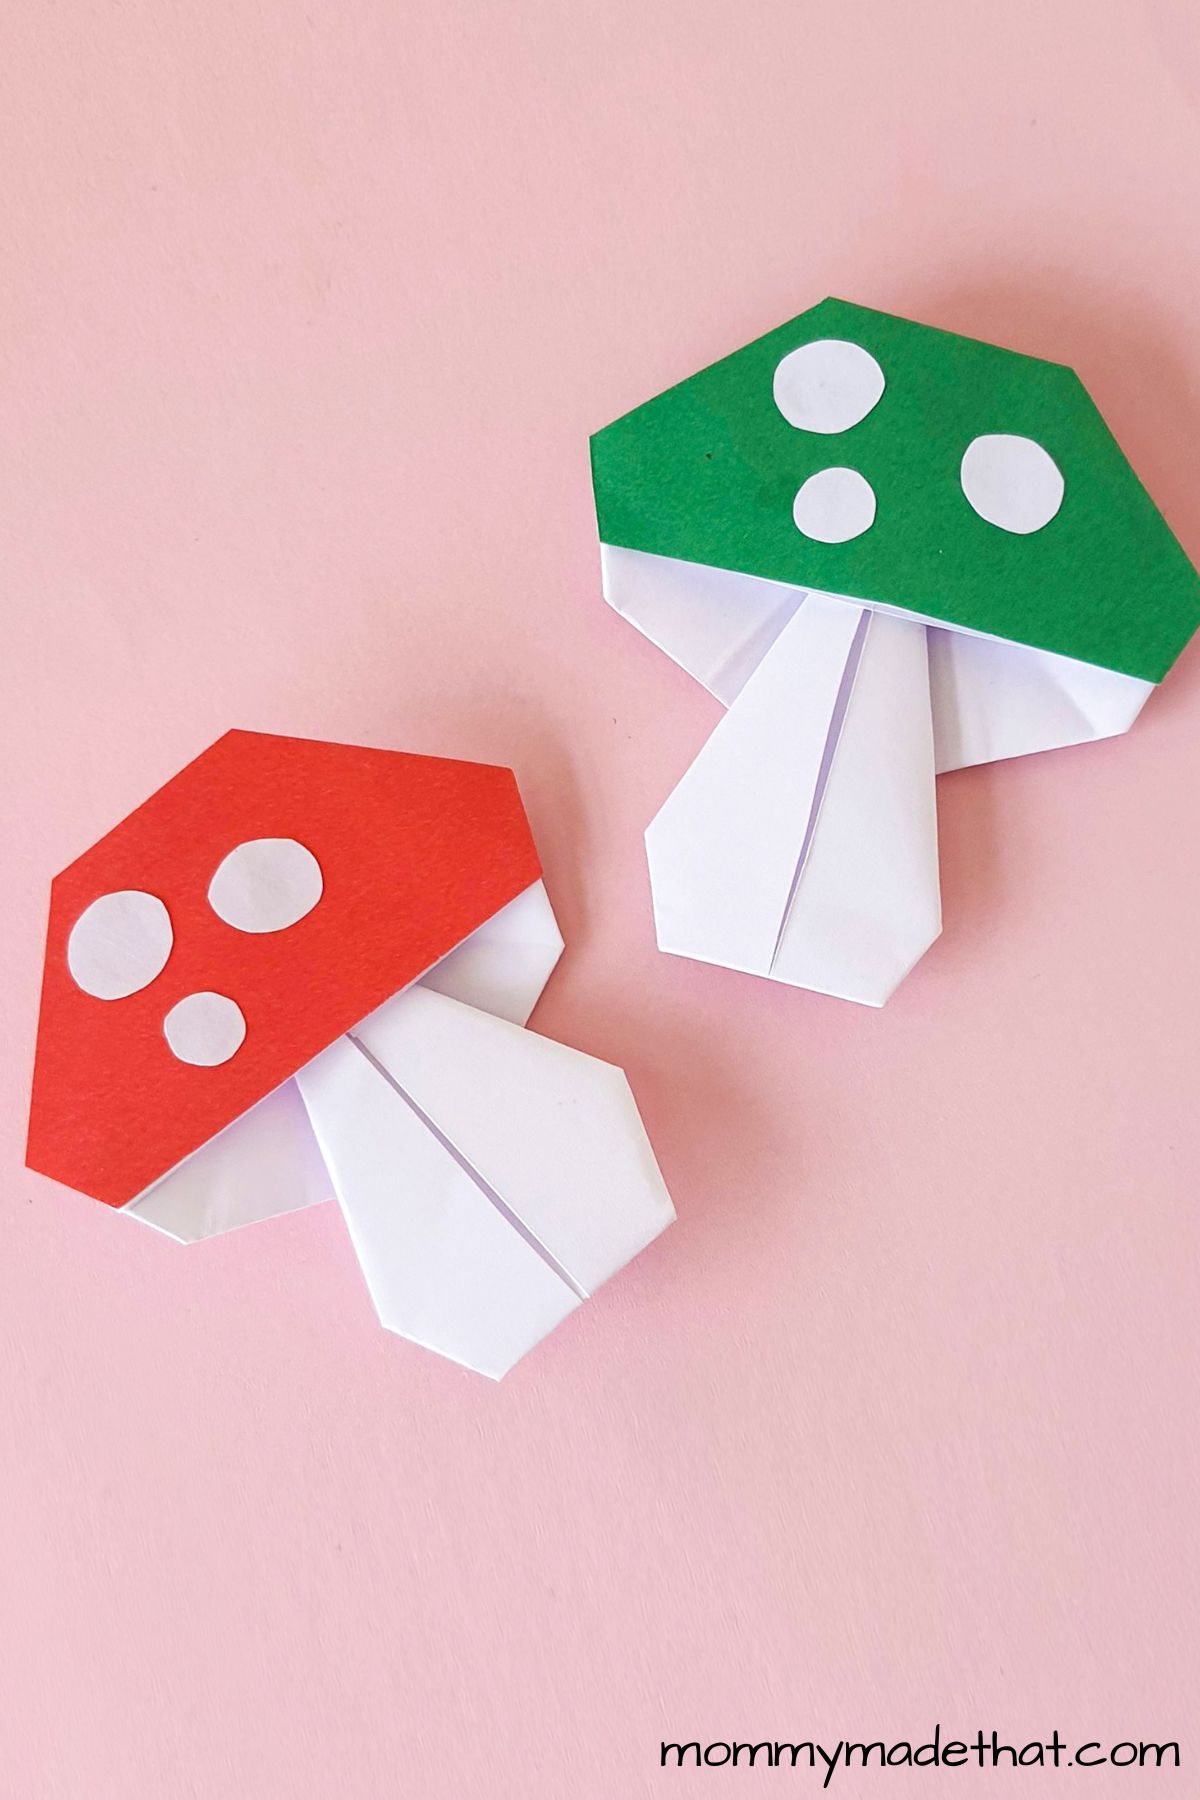
Origami Mushroom (Super Cute How to Tutorial)
Today we are showing you how to make an origami mushroom! It’s a fun way to make a mushroom out of paper.
Origami is an age-old crafting technique that involves nothing more than folding a flat sheet of paper into intricate three-dimensional shapes.
What’s truly amazing about this craft is that with just a single sheet of paper, you can create an amazing masterpiece. Origami has evolved over the centuries, becoming an outlet for creativity and expression all around the world.
In this tutorial, we will show you how to create a stunning origami mushroom using this timeless technique.
Table of Contents
Why Make an Origami Mushroom?
Origami mushrooms are visually stunning and easy to create, making them an excellent introduction project for anyone interested in learning the basic techniques of origami.
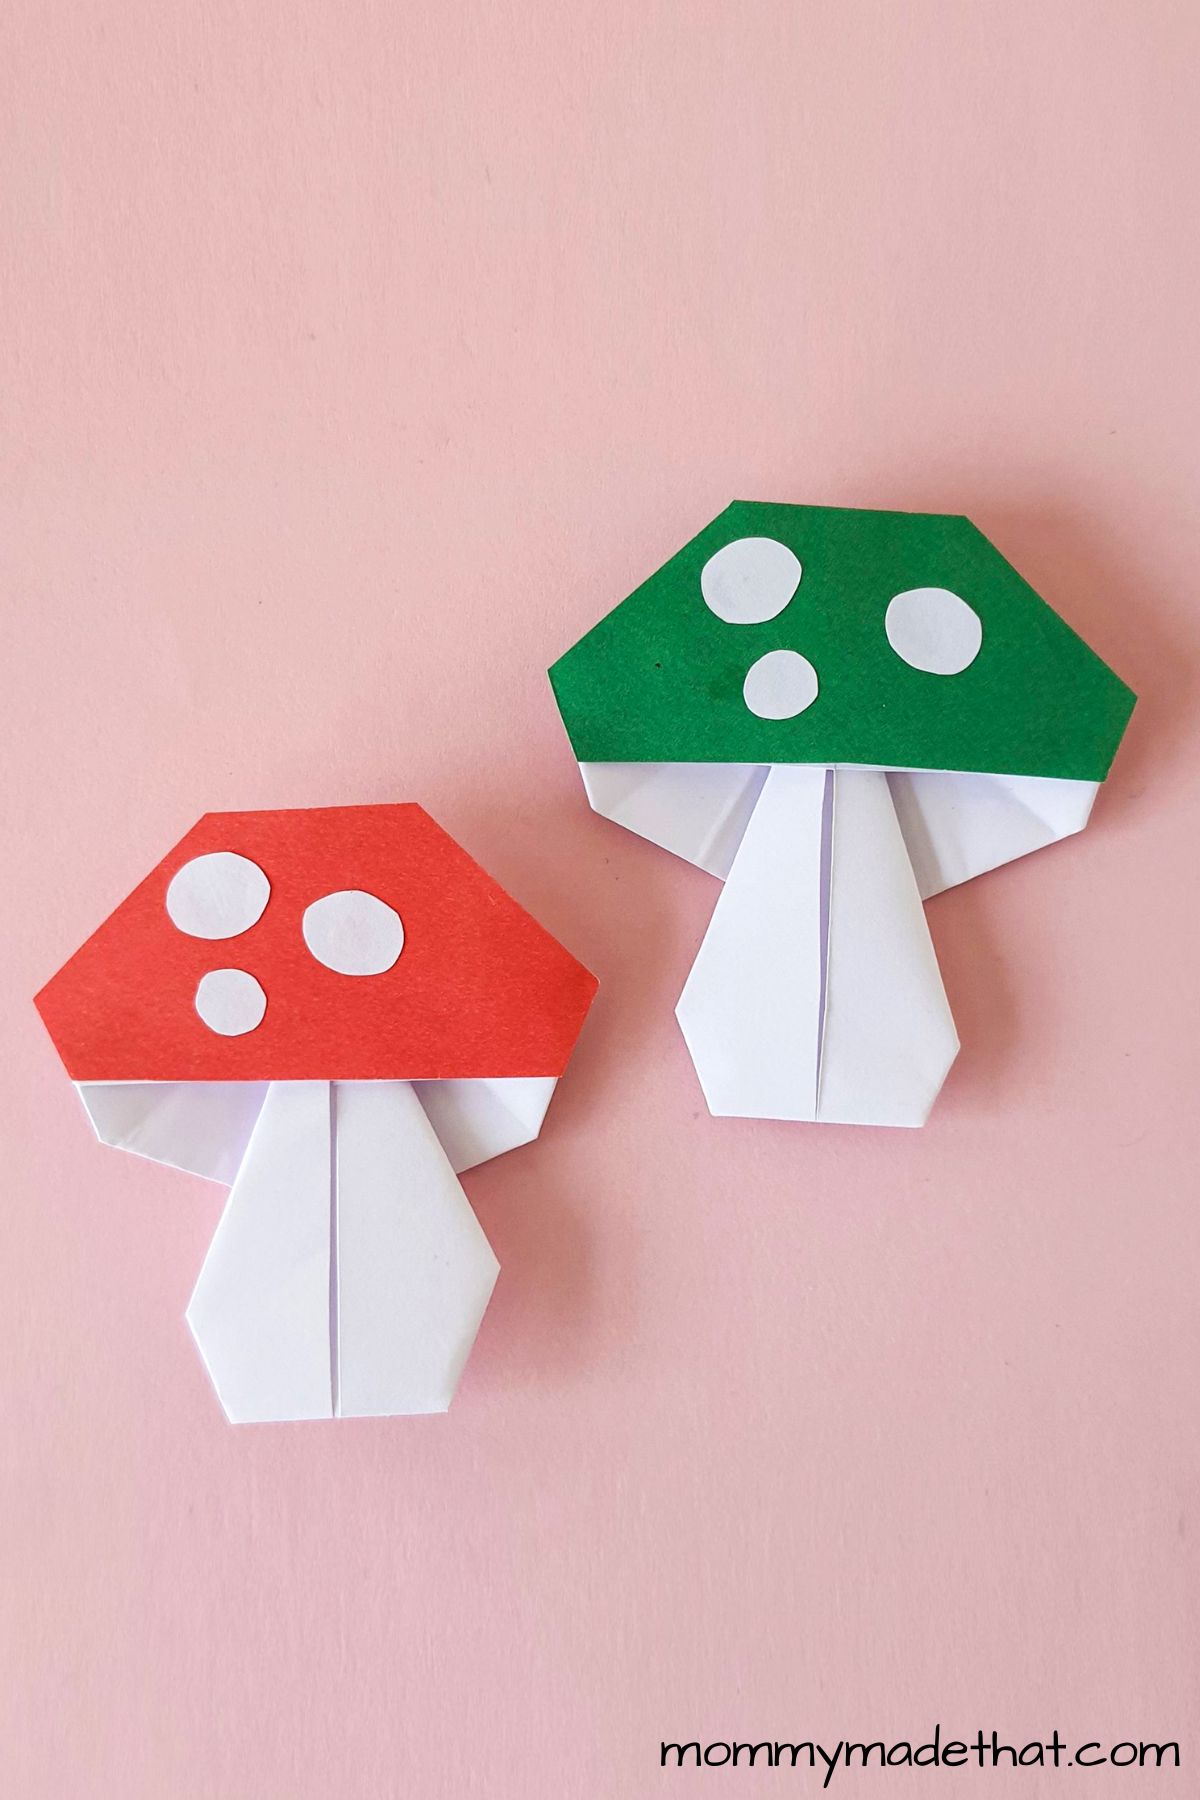
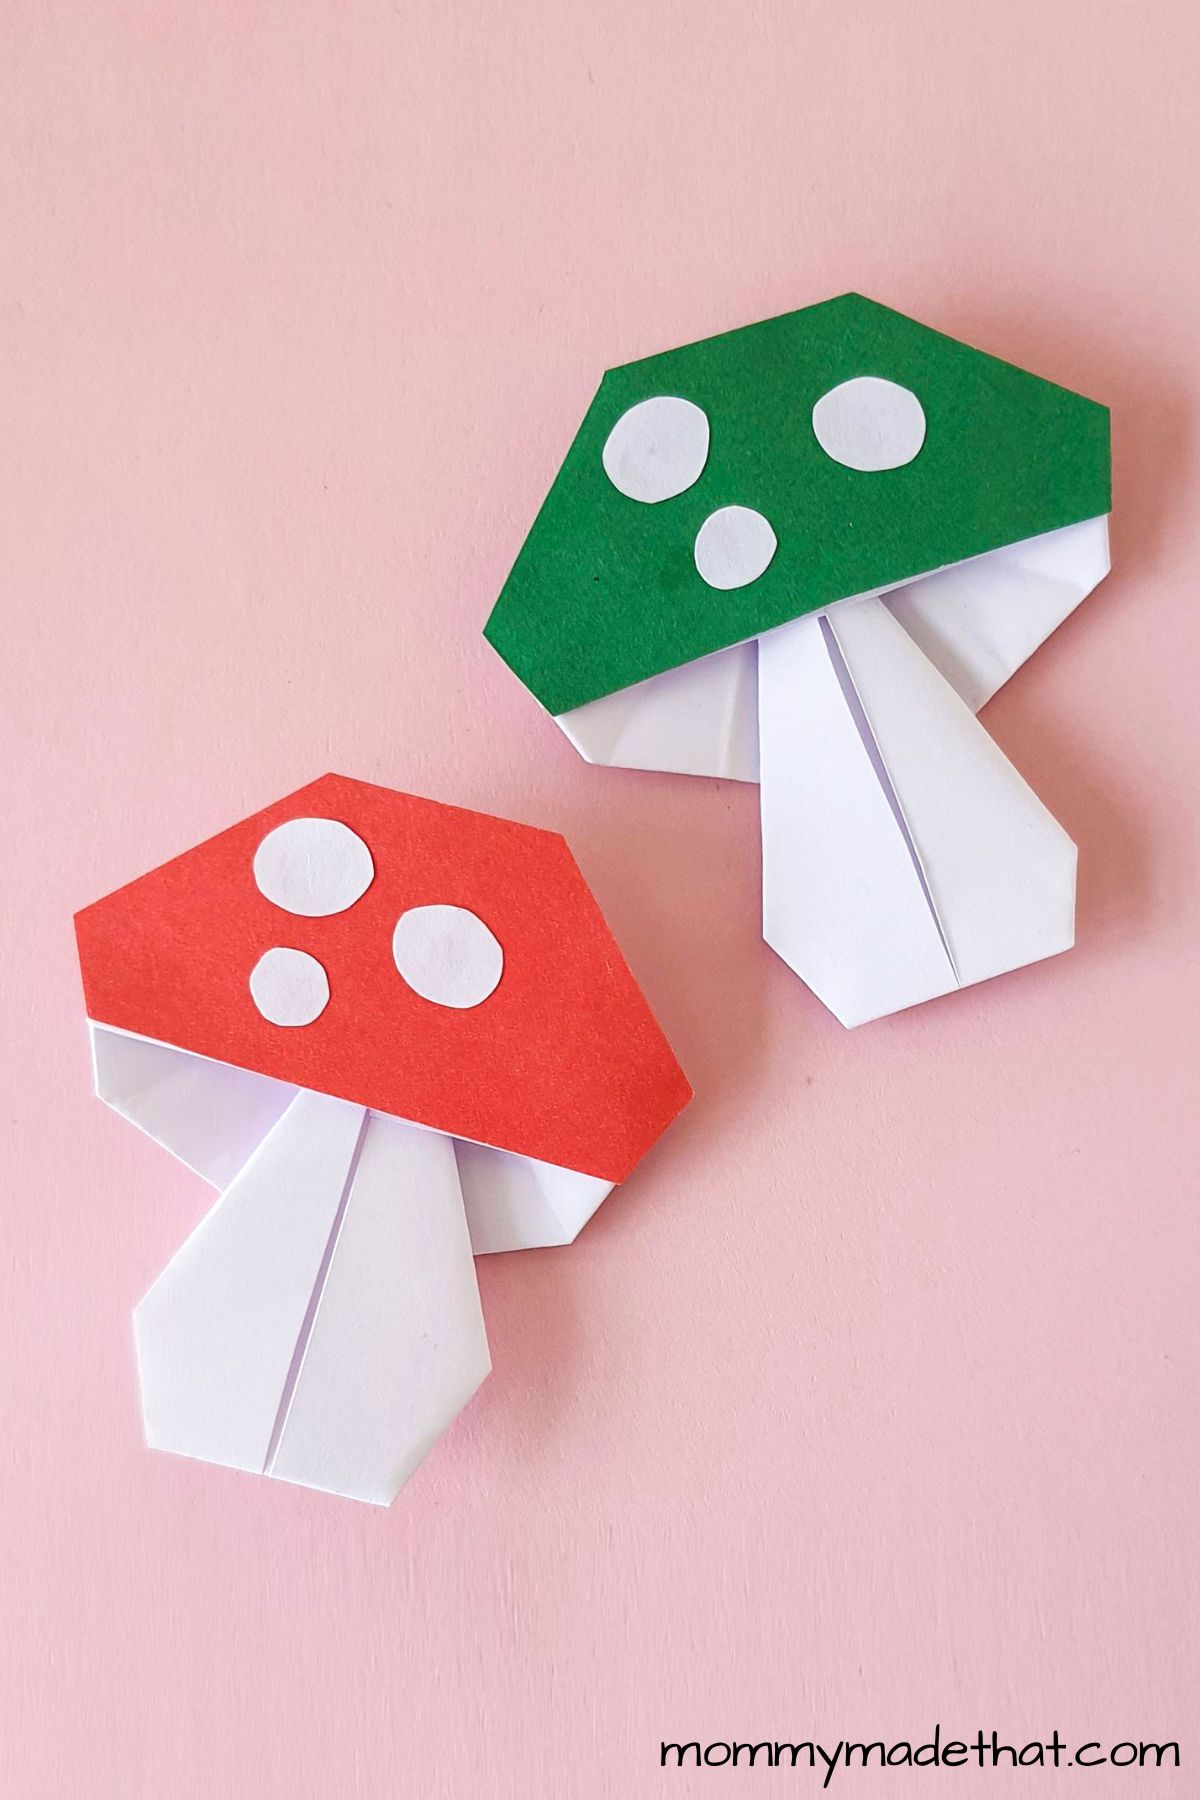
They look fantastic when displayed in clusters and can add a unique touch to any space in your home or office.
Moreover, creating an origami mushroom can be an excellent way to unwind and relax after a long day, as the meditative qualities of origami can help focus your mind, increase mental clarity and reduce stress levels.
Finally, paper mushrooms are a great way to enhance your creativity, providing an opportunity to practice your fine motor skills and improve your spatial reasoning abilities.
So, whether you’re an experienced origami enthusiast or a beginner looking for a fun new hobby, making an origami mushroom is an excellent project that is both enjoyable and rewarding.
Supplies Needed
Colored craft papers: We used white for the base of the mushroom. While you only need one piece of paper to fully form the mushroom, we used colored paper as well to decorate the top of the mushroom once it was finished.
You’ll also need some basic craft supplies if you plan on decorating your mushroom too, like:
- Pencil
- Scissors
- Craft glue
- Black pen
How to Make an Origami Mushroom
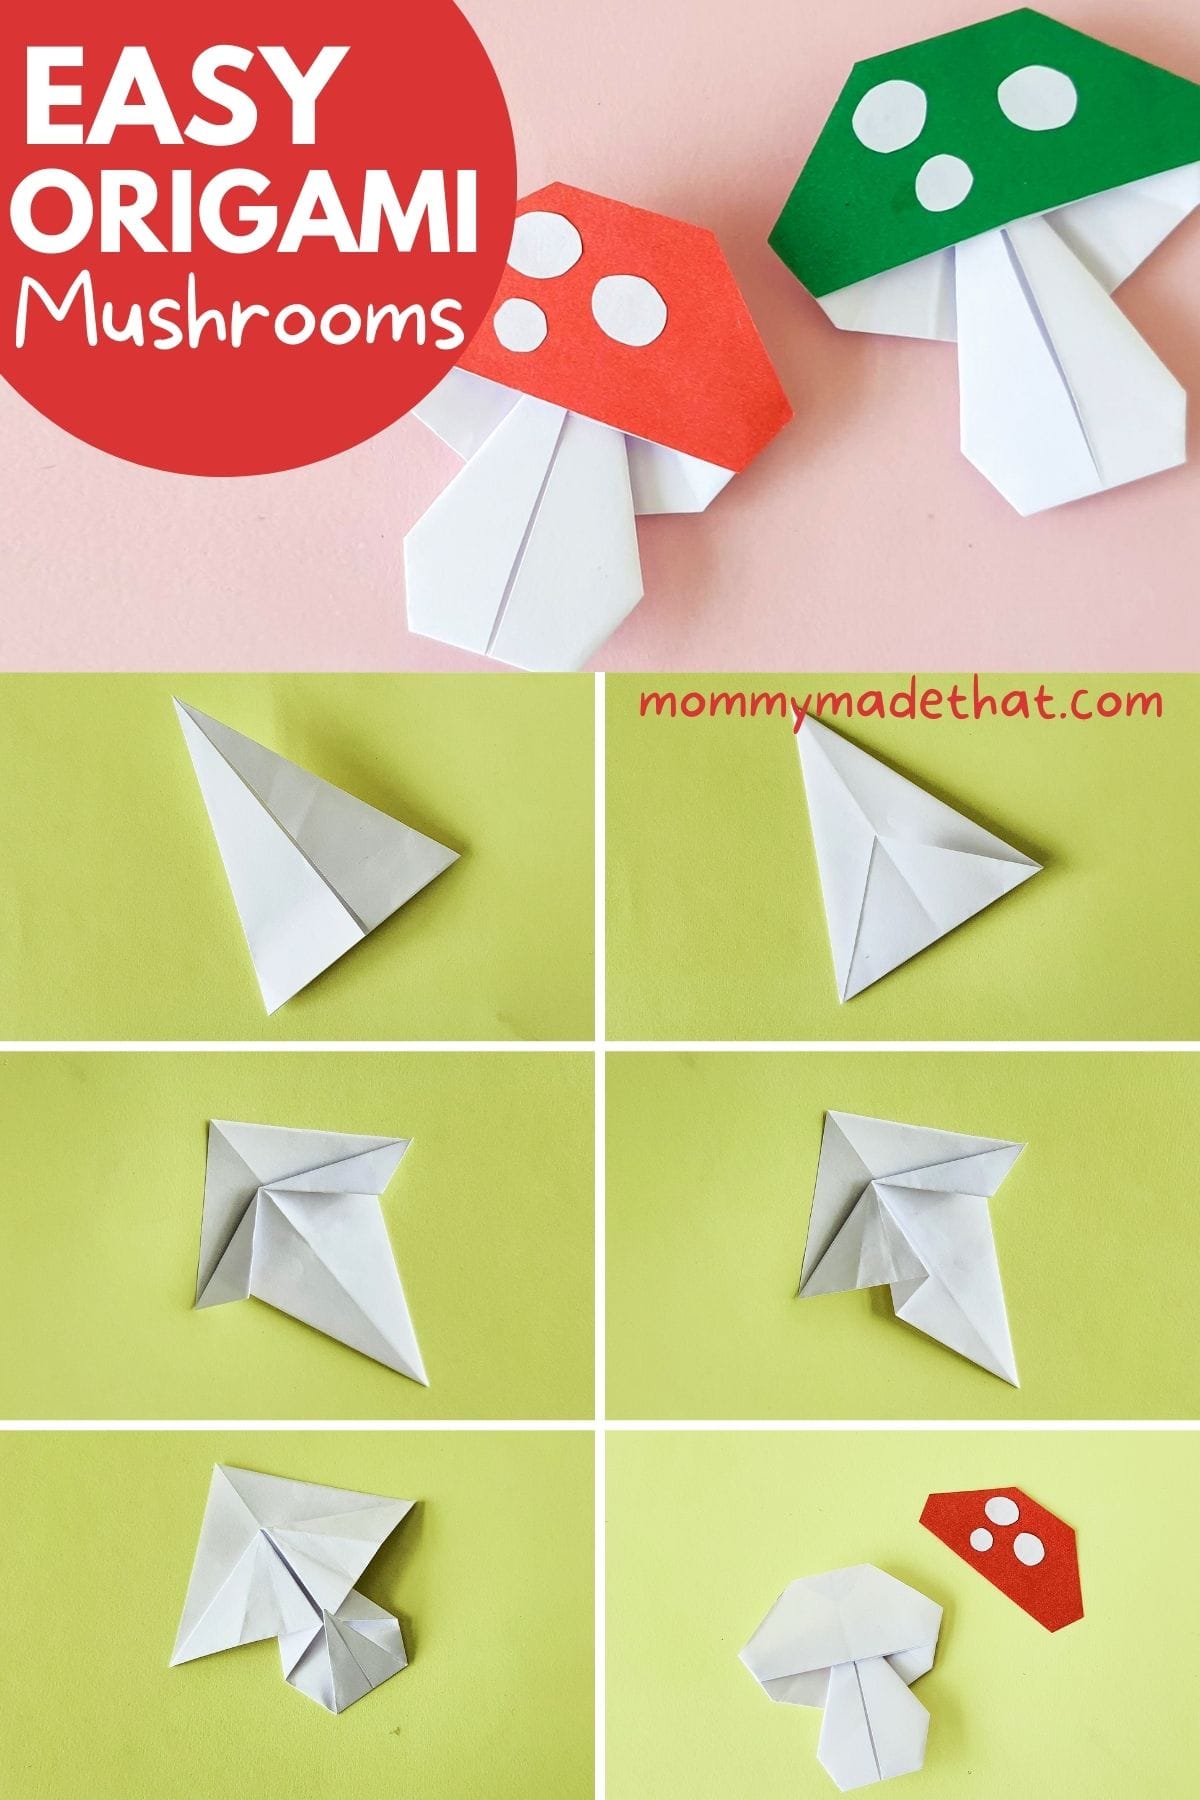
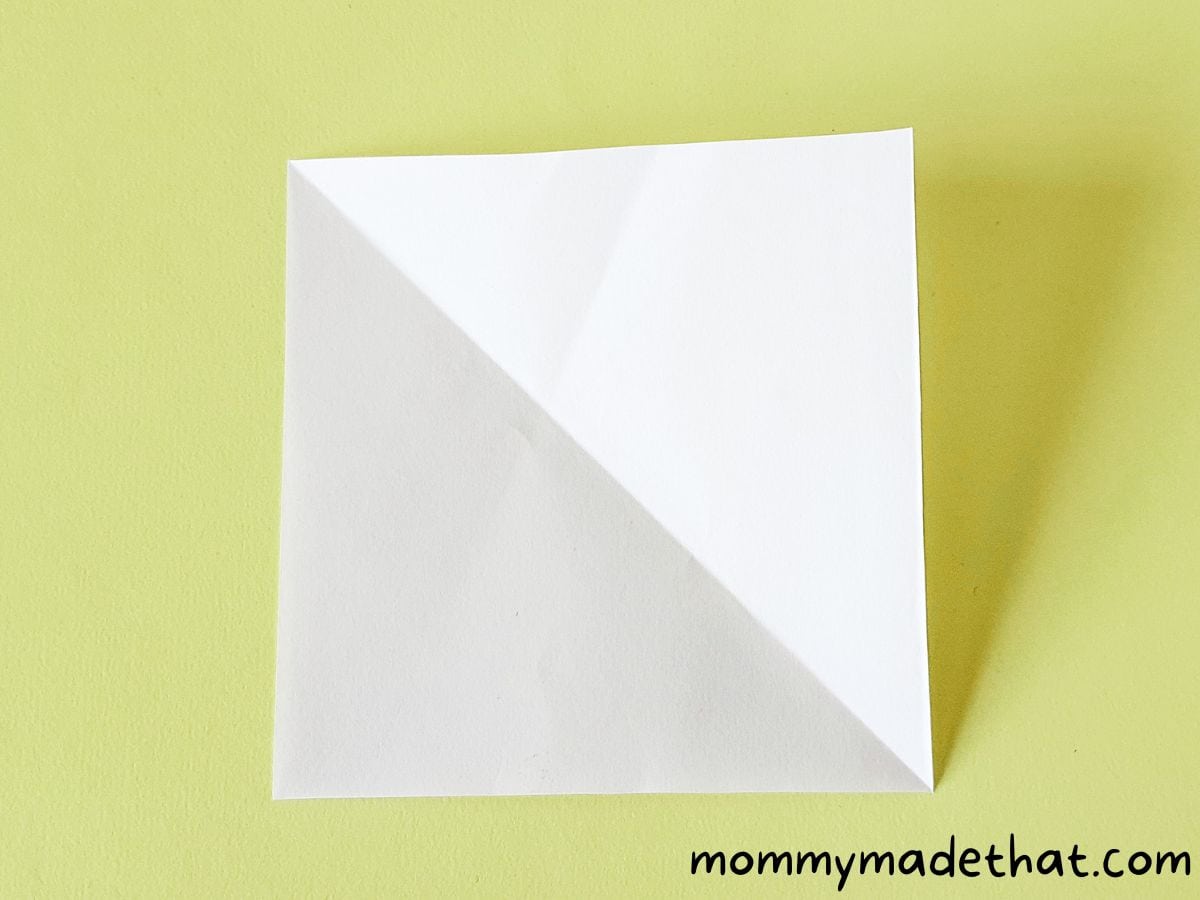
1. To begin the origami mushroom craft, choose a plain white craft paper and shape it into a square.
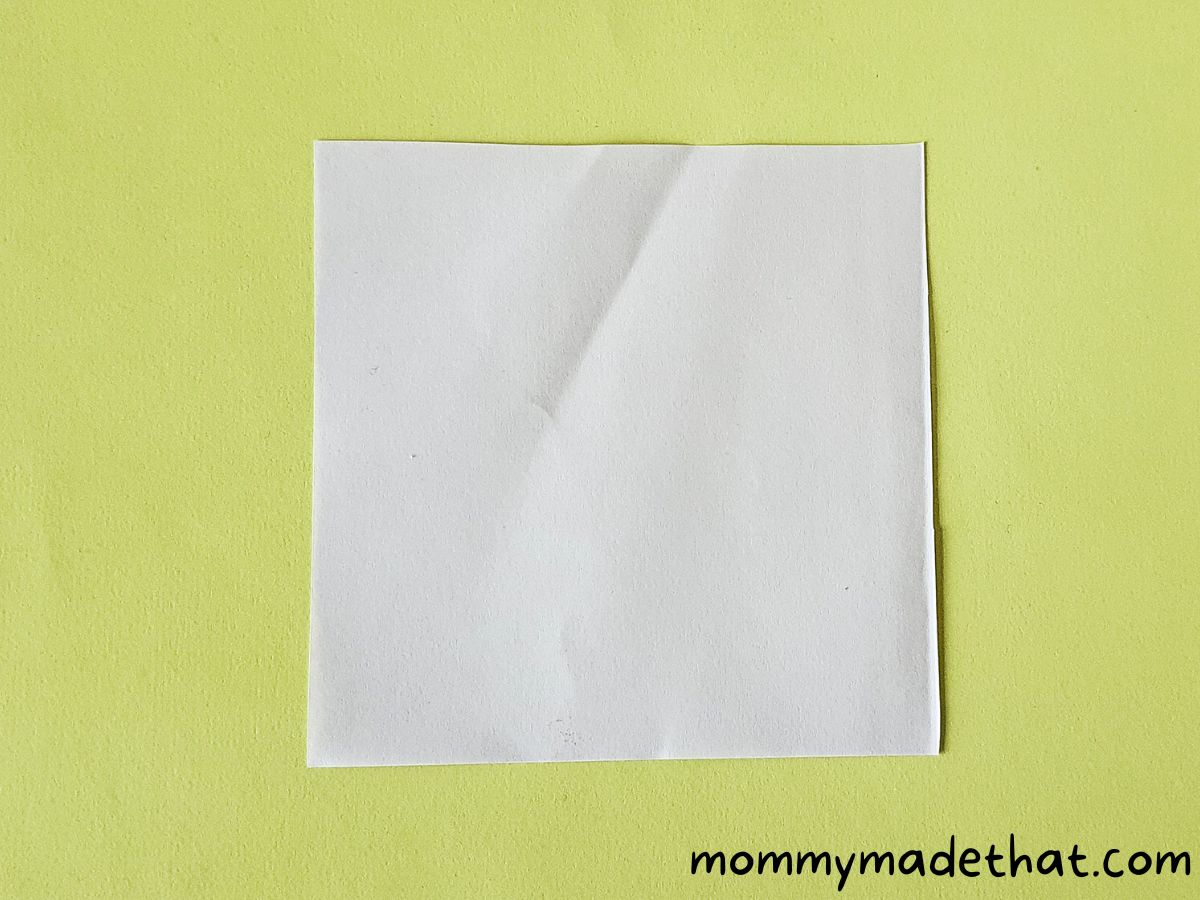
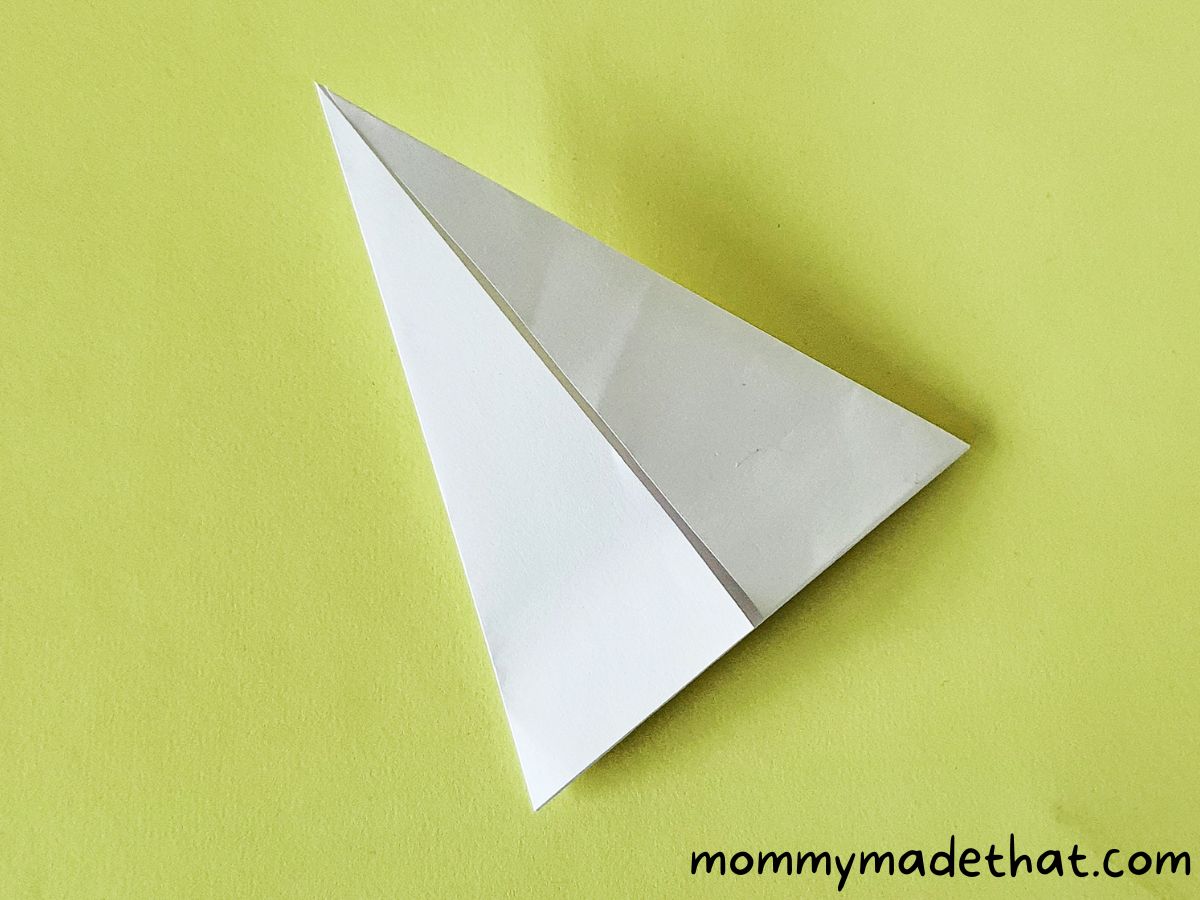
2. Take the square paper and fold it diagonally in half. Next, unfold the fold and you will see a crease left behind, like shown below.
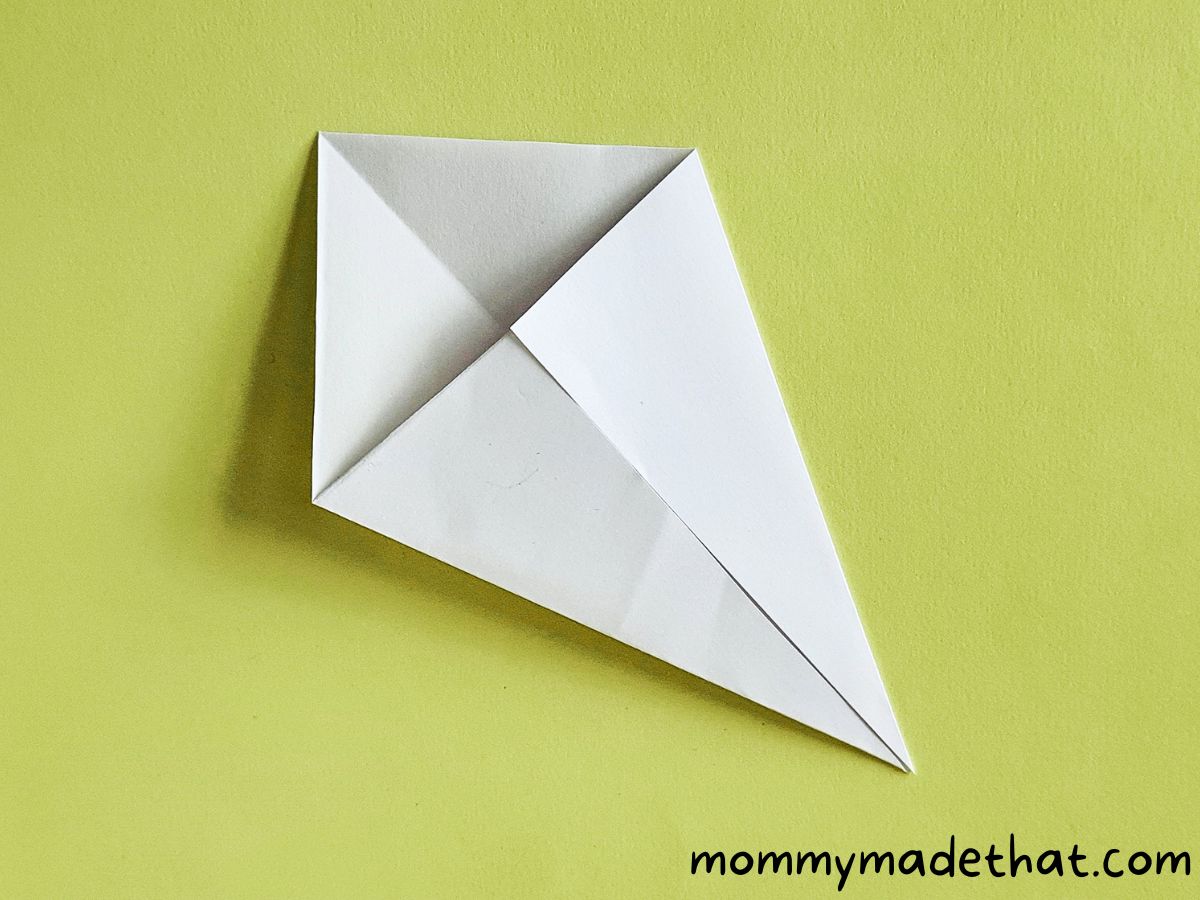
3. Fold one side of the square paper along the diagonal crease. Then, fold the other side towards the first one with the diagonal crease.
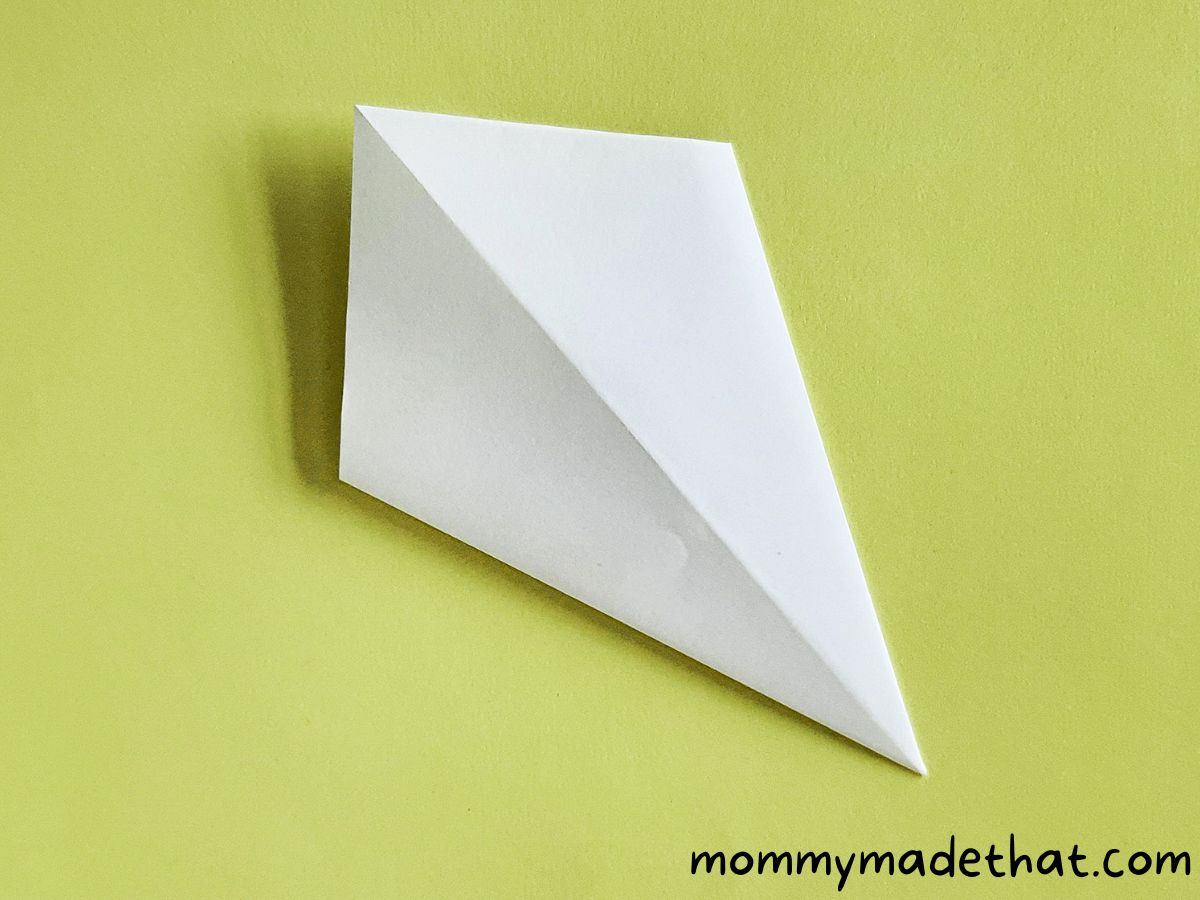
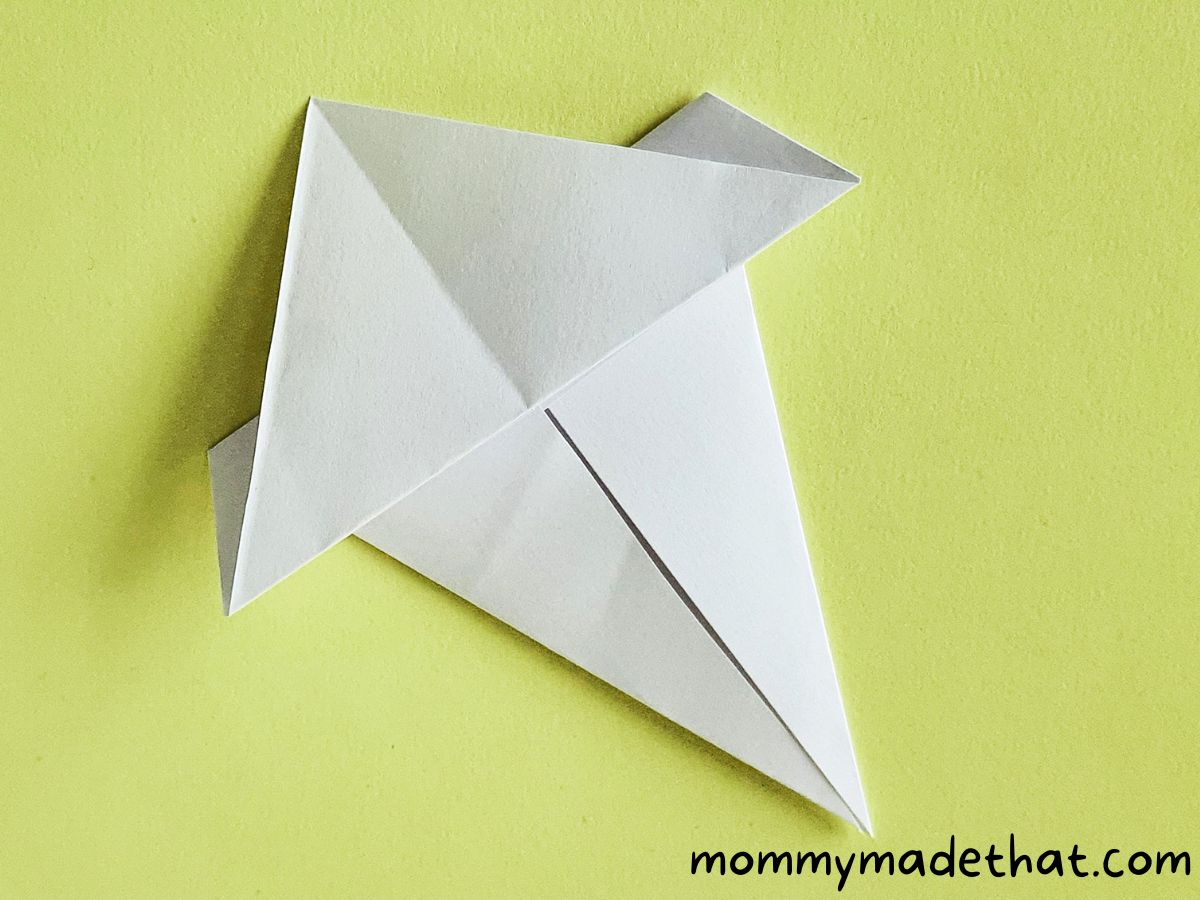
4. Now flip the paper over so the flaps are flat on the table.
5. Next, take the triangle flap and fold it toward the inside.
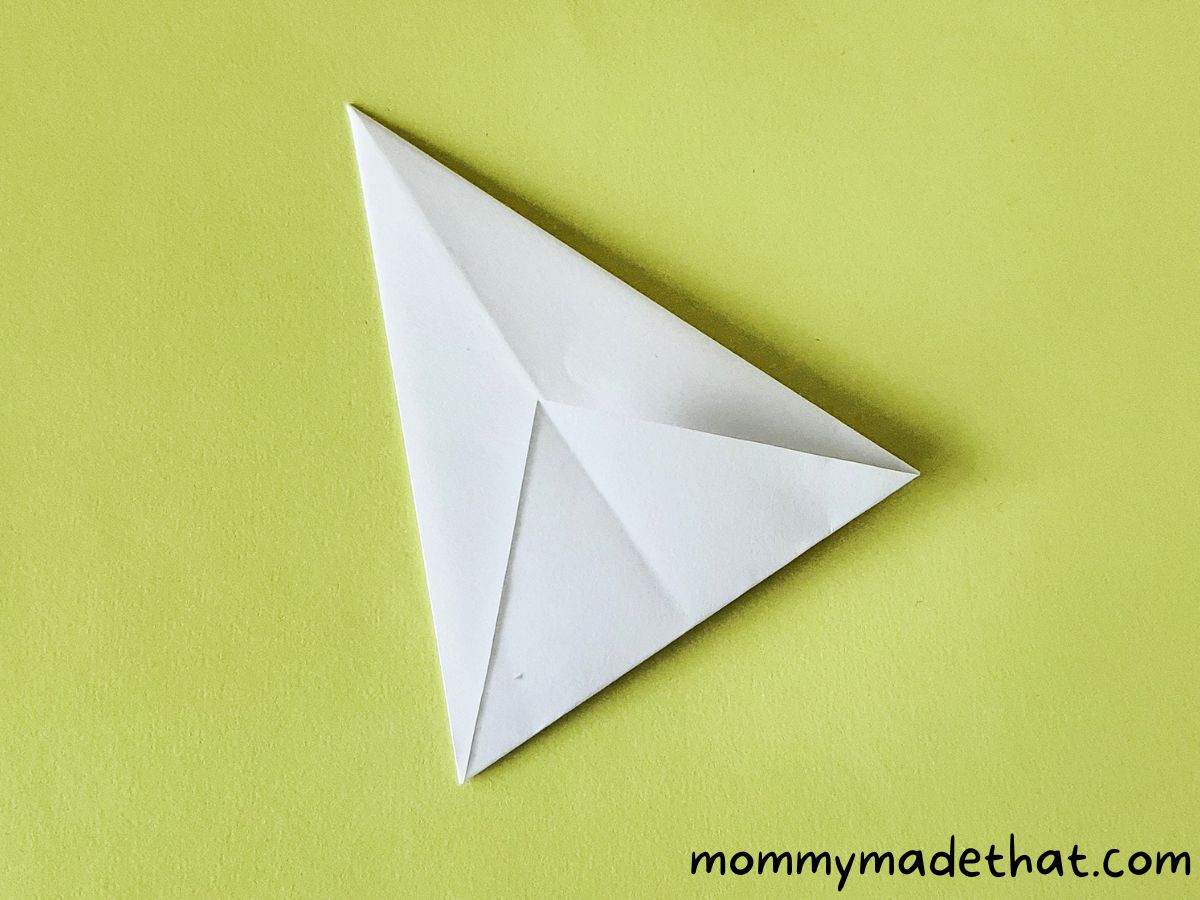
6. Flip the pattern over to the other side once again.
7. Next, fold 1/6 of the top flap of the current pattern outwards, letting the flap underneath pop out.
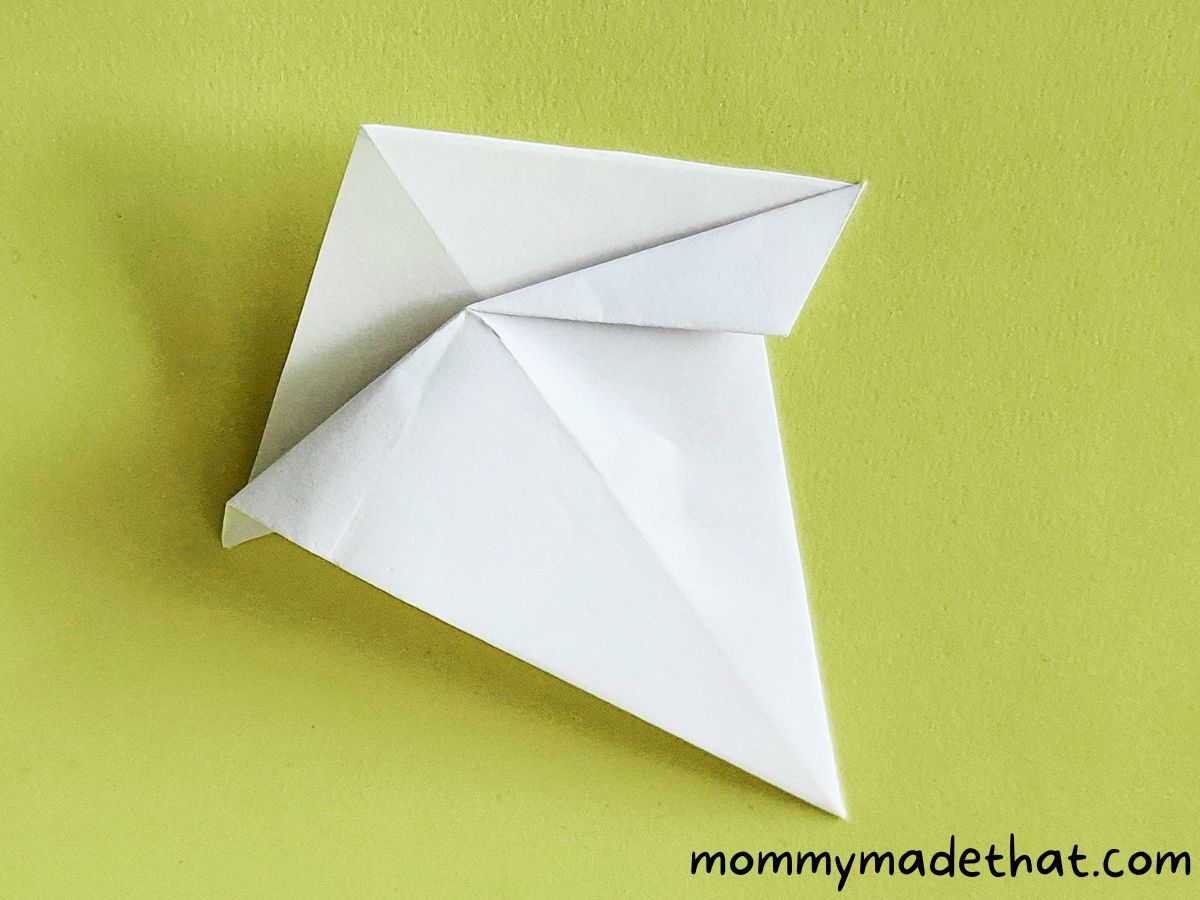
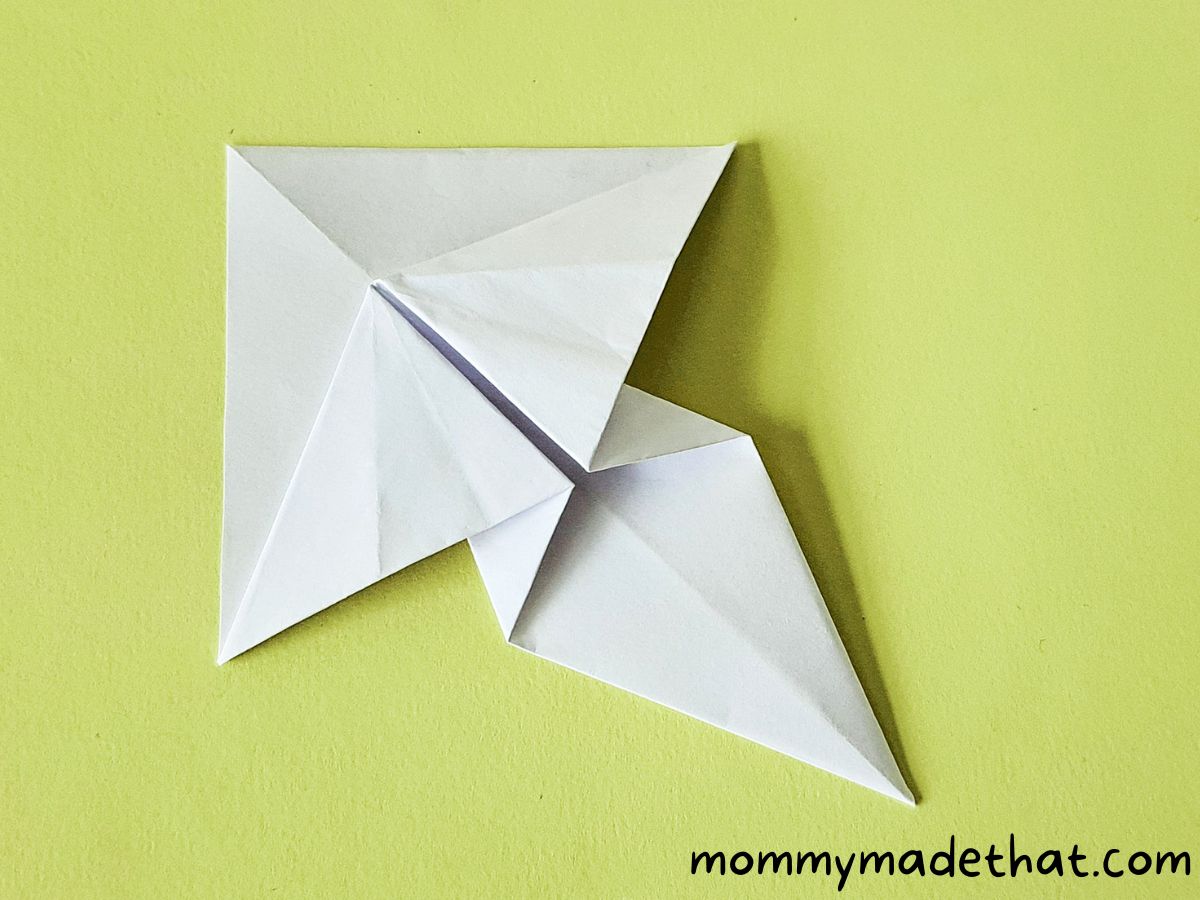
8. Flip the paper shape over again. We will now work on the bottom side of the long triangle flap. Fold the paper by joining the bottom-middle point of the triangle and the opposite corner of the outer part.
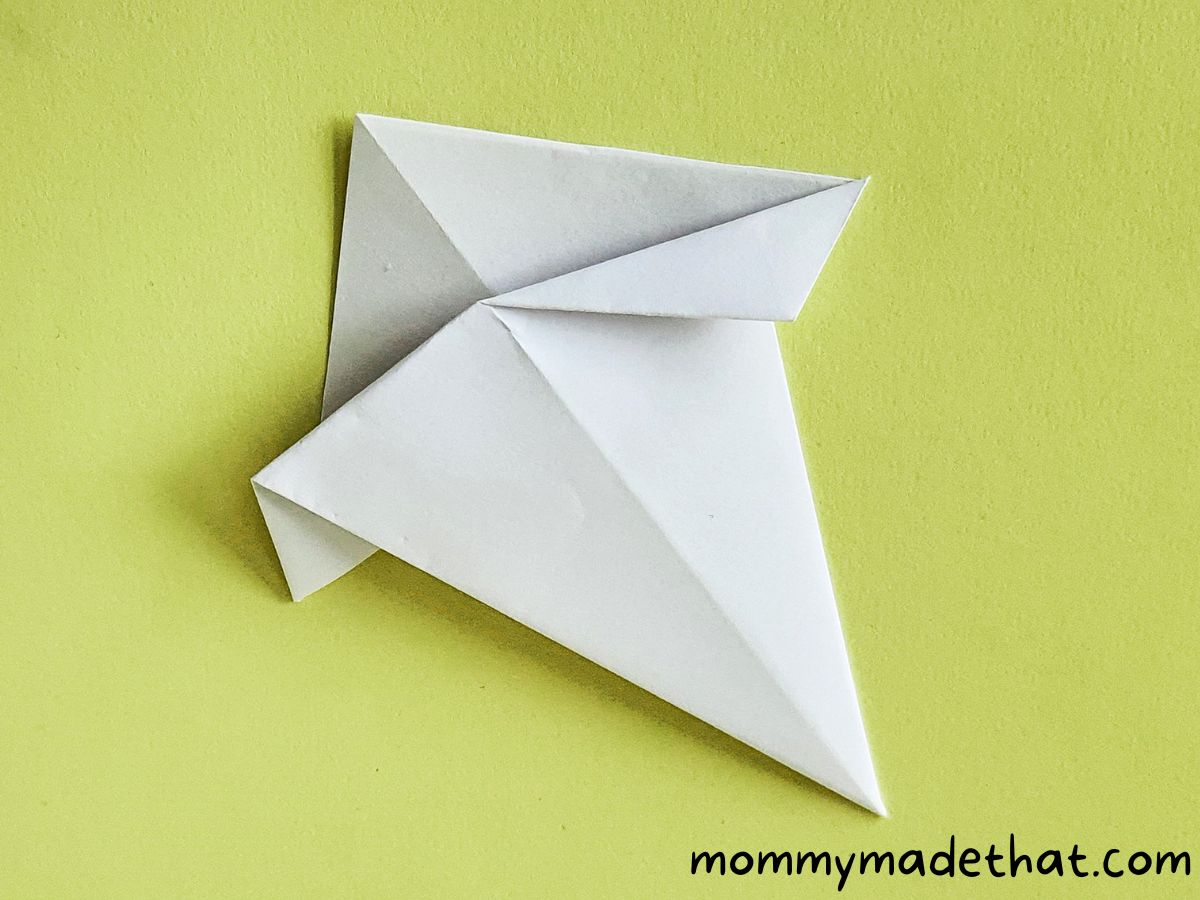
9. Then fold the other side the same way.
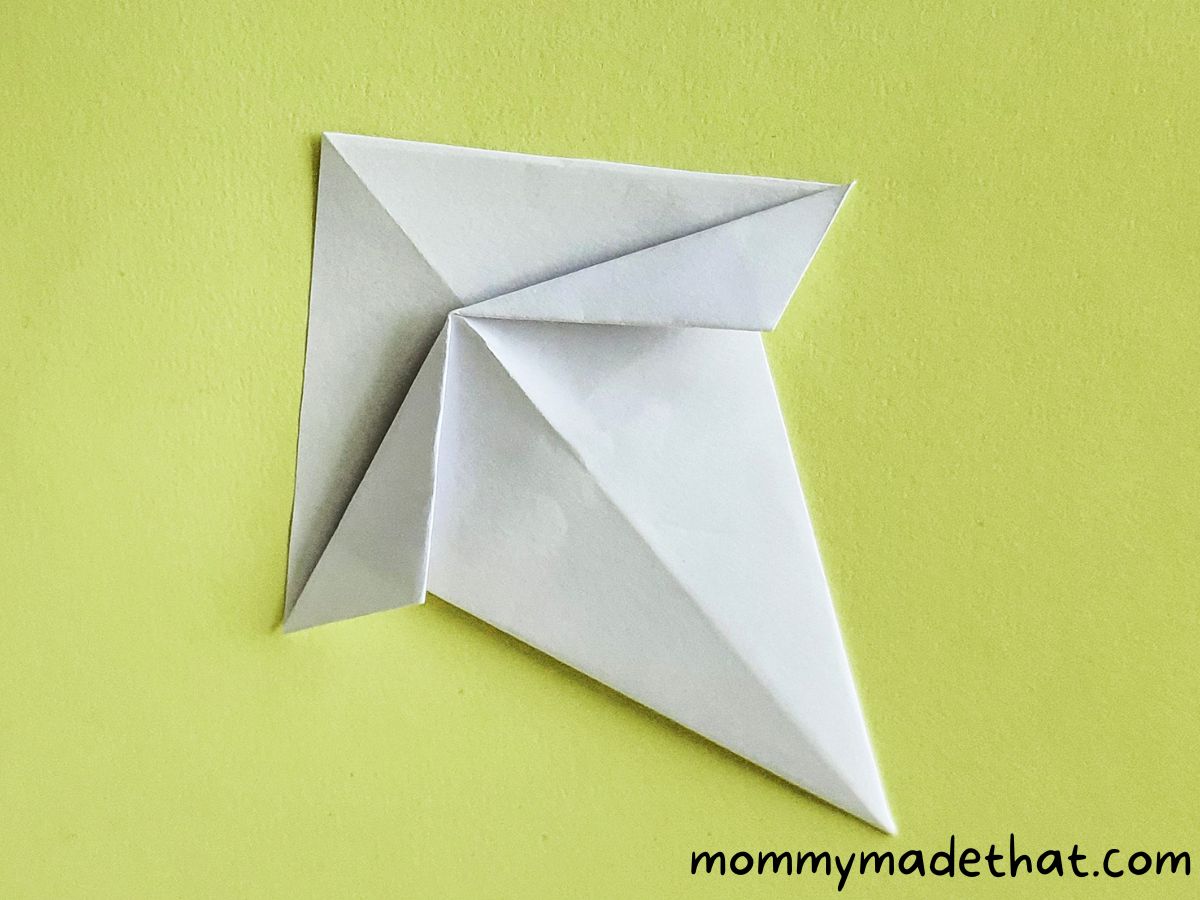
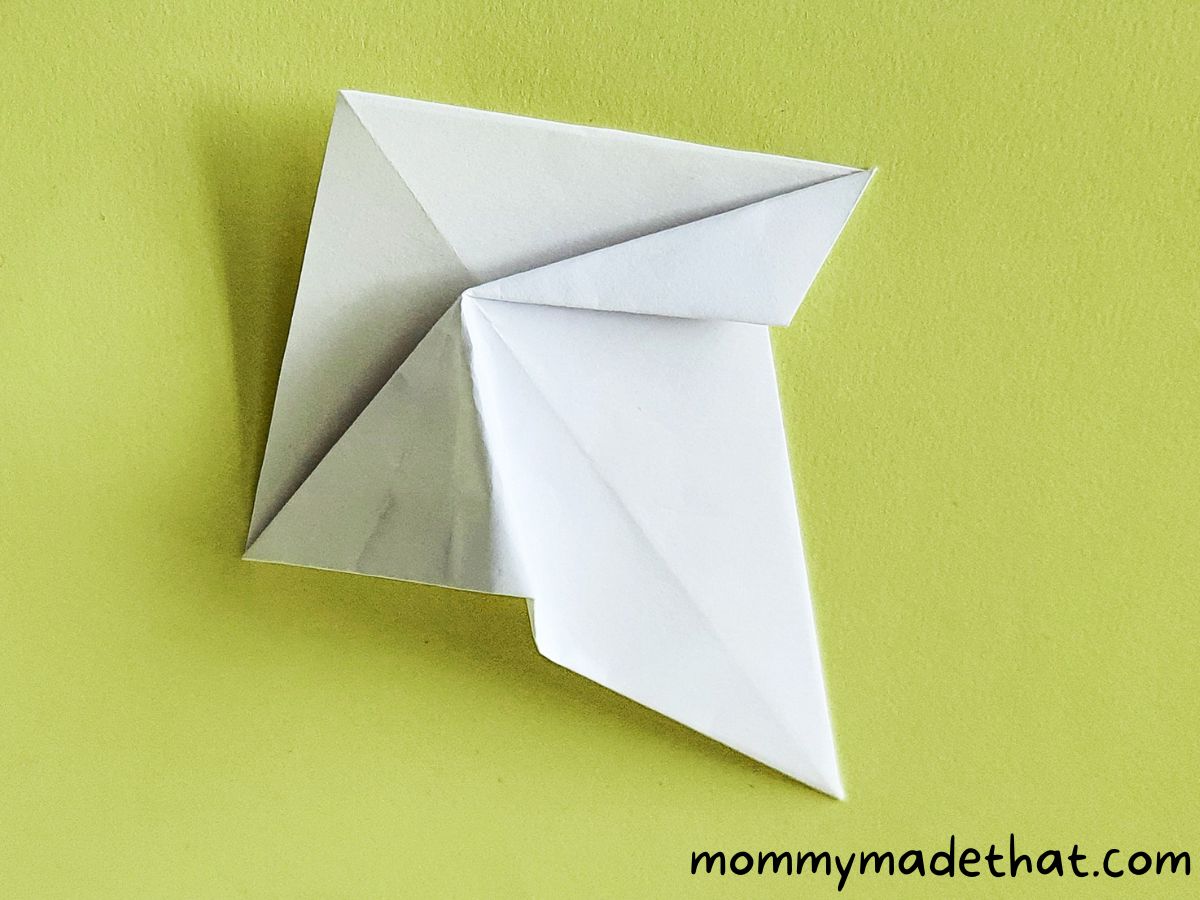
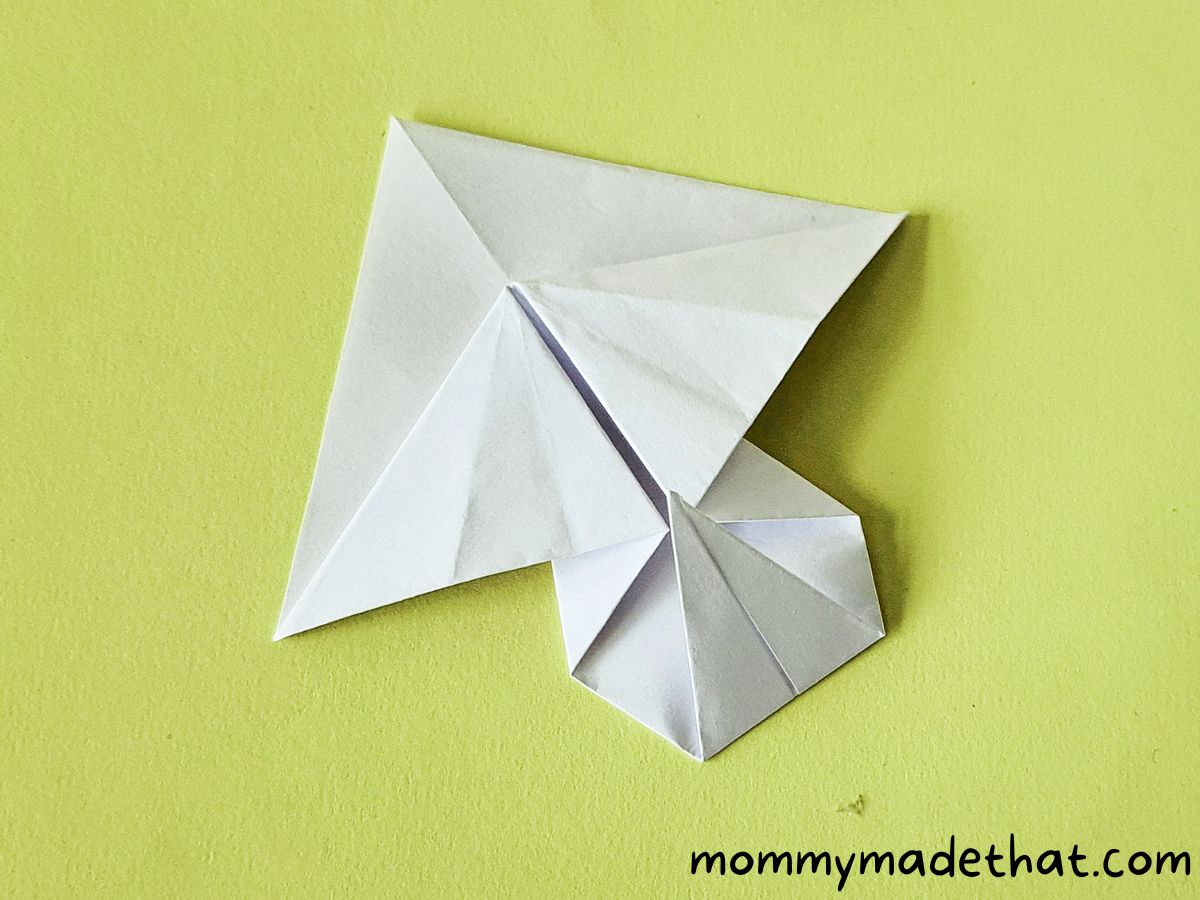
10. Next, carefully open the fold, but keep the part on the short side intact, like shown below.
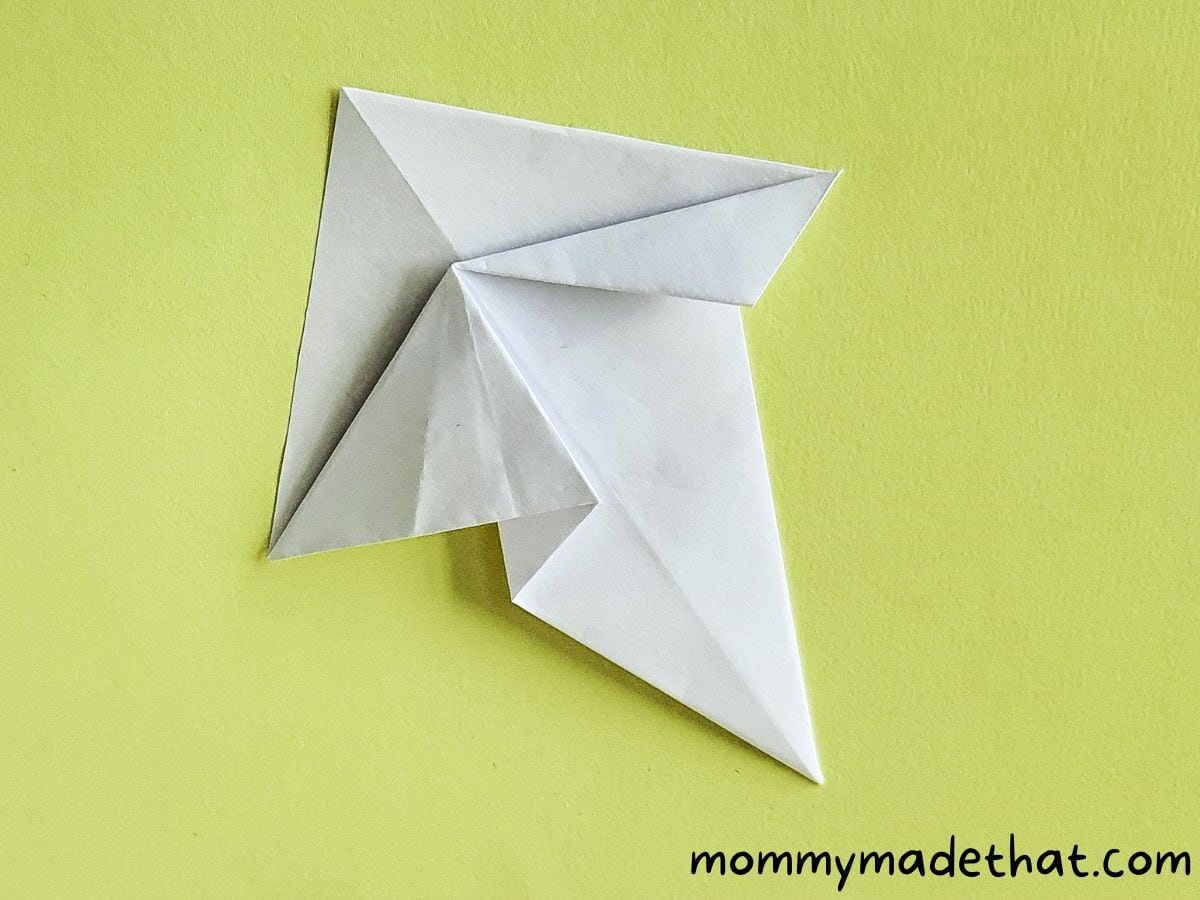
11. Try to align the part on the longer side with the middle crease.
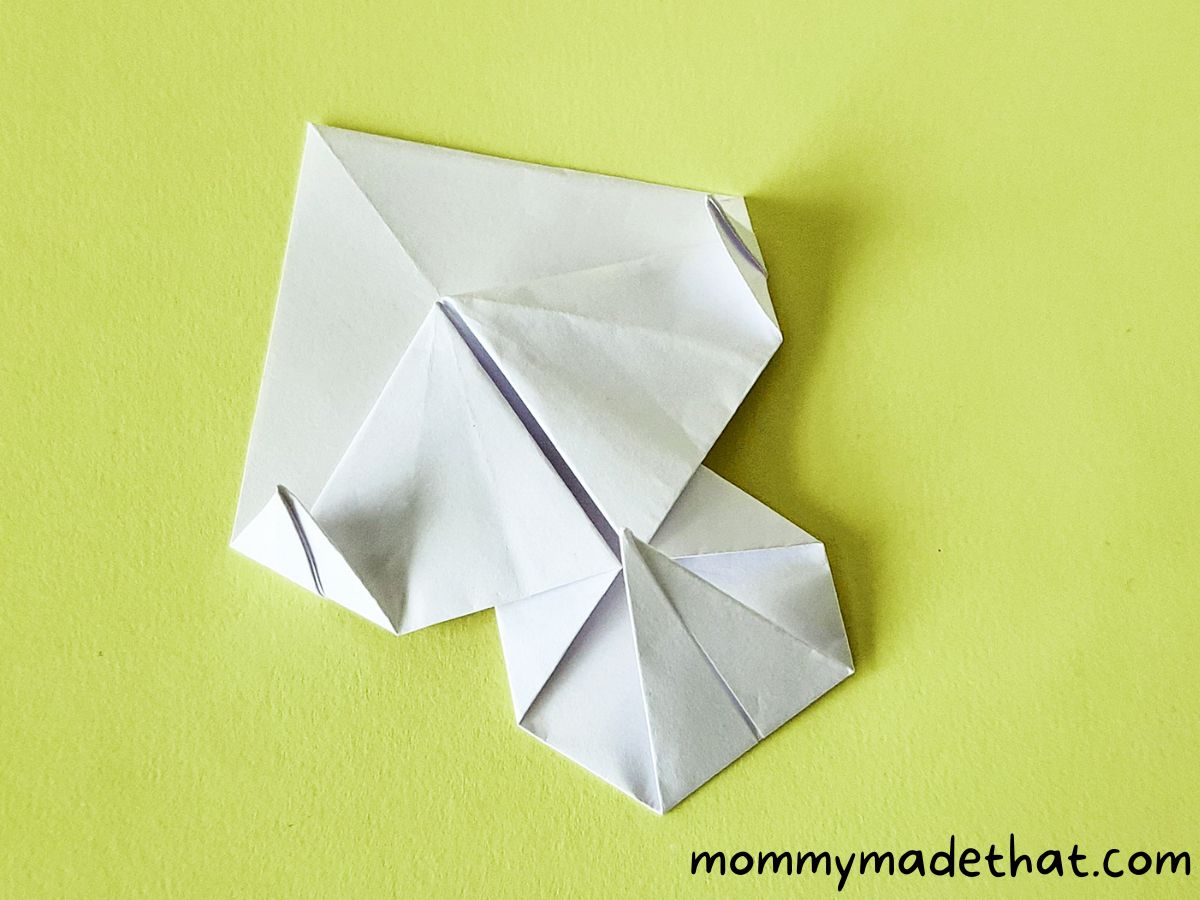
12. Align and flatten that side with the middle crease of the pattern.
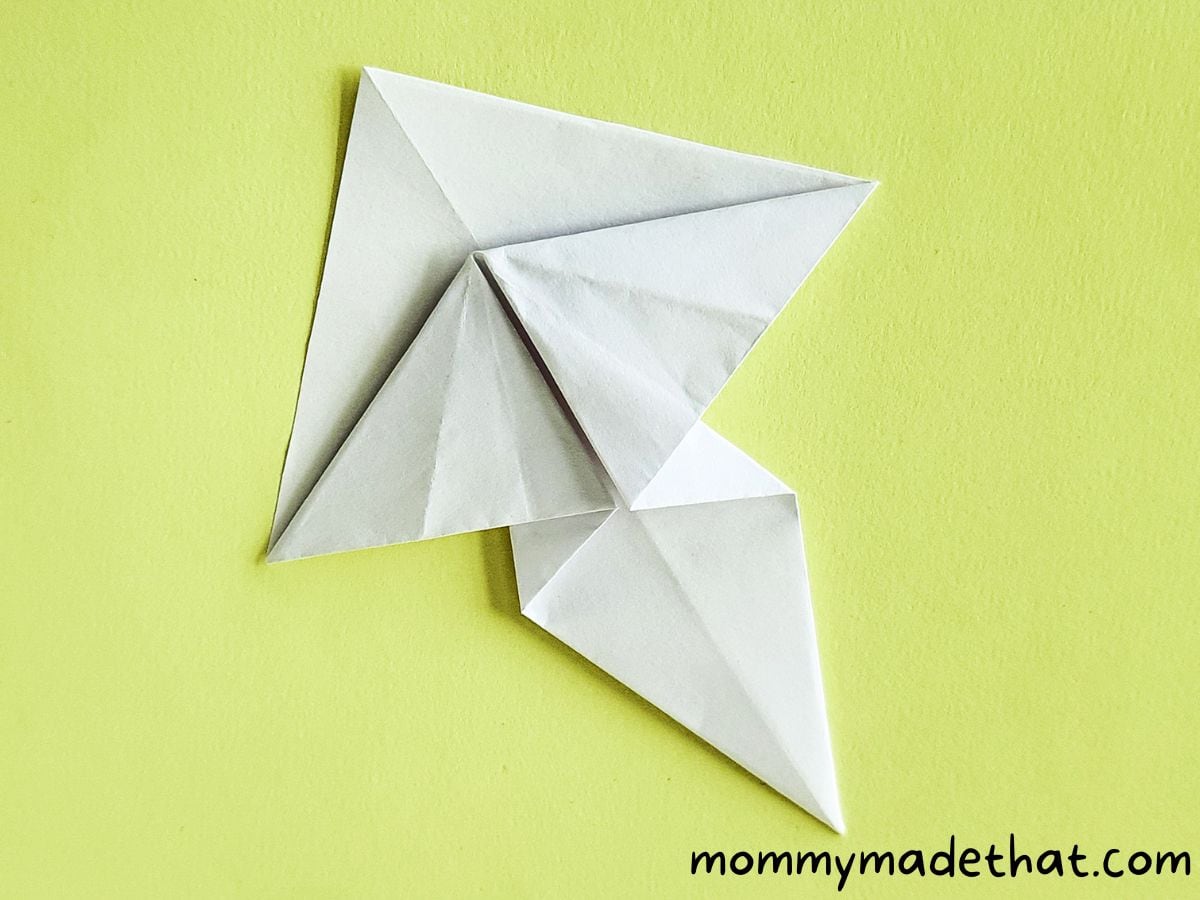
13. Similarly, fold the other side of the mushroom.
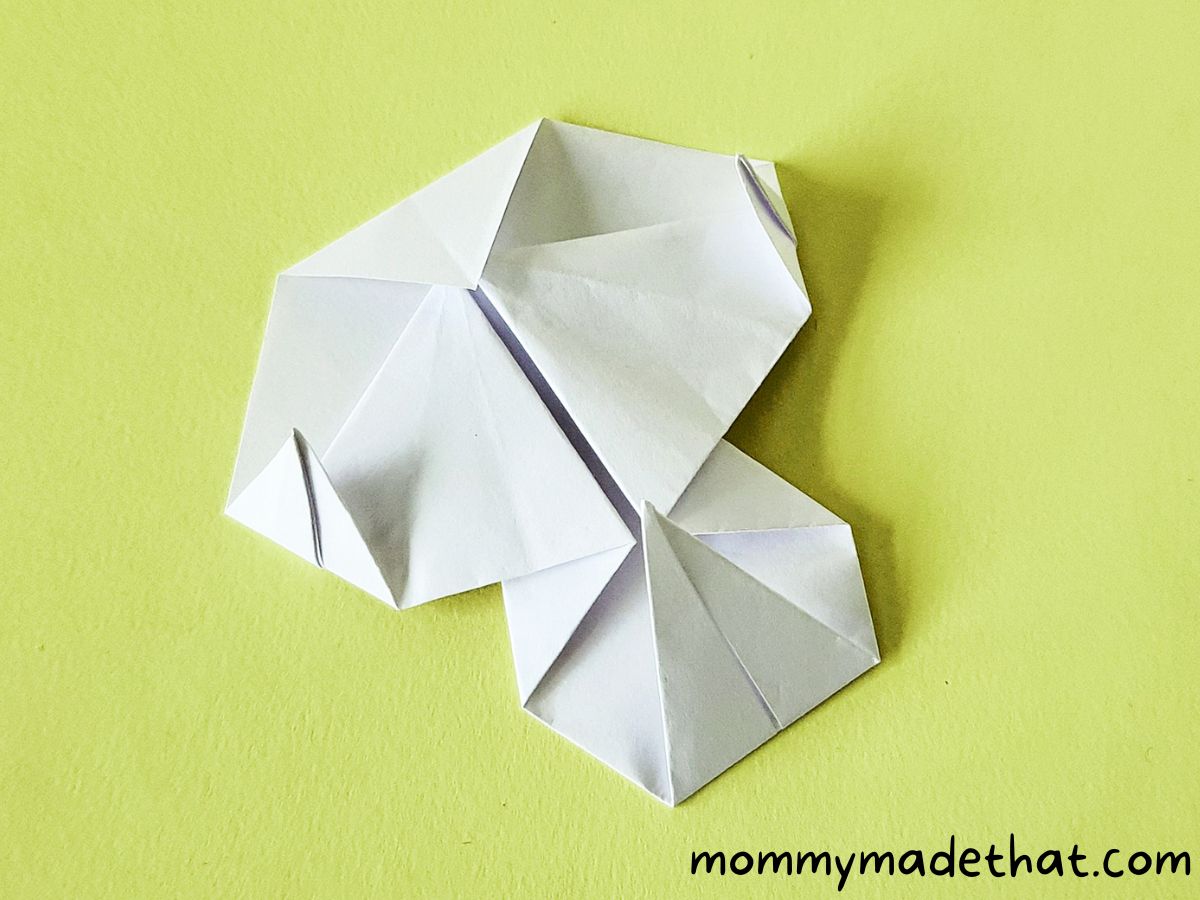
14. Rotate the pattern to 180 degrees. The wide part will be the cap of the mushroom and the narrow part will be the stem of the mushroom.
15. Fold the narrow part halfway inside.
16. Fold the two sides (corners) of the wide part.
17. Lastly, fold the top corner of the wide part.
18. Flip the pattern to the right side. Trace and cutout spots from white paper and a pattern for the cap shape.
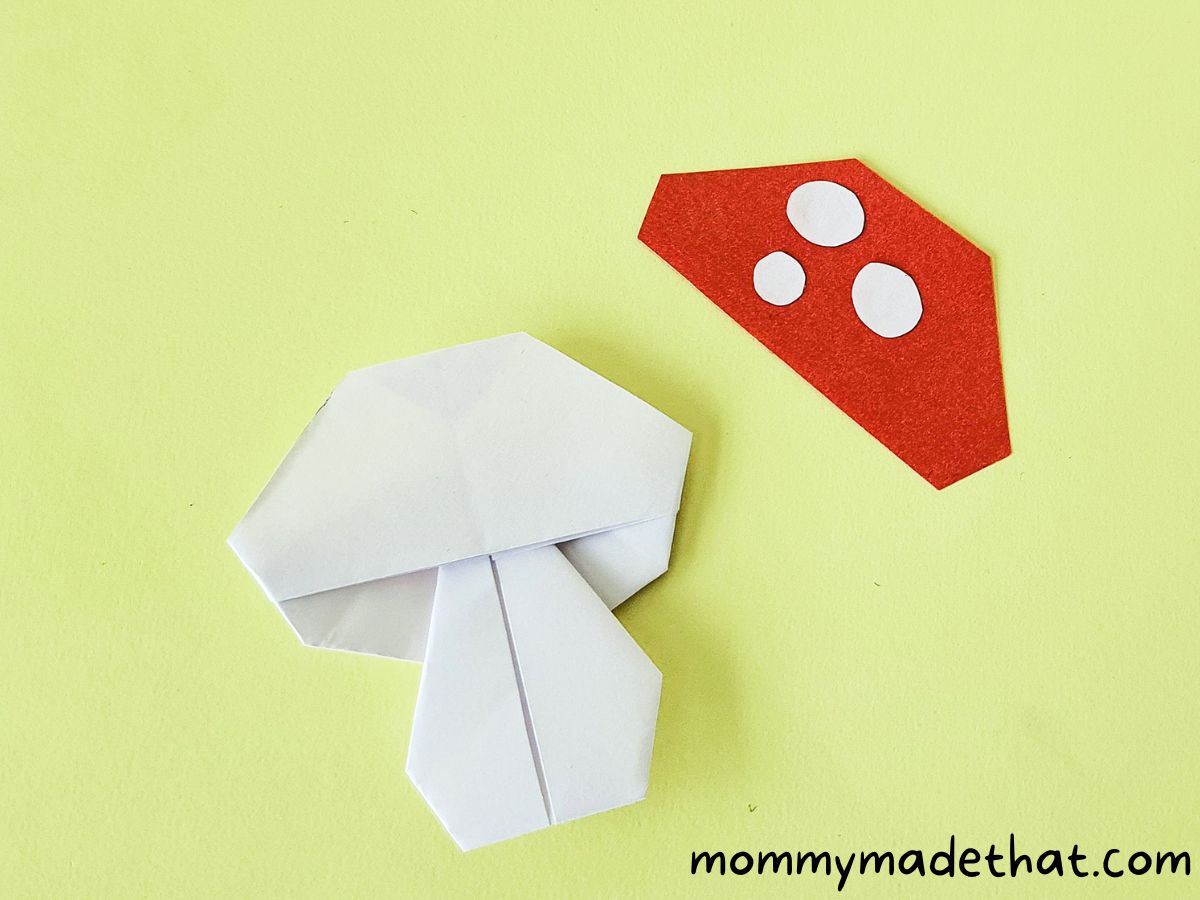
19. Glue the spot cutouts on the colored cap shaped piece and then glue the cap cutout on the cap part of the origami mushroom craft.
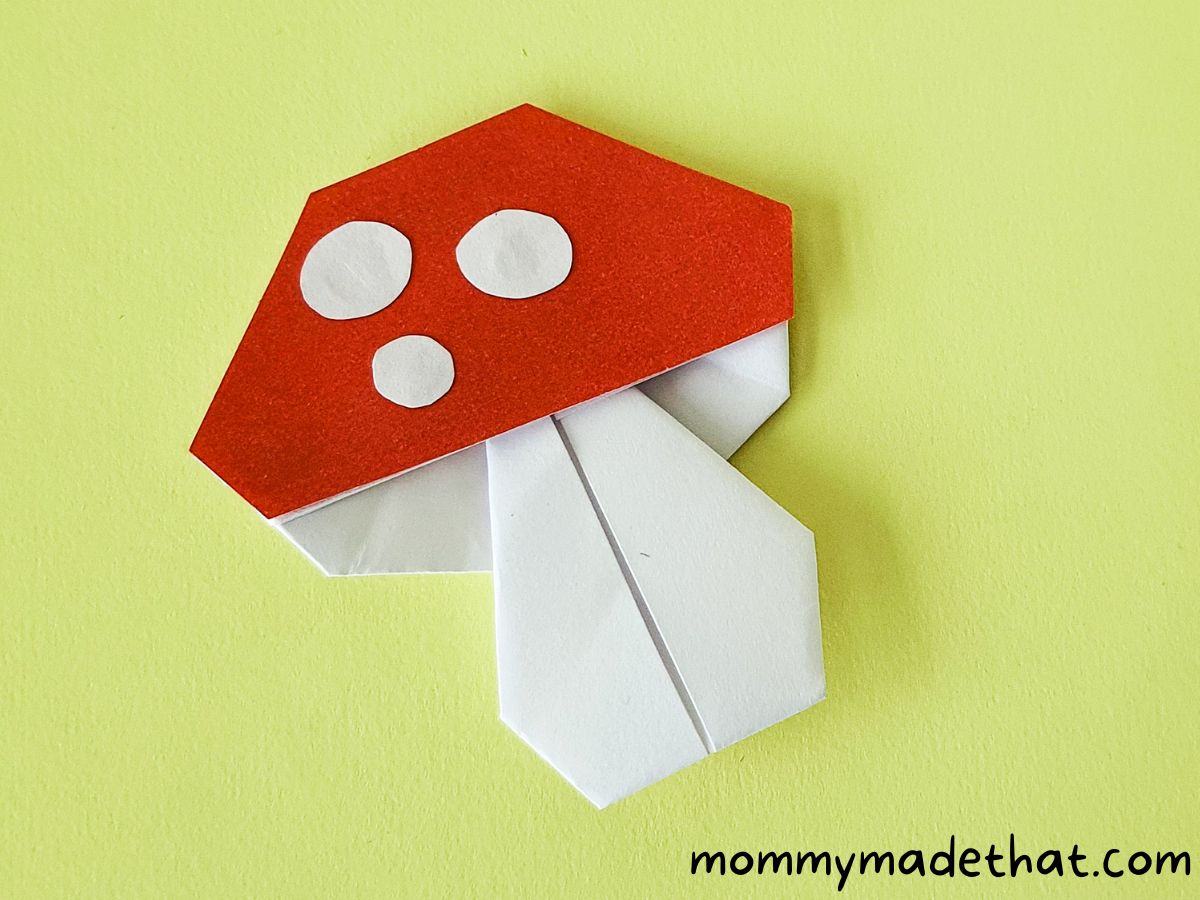

Origami Mushroom
We'll show you how to make an origami mushroom in the step by step tutorial. Make lots of adorable paper mushrooms in no time!
Materials
- Craft paper: We used white, red and green
Instructions
- Begin by choosing a plain white craft paper and shape it into a square.Fold the square paper diagonally in half, then unfold it to reveal a crease.Fold both sides of the square paper along the diagonal crease.Flip the paper over so the flaps are flat on the table.Fold the triangle flap towards the inside.Flip the pattern over to the other side.Fold ⅙ of the top flap outwards, allowing the underlying flap to pop out.Flip the paper shape over again and fold the bottom side of the long triangle flap by joining the bottom-middle point of the triangle with the opposite corner of the outer part.Repeat the same fold for the other side.Carefully open the fold, keeping the shorter side intact.Align the longer side with the middle crease.Flatten that side along the middle crease of the pattern.Repeat the process for the other side of the mushroom.Rotate the pattern 180 degrees, designating the wide part as the mushroom cap and the narrow part as the stem.Fold the narrow part halfway inside.Fold the two corners of the wide part.Fold the top corner of the wide part.Flip the pattern to the right side, trace and cut out spots from white paper, and create a pattern for the cap shape.Glue the spot cutouts onto the colored cap-shaped piece, and then glue the cap cutout onto the cap part of the origami mushroom craft.