Origami Whale (Making an Easy Paper Whale)
Want to learn how to make an origami whale? We’ve got a fun step by step tutorial so you can do just that!

Hey there, ocean craft lovers! Are you ready for a whale of a time?
In this tutorial, we’ll show you step-by-step instructions how to fold your very own origami whale!
It’s the perfect activity for a rainy day, or when you’re feeling extra crafty. Plus, it makes an adorable decoration or gift for your loved ones!
In this guide, we’ll cover:
- The materials you’ll need (spoiler alert: not many!)
- Easy-to-follow instructions with images
- Fun facts about whales to impress your friends
- Tips and tricks to make your origami whale look fin-tastic
Before we dive in, please note that some links in this tutorial may be affiliate links, which means we could earn a small commission at no extra cost to you. We only recommend products we genuinely love and believe will help you create the best origami whale possible!
So, let’s get started, shall we? Grab your paper and let’s fold our way into the wonderful world of origami whales!
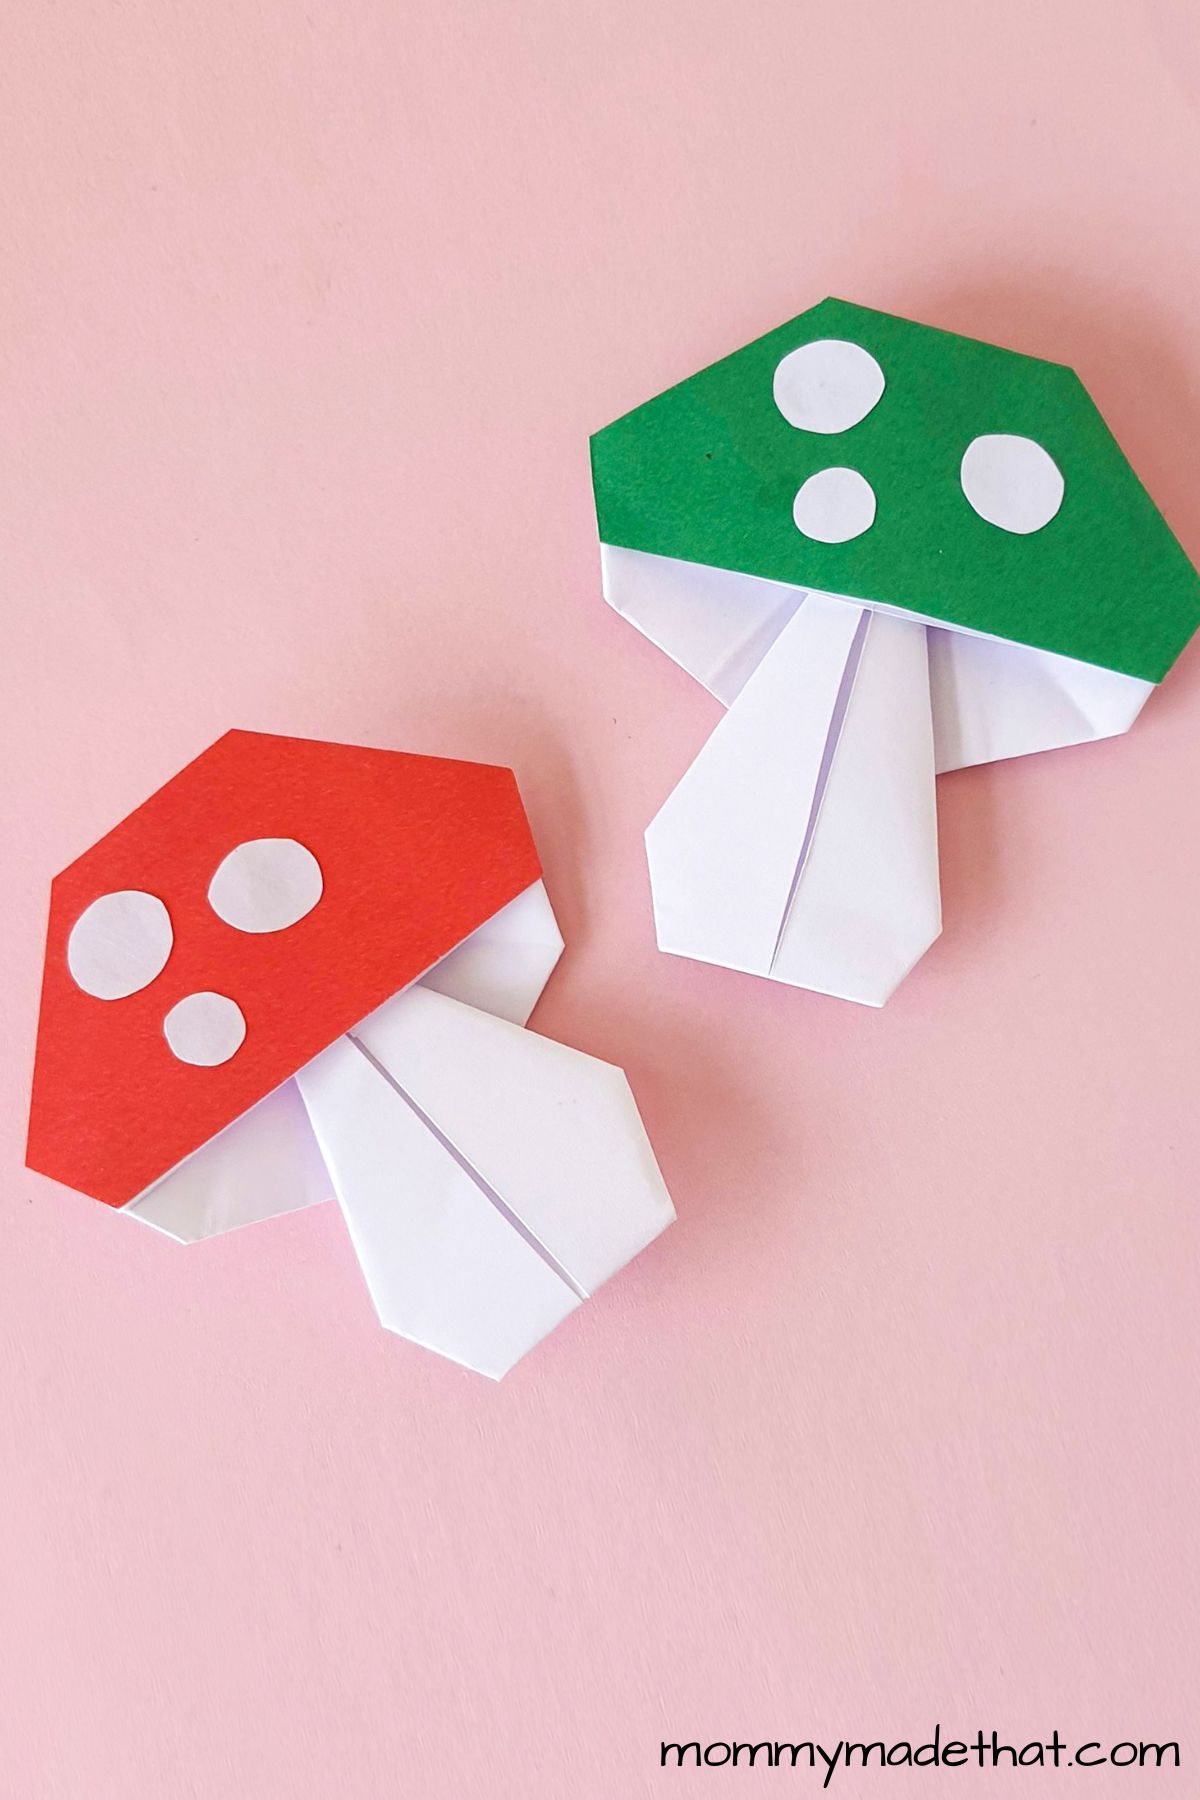
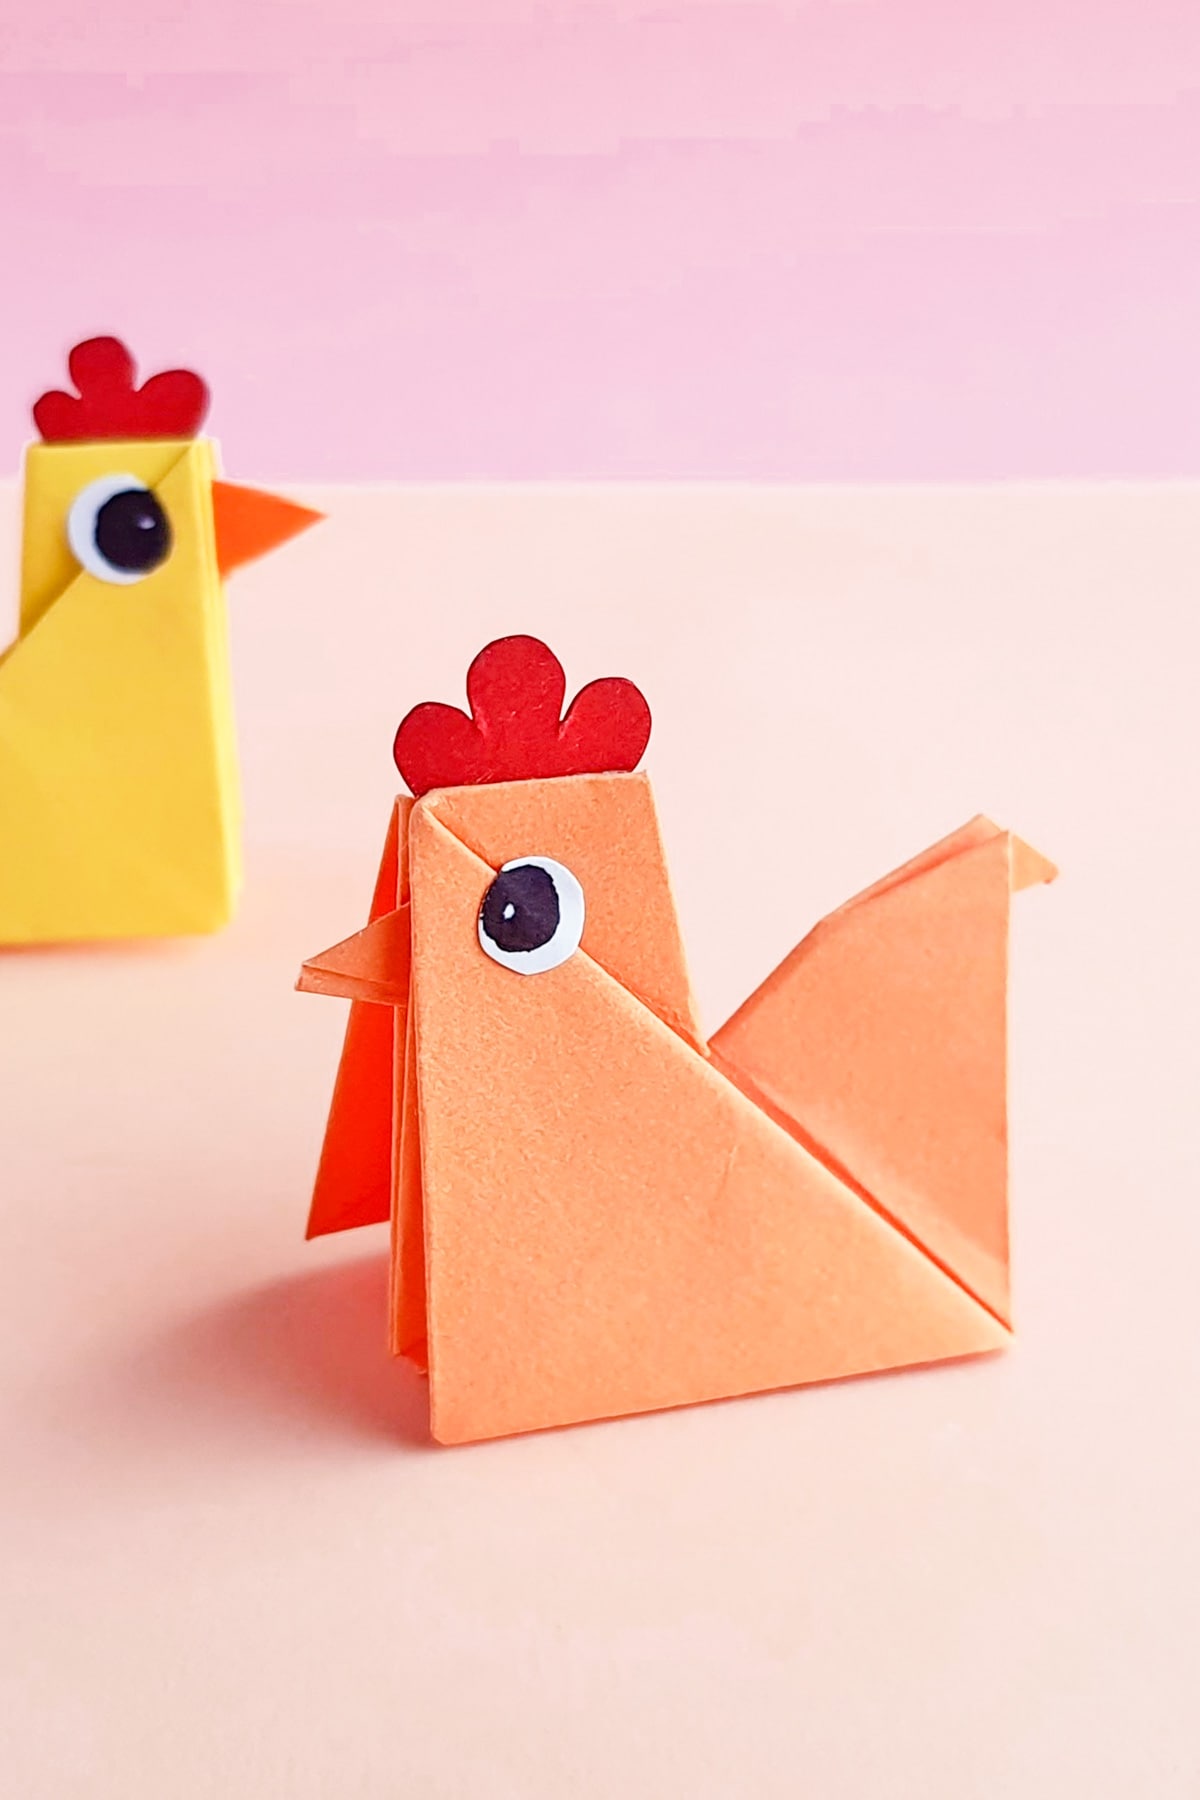
Be sure to check out some of our other favorite origami crafts like our origami butterflies and origami fish.
Materials
Ready to jump into the origami ocean? Here’s a list of simple materials you’ll need to create your very own whale masterpiece!
Origami paper: Choose your favorite color or pattern! We recommend using square sheets, around 6×6 inches for the best results. Need some inspiration? Check out these beautiful origami papers we love!
A flat surface: A clean table or desk will make folding much easier and more precise.
Patience and a positive attitude: Remember, practice makes perfect! If at first you don’t succeed, don’t worry – just keep trying. We believe in you!
You’ll also need some basic craft supplies like:
- A marker/pen
- Scissors
How to Make an Origami Whale
Now that you’ve gathered your materials, it’s time to start folding! Follow these simple steps to create your adorable origami whale:
Step 1: Prepare the Paper
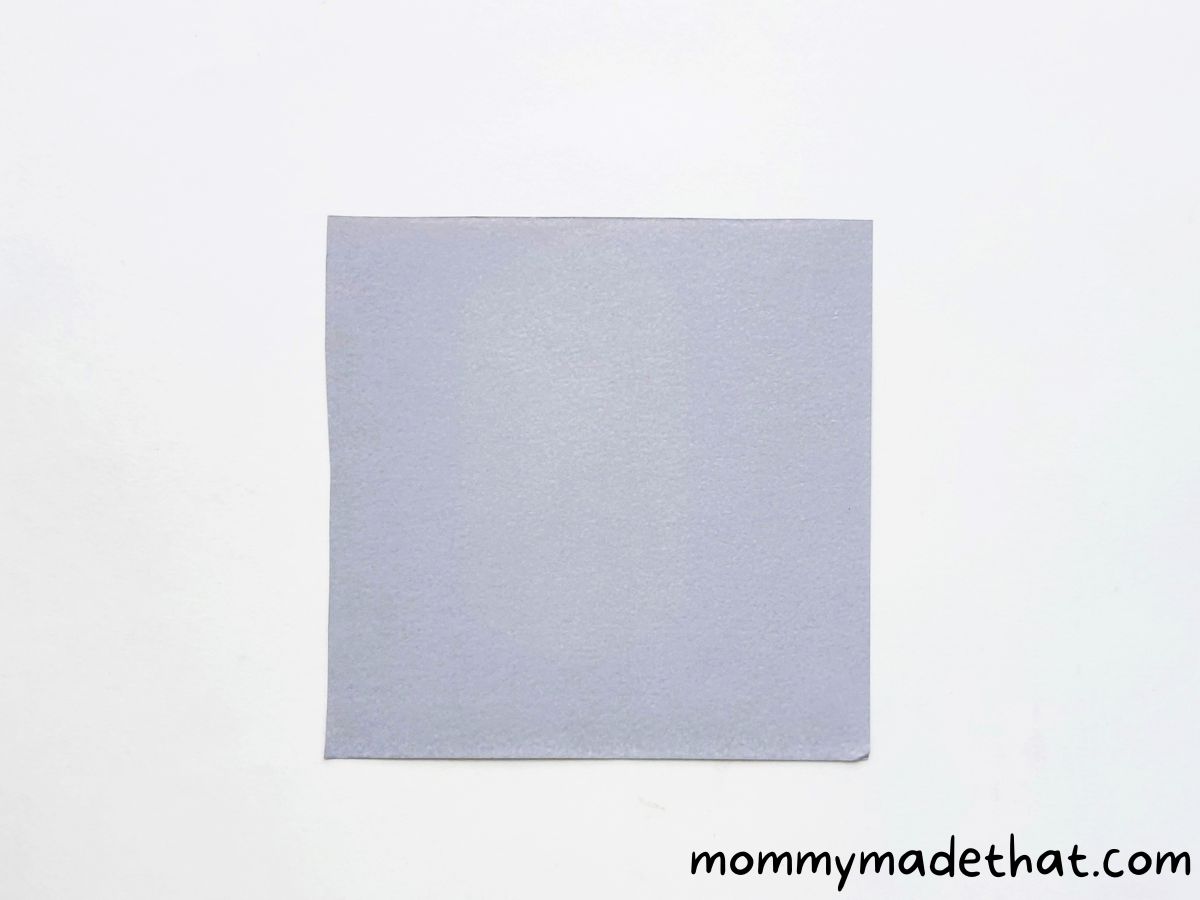
Select a piece of colored craft paper for the origami whale craft making sure it’s in a square shape.
Step 2: Create a Diagonal Fold
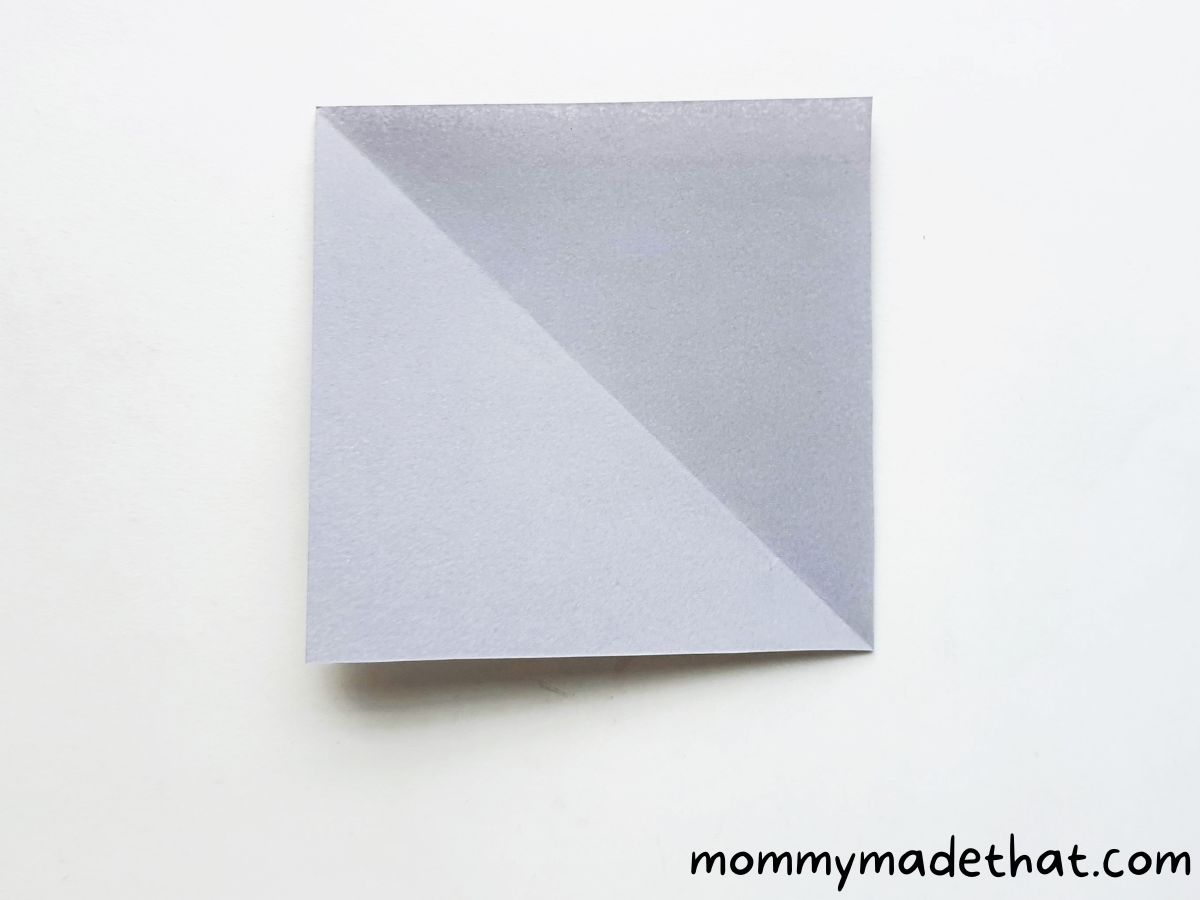
First fold the paper in half diagonally then unfold the paper. This will leave a crease going through the square corner to corner.
Step 3: Align One Side
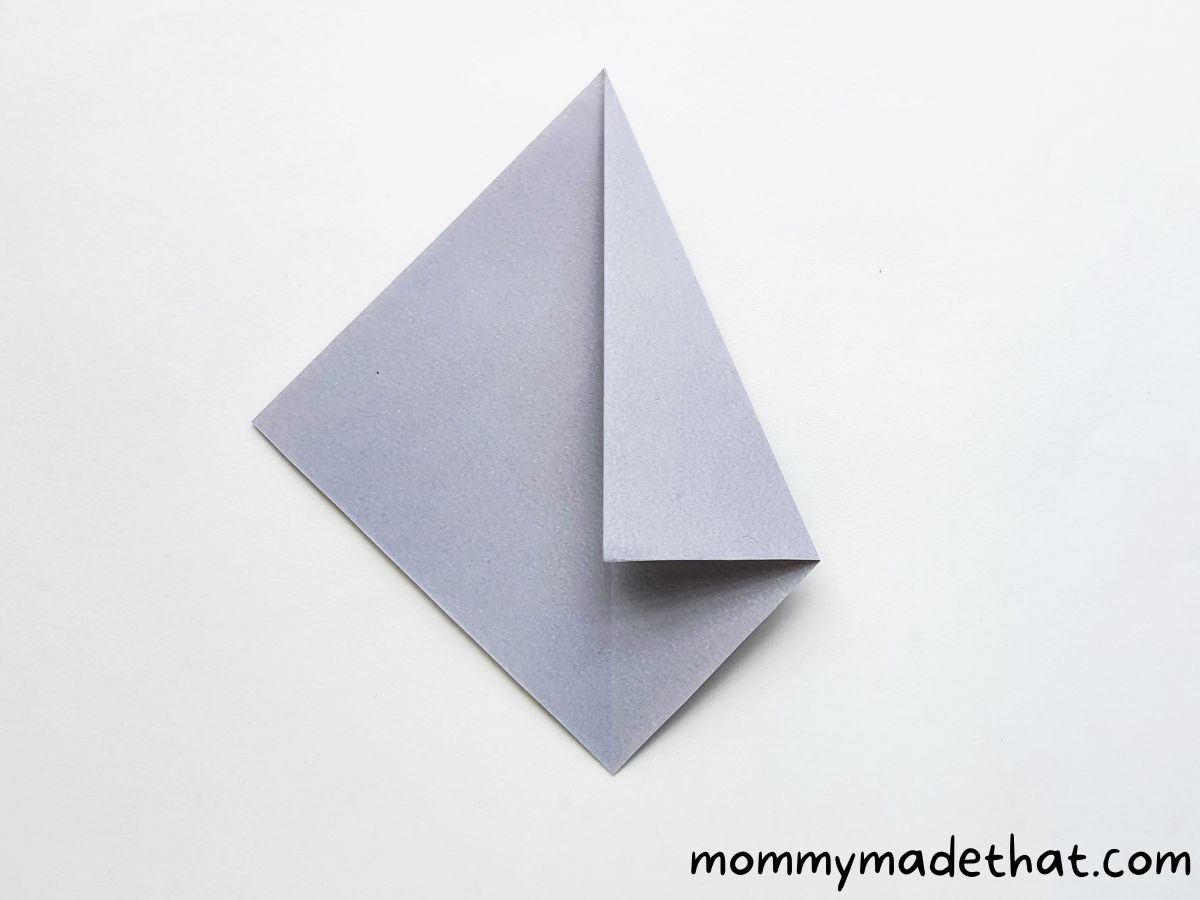
Hold any one side of the square paper and align the side with the middle crease (created in the previous step) like shown above.
Step 4: Align the Other Side
Similarly, fold the other side toward the center crease line. Now, both the adjacent sides should be aligned along the middle crease of the square paper.
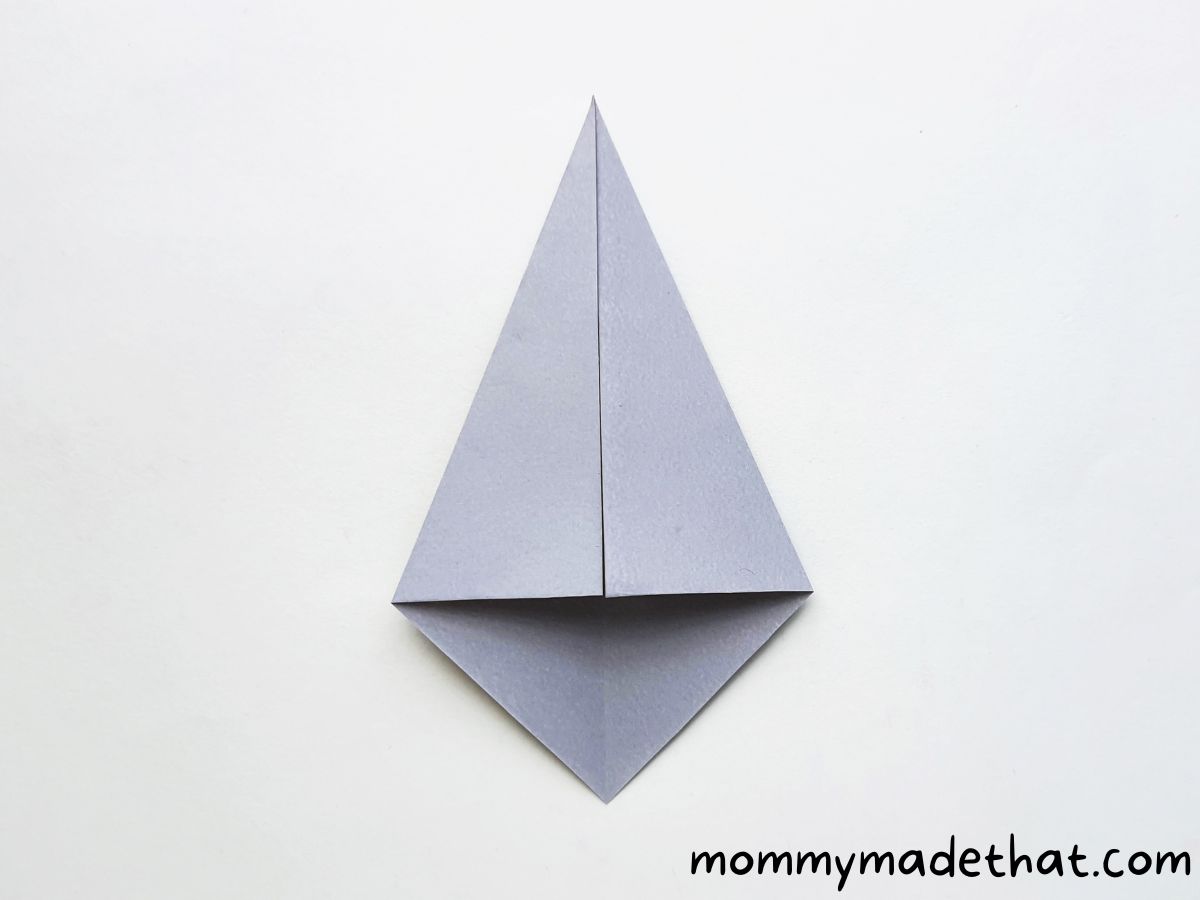
Step 5: Fold in the Opposite Corner
Hold the corner opposite to the folded parts. Fold in and join the corner between the previously folded sides, along the middle crease.
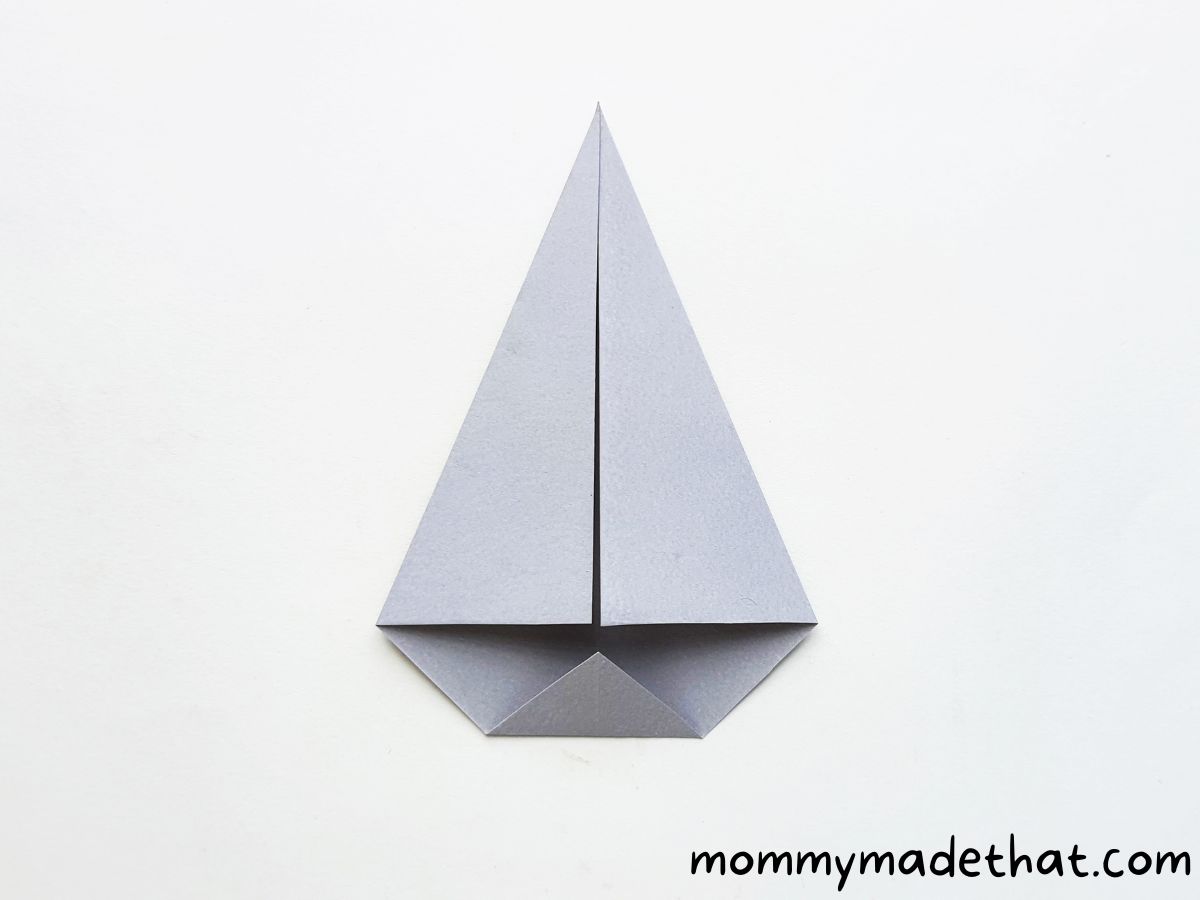
Step 6: Fold in Half

Keeping all the folded parts on the inside, fold the current pattern into half. You can see how it’s starting to take on a whale shape.
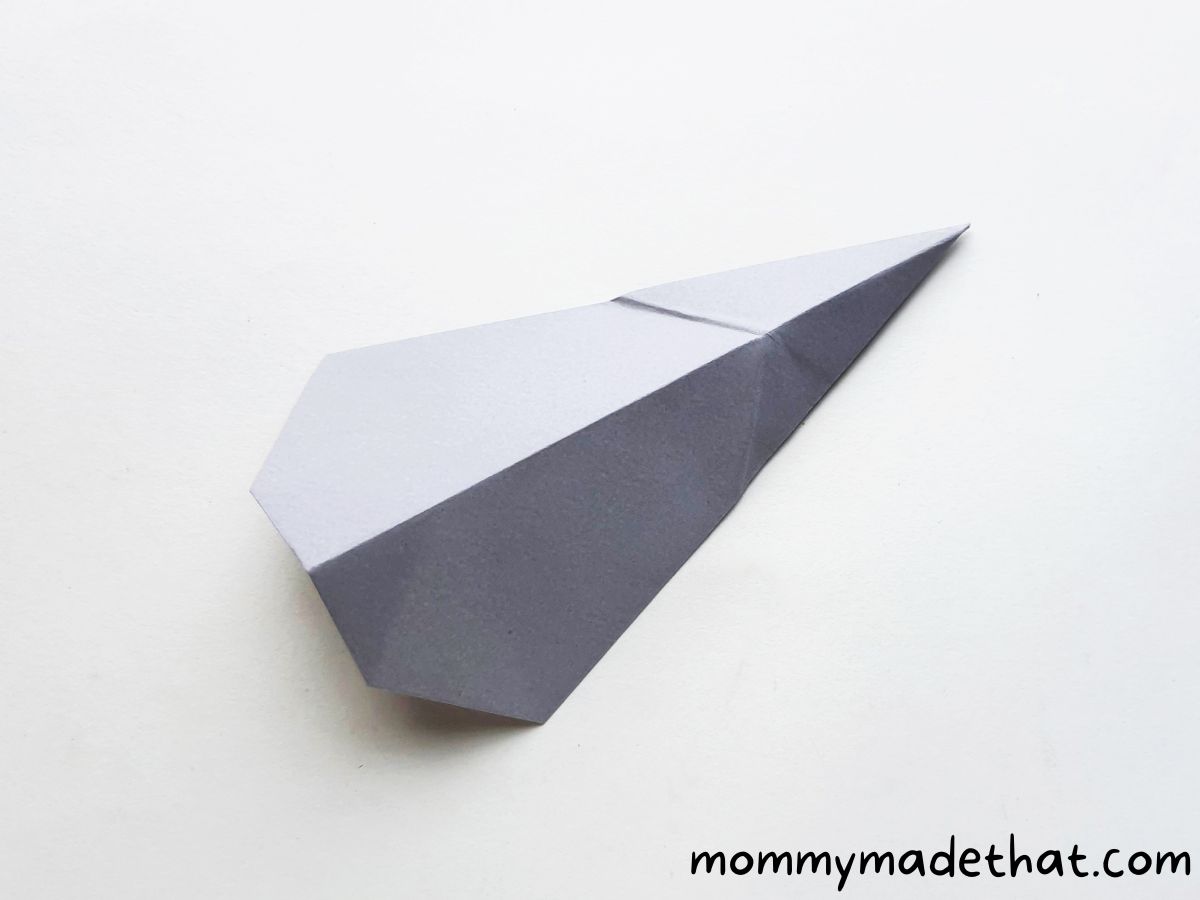
Step 7: Folding the Tail

Decide size of the tail then fold the narrow part of the current pattern to 45 degrees, towards the closed side.
Step 8: Unfold the Last Folds
Now you can unfold the last fold (45 degrees fold) and the half fold.
Step 9: Create a Folding Line

Next, bring the narrow side of the pattern upwards and try to create a folding line along the crease created with the 45 degrees fold. Meanwhile, flatten and half fold the wide side.
Basically you’ll be forcing the tail to be on both sides of the whale body.
Step 10: Flatten the Pattern
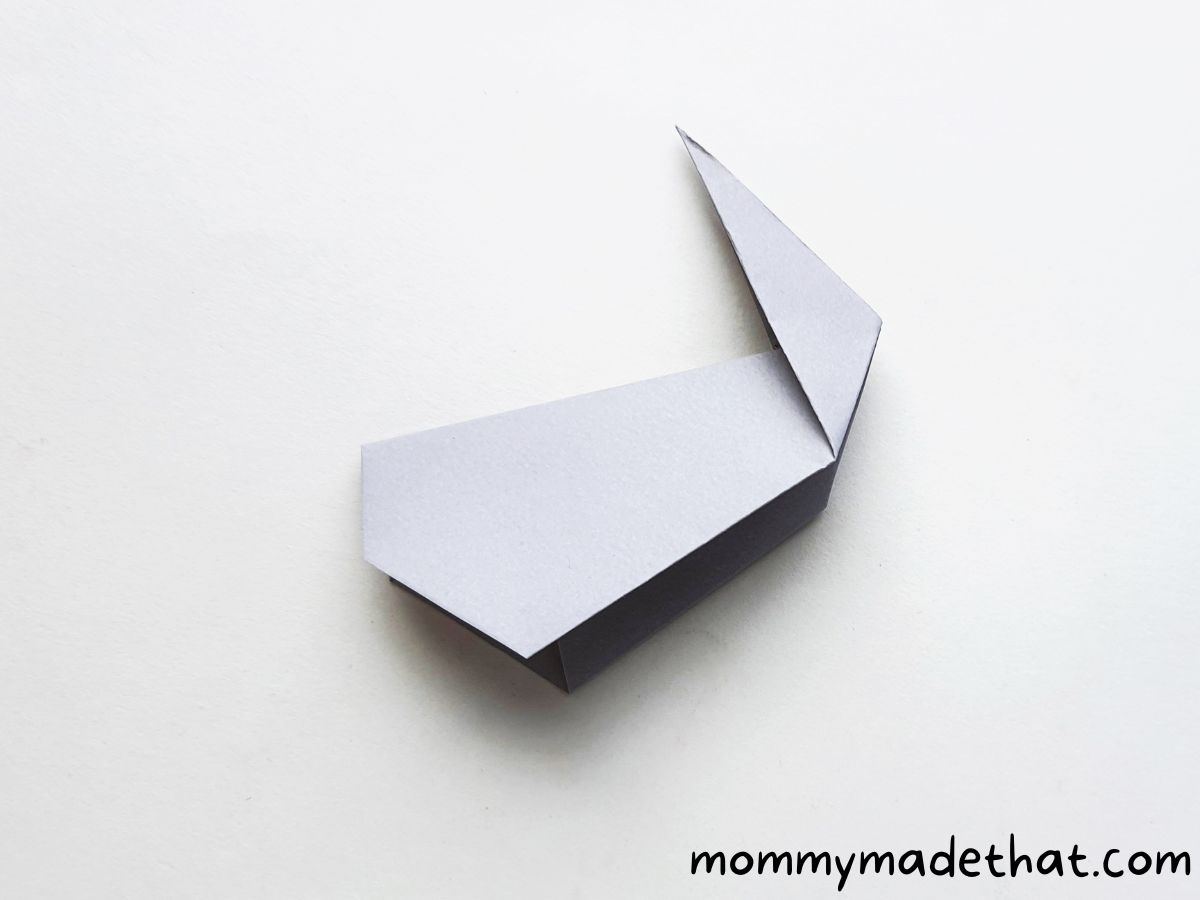
Carefully, flatten the pattern by bringing the narrow side upwards.
Step 11: Cut a Slit for the Tail
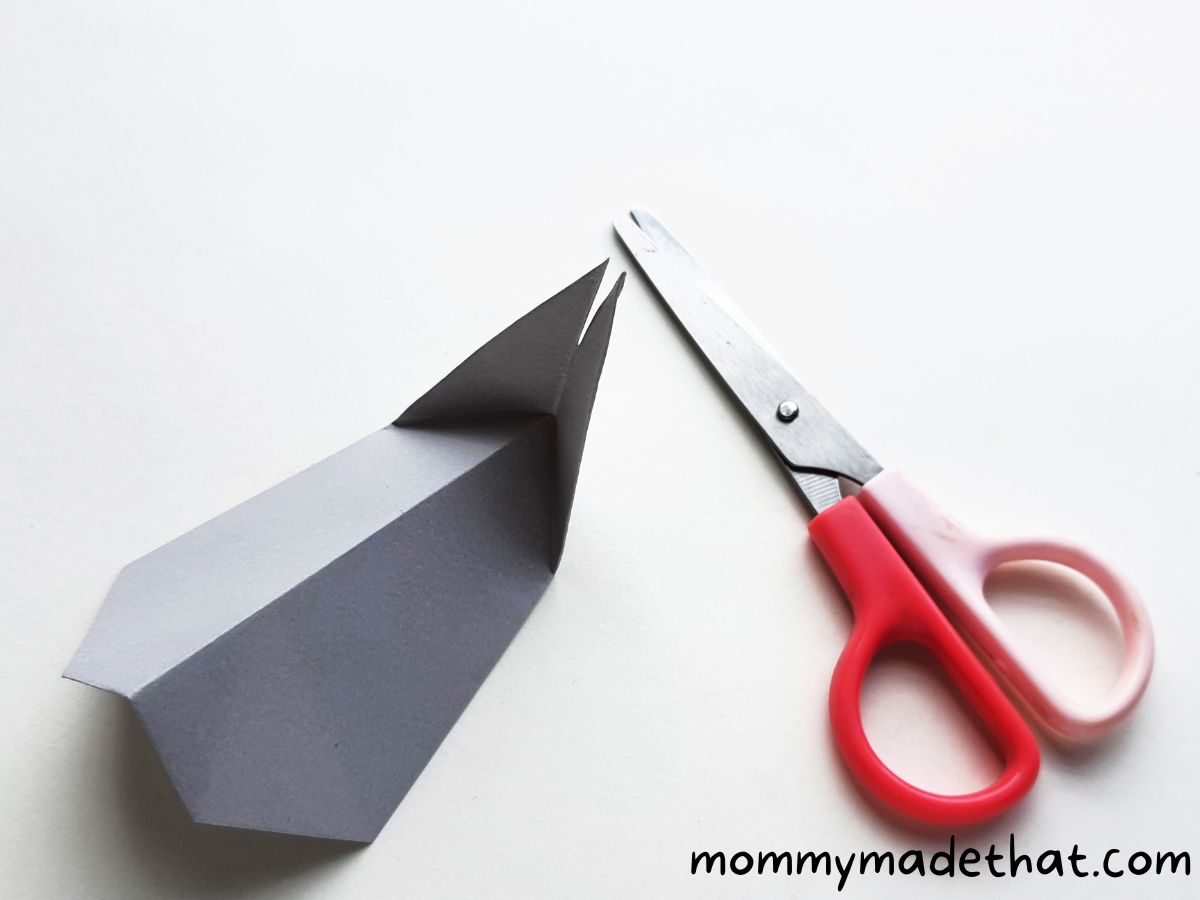
Use scissors to cut a small slit (1 cm will do) along the middle crease of the tail fin.
Step 12: Form the Tail
Fold either side of the slit outwards to form the tail fin of the origami whale.
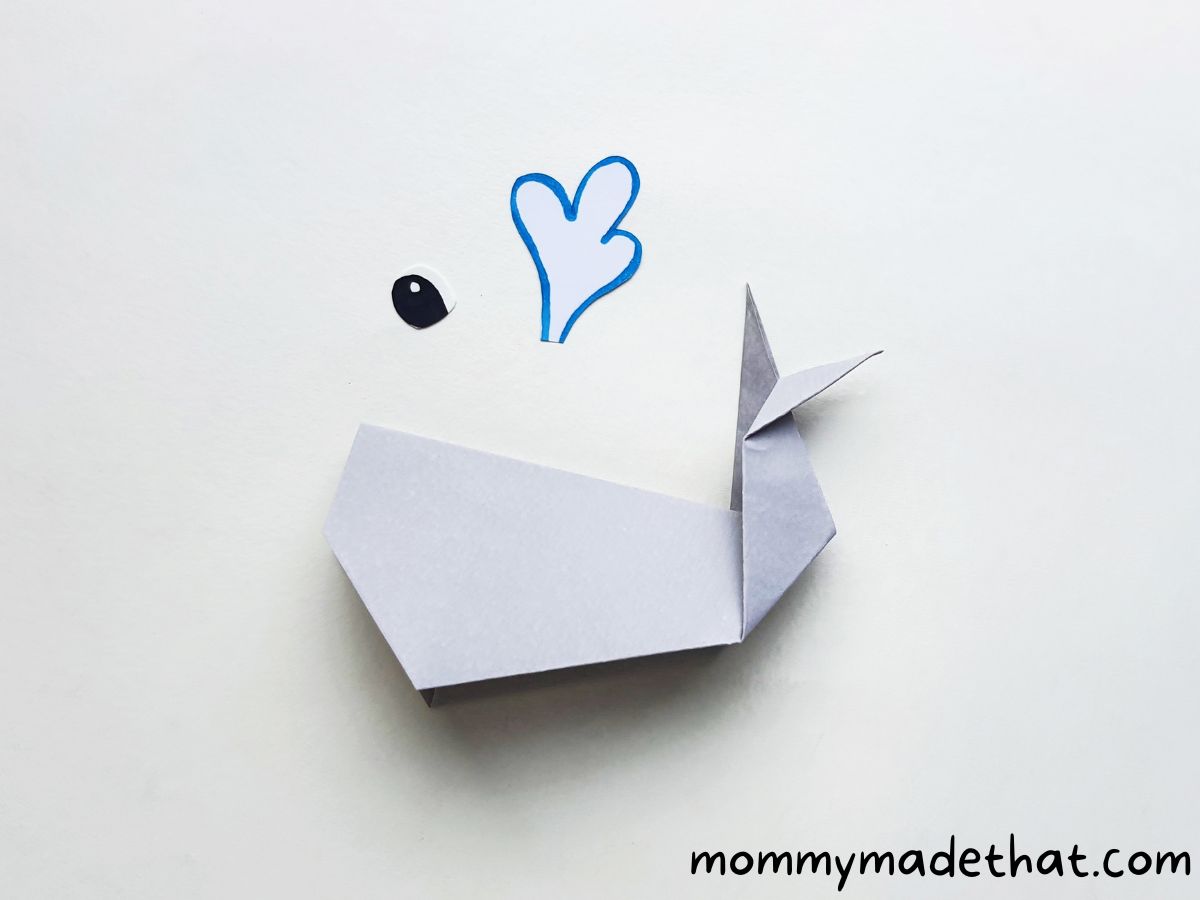
Meanwhile, prepare the eye and a water splash pattern from white craft paper.
Step 13: Attach the Eye and Water Splash Patterns
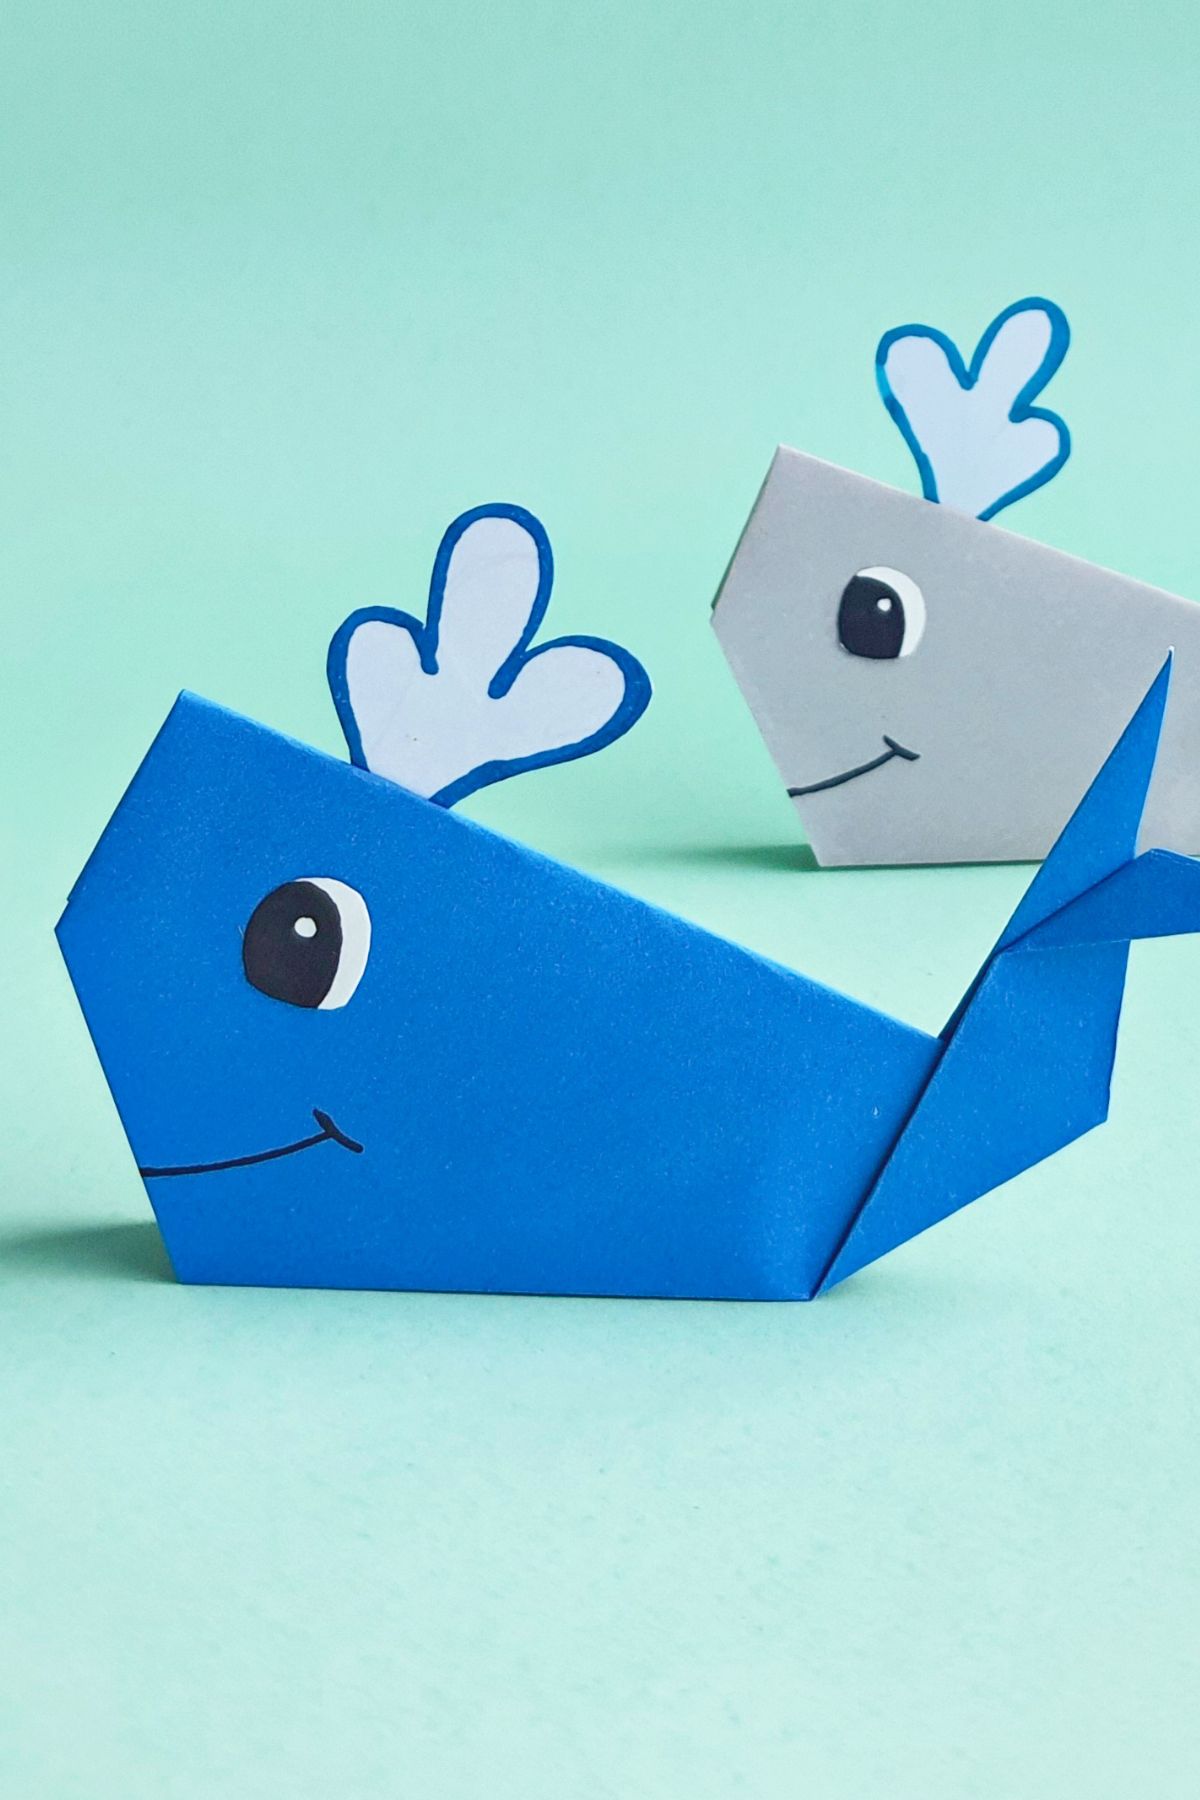
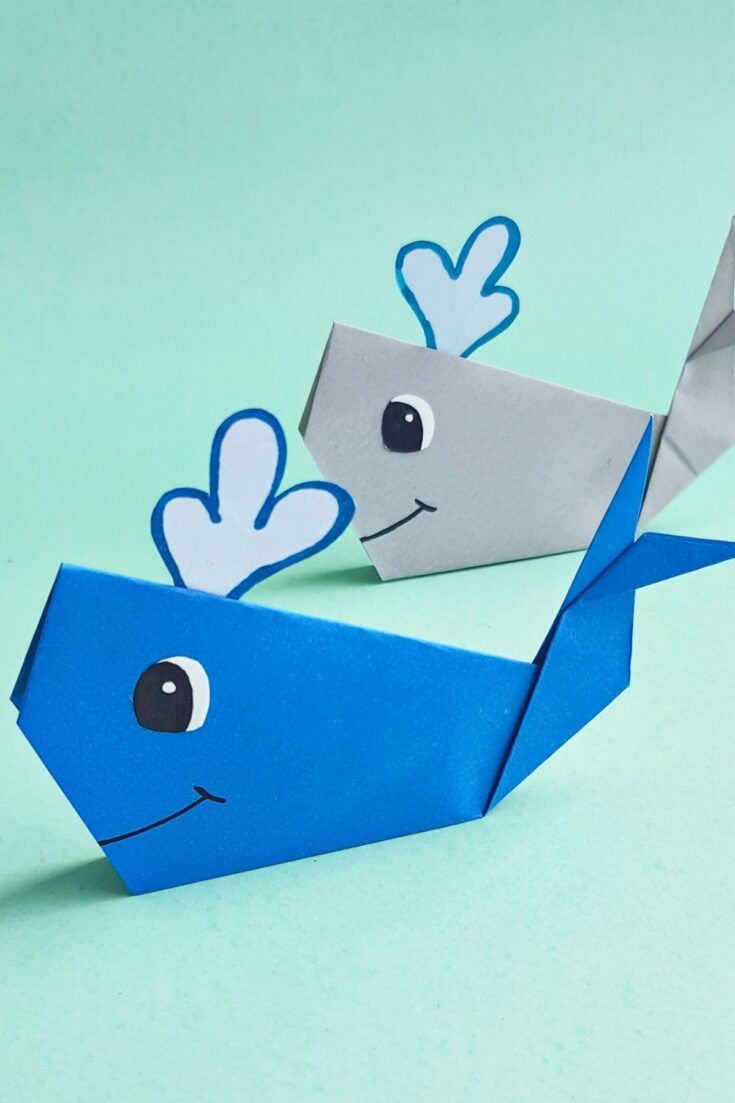
Attach the eye on the flat part of the origami pattern and attach the water splash pattern on the top side of the origami pattern to complete the craft.
Now you have an adorable folded paper whale.
Now that you’ve mastered the origami whale, impress your friends and family with these fun facts about these majestic creatures:
- Whales are the largest animals on Earth!
- They have a unique way of communicating through songs and sounds called “whale songs.”
- Whales can hold their breath for up to 90 minutes!
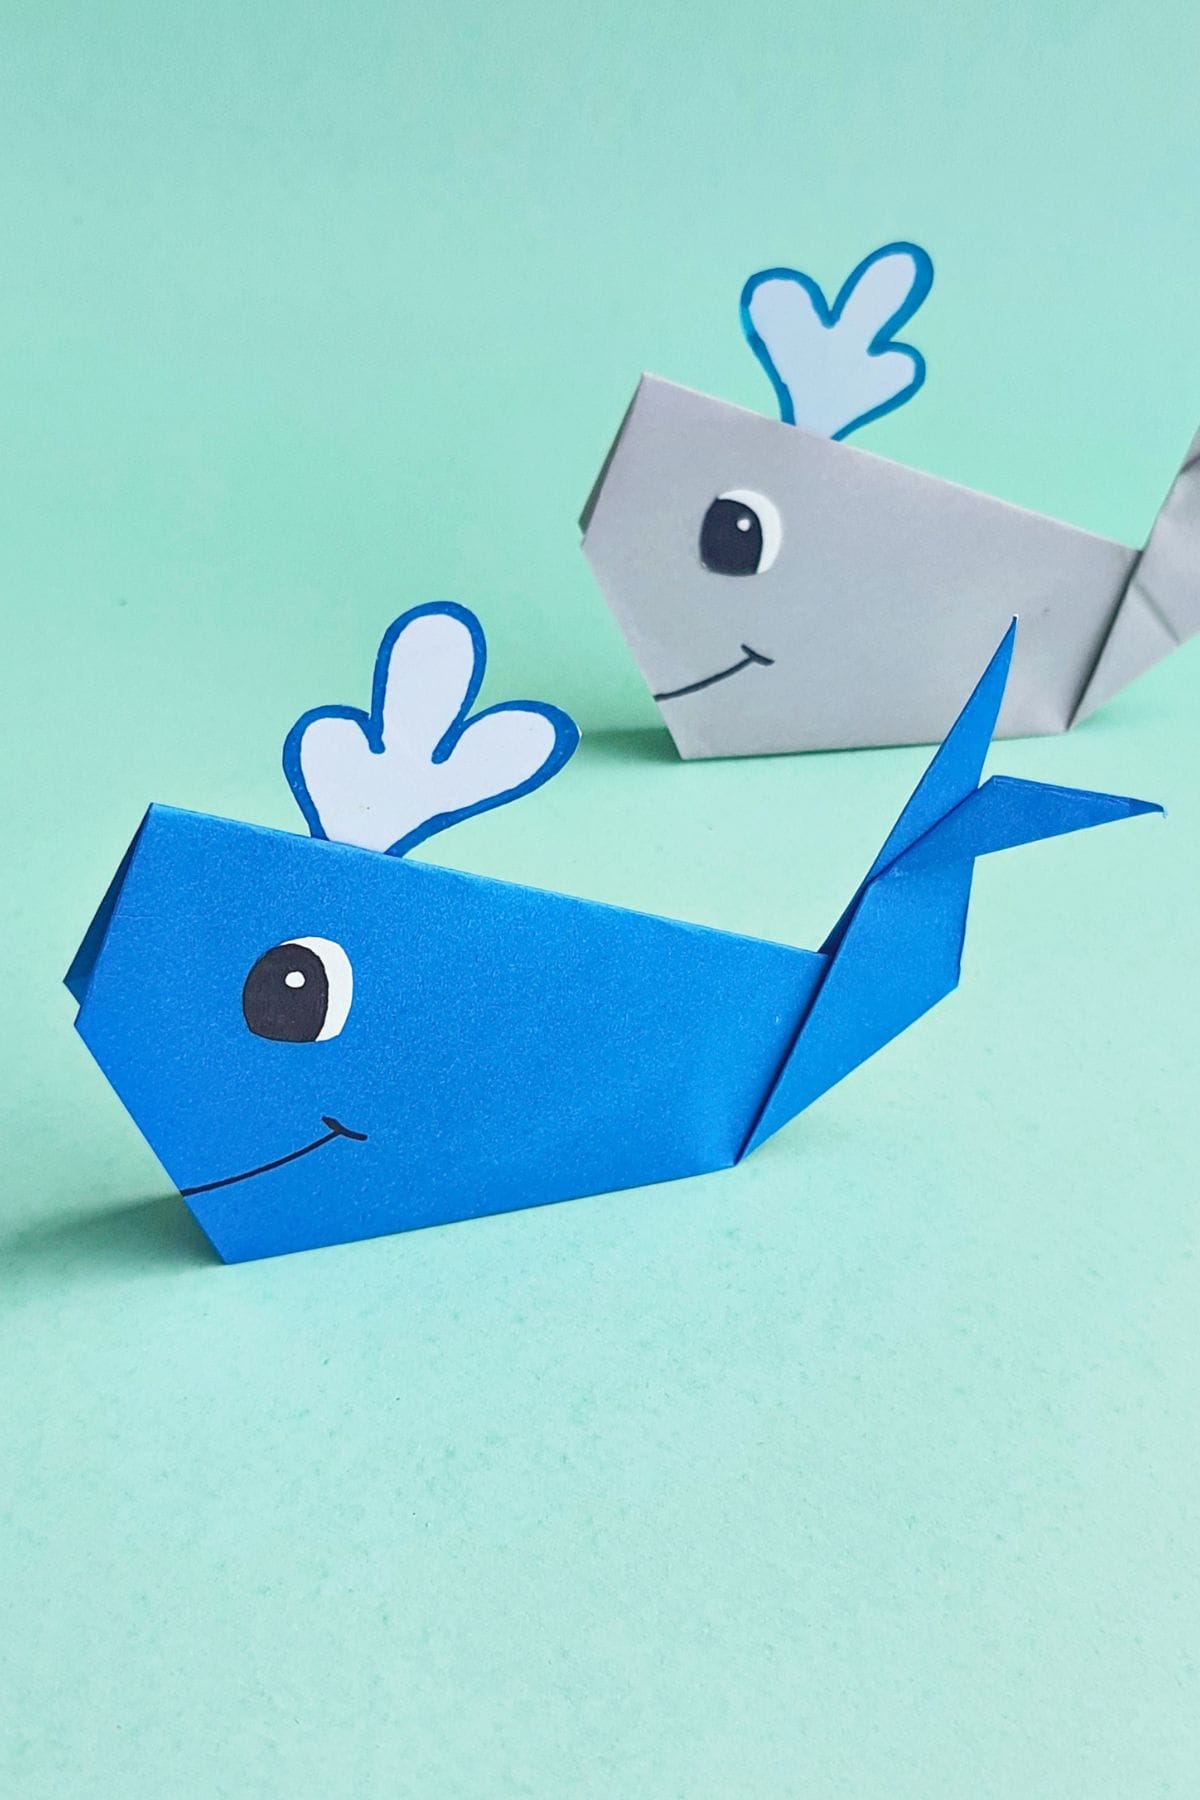
We hope you enjoyed this tutorial and are proud of your new origami whale!
Origami Whale
This origami whale tutorial shows you how to make a paper whale with easy to follow, step by step instructions.
Materials
- Origami paper (or craft paper)
Tools
- Scissors
- Marker or pen
- Glue
Instructions
- Choose colored craft paper and cut into a square shape.
- Fold diagonally, then unfold to create a crease.
- Align one side with the middle crease.
- Fold the adjacent side, aligning with the middle crease.
- Fold in the opposite corner along the middle crease.
- Fold the pattern in half, keeping folded parts inside.
- Fold the narrow part 45 degrees for tail fin size.
- Unfold the last fold and the half fold.
- Bring the narrow side up, creating a folding line along the 45-degree crease; flatten and half fold the wide side.
- Flatten the pattern by bringing the narrow side up.
- Cut a 1 cm slit along the middle crease of the tail fin.
- Fold both sides of the slit outward to form the tail fin; prepare eye and water splash from white craft paper.
- Attach the eye and water splash pattern to complete the craft.