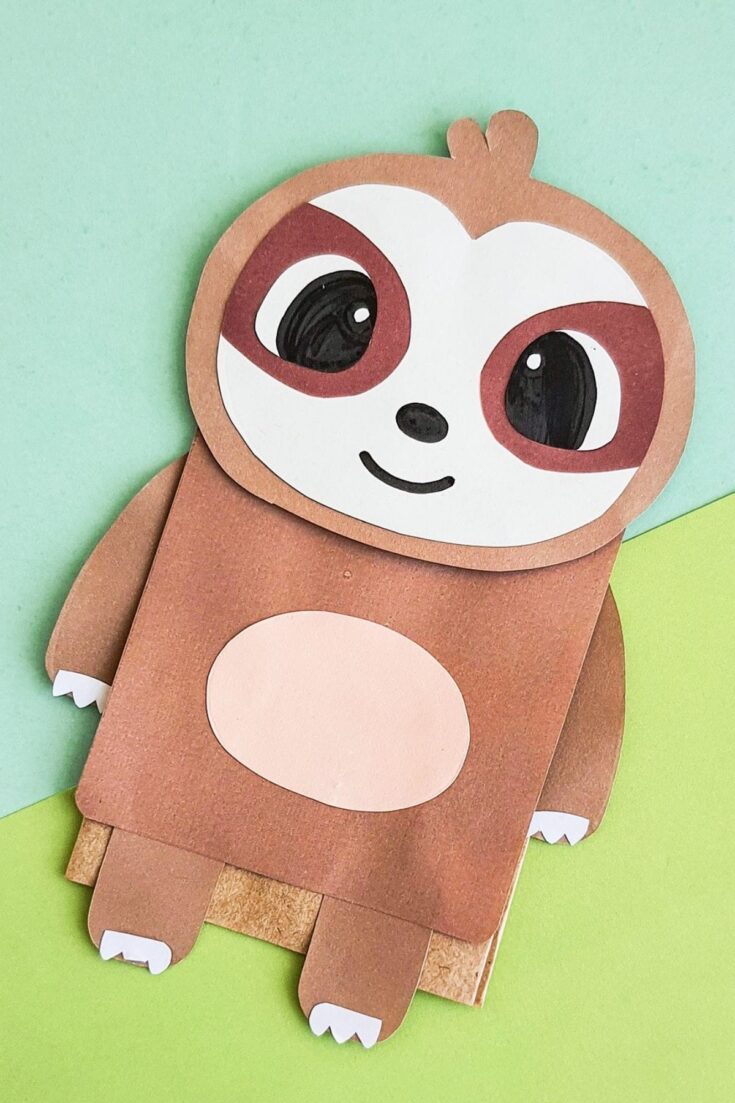
Paper Bag Sloth Craft (Free Printable Template)
Today we have this super cute paper bag sloth craft. It’s perfect for turning a paper bag into a fun sloth puppet!

Are you looking for a creative and entertaining activity to keep your kids engaged? Look no further!
This paper bag sloth craft is a perfect way to spark their imagination while using simple, everyday materials.
With our free printable sloth template, children can transform a regular lunch size paper bag into an adorable sloth friend.
Not only is this craft enjoyable, but it also helps develop fine motor skills and encourages creativity. So, gather your little ones and get ready for some crafting fun!
And if you like these be sure to check out some of our other fun paper bag crafts like our paper bag lion, our super cute paper bag penguin and another fun tree climber, our paper bag koala.
We’re thrilled to share amazing projects and ideas with you. Just a friendly heads-up: some of the links in our posts are affiliate links, which means we may earn a small commission if you make a purchase through them – at no extra cost to you!
Table of Contents
Materials
Before you begin, make sure you have the following materials on hand for this fun sloth craft:
Lunch size paper bag: This will serve as the base for your sloth. Choose a plain brown paper bag or get creative with a colored or patterned one. These are the size bags that work best with our template.
Colored Craft paper: We used browns, pink and white. But you can also just color in the template pieces and use those if you prefer.
Free printable sloth template: Download and print our easy-to-use sloth template to create your sloth’s body, arms, legs, and face. You can grab it at the end of the post.
Scissors: You’ll need a pair of scissors to cut out the template pieces.
Glue or tape: These will be used to attach the sloth pieces to the paper bag. Choose whichever adhesive you prefer or have readily available.
Colored pencils, crayons, or markers: Encourage your kids to personalize their sloth by coloring the template with their favorite hues.
Now that you have all the necessary materials, let’s get started on creating your very own paper bag sloth!
How to Make a Paper Bag Sloth Puppet
To get started making your sloth craft, download and print out our template first.
Step 1: Create Your Sloth Template and Paper Bag
For this craft, you have the option to use a pre-made paper bag or make your own customized paper bag from brown paper.
Then choose colored craft papers for the sloth figure.
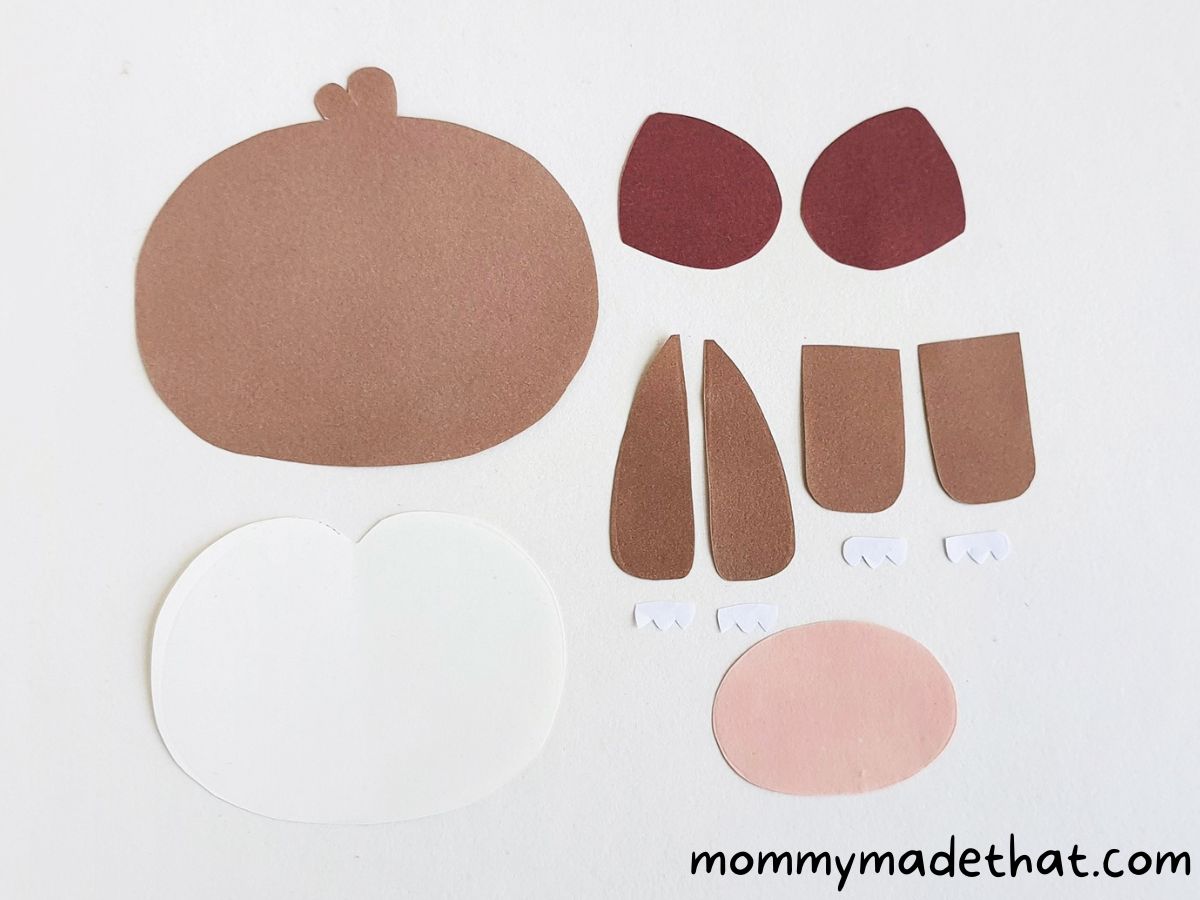
The sloth template includes patterns for the head, face, eye-patches, upper legs, lower legs, nails, and belly. Trace the template patterns onto the colored papers and cut out the traced pieces.
Step 2: Start assembling the Sloth’s Face
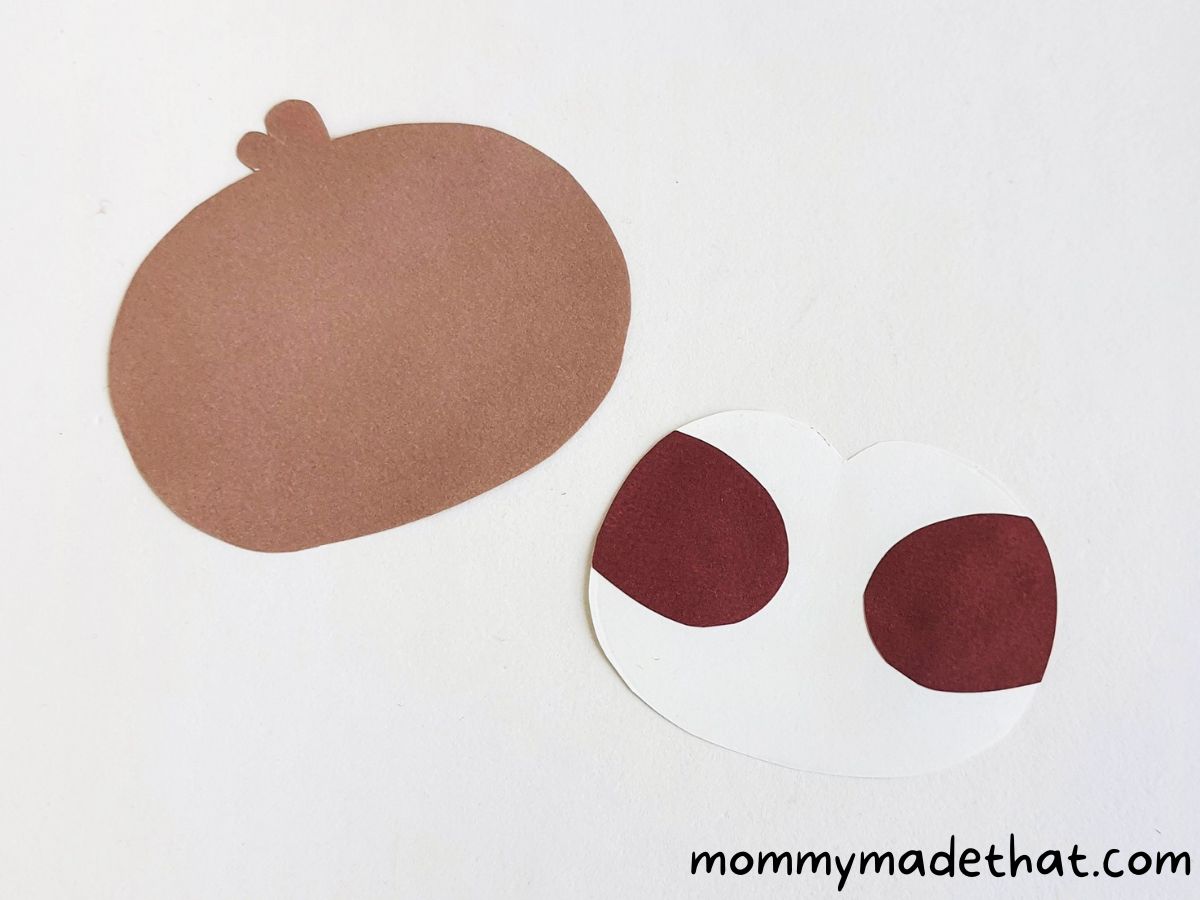
Glue the eye-patch cutouts on both sides of the face cutout, ensuring the round ends face inwards.
Step 3: Adding Details
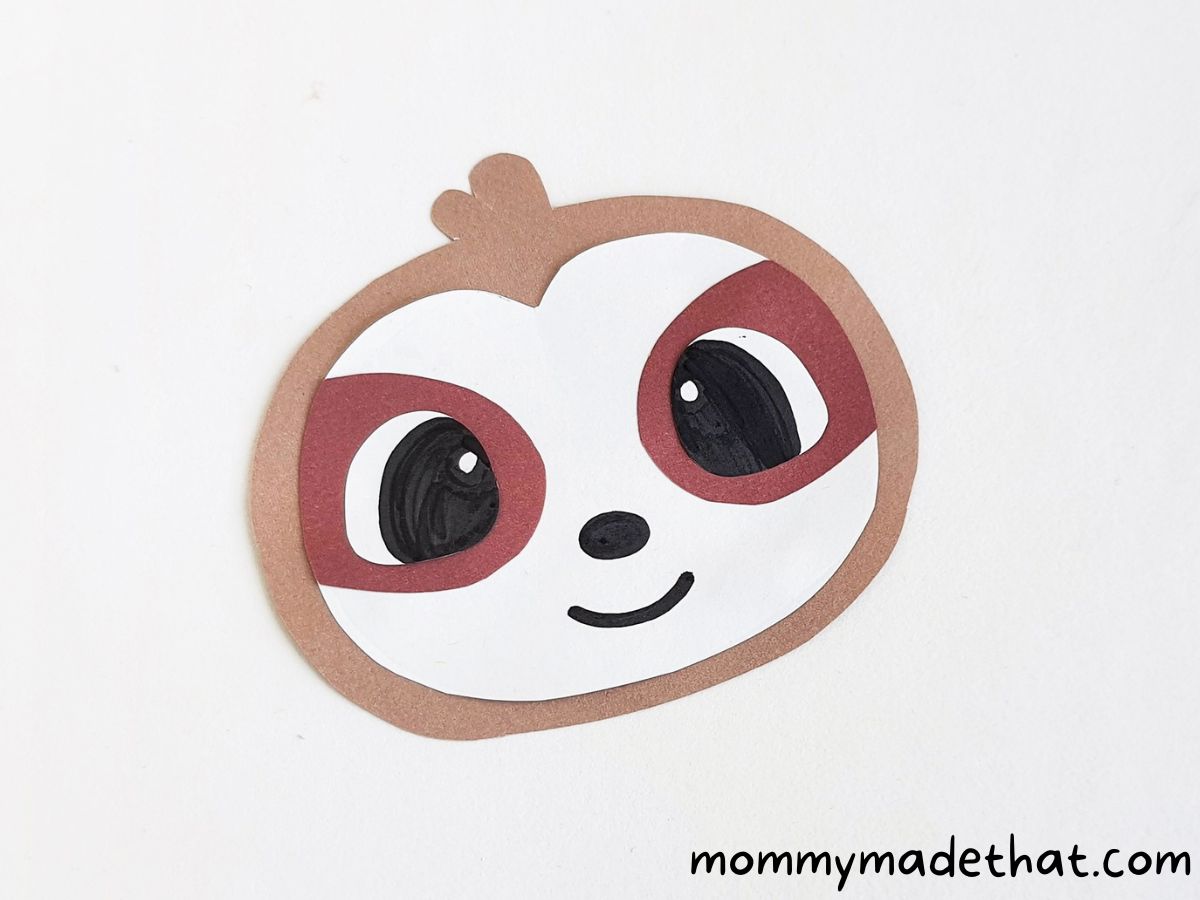
Next, glue the face pattern in the middle of the head cutout. Draw the sloth’s facial features using a sharpie or pen.
Step 4: Attach the Nails to the Legs
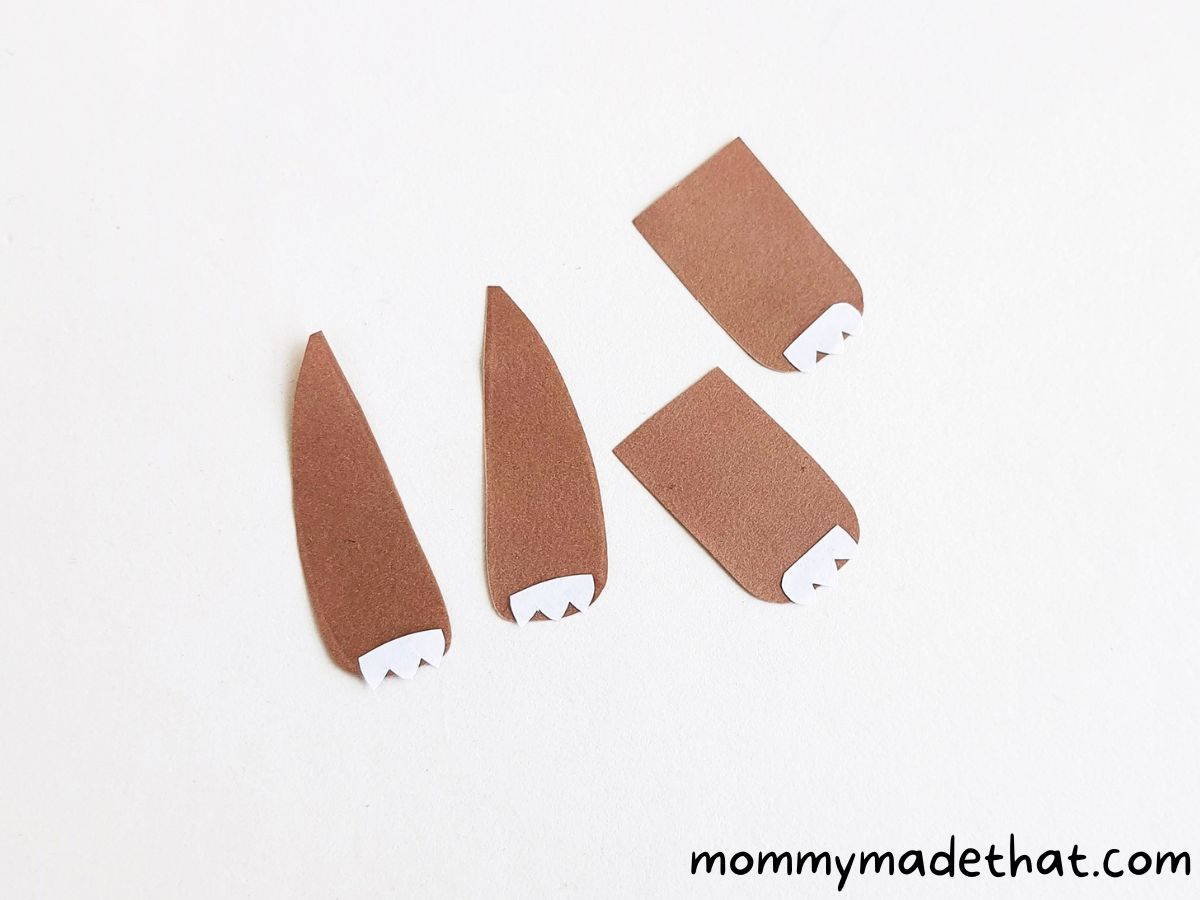
Glue the nail cutouts onto the leg and arm cutouts, adding that distinctive sloth touch!
Step 5: Prepare Your Paper Bag
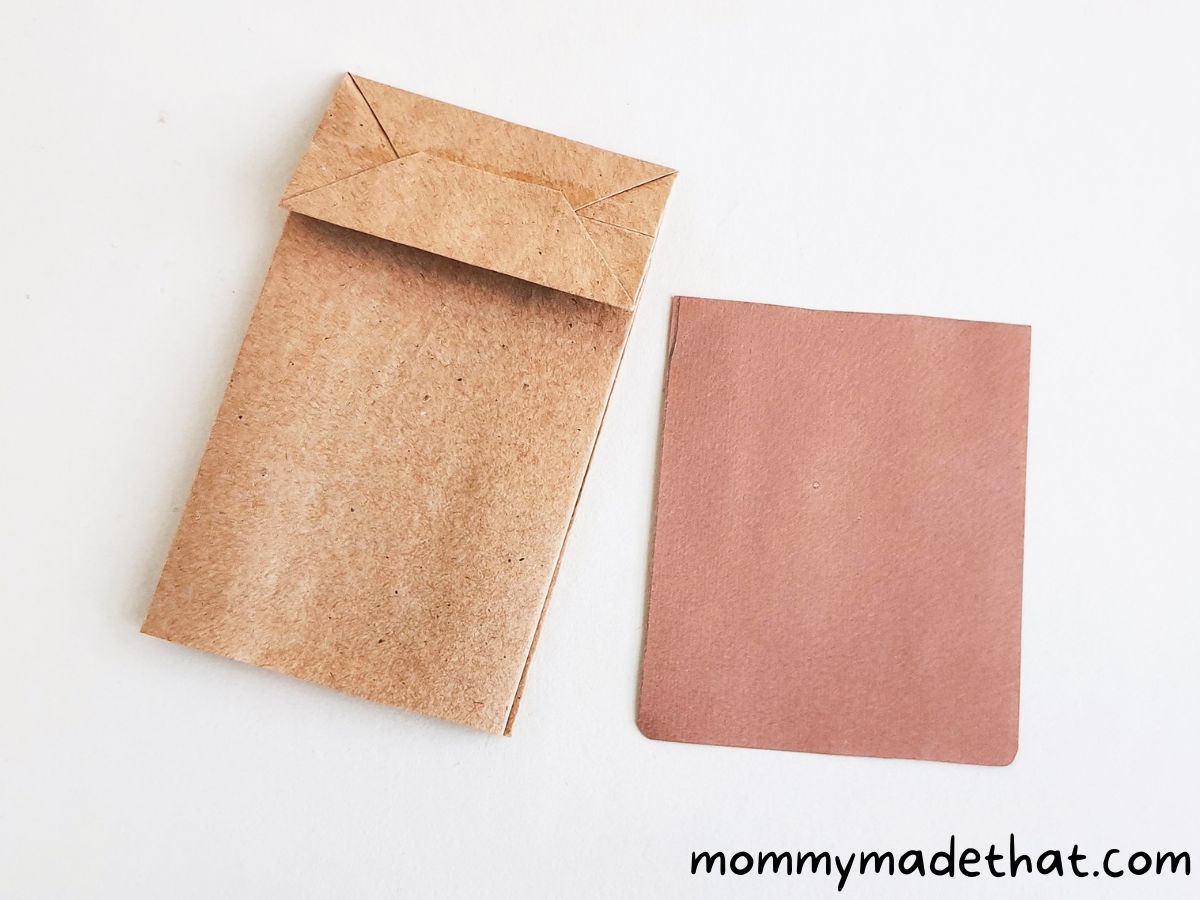
Choose a brown paper bag or create your own according to the size of the papercraft sloth. Measure and cut out a piece of paper to cover one side of the paper bag, which will be the front side of the paper bag sloth puppet.
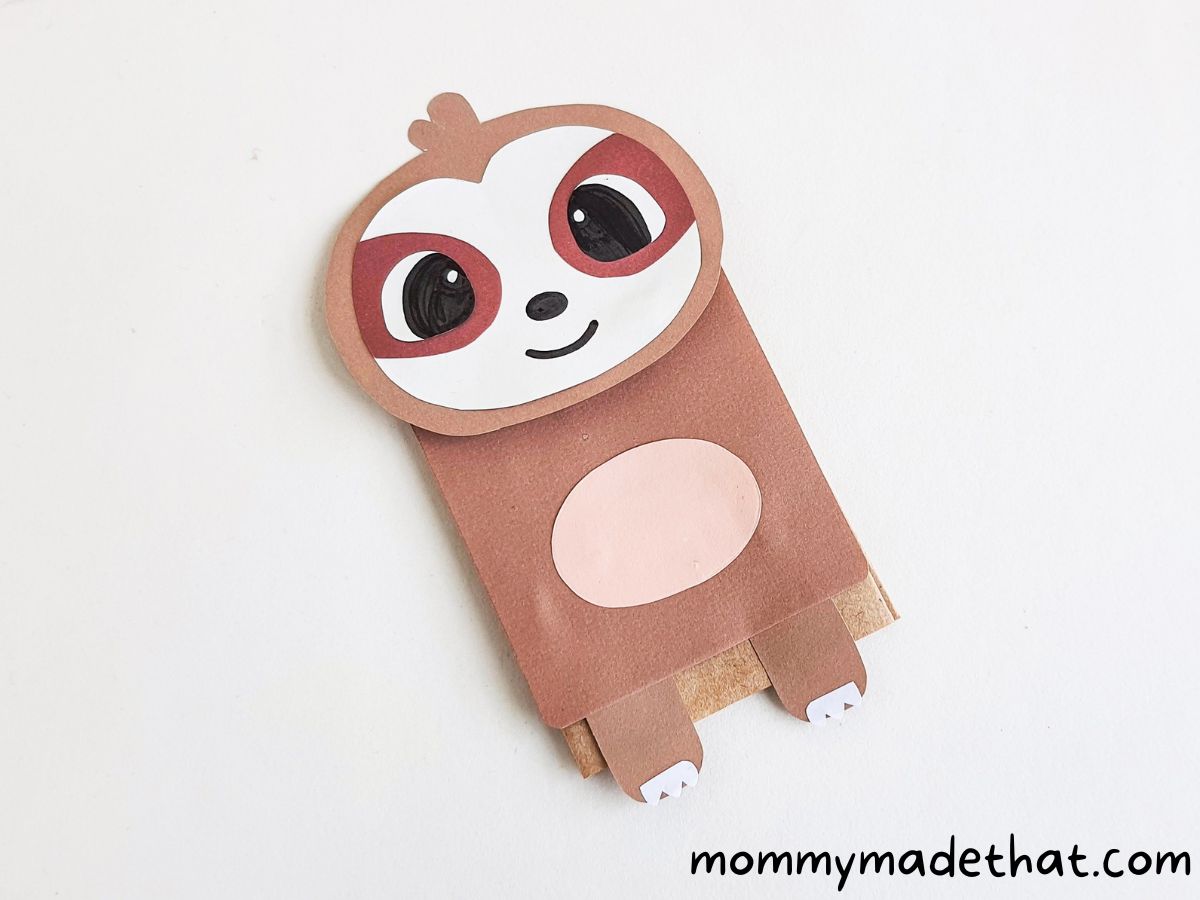
Step 6: Attach the Legs
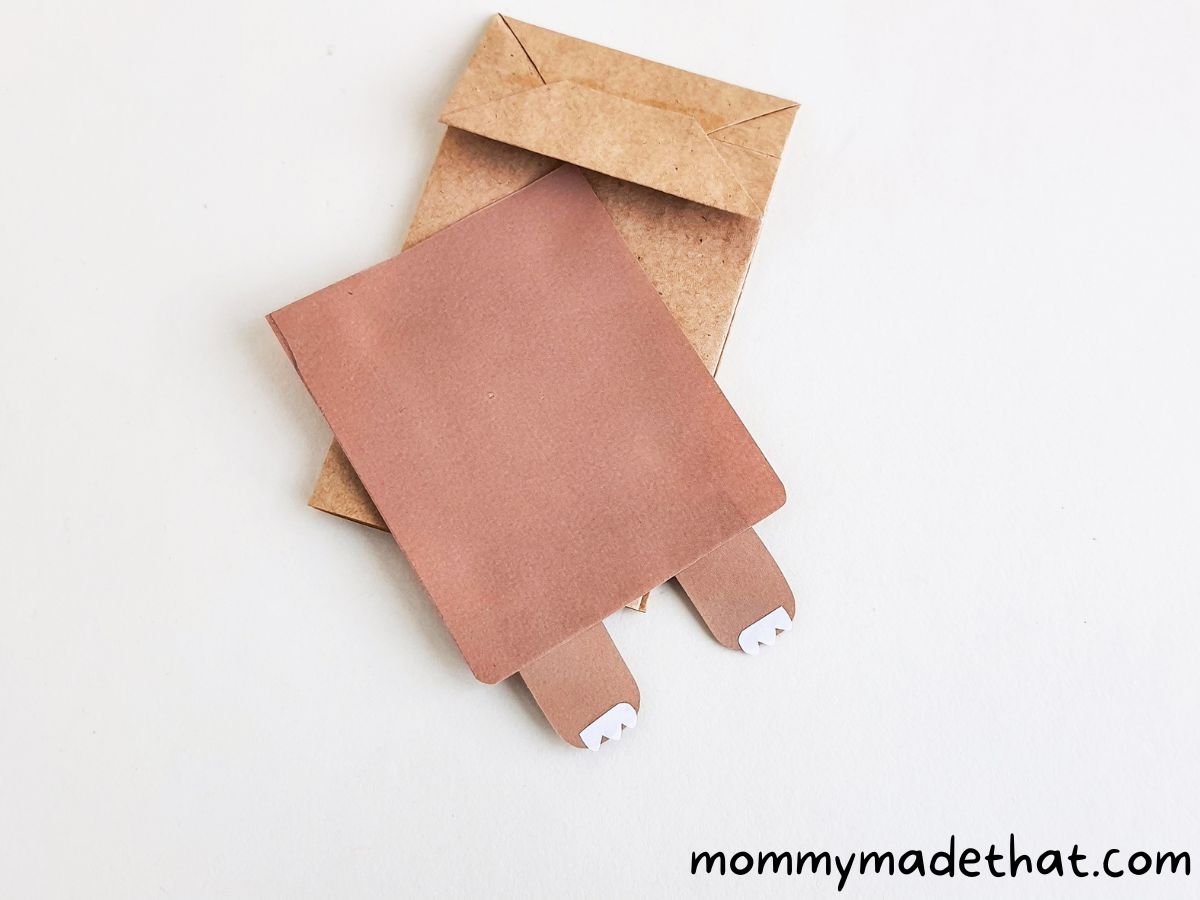
Attach the two short leg patterns to the bottom side of the paper. You can see the sloth starting to take shape!
Step 7: Attach the Sloth’s Belly and Front Side
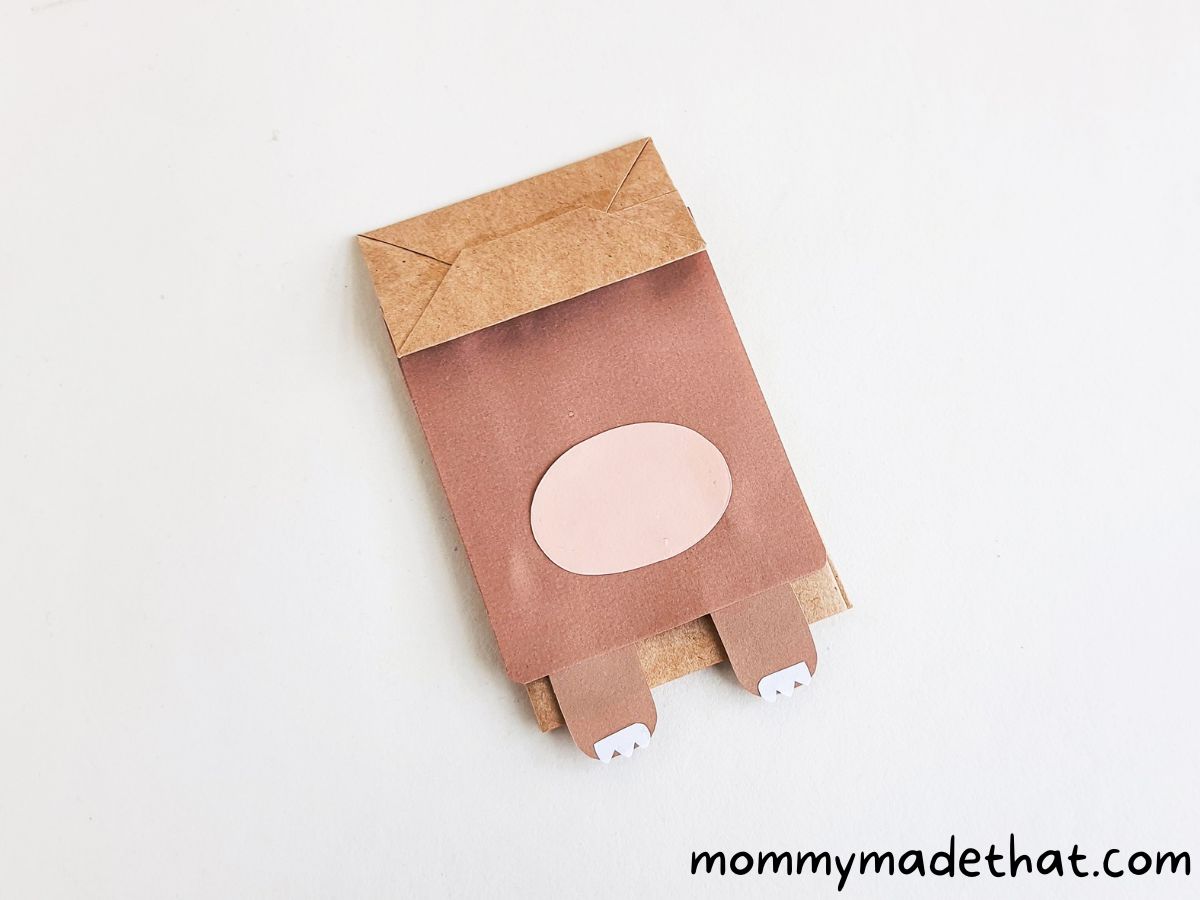
Glue the oval cutout (belly) onto the paper prepared to cover the bag.
Then, attach the paper to cover one side of the paper bag, which will be the front side of the paper bag puppet.
Step 8: Add the Sloth’s Head
Flatten the bottom side of the bag with the front side and attach the head pattern on the bottom side.
Step 9: Attach the Long Legs
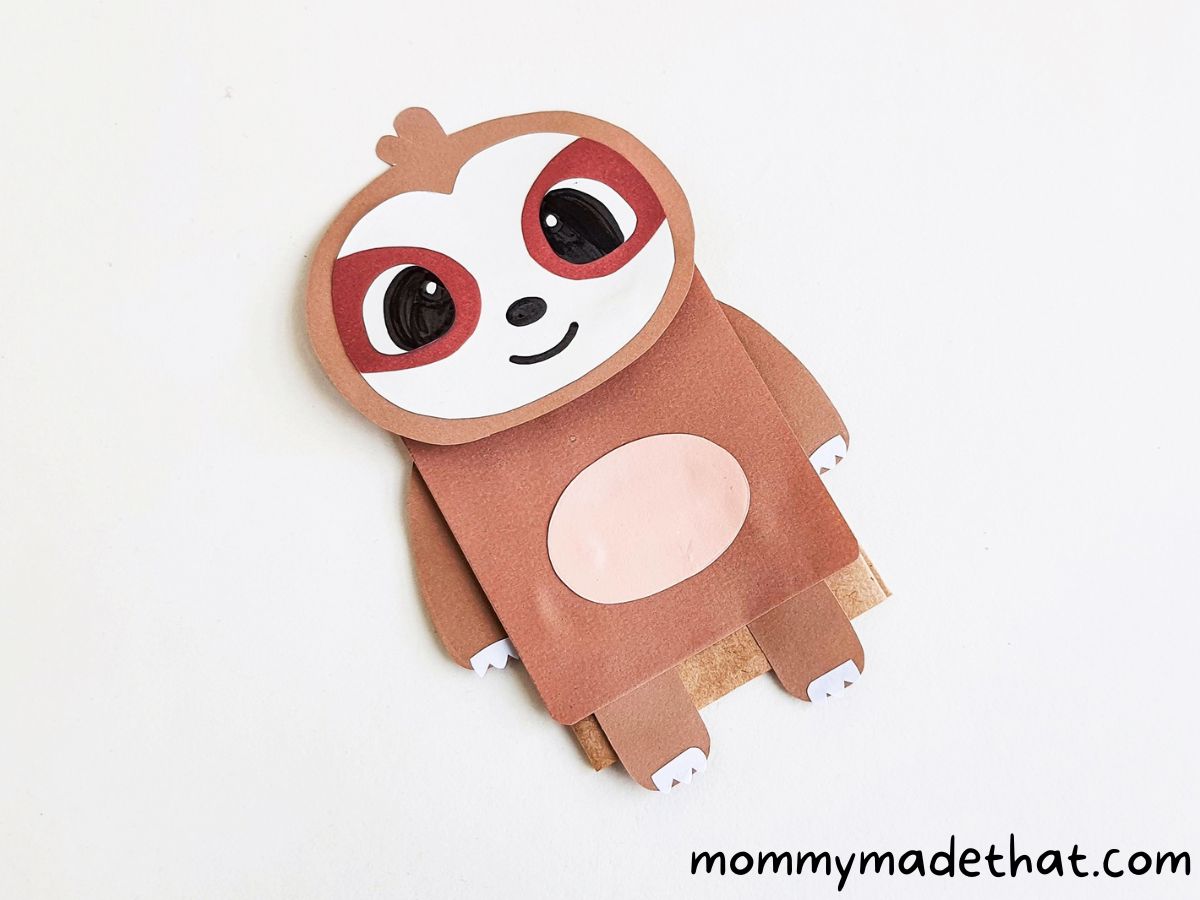
Finally, attach the two longer leg cutouts (the arms) on both sides of the paper bag sloth craft to complete the project.
Now you have an adorable paper bag sloth puppet for endless fun and play!
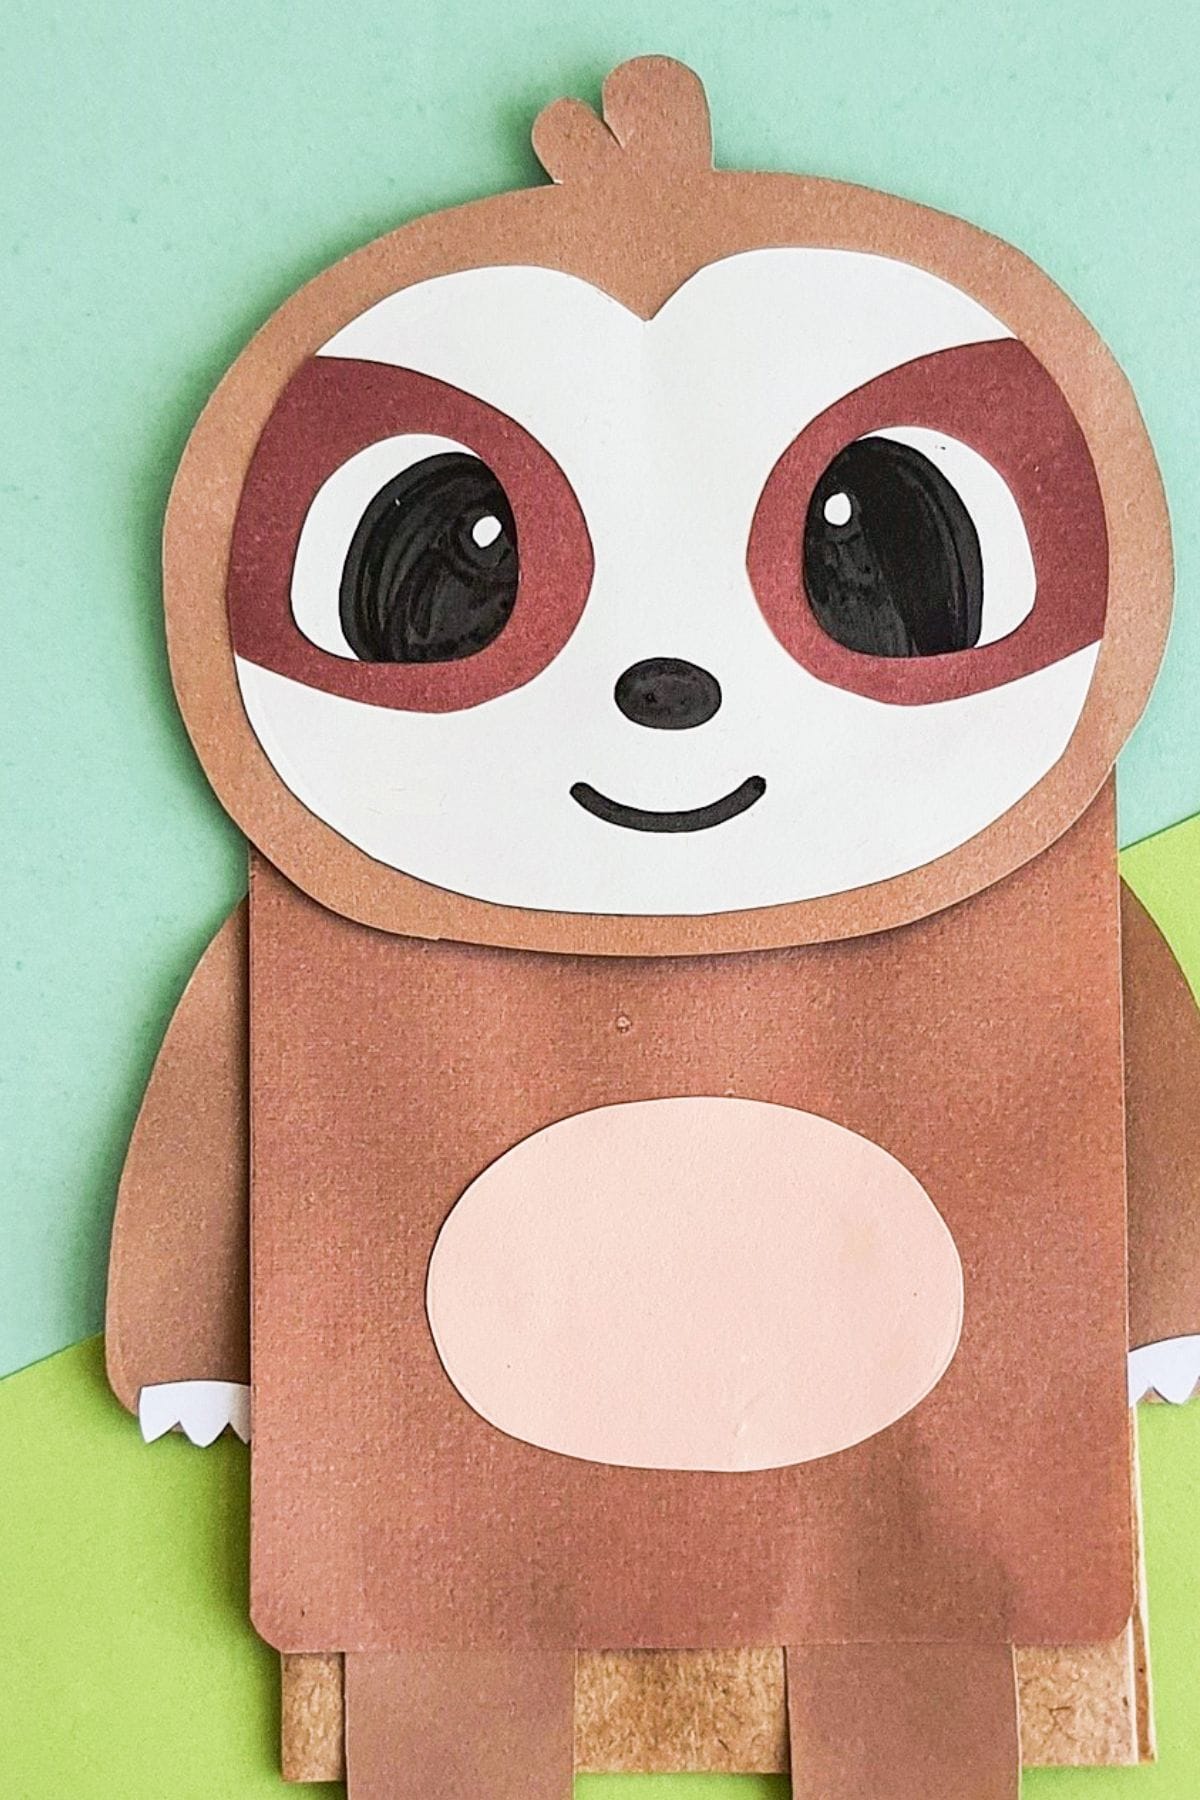
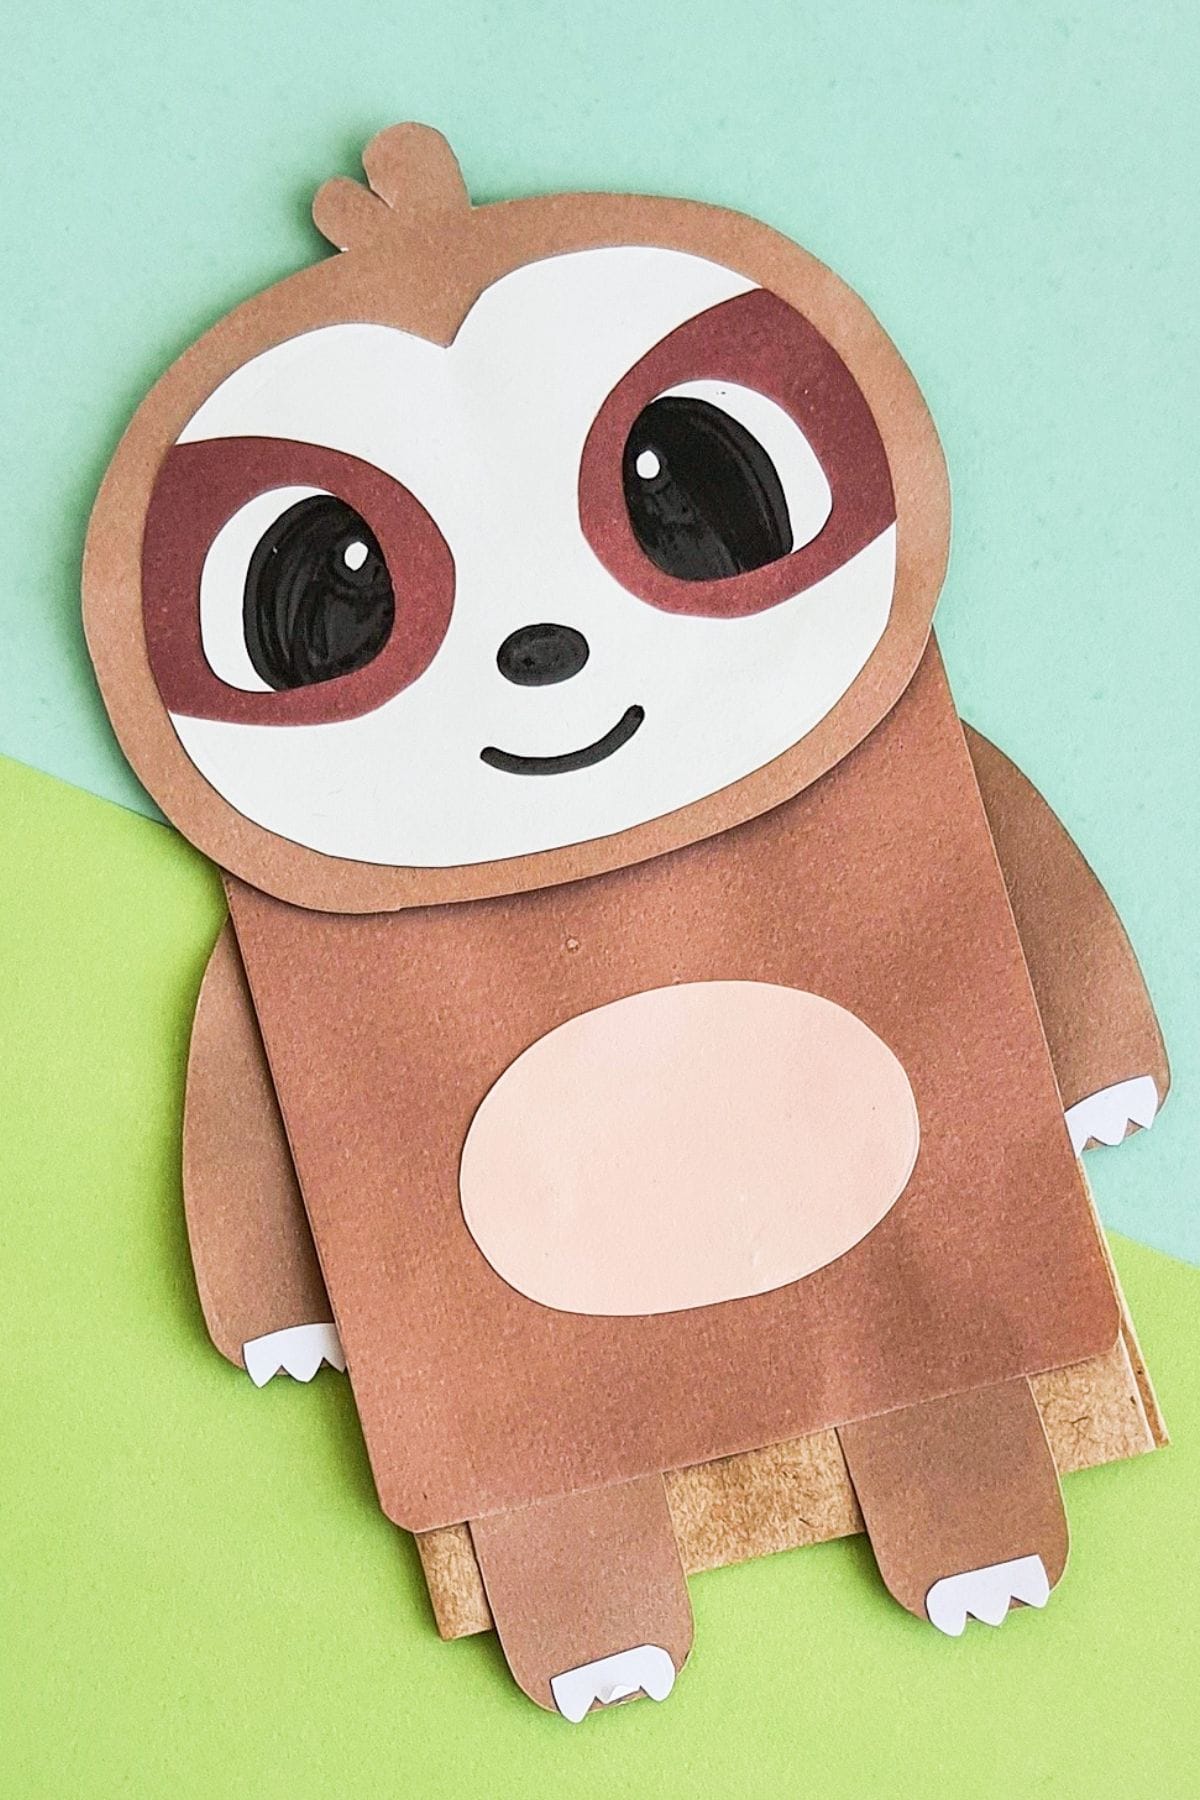
Congratulations, you’ve successfully created a charming paper bag sloth craft!
Paper Bag Sloth
This adorable paper bag sloth makes a fun sloth puppet perfect for kids to play and explore their creativity with!
Materials
- Colored craft paper
- Printable sloth template
- Brown paper lunch bag
Tools
- Scissors
- Black pen or marker
- Pencil
Instructions
- Choose or create a paper bag from brown paper
- Select colored craft papers for the sloth figure
- Trace and cut out template patterns (head, face, eye-patches, upper legs, lower legs, nails, belly) from selected craft papers
- Glue eye-patch cutouts on both sides of the face cutout, round ends facing inwards
- Glue face pattern in the middle of the head cutout
- Draw the sloth's face details using a sharpie or pen
- Glue nails onto all the leg cutouts
- Choose or create a brown paper bag according to the papercraft sloth size
- Measure and cut out a piece of paper to cover one side of the paper bag (front side)
- Attach the two short leg patterns on the bottom side of the paper
- Attach the oval cutout (belly) on the prepared paper, then attach the paper to the front side of the paper bag
- Flatten the bottom side of the bag with the front side and attach the head pattern
- Attach two long leg cutouts on both sides (left and right) of the paper bag sloth craft to complete the project
Grab the Sloth Template
To grab the free printable paper bag sloth template, put your email in the box below. We’ll send it straight to your inbox!
This is for personal or classroom use only please. Not for commercial use. Thank you!
This fun and engaging activity is perfect for kids of all ages, and it’s a great way to spend quality time together.
Not only does this project encourage creativity, but it also helps develop fine motor skills.
And remember, the possibilities don’t end here; there are countless other paper bag animal crafts waiting to be explored and enjoyed.
Happy crafting!