Easy Toilet Paper Roll Bunnies: A Cute Easter Bunny Craft for Kids!
Today we’ve got an adorable toilet paper roll bunny craft! It’s a fun and easy Easter toilet paper roll craft.
These cute little bunnies are made from the extra tp rolls you’ve got laying around and some craft paper. They’re a super cute spring craft for kids.
Looking for an easy craft for kids. Or maybe a fun Easter craft.
Then how about making these toilet paper roll bunnies!
These adorable little creatures are simple to make, and they’re a great way to use up those toilet paper rolls that are sitting around your house.
And if you have a surplus like us, make sure to check out all of our easy toilet paper roll animal crafts and our big list of toilet paper roll crafts.
All you need is a toilet paper roll, some construction paper, our free printable template, some glue, and some scissors.
Just follow the instructions below, and in no time you’ll have a whole flock of toilet paper roll bunnies!
If you’re looking for more bunny crafts, make sure to check out our bunny rabbit templates and our paper plate bunny craft.
Materials
For these little bunnies, you’ll need only a few easy materials you probably already have at home.

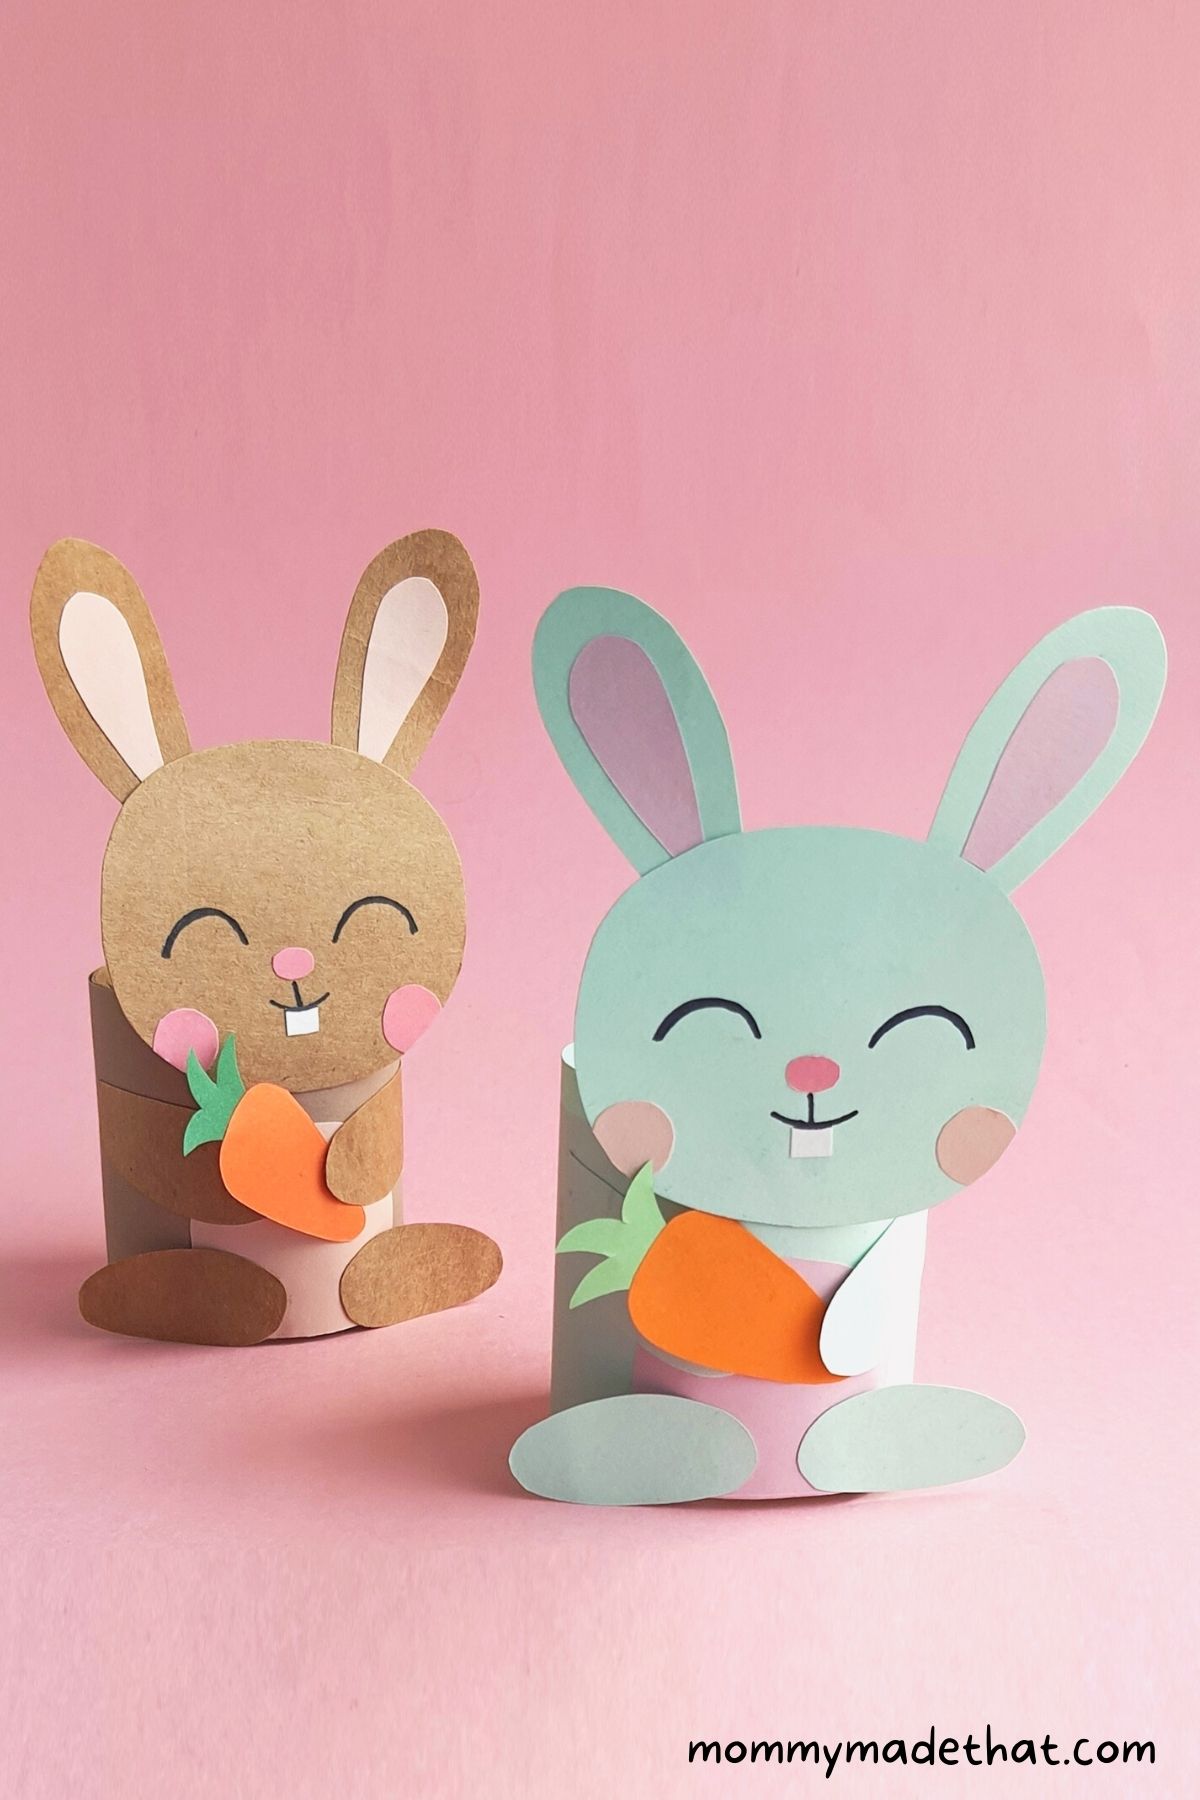
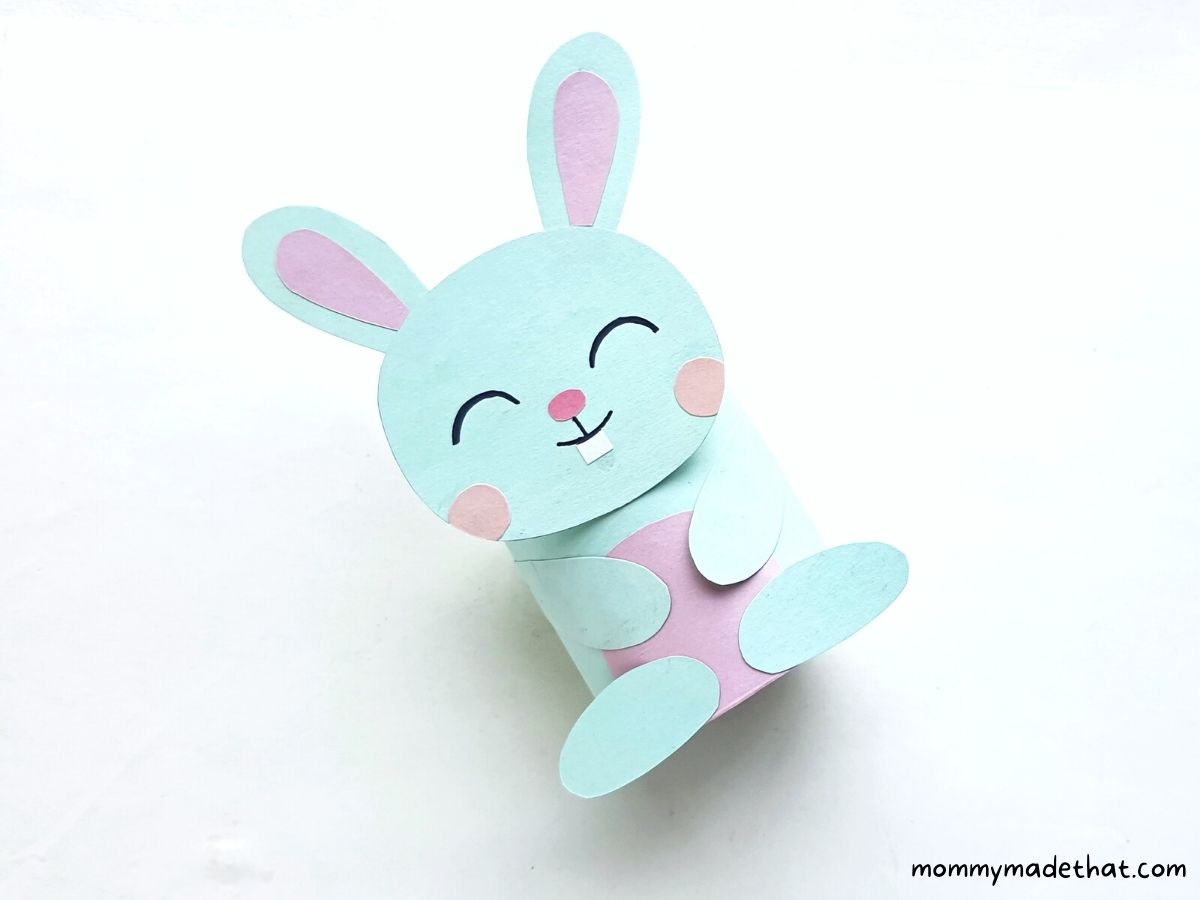
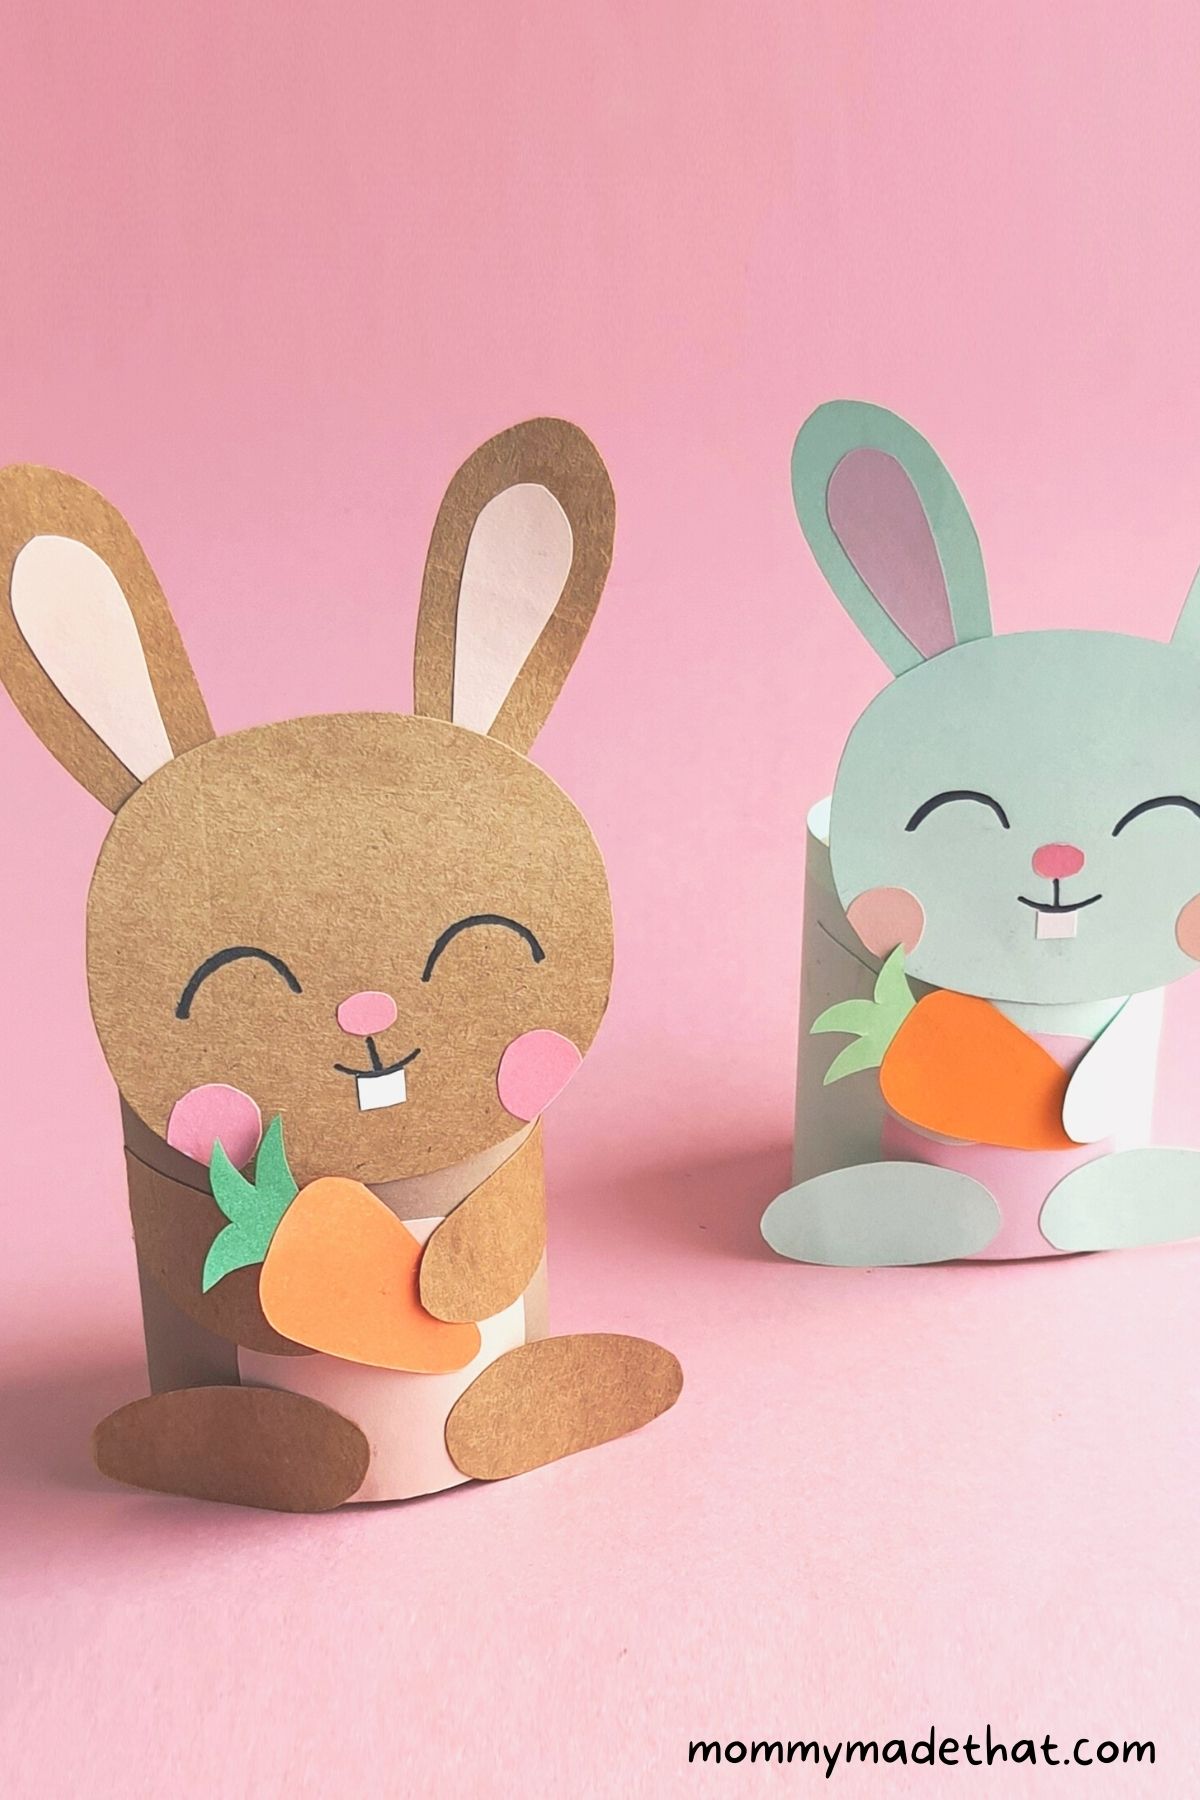
Colored Craft Paper: You can use any colors you like. We made two bunnies, a blue and pink one and a brown and pink one.
Toilet Paper Roll: We always keep our empty tp rolls, which are perfect for crafts like this.
Black Marker: For adding details to the bunnies.
Toilet Paper Roll Bunny Template: You can grab at the end of the post.
You’ll also need some basic crafting materials like
- Craft Glue
- Pencil
- Scissors
Instructions
To make a bunny out of a toilet paper roll start by printing out the bunny template.
First grab a piece of colored craft paper that you’ll want the base of your bunny to be. Then grab white and pink paper for the bunny ears and tummy.
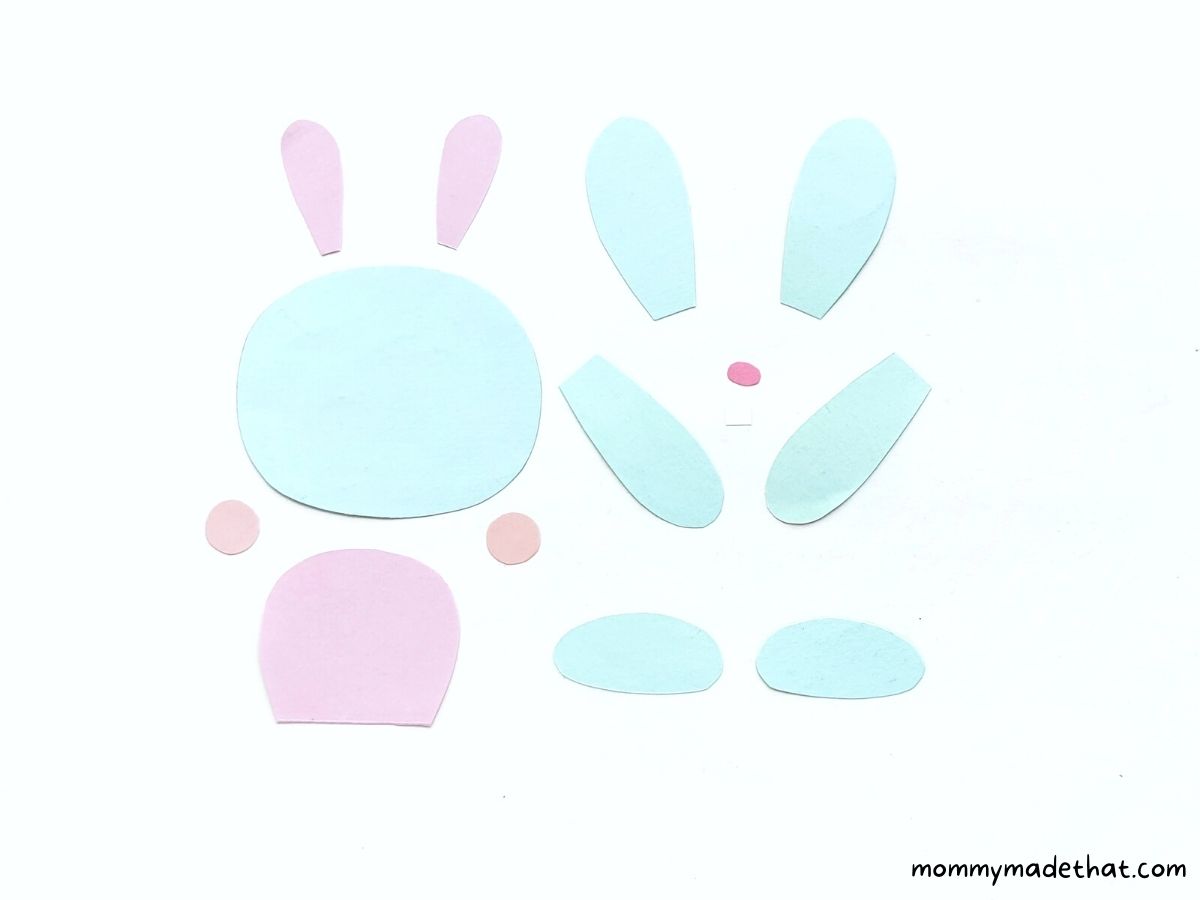
Trace the bunny’s head, outer ears, legs and upper legs on the piece of paper you selected.
Then trace the blush, nose, and belly and inner ear patterns on the pink paper. Trace the teeth pattern (the small square) on the white paper.
Neatly cut out all of the pieces of the bunny.
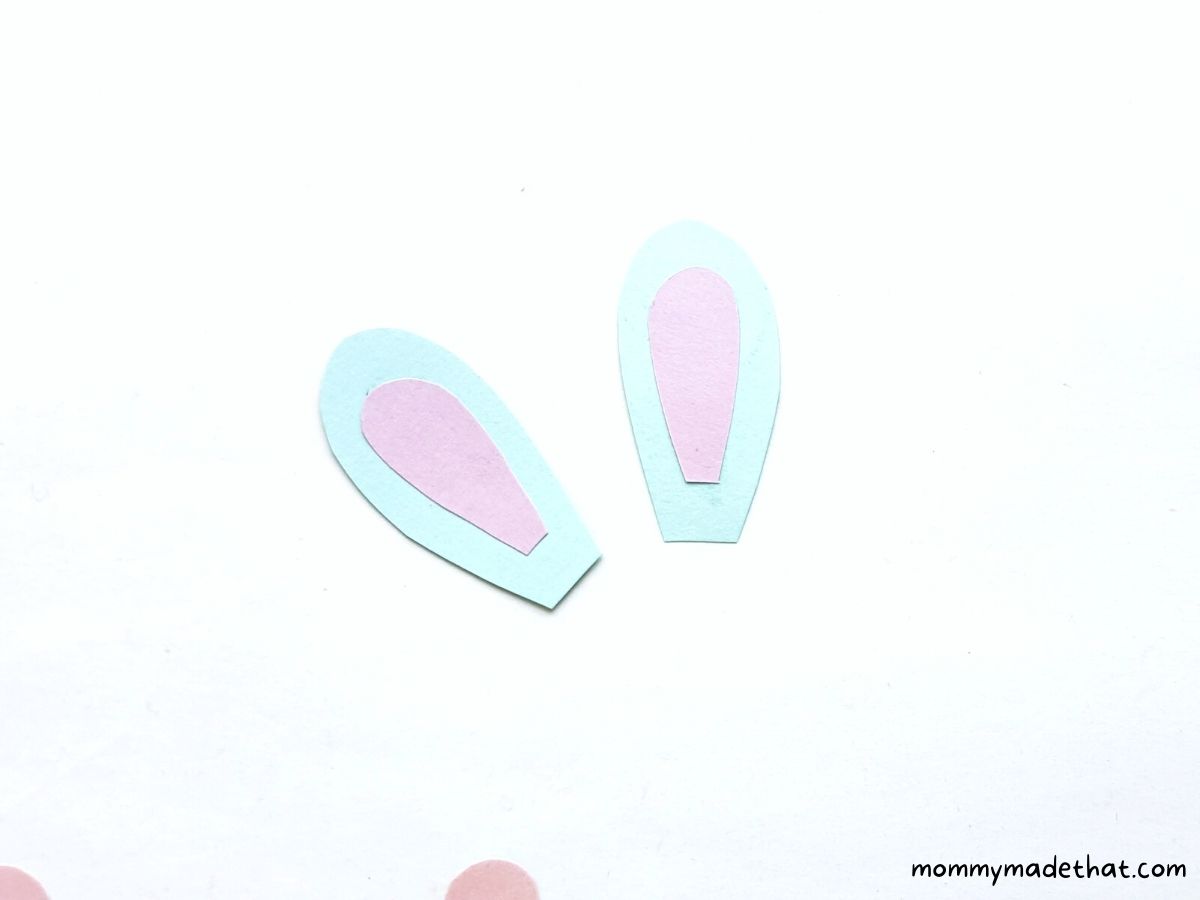
Next, attach the bunnies inner ear pieces to the middle of the outer ear.
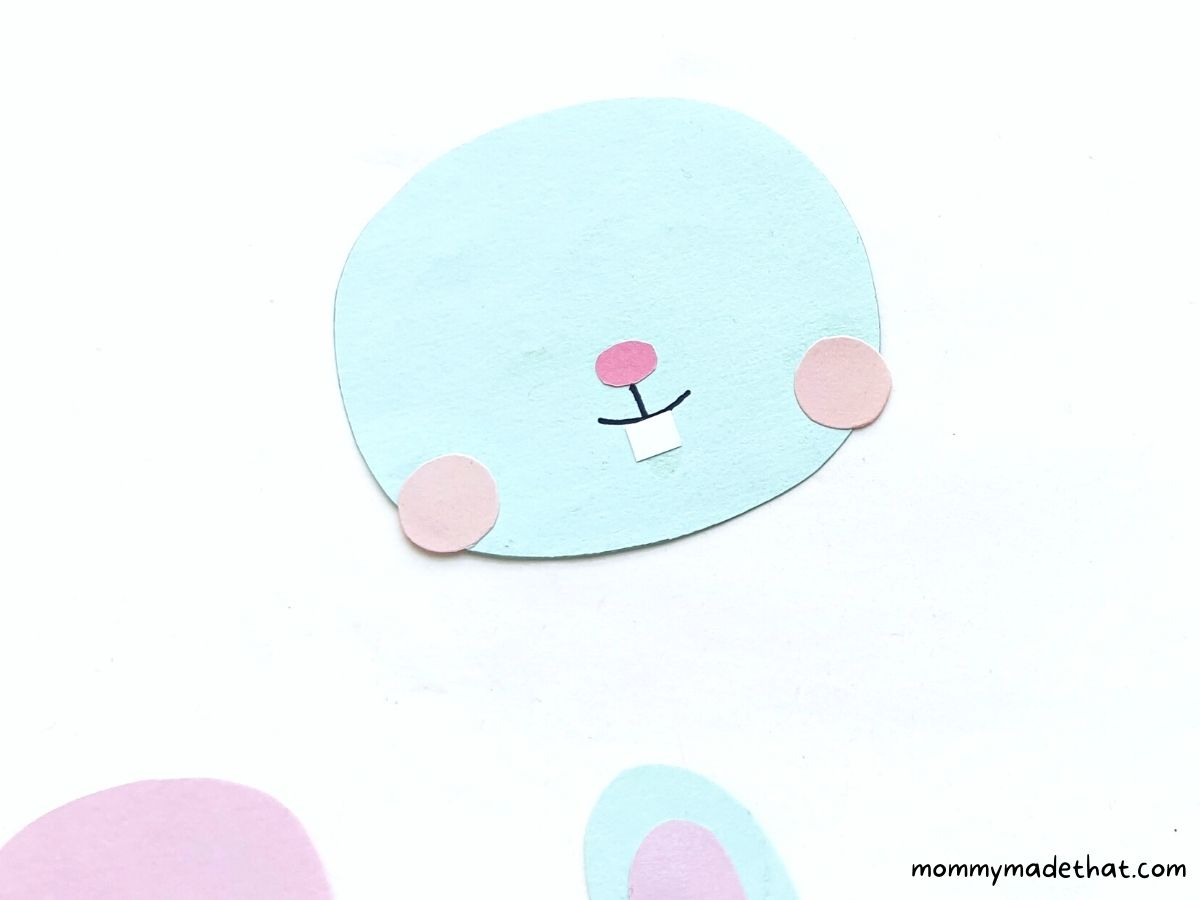
Now it’s time to put your bunny’s face together. So grab the head, nose, cheeks and teeth pieces.
Attach the bunny’s nose close to the center of the head. I like to put it a tiny bit lower than center.
Then create a mouth below his nose and attach the teeth to the bottom of his mouth.
Finally, attach the pink circles to create blushing cheeks on both sides of the bunny’s face.
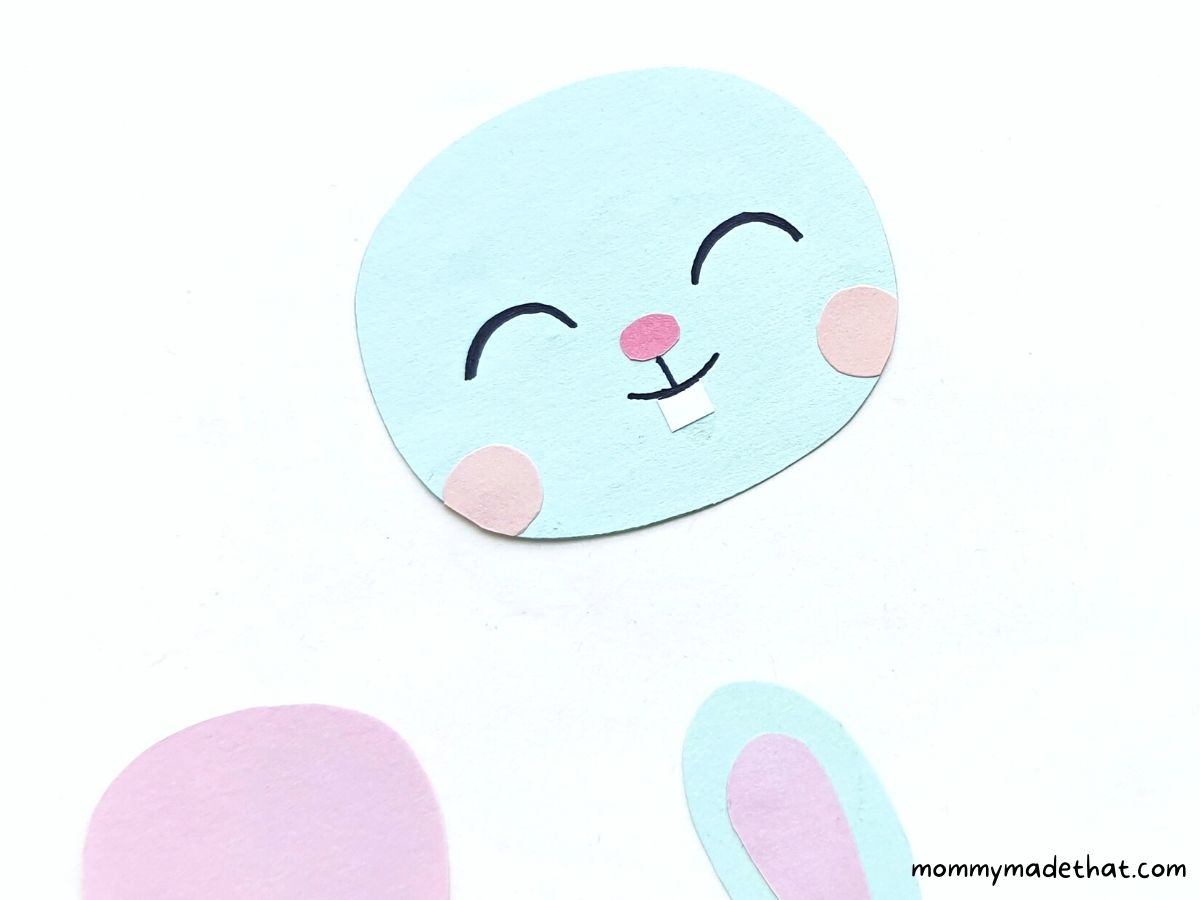
To finish off the bunny face, add eyes and trim off any excess cheeks.
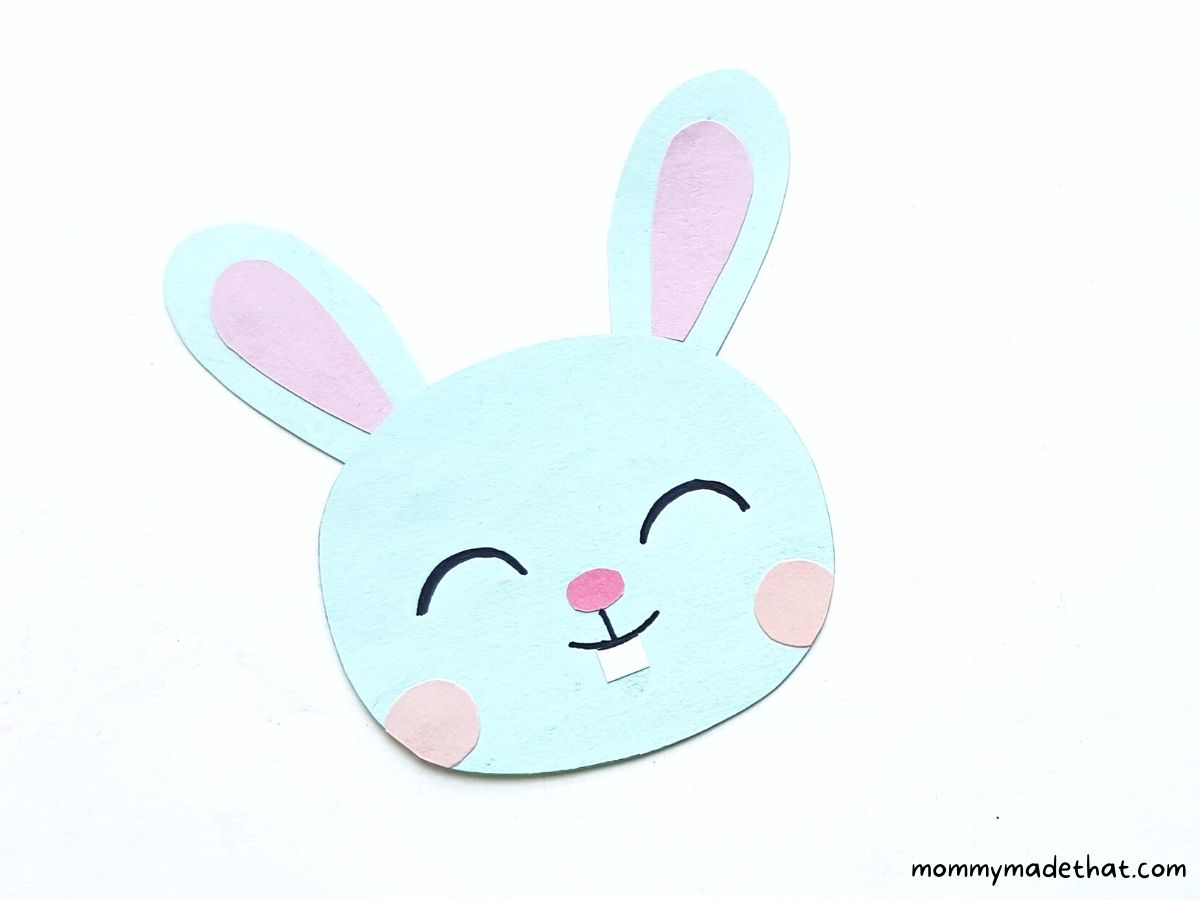
Next, attach the ears behind your bunny head.

Now create the bunny’s body by cutting out enough colored paper to wrap around half a toilet paper roll. Whatever color you use will be the majority of his body color.
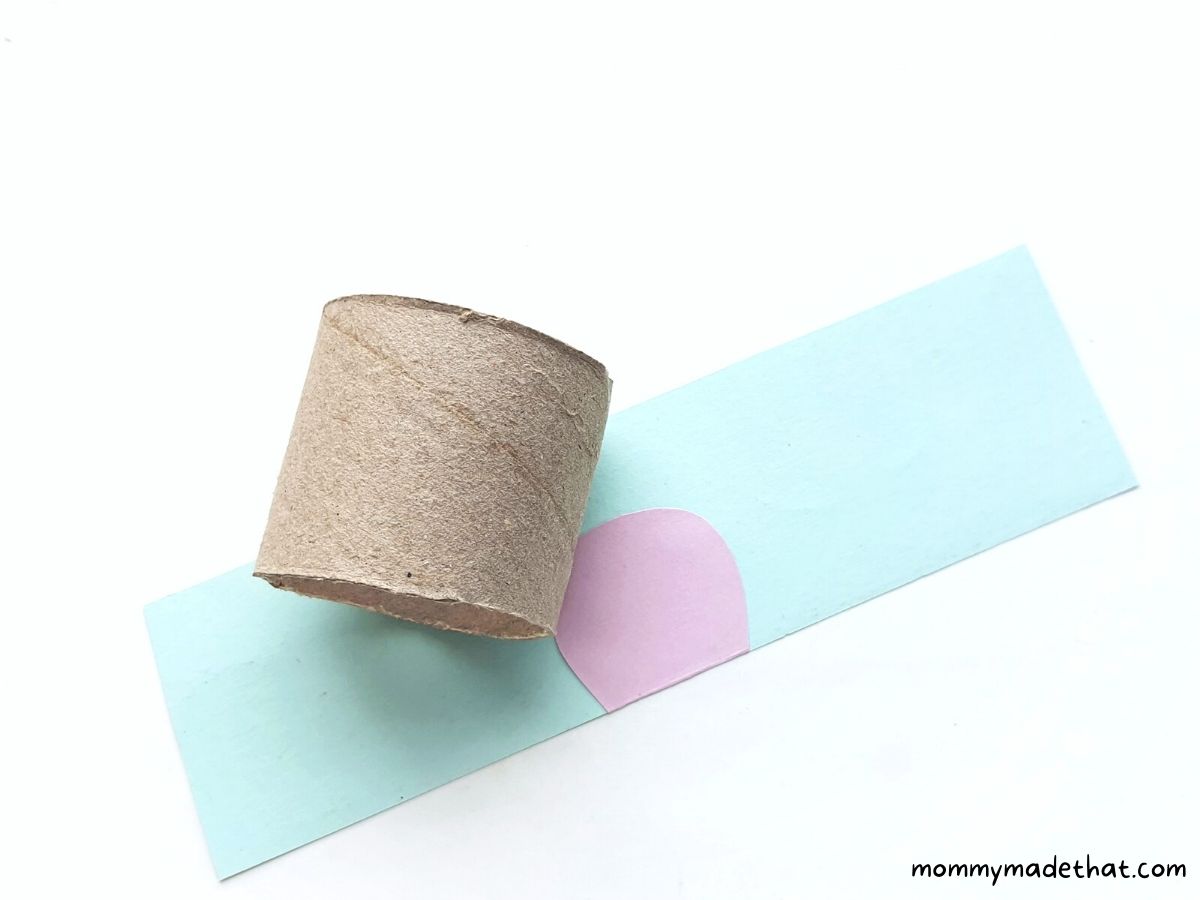
Attach the bunny’s belly piece to the center of the colored paper you just cut out.
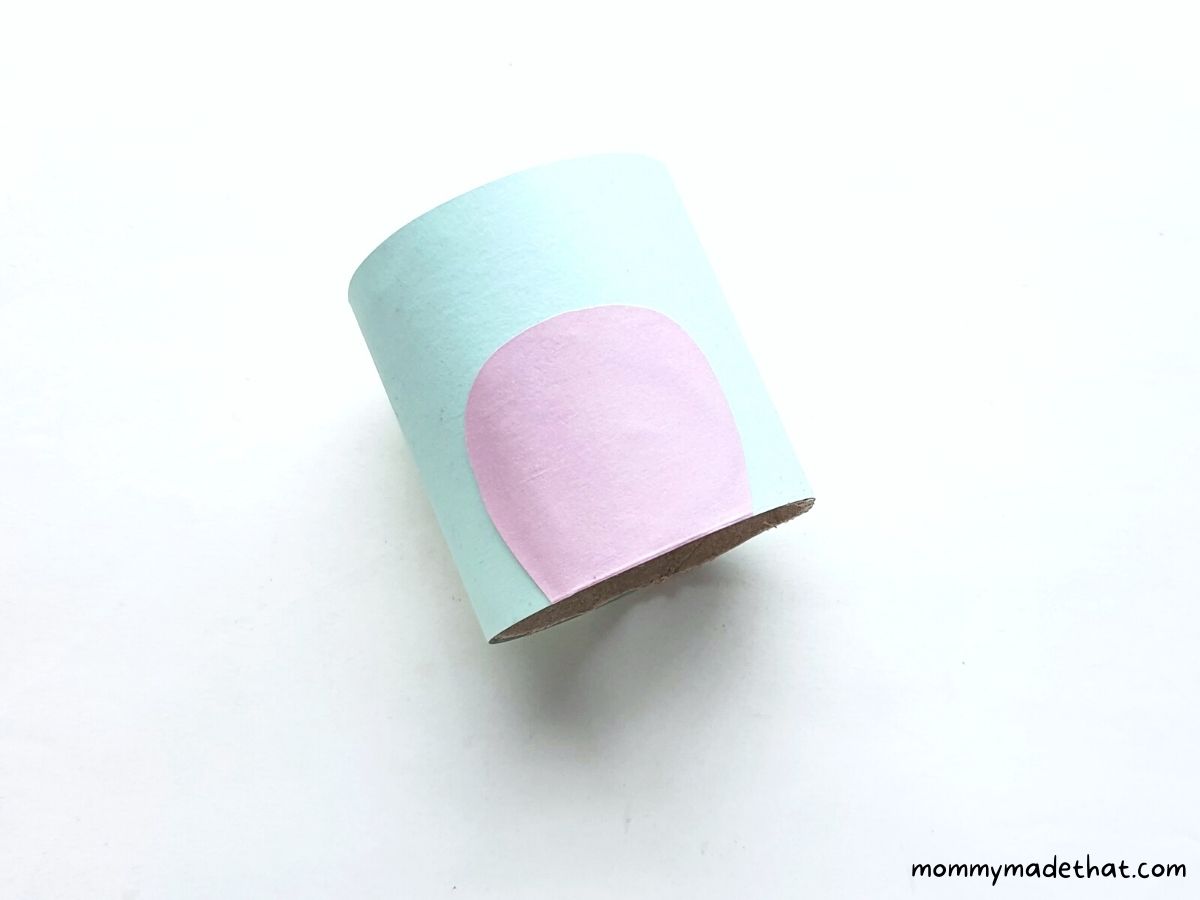
Next cover the toilet roll with the strip of paper, belly side out. Use glue on the edges of the paper so the body piece sticks well to the toilet paper roll.
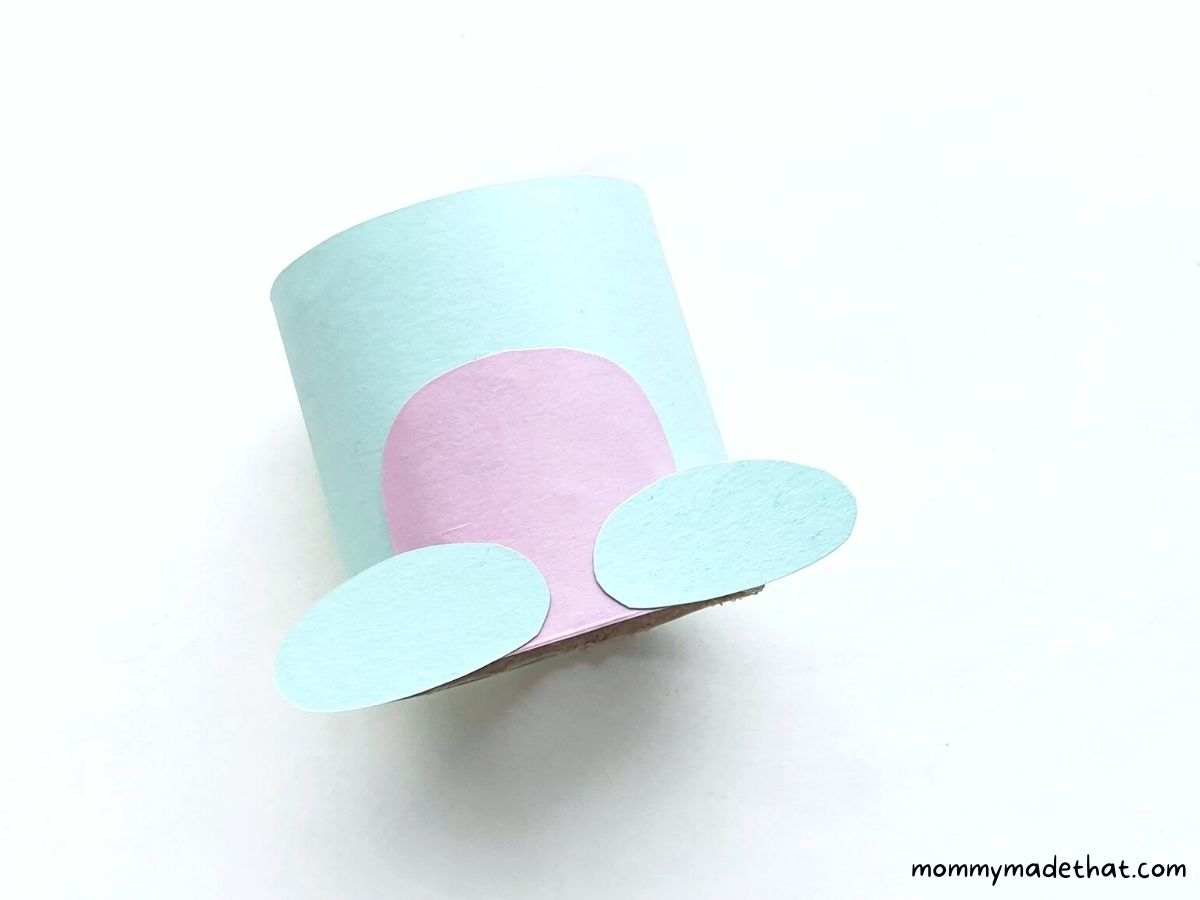
Next, attach the leg pieces to the bottom of the bunny’s body.
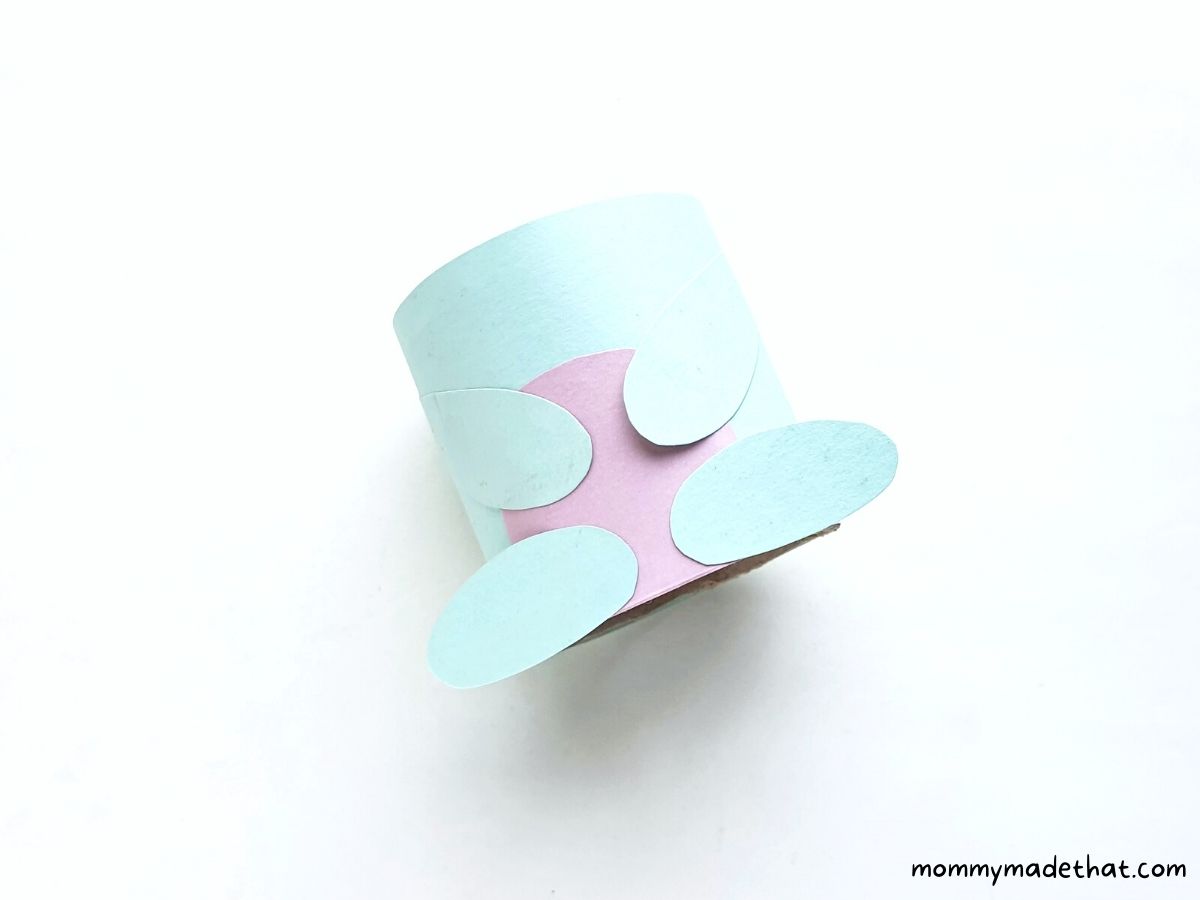
Now attach the upper leg pieces, (or the arms?) above the feet pieces.
While attaching the arm pieces, try to keep the round edges of the cutouts free from glue. If you leave a small gap between the TP roll and the arms on the round sides, you can insert cute cutouts for your bunny to hold.
And your toilet paper roll bunny is all finished!!
Aren’t these little rabbits cute! What a fun Easter craft idea.
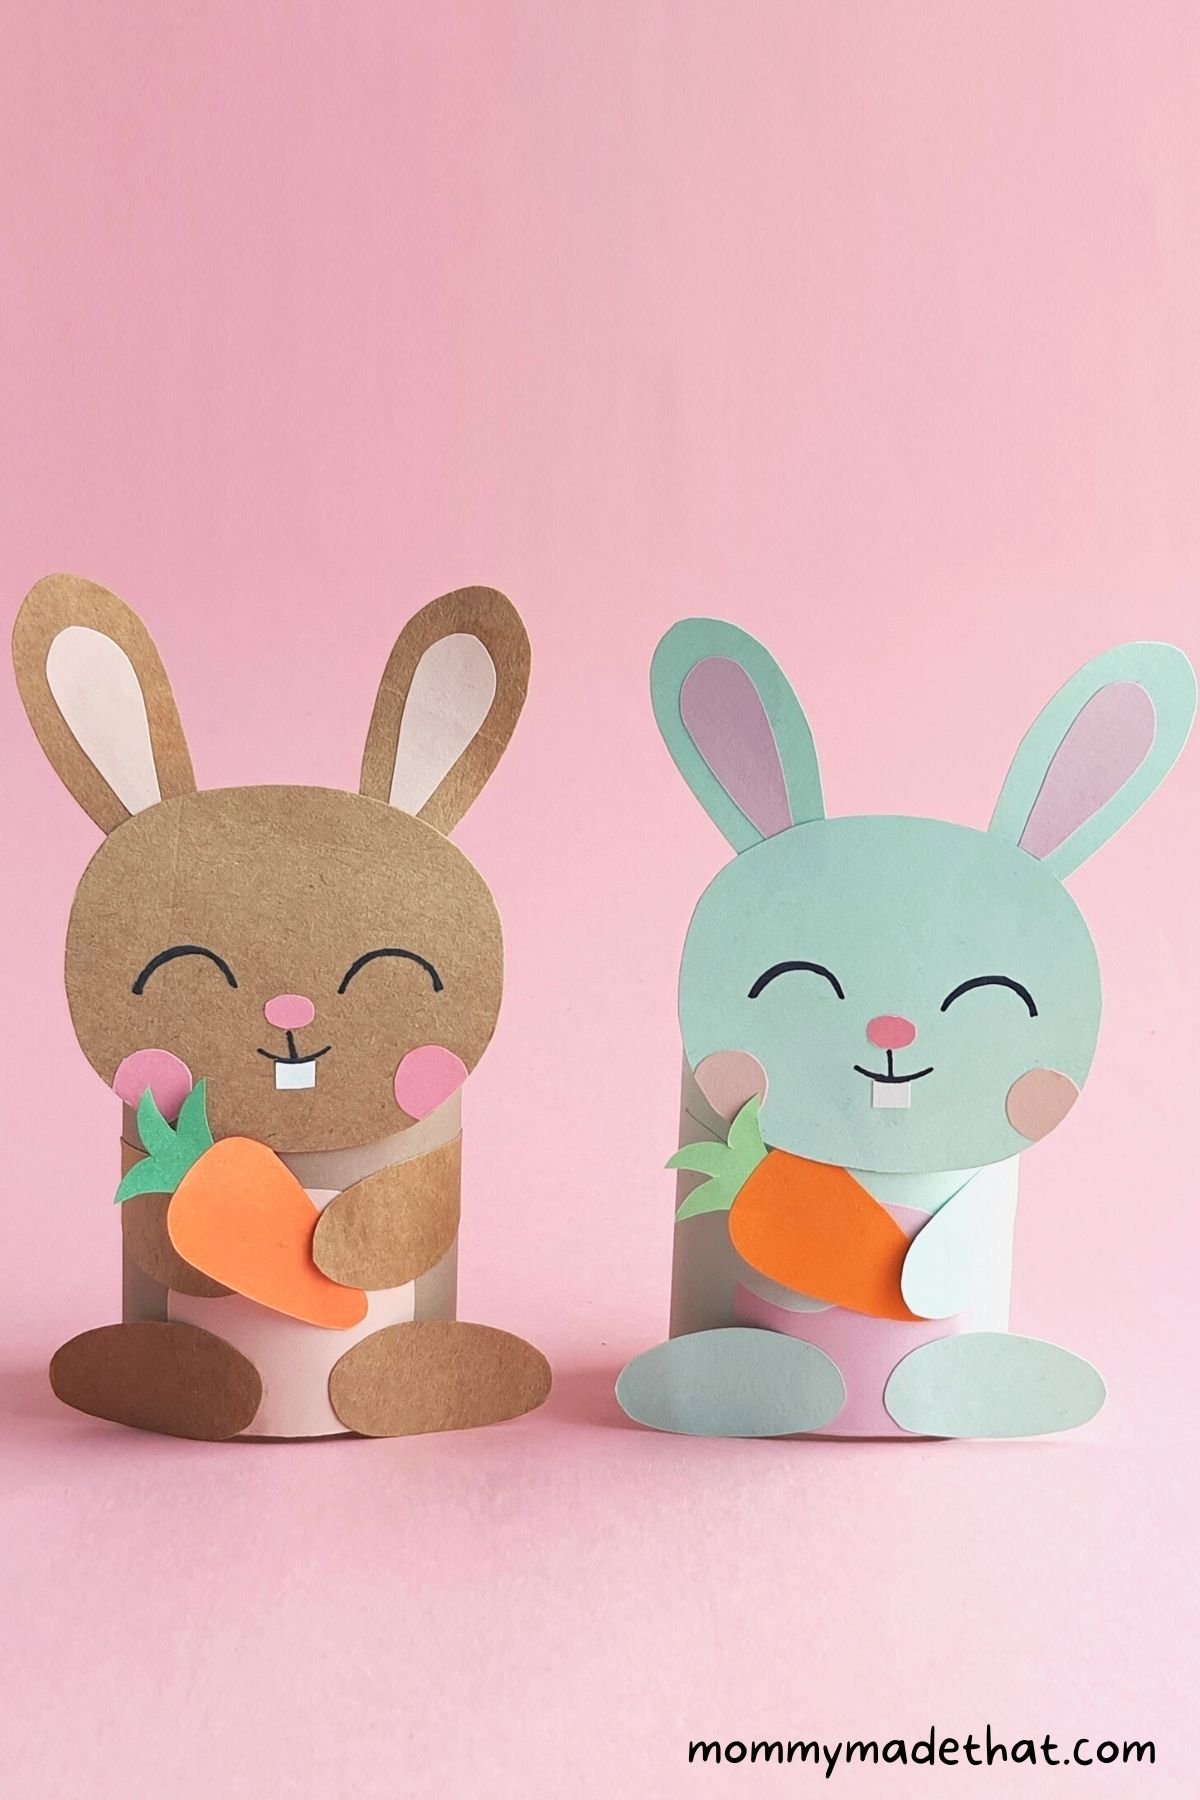
As far as making little items for your bunnies to hold in their paws, we made little carrots.
But if you are making a toilet paper roll Easter bunny, you could put tiny Easter eggs for the rabbit to hold.
Make sure to give your little guys some adorable bunny names when you’ve finished creating them!
Grab the Bunny Craft Template
Grab the bunny template by putting your email in the box below. We’ll send the craft template straight to your inbox.

Toilet Paper Roll Bunny
These adorable paper roll bunnies are perfect for making Easter bunny crafts or cute spring time crafts.
Materials
- Colored craft papers
- Empty TP roll
- Toilet paper roll bunny template
Tools
- Sharpie
- Craft glue
- Pencil
- Scissors
Instructions
- First select a piece of colored craft paper that you'll want the base of the bunny., plus a piece of white and pink colored paper. Print out the tp bunny template and trace the bunny's head, outer ears, legs and upper legs on the piece of paper you selected. Then trace the blush, nose, and belly and inner ear patterns on the pink paper. Trace the teeth pattern on to the white paper. Cut out all the pieces.
- Attach the inner ear pieces into the center of the outer ear pieces.
- Attach the bunny's nose the center of the bunny head piece. Draw a mouth and add the teeth piece to the bottom of the mouth. Glue on the cheek pieces and trim any excess.
- Attach the bunny ears to the back of the head piece.
- Prepare a strip of paper to completely cover half a toilet paper roll. Attach the belly piece to the center of the strip.
- Cover a halved toilet paper roll with the strip of paper to create the bunnies body.
- Attach the leg pieces to the bottom of the rabbit.
- Attach the arm pieces above the leg pieces, being sure not to glue down the bunny paws.
- Attach the head piece to the front of the tp roll.
- Your paper roll bunny is now finished! Enjoy.
Notes
Leave the "hands" of the bunnies free so you can slip in fun cut out accessories for your bunny to hold.