Paper Plate Bunny Craft (Free Printable!)
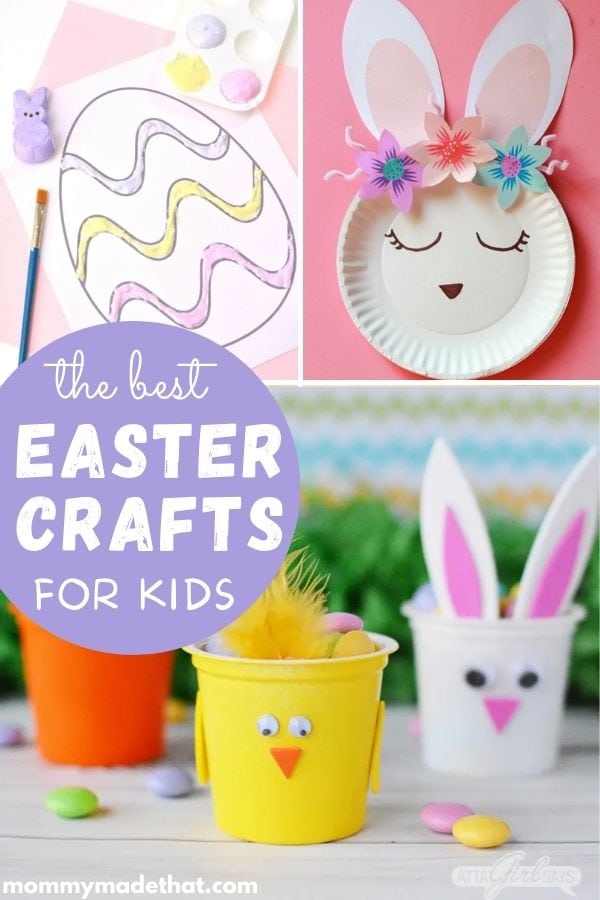
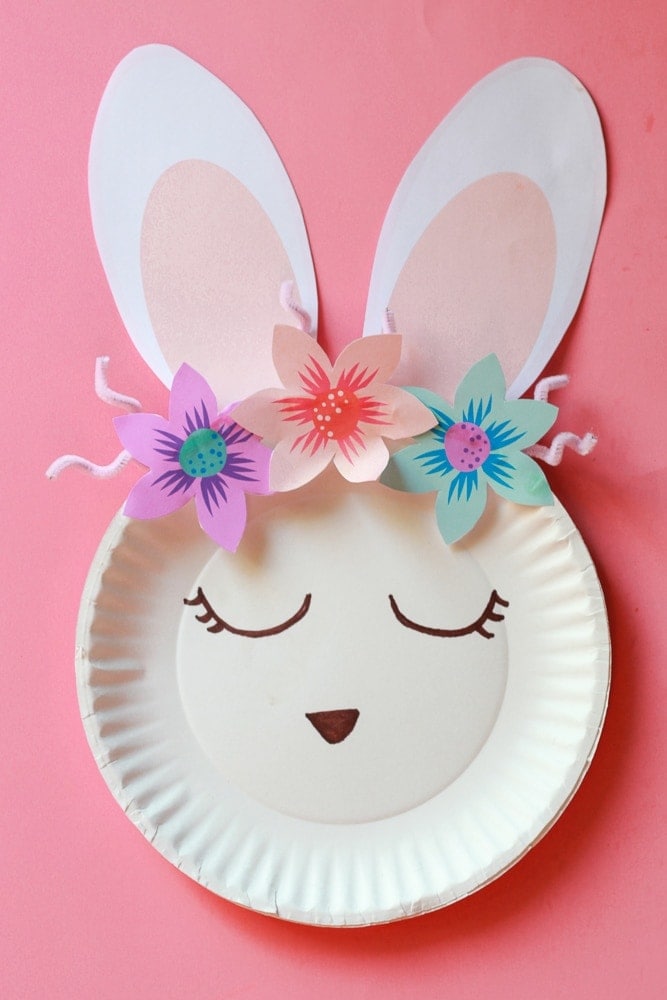
Today we have this super cute paper plate bunny craft. It’s a great Easter Bunny Craft.
Plus it comes with free printable pieces, making this a super easy craft you can do with just a paper plate and a sheet of printer paper!
It’s no secret that in this house, we love making spring crafts for kids.
So if you’re looking for Easter crafts for kids, we got you!
We especially love a cute Easter bunny craft, especially if it’s one of our Easter printables.
So today we made this adorable bunny using a paper plate. We made him extra adorable with a few printable accessories.
Best part, is we are going to show you how to make a rabbit with paper plate the easy way.
Be sure to check out more of our adorable paper plate crafts.
Table of Contents
Supplies for Paper Plate Bunny
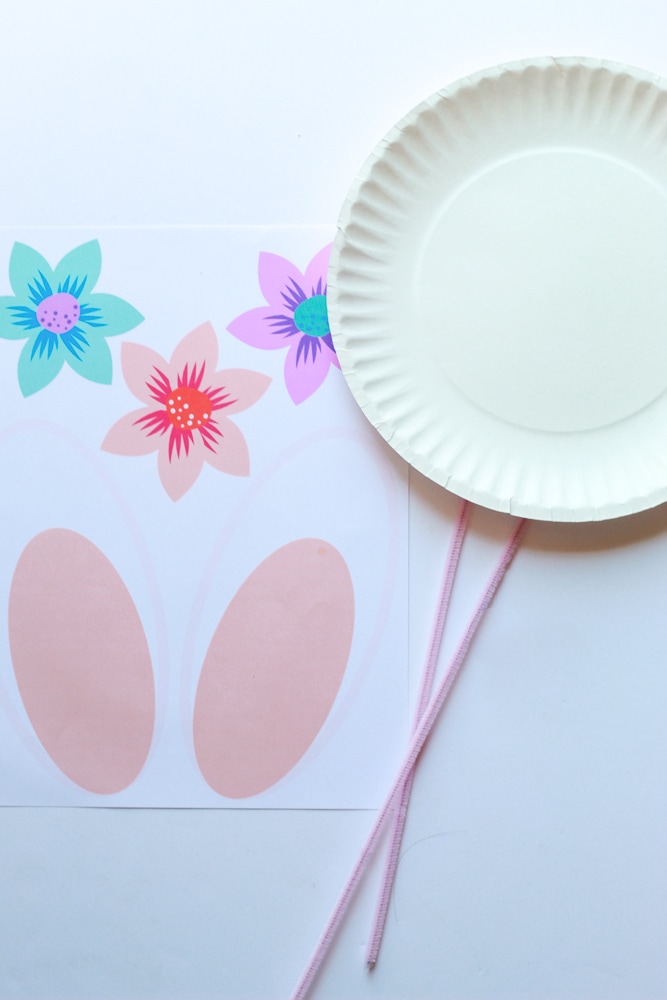
The supplies are pretty simple for this paper plate craft:
- Paper Plates
- Our Free Easter Bunny Paper Plate Craft Printable
- Craft glue or glue gun (Plus glue sticks)
- Scissors
- Marker
- Pipe cleaners (optional, we used 2 for each bunny)
You could also include googly eyes if you’d like to add those to your bunnies face.
How to Make a Paper Plate Bunny
To make this cute Easter bunny, start by grabbing all of your supplies.
First, start by printing and cutting out all the pieces of your Easter Bunny Paper Plate Craft printable.
If you don’t have a colored printer, you could always create you own bunny ears out of white and pink construction paper.
Add a few cute flowers cut out from colored paper, and you’ll get the same effect!
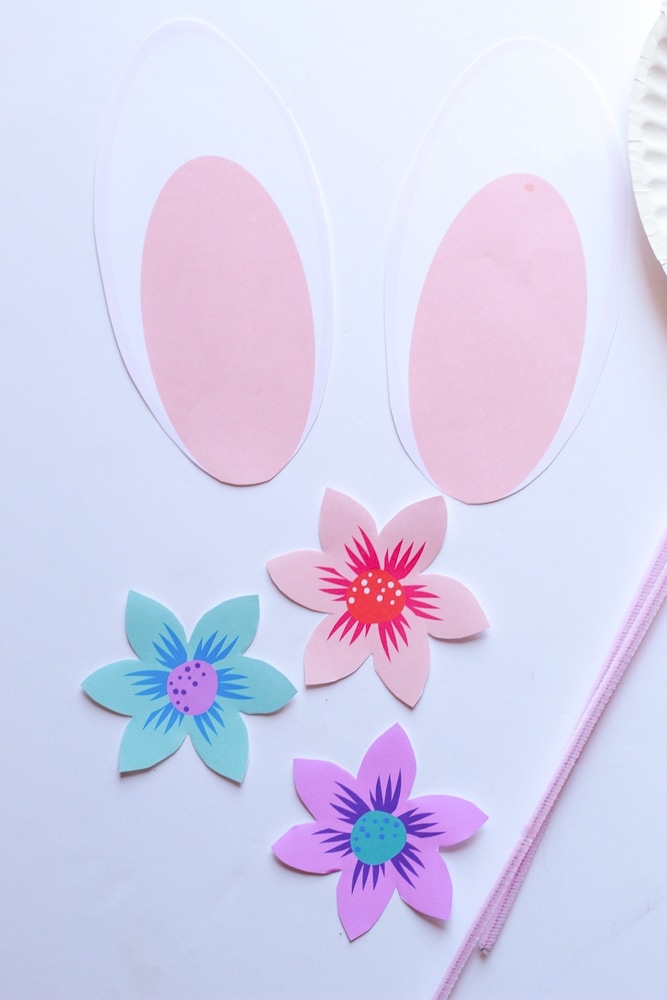
You can do the next few steps in any order you like, but I highly suggest drawing your bunny face on your paper plate with a black marker, before doing any of the other steps.
This way, if you don’t like the face you draw, you can easily start over. We had to give it a couple trys to get a bunny face we liked.
Then you’ll want to glue the bunny ears to the back of your paper plate bunny.
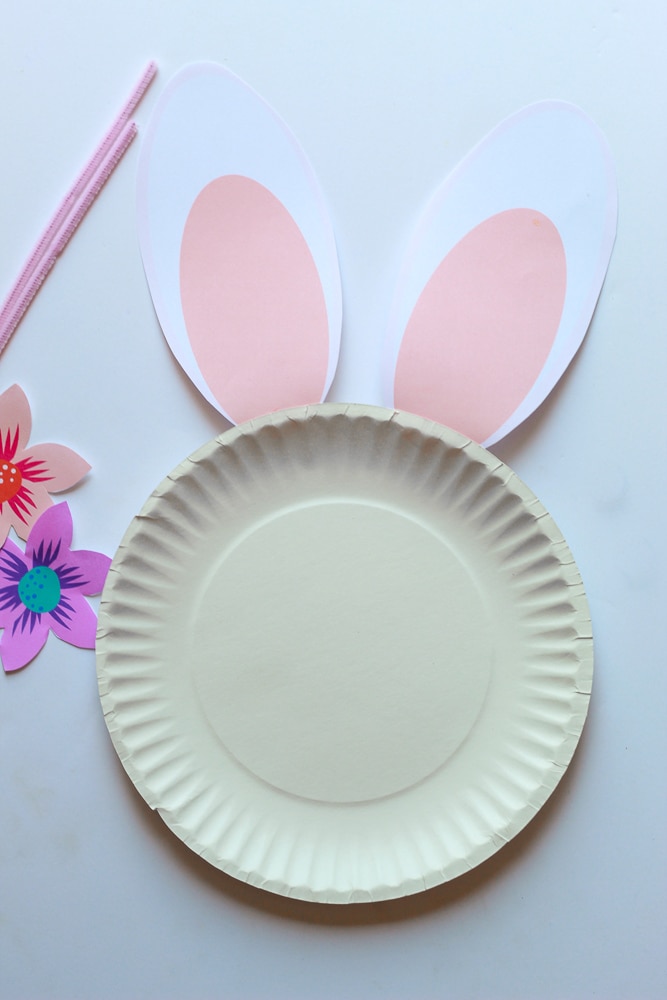
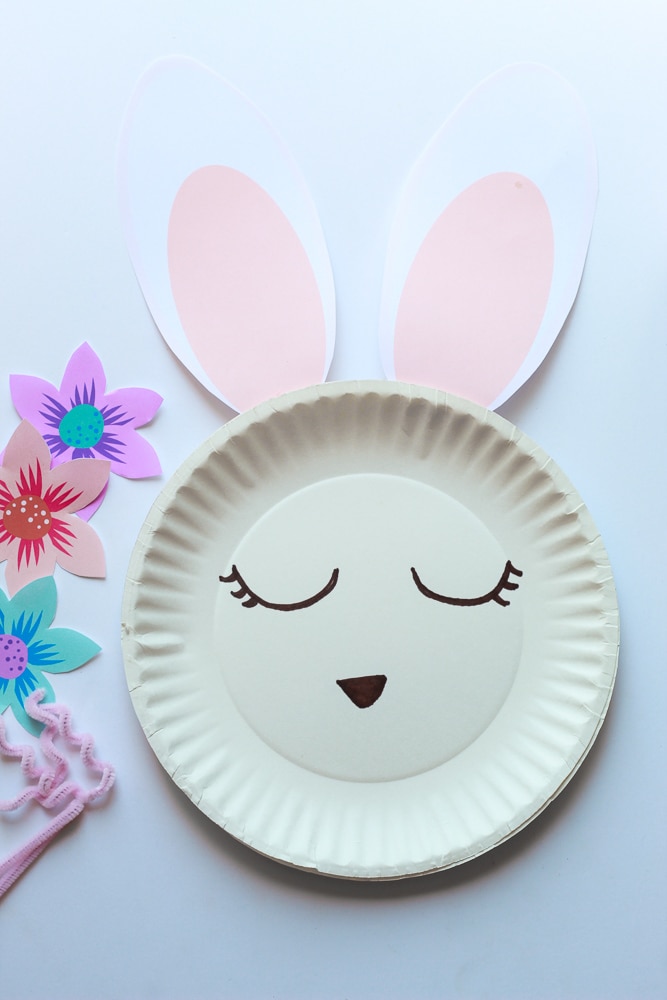
Next, you’ll glue your three flower cutouts across the top of your paper plate bunny to form a pretty floral crown.
This next step is optional but adds a cute detail to your bunny plate. Cut the pipe cleaners in half and then fold those smaller pieces in half.
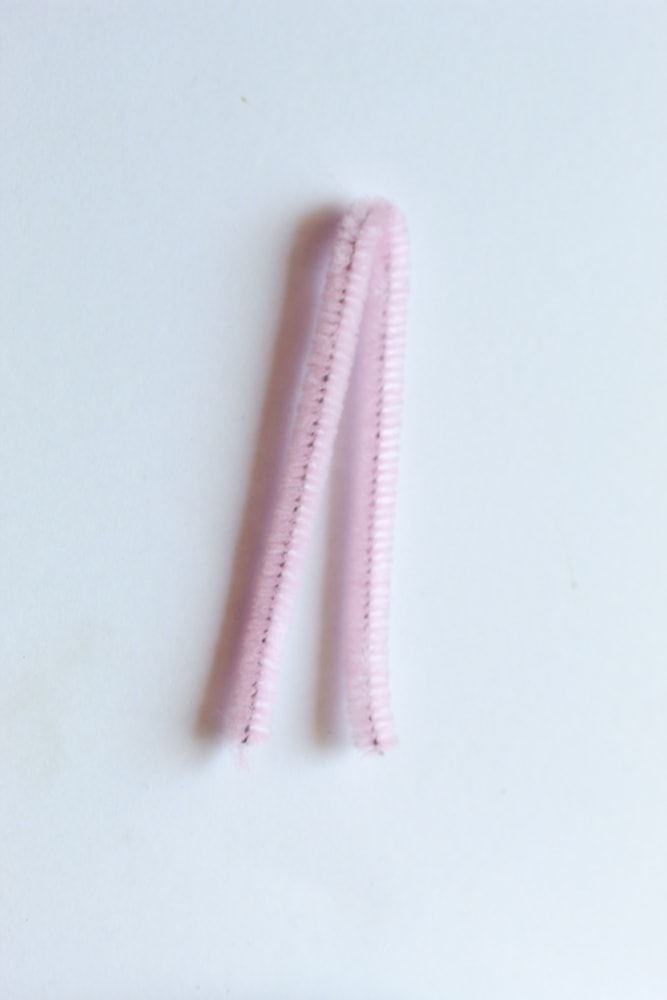
Then twist the ends to form cute curly cues.
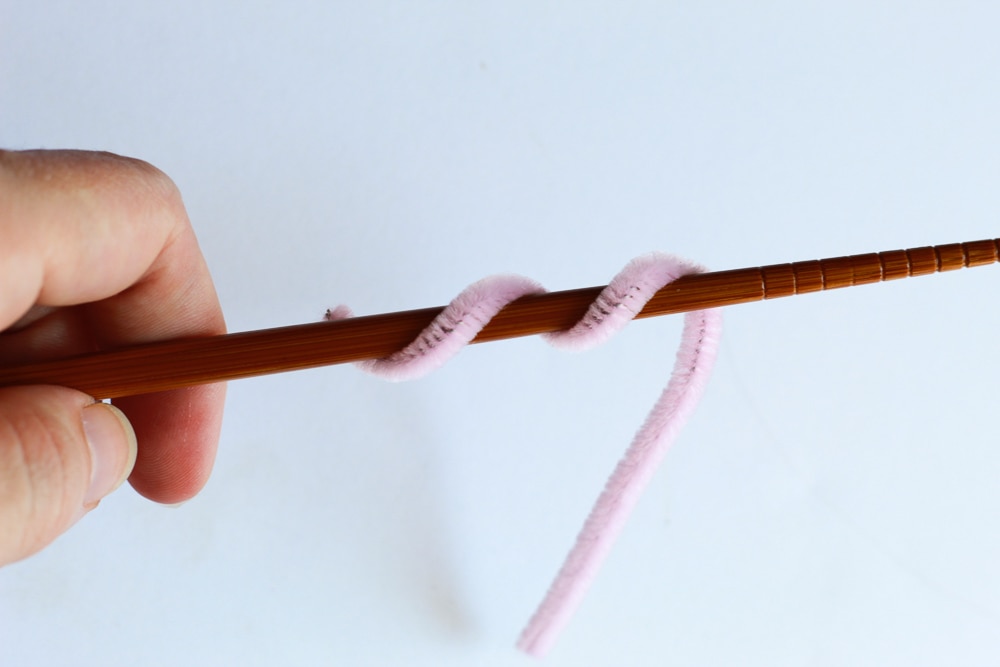
You can glue these to the back of your paper plate in between the flowers to add curls coming out from your Easter bunny’s crown.
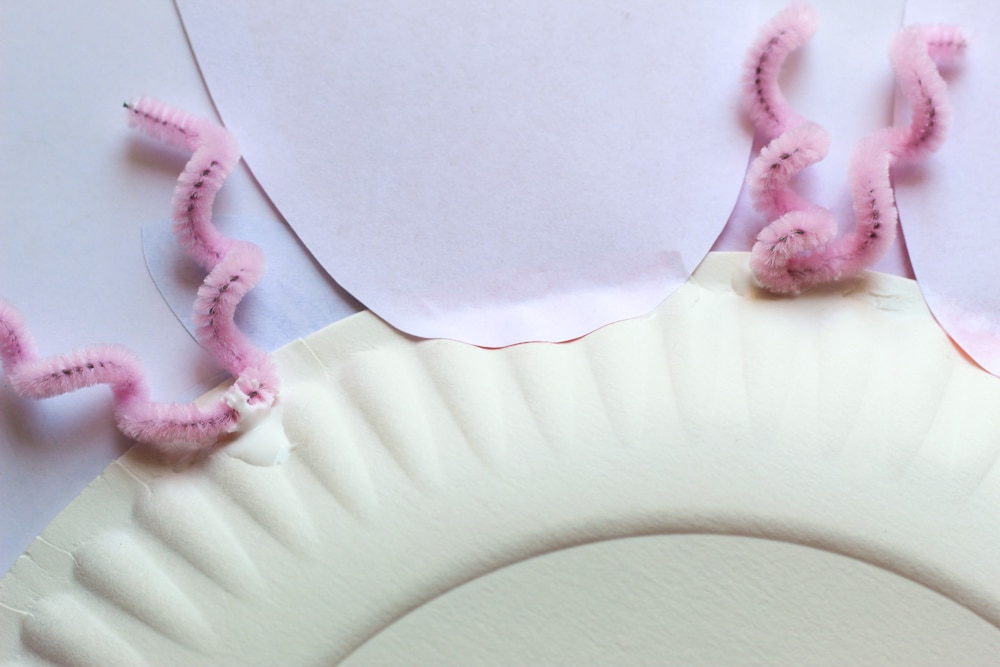
Let your glue dry completely. If you are doing this part, a hot glue gun would work a lot faster. But not recommended for kids.

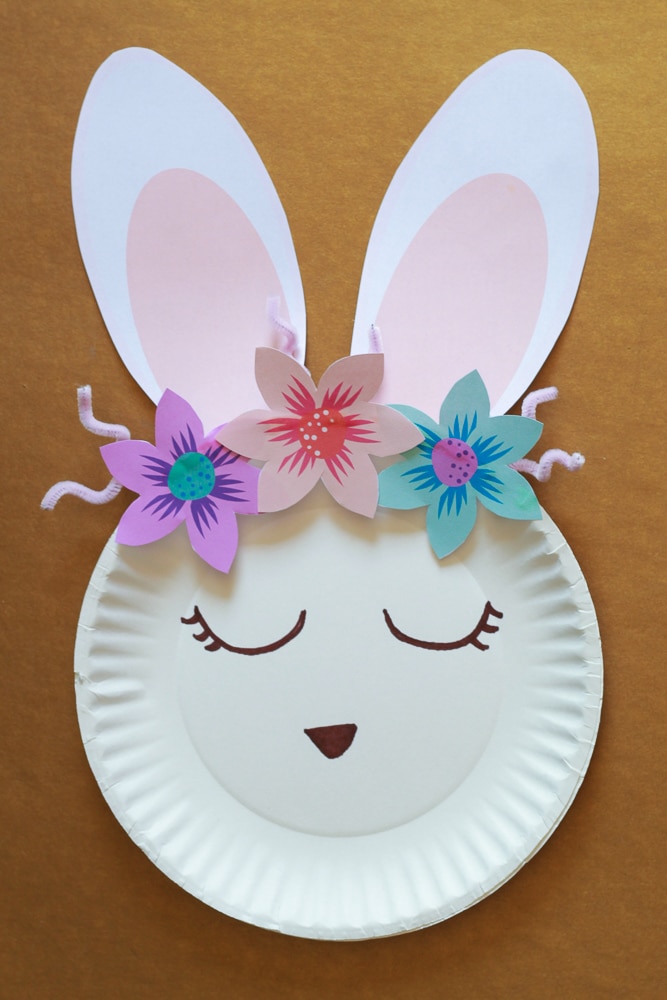
You’ll end up with a cute Easter bunny in no time. We hope you enjoy making lots of paper plate bunnies!
And be sure to give your little guys a great bunny name!

Easter Bunny Paper Plate Craft
This cute Easter Bunny craft uses only a couple supplies. A paper plate, our free printable and pipe cleaners if you have them.
Materials
- Paper Plate
- Free Easter Bunny Craft Printable
- Pipe Cleaners (optional)
Tools
- Scissors
- Marker
- Craft glue or hot glue
Instructions
- Print out our free Easter Bunny Craft Printable.
- Gather all of your supplies.
- Cut out your Easter bunny ears and flowers from the printable.
- Draw cute bunny eyes and nose on your paper plate.
- Glue your rabbit ears to the back of your paper plate near the top.
- Glue on your flower cut outs on the front of your pate across the ears.
- Cut your pipe cleaners in half, then fold those halves, in half.
- Curl the ends of each of your pipe cleaner pieces.
- Glue to the back of your Easter Bunny Plate between the flowers on his crown.
- Allow glue to dry completely.
- Admire your beautiful Easter bunny paper plate!
If you’re looking for more Easter bunny fun, make sure to check out our free printable bunny templates.
Do you have any favorite Easter paper plate crafts?

