Felt Snowman Ornament (With Free Printable Pattern)
Today’s craft is a delightful felt snowman, perfect for welcoming winter! It’s a fun, hands-on project that combines simple sewing with creative design, resulting in a charming, fluffy snowman. Ideal for decorating your home or as a heartfelt gift, this craft is sure to bring smiles and a touch of winter wonder. Plus, we give you the free felt snowman pattern so you can make one yourself!
Embrace the chilly charm of winter with this adorable felt snowman craft! It’s a fantastic activity for kids, encouraging creativity, fine motor skills, and basic sewing.
This craft is perfect for winter holidays, classroom decorations, or just a cozy family crafting session. The endearing design and soft textures make it a hit with children and adults alike.
Or craft one of these cute felt snowmen up and sell them at a local Christmas fair or in your Etsy shop for a little side income.
We’ve got lots of great handmade felt ornaments, all with free patterns. So be sure to check them all out. Like our cute felt holly berry ornaments or our cute felt angel ornaments.
We also have lots of cute snowman crafts and activities that are perfect for whipping up this winter. Like our printable snowman craft and our snowman paper doll.
We also have snowman jokes that perfect for reading while making your cute little snow guy.
Table of Contents
Why You’ll Love This Craft:
- Engaging Activity: Keeps kids occupied with a fun and rewarding project.
- Skill Development: Enhances fine motor skills and introduces basic sewing.
- Customizable: Allows for personal touches with various colors and accessories.
- Decorative Appeal: Creates a cute winter decoration for any space.
Materials:
- Felt Fabrics: Assorted colors for snowman body, accessories, and facial features. Soft and easy to handle.
- Matching Thread: Coordinating colors with the felt. Strong for lasting stitches.
- Needle: Suitable size for felt. Easy to thread and handle.
- Scissors: Sharp for clean cuts.
- Cotton or Scrap Felt: For stuffing. Provides a fluffy and soft texture.
- Pencil or Fabric Chalk: To trace patterns. Easy to see and washes off.
Instructions:
Print out the Snowman Pattern: First download and print out the felt snowman pattern. You can grab it at the end of the tutorial.
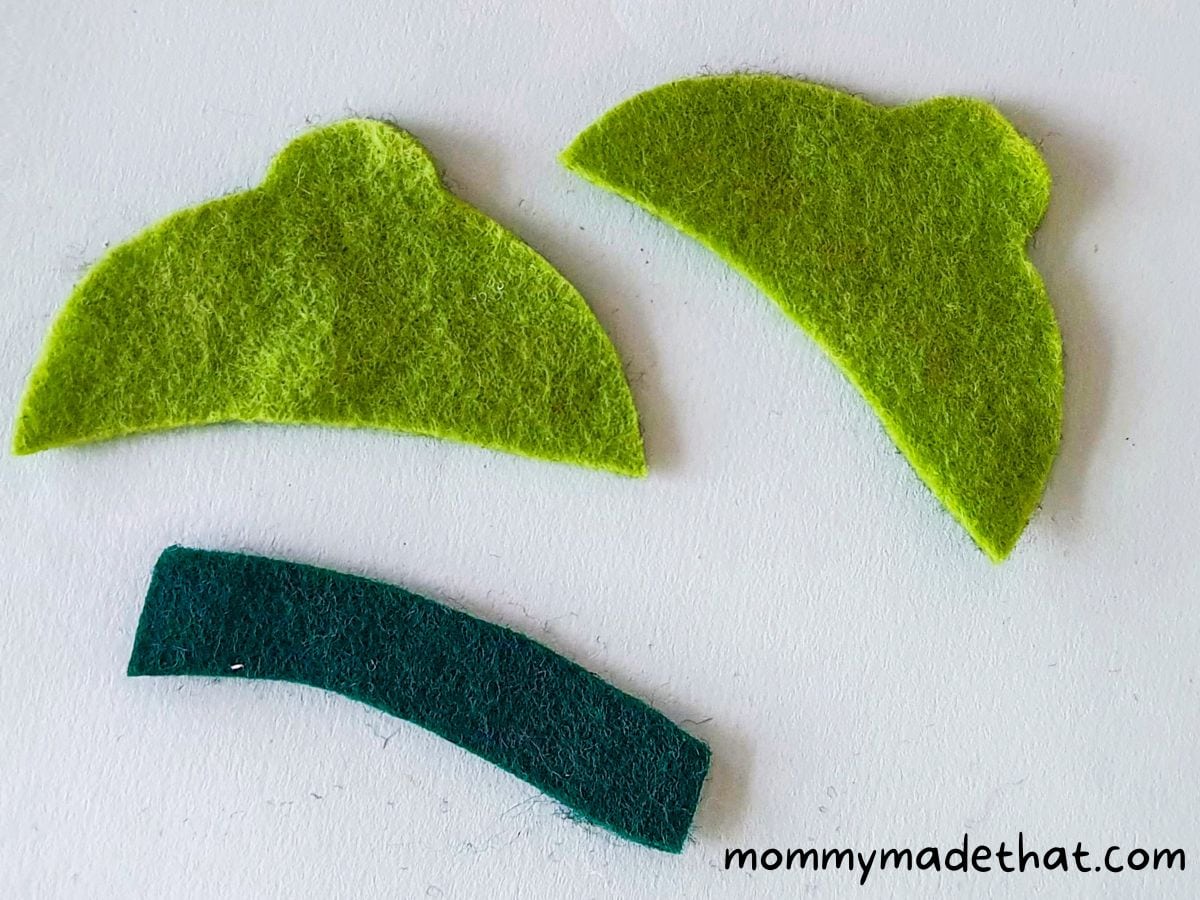
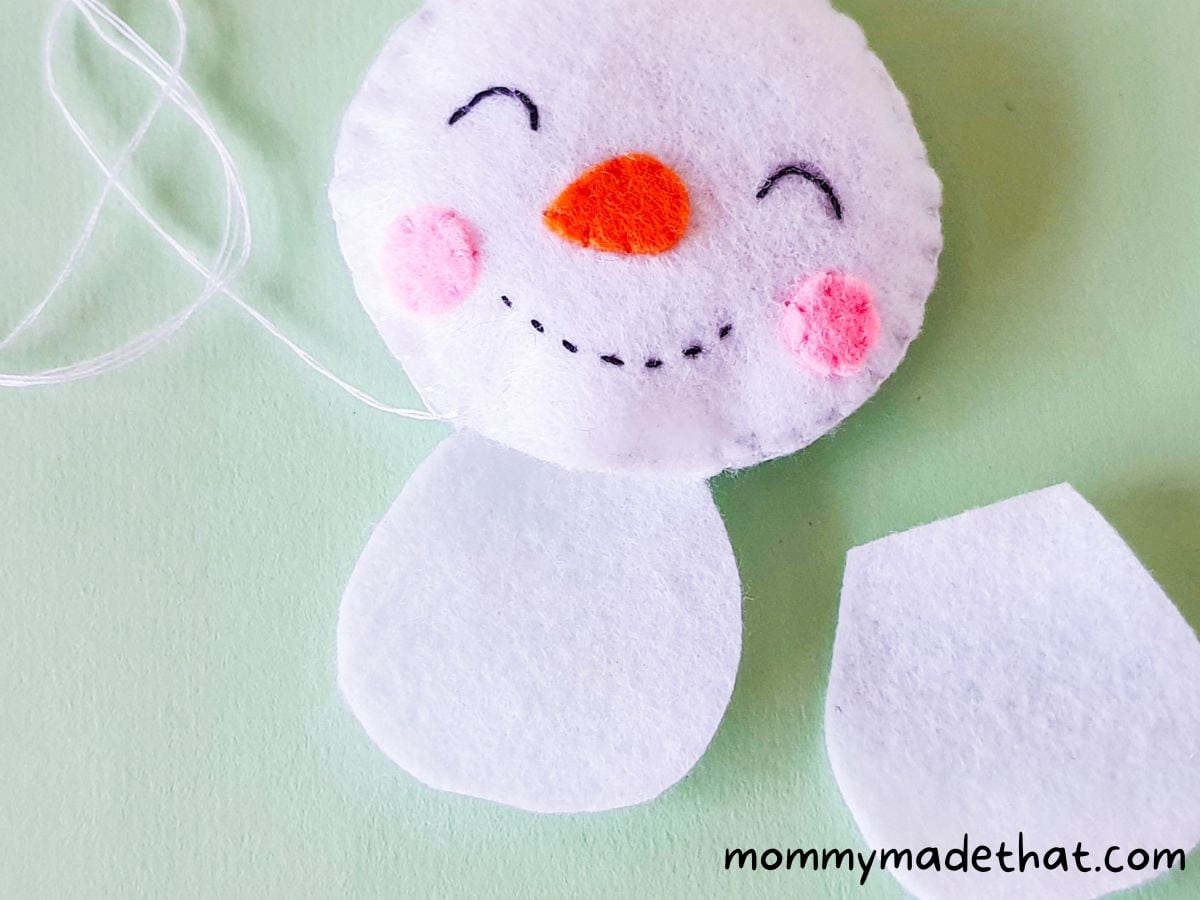
Prepare the Pieces: Choose felt colors then trace and cut out the snowman base, head, body, stick hands, nose, blush, hat, and scarf. You’ll need to make 2 sets of the snowman base pattern, and then cut the head from the body from one of the sets. You should end up with pieces that look similar to those below.

Facial Features: Start by stitching the nose in the center of the head.

Detailing: Then add blush cutouts to the cheeks. Use a black gel pen for eyes and mouth, then stitch over these with black embroidery thread.

Assembling Head: Next place the head over the snowman base pattern, start stitching it around the outside edges, leaving the bottom part where the head connects to the body open.

Stuffing the Head: Fill the head with cotton for a fluffy look.
Assembling Body: Place the lower body cutout under the head’s open end and stitch together.

Attaching Arms: Insert stick hand cutouts between the body and base layers, stitching to secure. Then start stitching around the outside of the body leaving the side open for stuffing. Make sure to remember to put both arms inside the body before closing it up.

Stuffing the Body: Fill the body with cotton, adding the second hand, and stitch closed.

Adding Accessories: Stitch hat sides and add both hat and scarf to the snowman. Attach a ribbon loop on the back for hanging.

Top Tips:
- Pre-Cut Patterns: For younger kids, pre-cut the felt pieces to simplify the process.
- Supervision: Ensure kids are supervised, especially when using needles and scissors.
- Decoration Variations: Encourage kids to personalize their snowman with different colors and additional accessories.
- Quality Time: Use this craft as an opportunity for family bonding and storytelling about winter traditions.
Grab the Free Printable Pattern
To grab our free felt snowman pattern put your name and email in the box below. We’ll send it straight to your inbox.
This is for personal or classroom use only please. Not for commercial use. But feel free to sell any felt ornaments you make from our patterns. You just can’t sell the pattern itself.
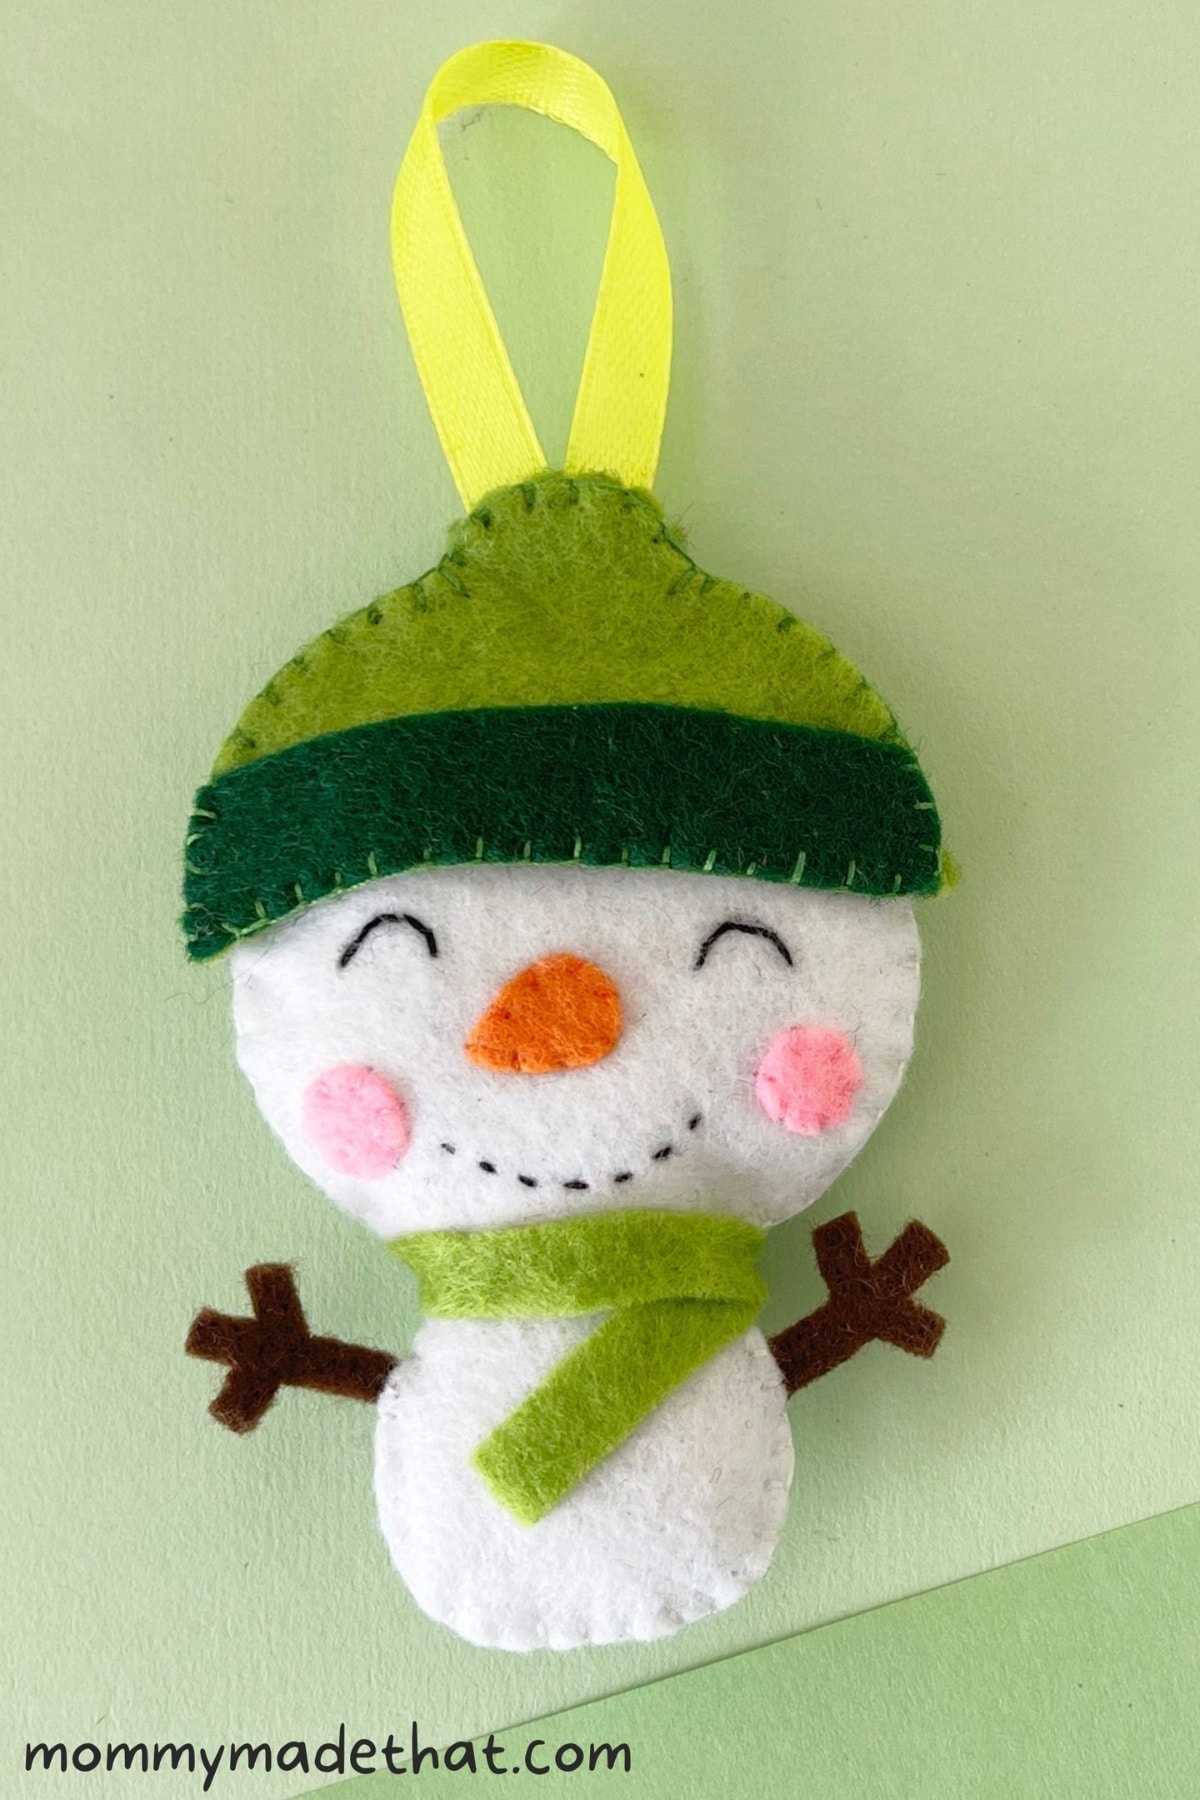
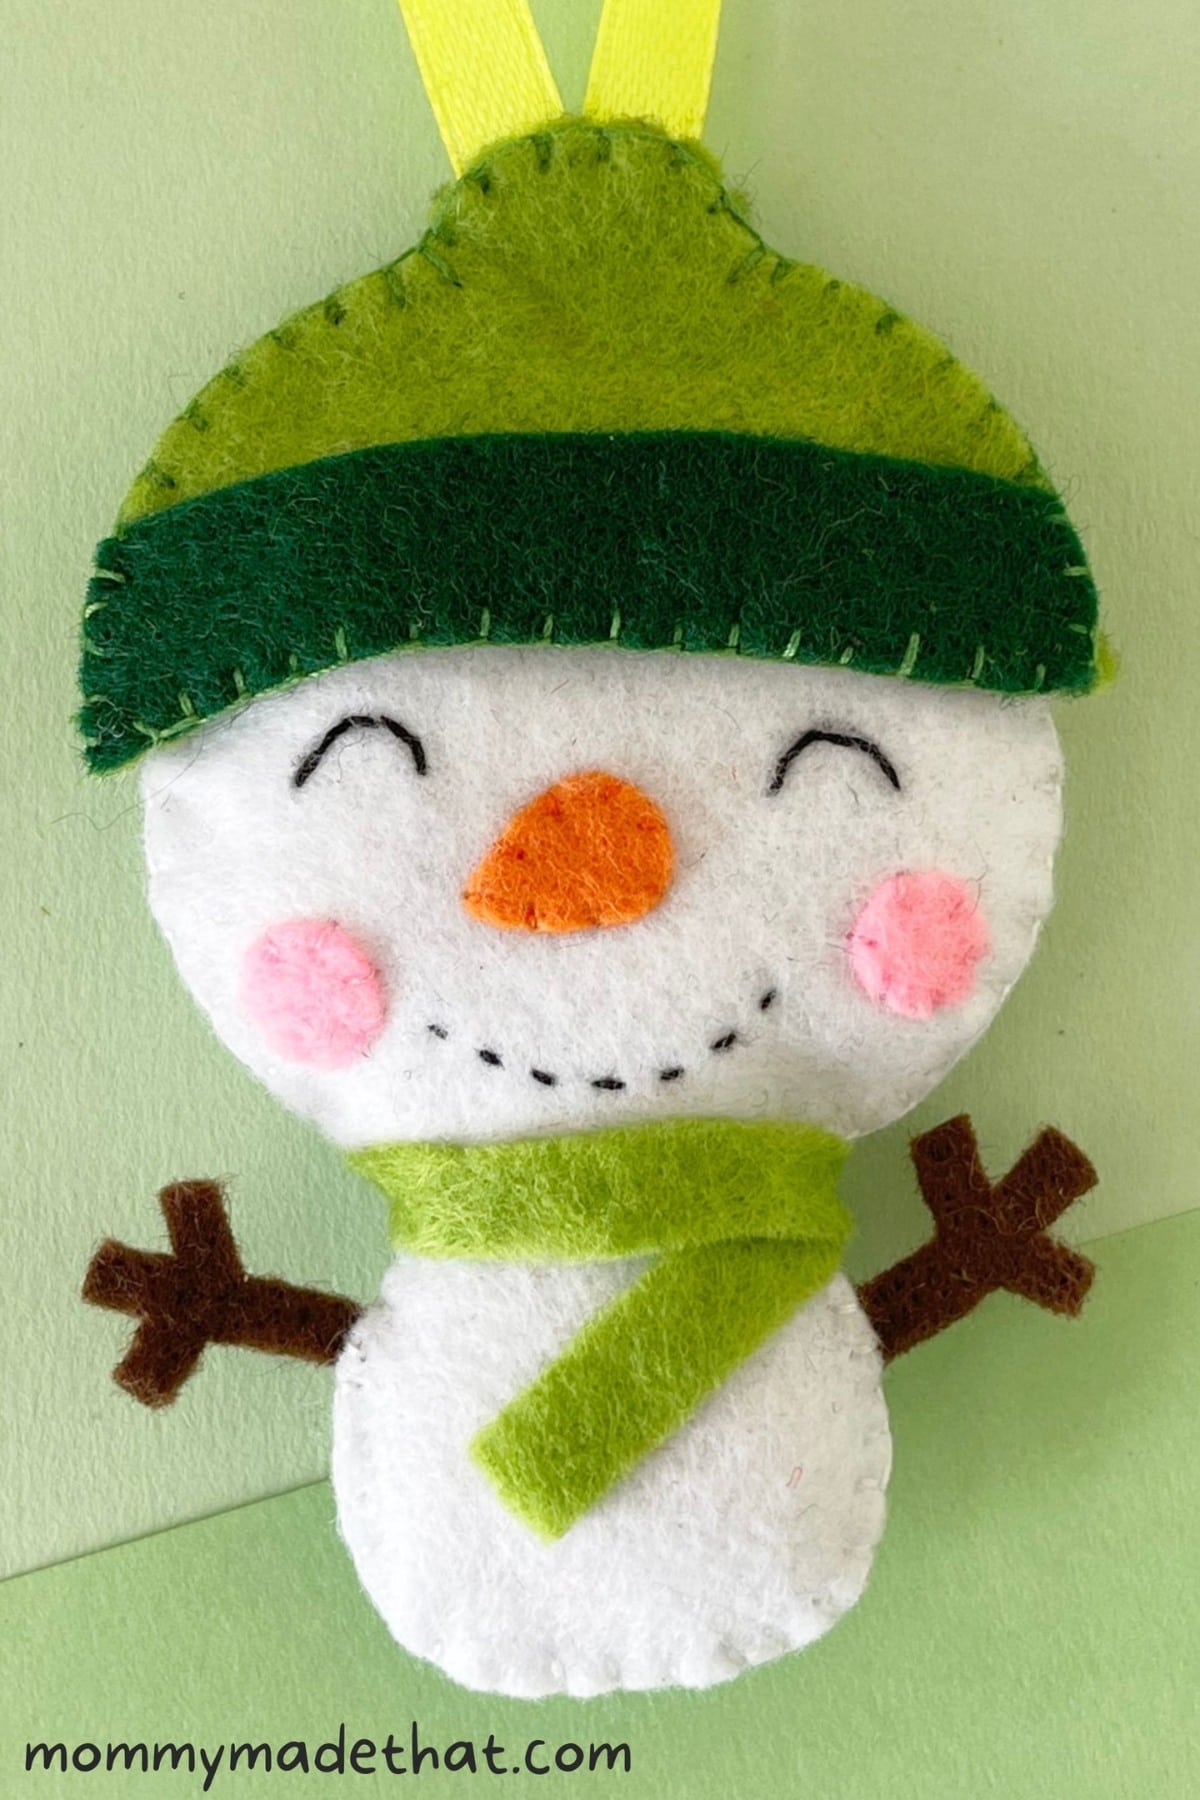
This felt snowman craft is more than just a fun project – it’s a special way to make winter more exciting! When you’re done, you’ll have a cute snowman that you made all by yourself. It’s perfect for decorating your room or giving as a gift. So, be proud of your amazing work and enjoy the snowy season with your new snowman friend!
Oh and be sure to give him a cute snowman name! Isn’t this one of the cutest snowman ornaments? We definitely enjoy him and he’ll be handing proudly on our Christmas tree this year.

Felt Snowman Ornament
This felt snowman is a cute and cuddly companion that brings the essence of winter indoors.
Materials
- Various Colored Felt fabric
- Coordinating thread
- Cotton or scrap felt (for stuffing)
Tools
- Pencil or fabric chalk
- Needle
- Scissors
Instructions
- Choose white felt for the snowman's base, head, and lower body; brown for the stick arms, orange for the nose, pink for the cheeks, and any color you like for the hat and scarf. Trace and then cut out these patterns carefully.
- Sew the orange nose piece in the middle of the head piece.
- Attach the pink cheek pieces on both sides of the face. Then, use a black gel pen to draw the eyes and mouth on the snowman's face.
- Stitch over the eyes and mouth lines with black embroidery thread for more detail.
- Align the head piece on top of the base piece, stitching along their open edge. Leave one side open for stuffing later.
- Fill the head of your felt snowman with cotton, stuffing it through the open side.
- Add enough cotton to make the head look full and round.
- Place the lower body piece on the base piece, slipping the top of the body piece under the open bottom of the head. Stitch these parts together where they overlap.
- Position a stick arm between the body and base layers of the snowman on one side.
- Continue stitching around the side until you reach the position for the other arm, leaving an opening for more stuffing.
- Stuff the body of the snowman through this opening, filling it until it's plump.
- Insert the second arm in place and sew the opening shut, securing the stuffing and attaching the arm.
- Trace and cut out the pieces for the hat and scarf.
- Sew the two pieces of the hat together, leaving the bottom open. Dress the snowman with the hat and scarf. Finally, sew a ribbon loop on the back of the snowman for hanging.
Notes
Have fun with the colors of your snowman's hat and scarf!