Felt Bumble Bee Craft with Free Pattern
Want to learn how to make a cute felt bumble bee. This fun spring craft is a fun sewing craft and would make a super cute ornament or keychain.
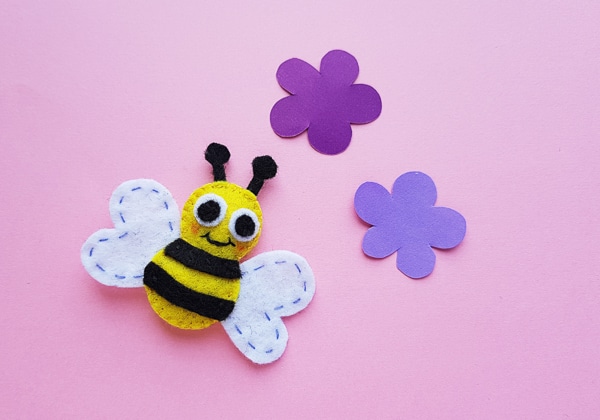
We loving fun bug crafts for kids!
Spring has sprung and the bees are buzzing!
It’s a perfect time to break out the creativity and make a few bumblebee crafts.
Today we are making felt bumblebees. These are fun just by themselves, or to use to make DIY felt ornaments!
This bee craft even includes a free pattern just for you! (I know, un-bee-lievalbe right!)
To make this adorable little guy, all you need is a few pieces of felt, a needle and thread, and a few supplies you probably have already lying around the house.
Bumble bee crafts are just so much fun. And here, we’ll show you step by step how to make this bee craft.
And be sure to check out our names for bees and give your little guy the perfect name.
This post may contain affiliate links. This means if you click a lin and make a purchase, we may earn a small commission. You can read the full disclosure here. Thank you!
Table of Contents
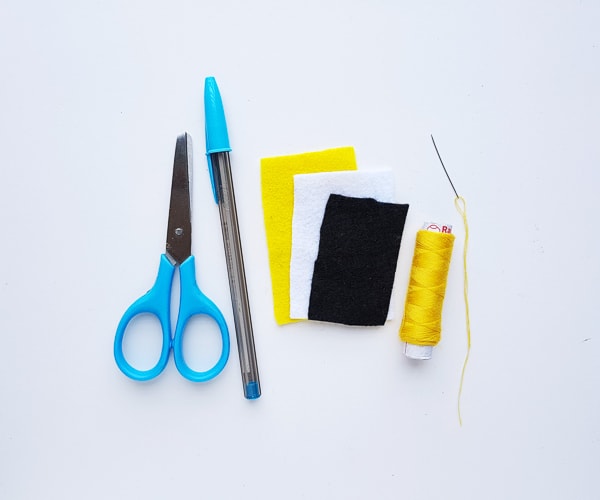
Supplies Needed for Felt Bumble Bee Craft
- Pieces of Felt in yellow, black and white
- Pencil or pen for tracing
- Scissors
- Needle and thread
- Cotton or scrap felt to fill your bees with
How to Make Your Felt Bumble Bee
To make your felt bumble bee, grab your supplies and read our tutorial all the way through before starting.
Then grab out printable bumble bee craft template in the craft printable resource library and get to crafting!
This makes a great craft for older kids too who are interested in simple sewing projects.
Step 1: Grab your Supplies
Select yellow, black and white colored felt fabrics. Of course, you can use any colors you like!
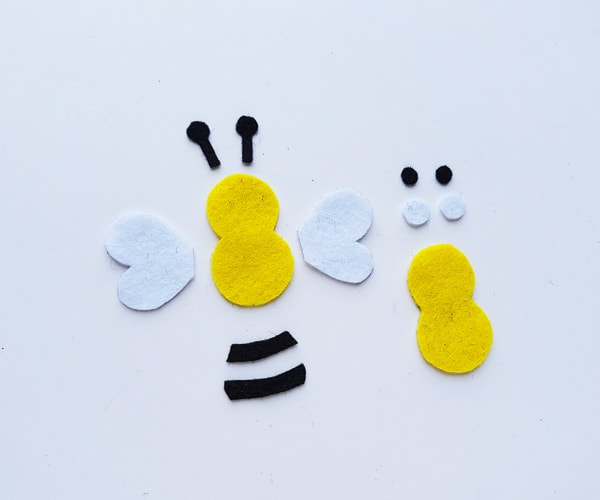
Cut out and trace the bumblebee patterns on your pieces of felt.
The pattern includes
- 2 body pieces
- 4 eye pieces
- 2 wing pieces
- 2 stripes
- & 2 antenna pieces
Step 2: Give your Bumble Bee a Face
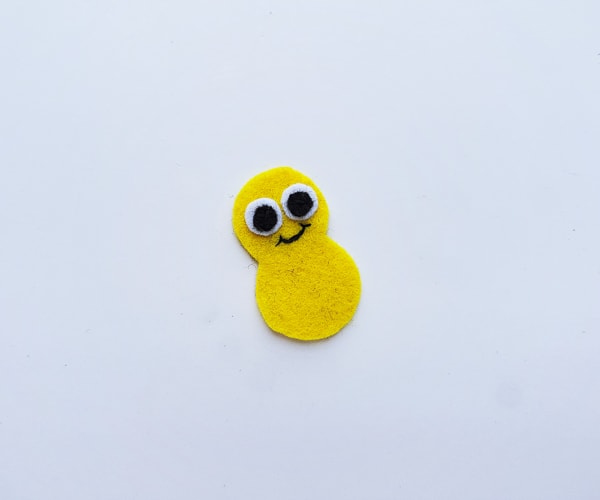
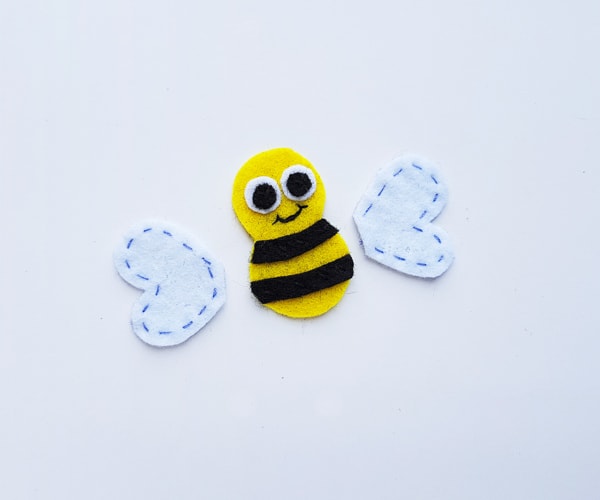
Grab one of the body pieces and stich your eye cutouts on the upper circle. This will be your bee’s face.
Take some black thread and stitch a smiley face onto your bee like shown below.
Step 3: Add in Stripes
Now stitch your two stripe pieces onto the bottom half of your bee’s body. We also added decorative stitching to our bee’s wings, which you can do too, but isn’t necessary.
Step 4: Make the Back of Your Bumble Bee
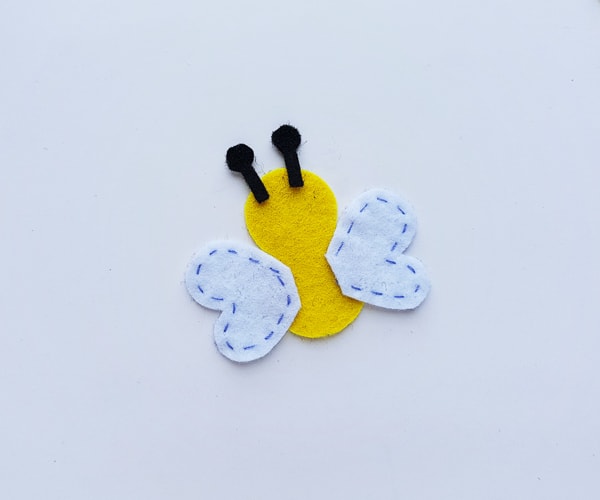
Grabbing the second, plain bee body piece, place 2 antennae on the top half, slightly overlapping them with the top end.
Place your 2 wing parts onto the body, slightly overlapping the bees wings with the body. You can see what I mean below.
Step 5: Add your Bee Front
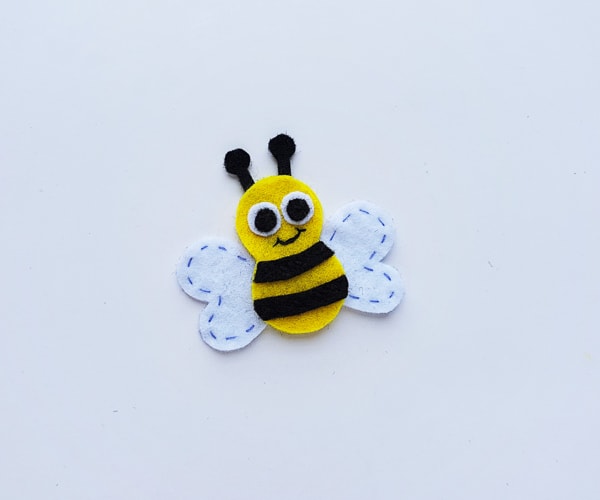
Now place your bee’s front end on top of this back piece. The antenna and wing edges will end up inside of your bee body when you stitch the two together.
Step 6: Stitch up your felt Bee
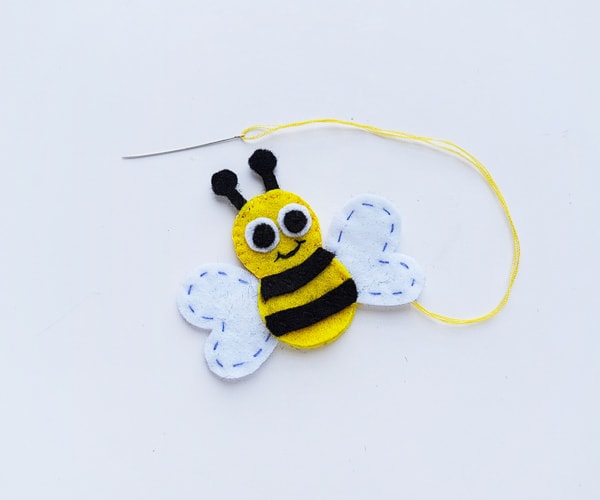
Grabbing a need and thread, start to stitch around your bee’s body joining all of the items together.
Start at the top with the antenna to make it easier, and keep the pieces in mind as you go to make sure you catch them with the needle and thread.
Step 7: Stuff your Felt Bumble Bee
Keep a small opening on the side of your bee. Right before you finish stitching him up, stuff with a small amount of cotton or extra pieces of leftover felt.
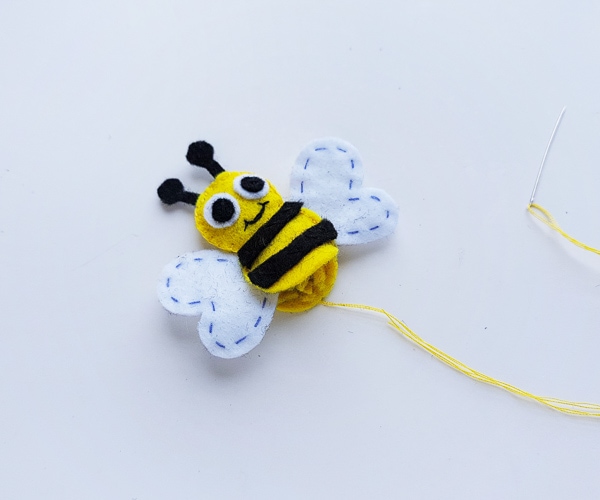
Step 8: Finish your Bee
Once you are done stuffing the bee, stitch the open end to close it and secure the stuffing inside.
Tie a knot and cut off any extra thread.
If you like, finish your little bumble bee off with rosy cheeks from a sharpie or marker.
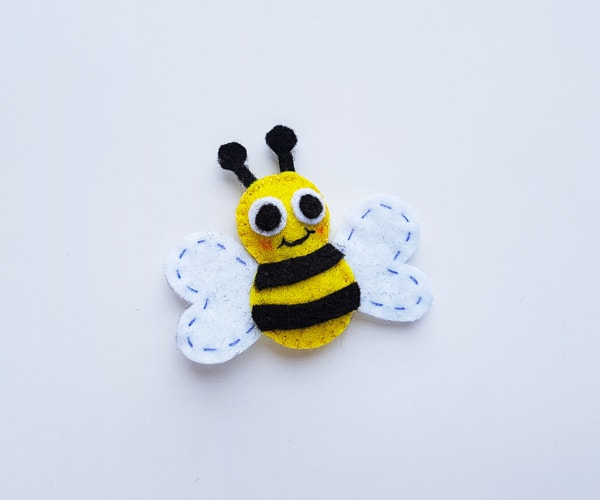
And that’s it! Now you have an adorable little felt bumble bee crafted yourself!
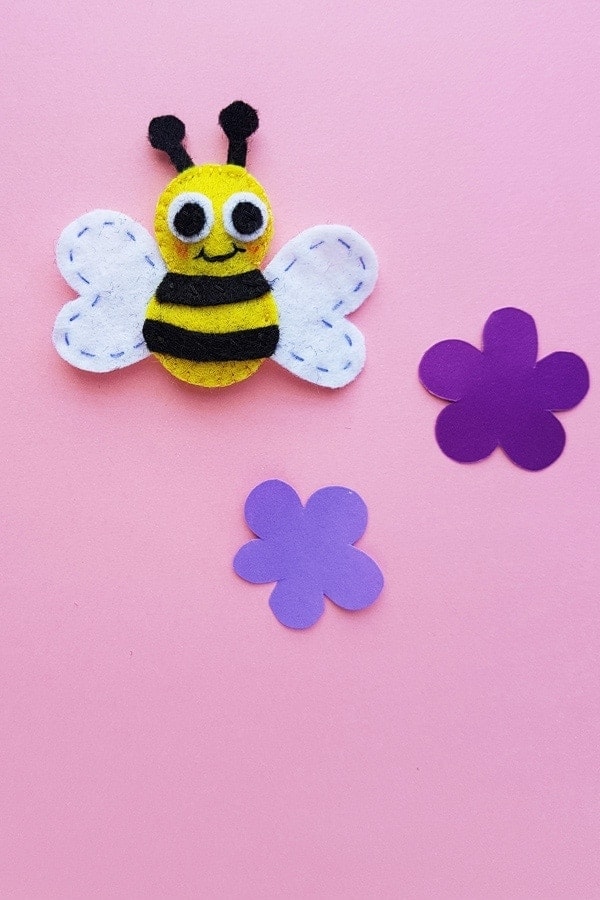
If you’re looking for more fun bumble bee crafts, check out this super adorable bumble bee bookmark.
It even comes with a free printable template!
Other fun Bug Crafts
Here are a few more fun bug crafts for kids to check out!

Thanks to this post I have made my first bee with felt 🤪