How to Make Paper Marigold Flowers (Free Printable Template)
Want to make paper marigold flowers? This DIY paper marigold craft uses folded paper petals and a free printable template to build a full, layered bloom. Follow the photos below to cut, curl, and glue the flower together for a Día de los Muertos display, a spring decoration, or a garden-themed craft.
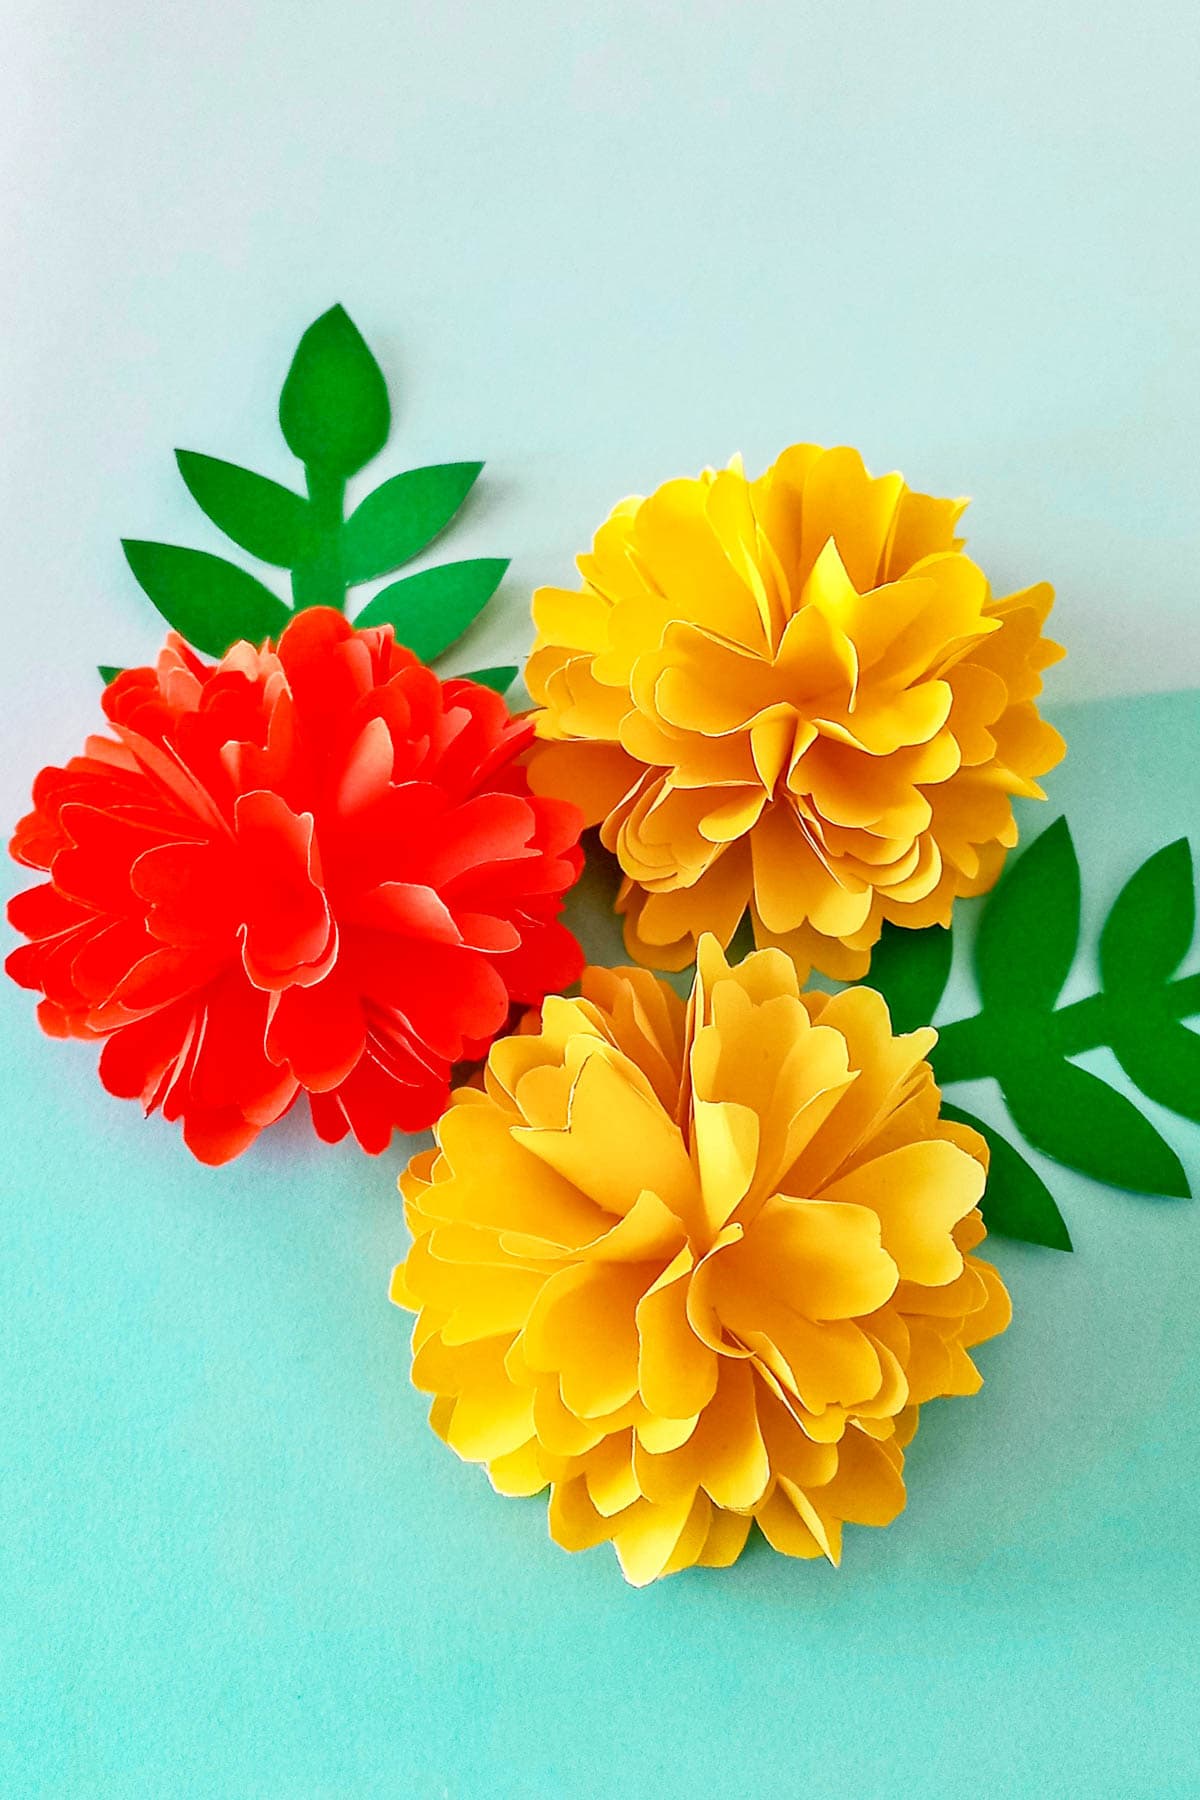
With just a few supplies and a free printable template, kids and adults alike can easily create layered, lifelike marigolds. The folding and curling technique gives these flowers a realistic, full-bodied look, making them perfect for decorations, handmade gifts, or classroom art projects!
If you’re looking for more paper flower crafts, we have plenty of fun and creative ideas to try! For a lovely handmade gift, the Flower Bouquet Craft is a fantastic way to create a stunning arrangement that lasts forever.
If you love making floral decorations, our Paper Flower Wreath is a beautiful way to bring a touch of nature indoors, perfect for any season!
Why You’ll Love This Craft
🌼 Bright and cheerful! A fun way to bring marigolds to life with paper.
✂️ Great for fine motor skills! Folding, curling, and gluing help build coordination.
🎨 Customizable! Choose different shades for unique marigold variations.
📄 Includes a free printable template! Makes crafting easy and stress-free.
Materials Needed
- Paper Marigold Flower template – You can grab it for free down below.
- Colored craft papers – Yellow, orange, or red for the flower, green for the leaves.
- A pair of scissors – Sharp ones for precise cutting.
- Craft glue – For assembling the flower layers.
- Pencil – To trace the template onto the paper.
How to Make a Paper Marigold Flower Step by Step
Start by selecting a light or medium-light colored craft paper for your marigold. Cut out eight square sheets of the same size (8cm x 8cm).
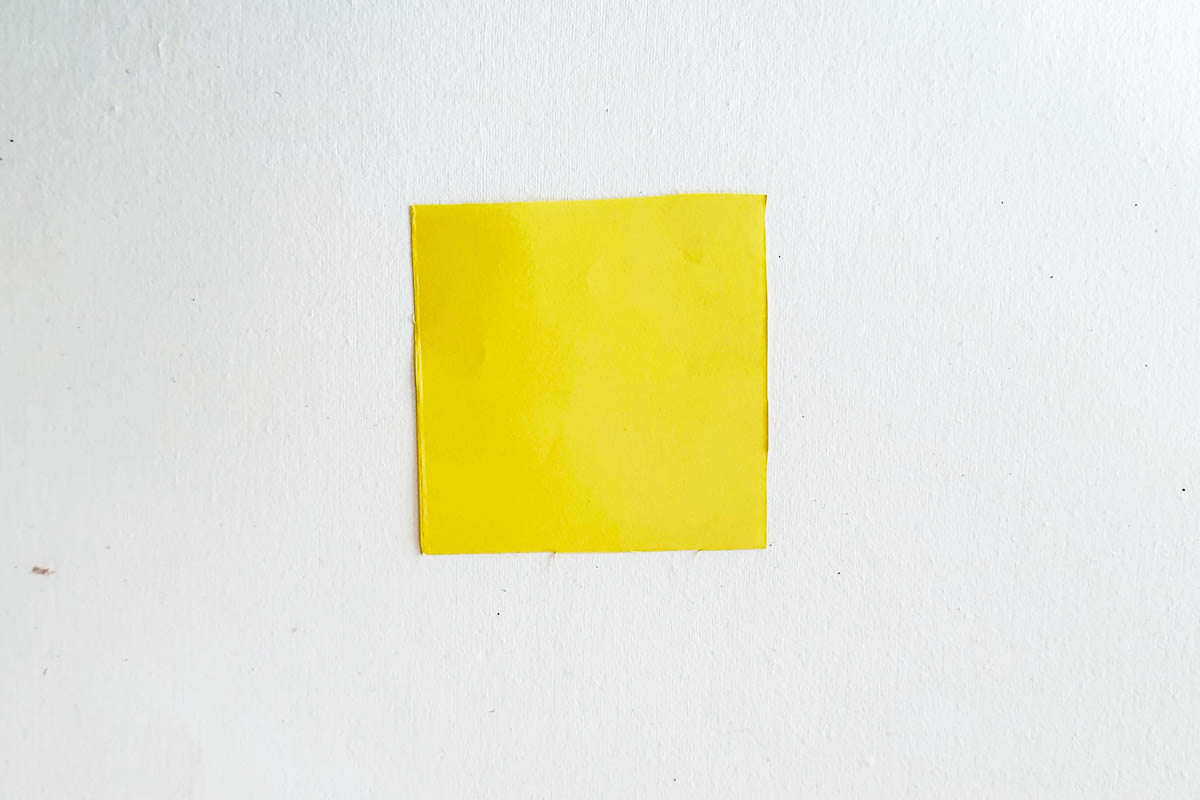
Take one of the square sheets and fold it in half diagonally to create a triangle.
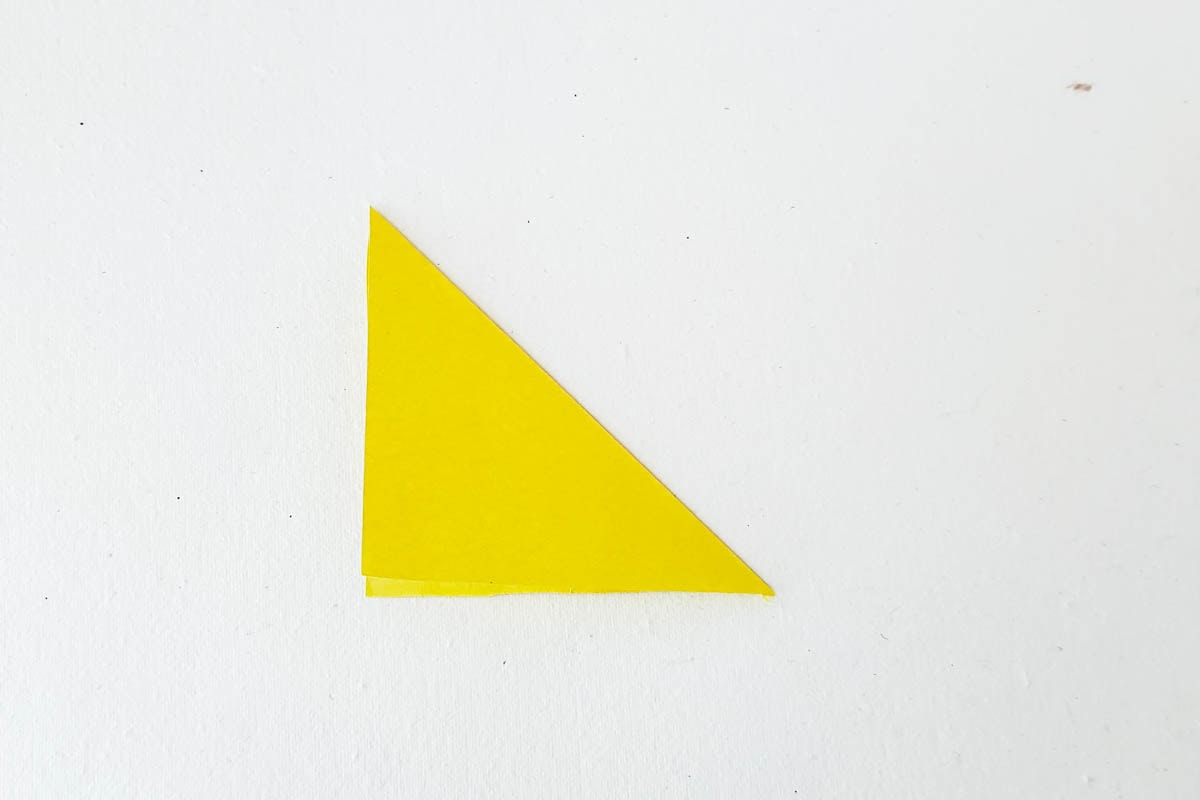
Then, fold it in half again, making a smaller triangle.
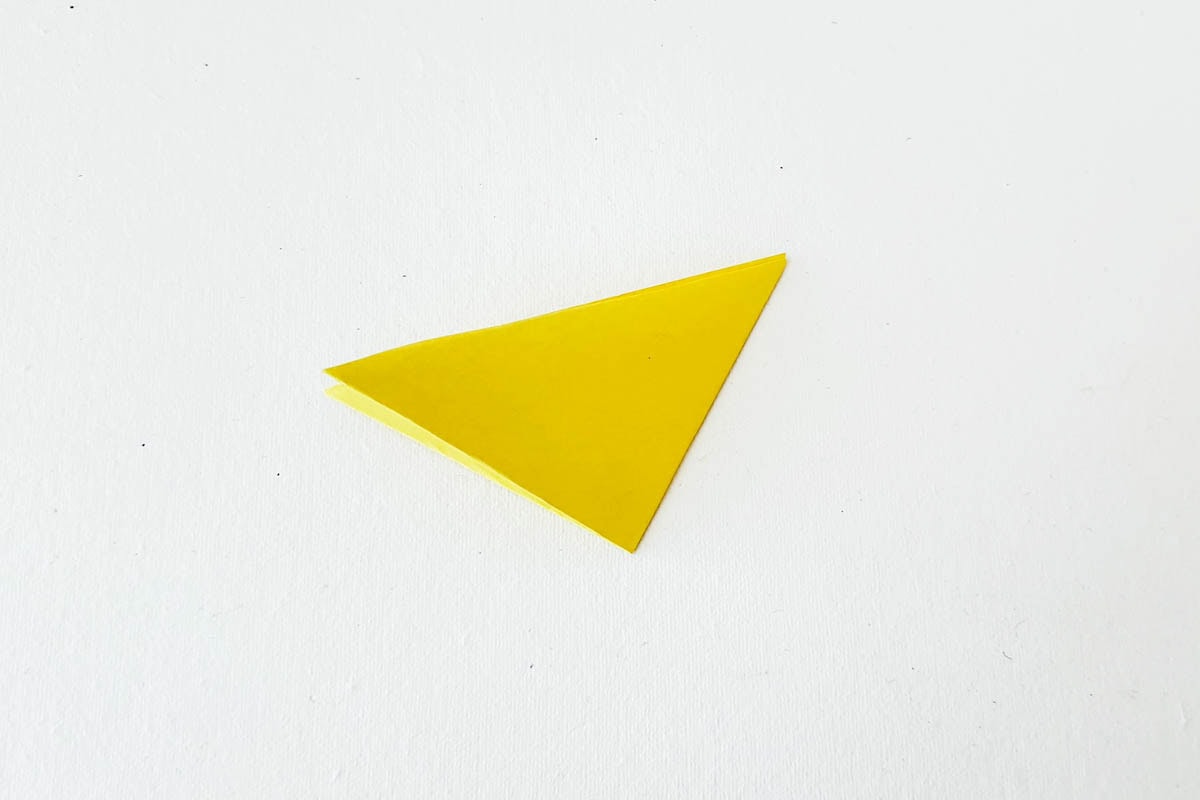
Repeat the process a third time to make the folds even smaller.

Now, using a pencil, trace the petal shape on the folded triangle—make sure to position the petal so that its center aligns with the folded edge and the outer edges align with the open sides.
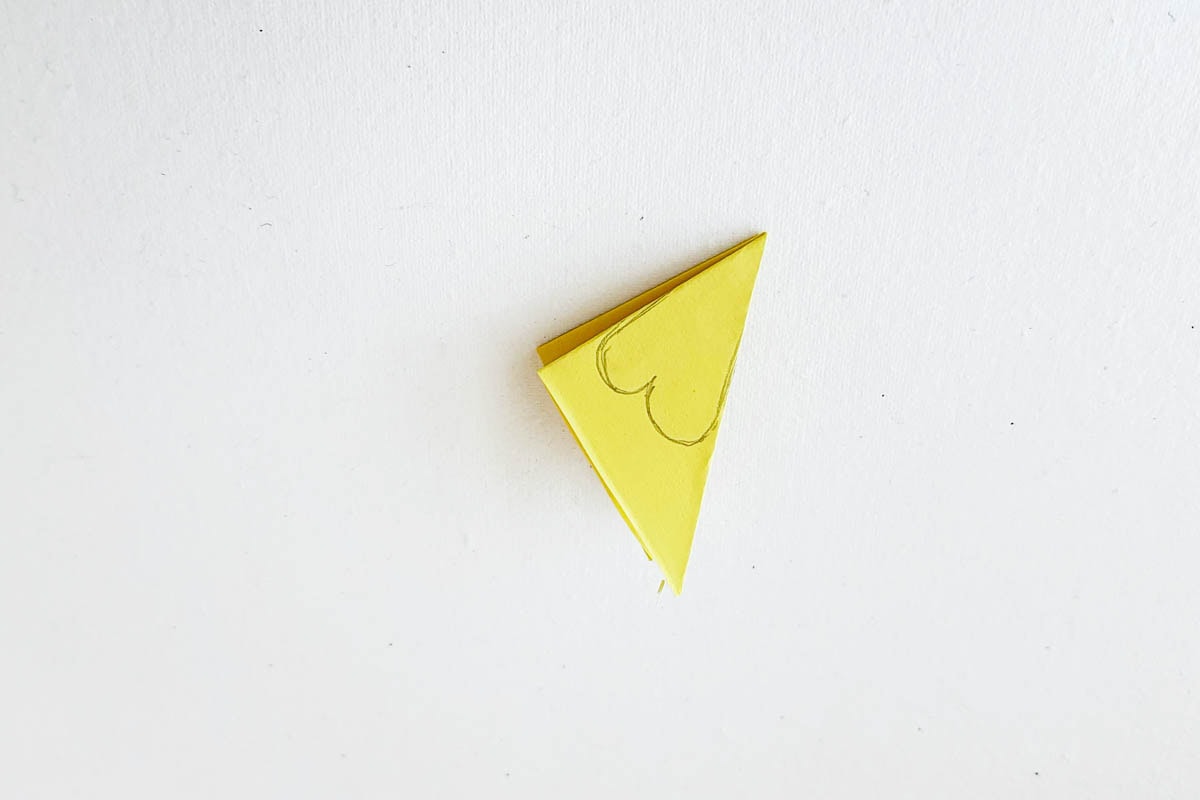
Carefully cut along the outline using scissors.

Gently unfold the petal base and you’ll have a layered petal shape.
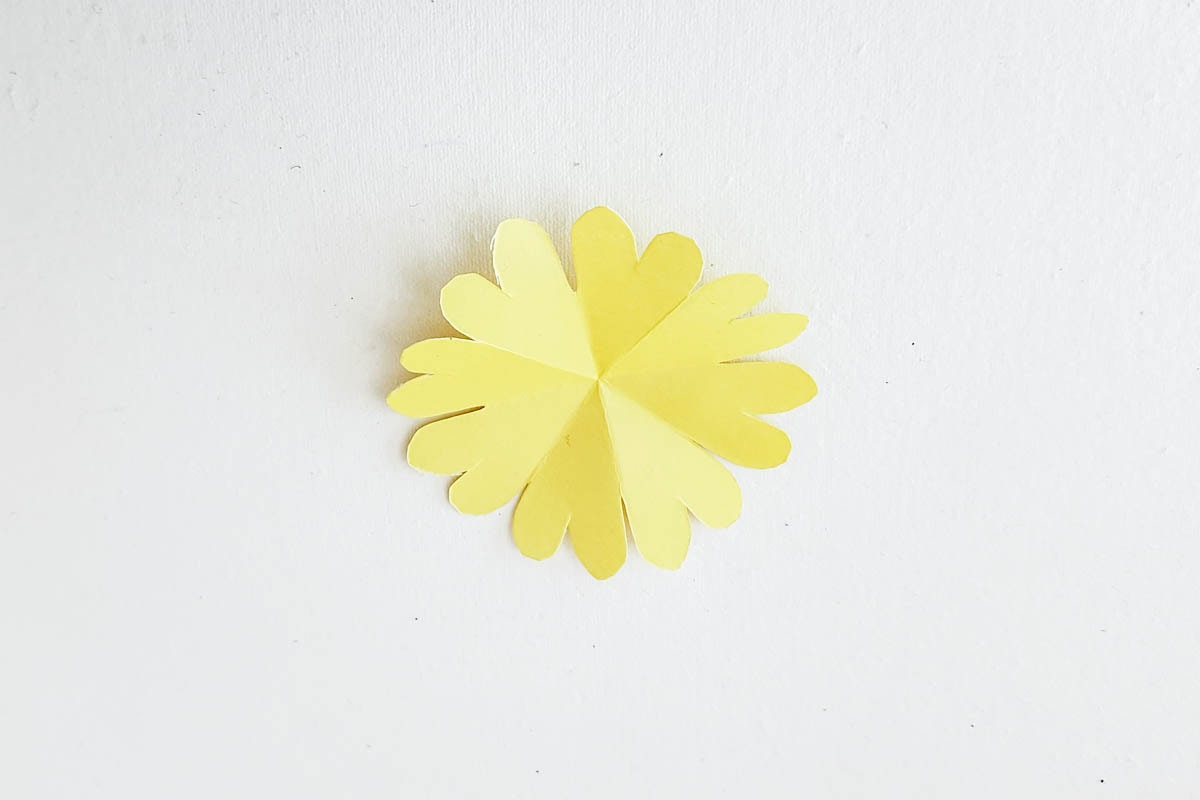
To add texture, cut 1 cm slits between every two petal tips, which will help create a more natural, full-bodied look.
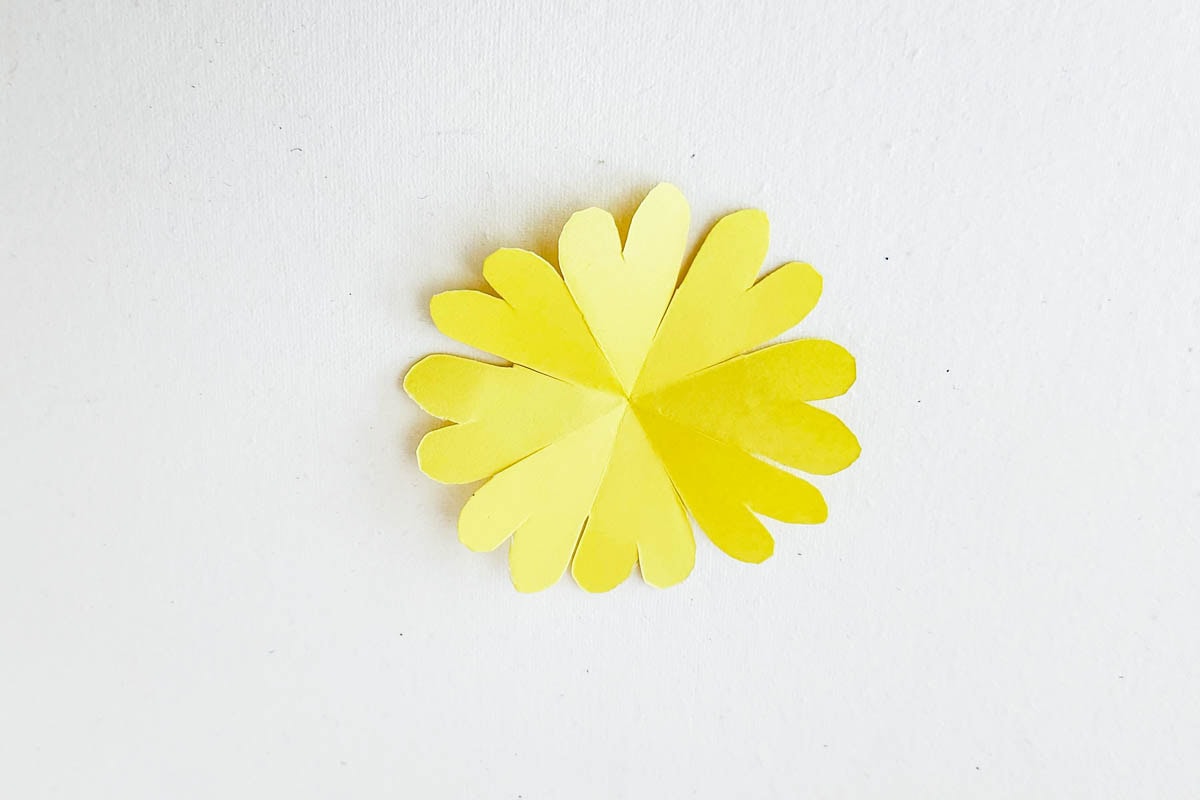
Roll each petal tip gently around a pencil or paintbrush handle to curl it outward. Work one petal at a time so the thin paper does not tear.
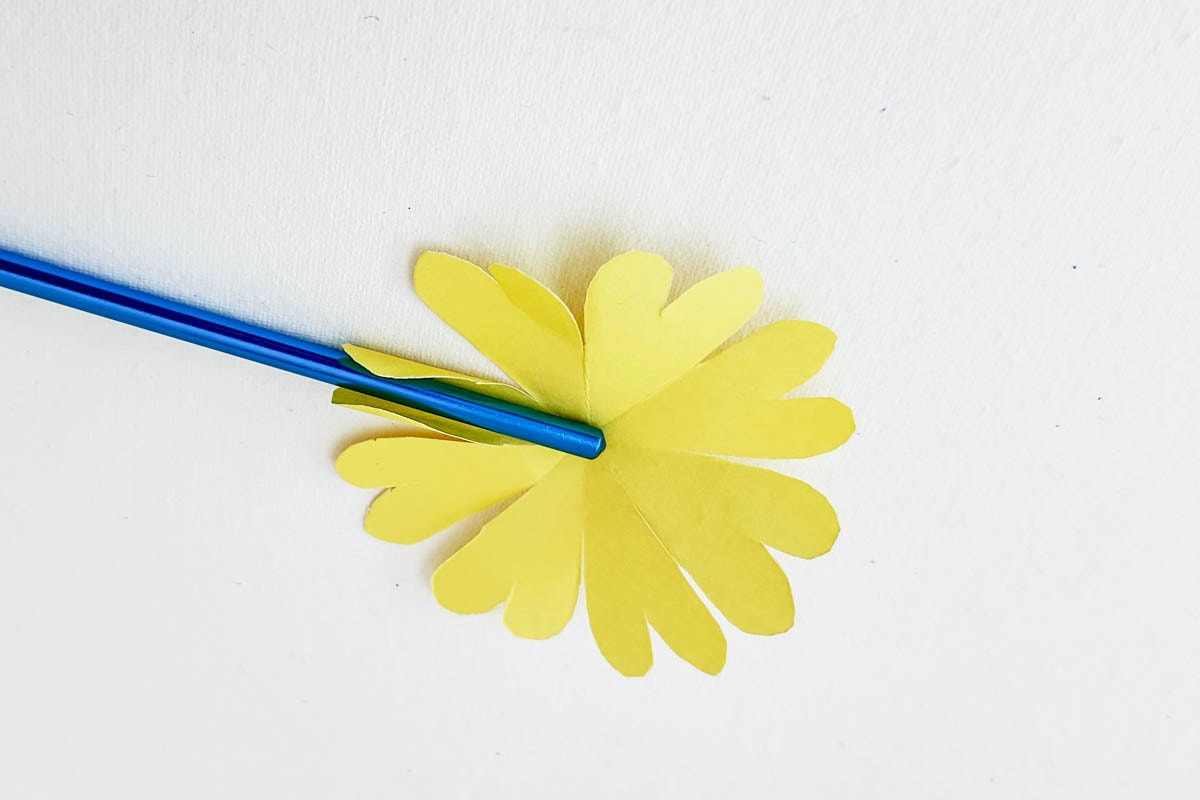
Repeat the curling process for all of the petals to give them a realistic appearance.
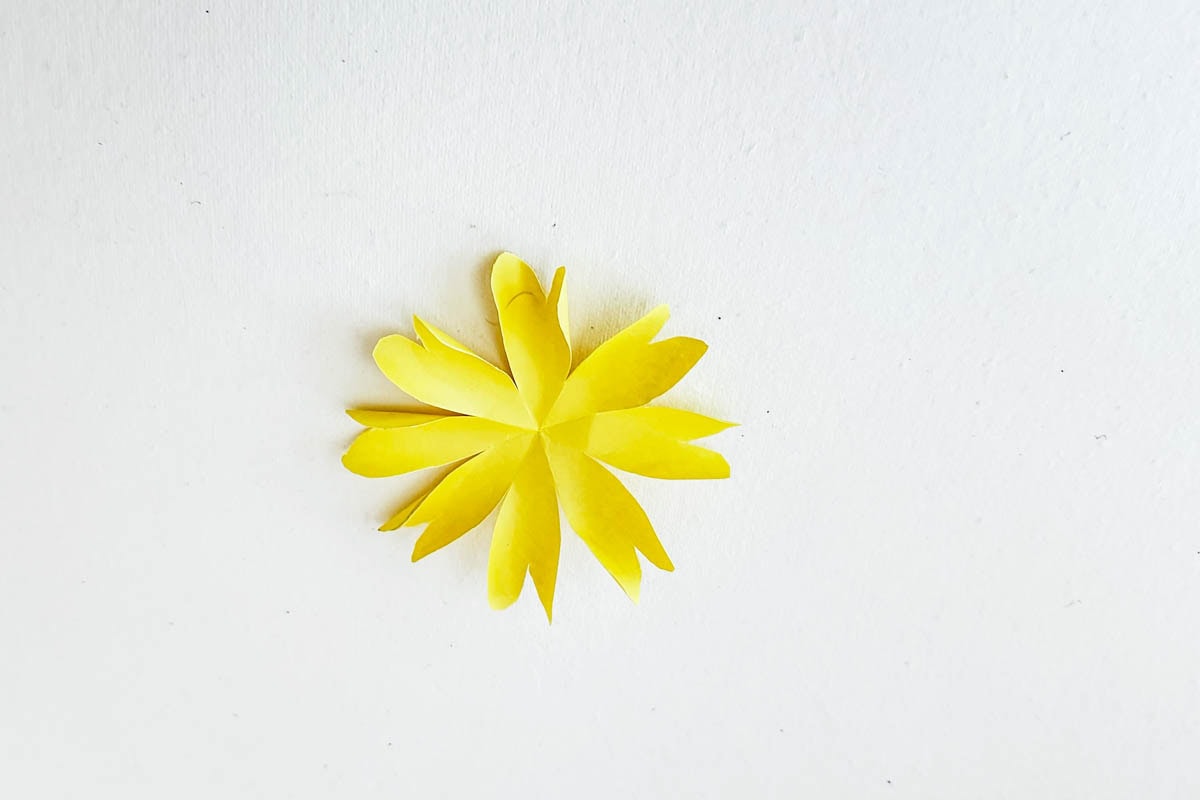
Repeat these steps to create seven more petal bases. Once all your petal bases are ready, it’s time to assemble the marigold!
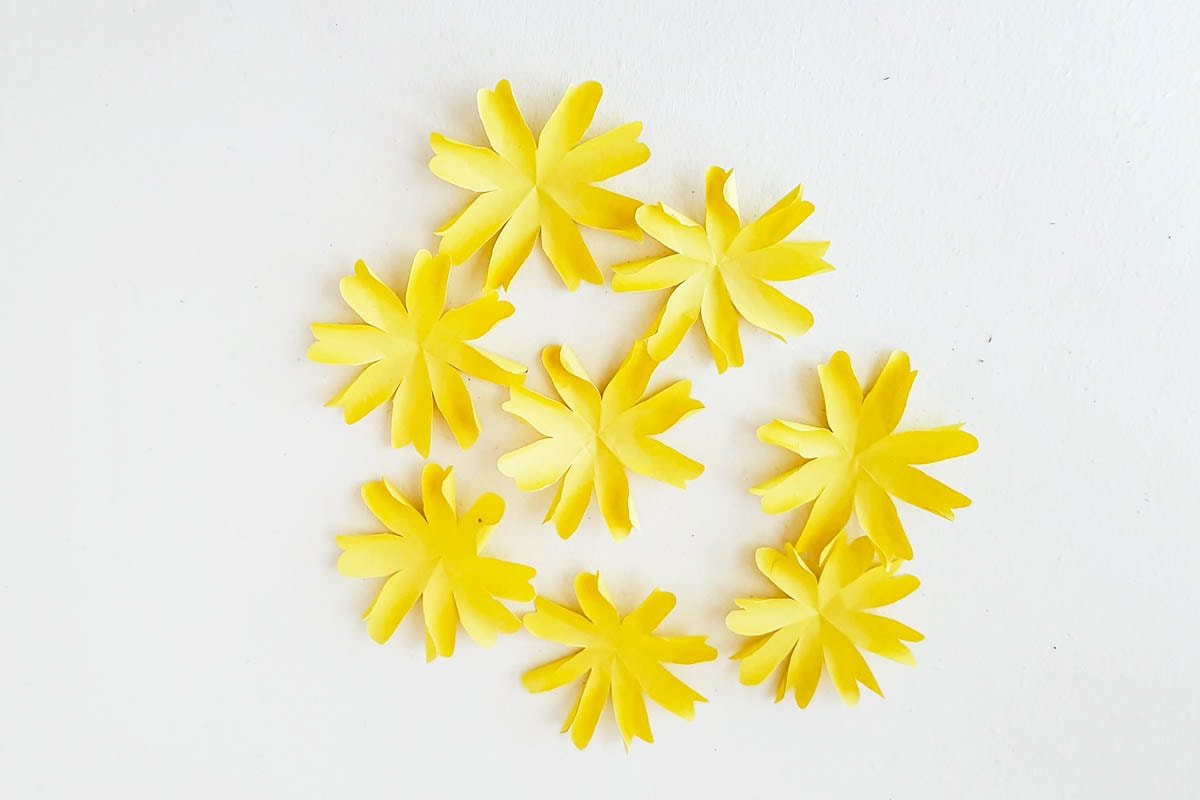
Take one of the curled petal bases and apply a small drop of glue in its center.
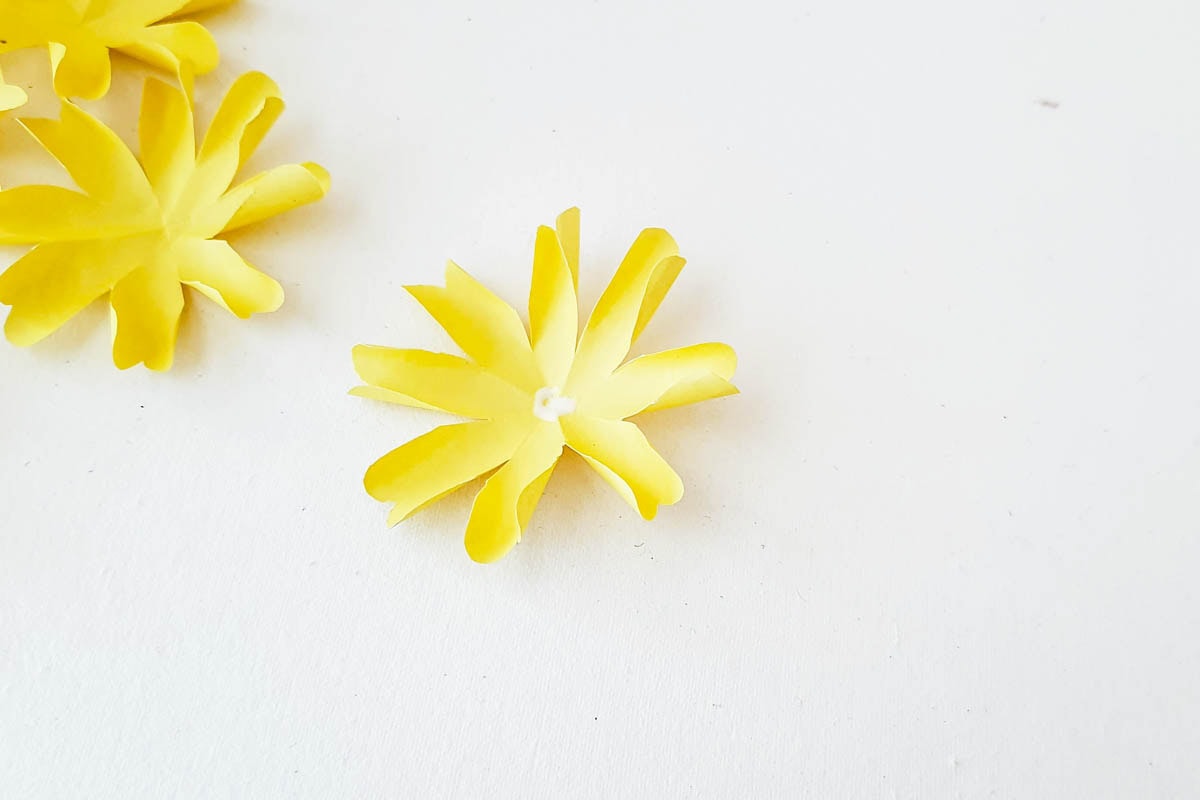
Place another petal base on top, aligning the centers, and press them together.
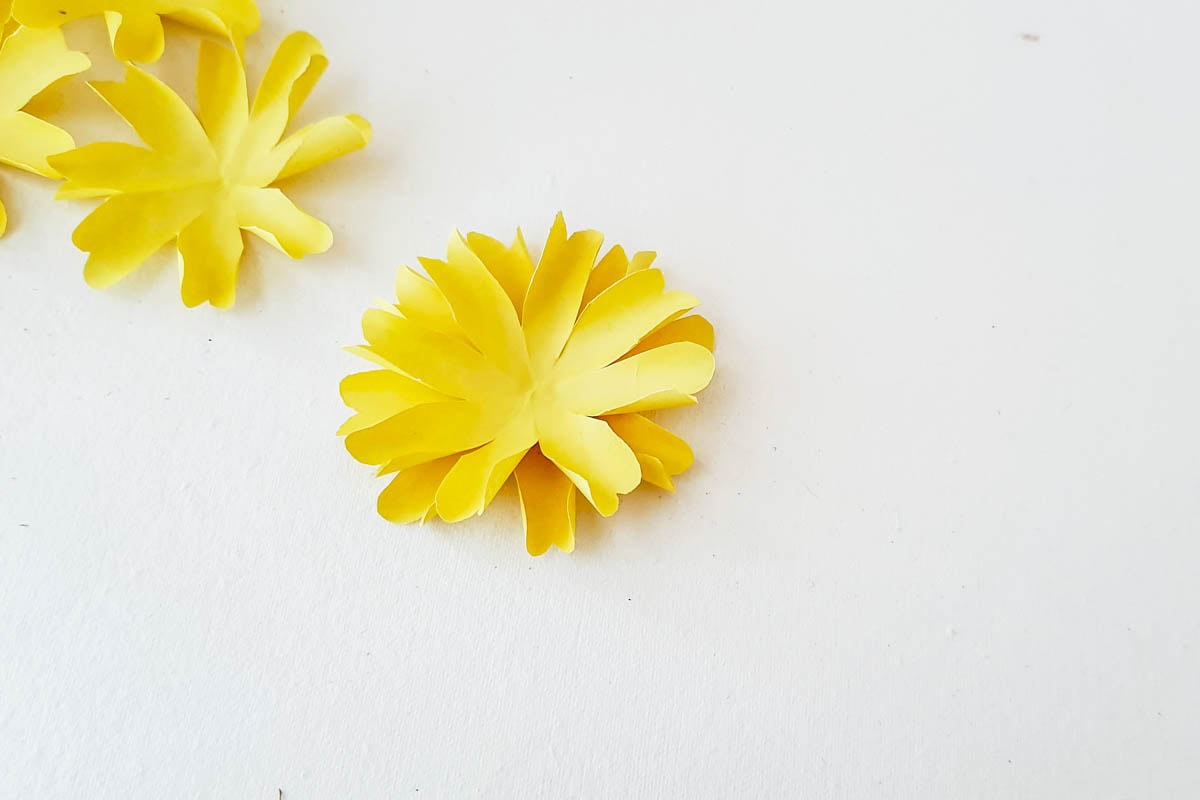
Repeat this process, gluing each new petal base on top of the last, until all eight petal bases are stacked and glued together.
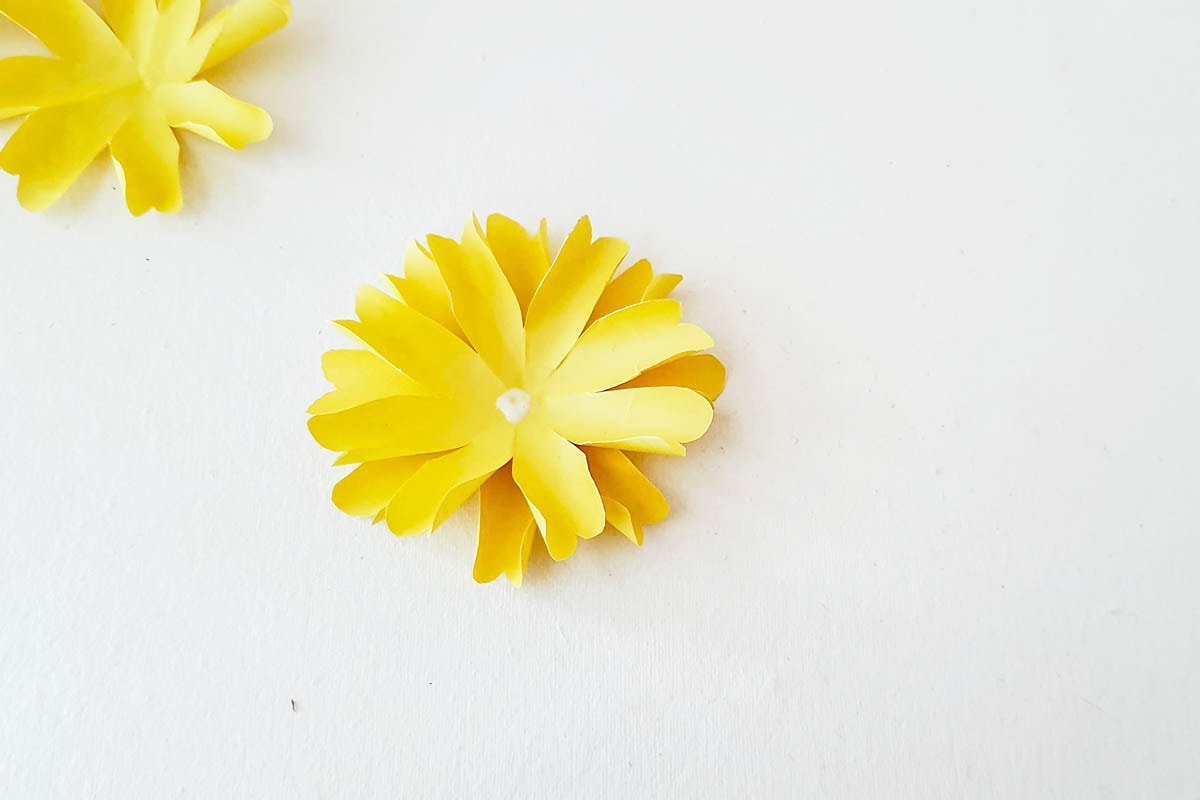
Once your marigold is fully assembled, trace and cut out leaf shapes from green craft paper. Attach the leaves to the base of the flower using glue, and let it dry completely.
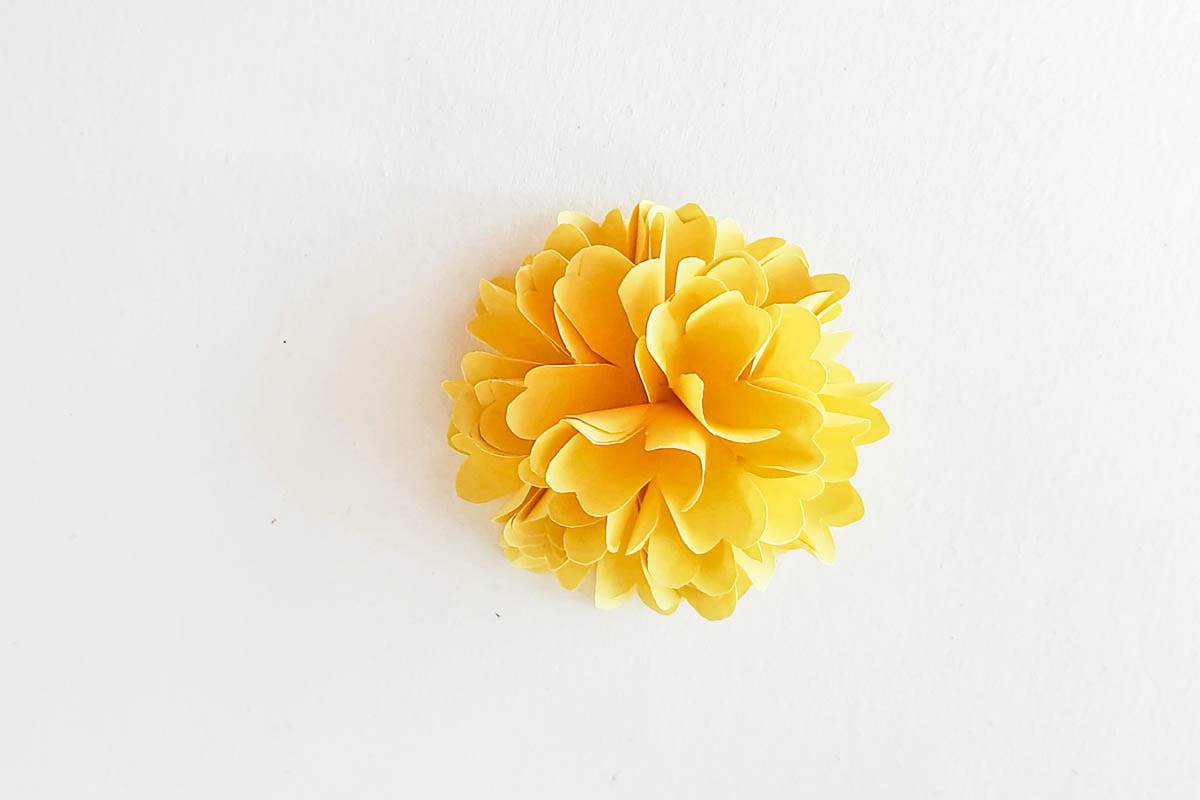
Your paper marigold is now ready to be displayed or used in any craft project!

Top Tips
✔️ Use different shades of yellow, orange, or red to create a more realistic marigold.
✔️ Try different petal shapes by adjusting the template slightly for unique flower designs.
✔️ Curl gently: If a petal flattens, roll its tip around a pencil again. Keep the curl loose so the paper does not crease.
✔️ Let the glue set: Use a small drop at each center and hold the layers together briefly before adding the next one. Adults can use a hot glue gun for quicker assembly.
✔️ Make a marigold garland by attaching multiple finished flowers to a string!

Educational Uses
This marigold craft isn’t just fun—it’s also a great way to incorporate learning into crafting!
Cultural Lessons: Marigolds are an important flower in Día de los Muertos (Day of the Dead) celebrations and Indian festivals like Diwali. Use this craft to teach kids about different cultural traditions!
Science & Nature Learning: Pair this craft with a lesson on flowers, pollination, and plant life cycles.
Fine Motor Skill Development: Cutting, folding, and curling help improve hand-eye coordination in younger children.
Art & Creativity: This project encourages color exploration, symmetry, and pattern-making while assembling the flower.
Grab the Free Printable Template!
Put your name and email in the pink box below, and we’ll send the free paper marigold template straight to your inbox.
Subscribe to our newsletter and get this printable sent straight to your inbox! Already a subscriber? Don’t worry you won’t be subscribed twice but it will send this printable straight to your inbox!
(We will never share or sell your personal information. Read more on our privacy policy.) We will use the information below to send you our newsletter with latest posts and special offers.
This printable is for personal or classroom use only—please do not use it for commercial purposes.
For even more fun flower-themed crafts, check out our Flower Bookmark Craft and Paper Flower Bookmarks—both of which make reading even more special with a handmade floral touch. If you’re looking for printable options, our Printable Daffodil Craft Template and Printable Daisy Craft Template are easy, cut-and-paste crafts perfect for younger kids.
This DIY paper marigold craft is a fun and creative way to celebrate spring, Día de los Muertos, or simply brighten up a room with handmade flowers.
Whether you’re crafting for classroom activities, seasonal decorations, or just for fun, this step-by-step tutorial makes it easy to create your own stunning marigold flowers.