Hands Full of Love: Flower Bouquet Craft (With Free Template)
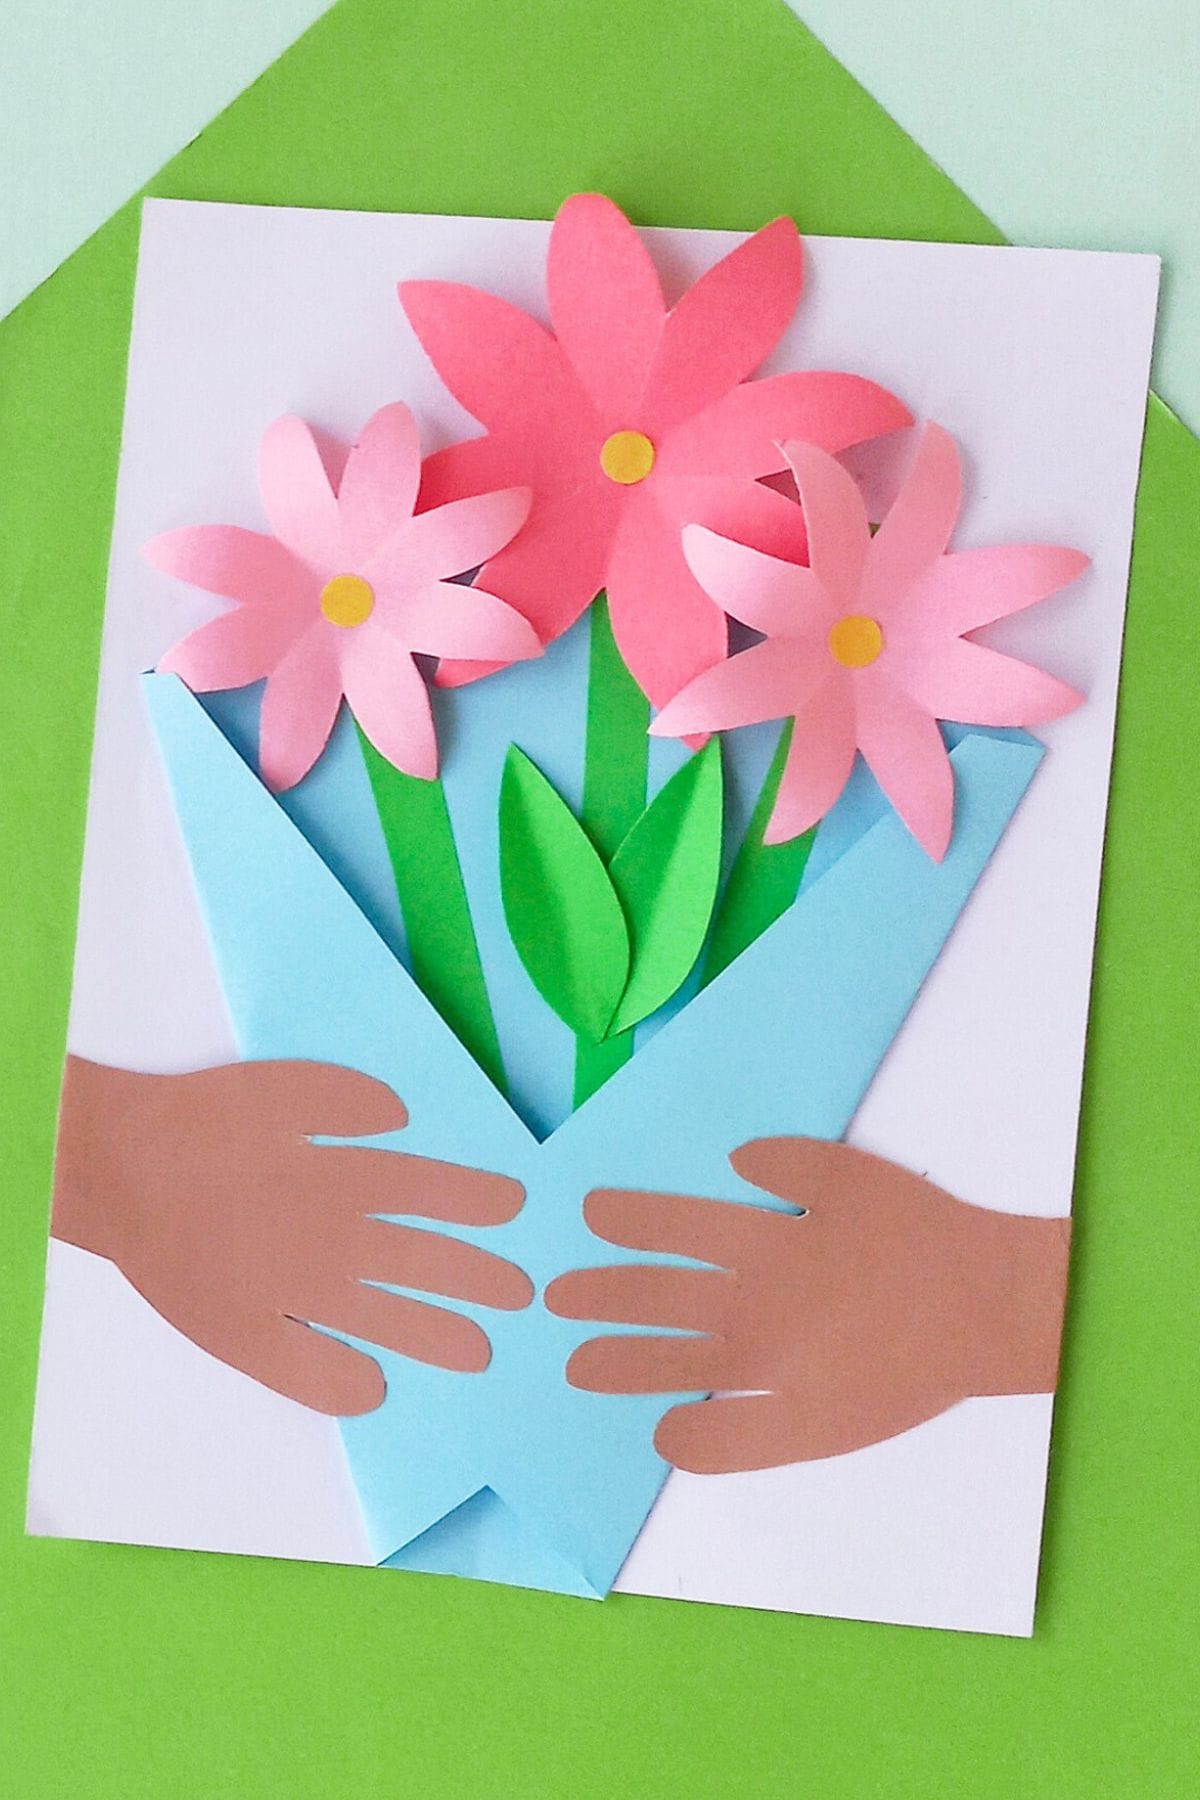
Today we’ve got this fun DIY Mother’s Day craft that’ll she’ll absolutely adore. It’s a flower bouquet craft featuring hands holding the flowers. Grab the free printable template and make some of your own!
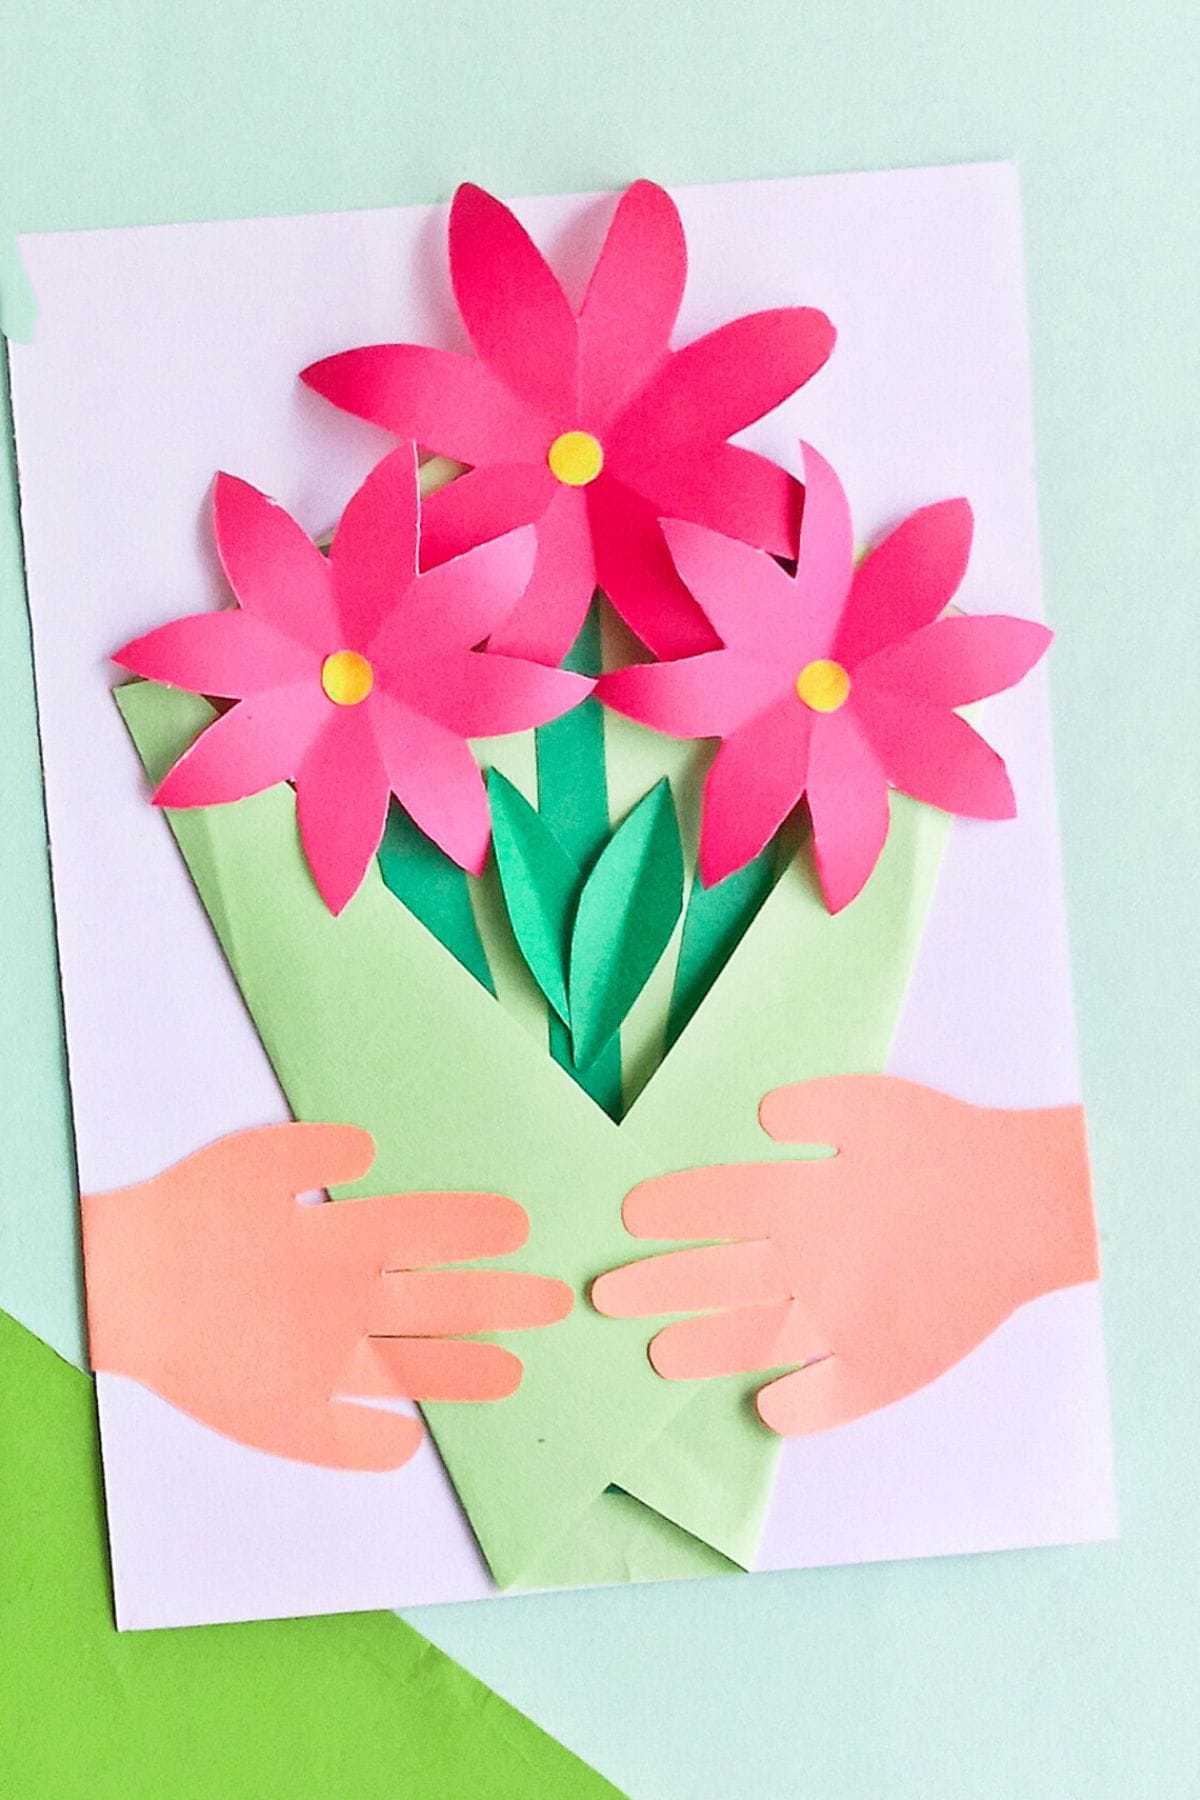
This beautiful and heartwarming craft is the perfect way to show your mom just how much you care on Mother’s Day. Using simple materials like colorful construction paper, glue, and scissors, you can create a card that is truly one-of-a-kind.
It’s a cute Mother’s day craft for kids and comes with a free printable template to make it super easy to make one yourself.
The craft features two hands holding a bouquet of 3D paper flowers.
Its a great craft to show mom how much you love here.
Table of Contents
Materials Needed:
Cardstock: To use as the base of your craft.
Colorful craft paper: You can use craft paper or construction paper. You’ll need a skin toned color for the hands and then colors you’d like to use for the flowers and bouquet paper holding the flowers.
You’ll also need some basic craft supplies like:
- Pencil
- Scissors
- Glue
- Ruler
- Black pen
Instructions
Start by printing out the flower bouquet template and cutting out all the pieces. Trace them onto your colored paper and cut them out, like shown below.

Take the big square of craft paper and fold it diagonally in half. Make sure the crease is sharp, so keep flattening it with your fingers or a ruler.
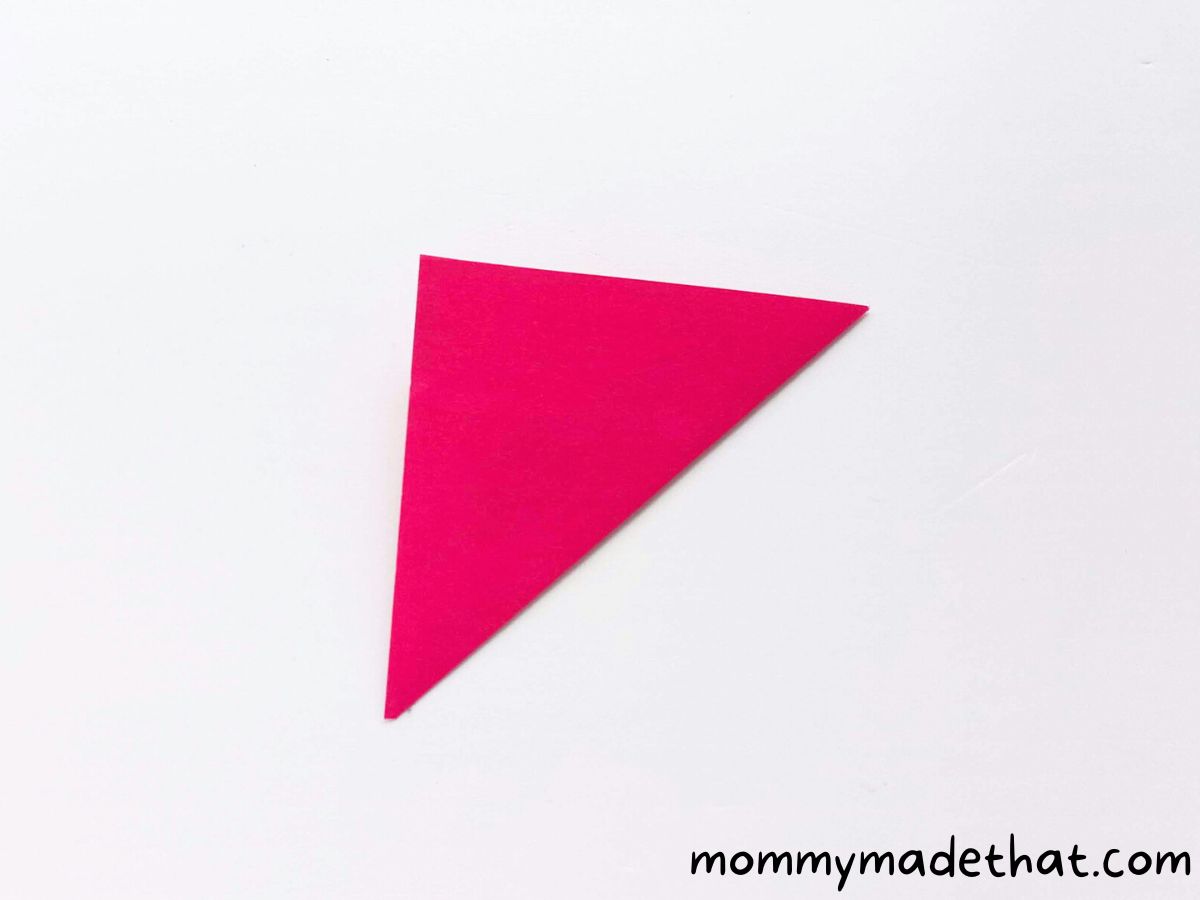
Now fold the paper diagonally in half again. Smooth it out to create a sharp crease.
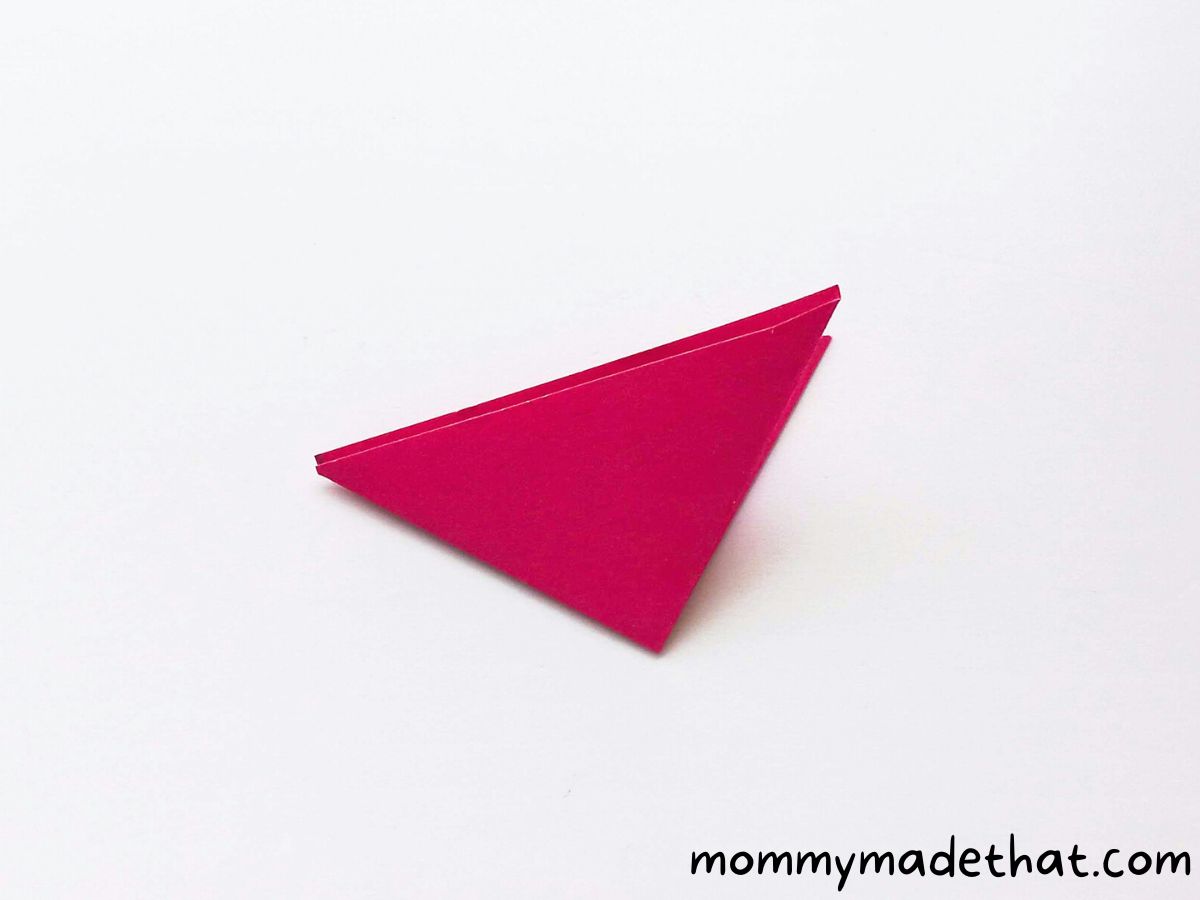
Take the top flap of the paper and fold it backward, aligning the edge with the folded crease. Flatten the fold with a ruler or your fingers, like shown below.

Repeat the step above with the other top flap of the paper. You will now have a square piece of paper that is divided into four equal triangles.
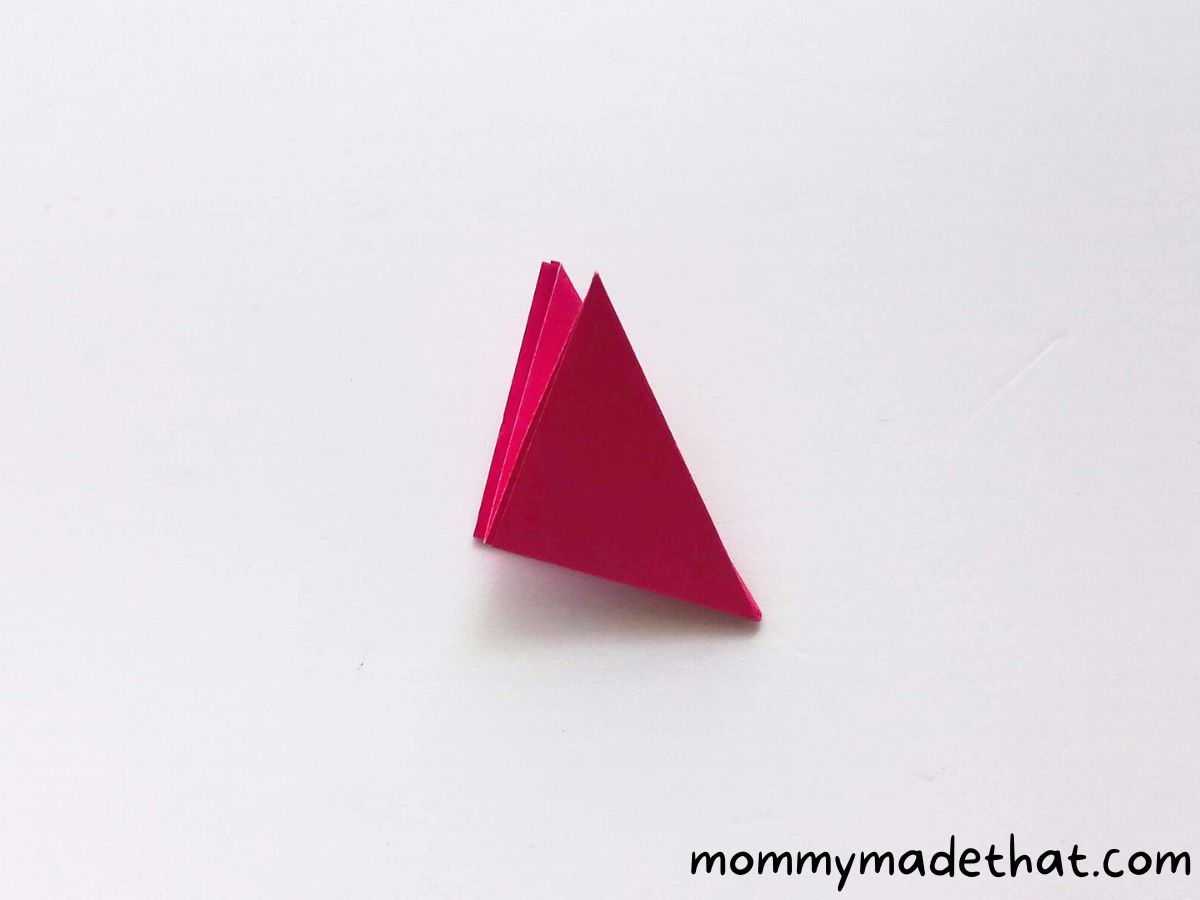
Take the petal shape template provided and cut out the shape. Hold the template against the folded paper, and use a pencil to trace around it. Repeat this process to make as many petals as you need.

Once you have traced around the template, use scissors to cut out the petal shapes from the paper. Open it up, and you will have one big beautiful flower.
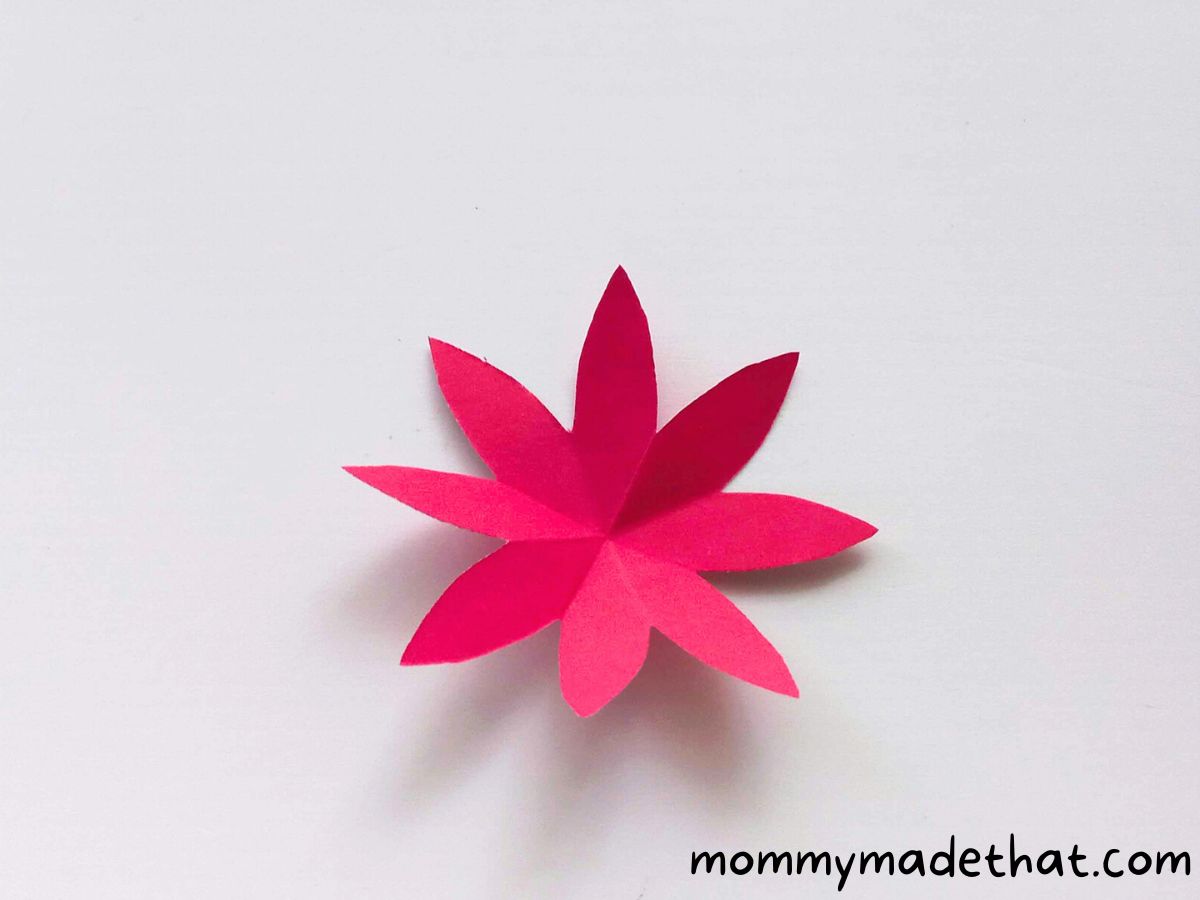
Continue by making two more flowers, each slightly smaller than the last. Follow the above steps to make them.
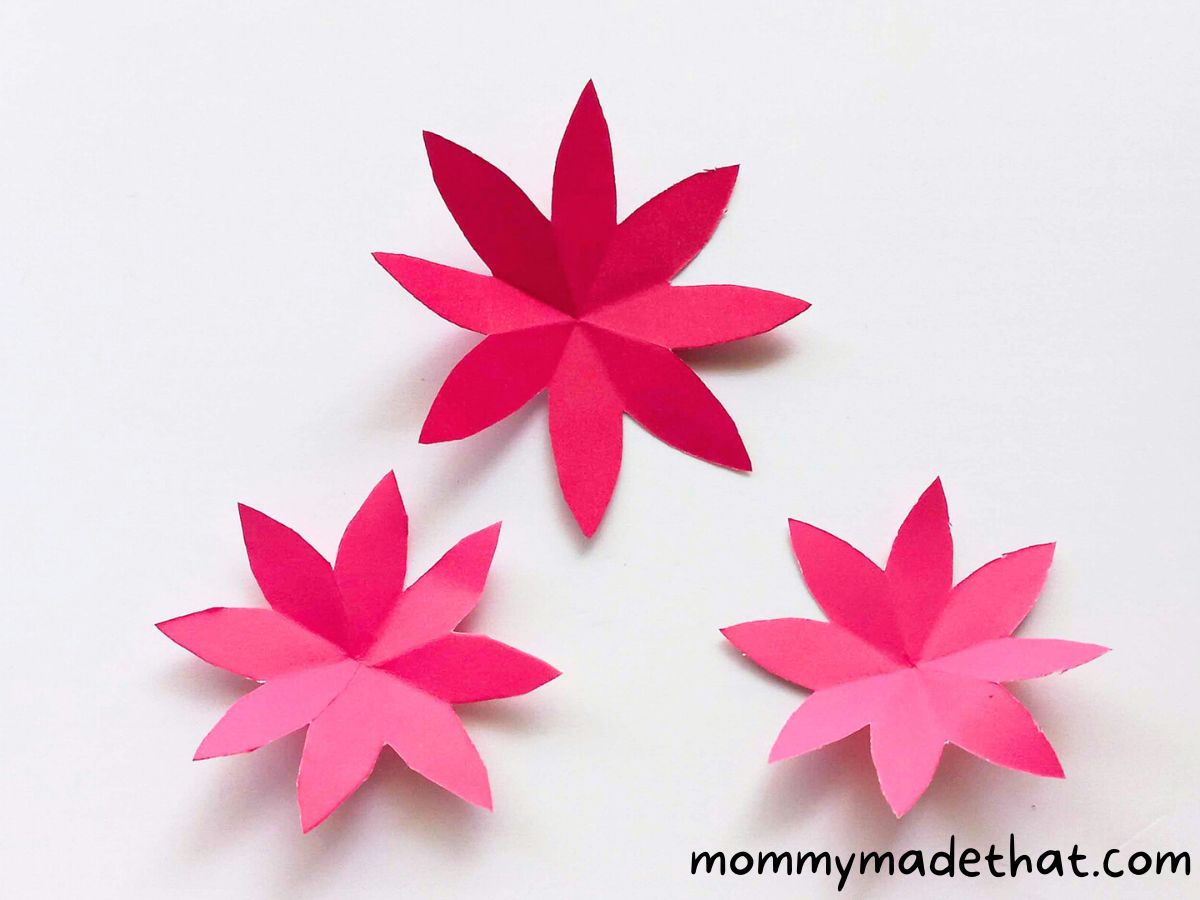
Now, take a thin pencil or a paintbrush and add some detailing to the petals. Roll up the edges to create a more realistic look!

Fold the bouquet wrapping paper (use the template provided) according to the lines given. Make sure you fold the creases sharply, so everything looks neat in the end.
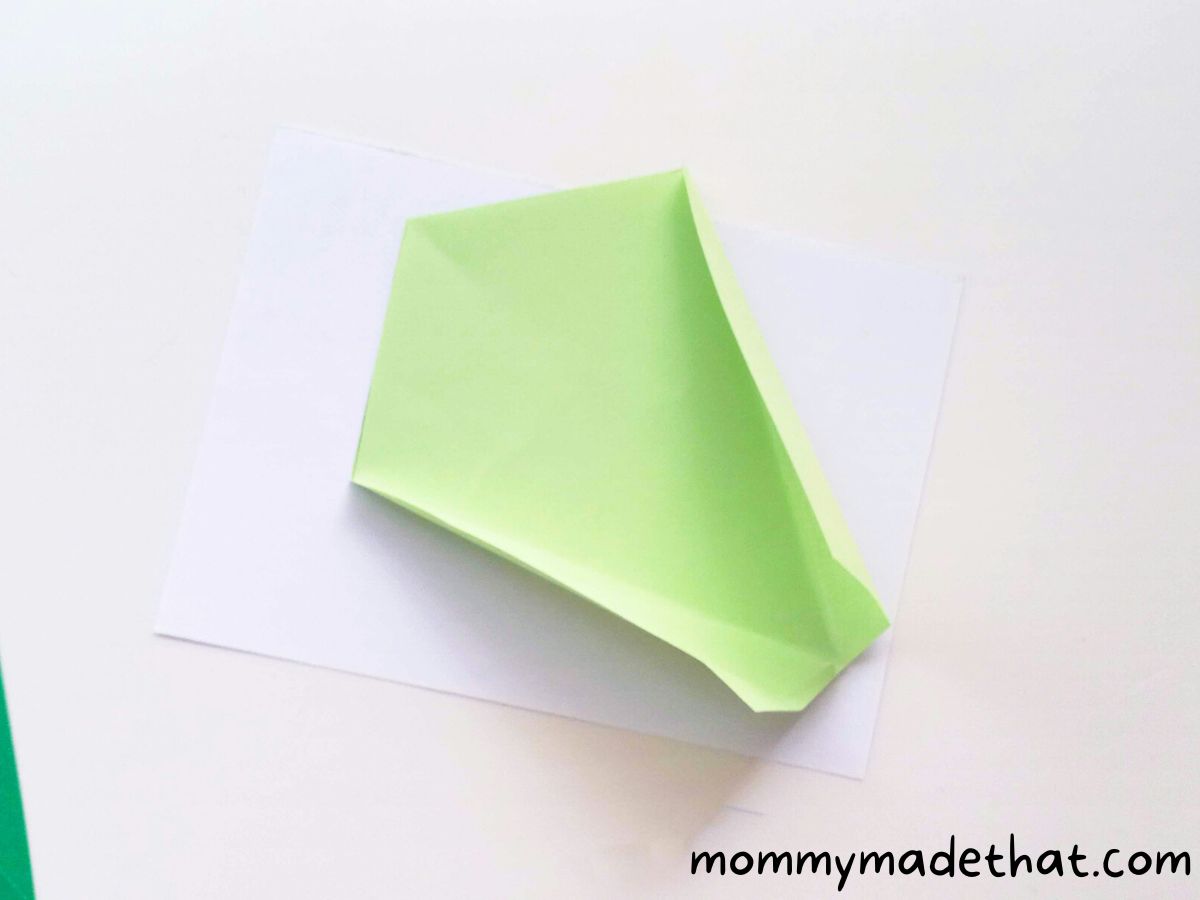
Glue the wrapping paper onto the cardstock paper.
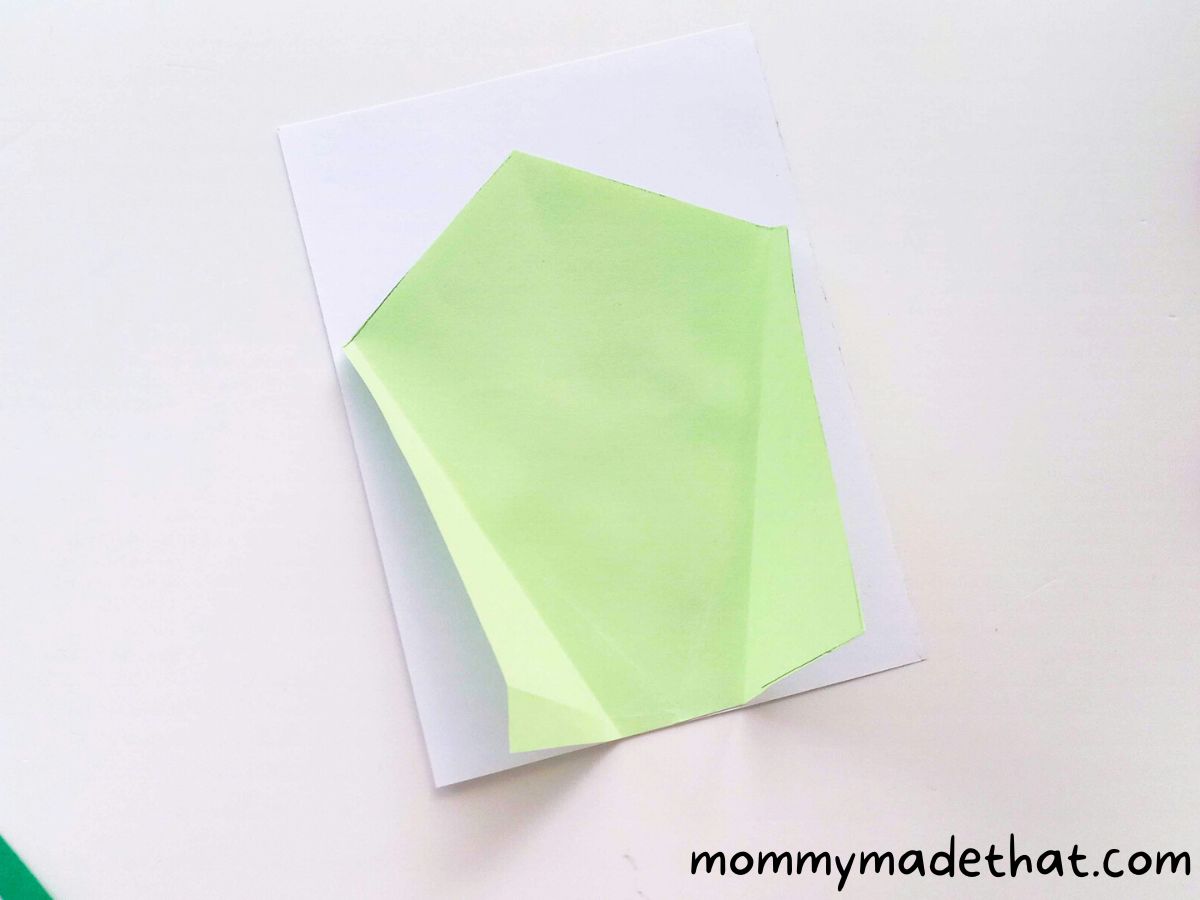
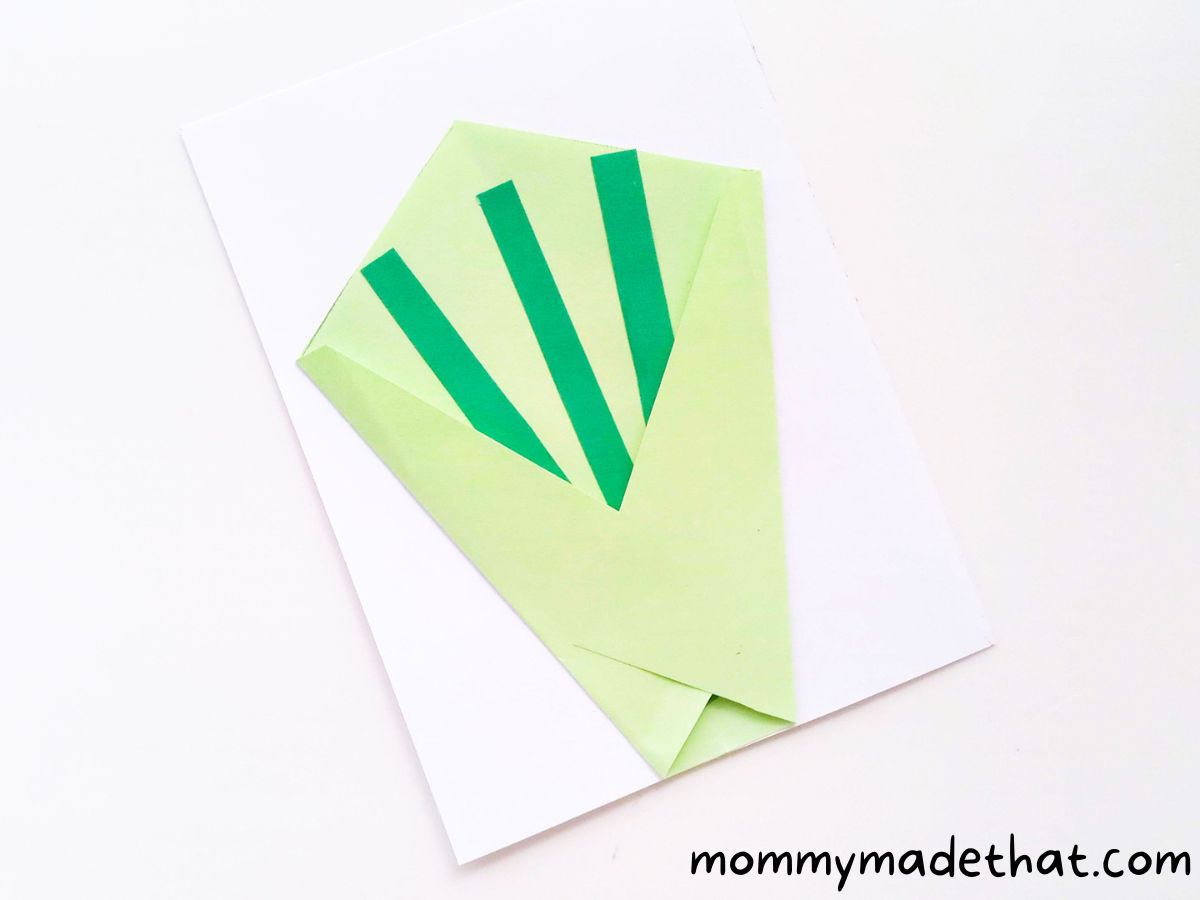
Glue the three flower stems onto the wrapping paper. Make sure everything is aligned properly and looking neat!

Bring the two sides of the wrapper inwards and glue them together. Now, the wrapper should hold the flower stems securely.
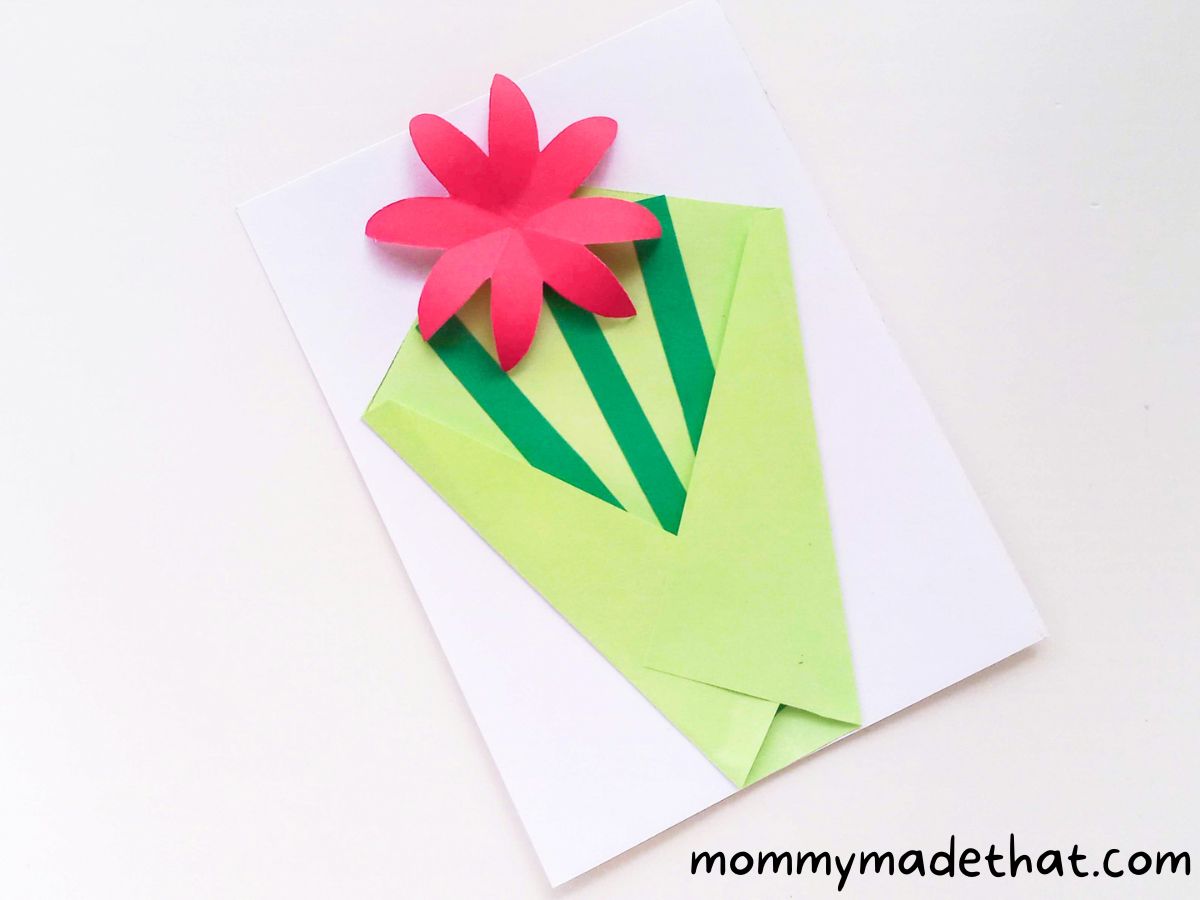
Glue the largest flower onto the middle stem. Then glue the other two flowers onto the remaining stems.
Use the provided yellow circular pieces and glue them onto the center of the flowers.

Finally! Glue your two hands onto the sides of the flower bouquet, and you’re done!
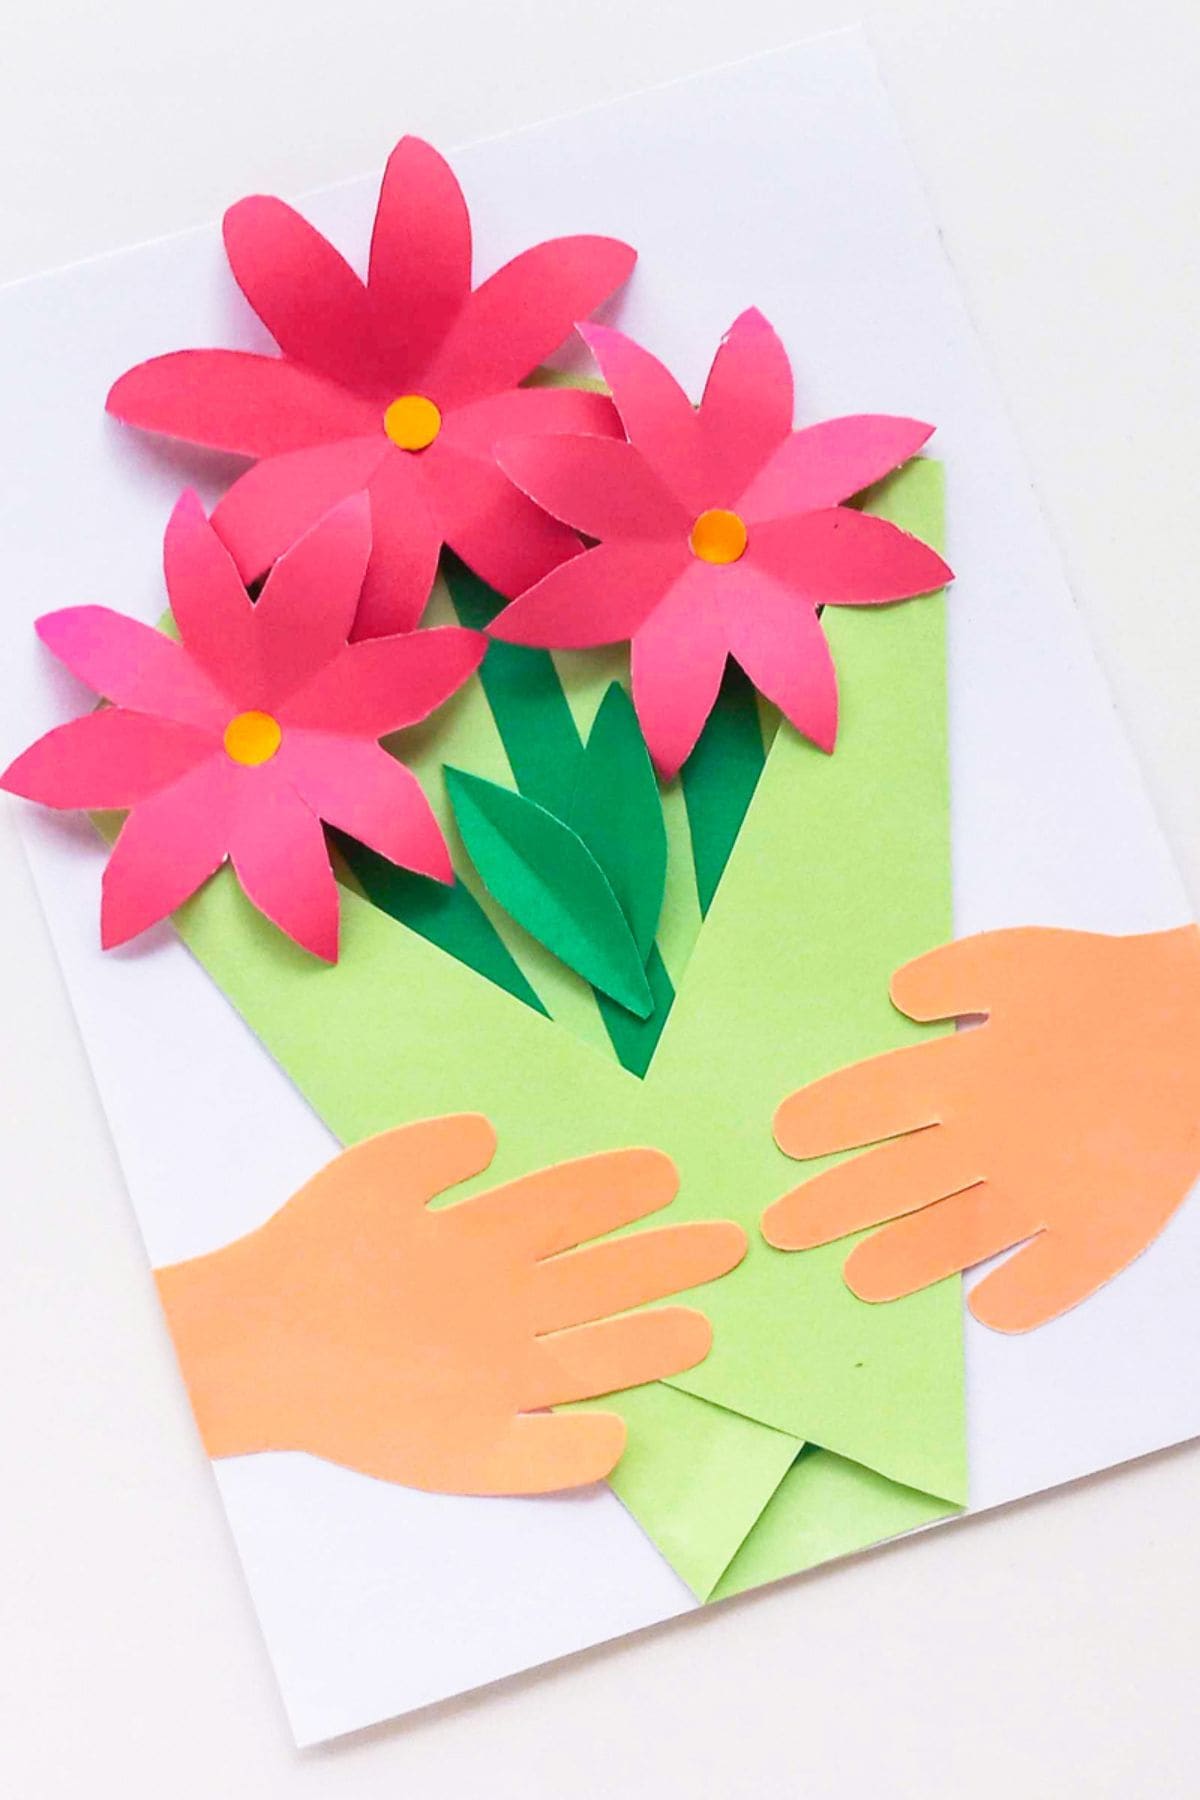
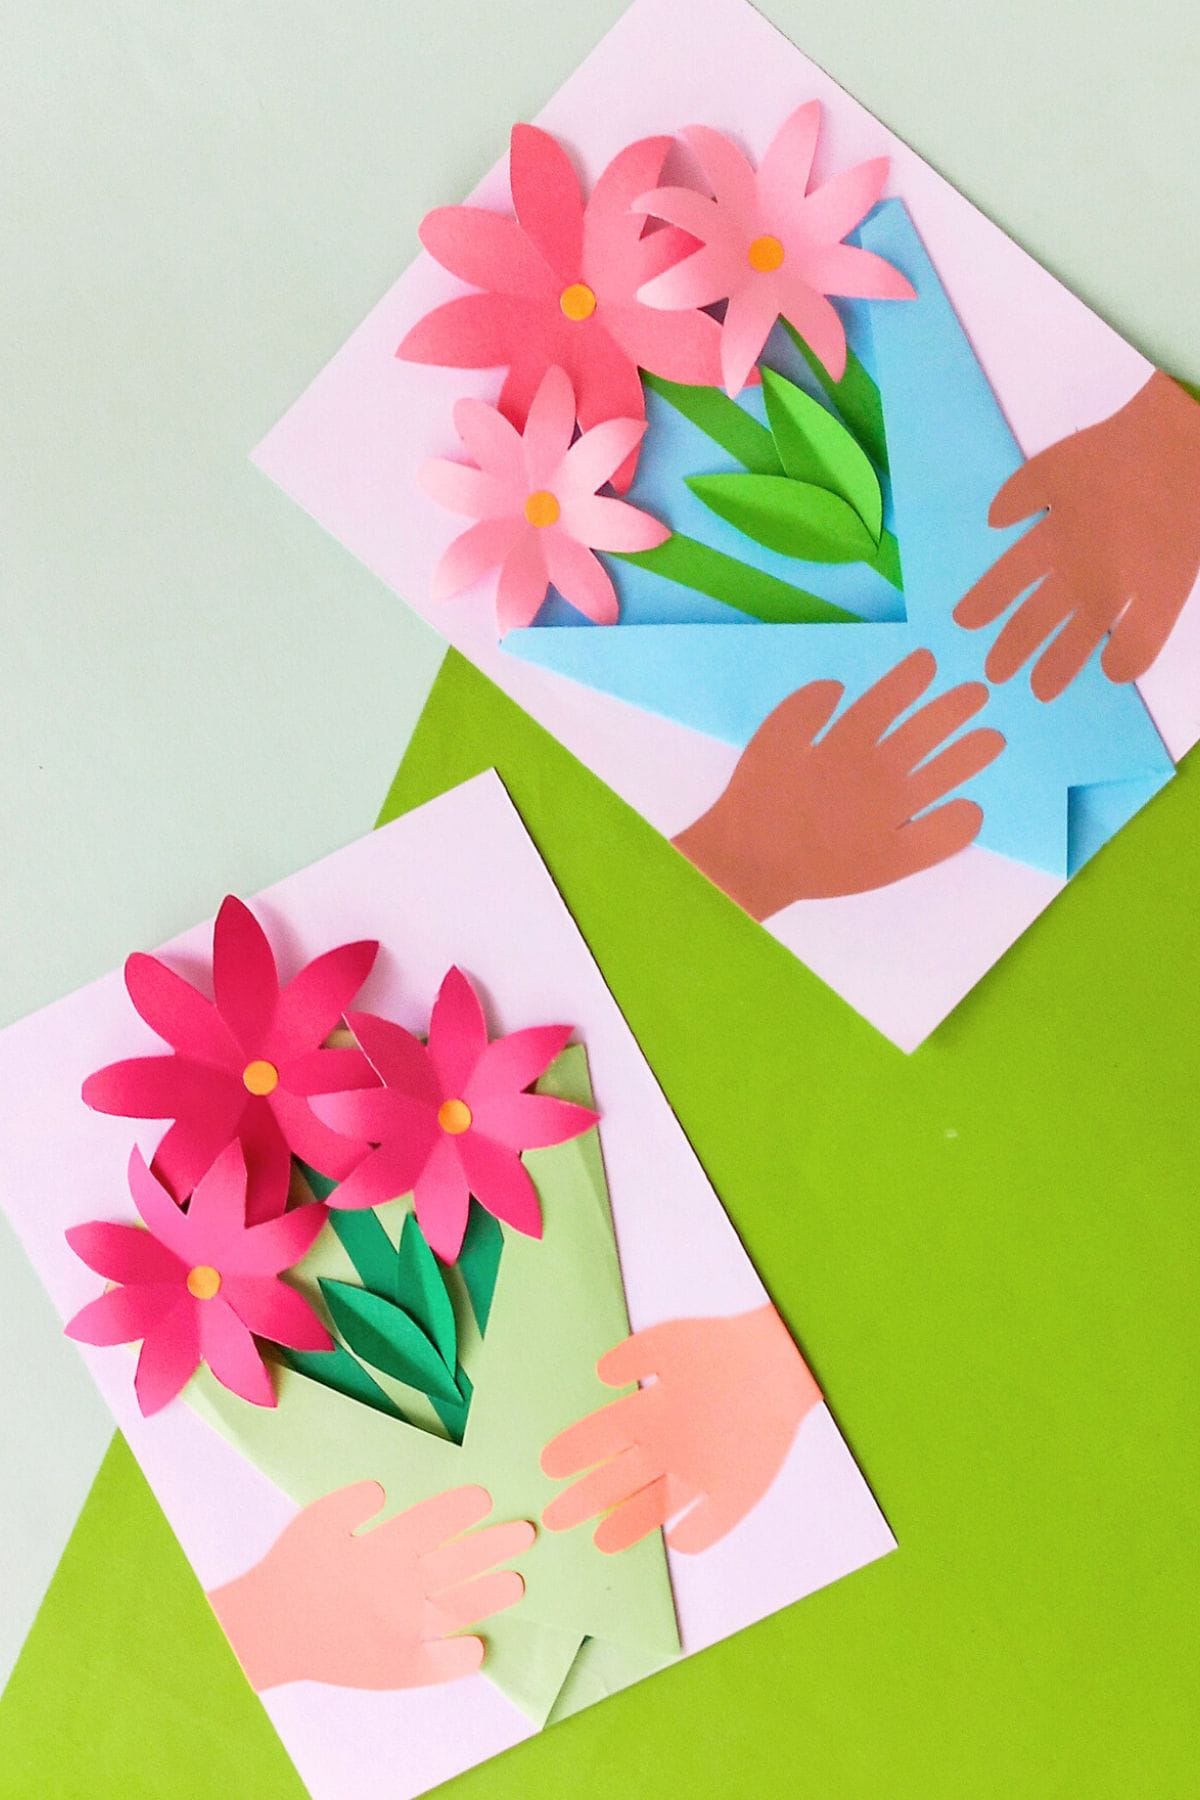
You can make the flowers, the hands and the wrapping paper any colors you like! So you can use the receiver’s favorite colors or pick some fun colors you like.
Grab the Flower Bouquet Craft Template
To grab the free flower bouquet template, put your email in the box below. We’ll send it straight to your inbox.
This is for personal or classroom use only, please. Not for commercial use.
Thank you!



just love it!
Thankyou for sharing the post.