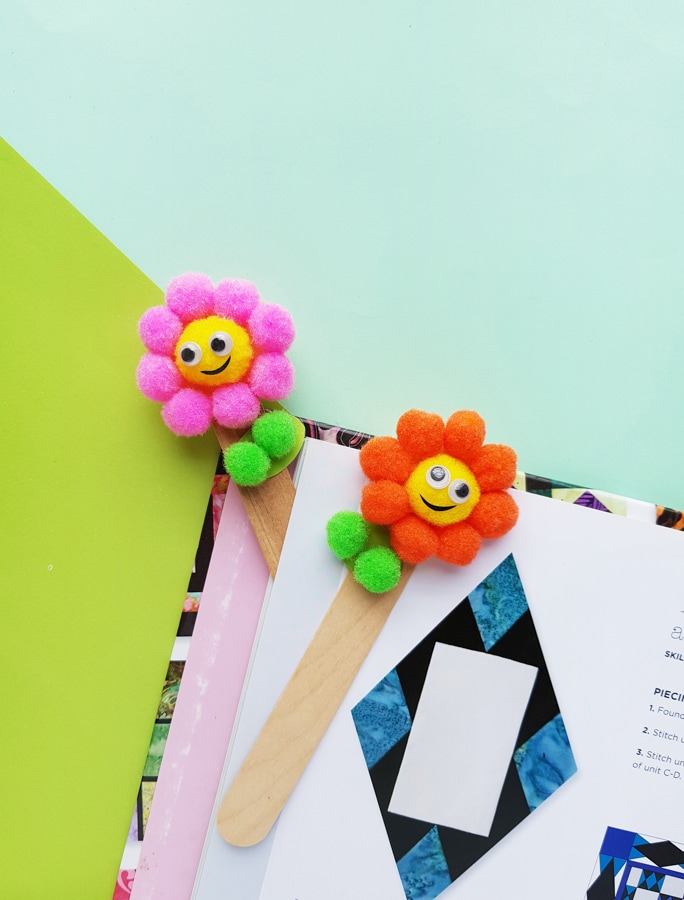
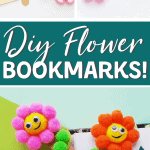
Pom Pom Flower Bookmark Craft
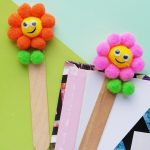

Today we have these ultra-adorable DIY flower bookmarks! This is a fun craft for kids, and creates the cutest bookmarks!
These cute little flower bookmarks are made using pompoms and popsicle sticks! We love popsicle stick crafts around here.
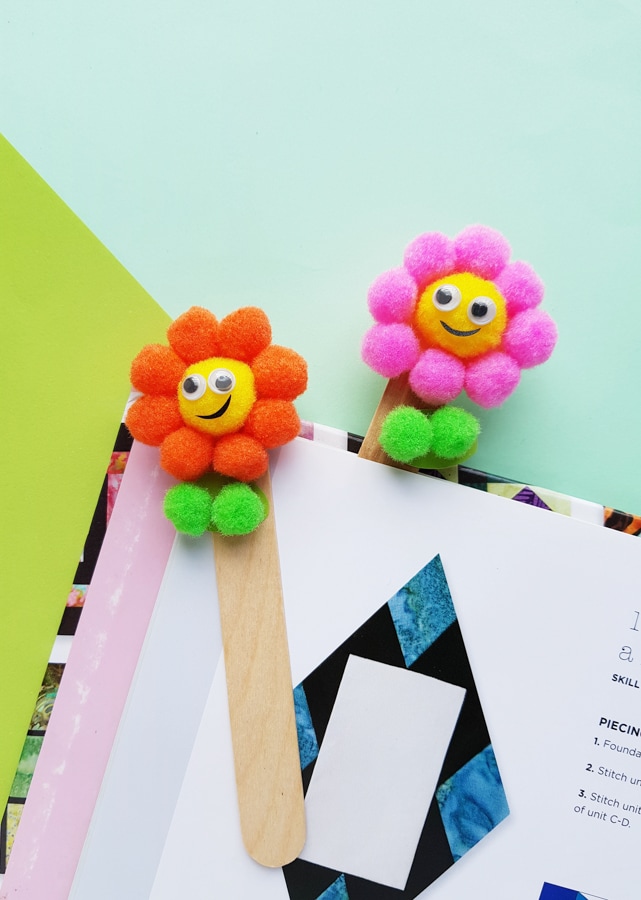
They are so stinking cute, but so easy to make. It’s a great DIY bookmark craft for kids. (Or adults for that matter!)
We’ll show you how to make your own flower bookmark in this quick step by step tutorial.
These make for great summer craft ideas!
This post may contain affiliate links. This means if you click a link and make a purchase, we may earn a commission at no cost to you. You can read our full disclosure here.
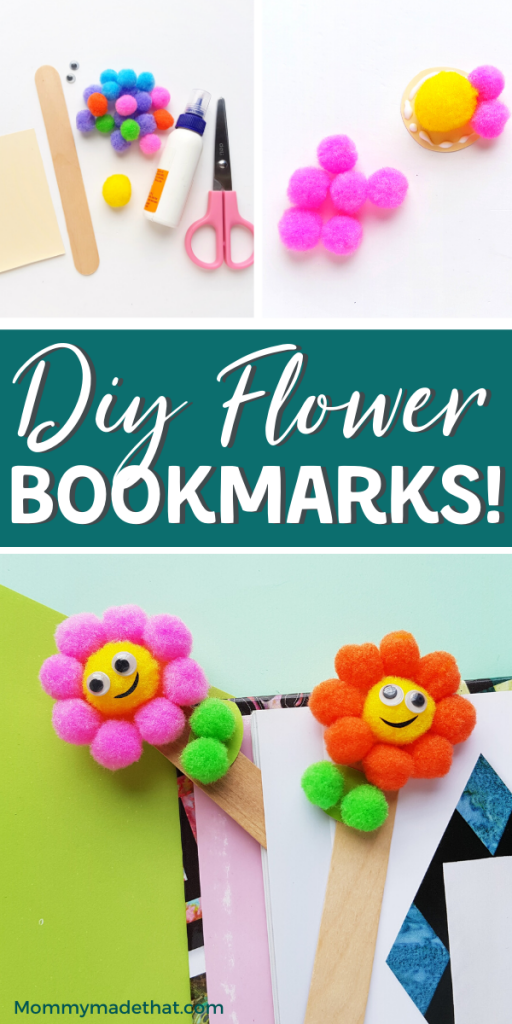
Supplies Needed for Pom Pom Flower Bookmark
To make these adorable little bookmarks, start by gathering these supplies:
- Colorful pompoms in a small and medium-size
- Popsicle sticks
- Googly eyes (Or grab our free printable eyes)
- Craft paper
- Craft glue
- Scissors
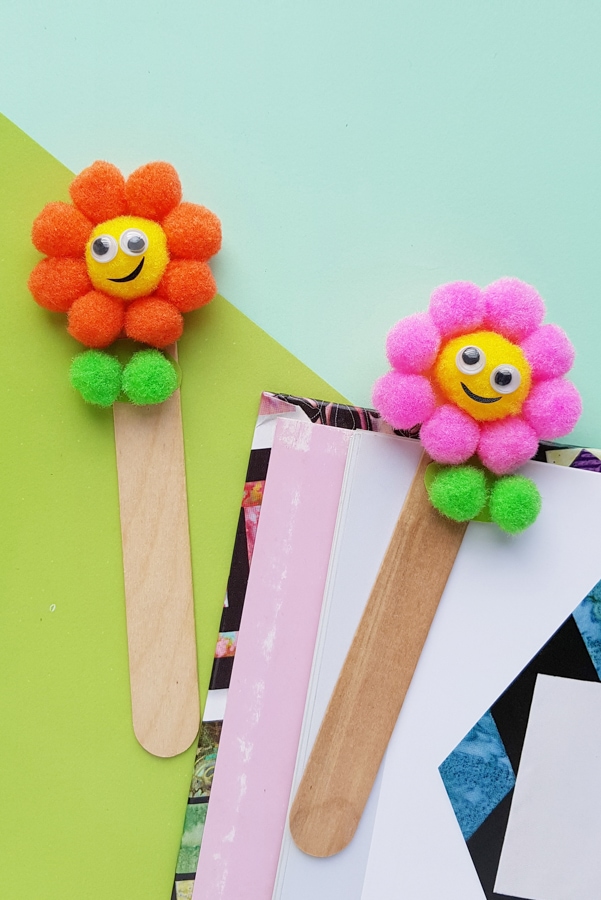
For the flower in this tutorial, we used a medium-sized yellow pompom, several smaller pink pompoms and a couple green pompoms.
How to Make Flower Bookmarks
To make your floral bookmarks stat by creating your flowers from the pom poms, add leaves then glue to the popsicle sticks.
Follow these step by step instructions:
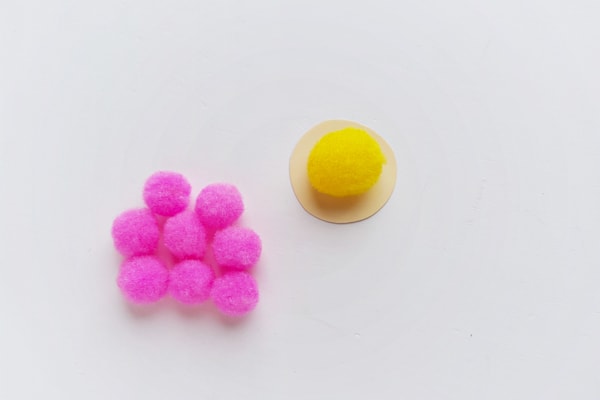
Step 1: Grab your Pom Poms
Select a large pompom for the center of your flower. Then grab a few smaller pom poms to form the flower petals.
For our flower, we used a yellow pompom for the center and pink pompoms for the flower petals.
Then cut out a round piece of paper from the colored craft paper.
Glue the large pompom to the center of the paper circle.
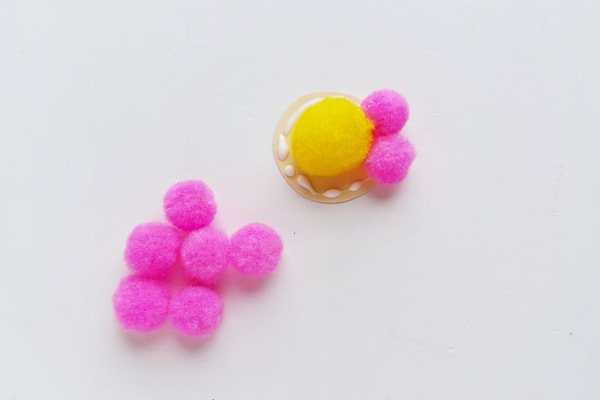
Step 2: Prep your Paper for the Flower Petals
Next, apply glue in a circle around the large pompom onto the colored craft paper.
Start placing the pompom petals onto the glue.
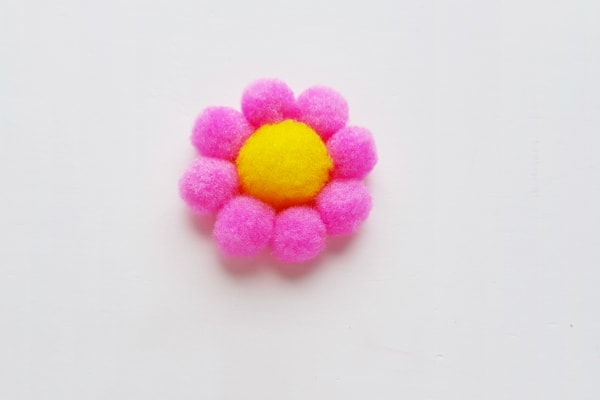
Step 3: Complete the Flower Base
Fill in the outer area of the round paper with the small pompoms, finishing your flower base.
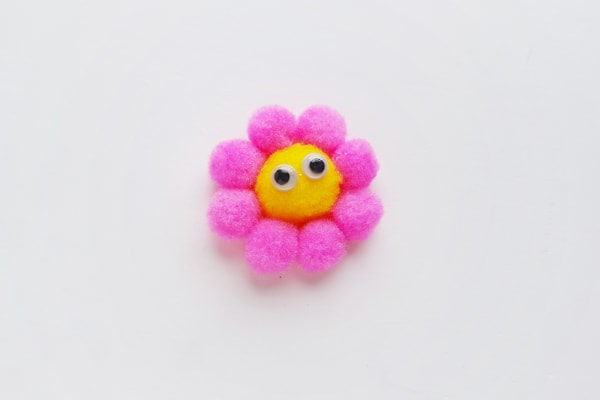
Step 4: Attach Cheery Eyes
Attach a set of googly eyes onto the center of your flower.
If you want an extra cheery flower like ours, cut out a thin smile from a piece of black craft paper and attach it below the eyes.
Step 5: Start Creating the Leaves
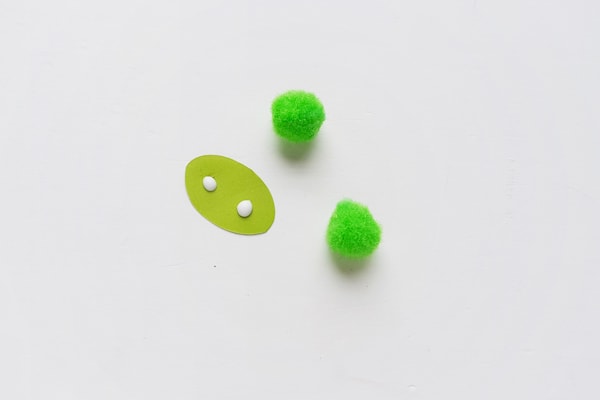
Next, cut out a small oval shape from green craft paper and grab 2 green pompoms.
This will be the base for your leaves of the flower.
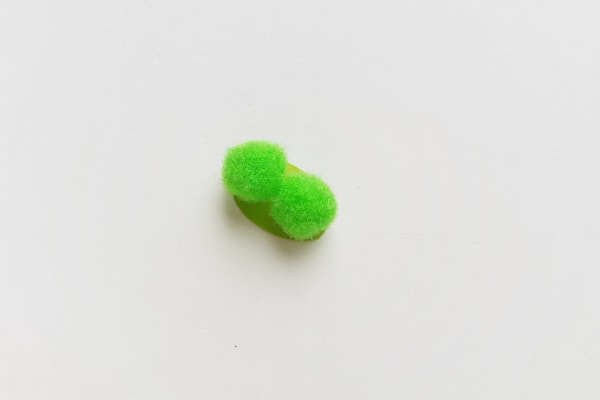
Step 6: Assemble the Leaves
Now, attach the two green pompoms onto the oval paper with glue, forming your leaf.
Step 7: Attach the Flower to the Bookmark
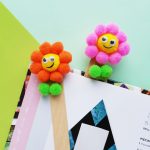
Now you can attach the pompom flower to a popsicle stick, forming your bookmark. For the finishing touch, glue the green pompom leaf right below the flower head of the bookmark.
Allow to dry completely.
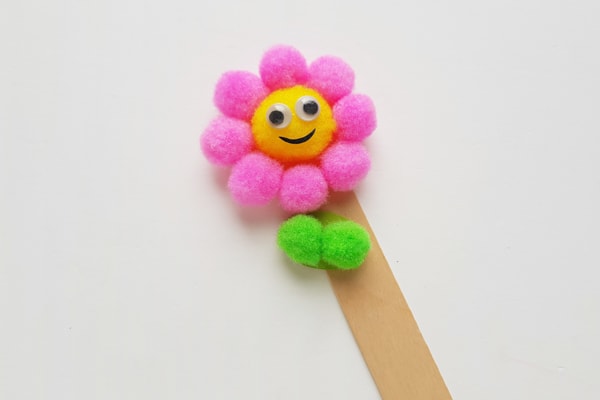
Now your adorable little floral bookmark is ready to use.