Easter 3D Coloring Pages (Super Cute Diorama)
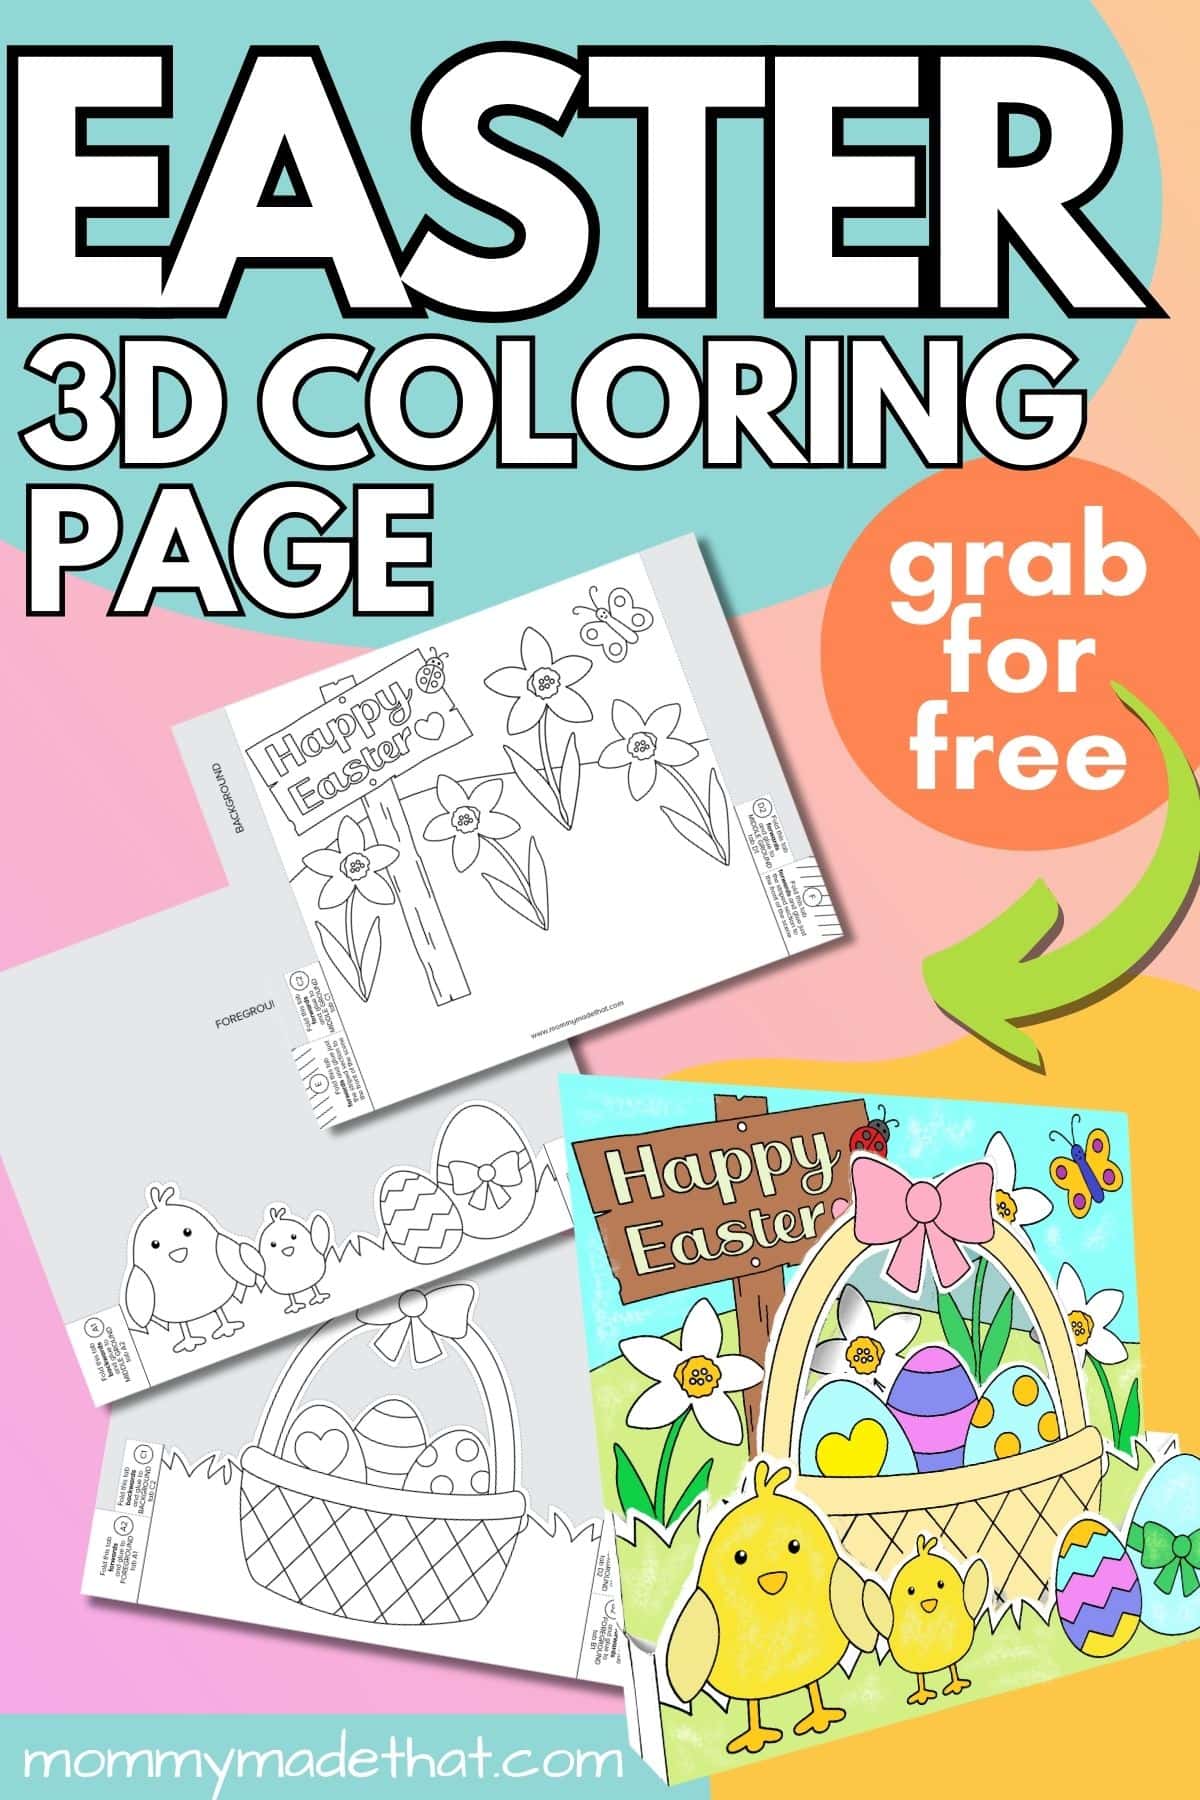
Today we have some fun Easter coloring pages. These create an adorable 3D Easter scene complete with flowers, chicks and a full Easter basket. Just color, cut and paste!
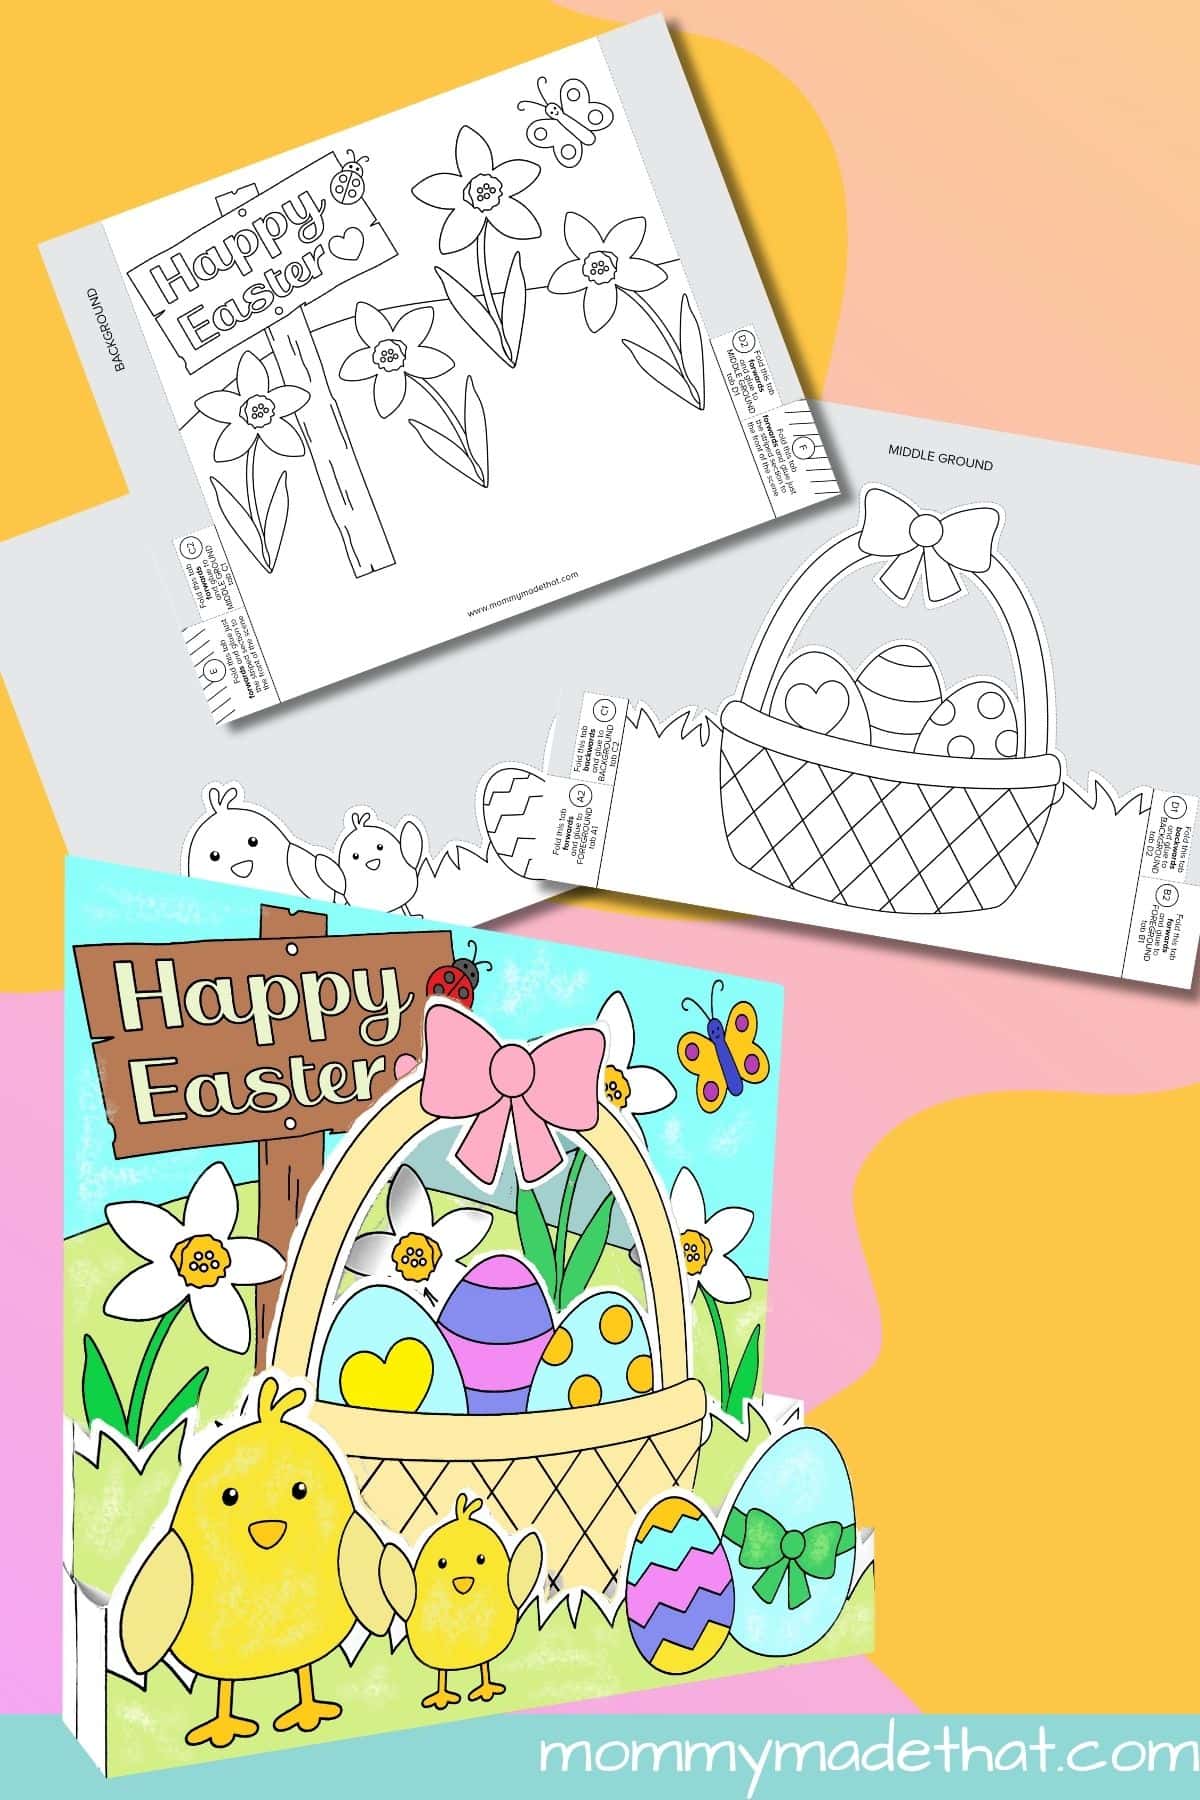
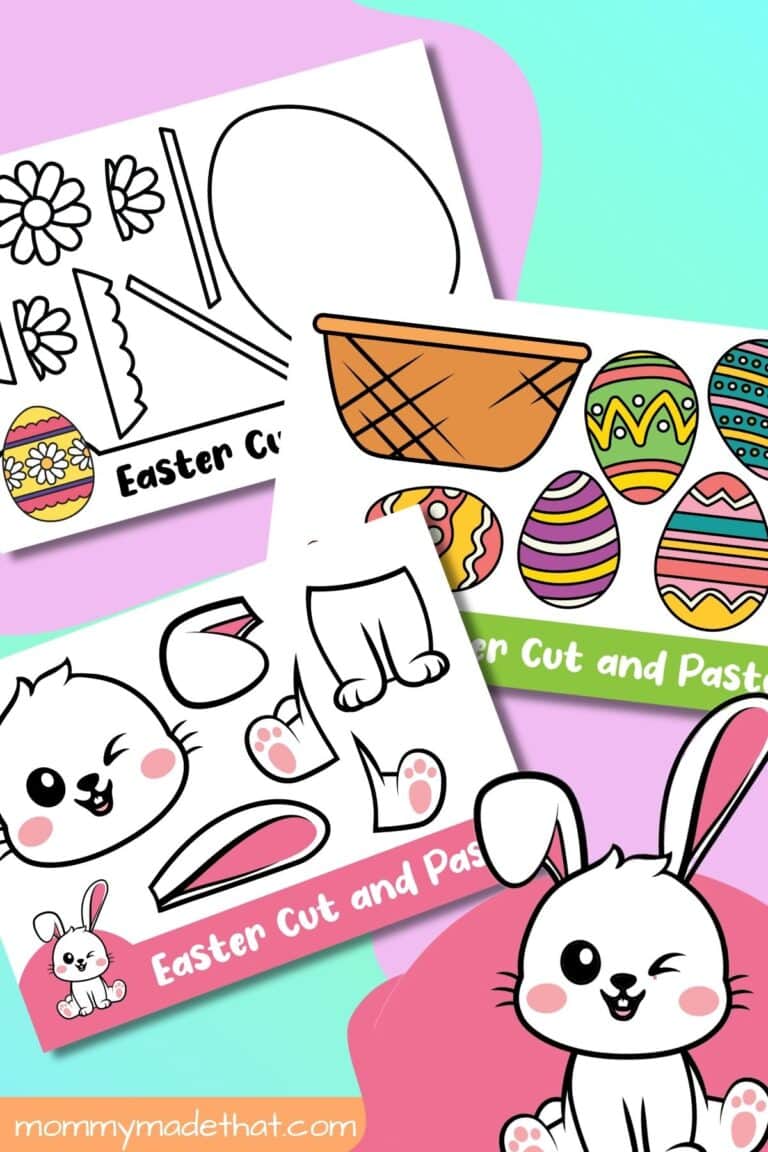
This fun Easter printable makes a 3D Easter diorama. Kids will have a blast with this activity. They serve as Easter coloring pages and then a cut and paste activity where they create a 3 layered, 3D Easter scene with chicks, eggs and Easter lilies.
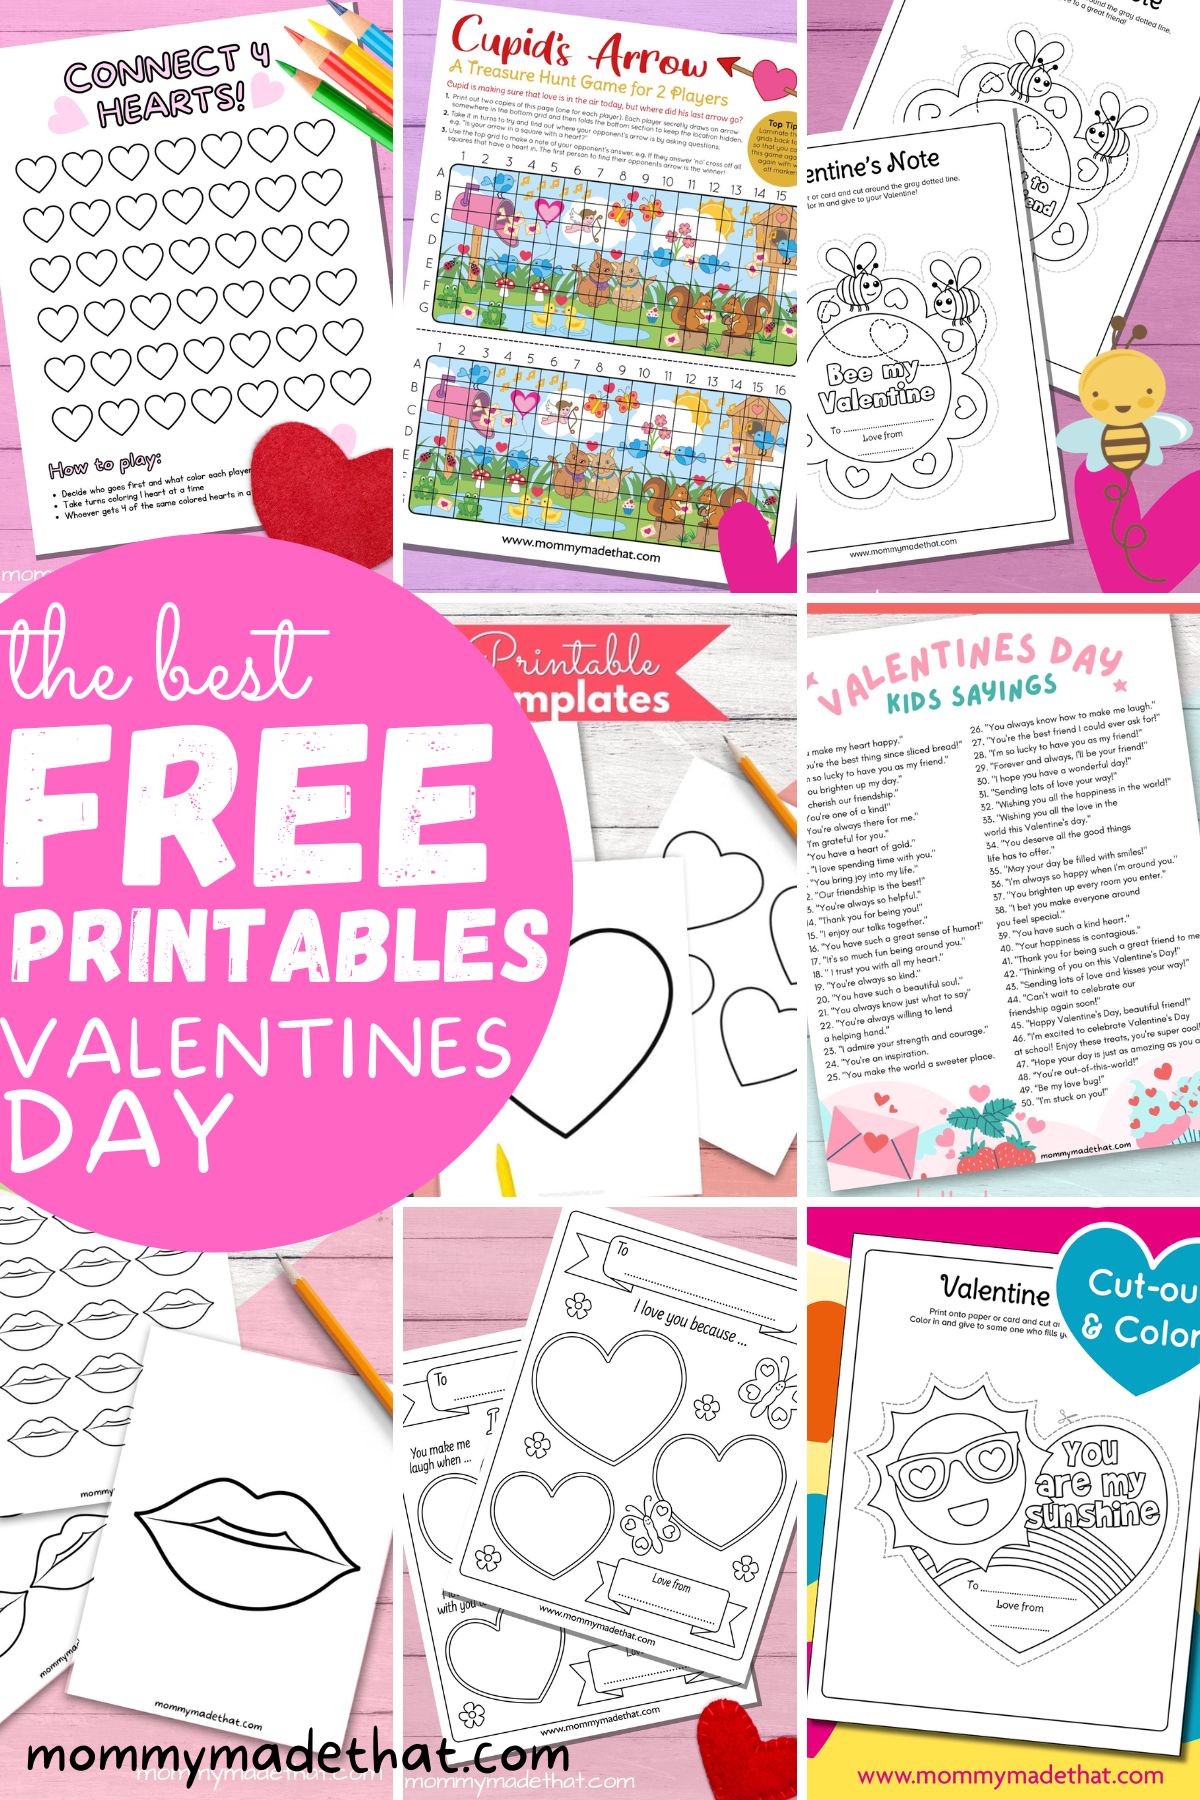
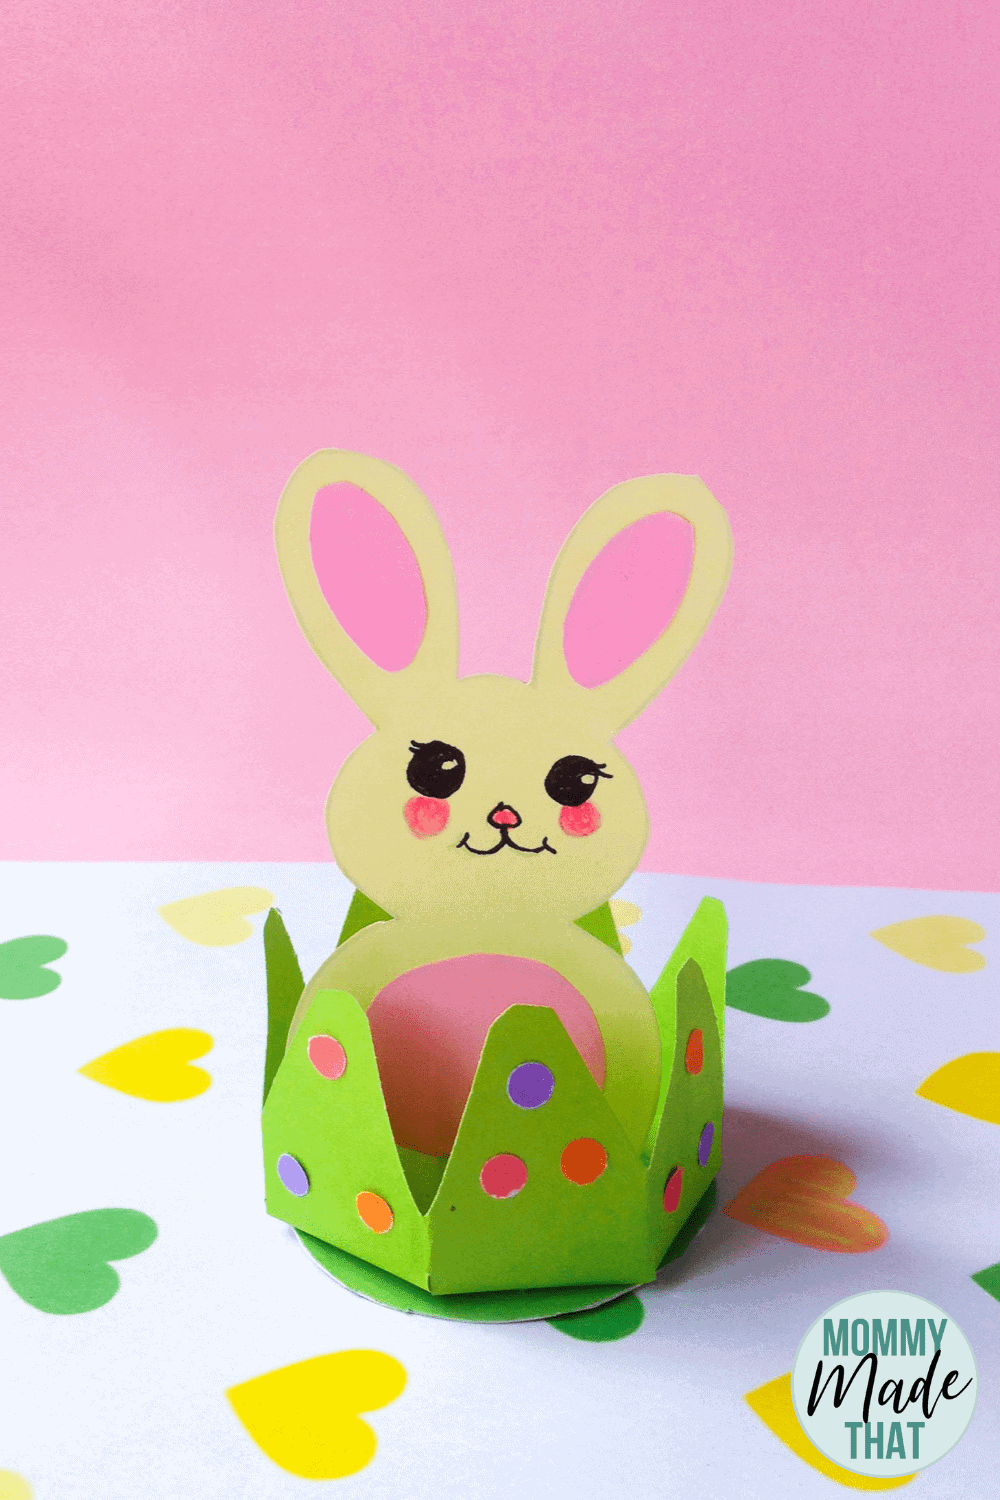
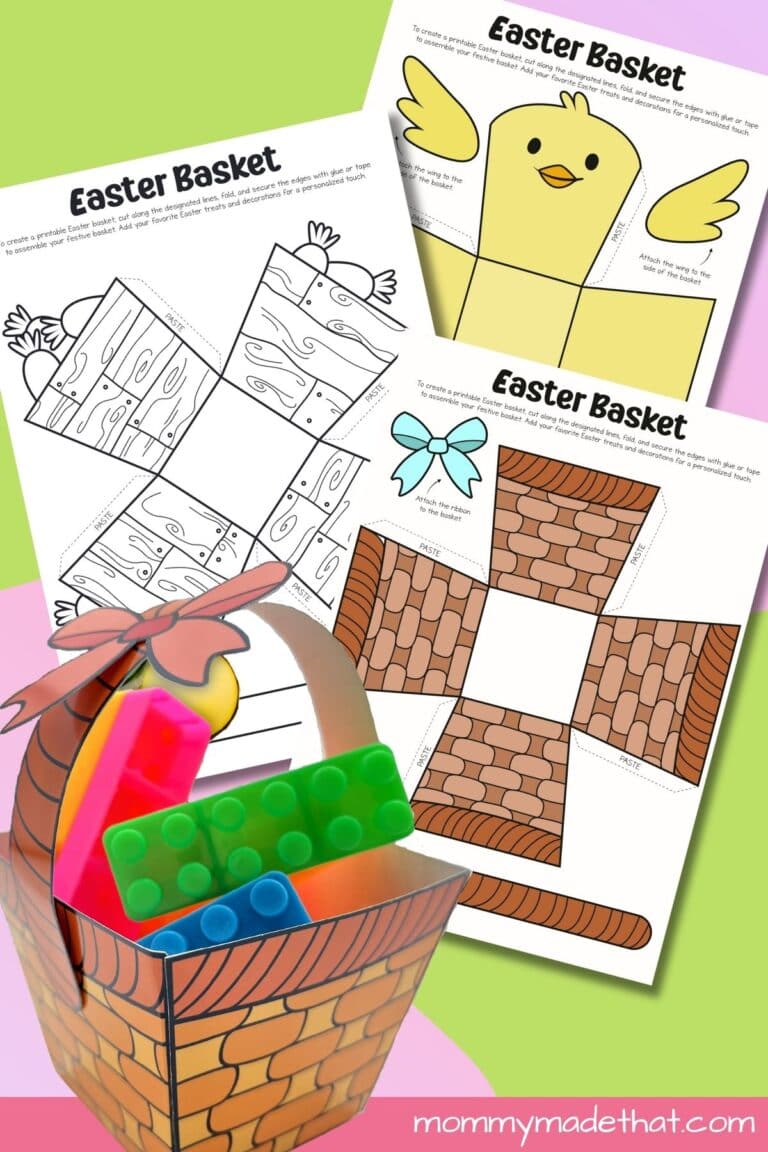
If you are looking for more fun Easter printables, check out Easter bunny coloring pages or our cut and paste bunny craft.
Why You’ll Love This Printable
- Engaging and Fun: Kids will love the coloring aspect and be thrilled to see their artwork become a three-dimensional scene.
- Skills Development: Enhances fine motor skills, encourages creativity, and teaches kids about following instructions.
- Easter Decor: Perfect for adding a personal touch to your Easter decorations.
- Family Activity: Great for siblings to work on together or for a parent-child bonding activity.
Materials
- Coloring Pages: These are special 3D Easter-themed pages.
- Crayons/Markers: To bring the scenes to life with color.
- Scissors: For cutting out the shapes along the gray areas.
- Glue: To assemble the layers and create the 3D effect.
The Printable
The printable will come with 3 pages on one PDF file. Each page will be a different layer of the Easter scene.
All pages are in black, white and gray. So no color printing necessary here!
Instructions

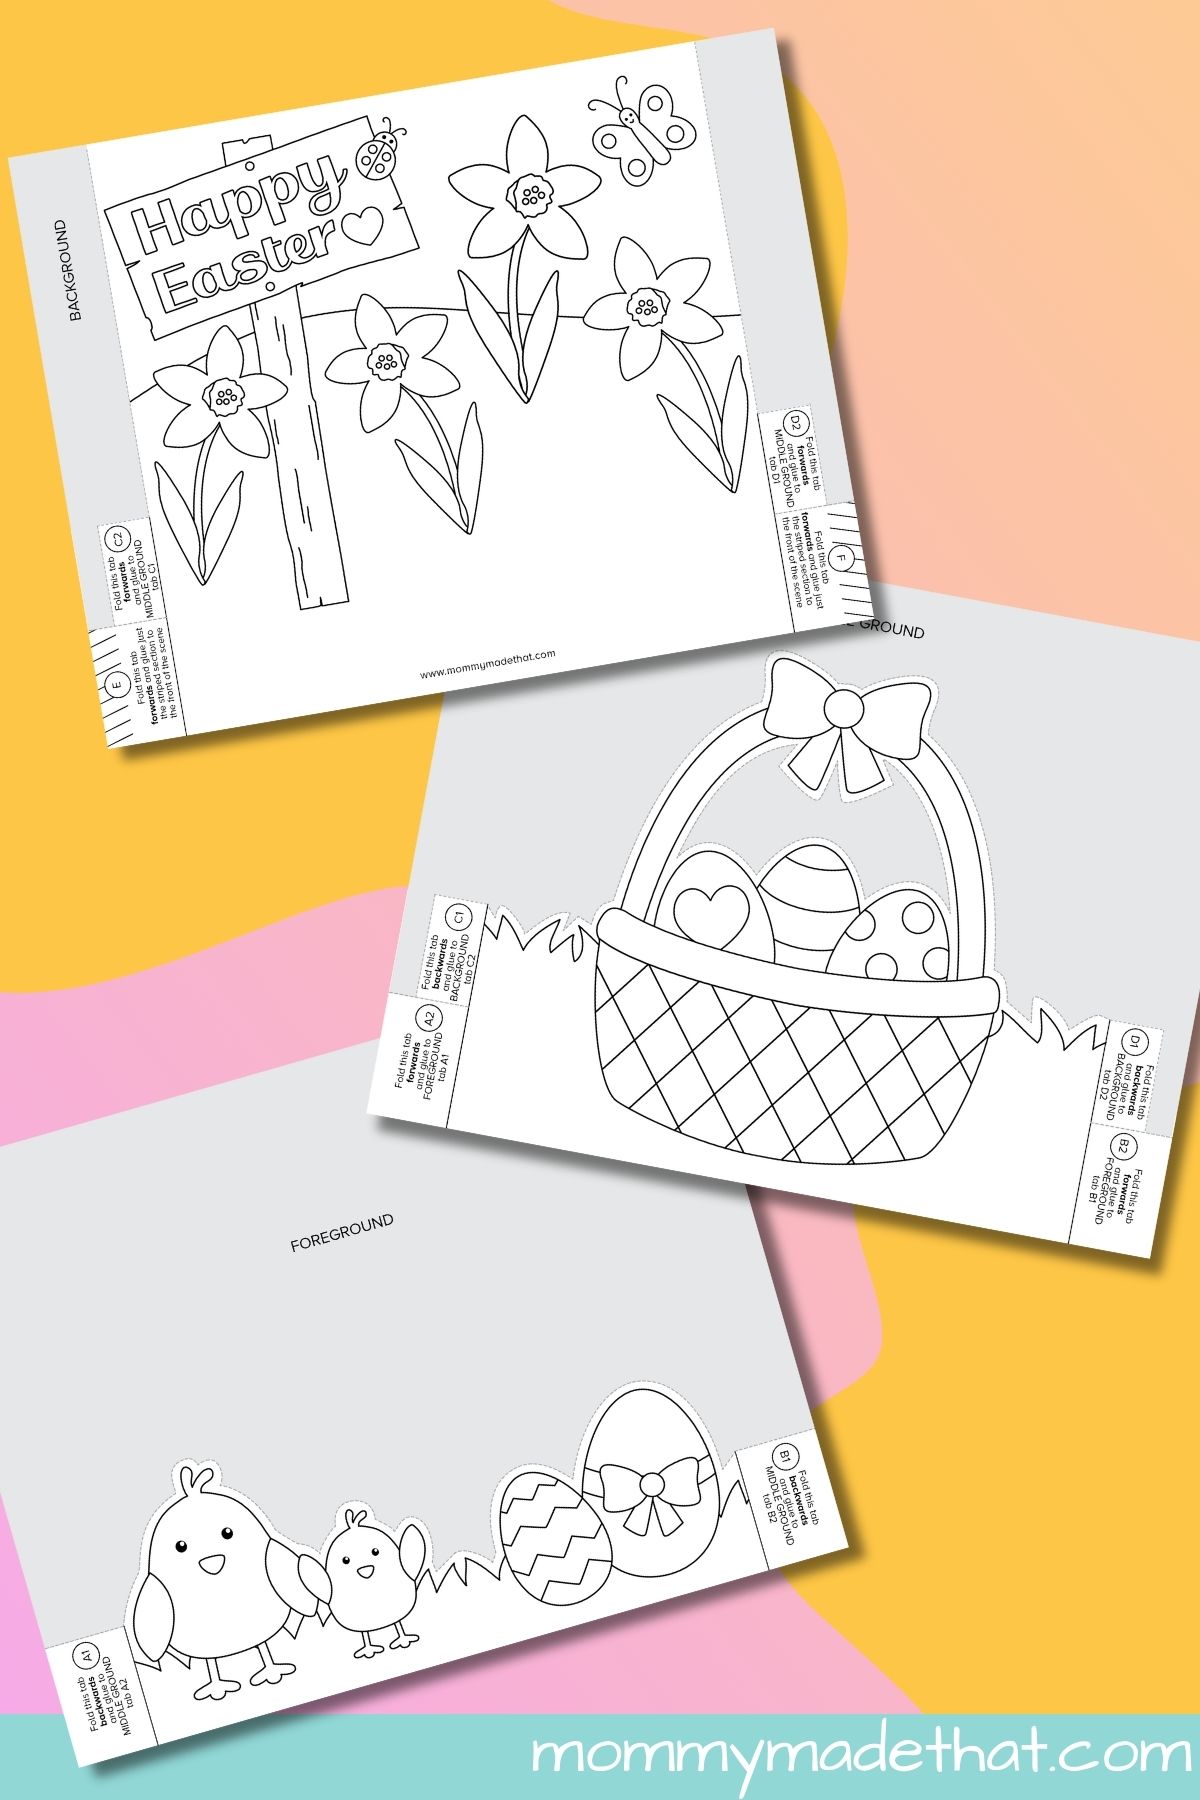
Print the Pages: Start by printing off the three sections of the coloring scene: Foreground, Middle ground, and Background. For the best quality and sturdiness, use thicker paper or cardstock.
Color Each Section: Now, bring each section to life with colors. Let your kids use their imagination to color each of the sections.
Trim the Grey Areas: After coloring, carefully trim off all the grey areas. Look for the grey dotted lines; these indicate exactly where you need to cut. Take your time to avoid cutting into your beautiful coloring.
Fold the Tabs: Once all the excess grey areas are trimmed away, fold all the side tabs. Some tabs will need to be folded forwards and others backwards, as indicated on each tab.
Glue in Order: Now, it’s time to glue everything together. Pay attention to the instructions on the tabs for guidance on where to glue each one.
It’s crucial to work in alphabetical order: A1 will join to A2, B1 to B2, C1 to C2, and so on.
This method ensures everything aligns correctly. By the time you reach tabs E and F, the striped section will perfectly fit to the front of the scene, just ready for gluing.

Top Tips
Take Your Time: Don’t rush the coloring and cutting; enjoy the process.
Customize: Feel free to add glitter, stickers, or anything else to make your scenes unique.
Let It Dry: After assembling, give it some time to dry to ensure it stands up well.
Display: Find a special spot to display your 3D Easter scenes proudly.
Grab the Free Printable
To get your hands on these fun 3D Easter coloring pages, just drop your name and email in the pink box below. We’ll zip it directly to your inbox.
Plus, you’ll be the first to know about our new free printables. Remember, these are for personal or classroom use only. Thanks for understanding!
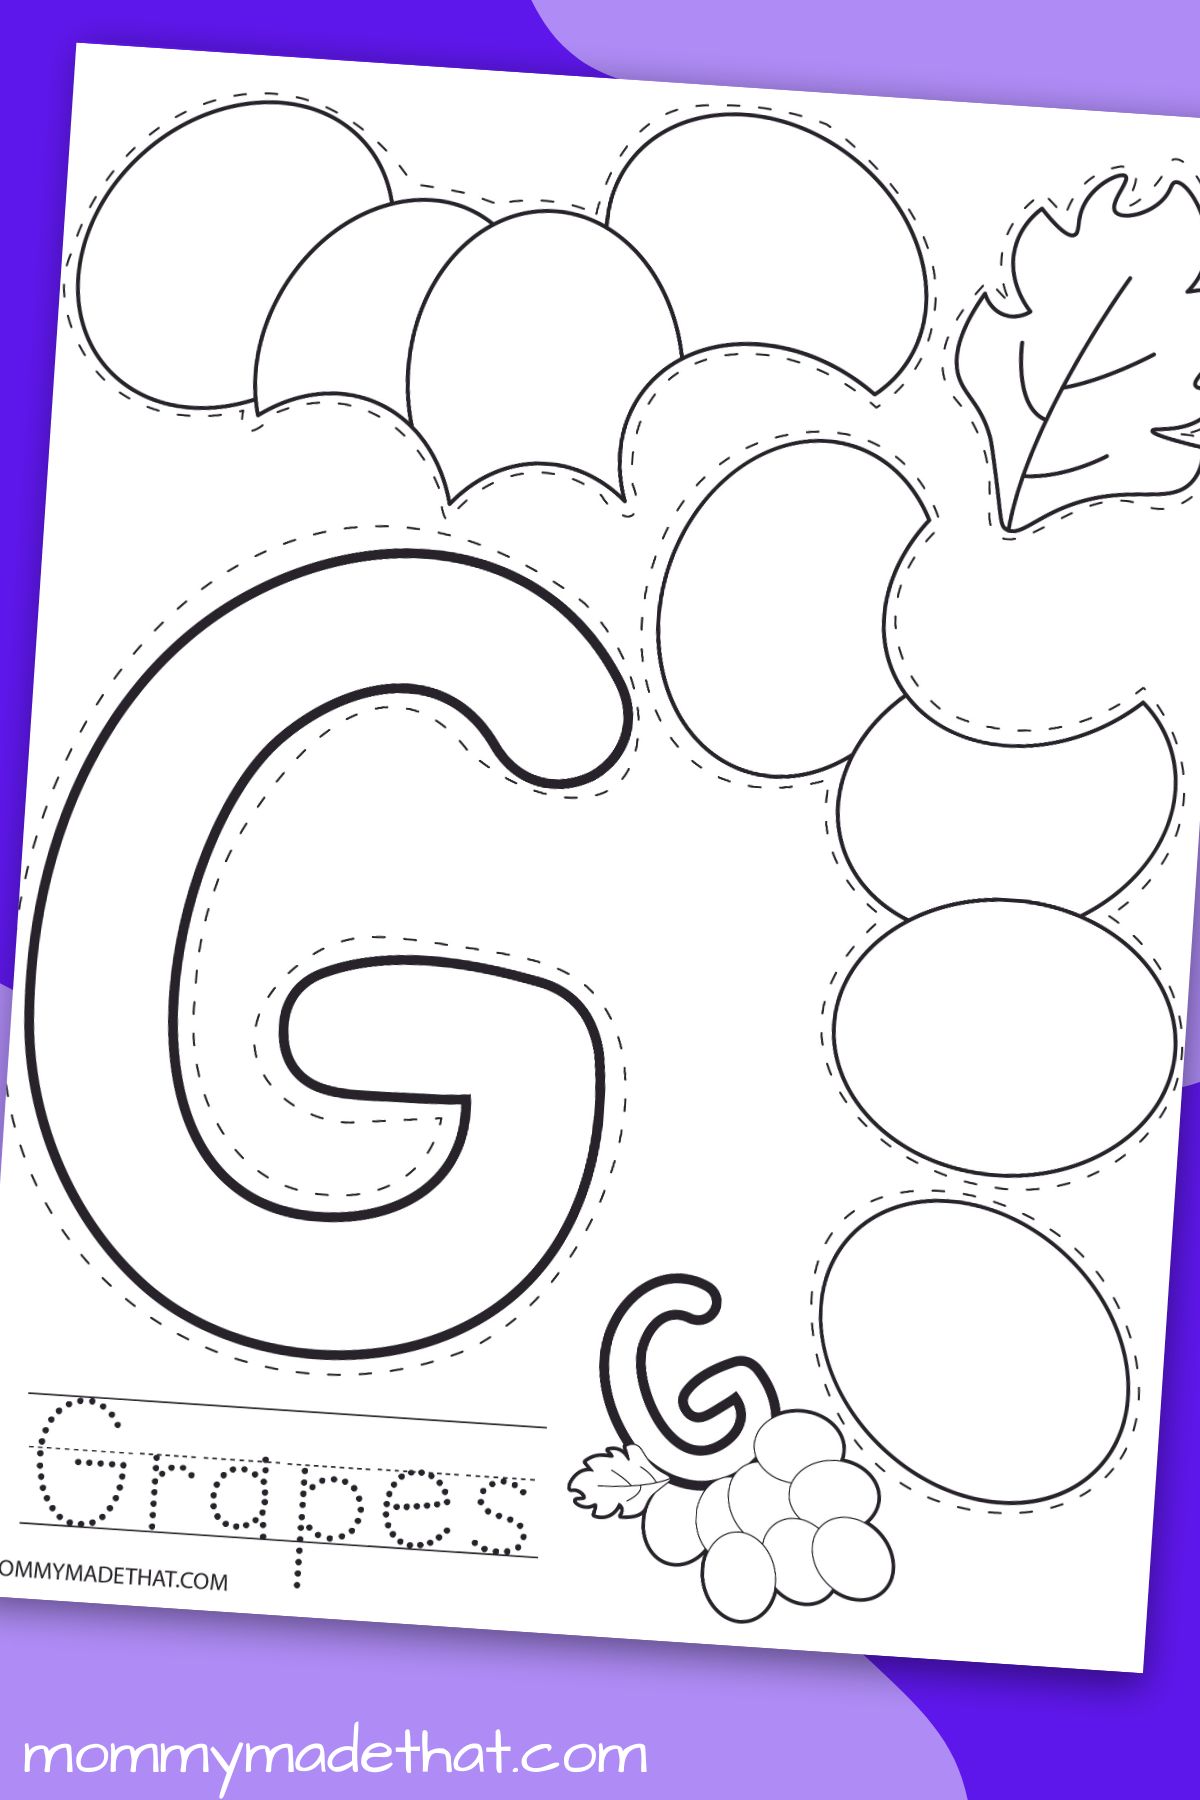
More Easter Fun
Looking for more Easter printables, crafts and activities? Try these!
We hope you enjoy our free Easter 3D coloring pages! I think they are a ton of fun and I know your kids will have a blast too.