Crumbled Paper Nativity Craft
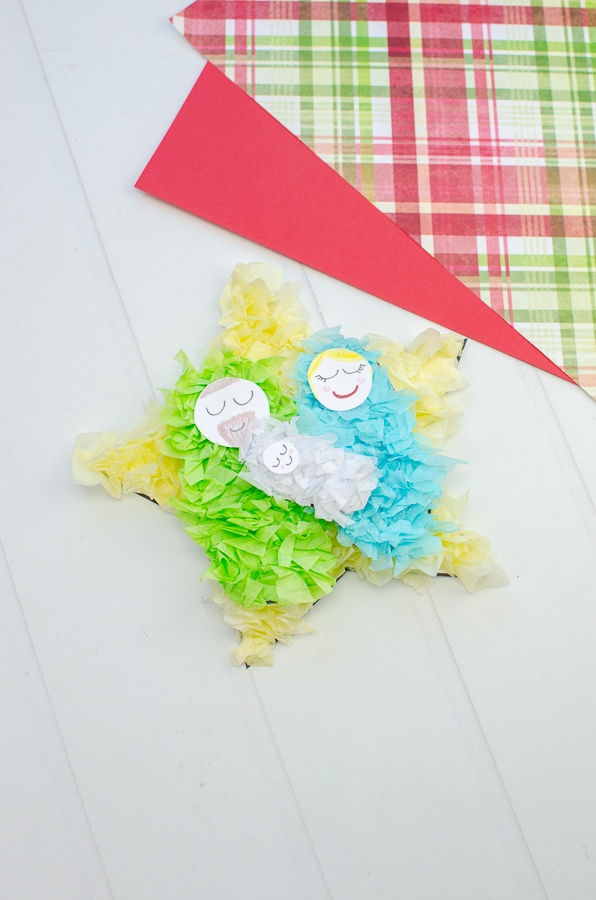
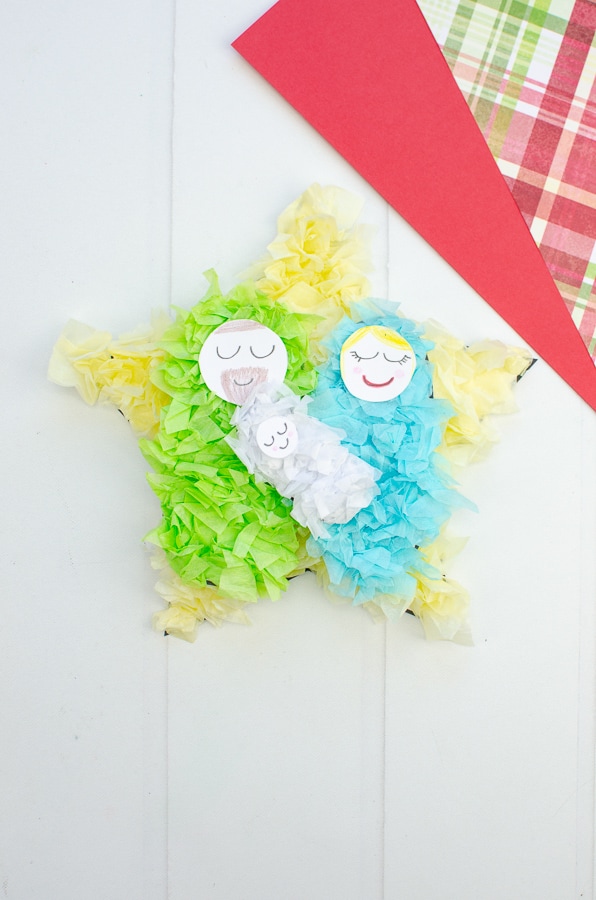
Today we are making a super cute nativity craft using crumpled paper! This is a great Christmas craft for preschoolers.
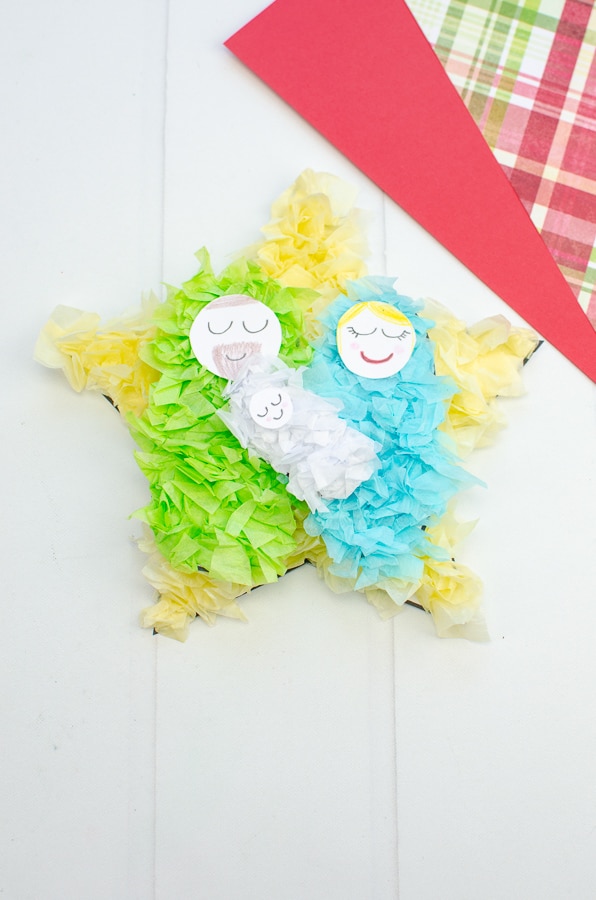
This crumpled paper craft is such a cute Nativity craft for preschoolers, although it would also make a great Sunday school craft for Christmas as well!
And if you like this craft you’ll also enjoy our Mary and Baby Jesus craft, and our super cute preschool nativity craft made from paper shapes.
With Christmas coming up, we find that nativity crafts are a fun way to help kids understand the meaning behind Christmas.
White crumpling up the papers and gluing the colors down to the paper is a good opportunity to discuss and talk about the story of Jesus being born.
I know our younger kids really enjoy crafts like this! And this kids craft is super easy.
They especially love the stories and talks that go along with them.
We’ll walk you step by step how to make your own crumpled paper nativity scene craft.
This post may contain affiliate links. This means if you click a link and make a purchase, we may earn a commission. You can our full disclosure here.
Supplies Needed
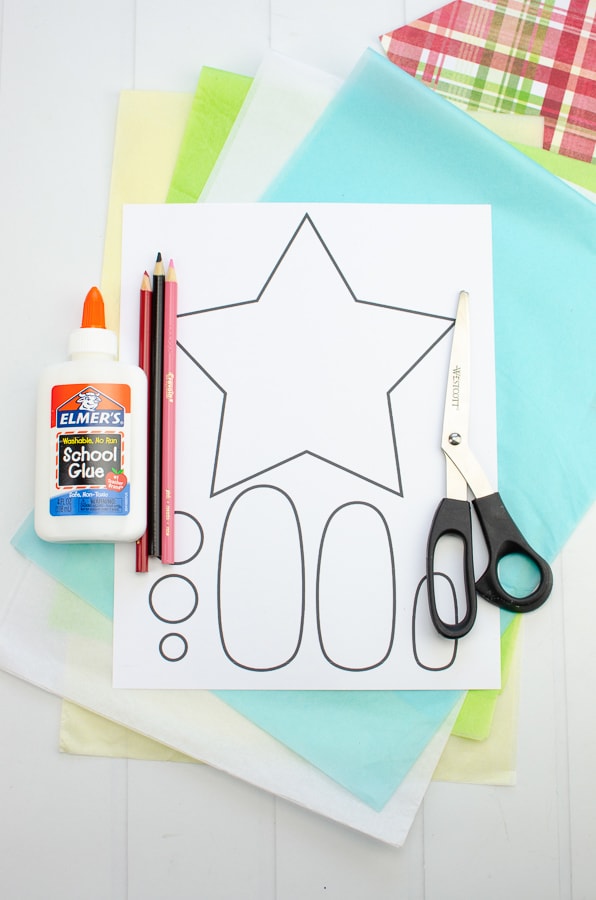
- Colored tissue paper in yellow, blue, green and white
- Our printable nativity craft template
- Colored pencils in black, red, pink, brown
- Scissors
- Craft glue
- Googly eyes (optional)
How to Make the Paper Nativity Craft
Start by printing out our nativity craft template on cardstock and cut out the pieces. (You can find the template at the end of the craft tutorial.)
If you’d like to use a different size star base you can grab one of our star templates in different sizes.
Printer paper will work too, but it makes it easier if you glue to a thin piece of cardboard, like from a cereal box.
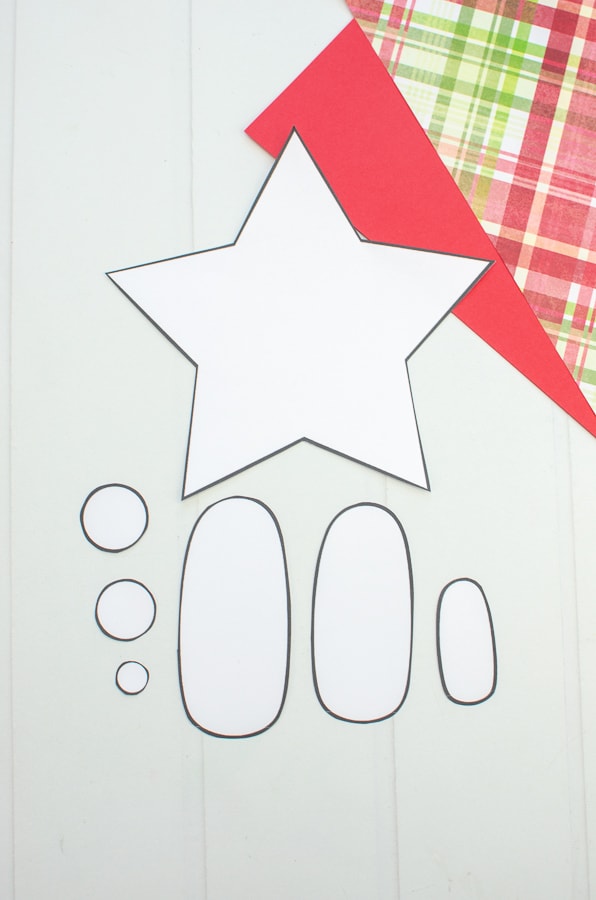
First, we’ll start with the yellow tissue paper to create a big yellow star for the nativity scene.
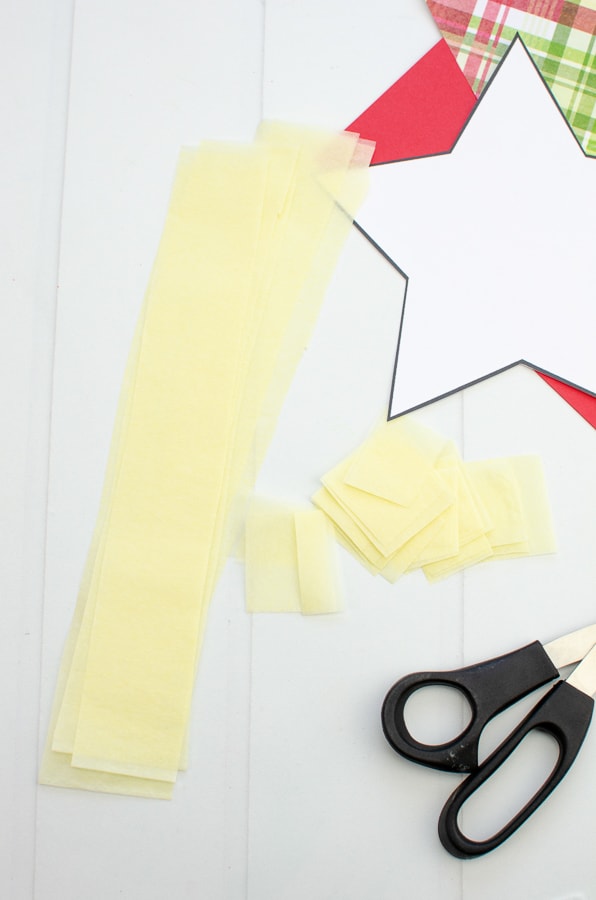
Cut the yellow tissue paper into smaller pieces.
To make this part easier for younger kids, the grown-ups can cut the tissue paper into strips and then the kids can cut the rest of it into squares.
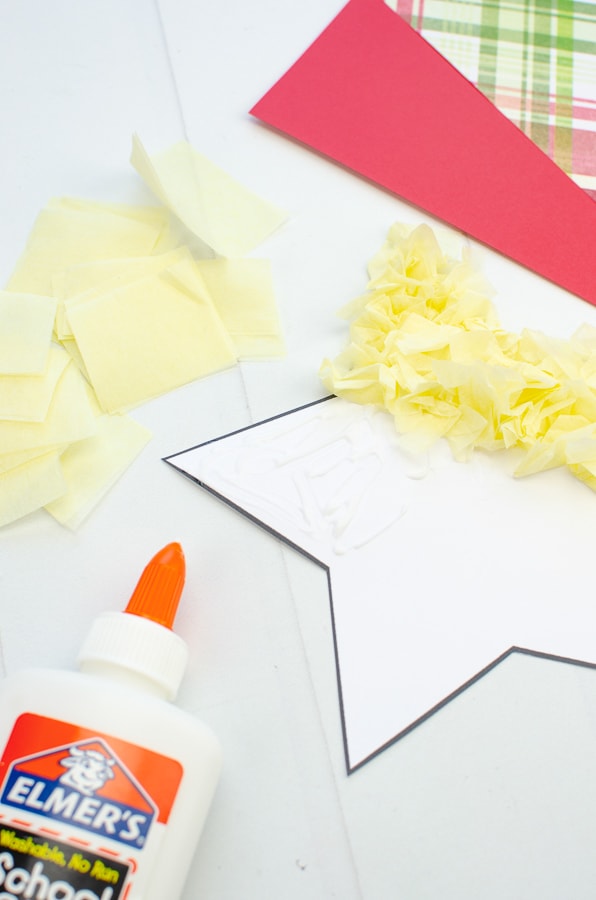
Grab the cut out of the star and cover a large section with the craft glue.
Crumple up a piece of the yellow tissue paper and tack it down to the glued area like shown in the photo below.
Keep crumpling up yellow paper and sticking it the star until it is completely covered.
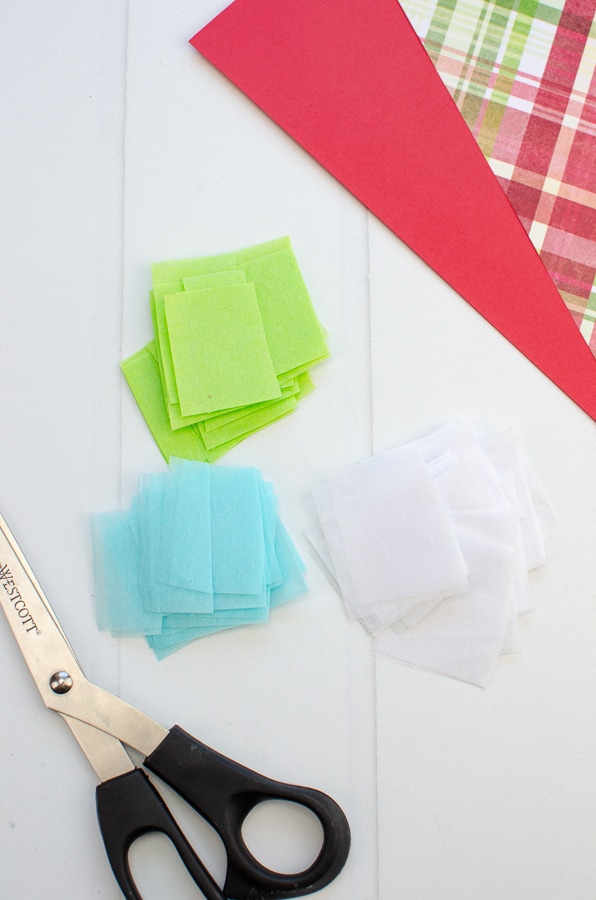
Now, we are going to repeat the whole thing with the green, blue and white tissue paper.
So start cutting the tissue paper into strips and squares just like you did with the yellow.
Now we are going to make our figures for the nativity scene.
For Joseph, we are going to use the largest oval. Crumple up the green tissue paper and cover the large oval completely like shown in the picture below.
Repeat using the blue paper for mary, which will be the medium sized oval.
And then the white tissue paper will before the smallest oval, baby Jesus.
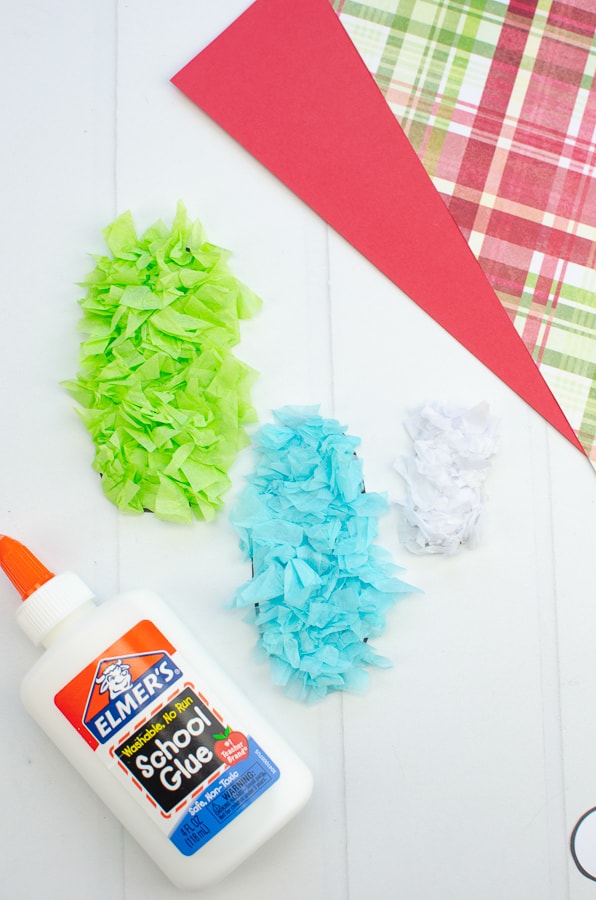
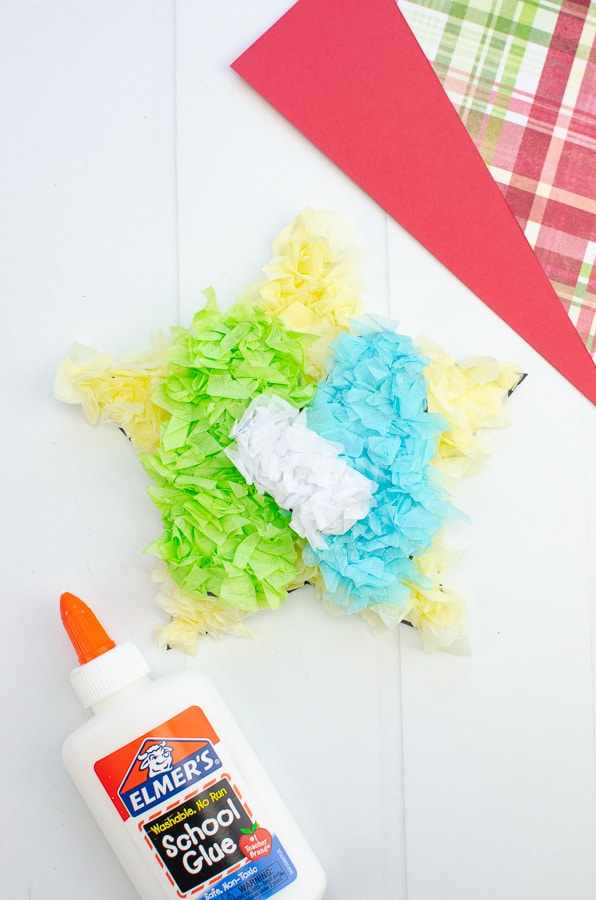
Once all of your ovals are covered, glue them down to your star.
You’ll want to glue the pieces together in a way that represents the nativity.
So Joesph (the green oval) next to Mother Mary (the blue oval.)
Then glue baby Jesus across Mary and Joseph so it looks like they are holding baby Jesus.
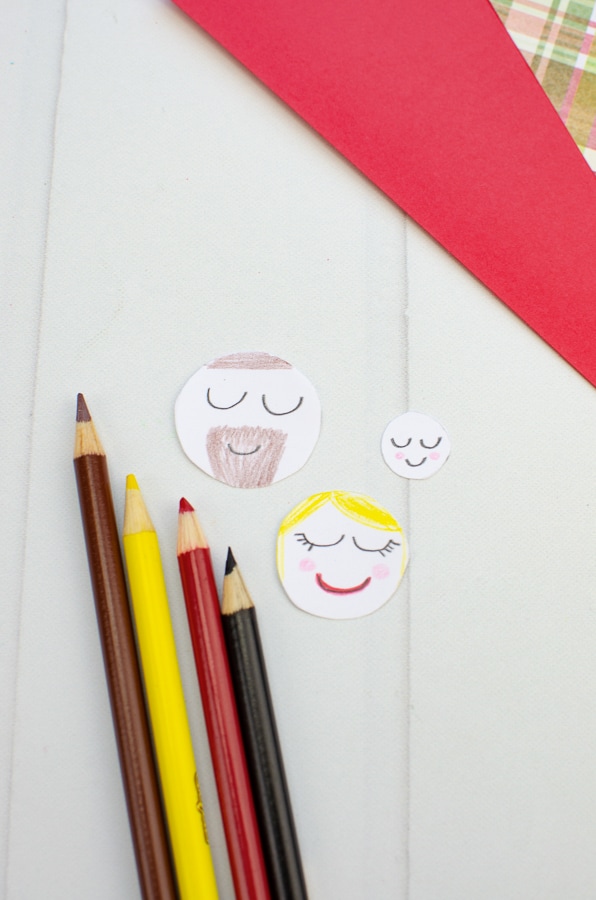
Next, using the face templates (the circle shapes) draw faces onto each one.
Again, the large face shape is for Joseph, the medium circle is for Mary and the tiniest is baby Jesus.
We made ours with closed eyes, but you could make ones with googly eyes if you prefer a different look.
Finally, glue the faces onto their coordinating body and your nativity scene is complete!
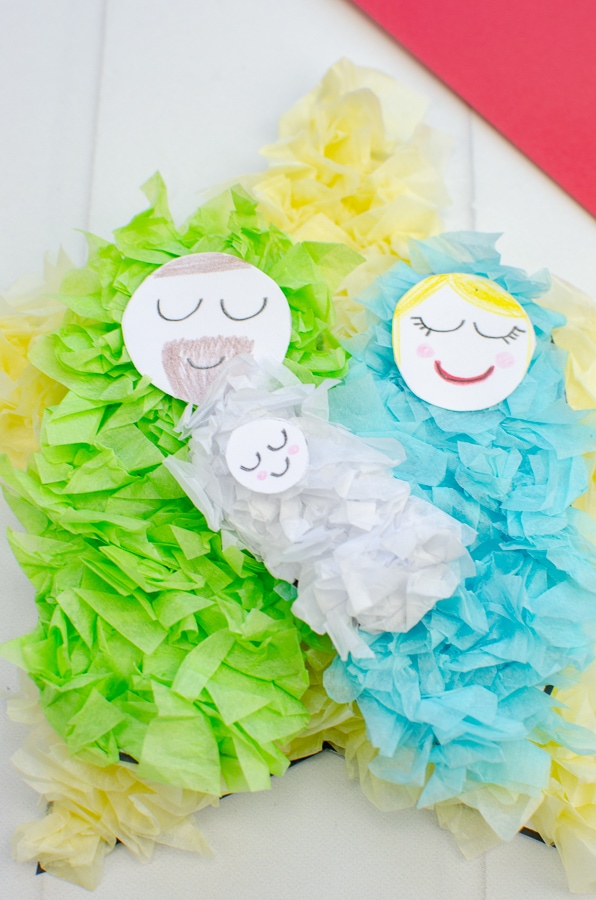
Aren’t they darling!
We like crumpled paper crafts because they easily look great and are a good way to practice fine motor skills.
You could add some string to the back to make these Christmas Ornaments as well.
