Cute Snail Bookmark Craft (With Free Printable Snail Template!)
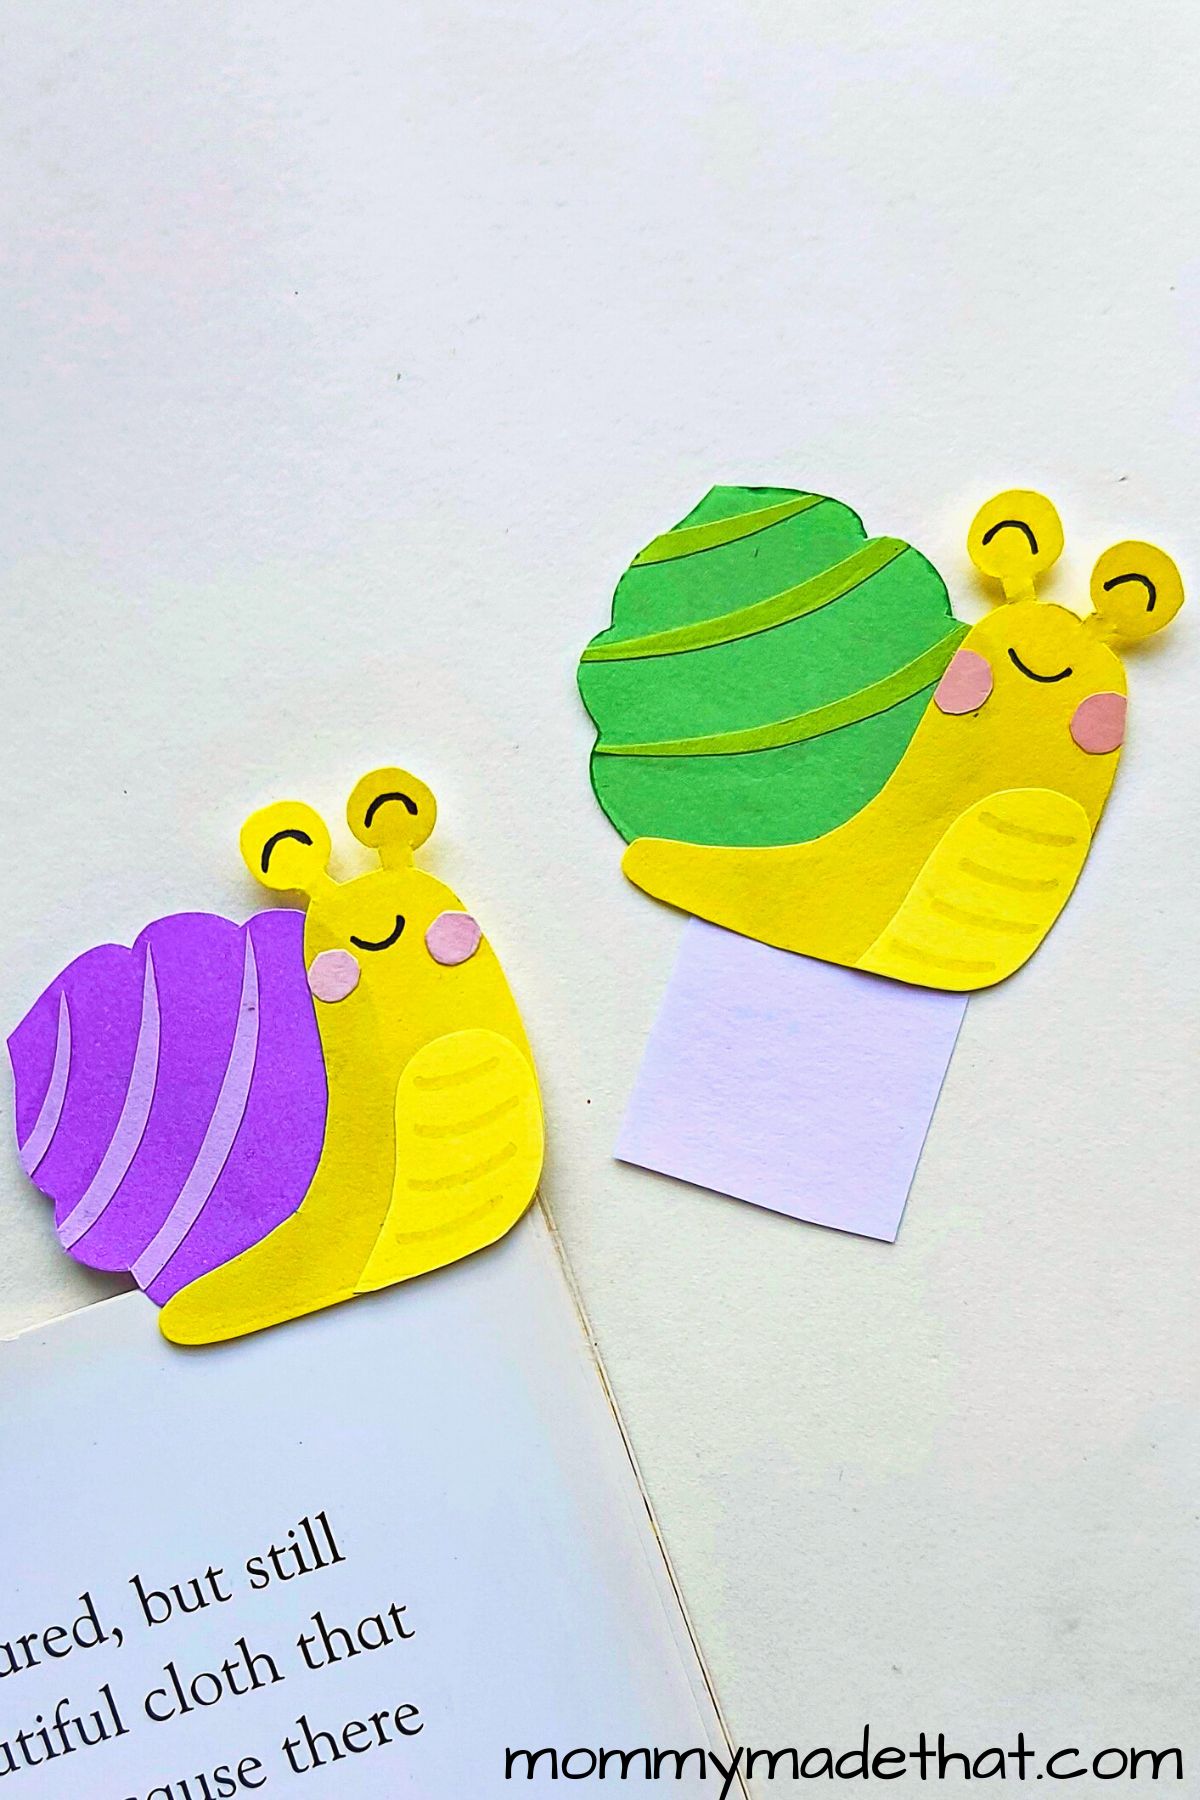
Today we are making this fun snail bookmark craft. It’s a fun snail craft that will help to encourage a little reading!
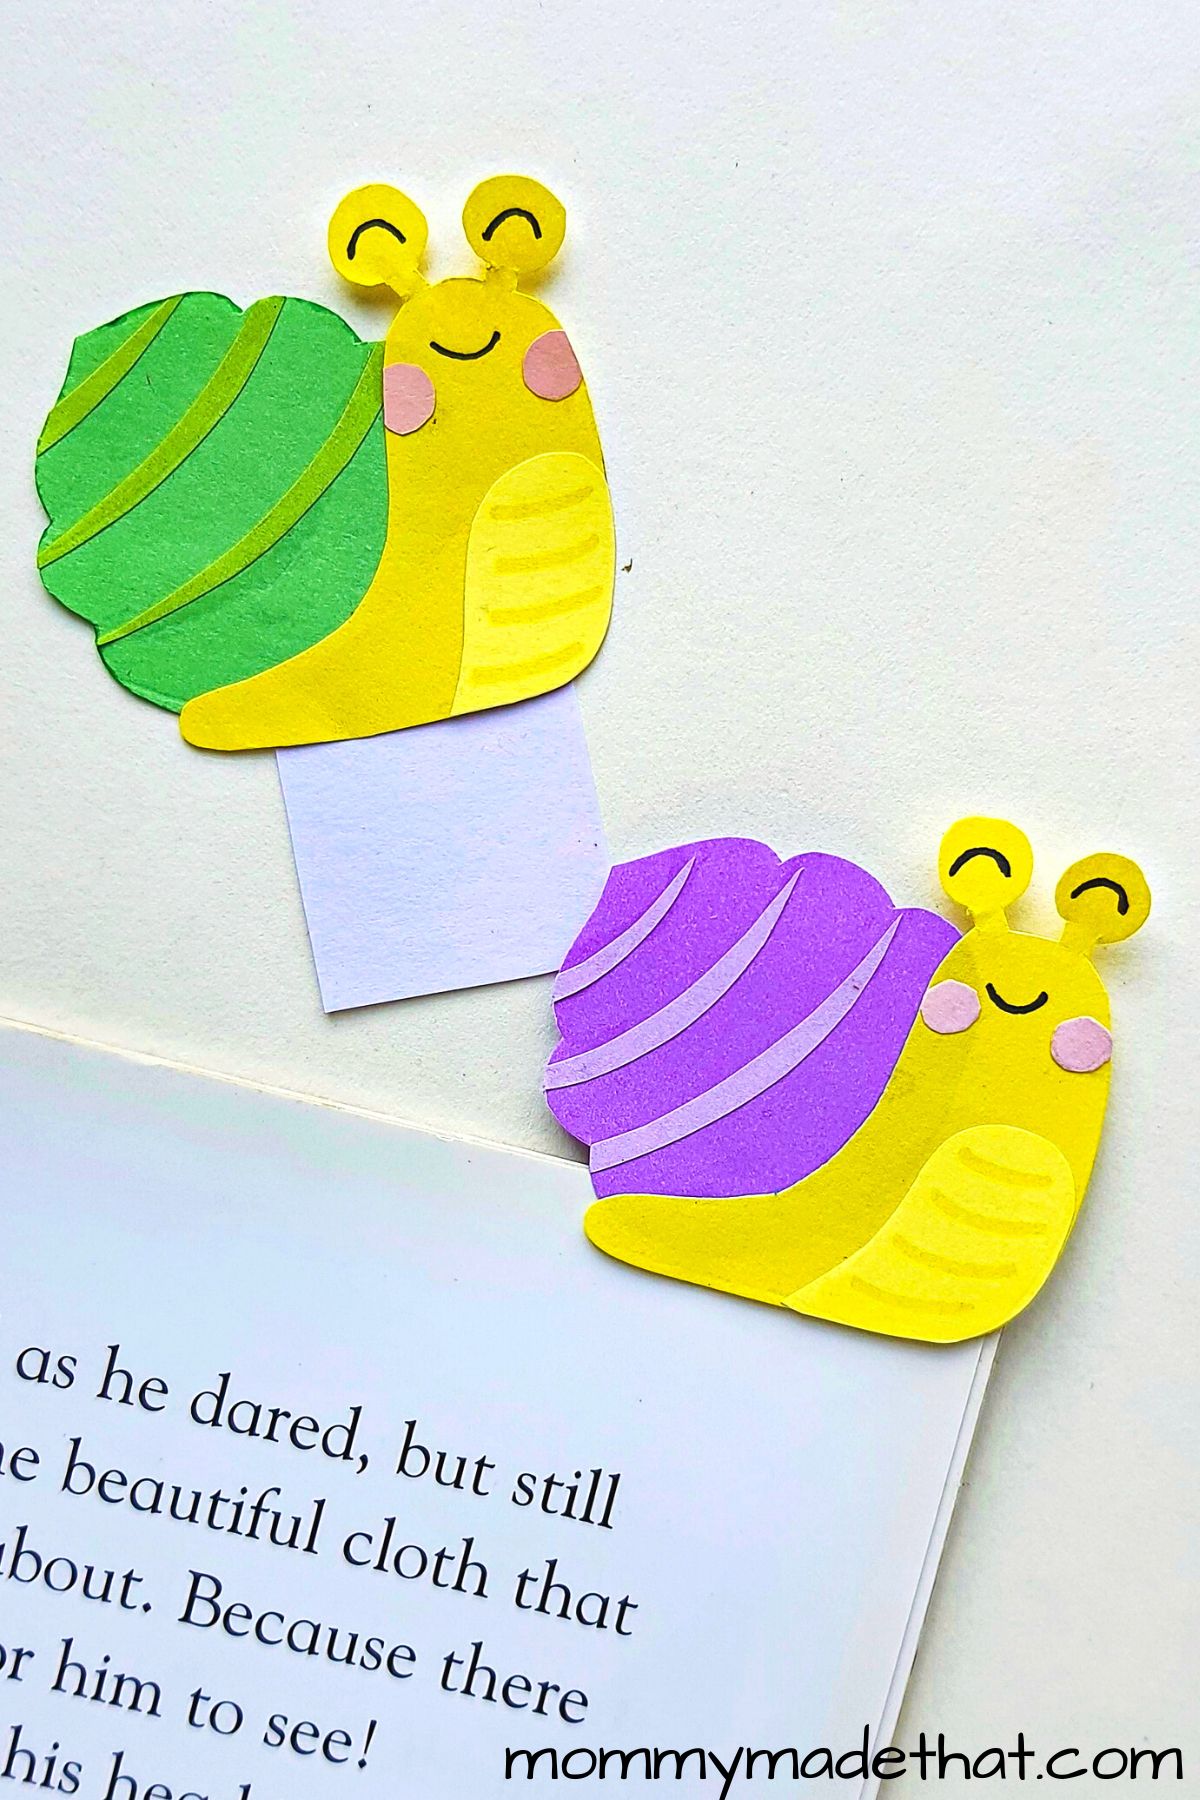
If you’re looking for a fun and easy craft project to do with your kids, look no further than this snail bookmark!
This Diy bookmark craft comes with a free printable template, so it’s perfect for both beginners and experienced crafters alike.
Plus, snails are so adorable, your kids will love making these bookmarks! And if your kids are like mine, they’ll love all our other bug crafts too.
Table of Contents
Materials Needed
Printable snail template: You can grab our free printable snail template at the bottom of the post to help make this craft super easy.
Colored craft paper: We used two different shades of yellow for the body, and two different shades of green for the shell. But you can get as creative as you want on the color selections!
Plus a few other basic craft supplies like:
- Scissors
- Pencil
- Black marker
- Elmers glue or glue stick
How to Make a Snail Bookmark
Start by printing out the snail template, found at the bottom of the instructions.
Then grab you colored craft papers and a piece of cardstock to make the bookmark base with. A thin piece of scarp card board works well too!
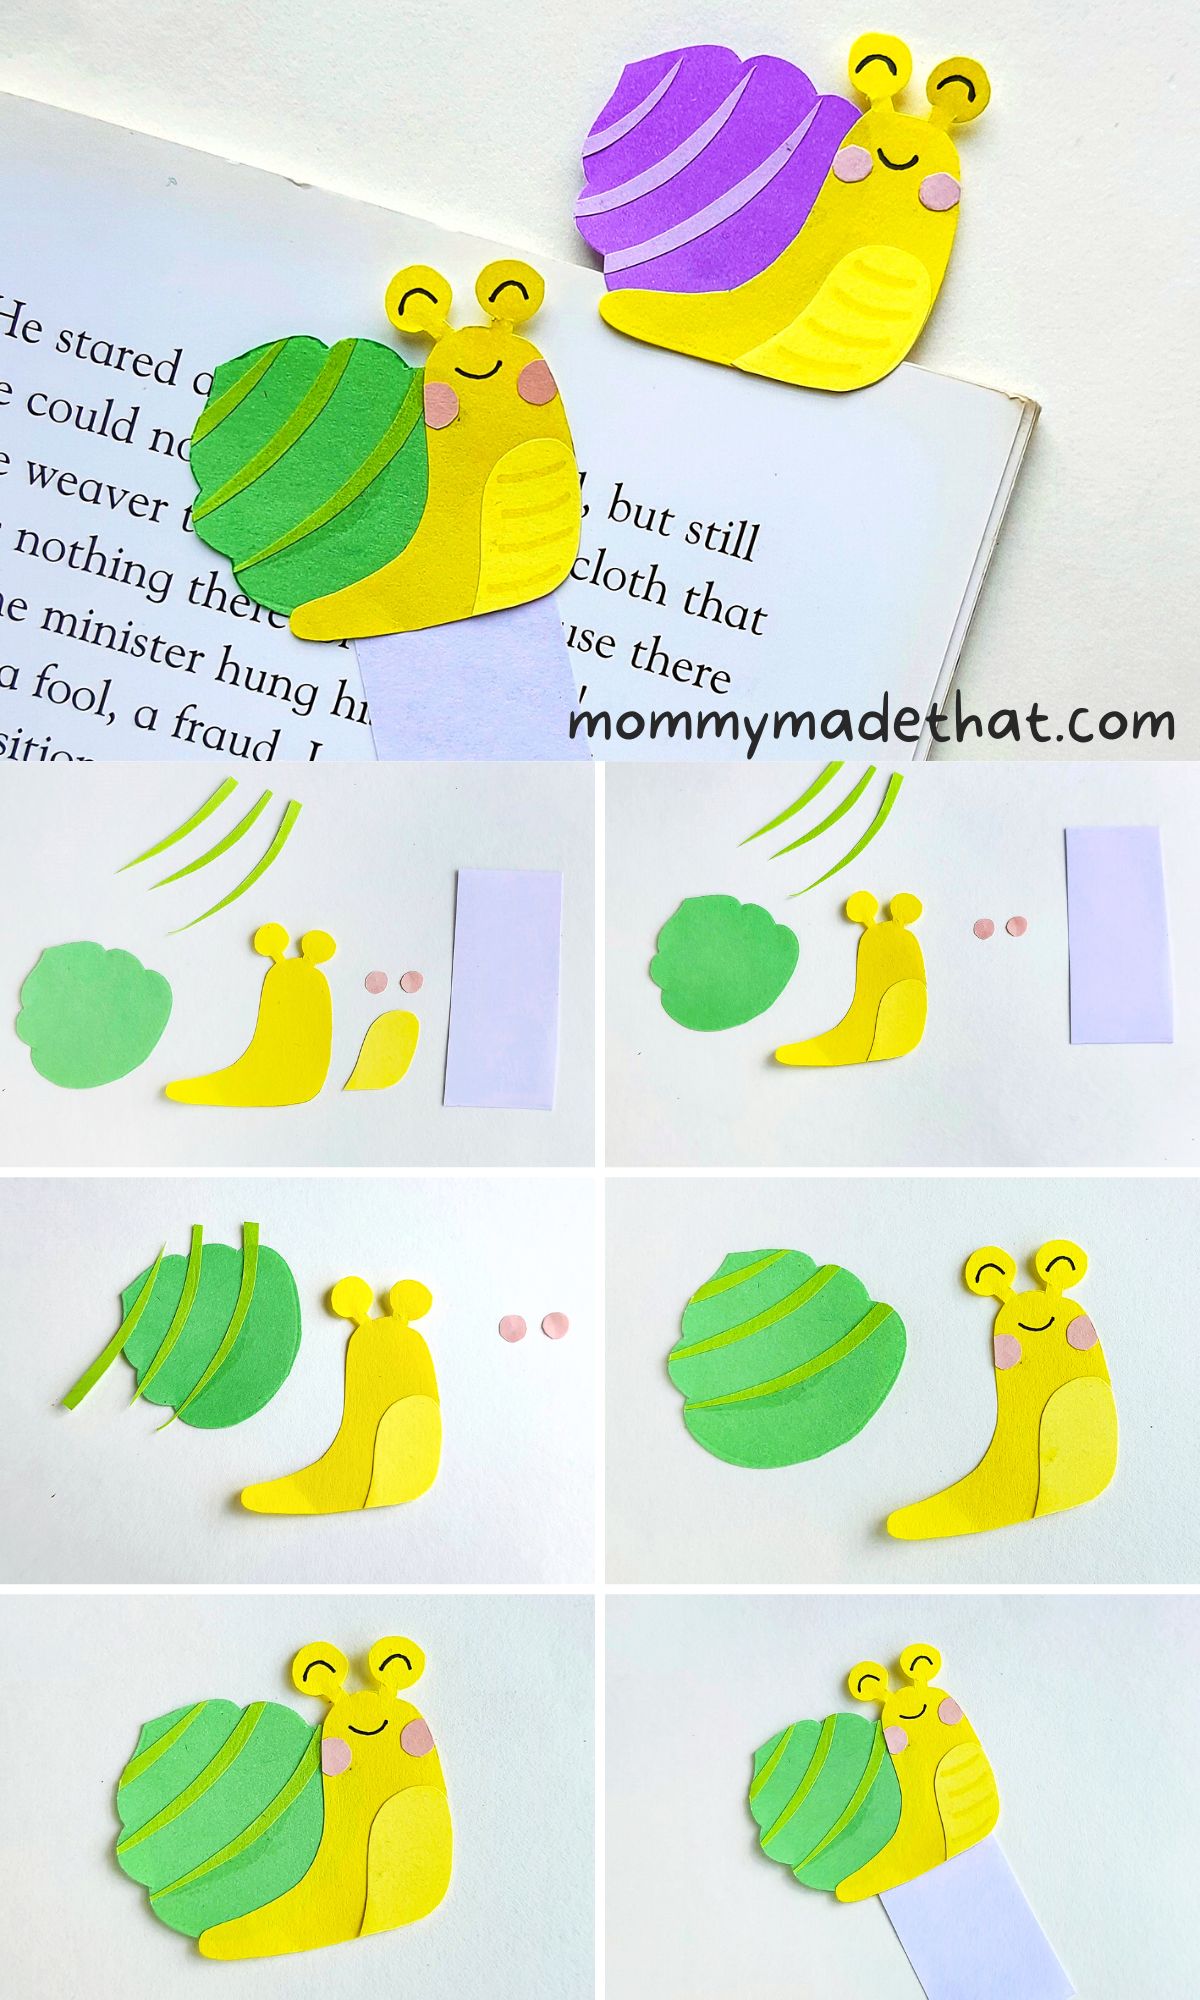
The snail template includes all the shapes we’ll need to make the snail, like the shell, body, belly, checks and stripes for the shell.
Trace and cut out all the pieces of the snail shapes onto you colored pieces of paper.
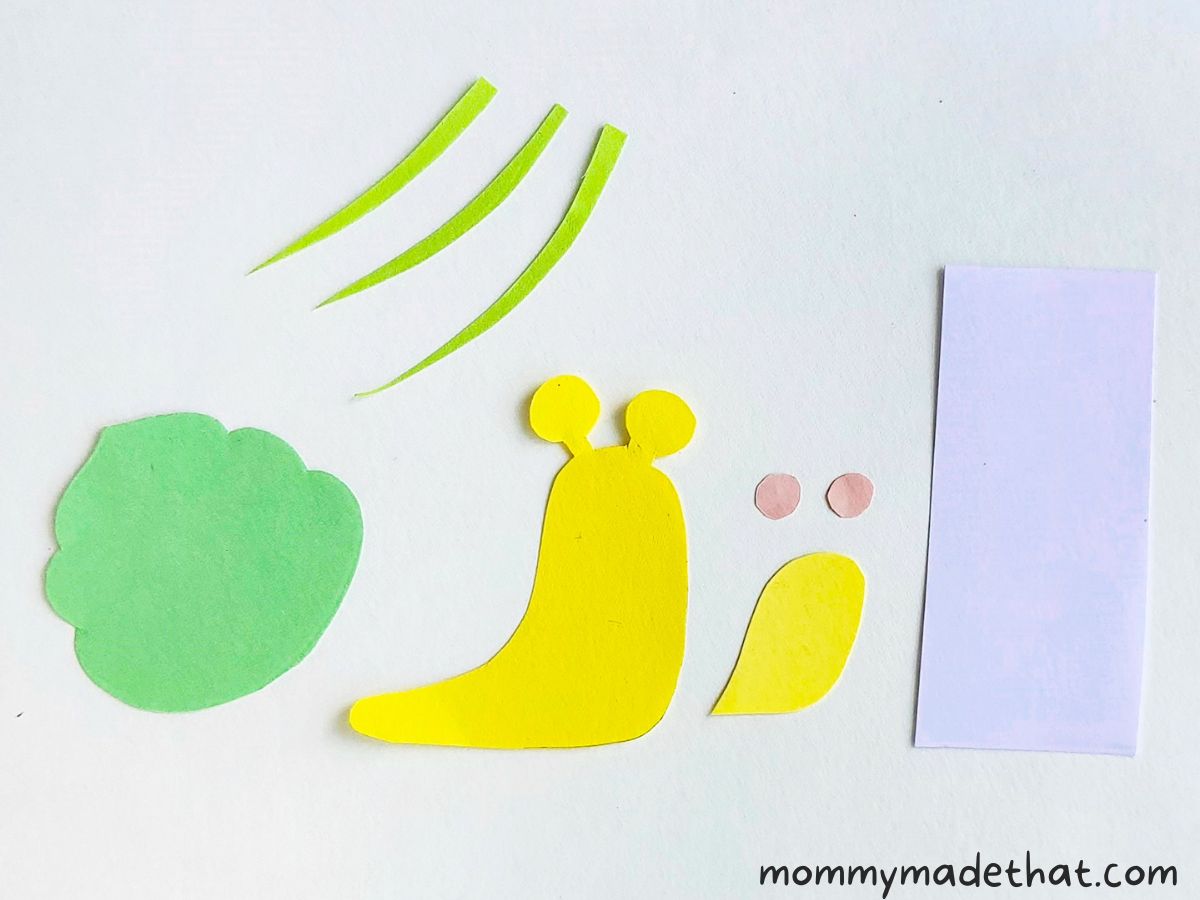
You can start assembling the snail by attaching the belly piece onto the bottom front area of the snail body.
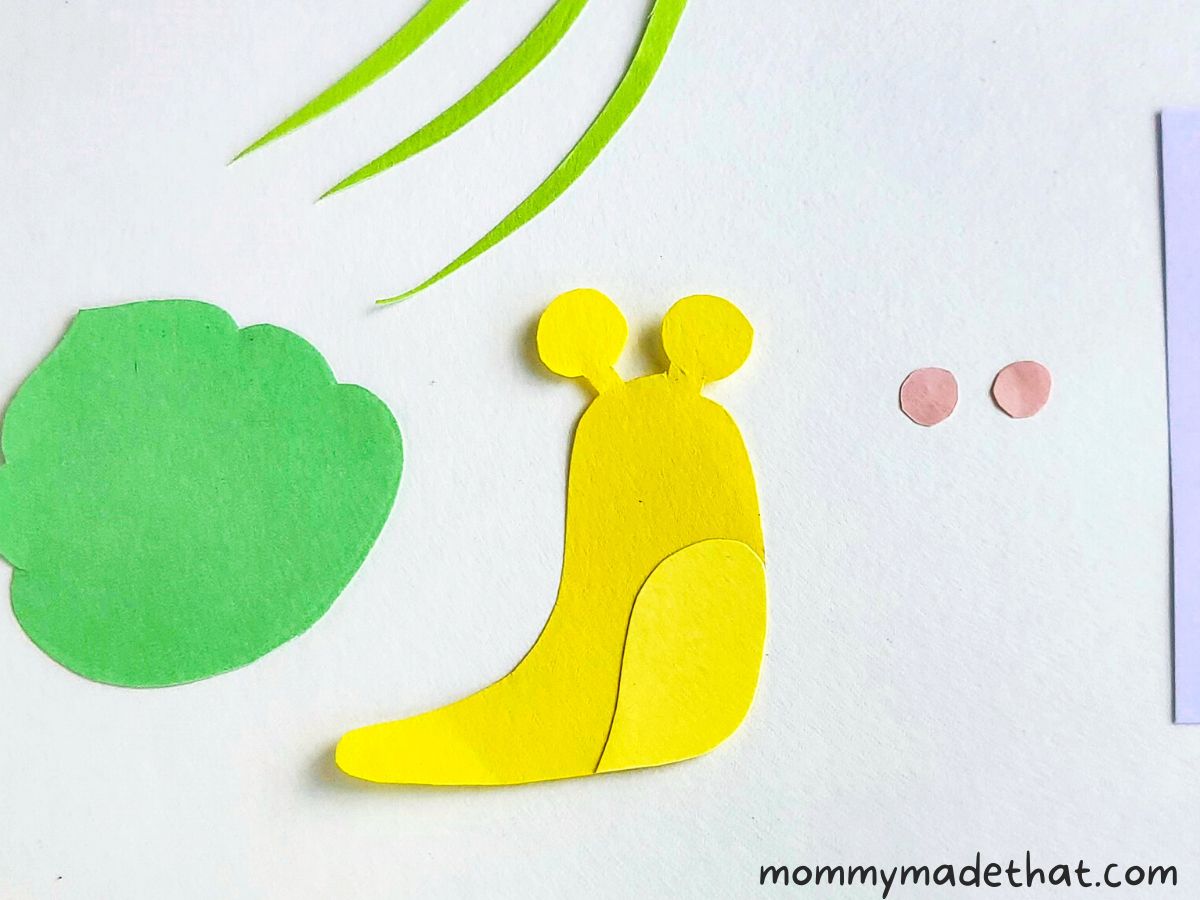
Next, take the stripes and glue them onto the shell, having the narrow ends match with the shell’s curves, like shown below.
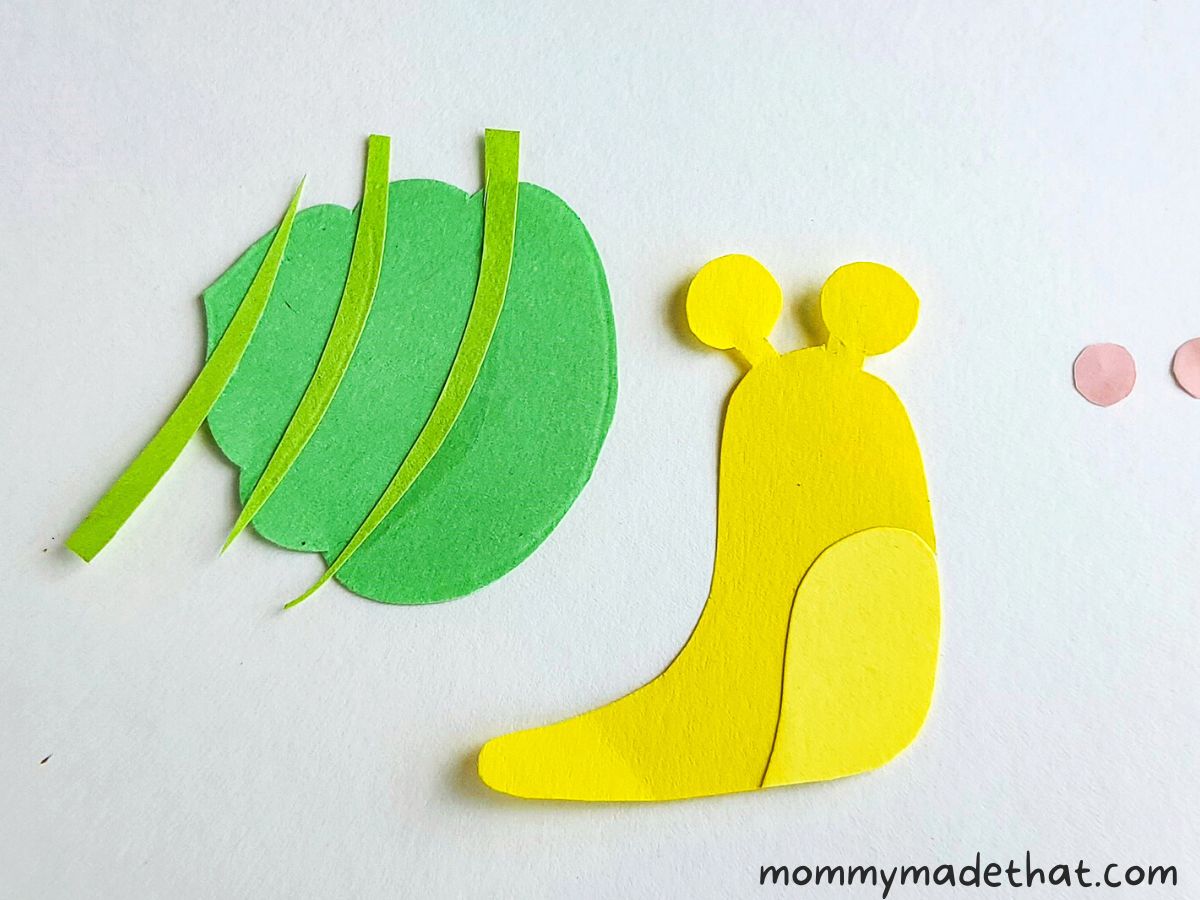
Now, glue the checks onto the face area of the snail’s body. You could also just draw on pink cheeks with a pink marker or highlighter.
The trim off the pieces of the stripes that are hanging over the shell base.
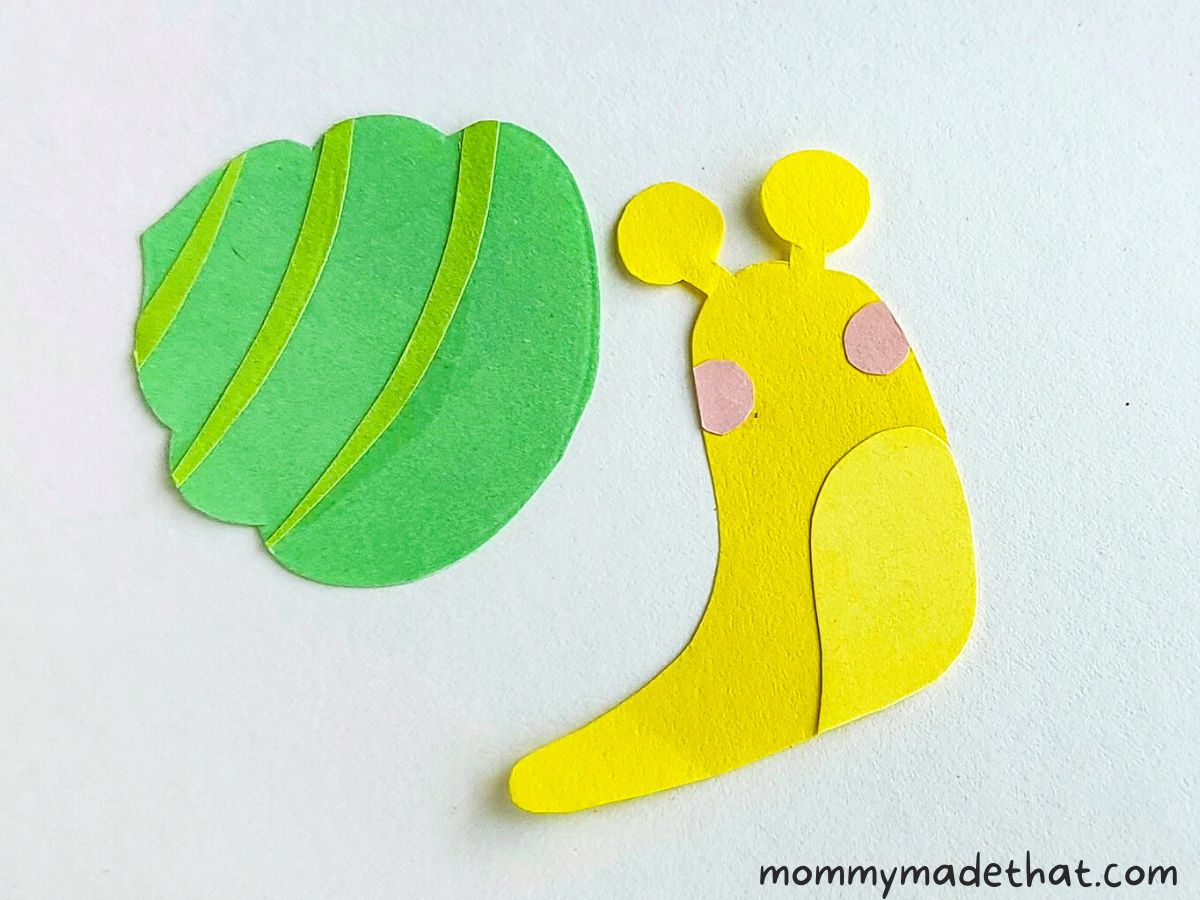
Now you can draw a cute face onto your snail.
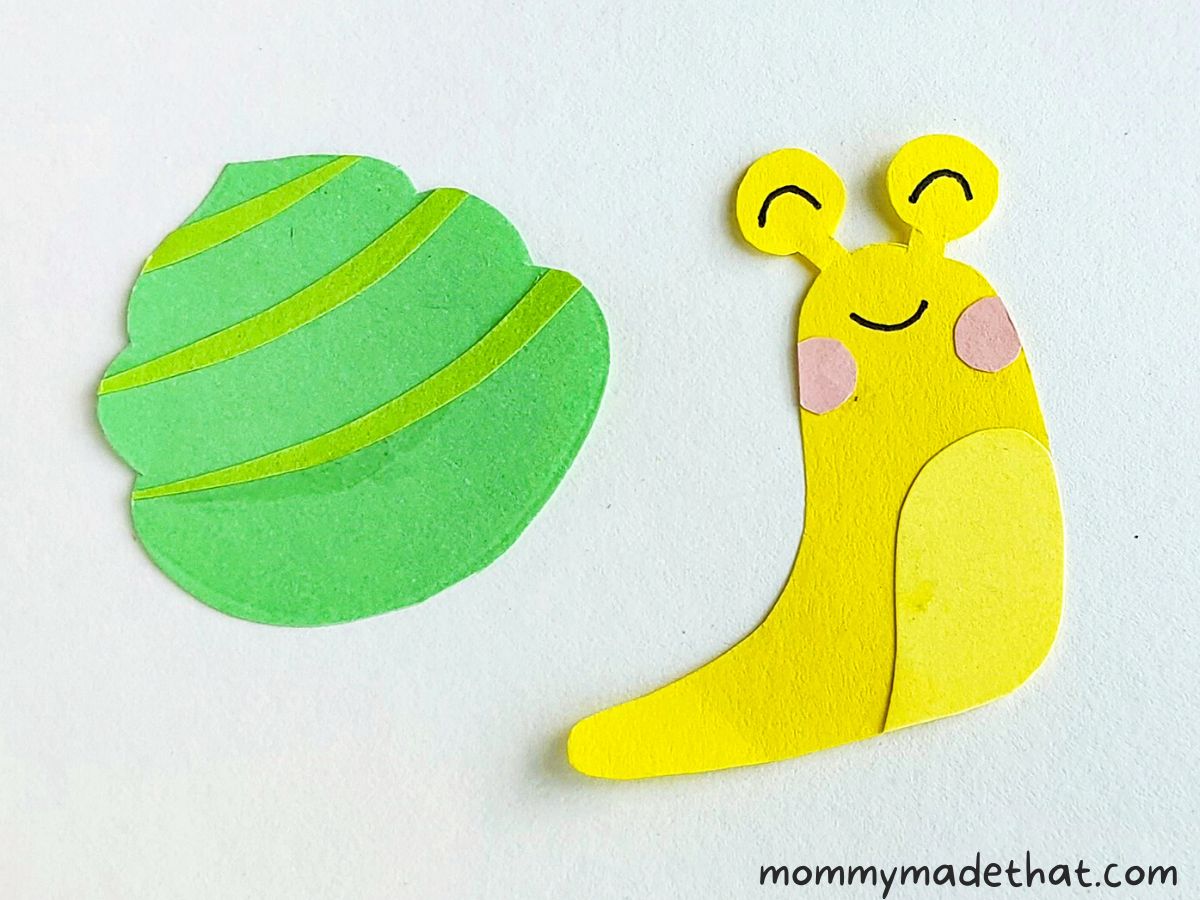
Next, glue the snail body onto the shell, making sure to keep the shell behind him.
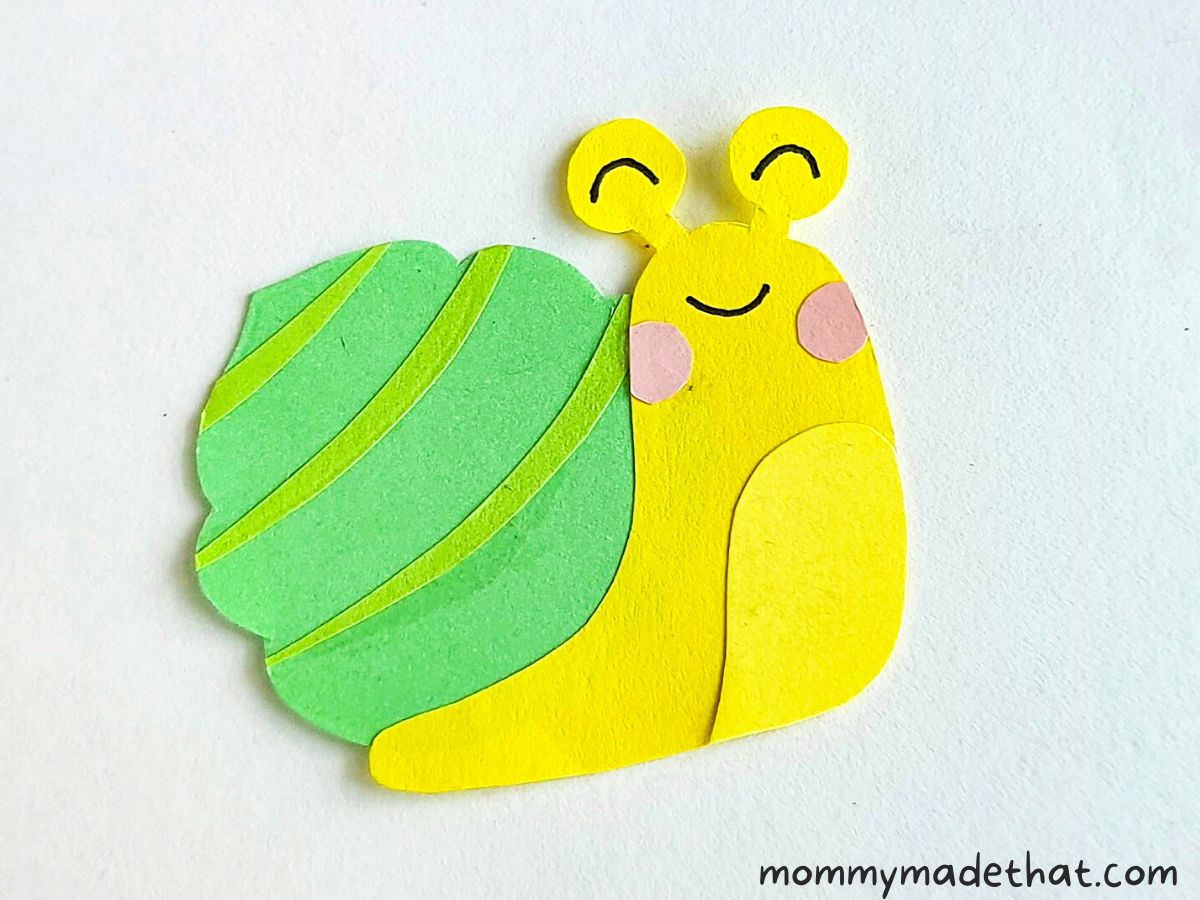
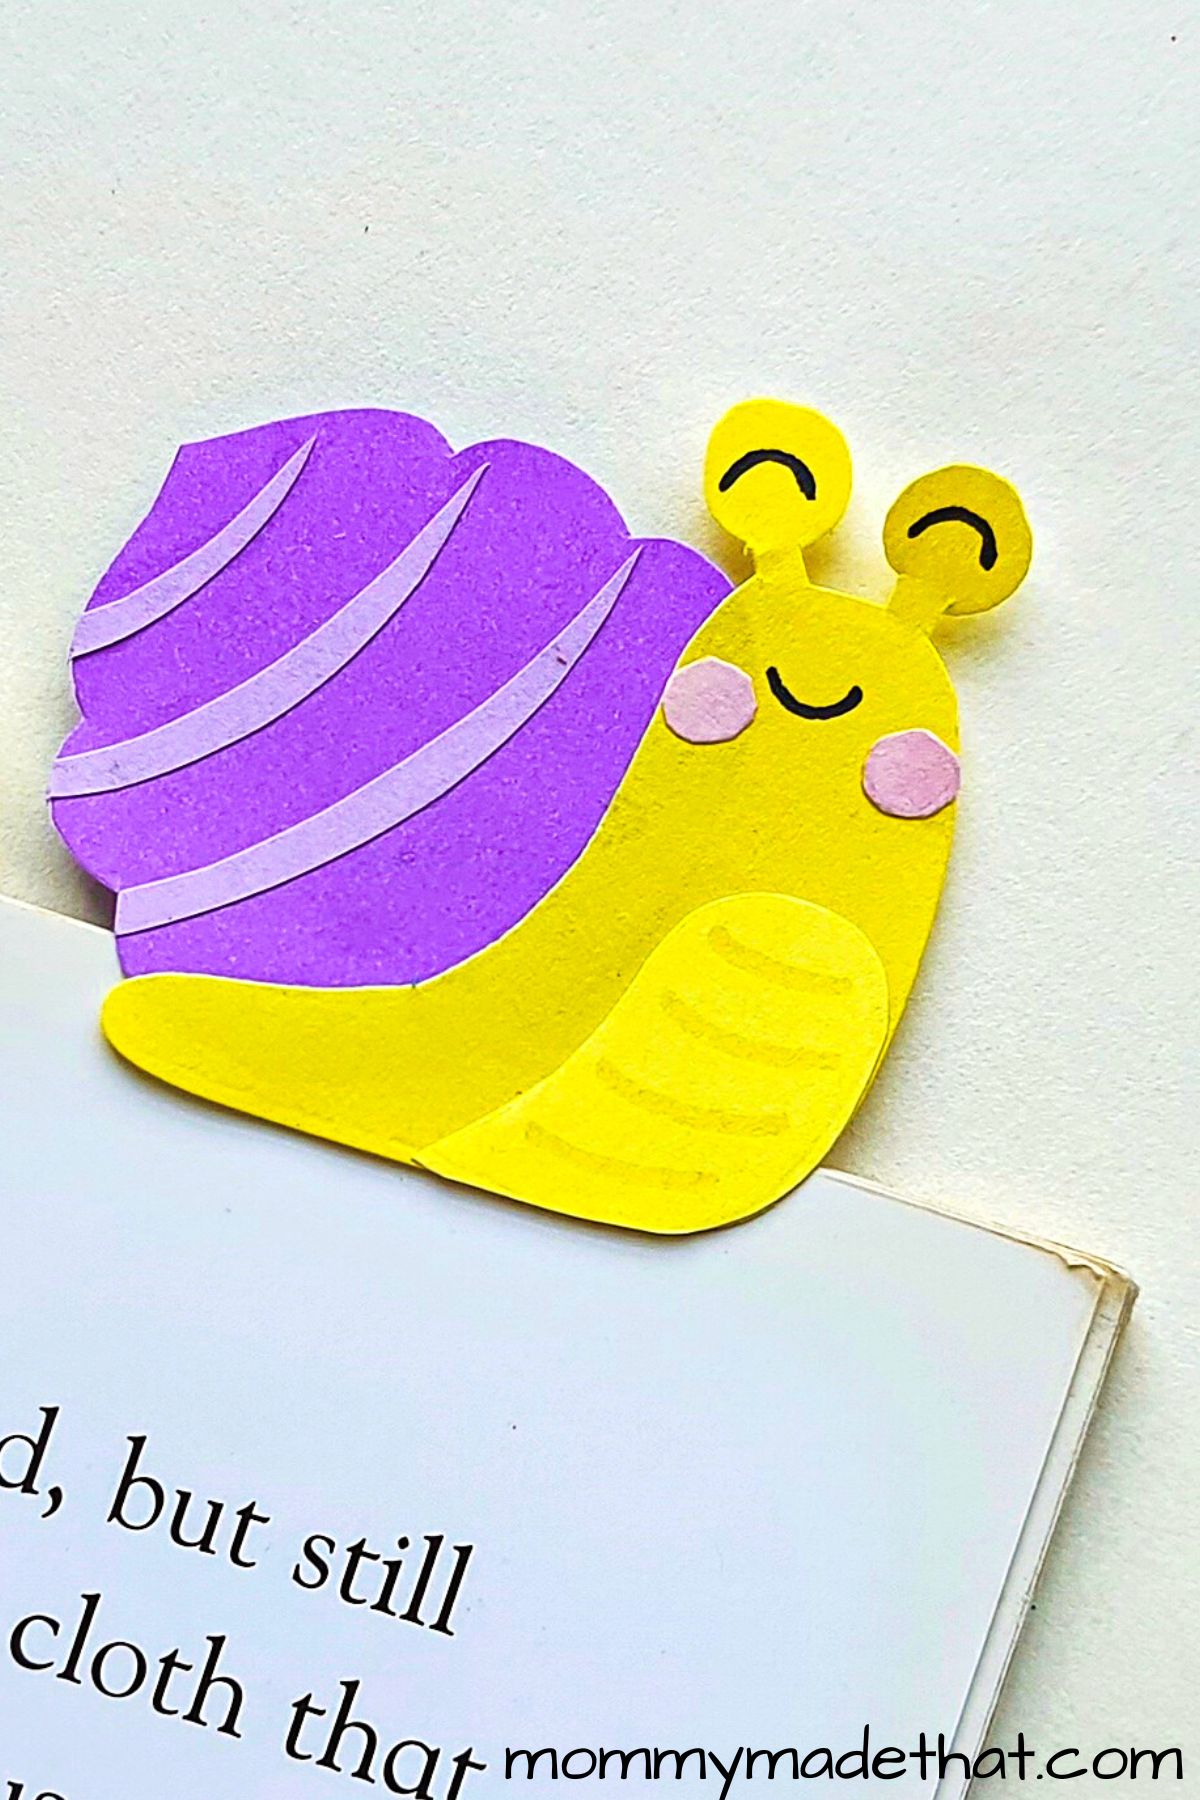
Isn’t he cute! My kids said he reminds them of Gary the snail (from spongebob)
Finally, to turn this snail craft into a bookmark, turn the snail over.
Apply glue to the backside of him, but be sure to leave the bottom area free from glue, as this is where the page will slip in.
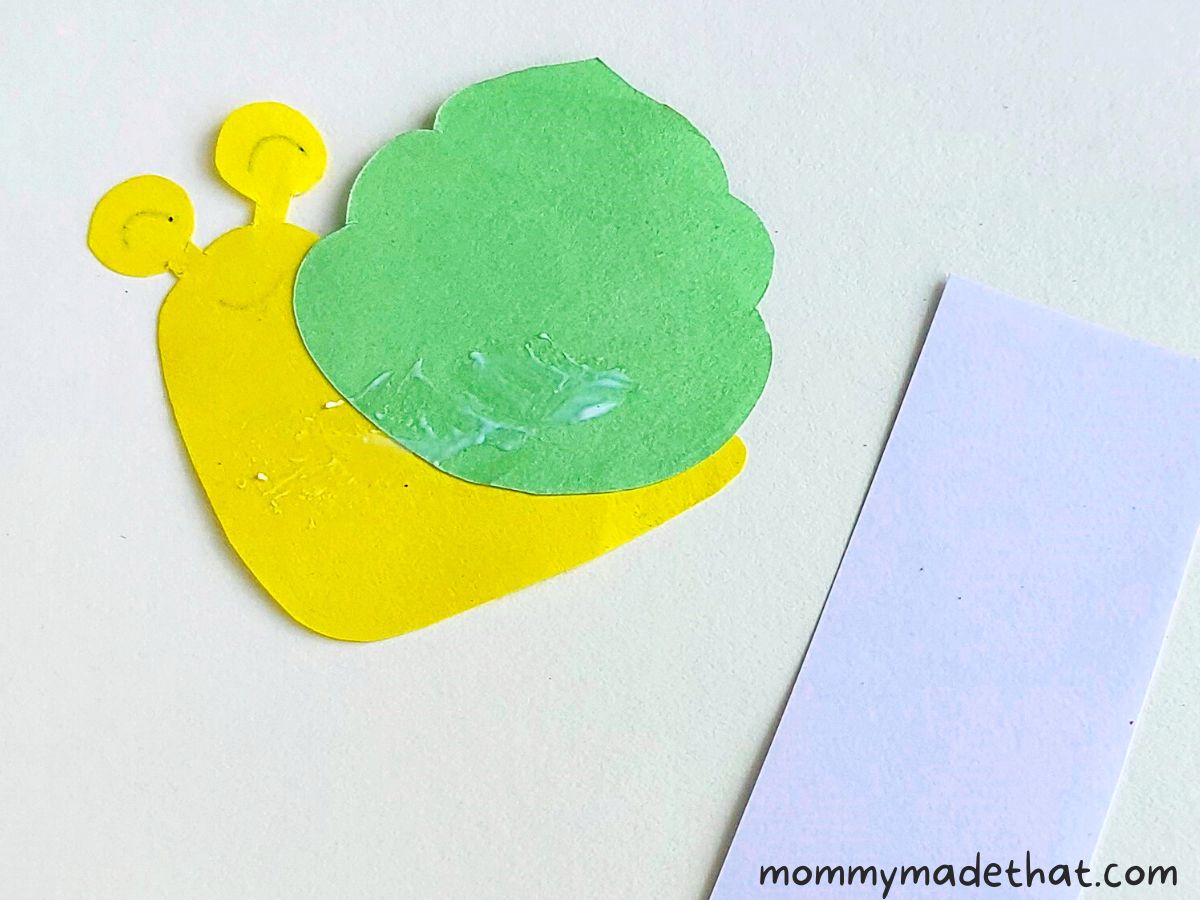
Attach the glued area of the snail to the bookmark base.
Allow to dry completely. Now you have a cute snail bookmark all finished!
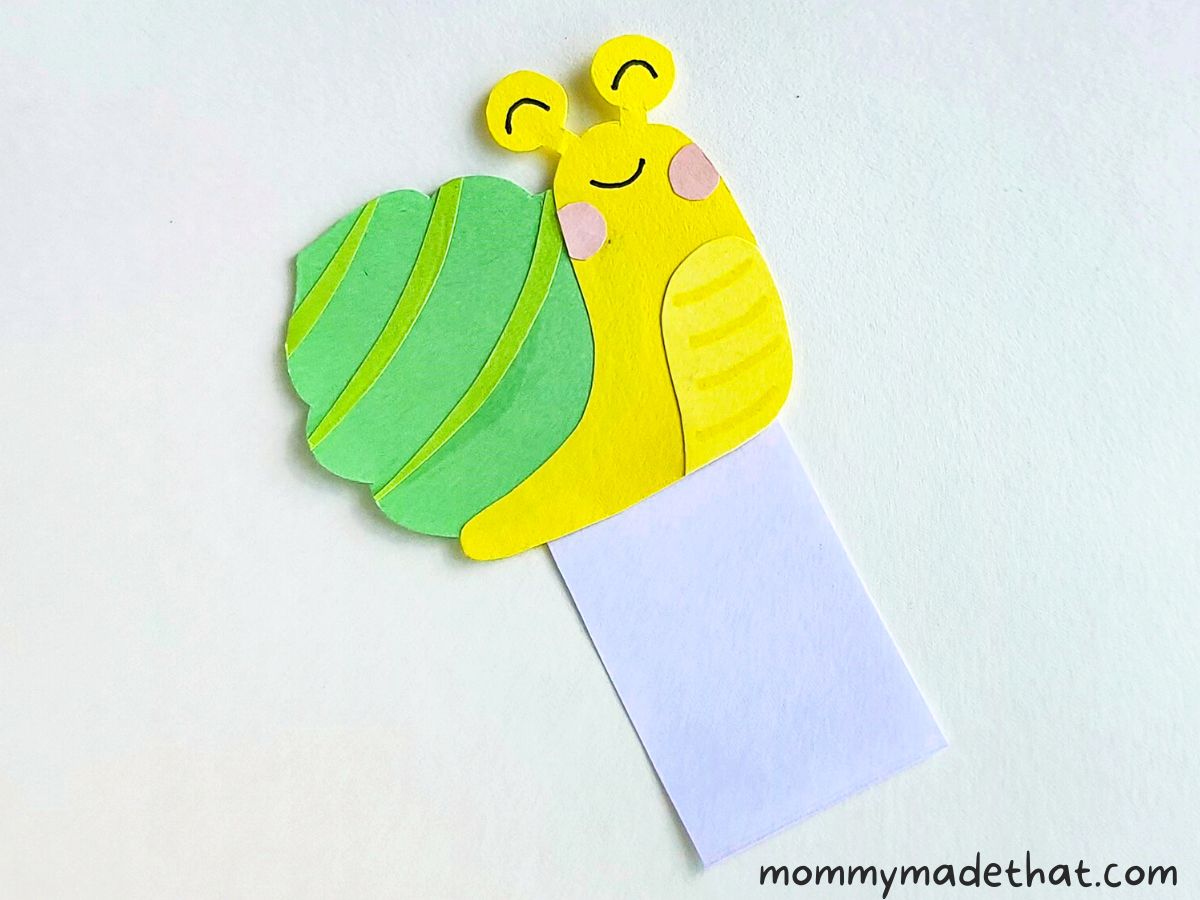
We just love this little snail craft!
Grab the Snail Template
To get started crafting your own snail bookmark, grab our free snail template below.
Snail Bookmark Craft
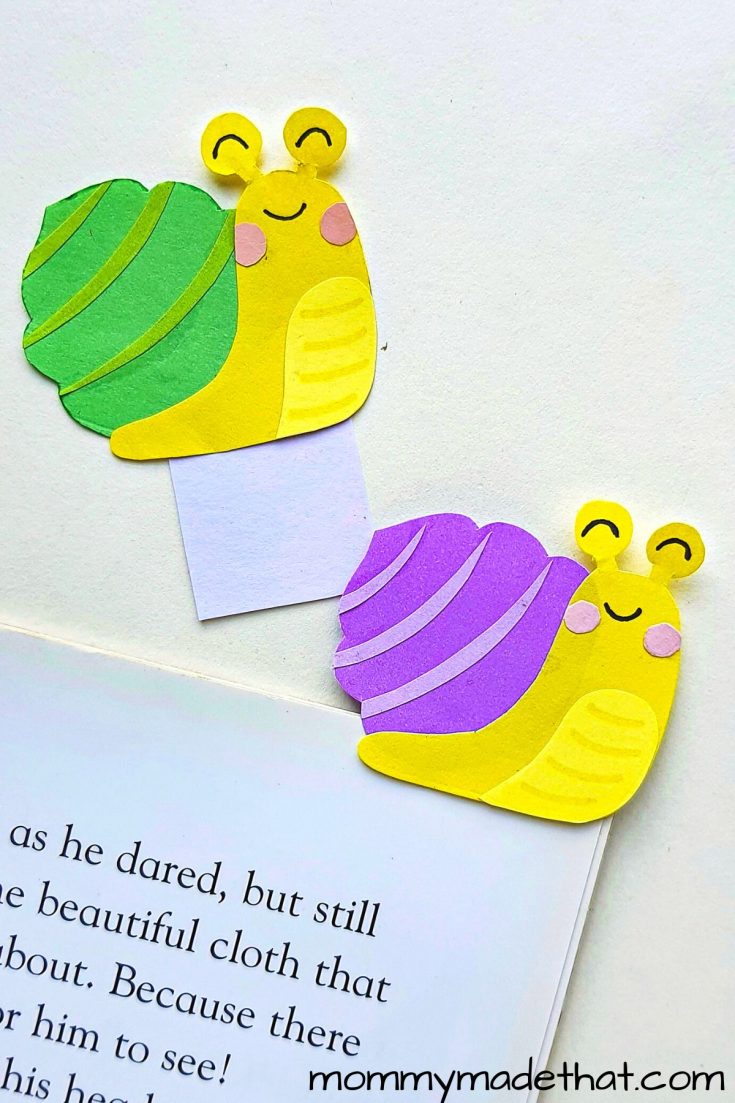
This cute little snail craft doubles as a DIY bookmark! They're super cute and easy to make with our free snail template.
Materials
- Snail template
- Colored craft paper
- Small piece of cardstock or thin cardboard
Tools
- Glue stick or Elmer's glue
- Scissors
- Pencil
- Black marker
Instructions
- Print out the snail template and cut out the pieces.
- Grab colored craft paper and trace and cut out all pieces of the snail.
- Cut a small rectangle from cardstock or thin cardboard as the base of the bookmark.
- Start assembling the snail by attaching the belly to the snail's body in the bottom front area.
- Attach the stripes to the shell, matching up the lines with the scalloped edges.
- Glue or color on pink cheeks to your snail's face.
- Trim off any pieces of the stripes that are hanging of the shell.
- Draw a face onto your snail with the black marker.
- Turn the snail over, and attach the bookmark base, leaving about 1cm of the bottom area of the snail free from glue. (This part will hold the page,)
- Allow to dry. Now your snail craft is all finished and ready to use as a bookmark!
