Printable Paper Houses: 8 Free Craft Sets and Villages
Build a little neighborhood with these printable paper houses! From everyday cottages and birdhouses to pumpkin homes, haunted buildings, and snowy villages, there’s a project here for every season.
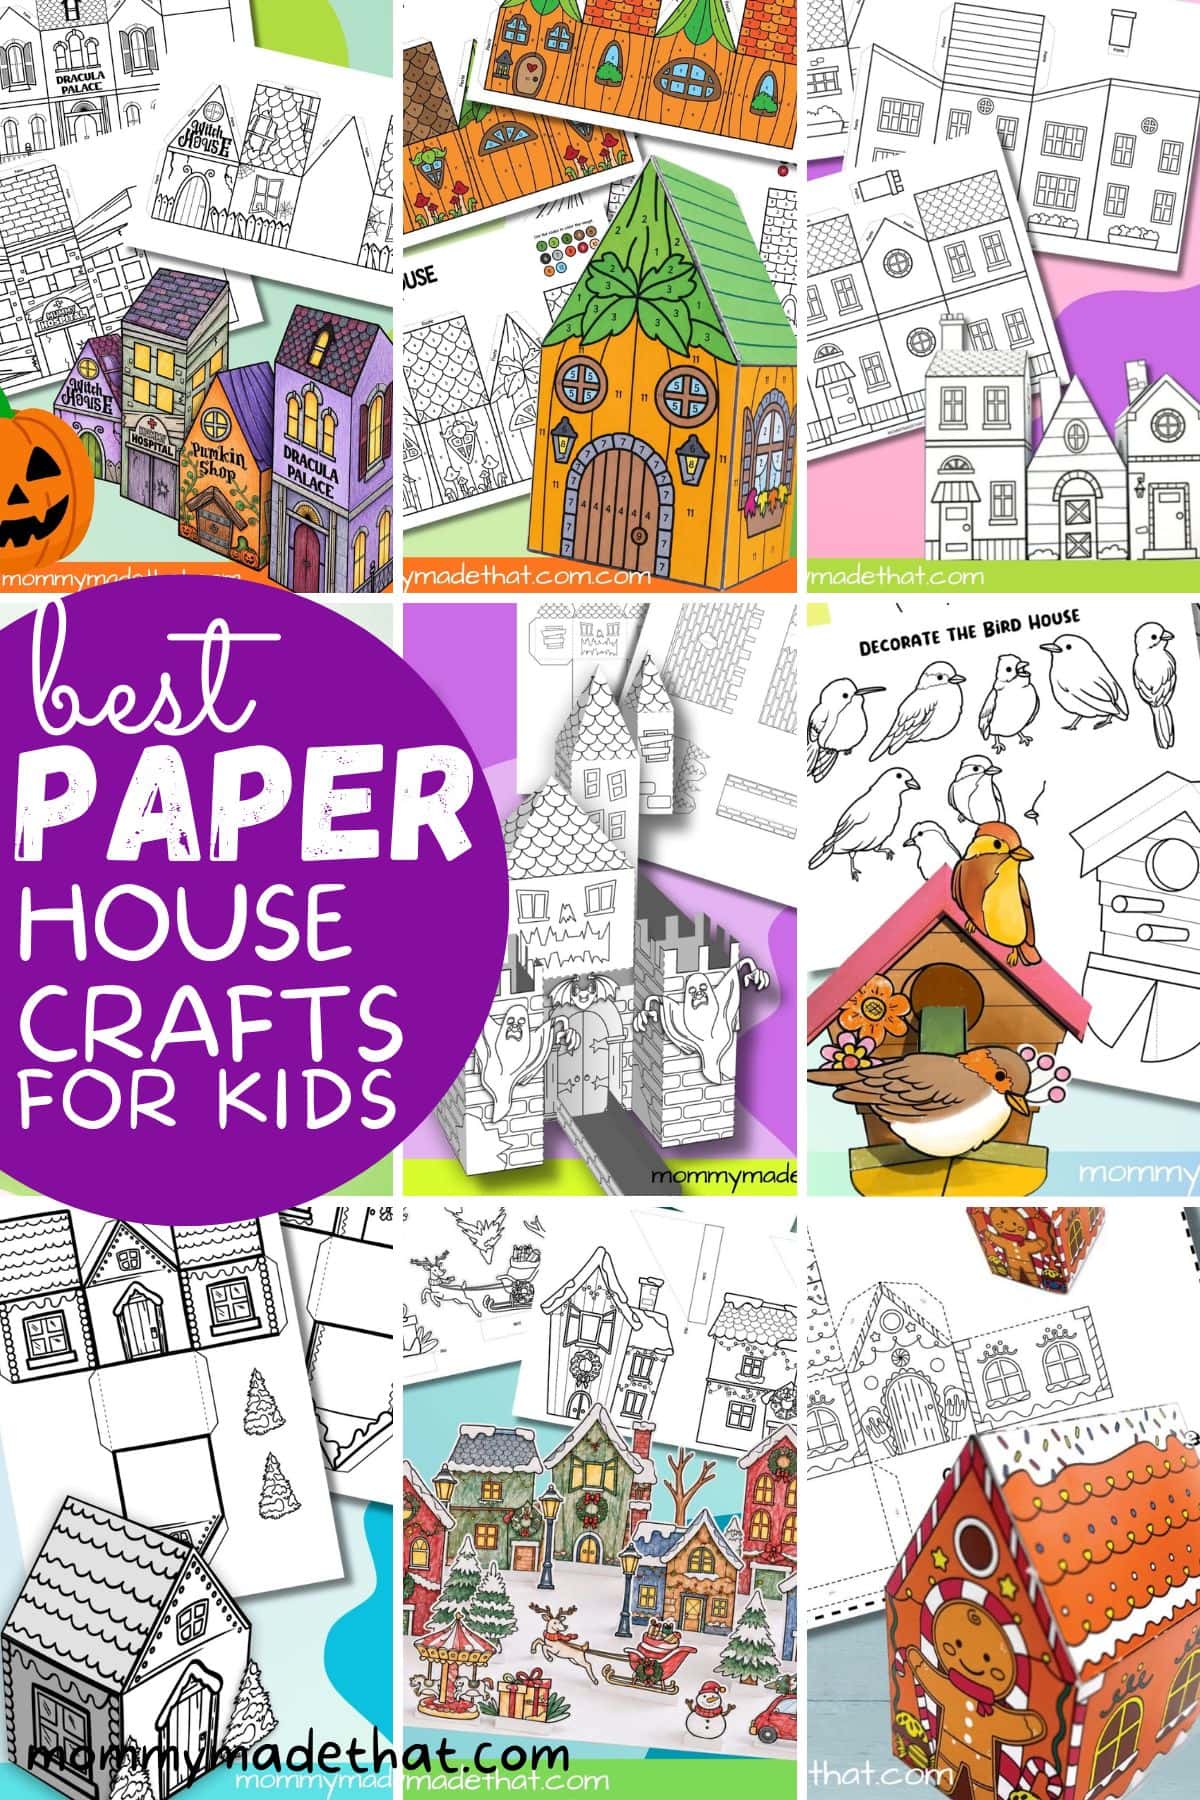
This collection brings together eight free paper house and village craft sets. Most fold into 3D buildings; the Christmas village uses stand-up illustrated fronts. Choose a favorite, gather your supplies, and let the kids decide who might live there.
Each project has its own directions and printable signup. Follow the link in the description to get that set and check its assembly steps before you begin.
1. Paper House Templates for a Little Neighborhood
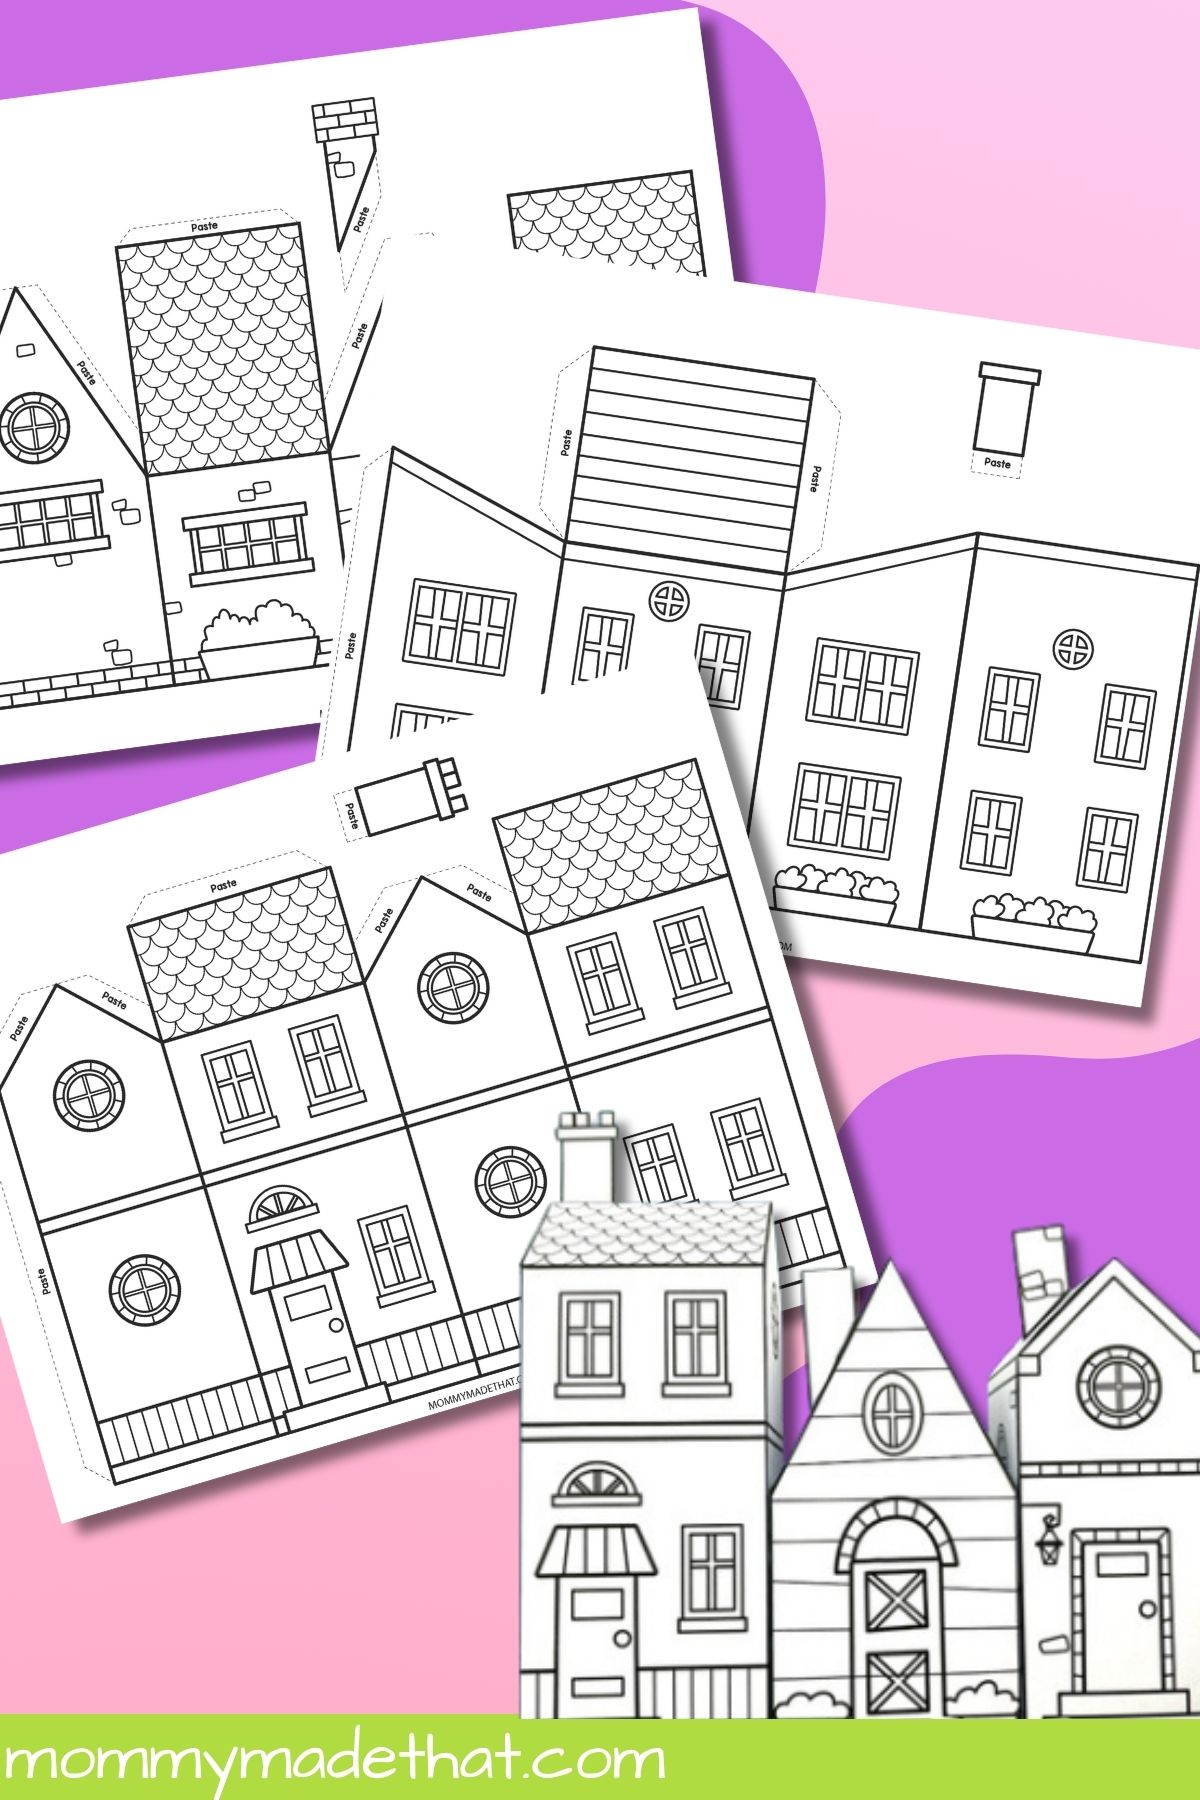
Start a year-round neighborhood with our printable paper house templates. Kids can decorate the houses in their favorite colors, then cut, fold, and assemble them for a tabletop village.
This is a good place to start when you want houses that aren’t tied to a holiday. Let each child design a home for an imaginary character, then arrange the finished buildings along a road drawn on a large sheet of paper.
2. Printable Paper Birdhouses
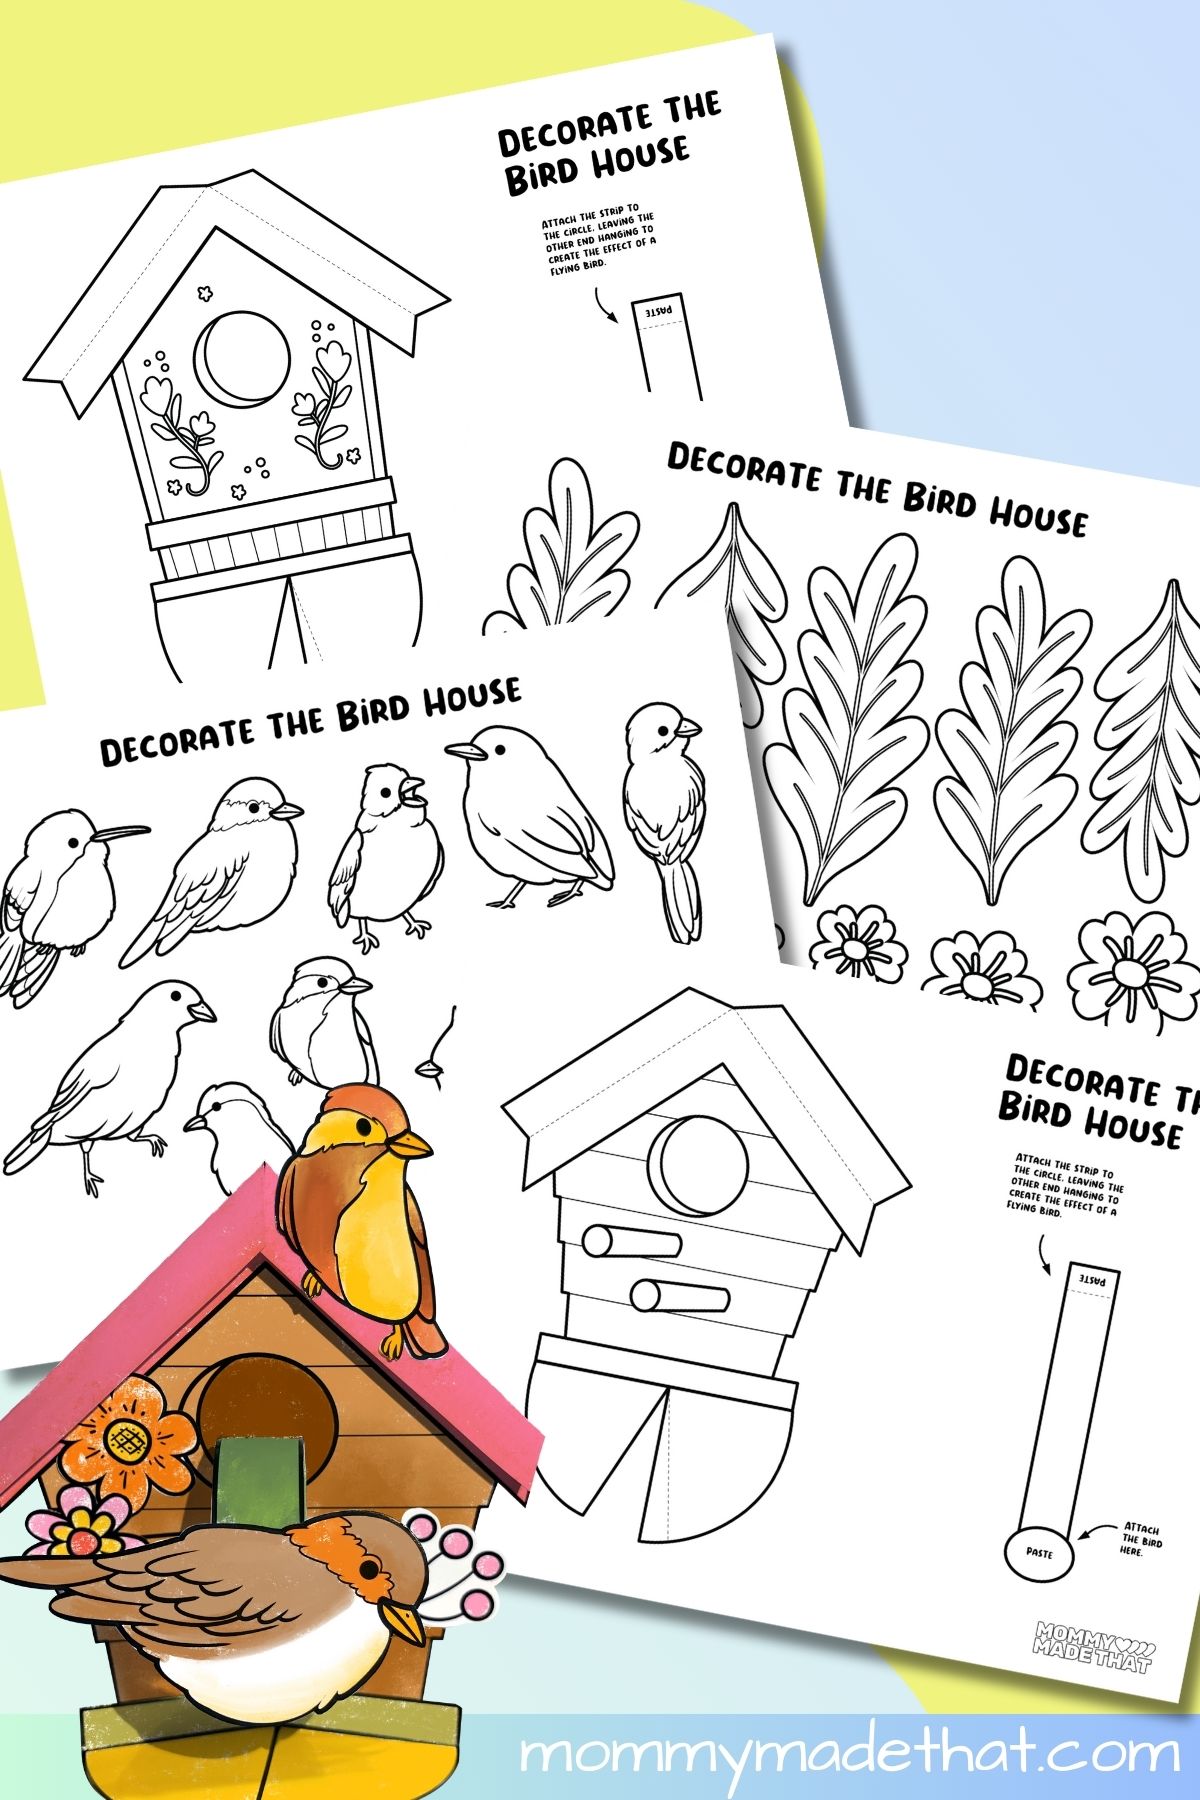
For a nature-inspired project, try our printable birdhouse craft. Children color and assemble a little paper house, then decorate it with the bird and plant pieces from the activity.
These are decorative paper birdhouses for indoor displays and pretend play. Add them to a spring craft table, make up stories about the paper birds, or arrange several together in a pretend garden.
3. Pumpkin Houses for Fall
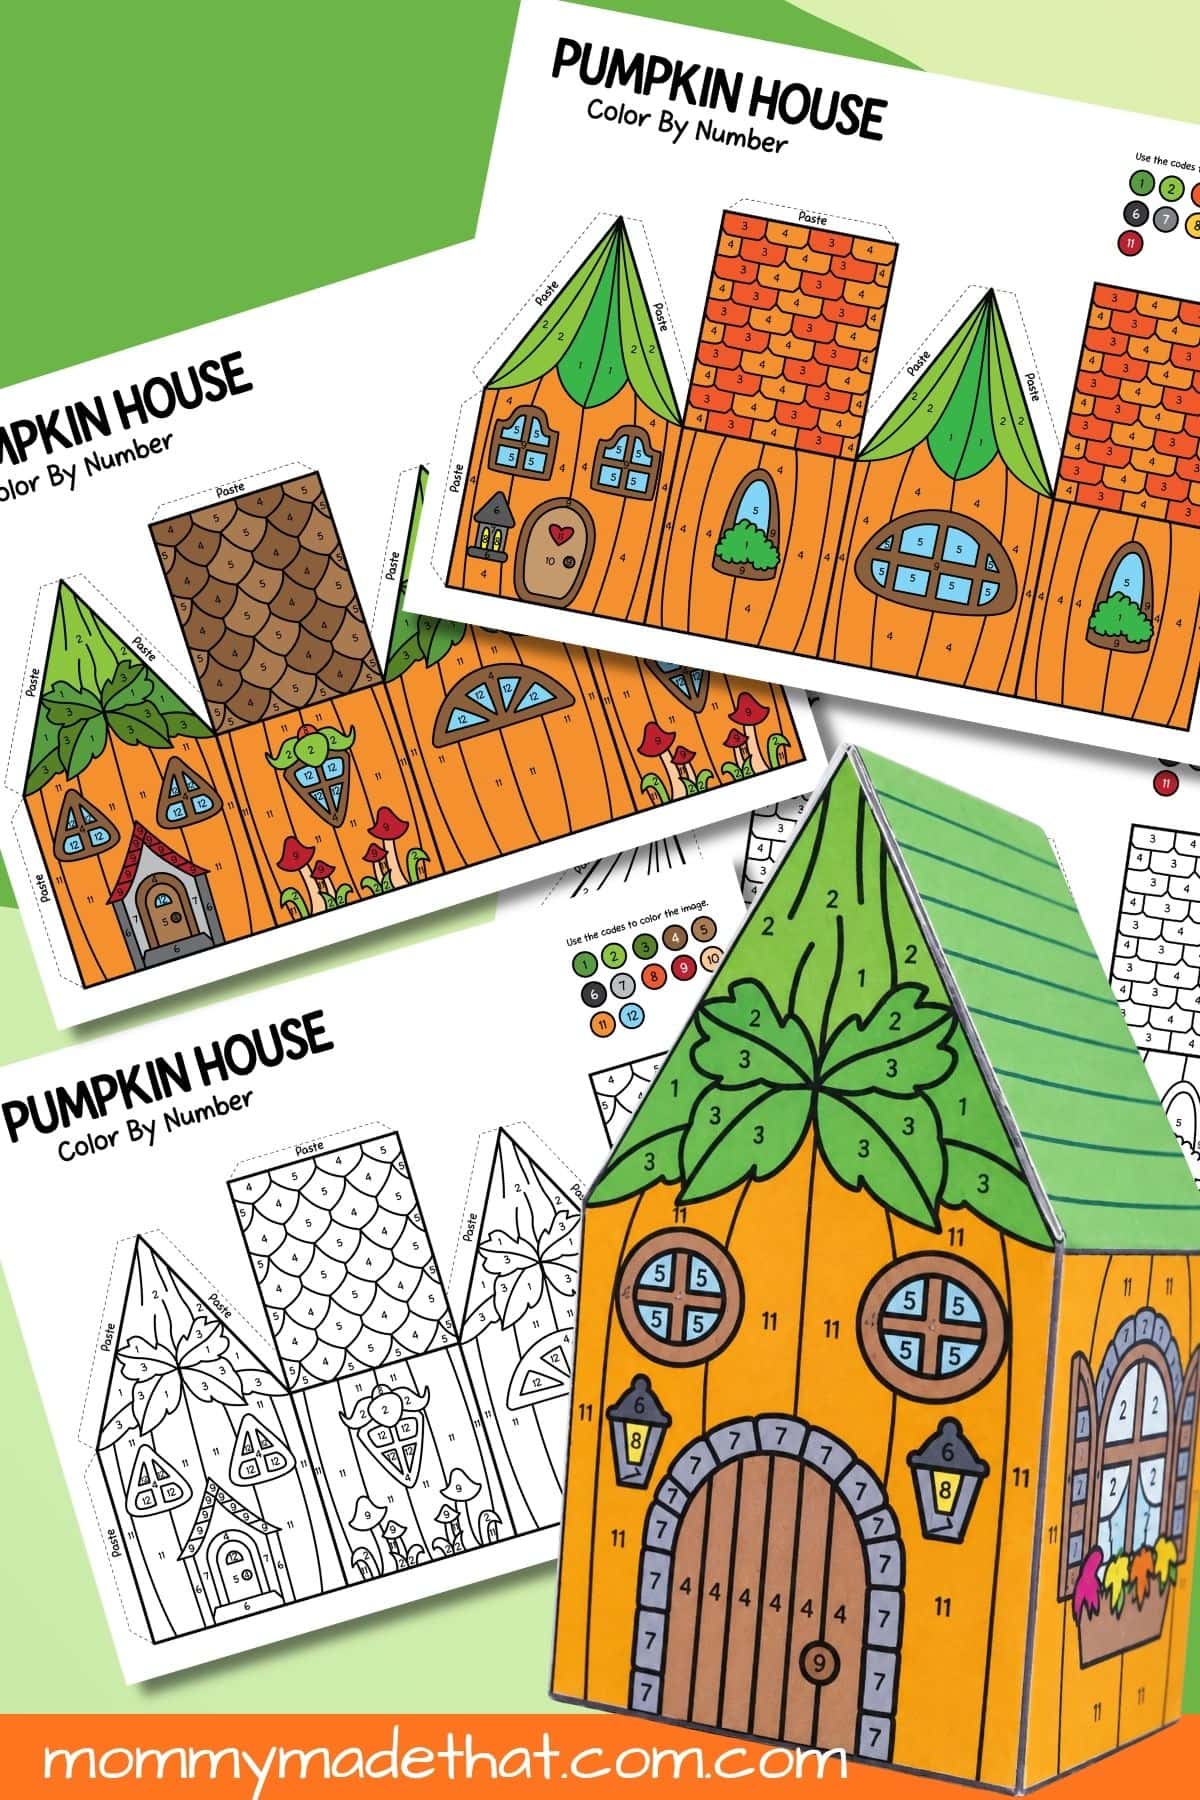
Build a tiny autumn neighborhood with our 3D printable pumpkin houses. The pumpkin-inspired cottages make a cozy fall display, and the project offers color-by-number and colored options.
Choose the version that suits your afternoon: spend time decorating first, or move straight to cutting and building. Set the finished houses on a cardboard base and let kids draw paths between their cottages.
4. Halloween Paper Village
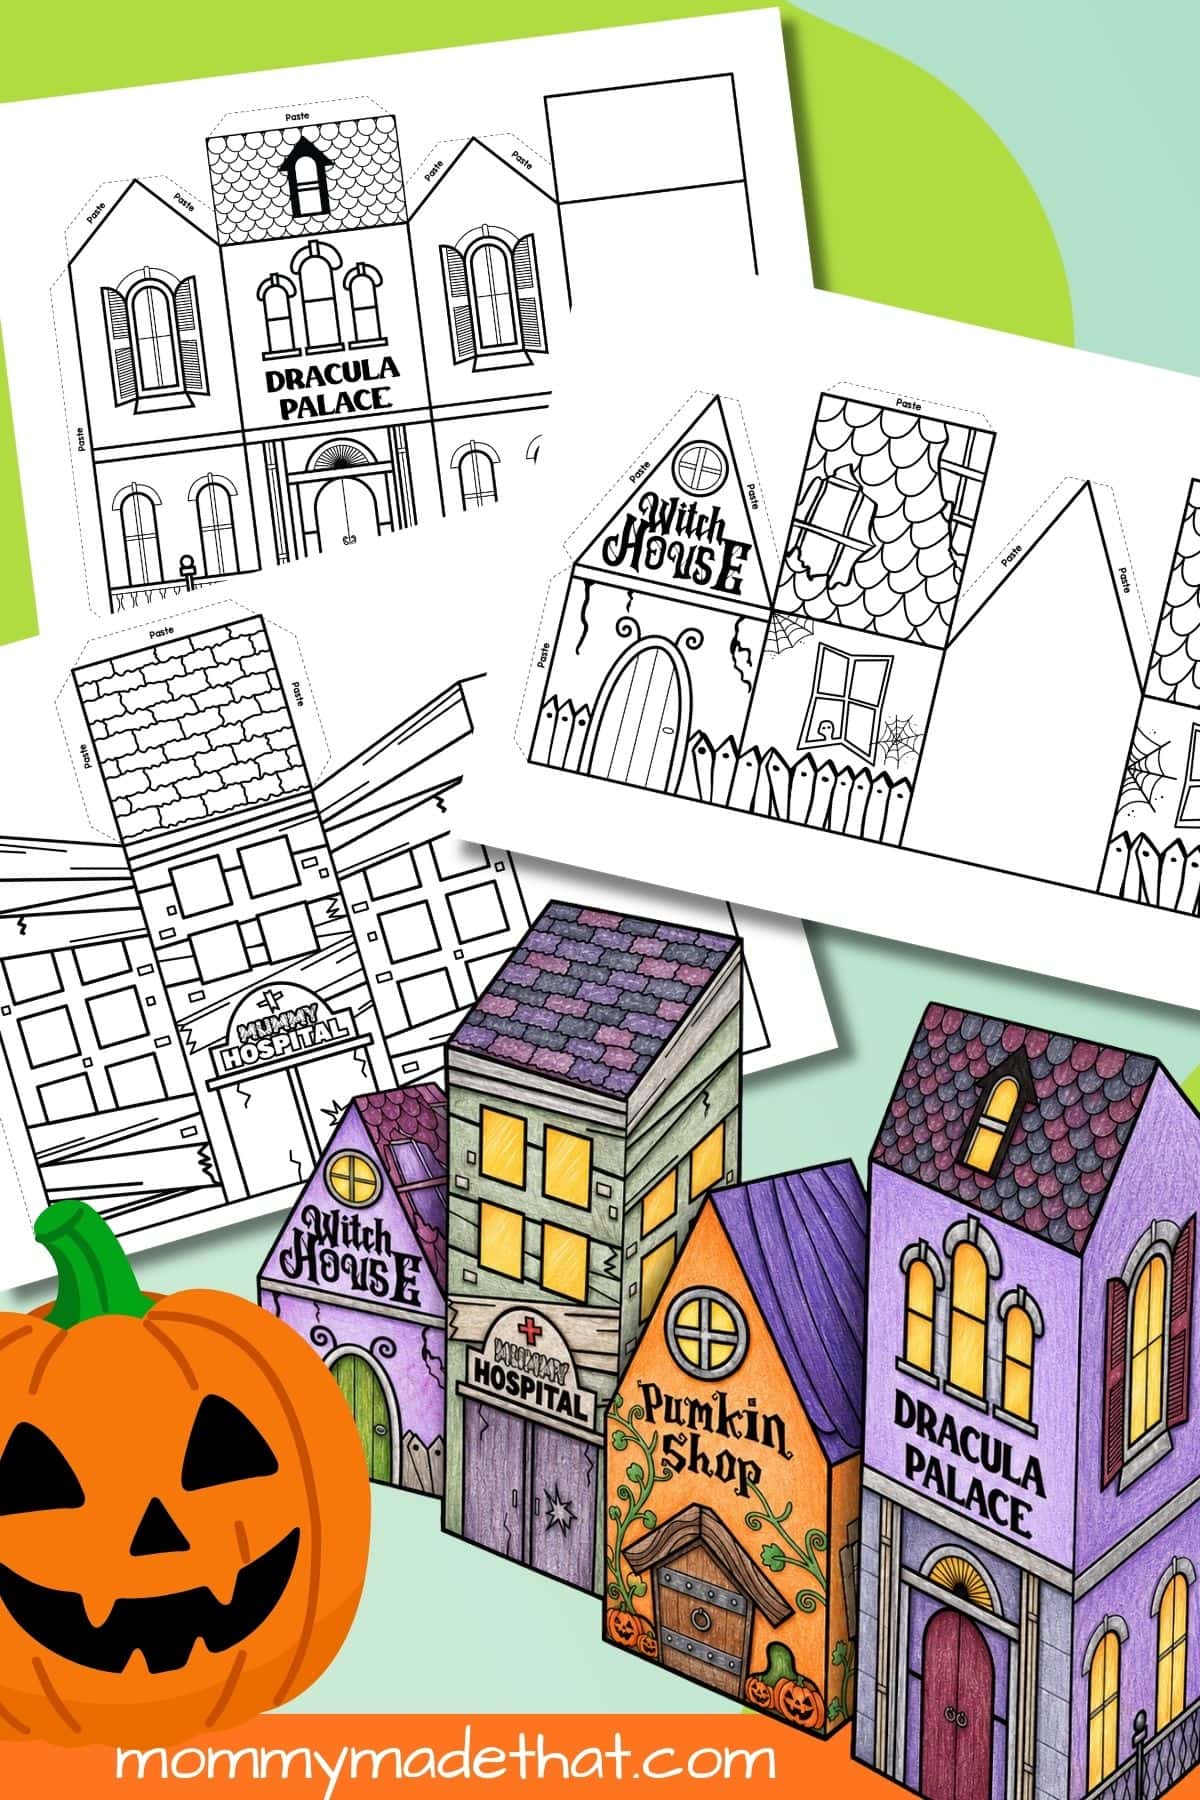
Our Halloween paper village printable brings a whole spooky street to the craft table. Kids can color and build a witch house, mummy hospital, pumpkin shop, and Dracula’s palace, then decide how their neighborhood should look.
The different buildings make useful starting points for stories. Who is shopping for pumpkins, and what might happen at the mummy hospital? Give each child a building to decorate and combine them into a shared Halloween display.
5. 3D Haunted House
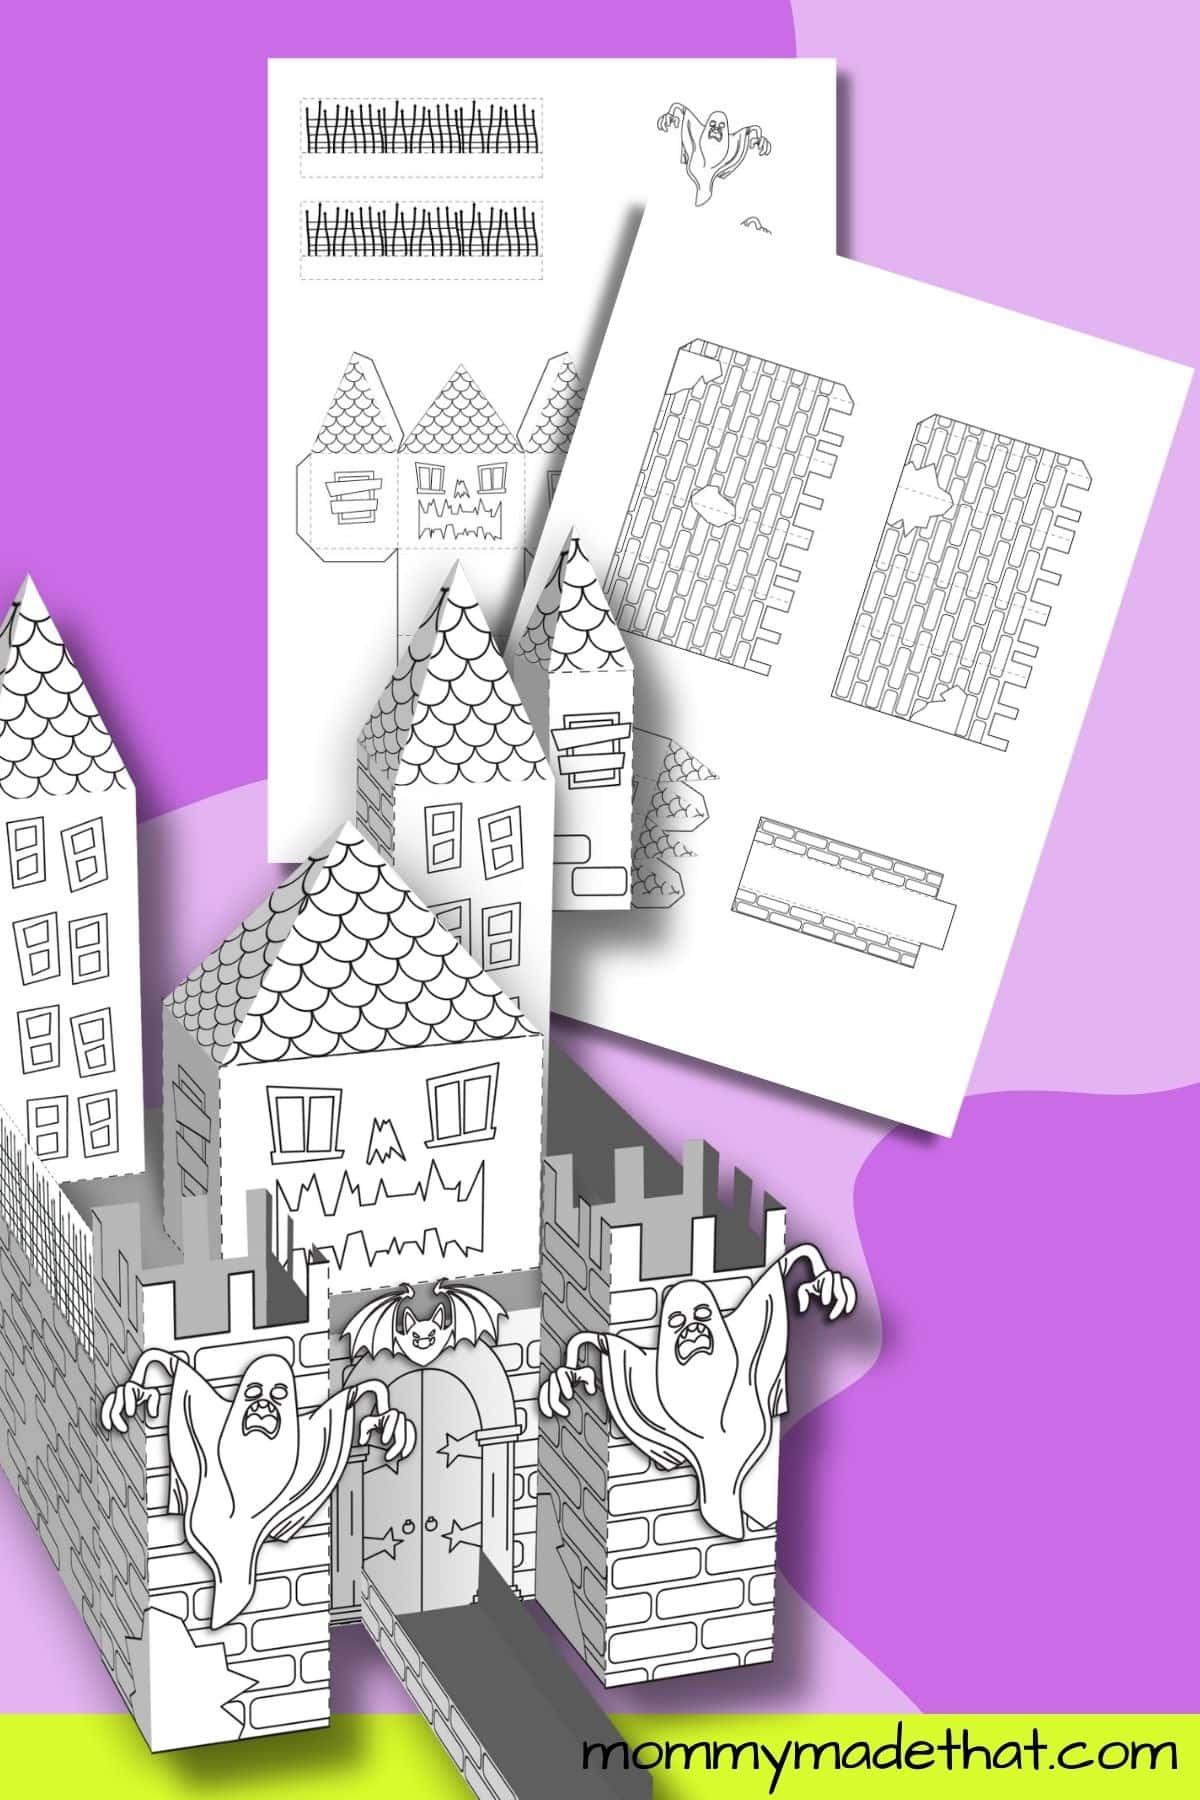
For children who enjoy a bigger building project, our printable haunted house turns into a spooky paper castle with towers and connecting sections. It makes a fun centerpiece for a Halloween scene.
Plan to work on this one in stages, with time for coloring, cutting, and assembly. An adult can help with the smaller pieces and hold joins in place while the glue sets. Let completed sections dry before adding the next part.
6. Winter Paper Houses

Make a snowy neighborhood with our winter paper house templates. The houses fold into 3D buildings, and the printable scenery helps children create a winter setting around them.
Use the set for a chilly-day craft or a seasonal classroom display. Children can choose a shared color palette for the village or give every house a different look, then invent names for the streets.
7. Paper Gingerbread House
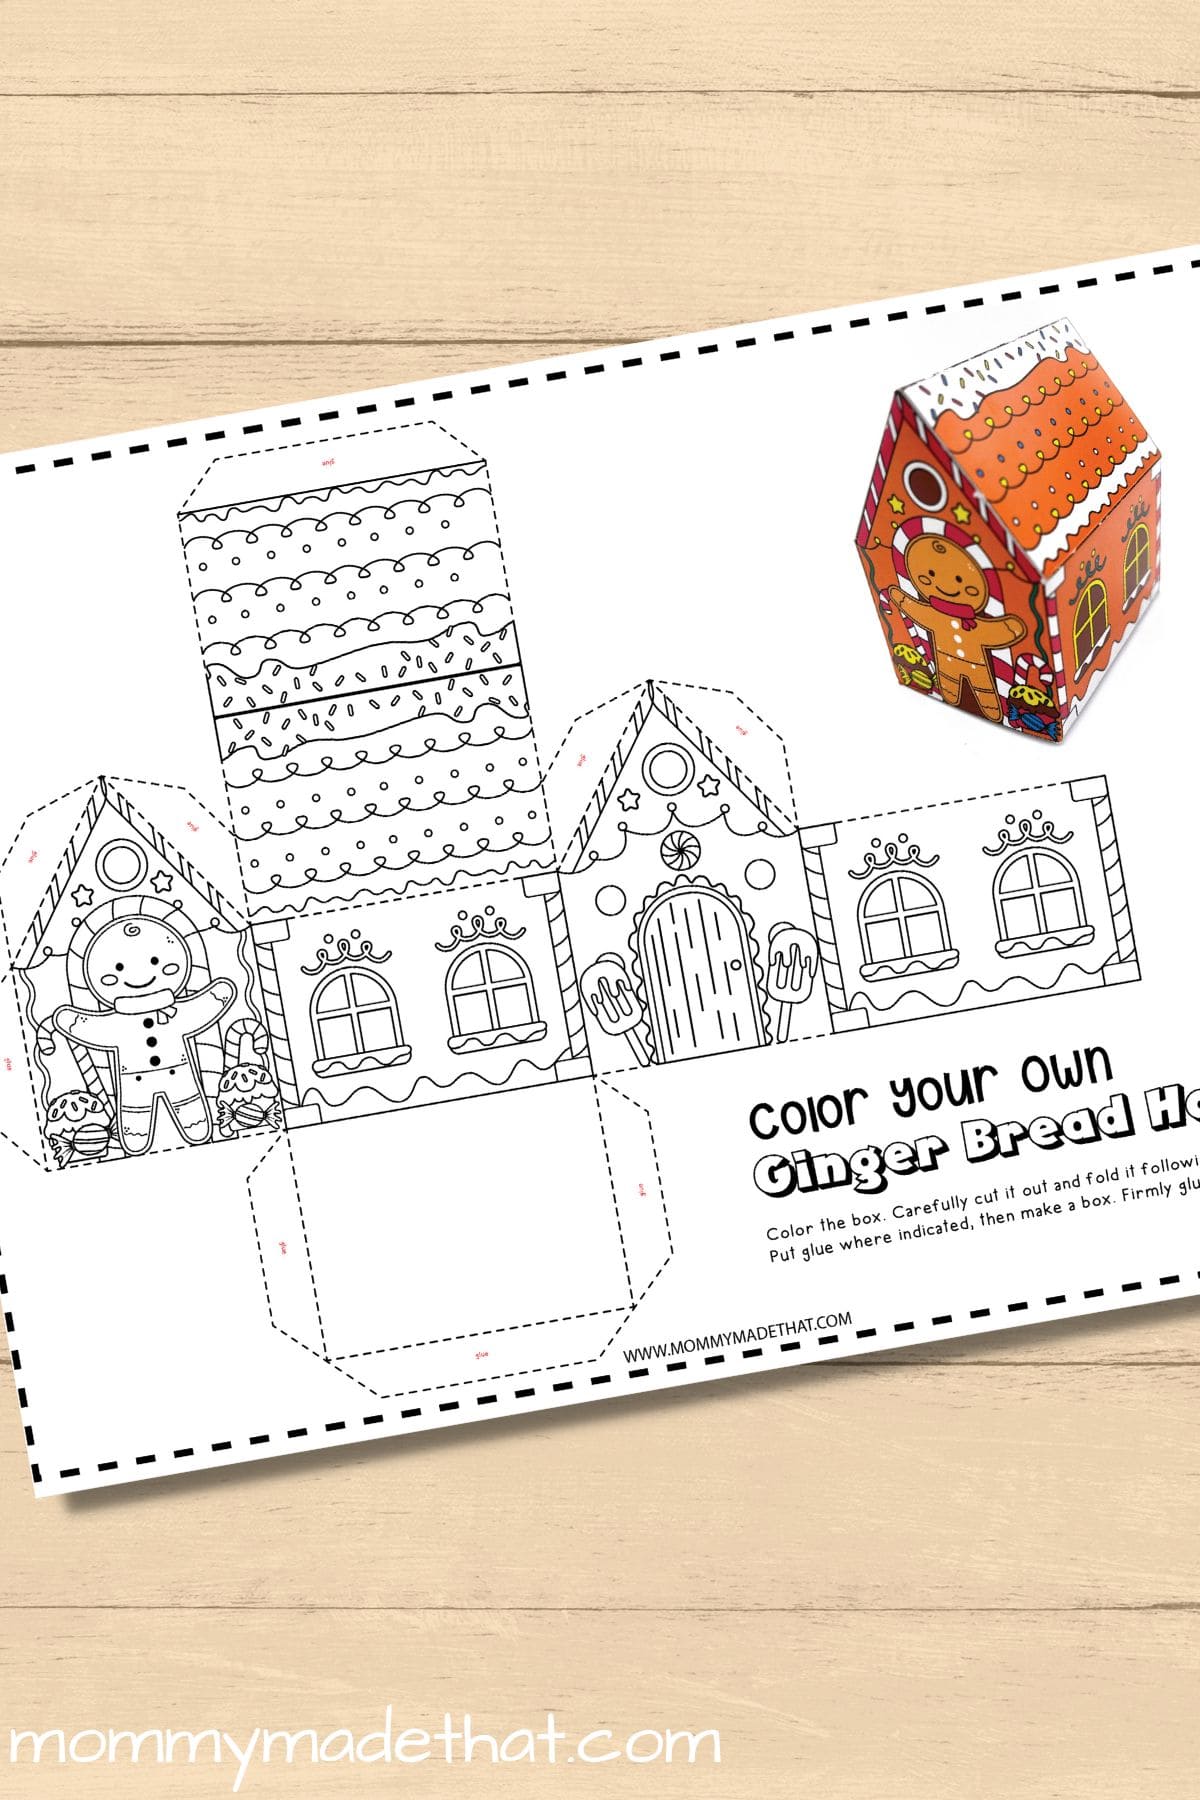
Enjoy decorating a candy-covered cottage with our gingerbread house coloring page. After coloring, kids cut and fold the design into a little 3D paper house.
It’s a fun choice when the decorating is everyone’s favorite part. Let children choose bright candy colors or a softer holiday palette, then place their finished houses together for a paper gingerbread neighborhood.
8. Stand-Up Paper Christmas Village
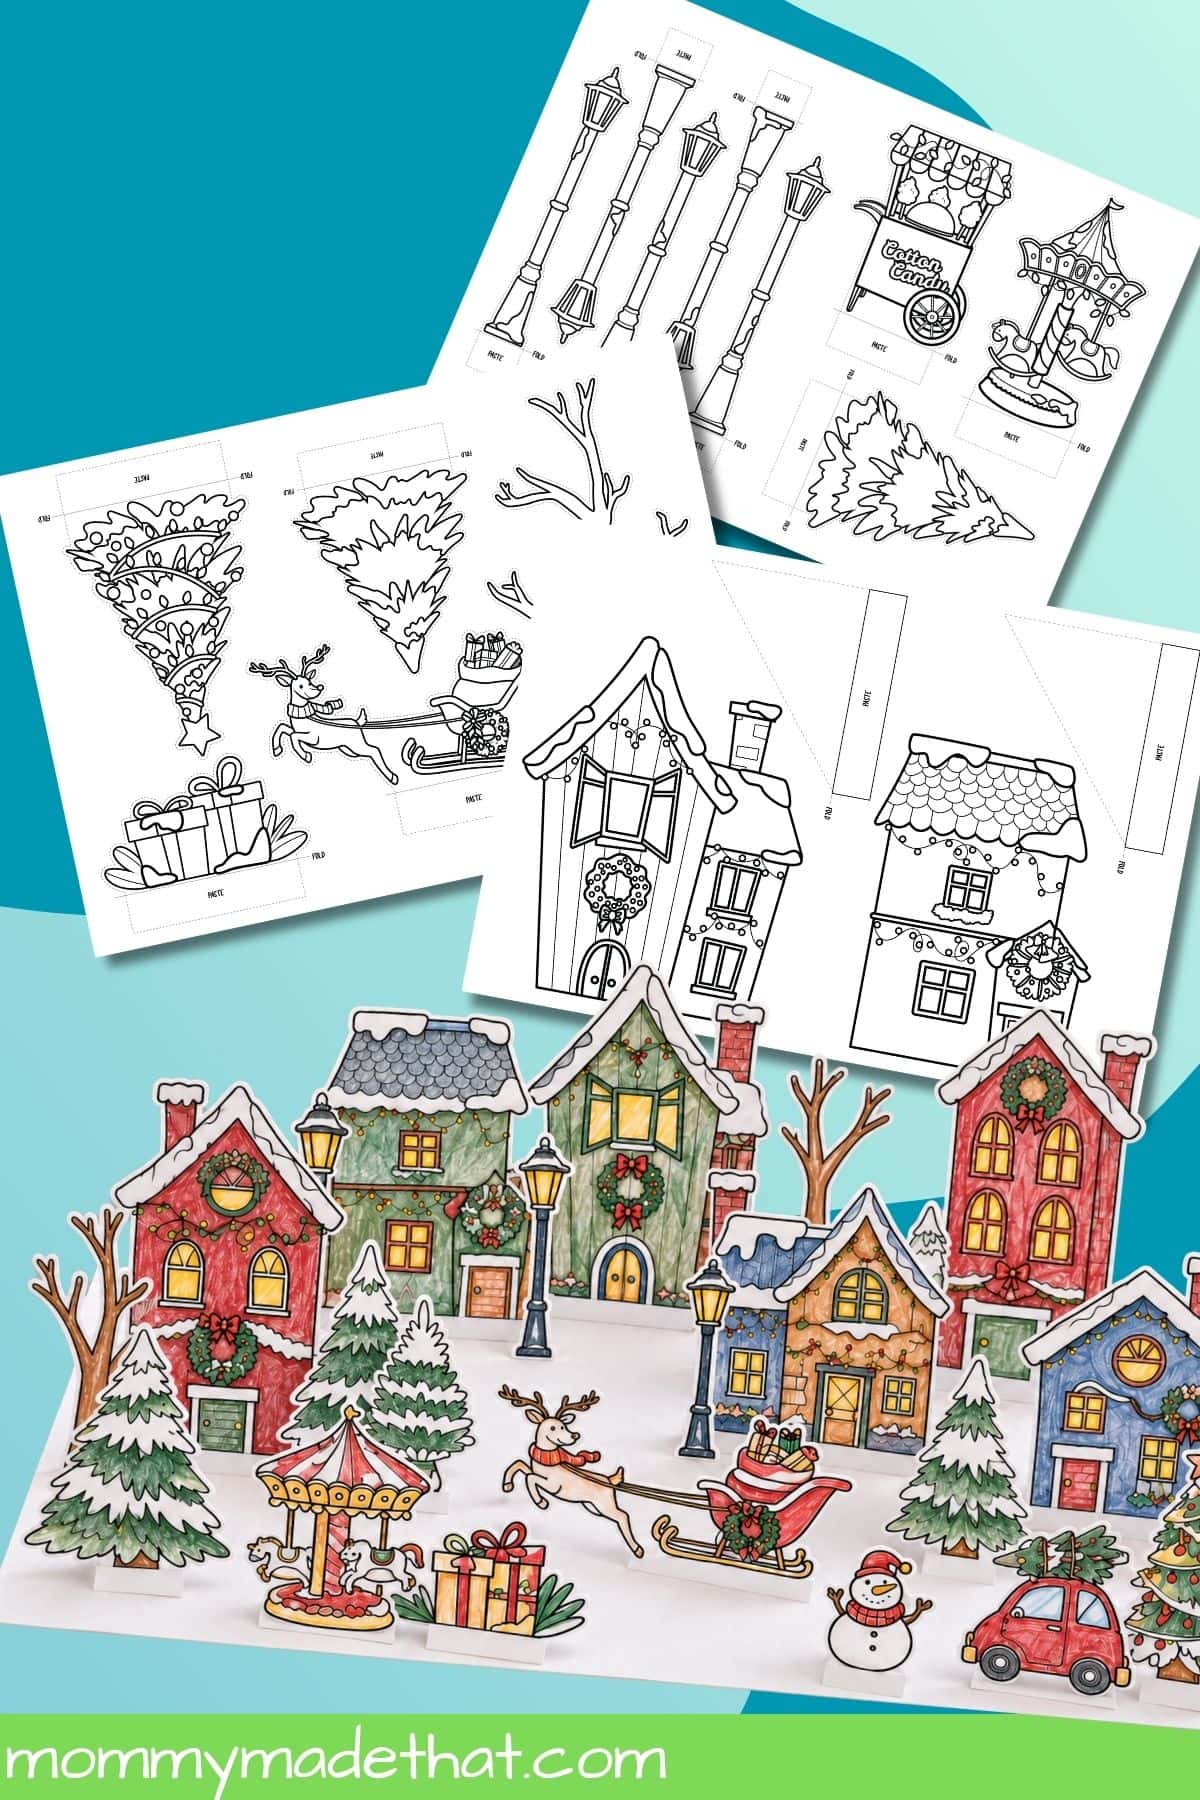
Create a festive town with our printable paper Christmas village. Children color the buildings and scenery, cut them out, and arrange the pieces into a holiday display.
This set uses illustrated building fronts with folding supports, rather than enclosed houses with four walls. Choose it when you want a scene to arrange and rearrange, with trees and festive details around the buildings. Start with a few favorite pieces and add to the village over several craft sessions.
Which Paper House Project Should You Choose?
For an everyday craft: Choose the paper house template collection and let children design their own neighborhood. The birdhouses are another option for a nature-themed afternoon.
For a fall display: Start with the pumpkin cottages for an autumn scene, or pick the Halloween village for a spooky street. The haunted castle is a larger project to build together.
For winter and Christmas: Choose the winter houses for enclosed 3D buildings, the gingerbread house for candy-inspired coloring, or the Christmas village for a scene with stand-up fronts and decorations.
Younger children may prefer to focus on coloring while an adult handles tricky tabs and roof joins. Children who enjoy careful cutting and folding can take on more of the assembly. Start with one building before printing a whole village.
Supplies to Gather
Check the individual project’s instructions for its full supply list. Most of these activities use a printed template, coloring supplies, scissors, and glue or tape. A ruler can help with straight folds, and a piece of cardboard makes a useful village base.
Regular paper is easier to fold, while printer-compatible lightweight cardstock gives many buildings more support. Choose the paper recommended for your project and print a test page before preparing a large group activity.
Tips for Building Printable Paper Houses
Color before cutting. A full sheet is easier to hold than a small roof or wall section. Give markers or paint time to dry before folding so the colors don’t smudge.
Keep the assembly tabs. Cut around the outside of the template as directed. Tabs that stick out from the walls or roof usually help hold the house together, so avoid trimming them away.
Check each template’s guides. Cutting and folding marks can differ between sets. Follow the directions for your chosen project instead of assuming every dotted line means the same thing.
Fold before adding glue. Bring the walls and roof into position to see how the pieces meet. Then secure one join at a time with a small amount of glue, holding it until it stays in place.
Leave time for drying. Put the finished building somewhere it won’t be bumped. A roof or wall is easier to keep straight when the joins have had time to set.
Ways to Play With Your Paper Village
Draw a neighborhood map. Arrange the buildings on a large sheet of paper and add roads, paths, gardens, or a town square. Move the houses around before deciding where everything belongs.
Give each house a story. Ask who lives there, what their day looks like, and who might visit. Children can tell the story aloud or write a short caption to place beside their building.
Make a classroom village. Let each child decorate a house, then bring them together for a shared display. Add street names and signs created by the group.
Build a little at a time. Start with one home and add another when the kids want a new craft. A village can grow over several afternoons without needing to finish every piece in one sitting.
How to Get the Free House Printables
Open the project you’d like to make using its linked description above. Each page includes the instructions and signup for that printable. Once the file arrives in your email, open the PDF and print the pages you need.
Follow that project’s paper size and scaling guidance, especially when separate pieces need to fit together. Use the printable PDF rather than printing the display photos from this page.
Choose one little house to begin with and see where the kids take it. A colorful neighborhood, a spooky street, or a snowy holiday village can all start with a printed page and a few creative ideas.