Paper Bag Robots (With Free Printable Template)
Today we’ve got an adorable paper bag robot craft, that’s perfect for Valentine’s day or for friendship day.
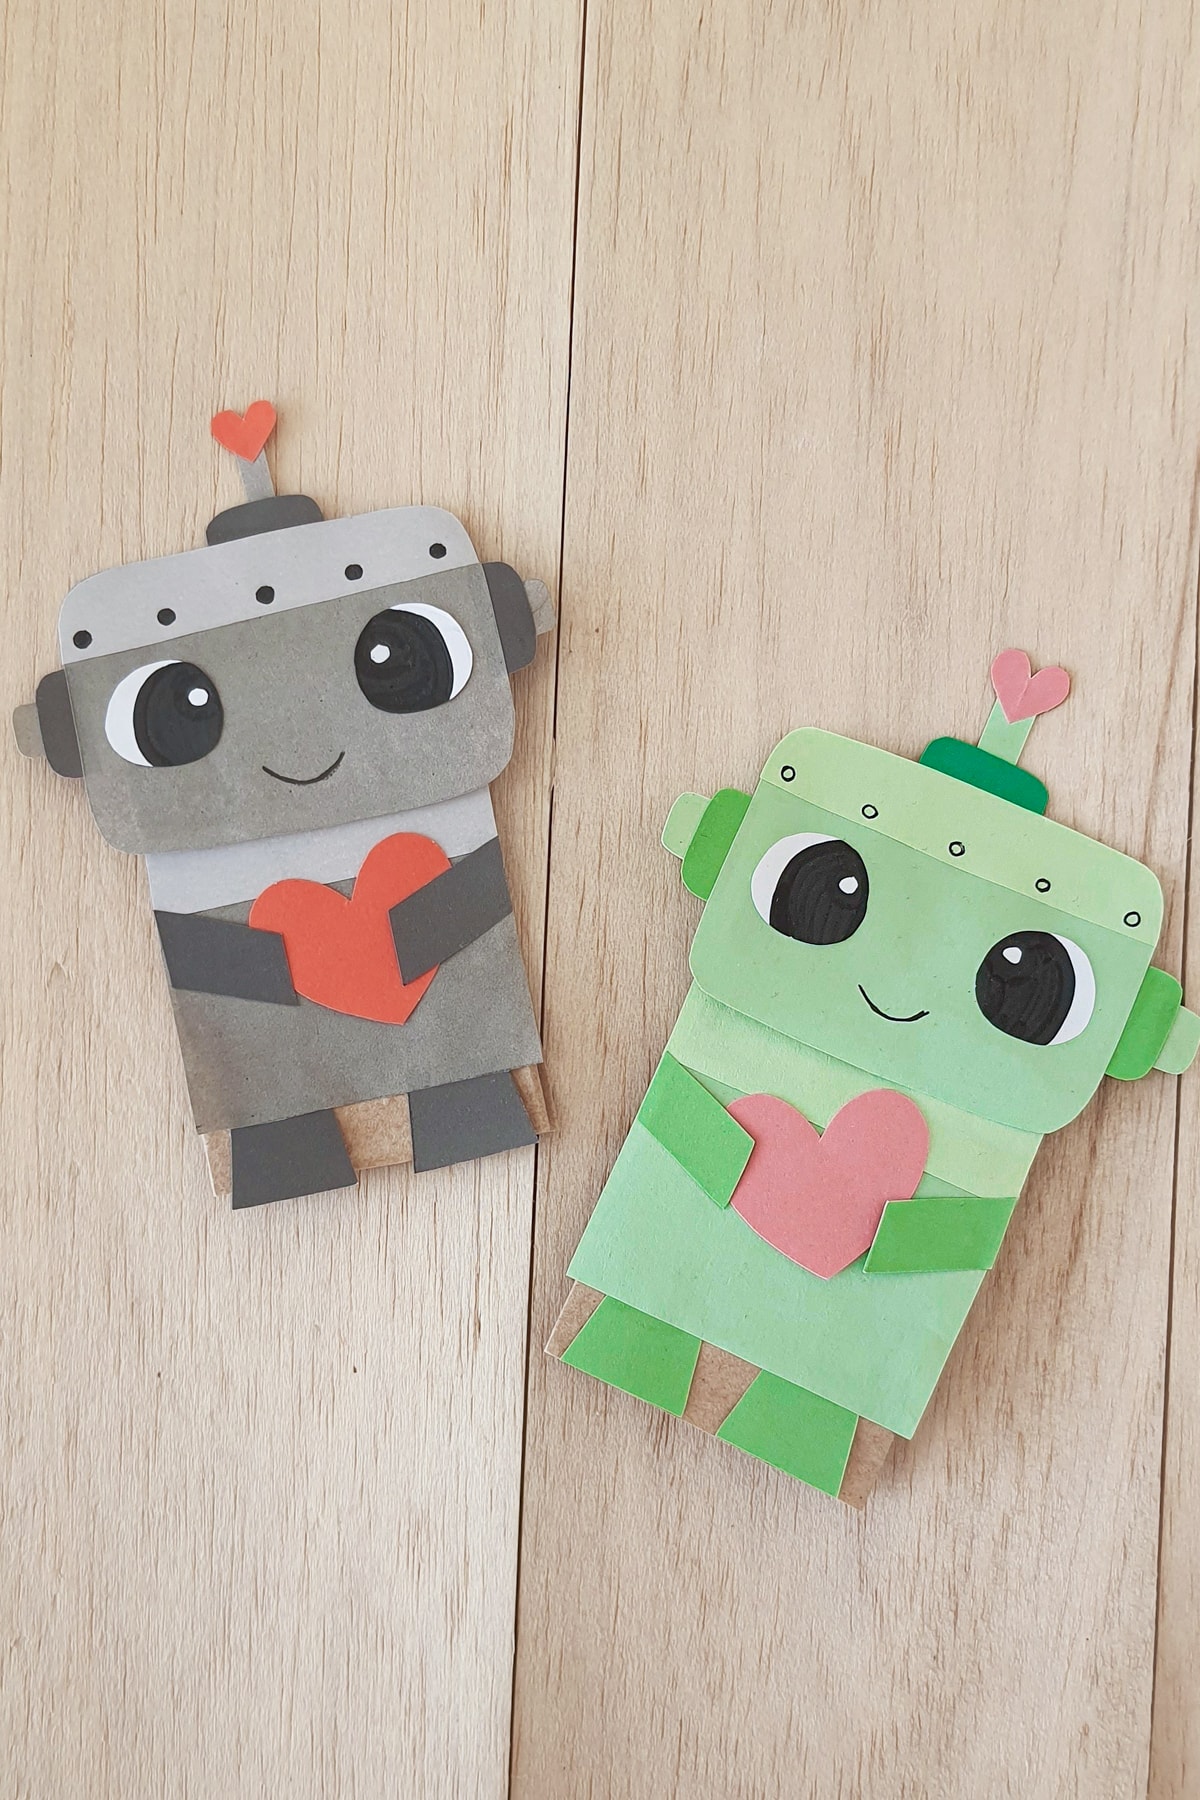
Get ready to dive into a delightful crafting adventure with our Paper Bag Love Robot Puppets!
This craft is perfect for unleashing creativity and adding a touch of whimsy to your day.
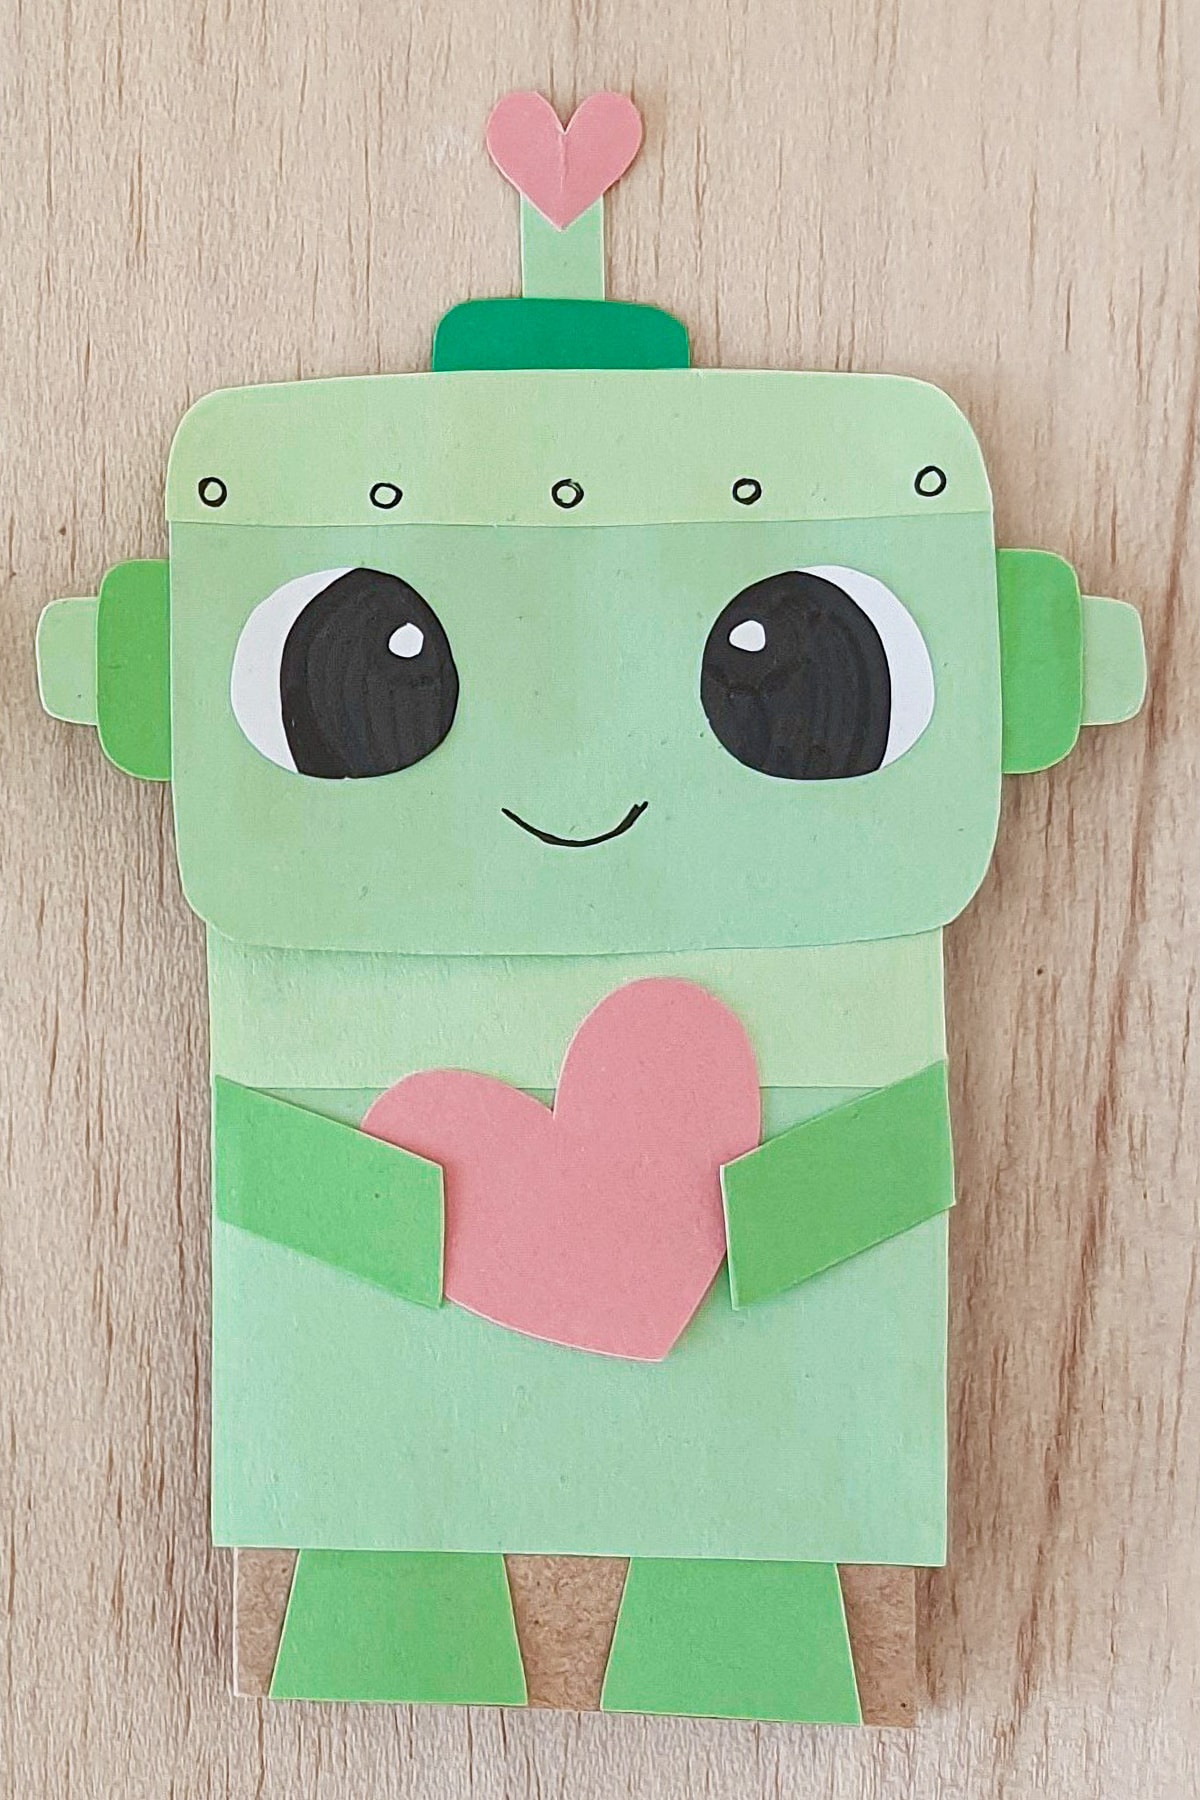
Ideal for little hands, these charming robots display big hearts across their chest, making them a great Valentine’s day craft!
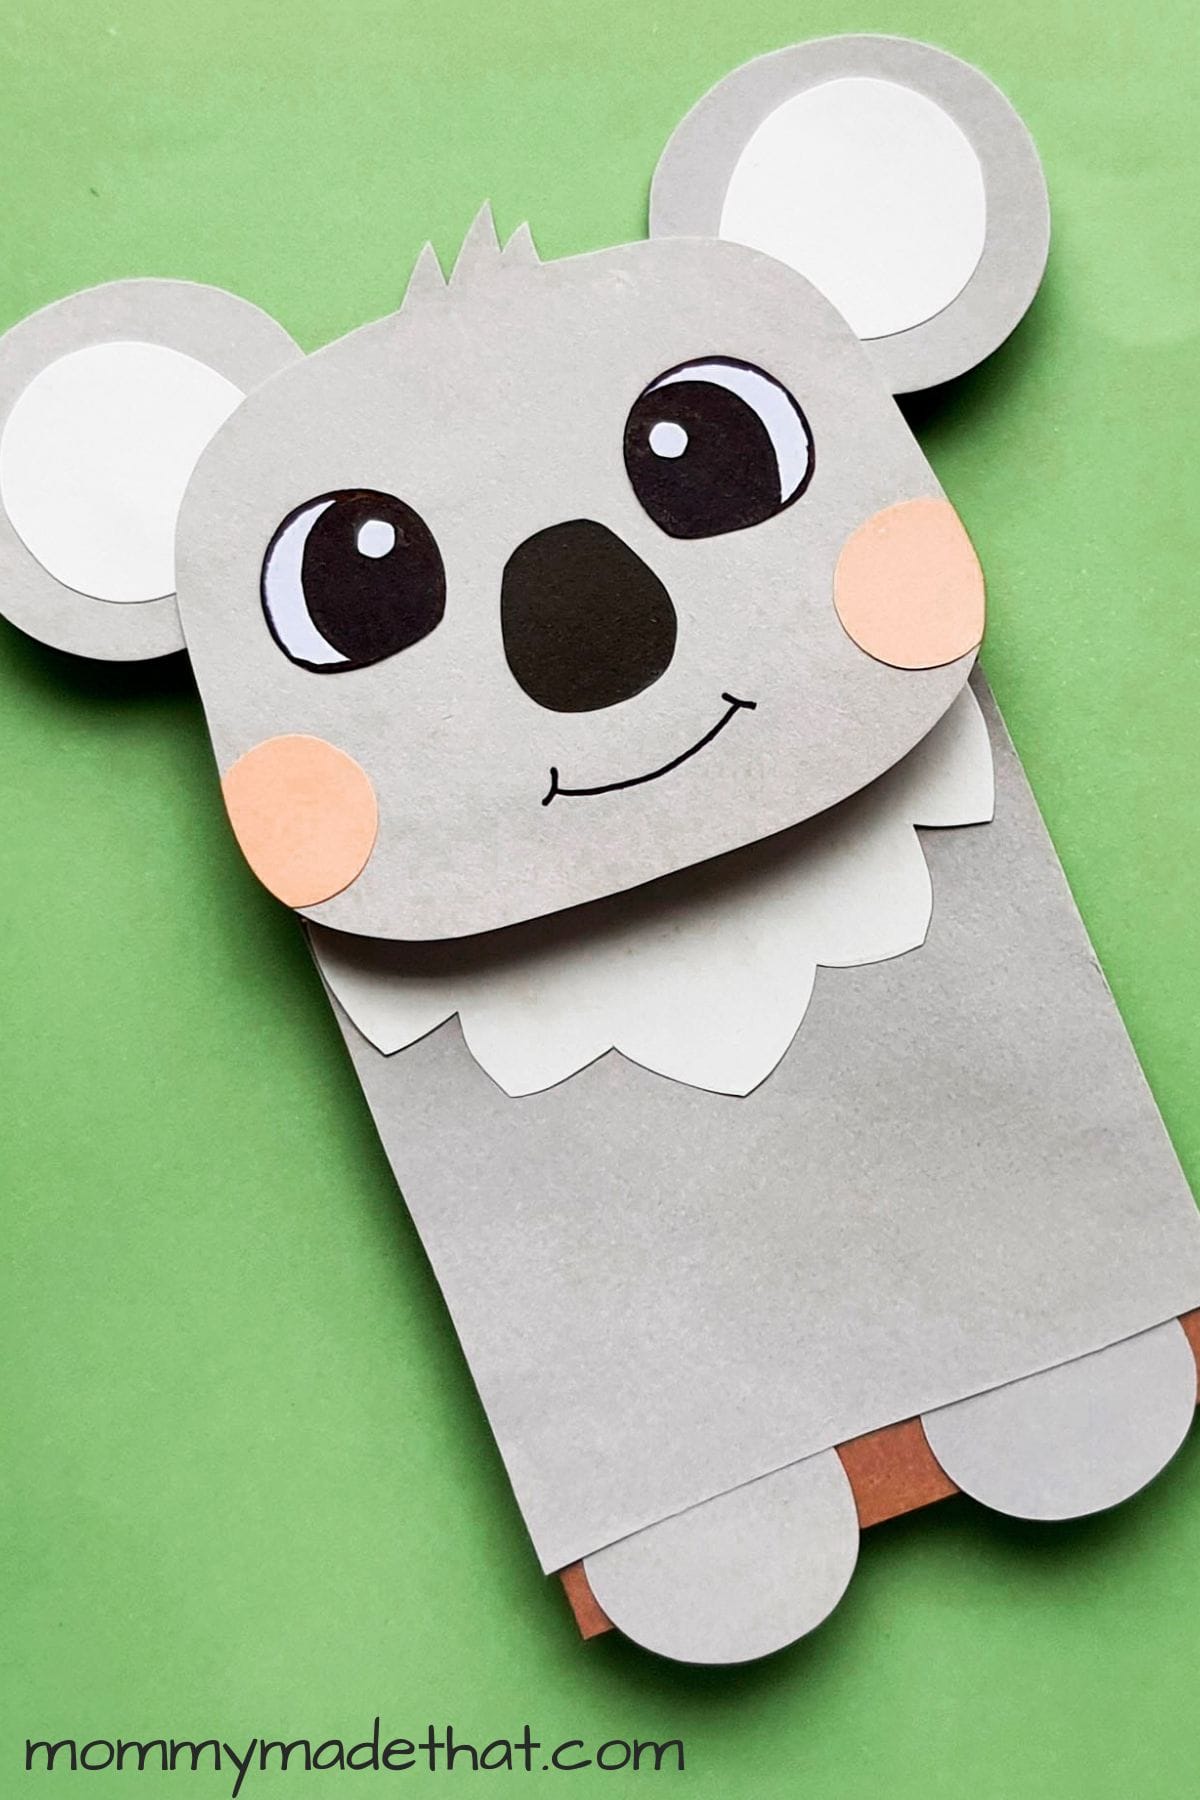
We’ve got lots of other fun paper bag crafts too, like our paper bag sloth craft and our paper bag lion craft.
Why You’ll Love This Craft
- Fosters Creativity: Lets kids explore their imagination and creativity.
- Easy to Make: Simple steps, perfect for young crafters.
- Customizable: Mix and match colors and designs for unique creations.
- Fun to Play With: Not just a craft, but a new toy for imaginative play.
Materials
Robot Template: You can grab our free printable robot template at the bottom of this post.
Colored Craft Papers: Choose a variety of colors for a vibrant robot.
Pencil: For tracing out the template.
Craft Glue: To stick your pieces together. Elmers glue or a glue stick will work fine.
Scissors: For cutting out your robot parts.
Sharpie or Gel Pen: To add details and personality to your robot.
Paper Bag: The base of your puppet – small or custom-sized. Our template will fit a standard small lunch bag that is 5 1/8 inch wide and 10 5/8 tall.
Instructions
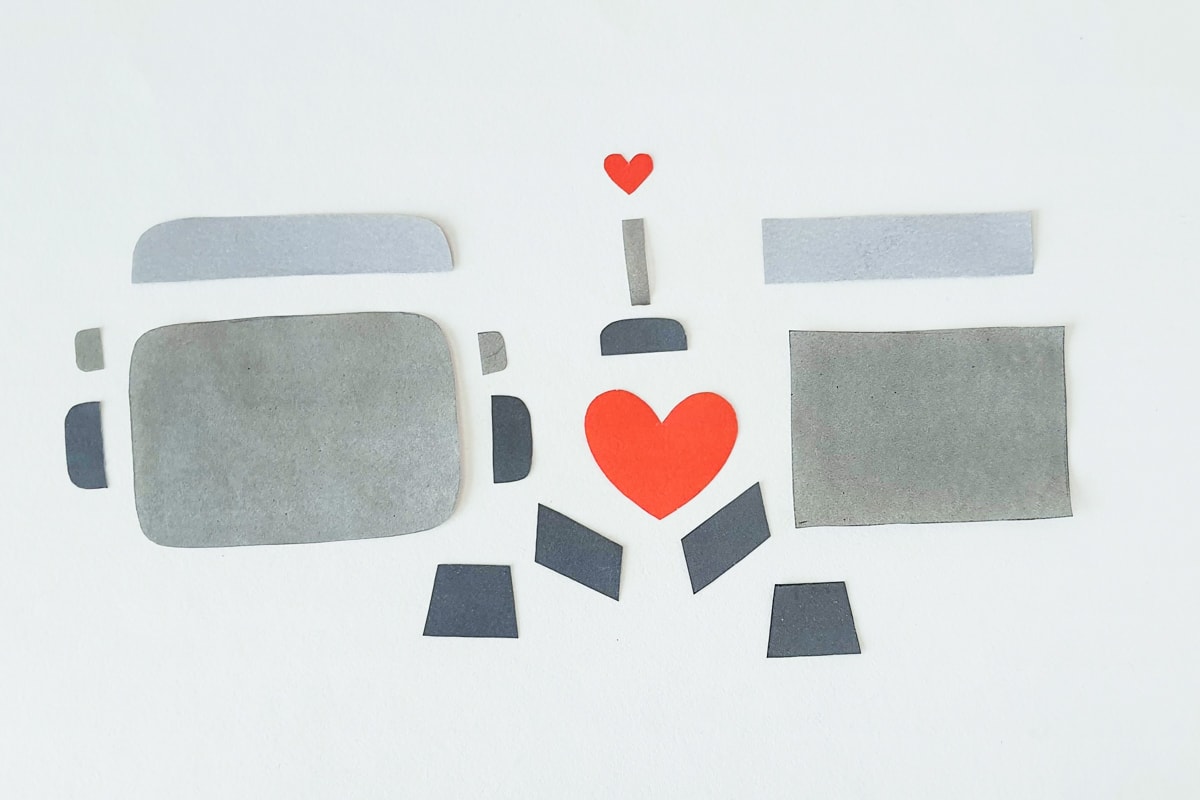
Preparing the Template: First, print out the robot template. Choose various colored craft papers for the different parts of your robot.
Carefully trace the template patterns on these papers and cut them out. Remember, neatness counts here!
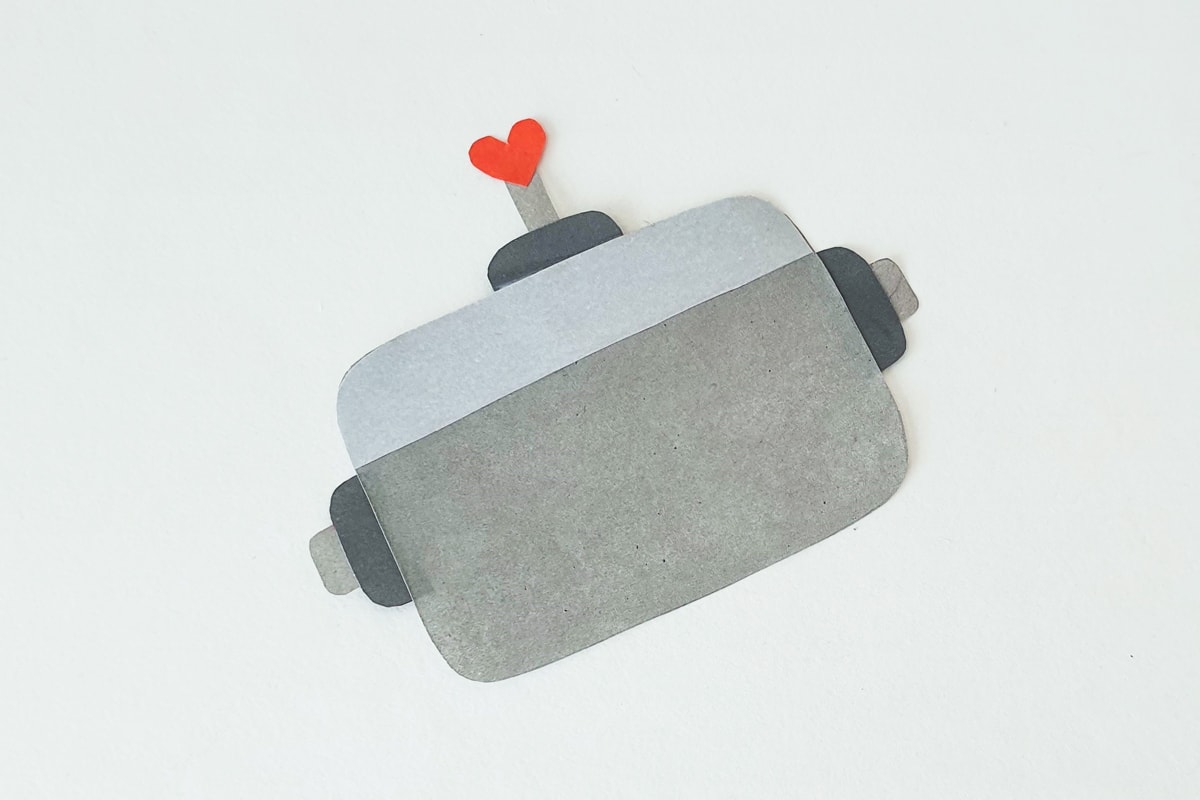
Assembling the Robot’s Head and Body: Take the strip cutouts with rounded corners and attach them to the top of the head cutout.
Then, attach the other strip to the top of the body cutout, which is the square piece. This adds a nice layered effect to your robot.
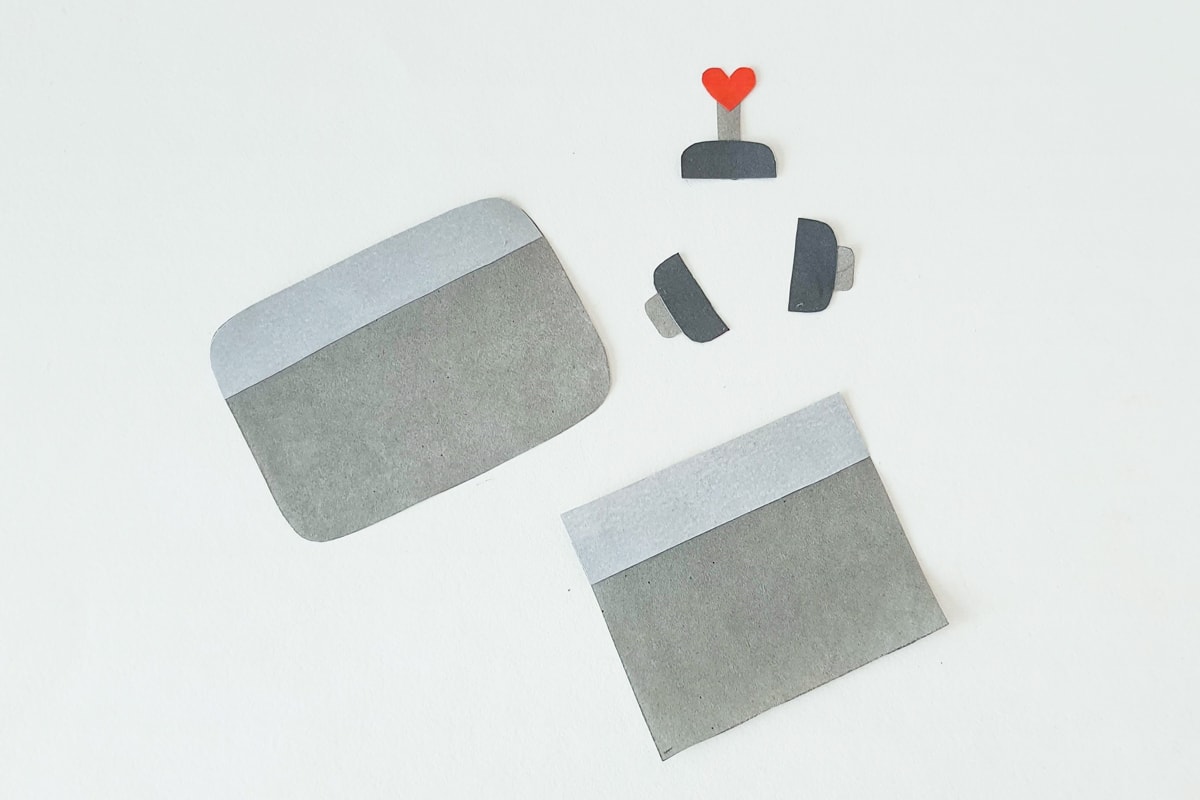
Adding Ears and Antenna: Stick the ear cutouts on both sides of the head. Then, attach the antenna cutouts to the top-middle part of the head.
This is where you can get creative with the positioning to give your robot character.
Placing the Eyes: Attach the eye cutouts to the head, near the top part. Be sure to space them evenly – a small ruler can help with this. The eyes are crucial as they give your robot its personality!

Drawing the Mouth and Bolts: Use a Sharpie or gel pen to draw a mouth on the head. Then, add some dot details along the top side of the head to resemble bolts.
These small details can make a big difference in the final look.

Attaching the Legs: Stick the leg cutouts to the bottom side of the body. Make sure they’re evenly spaced and aligned with the body for stability.

Preparing the Paper Bag: Choose a paper bag that’s the right size for your robot. If you’re using a small bag, you might need to adjust the size of your cutouts.

Attaching the Body to the Bag: Stick the body pattern on one side of the paper bag, close to the open end. The open end will be the bottom of your puppet.
Flatten the bottom part of the paper bag with the front part to create a flat surface for attachment.

Adding the Head: Attach the head pattern to the flattened bottom side of the paper bag. Ensure it’s centered for a balanced look.

Attaching the Arms: Stick the arm cutouts on both sides of the body, with the arms facing inwards. This makes your robot look more dynamic and ready for action.

Adding a Heart: Trace and cut out a heart shape, then write a sweet message on it.
Slide this heart-shaped piece under the robot’s arms. This step is perfect for customizing your robot for a special occasion or as a gift.

And that’s it! You’re paper bag robot craft is finished and ready to play with or give as a gift.

Remember, you can use any color combinations you like. From traditional silver (gray) to fun pretty colors. I really enjoyed this green version.
Top Tips
- Use Bright Colors: Bright, contrasting colors make your robot pop.
- Personalize: Let kids add their own touches, like stickers or glitter.
- Be Patient with Glue: Allow time for glue to dry to avoid pieces falling off. You could use a glue stick instead as well, but it won’t be as strong.
- Encourage Storytelling: Use the finished puppets for creative storytelling.

Grab the Free Printable:
To get your free printable robot template, just enter your name and email in the pink box below.
We’ll send it directly to your inbox, along with updates on our latest free printables.
This template is for personal or classroom use only, please no commercial use. Thanks for understanding!
Enjoy the smiles and giggles as your kids bring their Paper Bag Love Robot Puppets to life. Don’t forget to display these adorable robots!