3D Printable Pumpkin Houses for Fall (Free Templates)
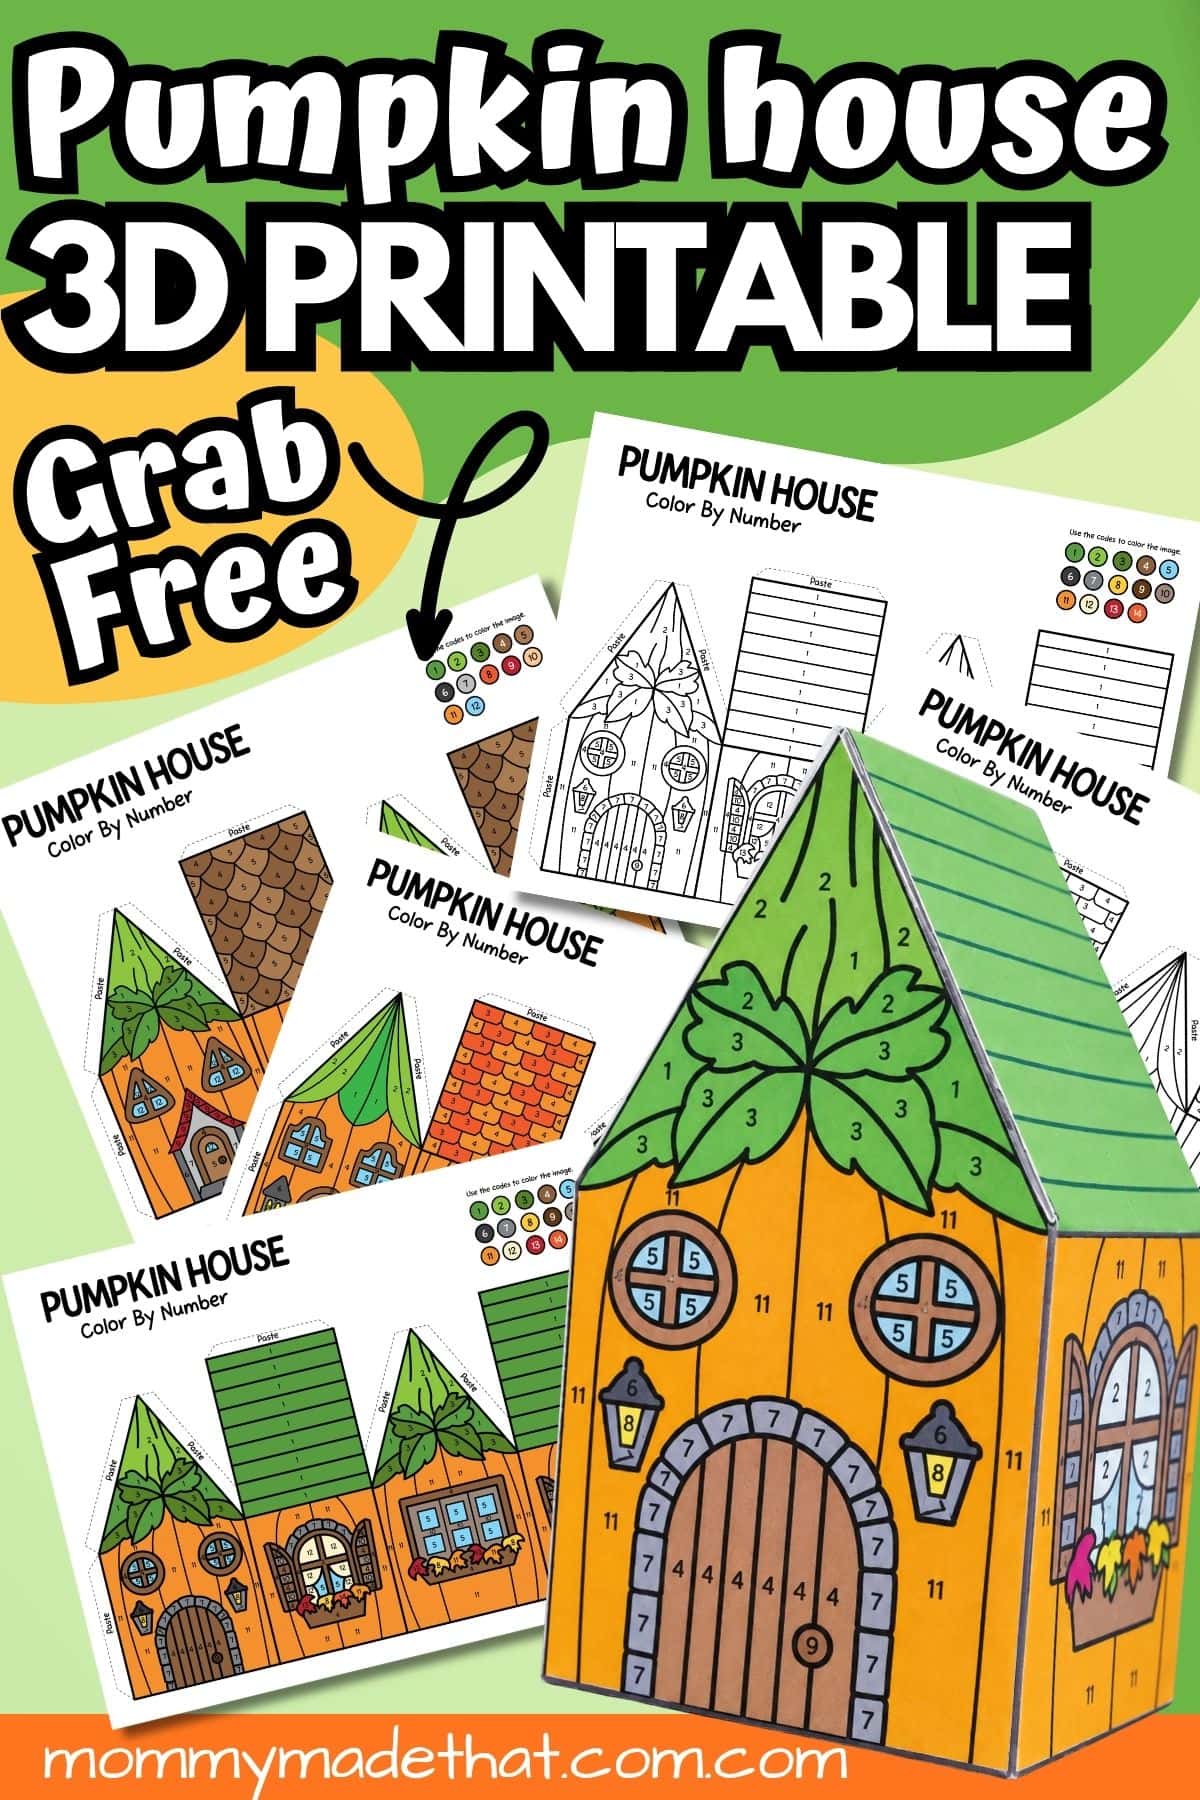
Build a tiny autumn neighborhood with these 3D printable pumpkin houses! Each house starts as a flat template with windows, a little door, and a patterned roof. Kids can follow the color-by-number key, then cut, fold, and glue their page into a freestanding paper house.
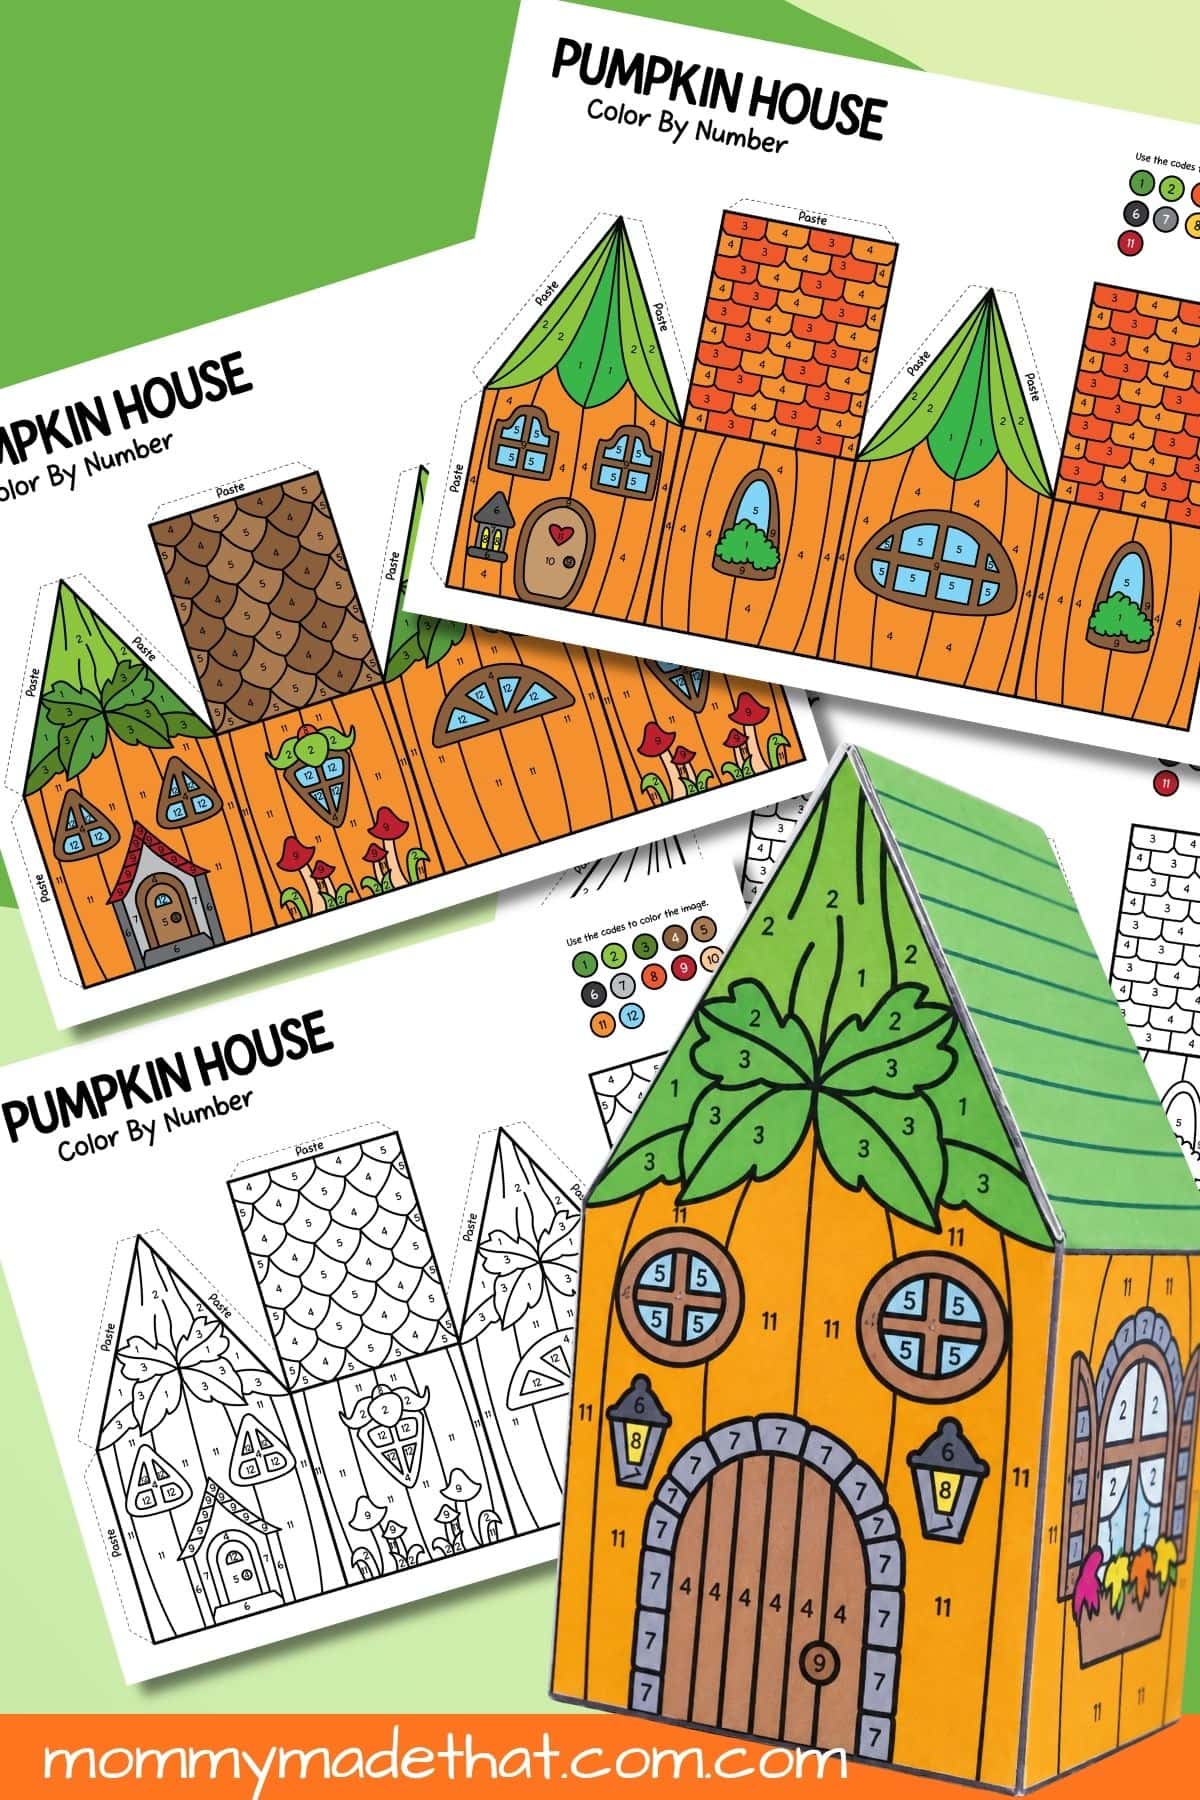
The set includes three different designs, plus matching colored versions for days when you want to get straight to building. Set them together on a shelf, add them to a fall classroom display, or let children invent stories about who lives inside.
If your kids enjoy making miniature buildings, they can try our printable paper house templates too. For another dimensional autumn project, our paper strip pumpkin craft is a fun companion.
What’s Included in the Pumpkin House Printable?
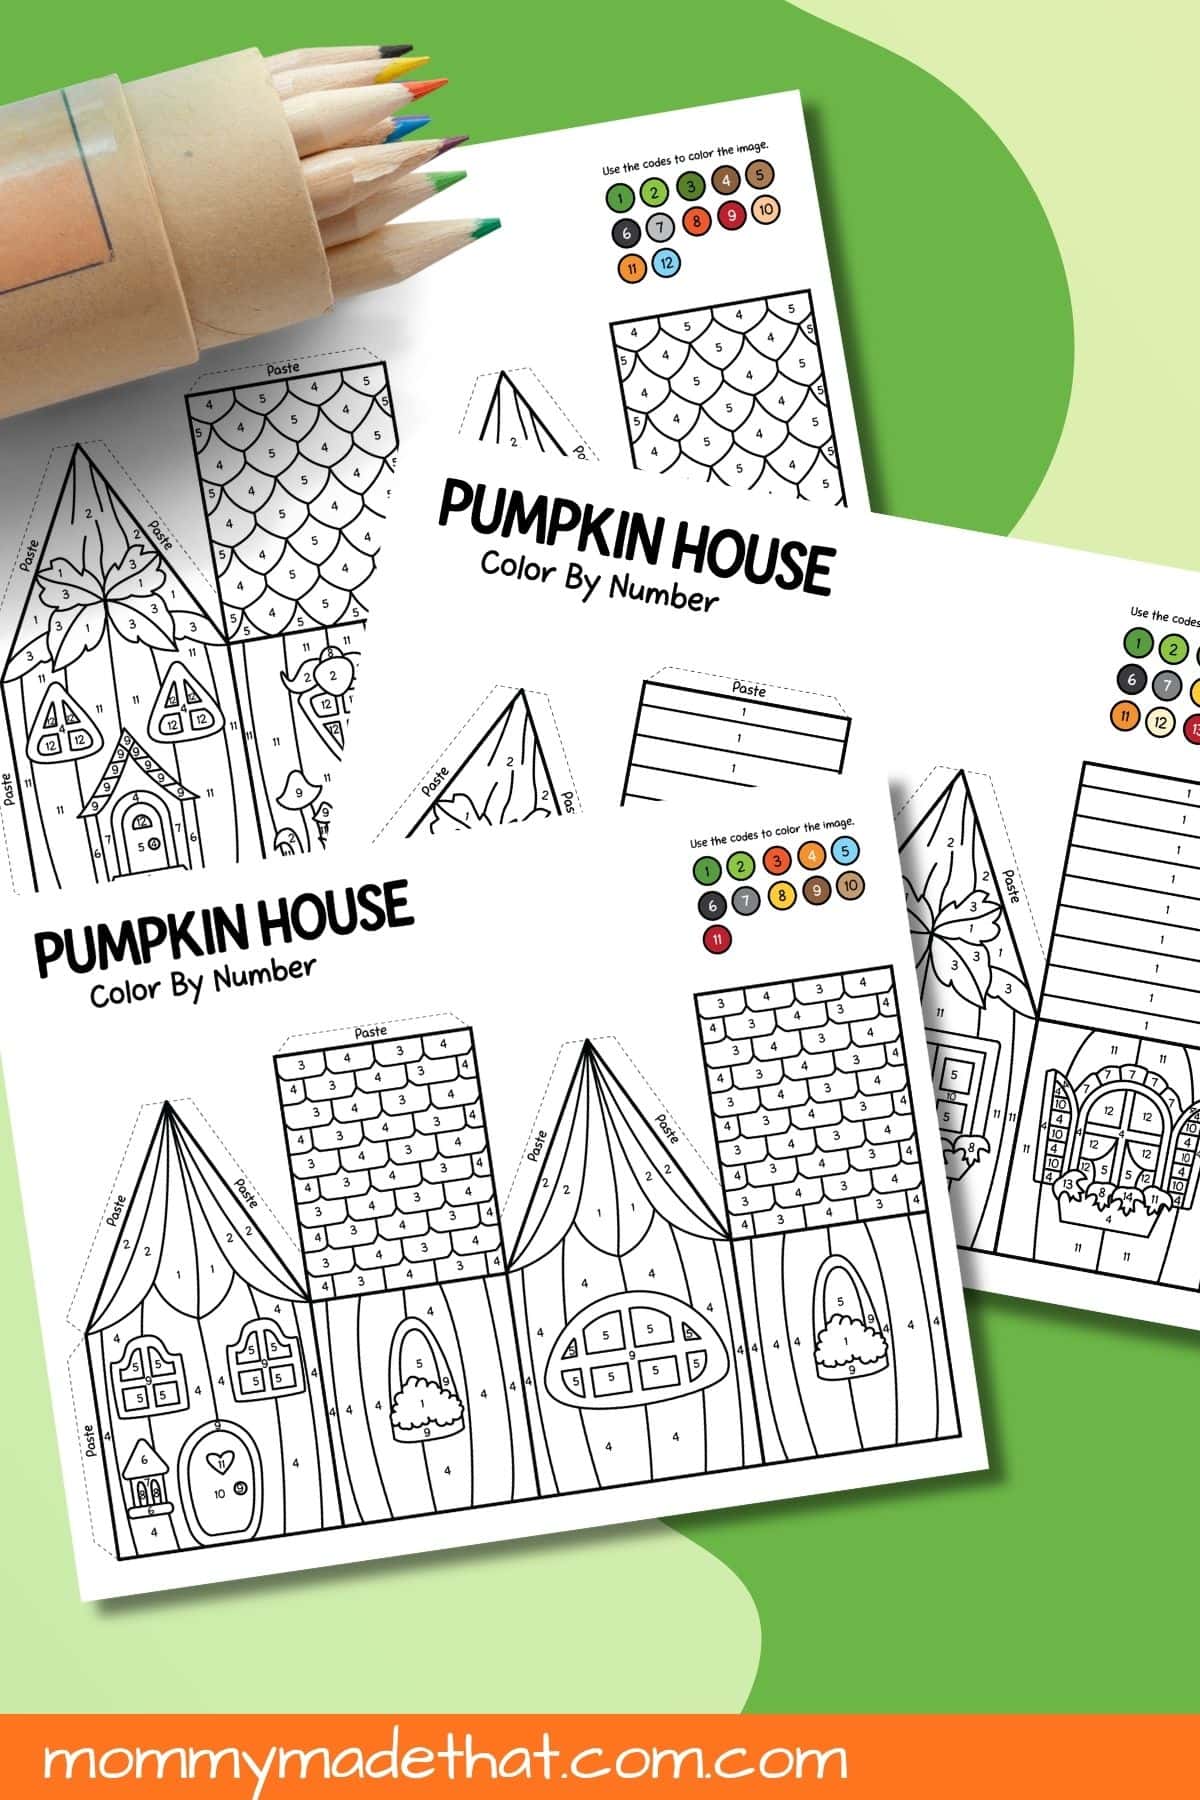
This six-page PDF is formatted for US Letter paper in landscape orientation, 11 × 8.5 inches. There are three unique pumpkin house designs, each shown twice:
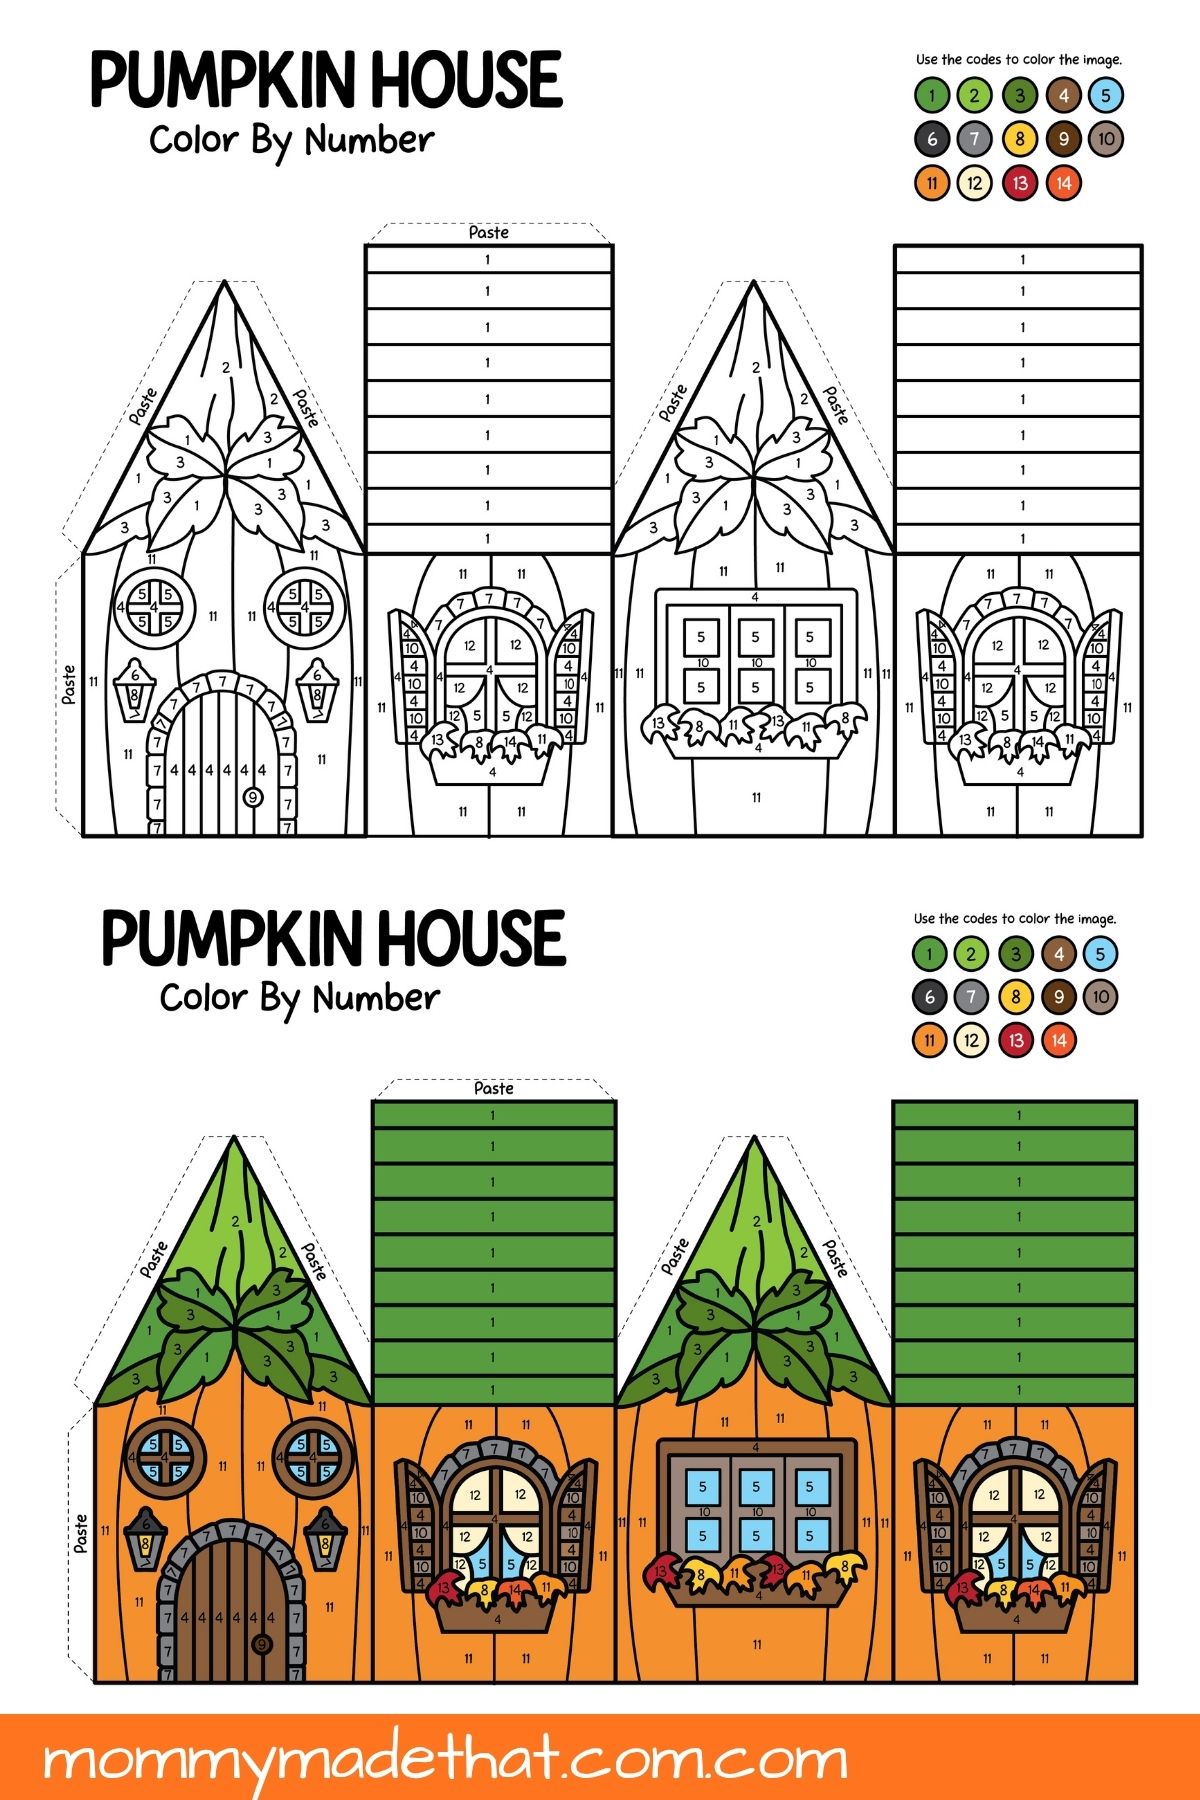
- Pages 1–3: Uncolored house templates with numbered sections and a colored number key.
- Pages 4–6: Matching colored templates in the same order. The numbers remain visible on these versions.
Each page contains all the connected wall and roof pieces for one house, with tabs labeled “Paste.” Choose one version of each design to make three houses; you don’t need both versions to assemble a house.
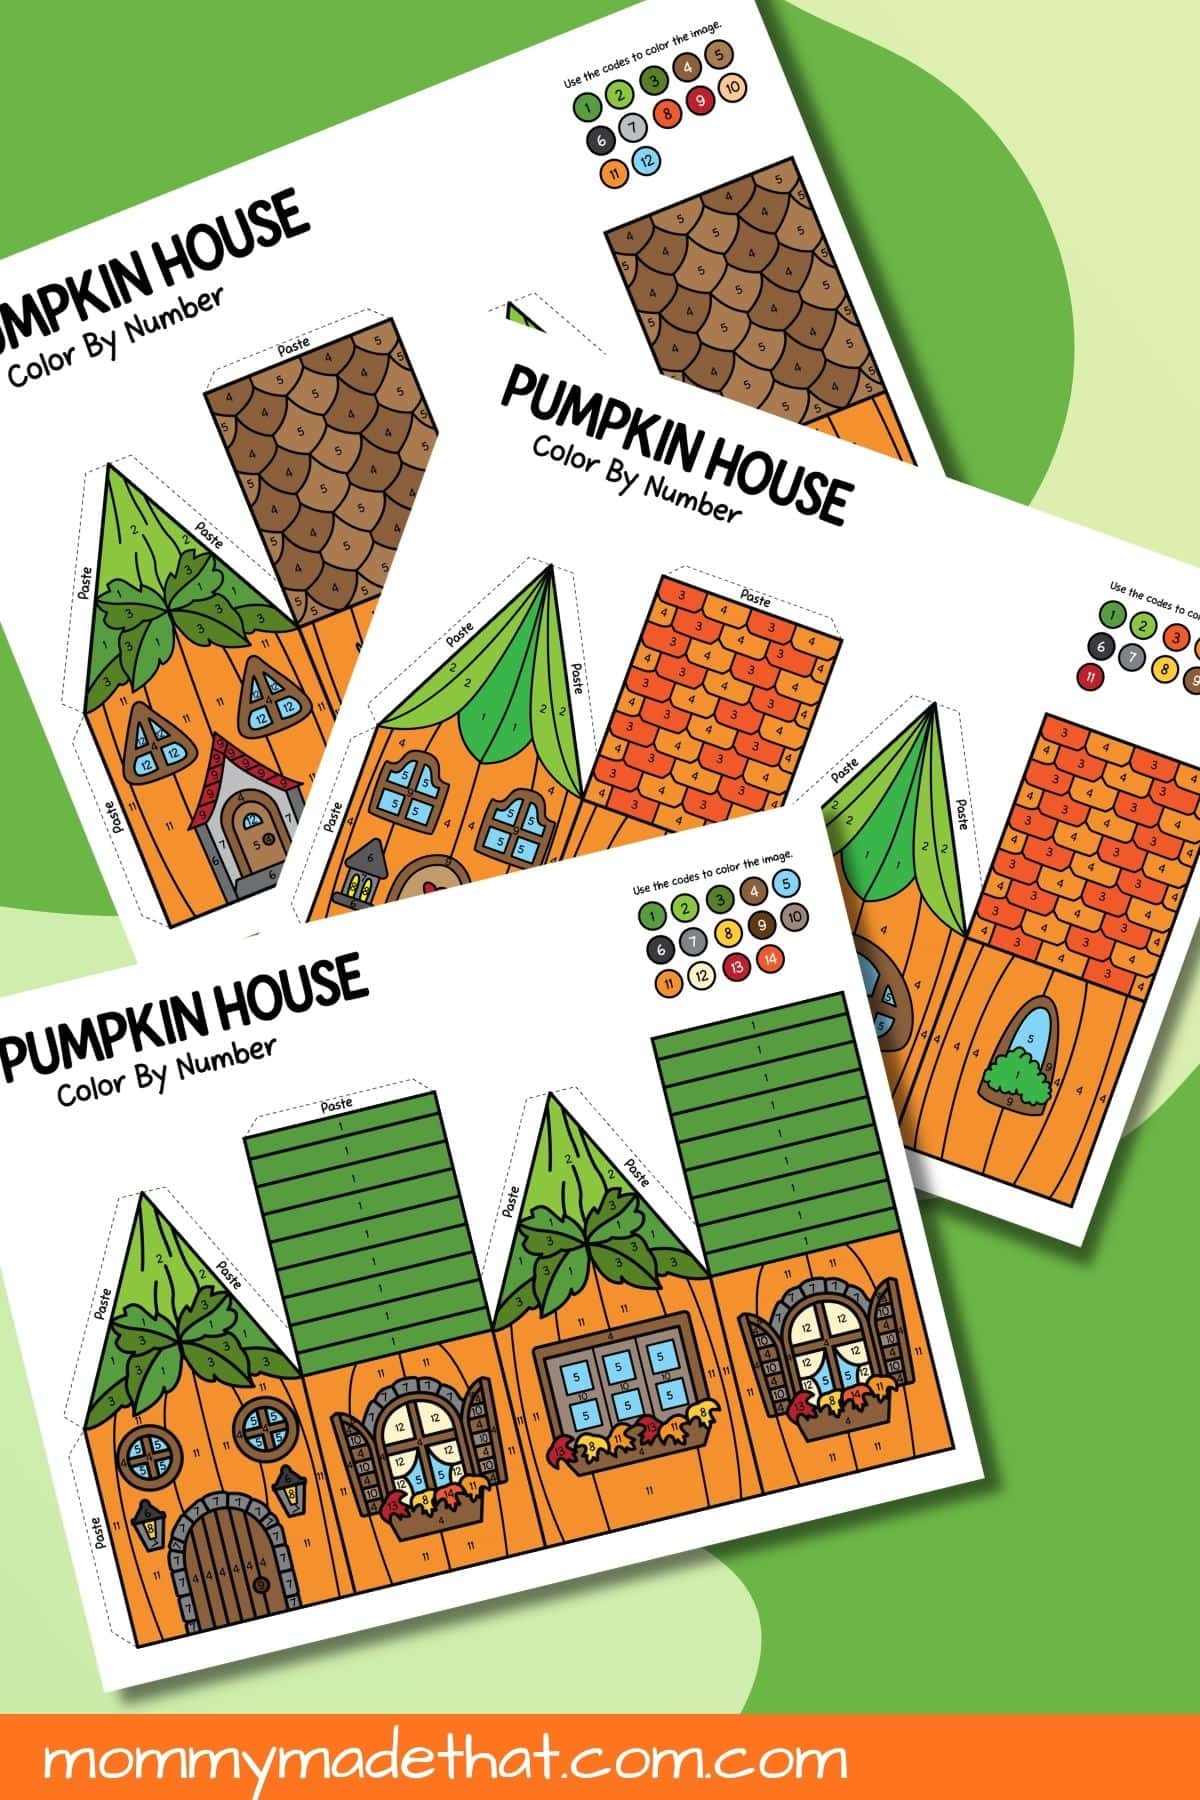
Three Little Houses to Make
- Leafy cottage with flower boxes: The first house has a plank-style roof, round front windows, lanterns, and flower-filled window boxes. The colored version has an orange body and a green roof.
- Mushroom cottage: The second design has a scalloped roof, triangular windows, and mushrooms around the walls. Its colored version combines orange walls with a brown roof.
- Heart-door cottage: The third house has an oval front door with a heart, a lantern, window planters, and a shingle-style roof. The colored version has orange walls and an orange-and-red roof.
These little cottages fit a fall theme without needing spooky decorations. For a separate Halloween building project, take a look at our Halloween paper village.
Materials
- The pumpkin house PDF and a printer.
- US Letter paper or light cardstock suitable for your printer.
- Colored pencils, crayons, or markers for the color-by-number pages.
- Scissors and a glue stick or a small amount of craft glue.
- A ruler to help make straight folds, if needed.
Colored pencils are handy for the small numbered spaces around the windows and roof. Light cardstock makes a sturdier display, while regular paper is easier for little hands to fold.
How to Make the 3D Pumpkin Houses
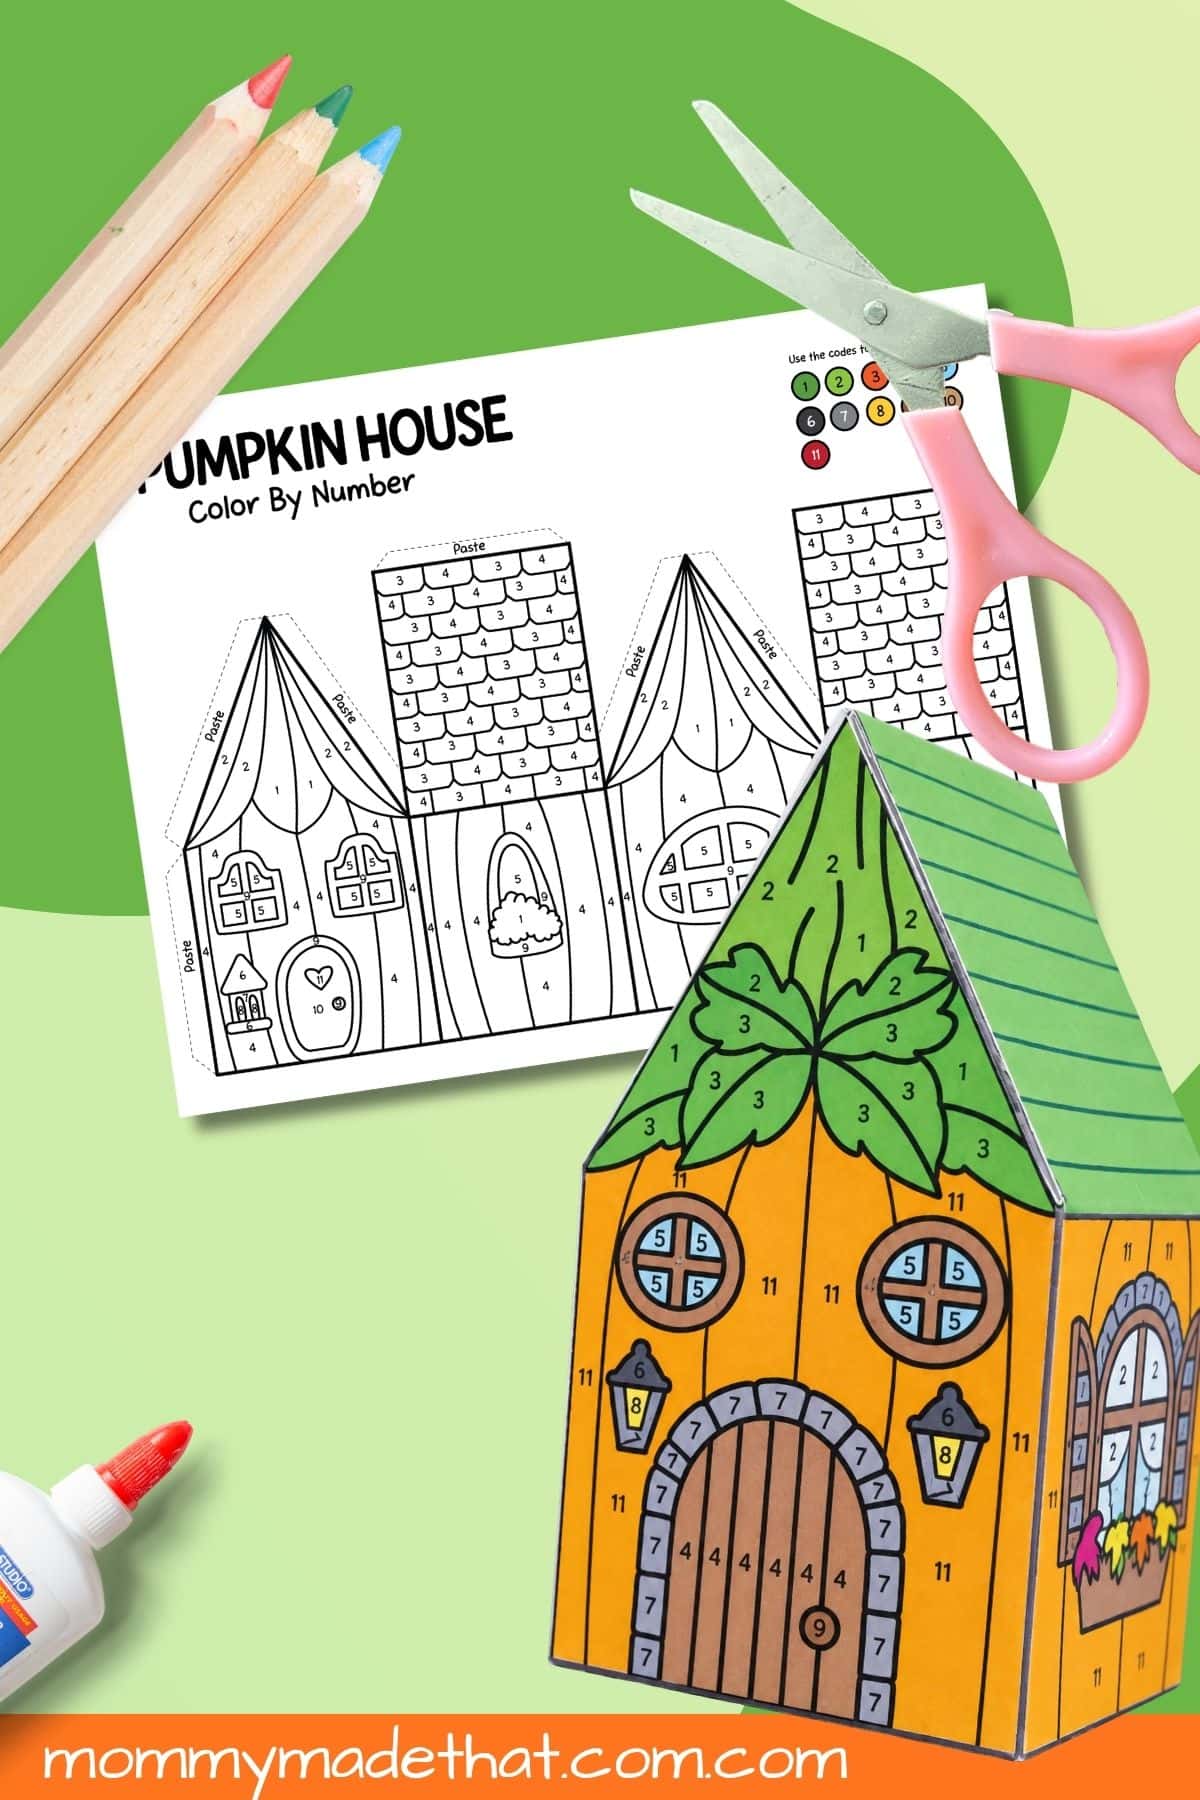
- Choose and print a template. Print in landscape orientation. Use the color setting even for the uncolored houses so children can see the colored key. Check the print preview to make sure the outer tabs are not clipped.
- Color the house while it is flat. Match each number to the key at the top of that page. The keys differ between designs, so check the current sheet before choosing a color. If you printed a colored version, move on to cutting.
- Cut around the outside. Keep the entire house template in one piece and leave all the “Paste” tabs attached. The windows, doors, roof patterns, and pumpkin lines are printed details; you don’t need to cut them out.
- Crease the walls, roof, and tabs. Fold where the four wall panels meet, where the rectangular roof sections meet the walls, and at the bases of the paste tabs. The decorated sides should face outward. Don’t fold every printed roof stripe or shingle line.
- Join the walls. Wrap the wall panels around to form the house. Glue the side tab behind the opposite wall edge and hold it until the seam stays closed.
- Close the roof. Fold the tabs along the sloping front and back edges inward. Bring the roof panels over them and glue in place. Join the two roof sections using the tab at the top of one panel. Press gently so the walls keep their shape.
- Let it dry and display. Stand the house on its lower wall edges. The template has an open bottom, so there is no separate floor piece to attach.
Tips for a Neater Paper House
Make all the creases before adding glue, and test how the edges meet first. Use a thin layer of adhesive on the tabs so they don’t become soggy. An adult can help hold the roof in place while younger children press the seams.
You can split the project into two sessions: coloring first, then cutting and building later. If you’re making several houses, keep each template with its own color key until the coloring is finished.
Fall Activity Ideas
- Create a pumpkin village. Arrange the houses on a large sheet of paper and draw paths, gardens, and a village square between them. Let children name the streets and decide where each house belongs.
- Tell a cottage story. Ask, “Who lives behind the heart-shaped door?” or “What does the mushroom cottage owner grow?” Children can tell their story aloud or write a few sentences beside the display.
- Practice number matching. Pick one number from the key and find its matching spaces across the template before coloring. Compare how the same number can represent different colors on different designs.
- Make a classroom neighborhood. Have each child build one house, then combine them into a fall display. Add paper name cards beside the houses so everyone can find their creation.
For more projects to fill your autumn craft table, browse our pumpkin crafts for kids and fall craft ideas.
Grab the Printable
Grab the 3D printable pumpkin houses here!
Open the free PDF using the link above, then download it from Google Drive and print the house templates you want to make.