Laurel Burch Cat Craft (Free Printable Art Activity)
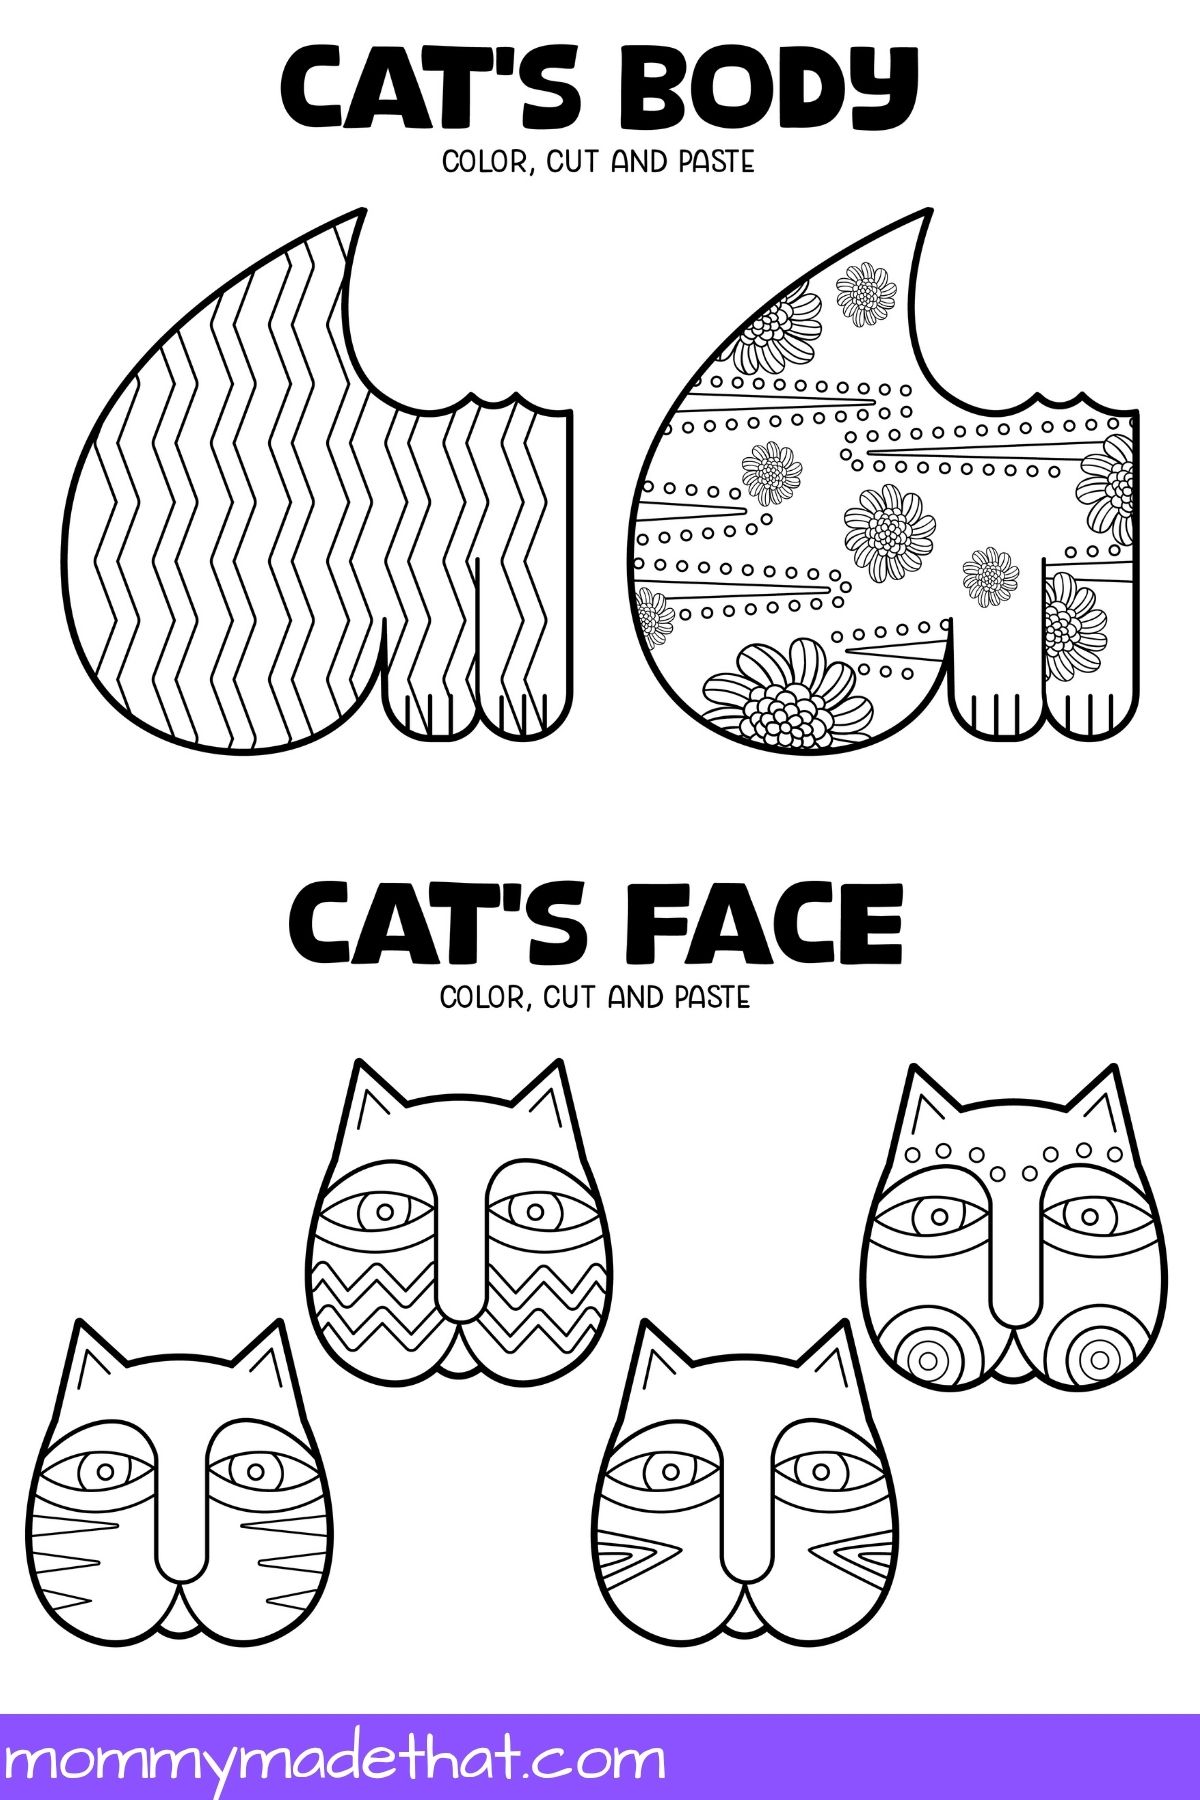
A purple face, a flower-covered body, and a bright pink curling tail? This Laurel Burch cat craft gives kids room to play with color while building a paper cat from three printable pieces. Choose a face, body, and tail, then color, cut, and glue them together.
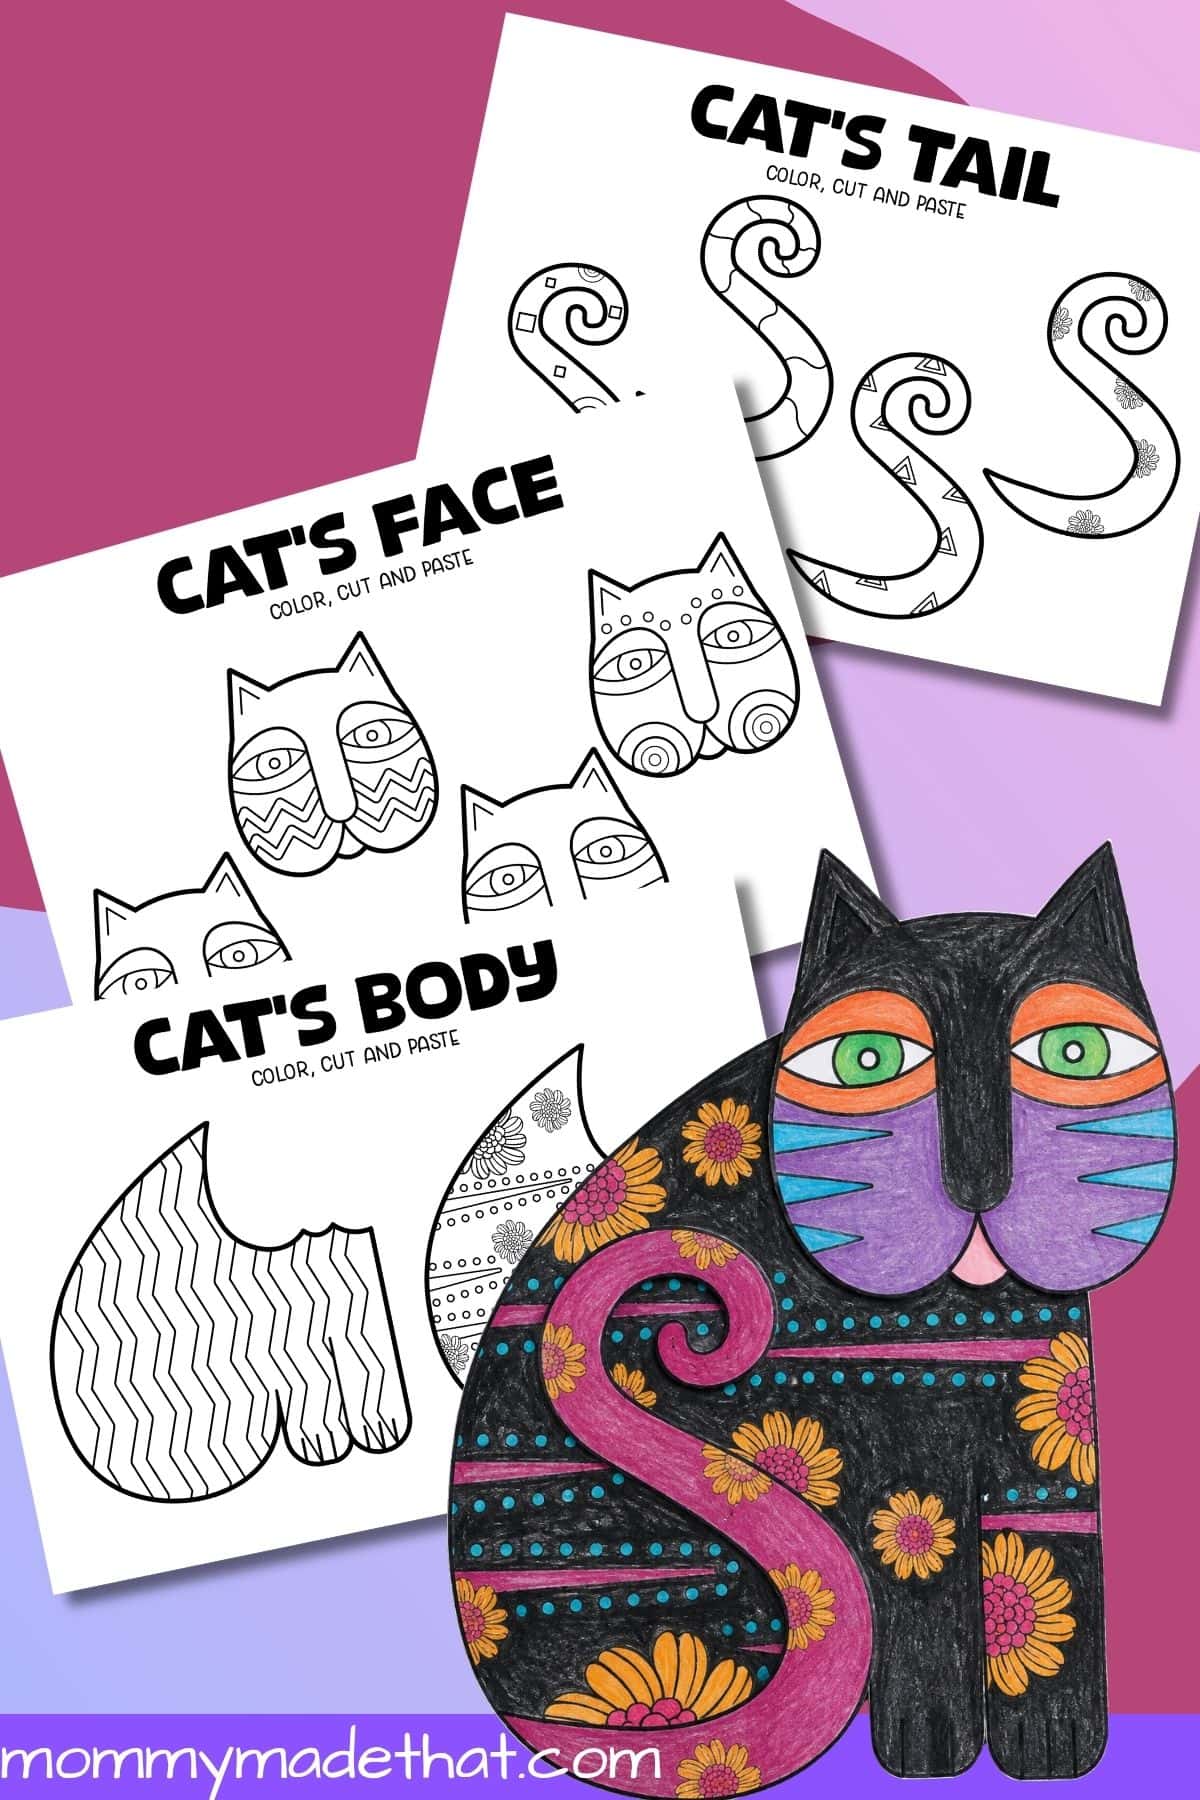
The patterned templates provide a starting point without deciding every detail for your child. One cat might have rainbow stripes and green eyes; another might combine blue triangles with an orange tail. It is a colorful printable art activity for a homeschool lesson, classroom art table, or an afternoon of making.
Planning a few artist-inspired activities? Our printable Frida Kahlo art project is another project to explore alongside this one.
An Art Activity Inspired by Laurel Burch
Laurel Burch was an American artist and designer. This cat activity is inspired by her decorative approach to animal imagery, with an emphasis on expressive faces, bold color choices, and patterns.
Before starting, look at a few examples of her cat artwork together. Ask children what they notice about the eyes, outlines, and colors. Then invite them to make their own choices on the printable: the goal is to explore ideas through a cat design, rather than match the display example exactly.
Why You’ll Love This Cat Craft
- Mix-and-match pieces: Children choose a body, face, and tail from eight options for each part.
- Lots of pattern practice: The designs include zigzags, circles, triangles, flowers, diamonds, and curved lines.
- A manageable assembly: Each finished cat uses just three main pieces, leaving plenty of time for coloring.
- Different results from the same printable: A shared classroom template can still produce a whole gallery of individual cats.
What’s Included in the Printable?
The download is an eight-page, black-and-white PDF. All pages are landscape A4, and the templates are arranged as follows:
- Four body pages: Two patterned bodies per page, for eight body choices.
- Two face pages: Four faces per page, for eight face choices.
- Two tail pages: Four curled tails per page, for eight tail choices.
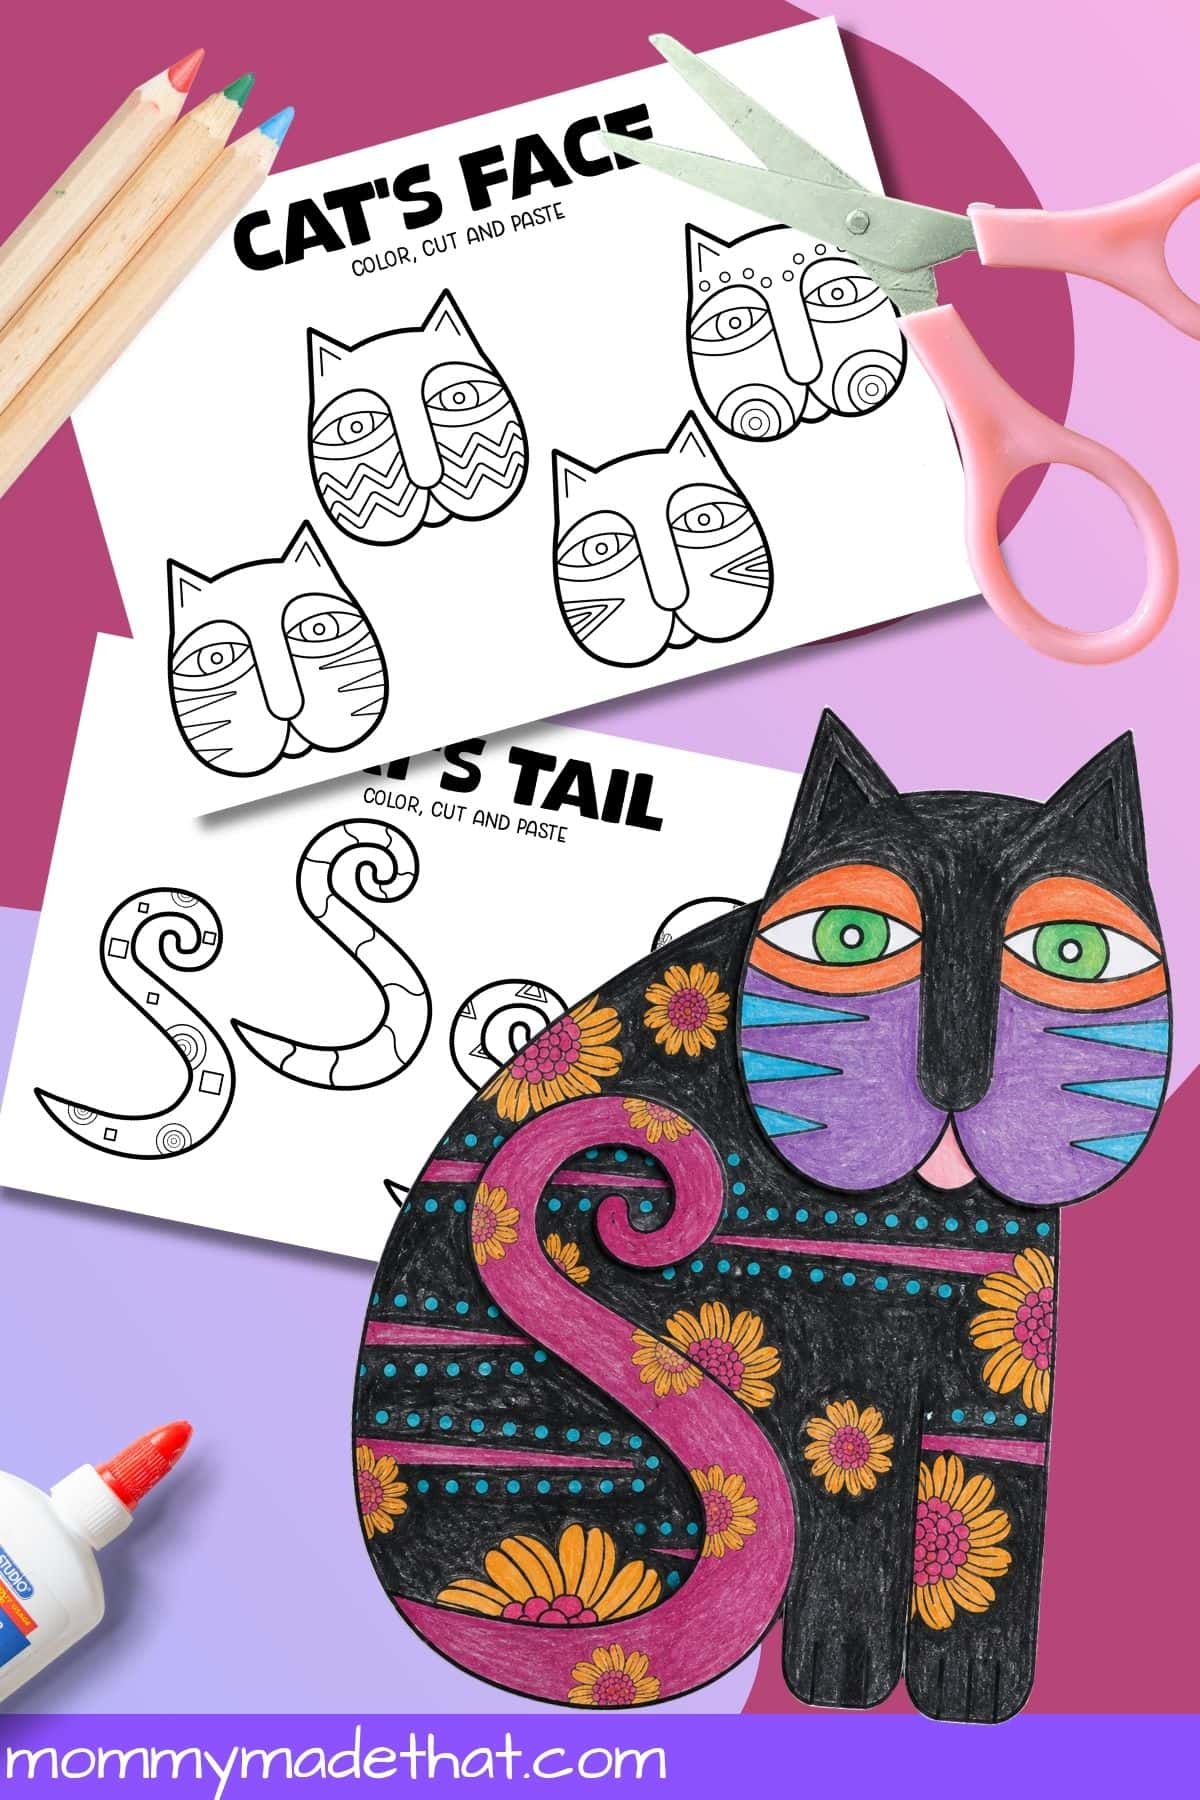
That gives you 24 separate pieces to choose from. Select one of each type to make a cat. The colored cat in the display pictures shows one way to decorate and assemble the shapes; the PDF itself contains outline templates for children to color.
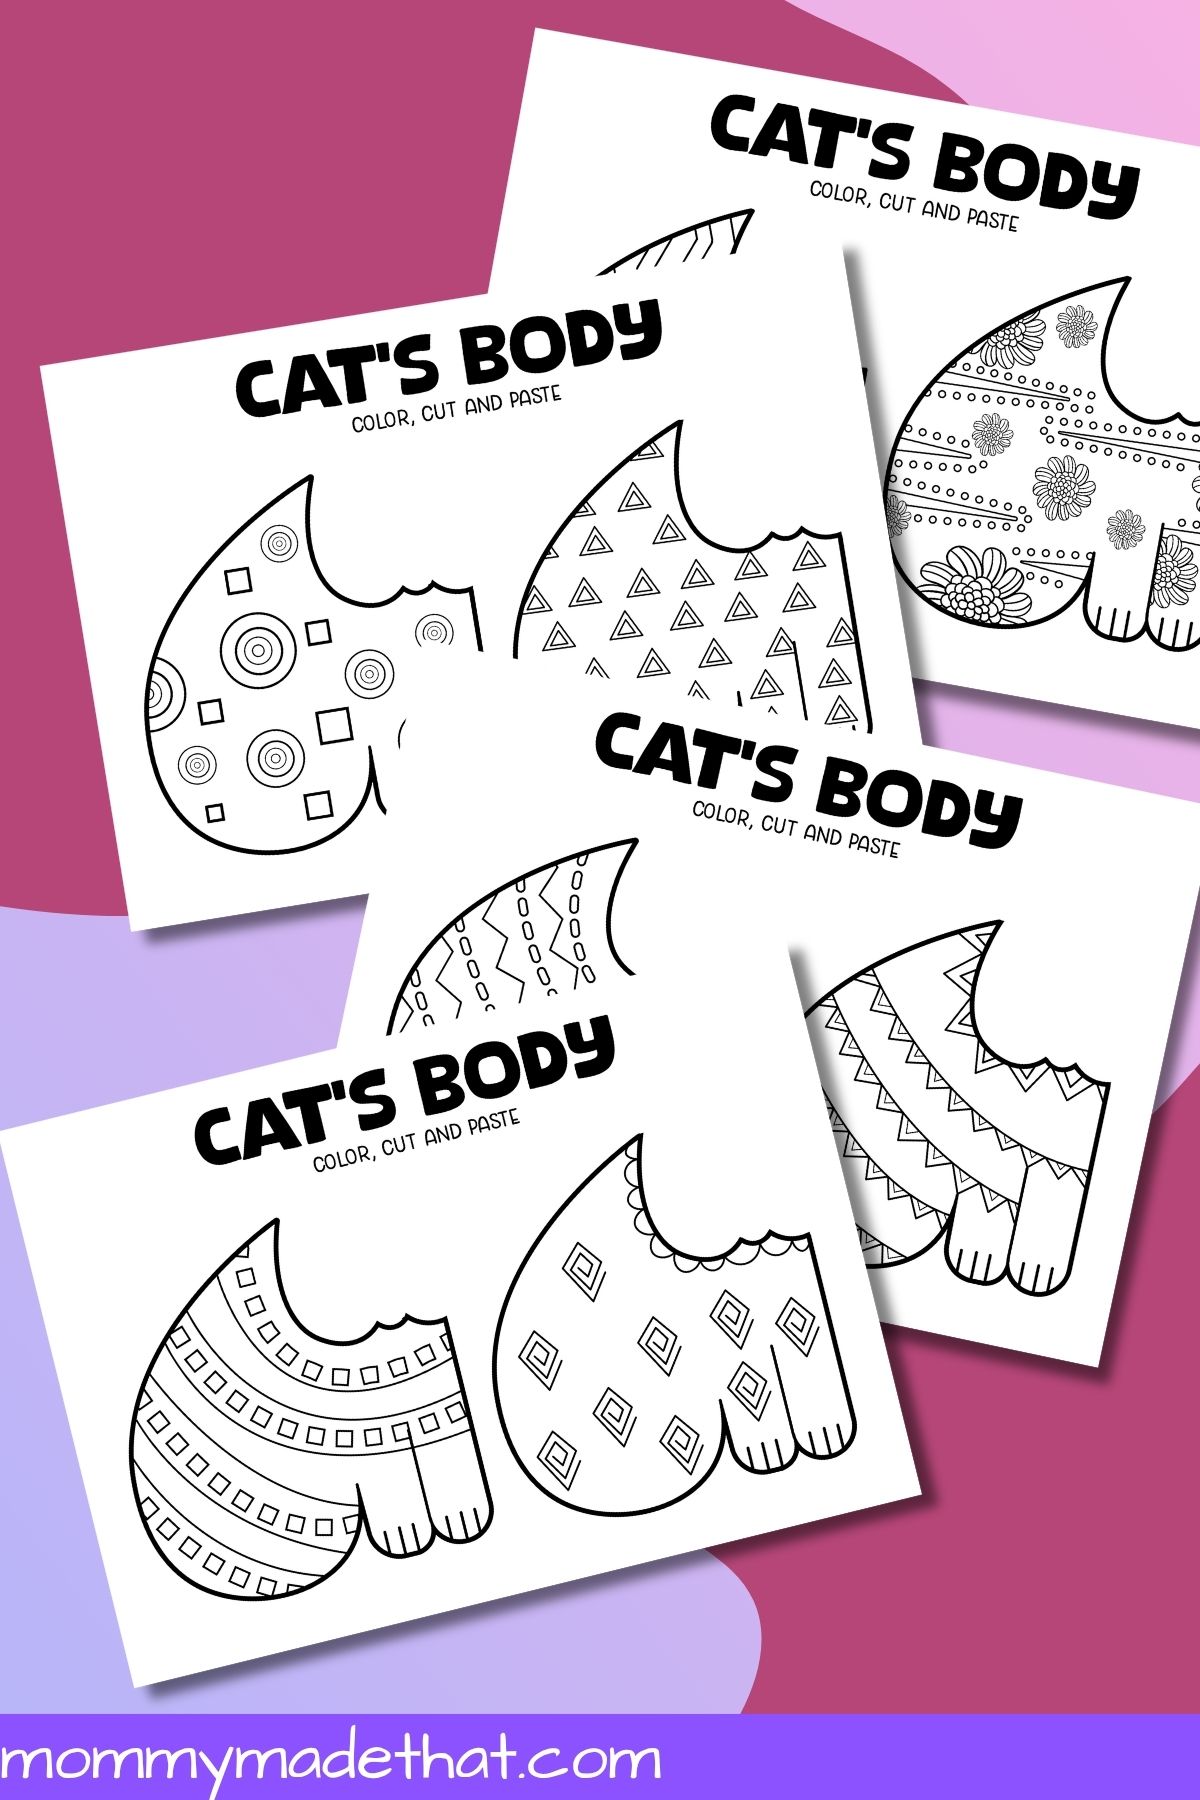
You do not need to print the entire pack for one child. Preview the pages, choose a body, face, and tail, and print the pages containing those pieces. For a group, lay out the choices so children can plan their combinations.
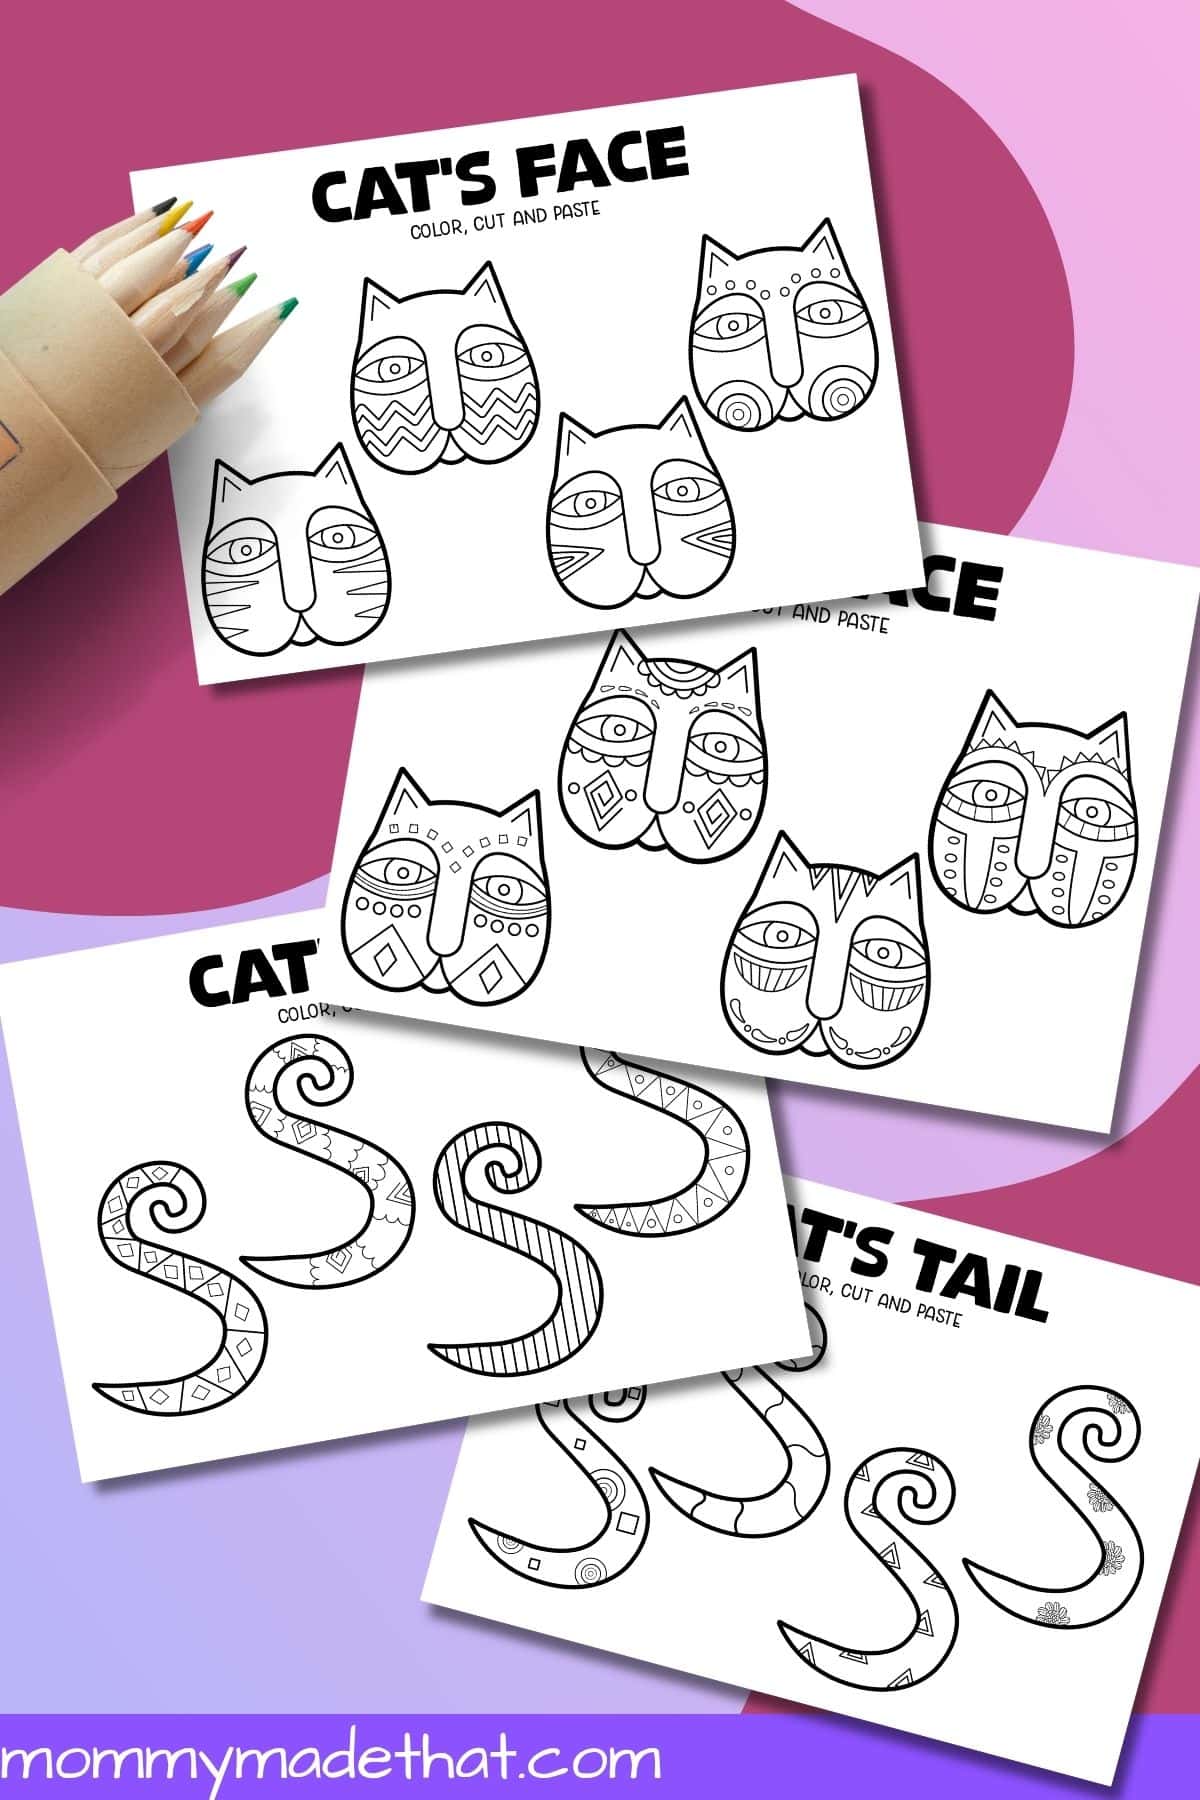
Materials
- The Laurel Burch-inspired cat printable
- White printer paper or lightweight cardstock that your printer supports
- Colored pencils, crayons, or markers
- Scissors
- A glue stick
- Optional construction paper for a background
Colored pencils work well for the small flowers, circles, and face details. Crayons are useful for filling larger sections, while markers give stronger blocks of color. Keep a spare sheet underneath if using markers.
How to Make the Laurel Burch Cat Craft
- Pick three pieces. Choose one body, one face, and one tail. Place the uncut pages together so your child can see how the patterns might work as a set.
- Plan a few colors. Try three or four favorite colors, repeating them across the different pieces. There is no need to use realistic fur colors.
- Color before cutting. Decorate the patterns while the paper is still easy to hold. Leave the printed eyes, nose, and pattern lines visible as you color around them.
- Cut out the shapes. Follow the outside outline of each piece. Keep the body and its legs together, and leave the facial features attached to the head. The spiral tail is a single piece; its curl needs careful cutting.
- Arrange the cat. Overlap the face onto the top of the body, above the front legs. Try the tail across the rounded side of the body, as shown in the example, and adjust it until you like the arrangement.
- Glue and display. Apply glue where the pieces overlap and press gently. Let the cat dry flat, then mount it on a background sheet if you want a sturdier picture.
Color and Pattern Ideas
Choose a repeated accent. Use one color in the eyes, some body details, and part of the tail. This helps connect the three pieces even when their printed patterns are different.
Try light against dark. The display example uses bright flowers and dots against a dark body. Children can also try the reverse: a pale body with deep blue stripes or purple triangles. Color the small details first, then fill the spaces around them.
Make a pattern rule. Alternate two colors in a row of triangles, or repeat a three-color sequence across the dots. Ask your child which color comes next and how they know.
If the flower-patterned body sparks an interest in floral art, try our Georgia O’Keeffe flower art project for a different way to explore flowers and color.
Tips for Cutting and Assembly
The face and tail have tighter curves than the body. An adult can help with the tail curl while a younger child handles the broader body outline. Turn the paper gradually as you cut, and leave a small white border if cutting directly on the line is frustrating.
Keep each child’s three pieces on a tray or backing sheet. Before gluing, check that the head overlaps the body enough to hold and that the tail does not hide a favorite section of the pattern. A light layer of glue helps the paper stay flat.
Turn It Into a Mini Art Lesson
Ask children to find one curved line, one straight line, and one repeated shape in their cat. Compare two finished cats and talk about how the same outline can feel different when the colors change.
For a classroom gallery, invite each child to give their cat a title and finish this sentence: “I repeated ___ because ___.” Display the cats together so children can notice each other’s color and pattern decisions.
You can follow the art session with a wearable cat project using our cat crown printable. For a quieter coloring extension during an artist study, set out our Frida Kahlo coloring pages.
Printing Tips
The PDF is designed for A4 paper in landscape orientation. If you use US Letter paper, select “Fit” or “Fit to printable area” and check the preview for clipped edges before printing. Use the same scale setting for the body, face, and tail pages so the pieces stay in proportion.
Print in black and white on plain paper for coloring. Lightweight cardstock can help an unmounted cat hold its shape, but regular paper is easier for many children to cut. Print one test set before preparing a whole class’s copies.
Grab the Printable
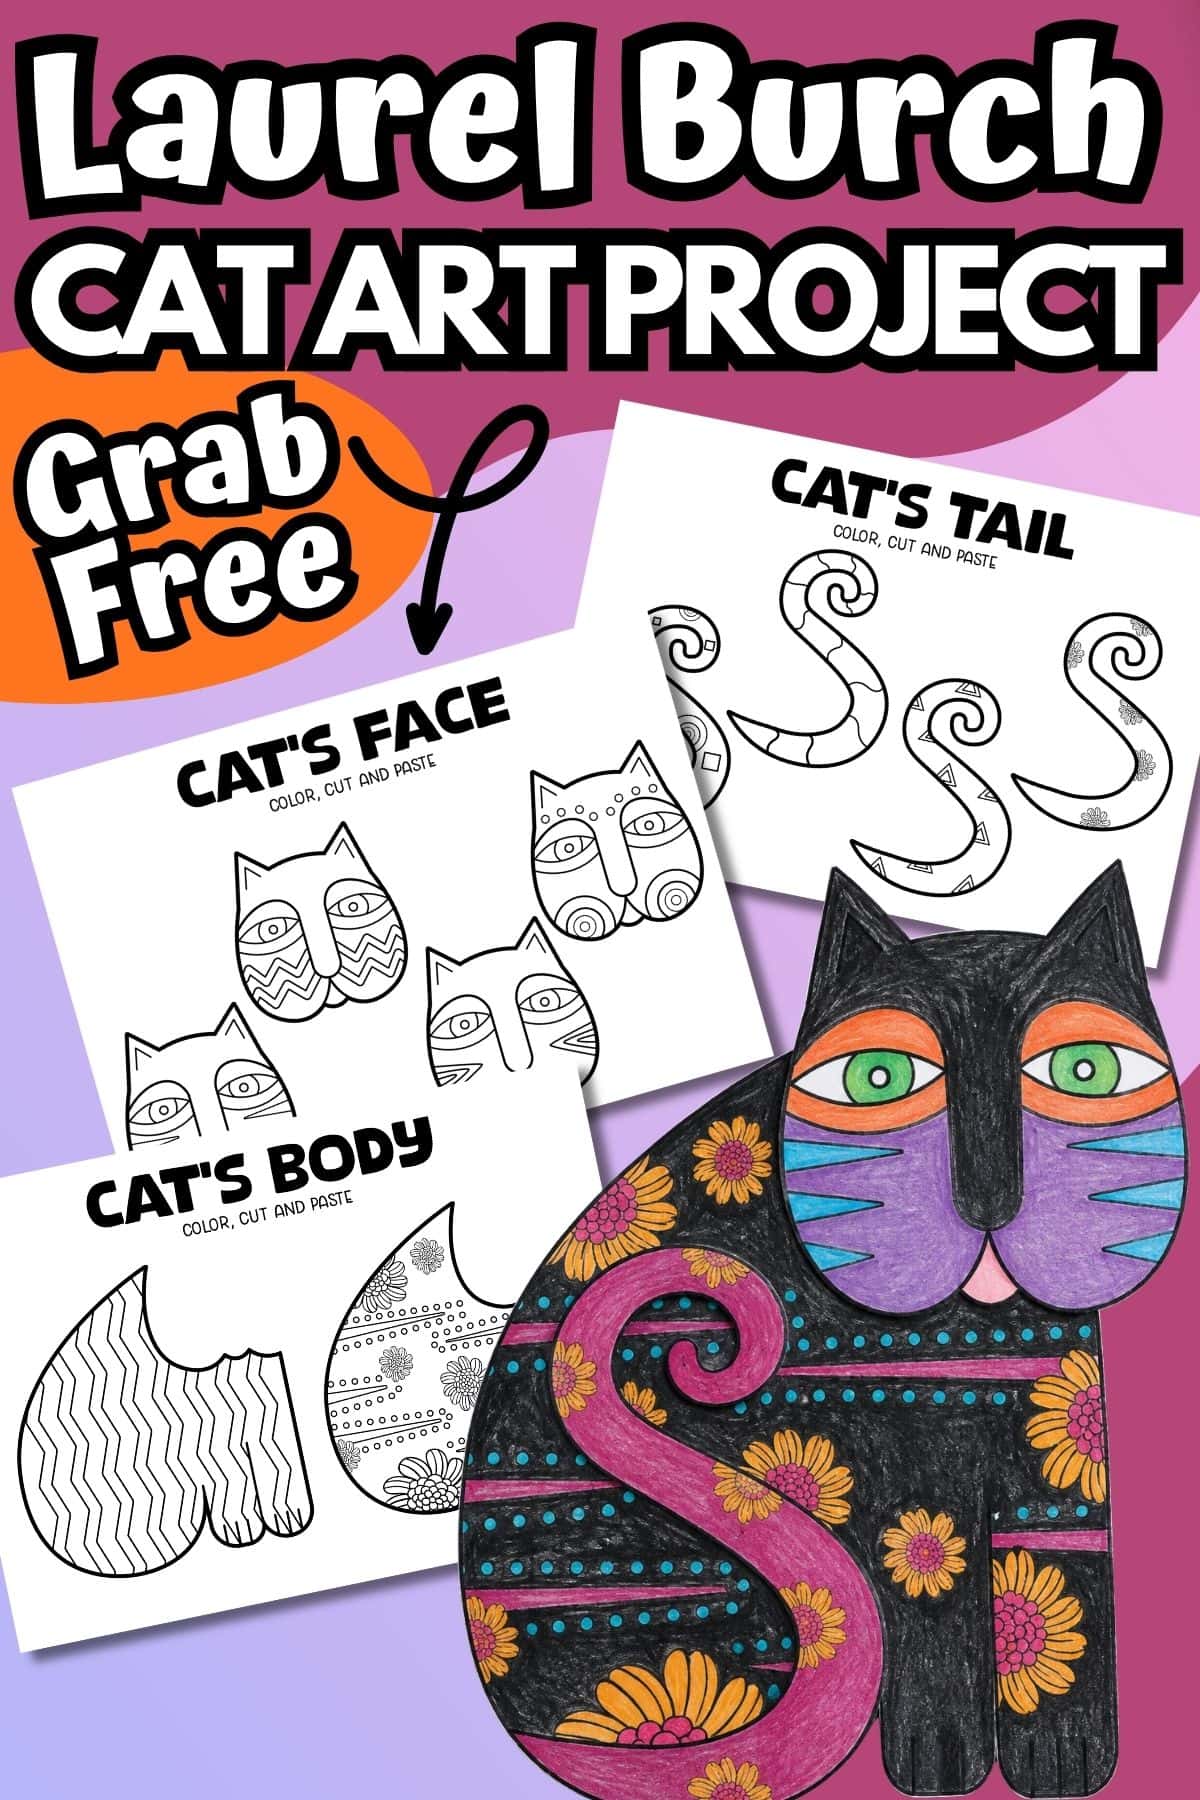
Grab the Laurel Burch cat craft printable here!
Put your name and email in the pink box below, and we’ll send the free printable straight to your inbox.
Subscribe to our newsletter and get these printables sent straight to your inbox! Already a subscriber? Don’t worry you won’t be subscribed twice but it will send this printable straight to your inbox!
(We will never share or sell your personal information. Read more on our privacy policy.) We will use the information below to send you our newsletter with latest posts and special offers.