Handprint Christmas Tree Craft for Kids
Today we are making this adorable Handprint Christmas Tree. It’s almost Christmas time and this fun, hands-on activity is one kids will have fun making, with just a little bit of help from an adult.
With the Christmas seasoning happening now, it’s time to start having fun with all the Christmas crafts!
We love making Christmas crafts for Kids because it’s fun to be creative this time of year!
And we have lots of fun ideas for Christmas tree crafts. It’s easy to make memories when you have options like making this cute pipe cleaner Christmas tree or whipping up one of our printable Christmas trees.
When you’re looking for a fun craft for little learners to be a part of, anything that they can literally use their hands with is going to be an awesome idea.
Handprint crafts are an instant favorite amongst younger kids. There is something just so satisfying to making handprint art for a child. It’s a great craft idea for kids.
All you need are a few simple craft supplies and about 10-15 minutes of time to make it! So let’s get started!
Materials
For this Christmas craft you’ll only need a couple of materials you probably already have on hand.
Colored craft papers – We used green and yellow and various colors for the ornaments on the tree.
Alternatively, you could use white paper and make handprints using green paint and a paint brush.
Pencil – To trace the hands.
You’ll also need to have simple supplies like:
- Craft glue
- Scissors
Instructions
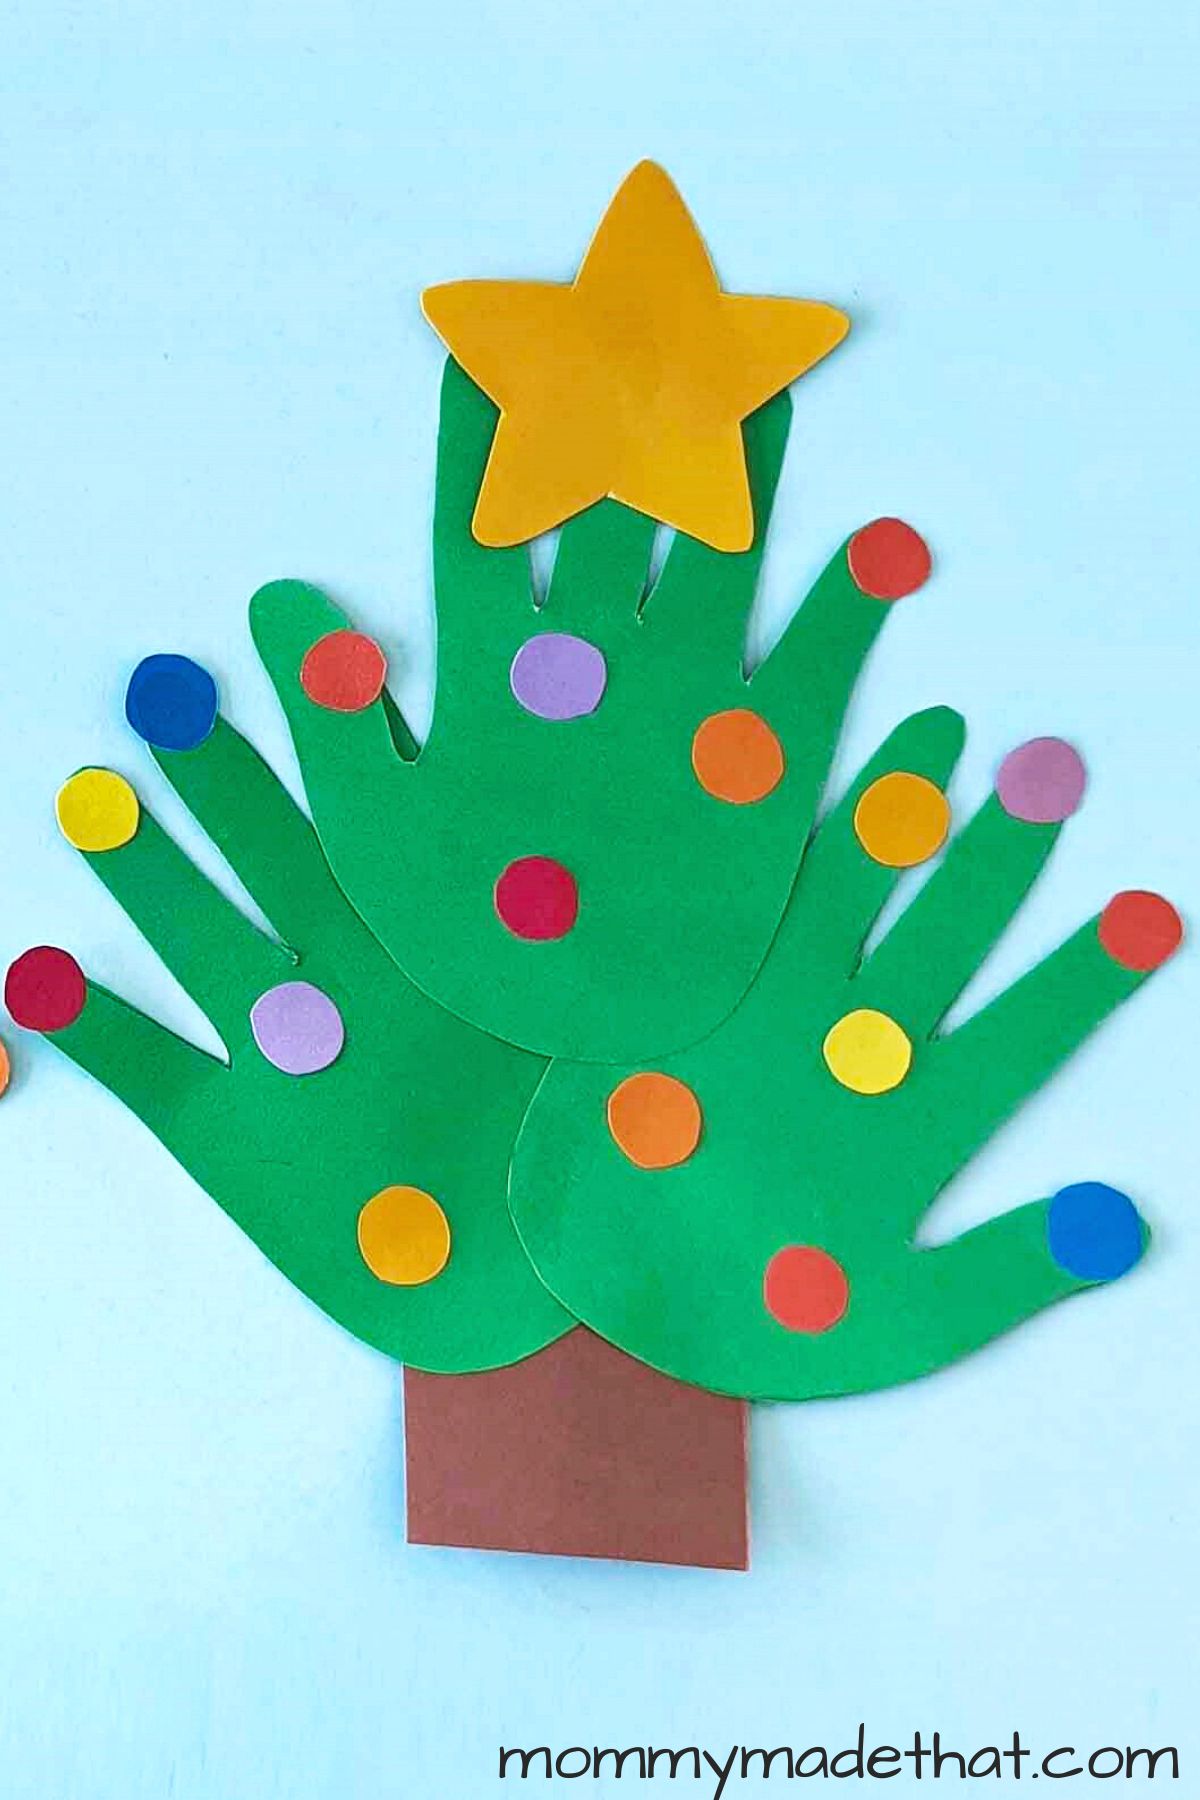
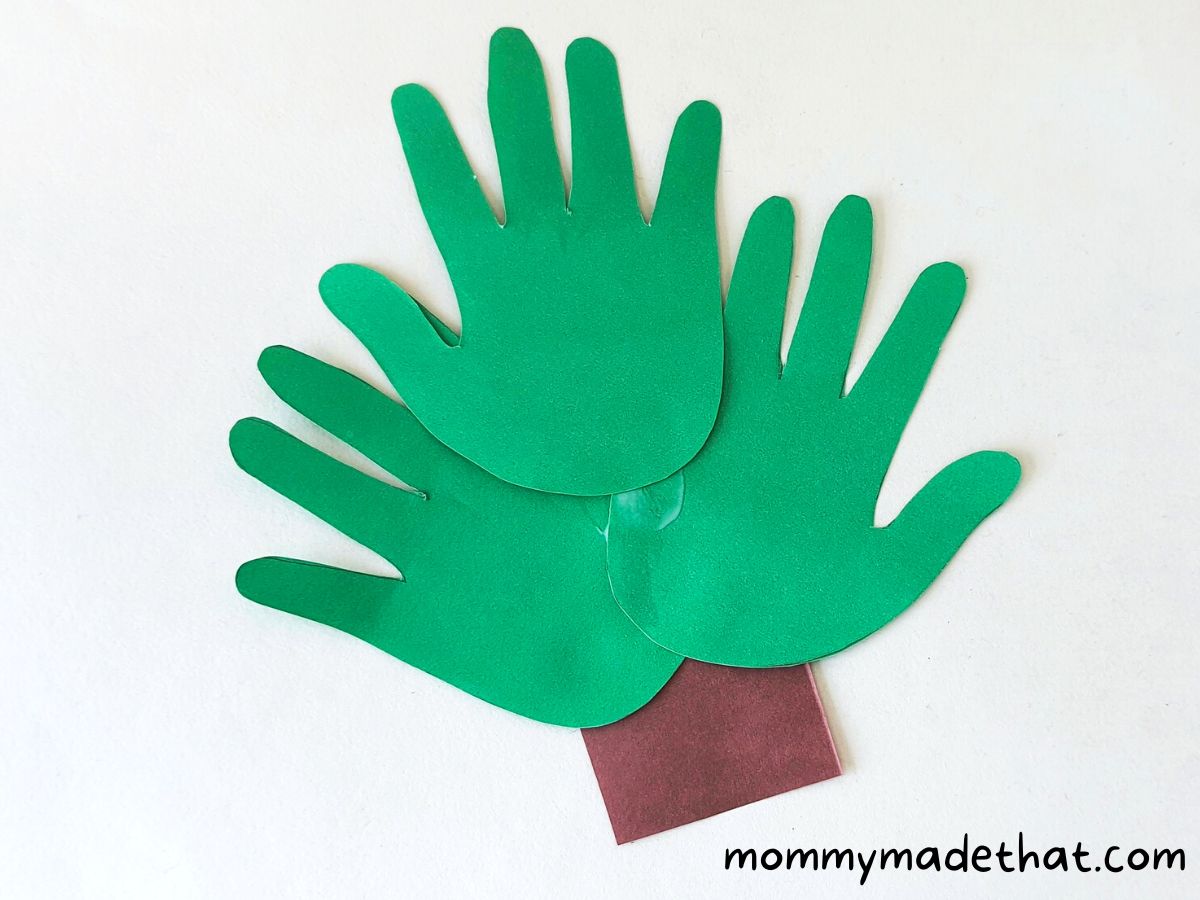
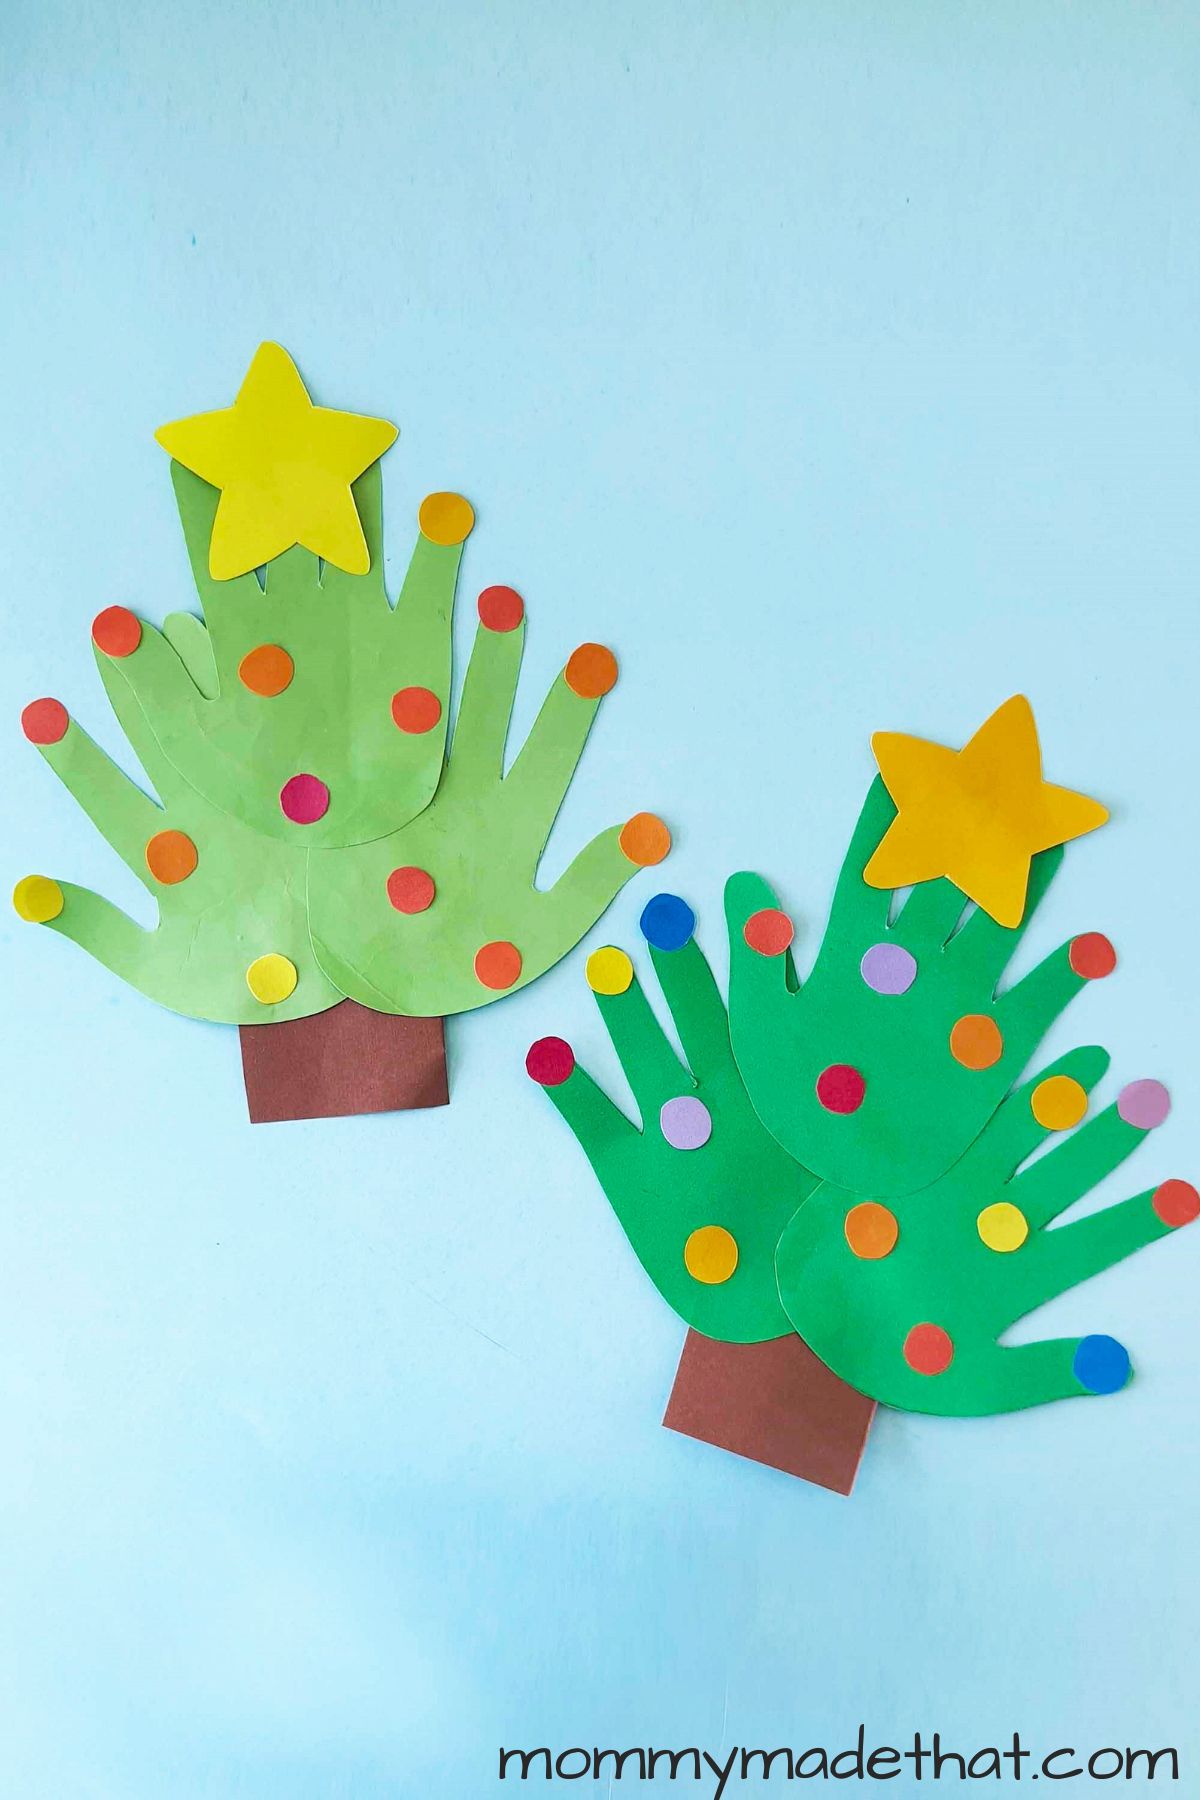
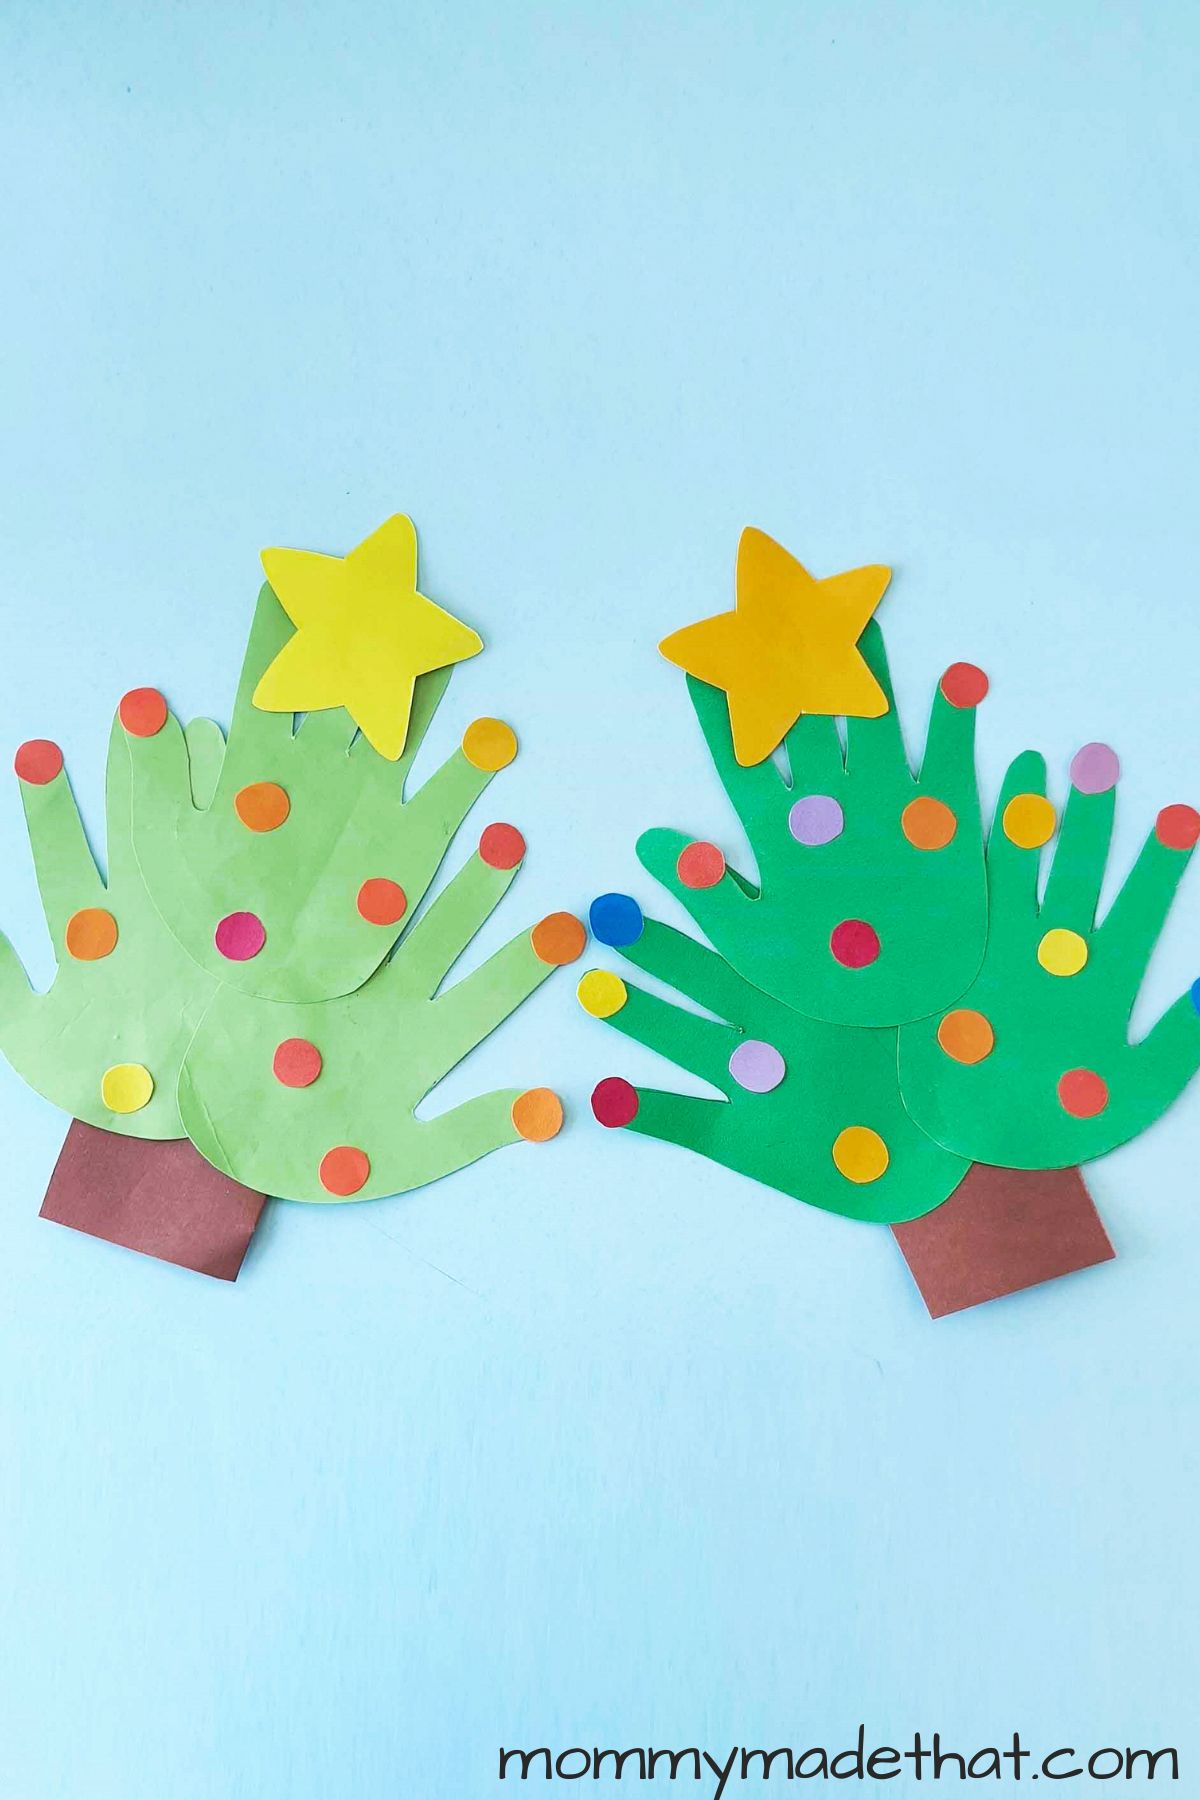
To get started, pick out the color of the construction paper. We choose two different colors of green, but let the kids pick any color that they’d like.
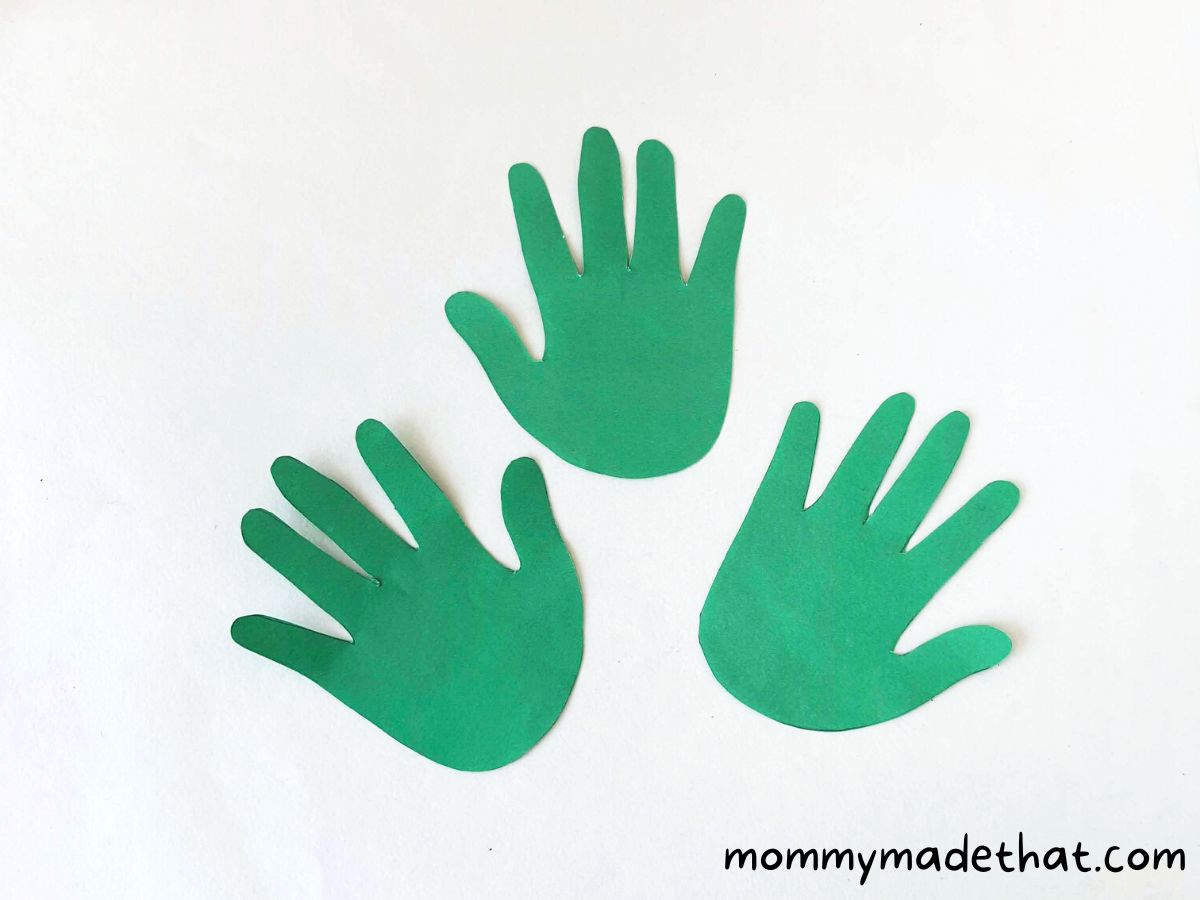
Choose various colors for the star and ornaments. Then, trace the child’s hand and cut out three handprints on the craft paper.
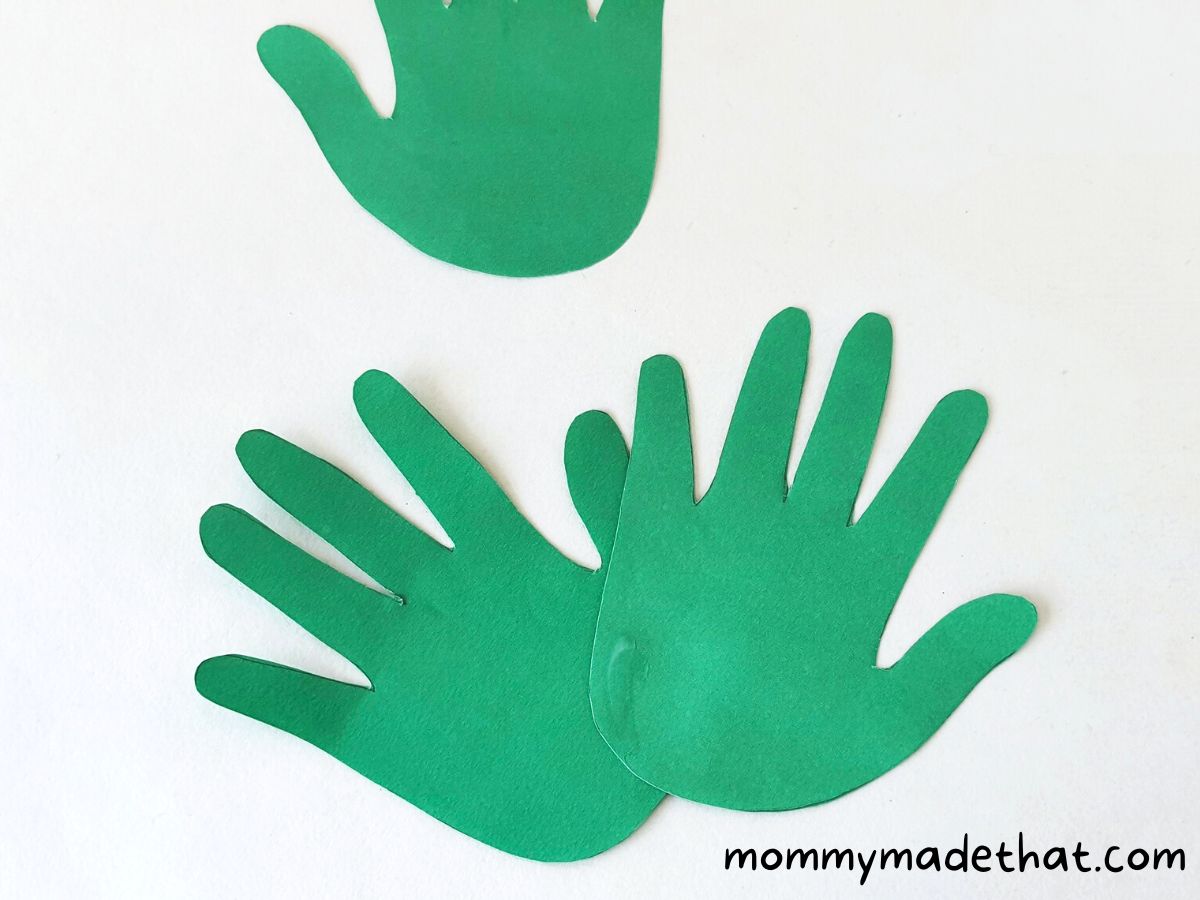
Glue two of the handprints side by side using craft glue. Let them dry.
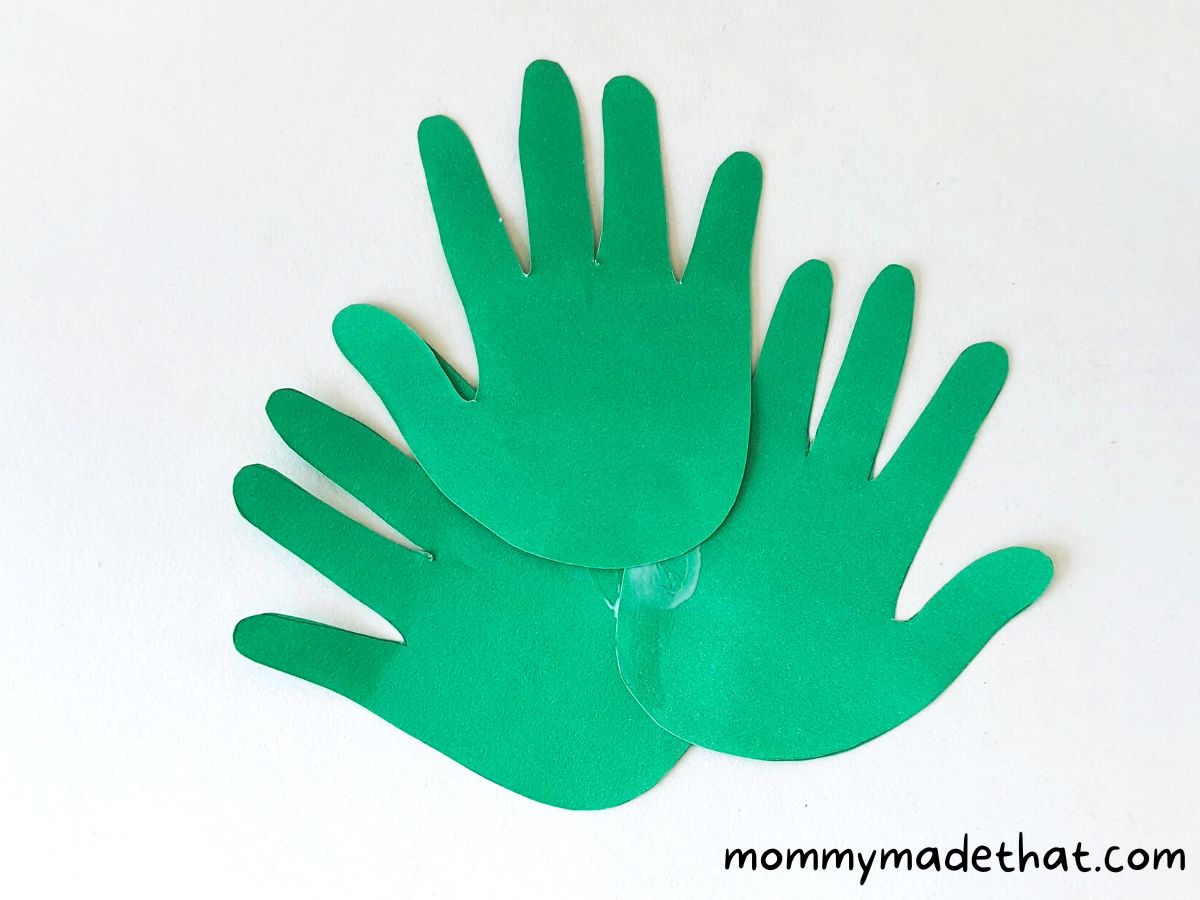
Grab the third handprint, and glue it on top of the other two, in the middle. Use craft glue to stick them together.
Cut out a small brown square to make the base of the Christmas tree. Glue it to the bottom side of the tree craft.
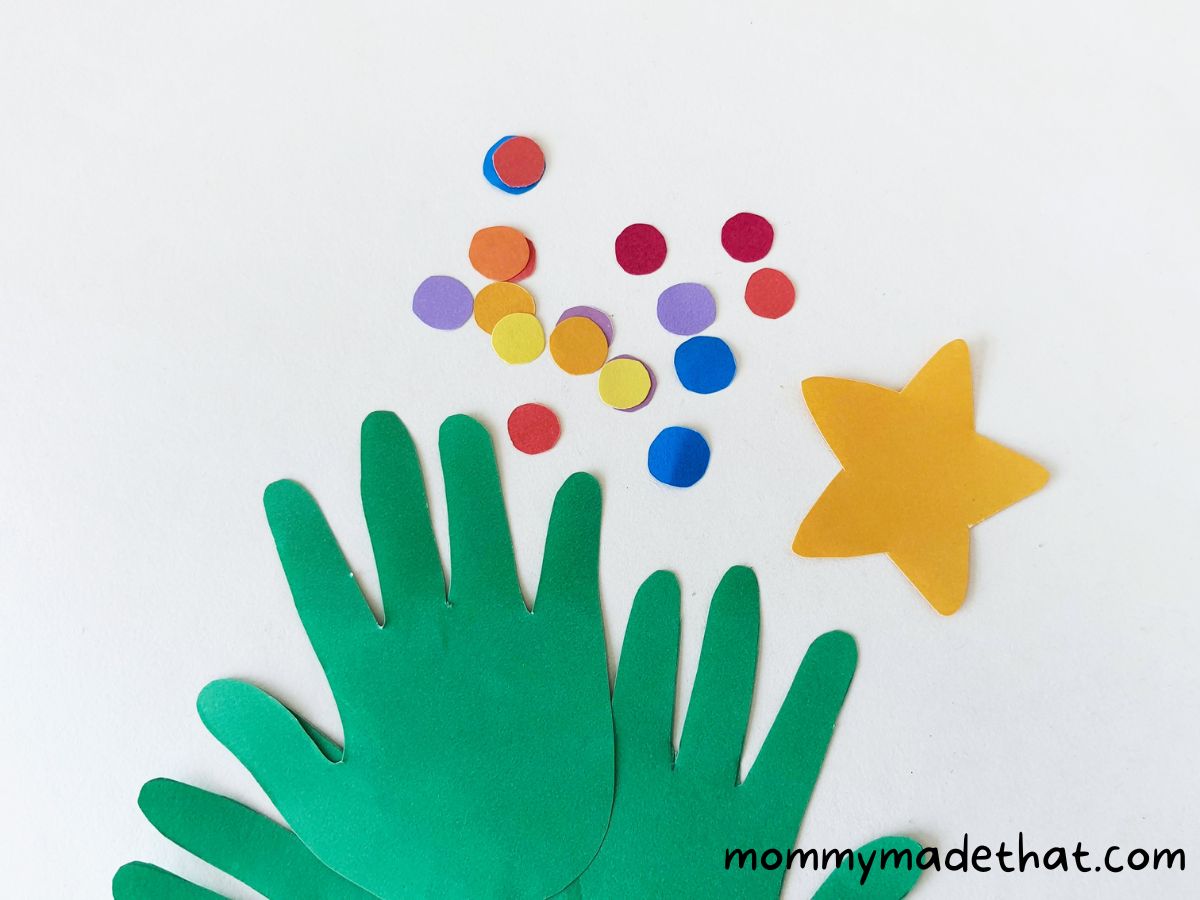
Trace and cut out a star and also round circles to make the ornaments. Use different colors.
Add dots of glue all over the handprint tree to mark the points to add the colorful round ornaments.
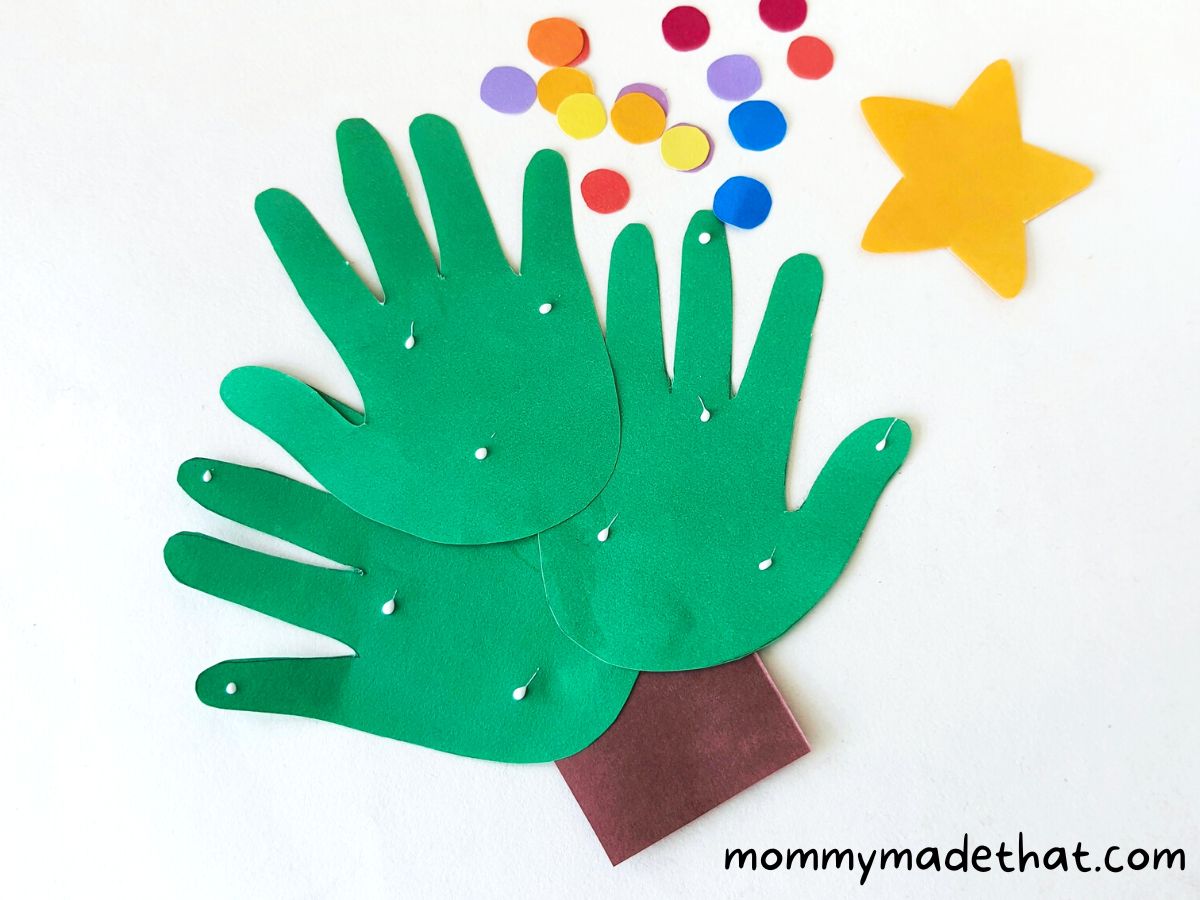
Add the round circles onto the dabs of glue one by one.
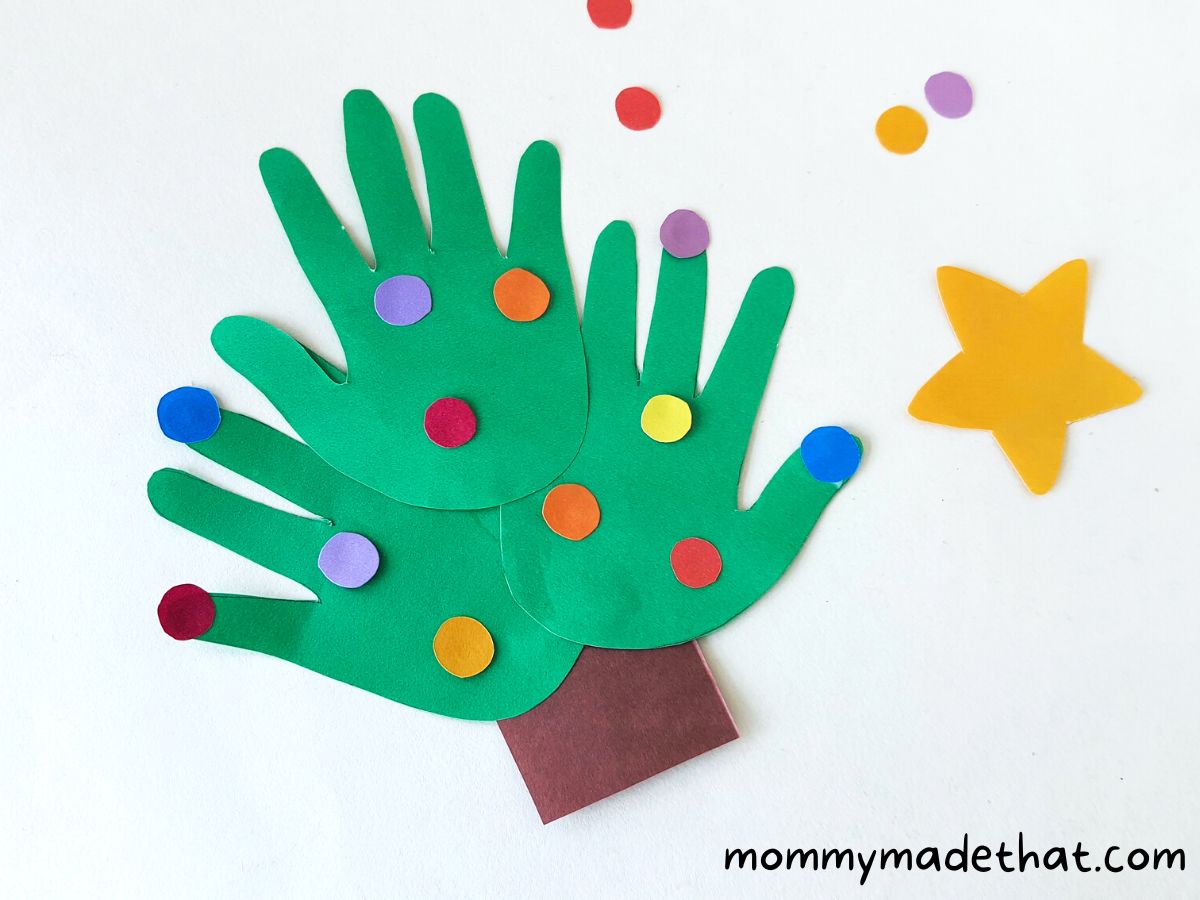
Glue the star cutout to the top of the tree. Let it dry – and you’re done!
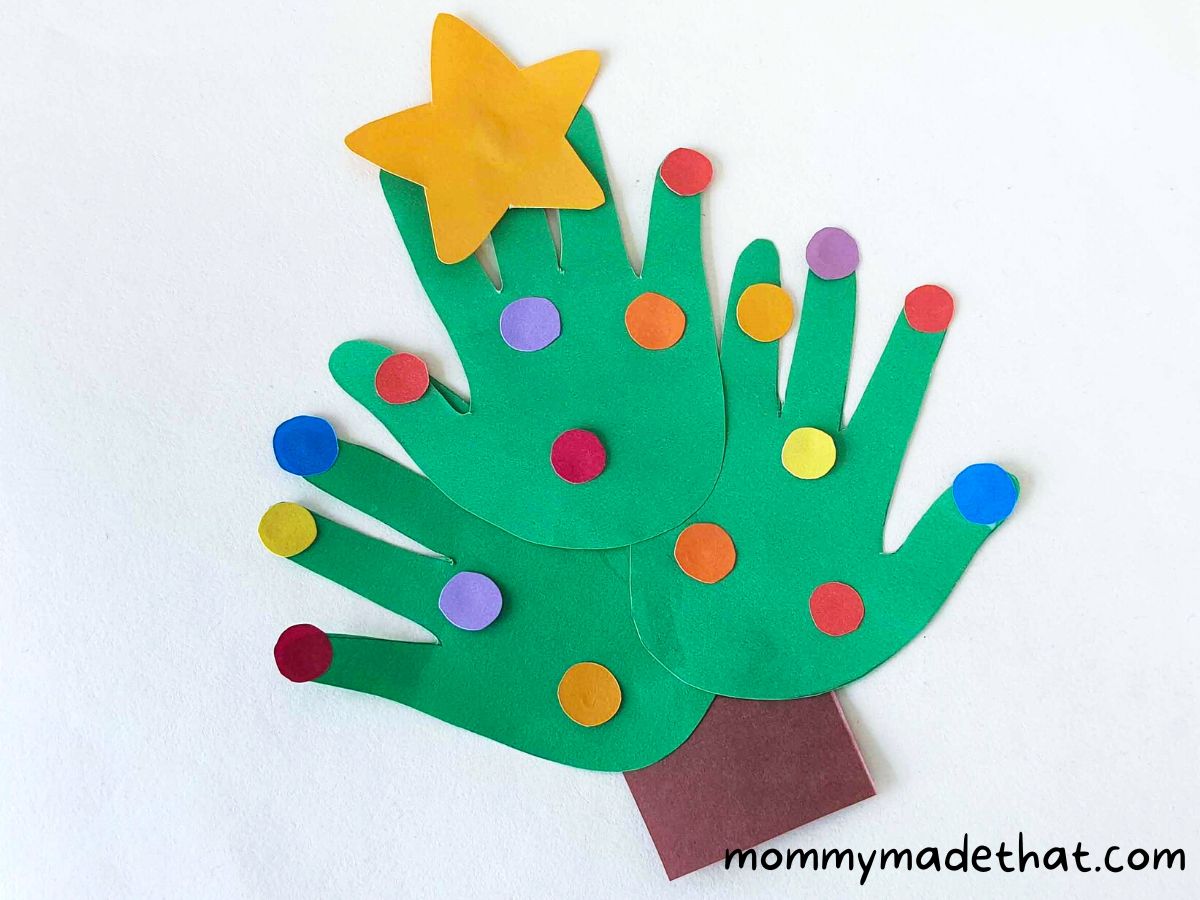
Aren’t they cute! This would an make adorable handprint Christmas tree ornament. They’ll be so proud of their beautiful tree.
It also makes the perfect gift for grandparents or if doing this in a daycare, it’s great for parents too.

Tips for Making This Christmas Tree Craft for Preschoolers
Don’t forget to let the kids have fun and be creative with this craft. While Christmas trees are typically green, they can use any color of construction paper they want.
It’s also fun to compare the sizes of the trees if more than one person is making them.
Adults can make this tree craft as well and have a bigger tree than the kids!
Use these as fun holiday decorations and hang up them on the fridge – or send them to family and friends as a super cute holiday card in the mail!

Handprint Christmas Tree Craft
This handprint craft is perfect for younger kids to join in on the crafting fun!
Materials
- Colored craft papers - We used green and yellow and various colors for the ornaments on the tree.
- Pencil – To trace the hands.
- Craft glue
- Scissors
Instructions
- Pick out the color of the construction paper. We choose two different colors of green, but let the kids pick any color that they'd like.
- Choose various colors for the star and ornaments. Then, trace the hands and cut out three handprints on the craft paper.
- Glue two of the handprints side by side using craft glue. Let them dry.
- Grab the third handprint, and glue it on top of the other two, in the middle. Use craft glue to stick them together.
- Cut out a small brown square to make the base of the Christmas tree. Glue it to the bottom side of the tree craft.
- Trace and cut out a star and also round circles to make the ornaments. Use different colors.
- Add dots of glue all over the handprint tree to mark the points to add the colorful round ornaments.
- Add the round circles onto the dabs of glue one by one.
- Glue the star cutout to the top of the tree. Let it dry - and you're done!