DIY Felt Lion Plush Craft (Free Felt Lion Pattern)
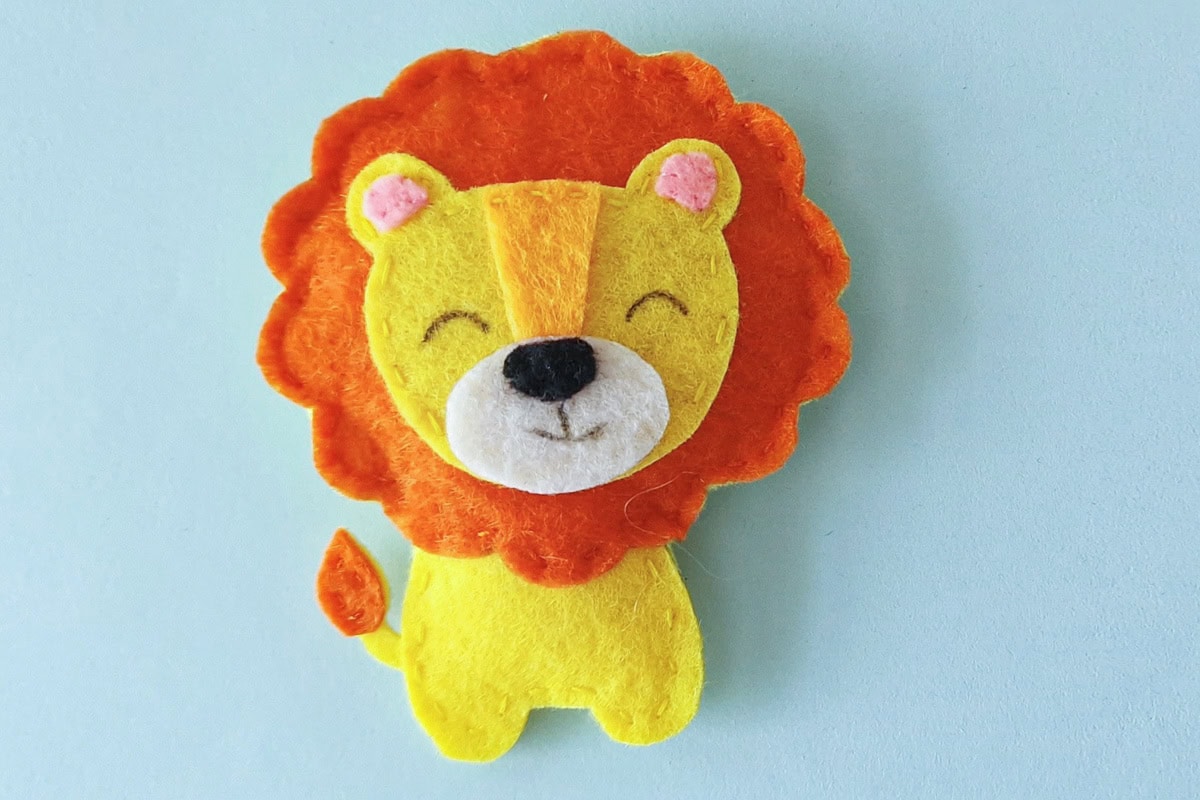
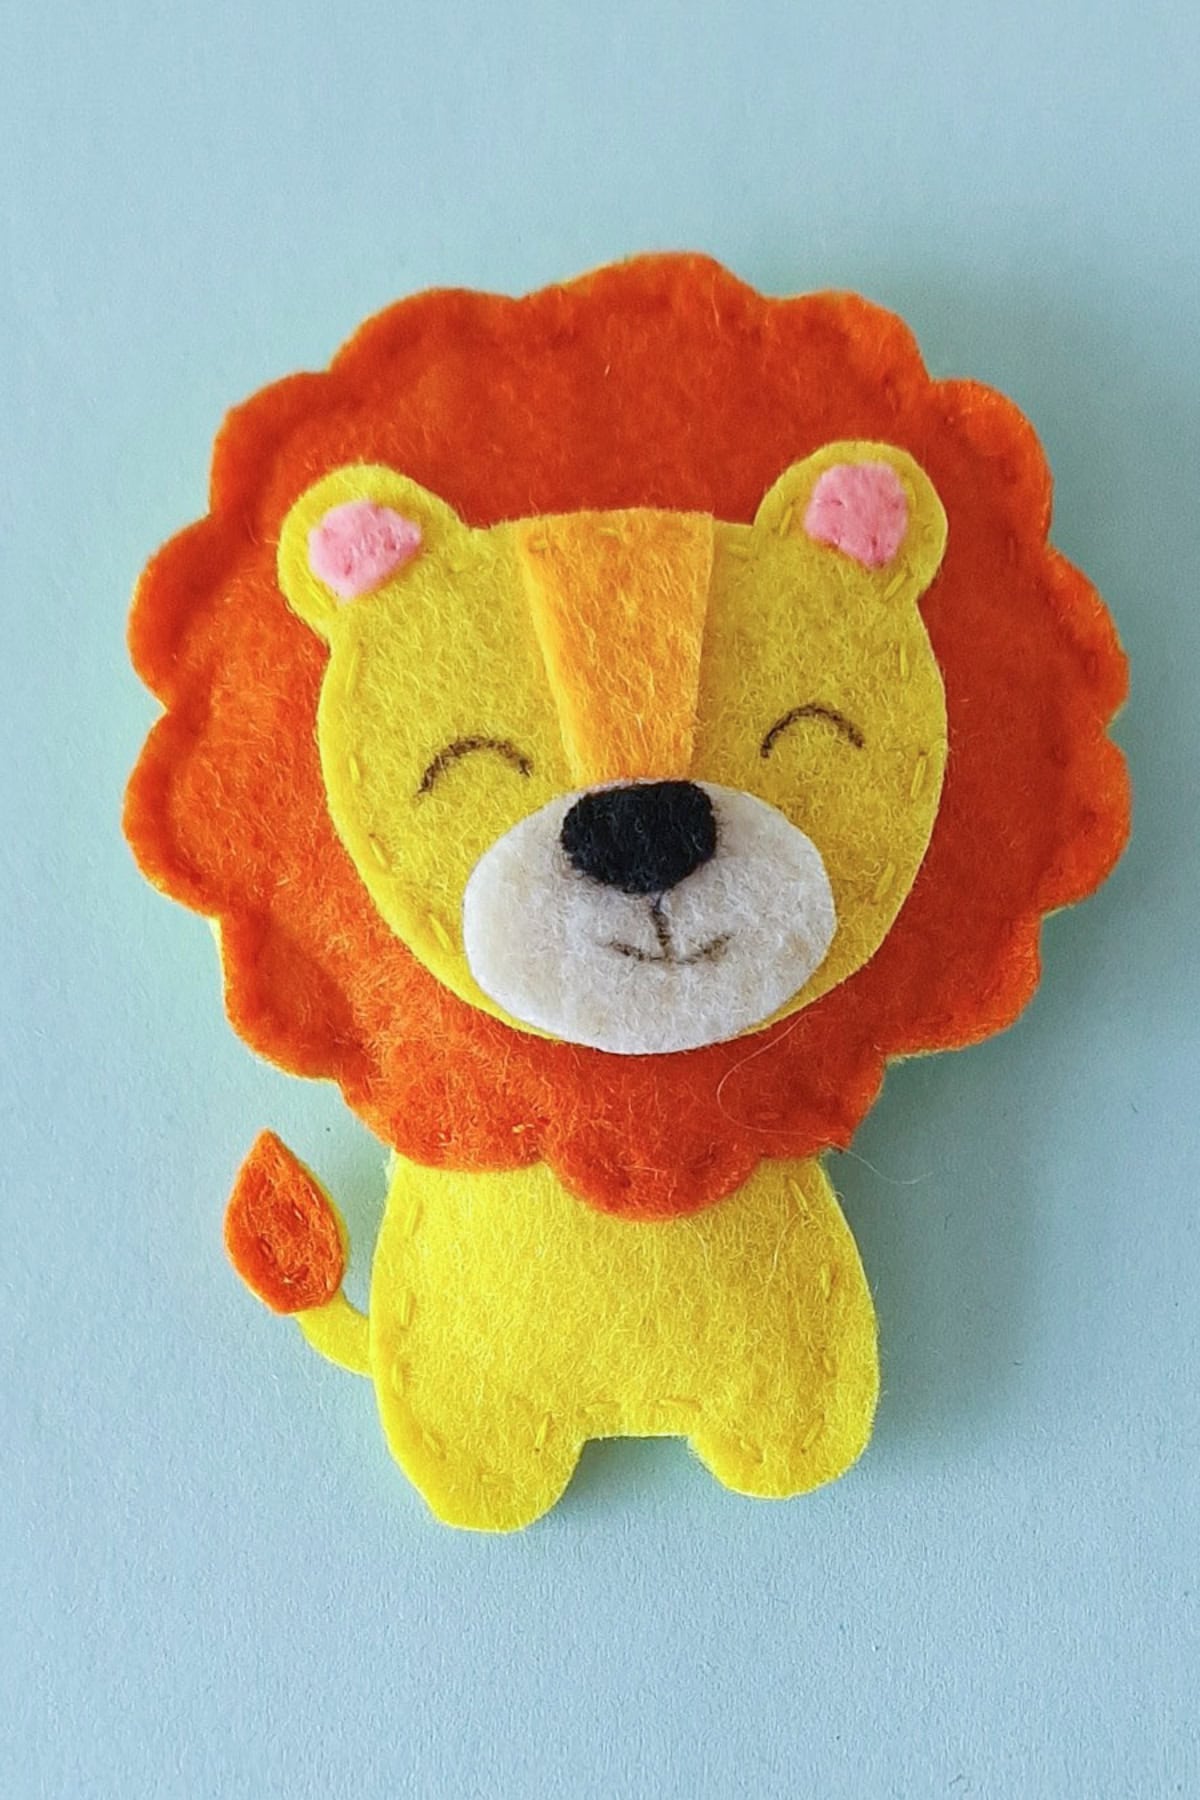
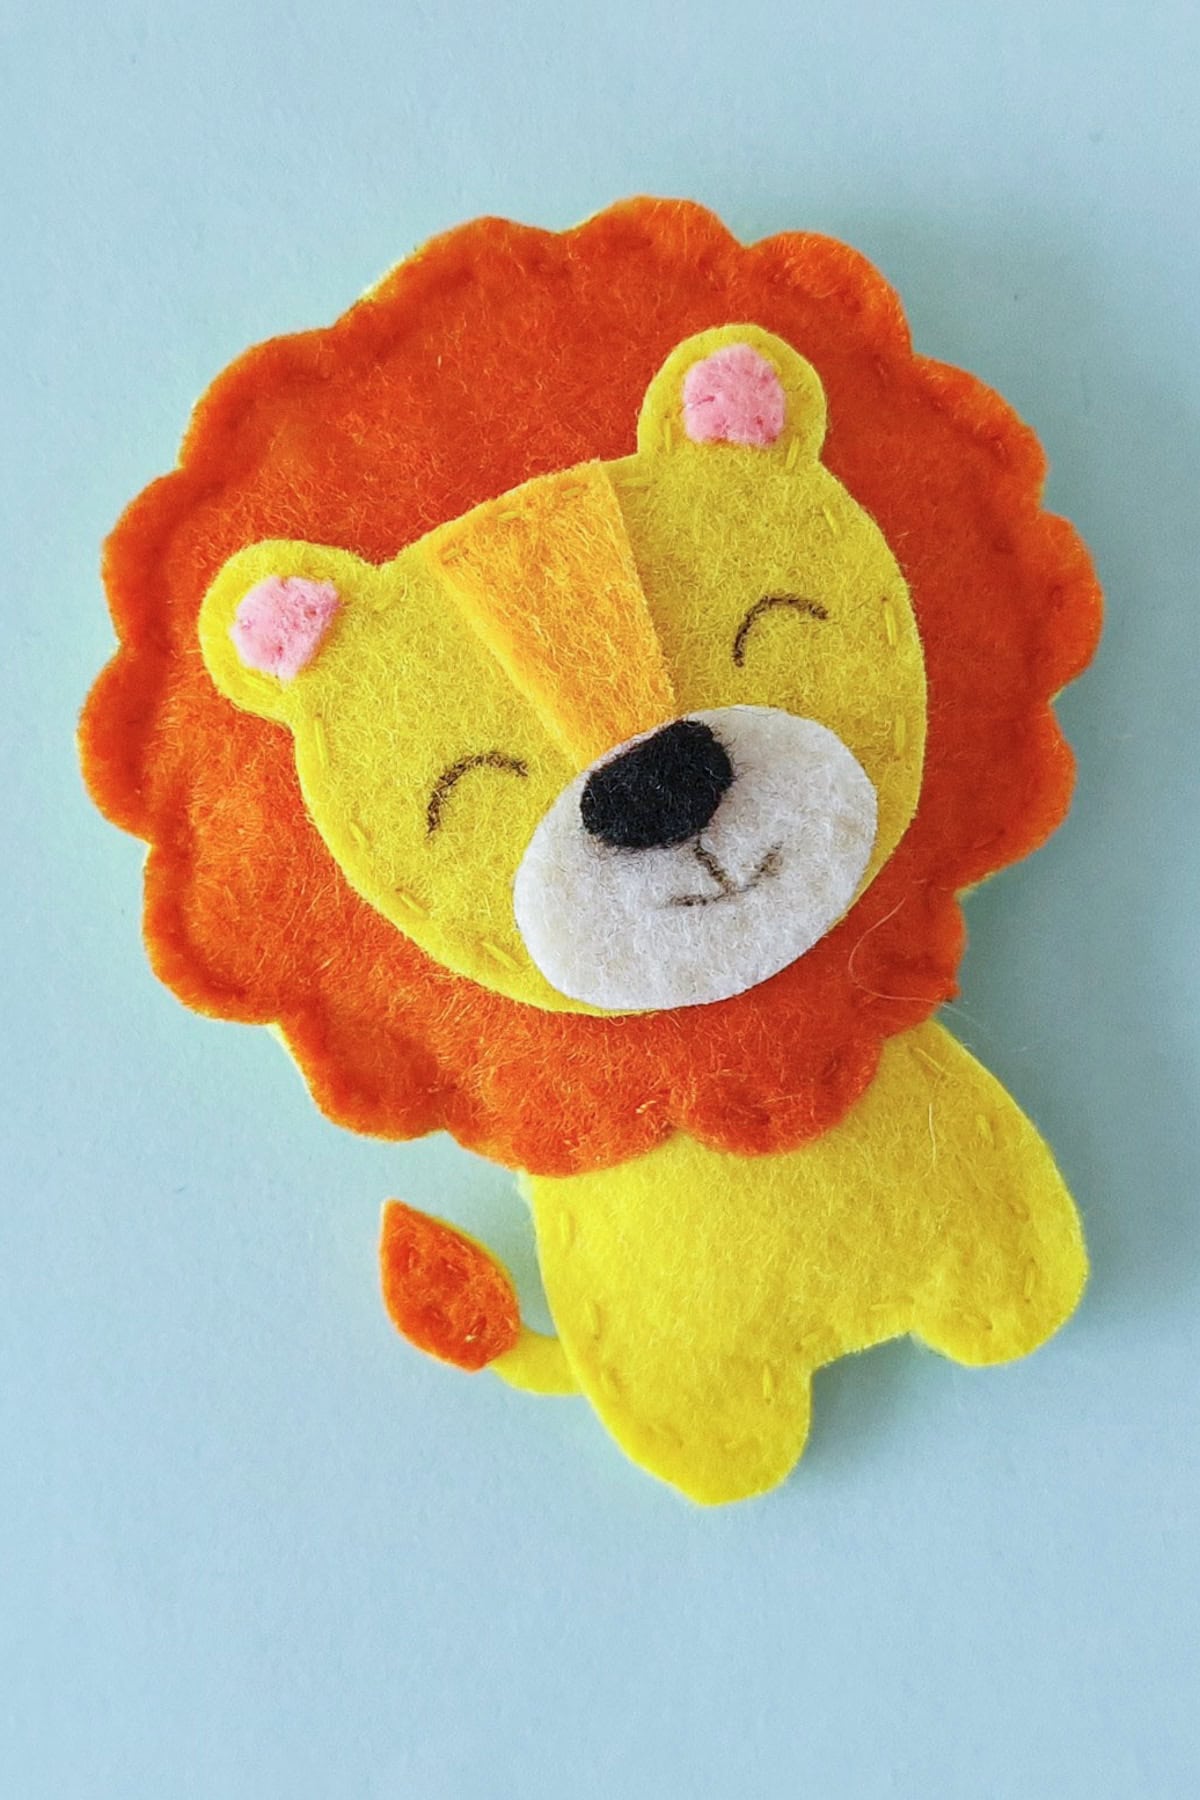
Make a little DIY felt lion plush with our free felt lion pattern. This sewn craft has a yellow body, a fluffy-looking orange mane, and a tiny tufted tail. The printable pattern gives you the shapes to trace, while the photos below show how to stitch and stuff each piece.
If you are putting together an animal craft day, browse our lion crafts and activities for more ideas. You might also like our felt koala craft if you enjoy sewing little felt animals.
What You’ll Need
- The free printable felt lion pattern
- Colored felt: yellow for the body and face, orange for the mane and tail tip, plus small pieces of pink, white, and black for the details
- Pencil and scissors
- Needle and coordinating thread
- Cotton stuffing or small scraps of felt
- Fine-tip marker for the eyes and mouth
- A short piece of ribbon or strong thread if you want to make an ornament hanging loop
A grown-up should handle the needle and sharp scissors or help younger children with those parts.
Free Felt Lion Pattern and Template
The free felt lion pattern is a single A4 landscape PDF. It includes outlines for the scalloped mane and body base, the head and ears, the lower body, the muzzle and nose, and the tail pieces. Trace each shape onto your chosen felt before cutting. Check your printer’s paper-size setting so the pieces are not unexpectedly resized.
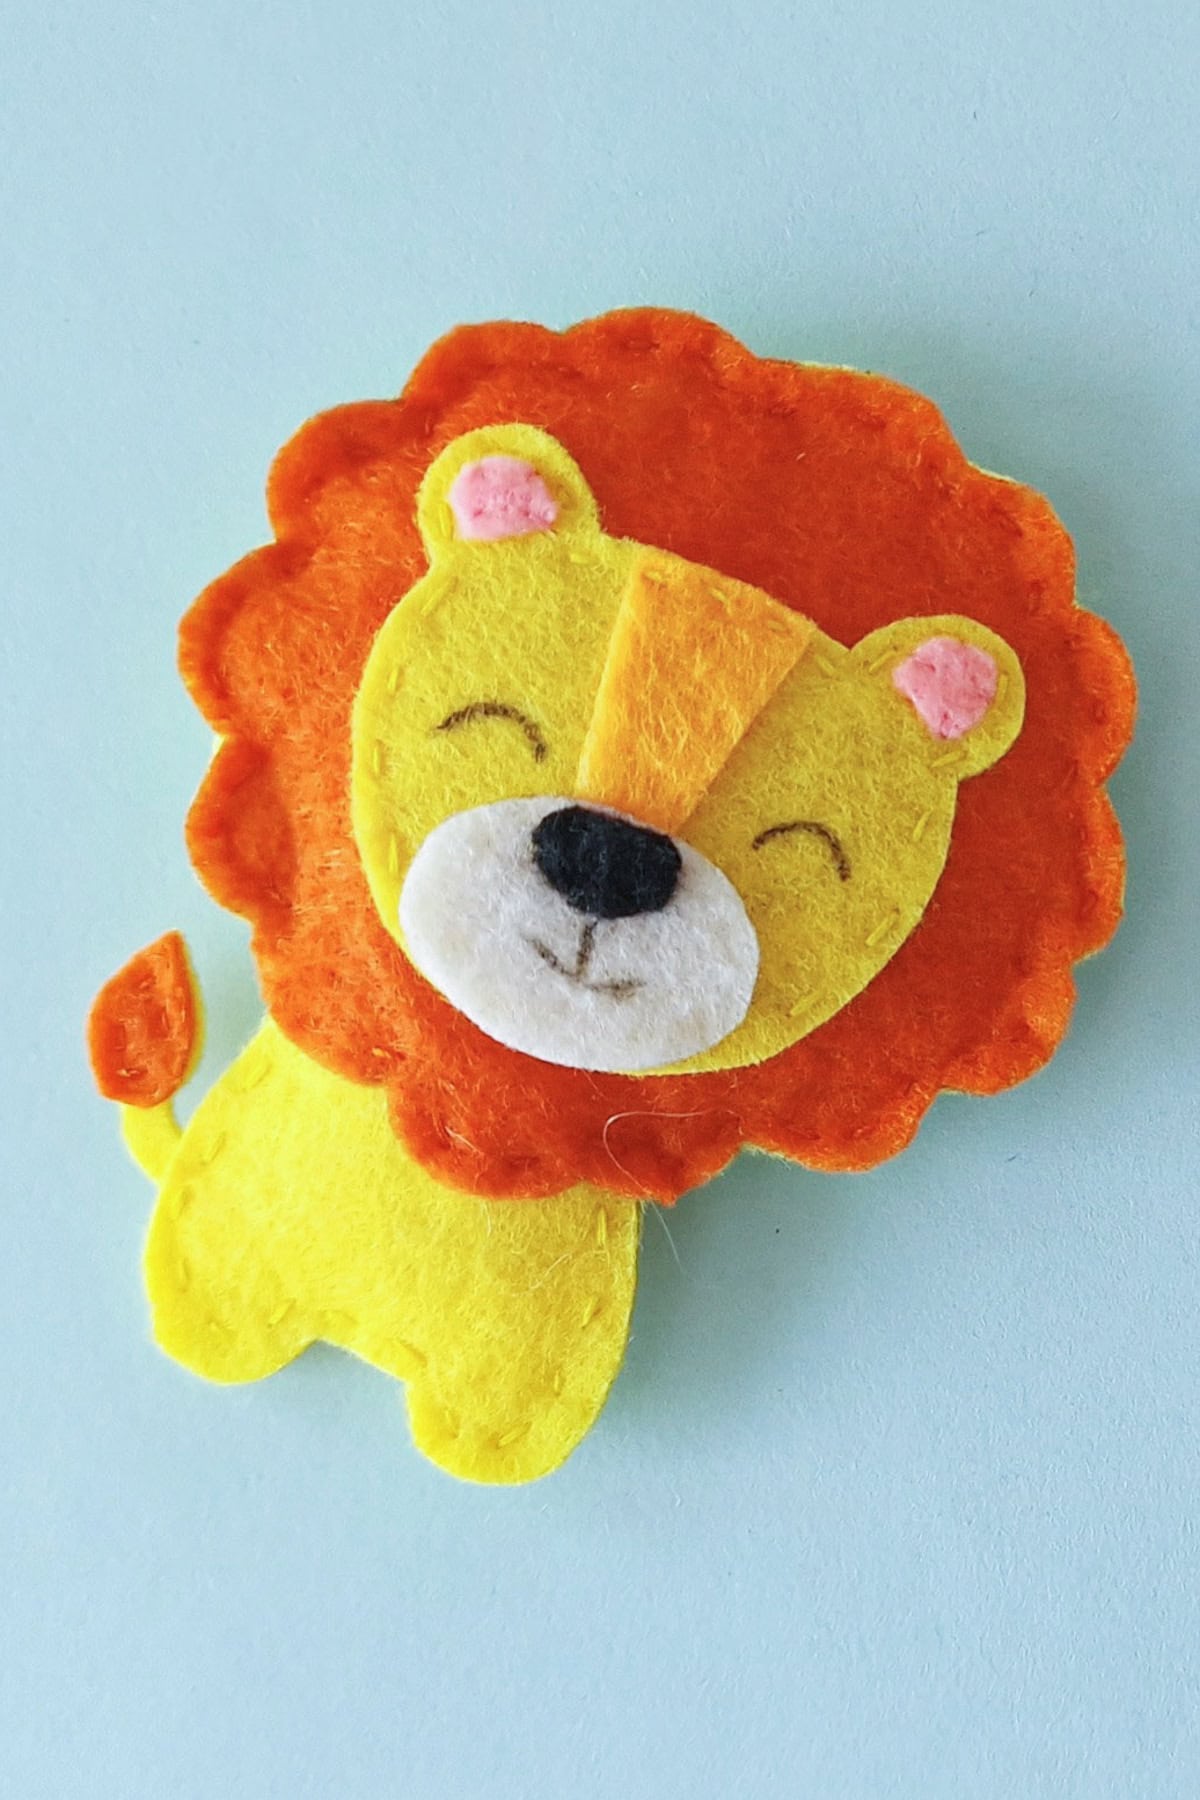
How to Make a Felt Lion Plush
Cut the felt pieces first, then work through the face, tail, body, and stuffing in order. The photo under each step shows where the pieces should be at that point.
Step 1: Cut out the pieces
Print the lion pattern and trace its shapes onto your chosen felt. Cut out the body base, mane, face, lower body, ears, muzzle, nose, and tail pieces. Lay everything out before sewing so the small pieces do not get lost.
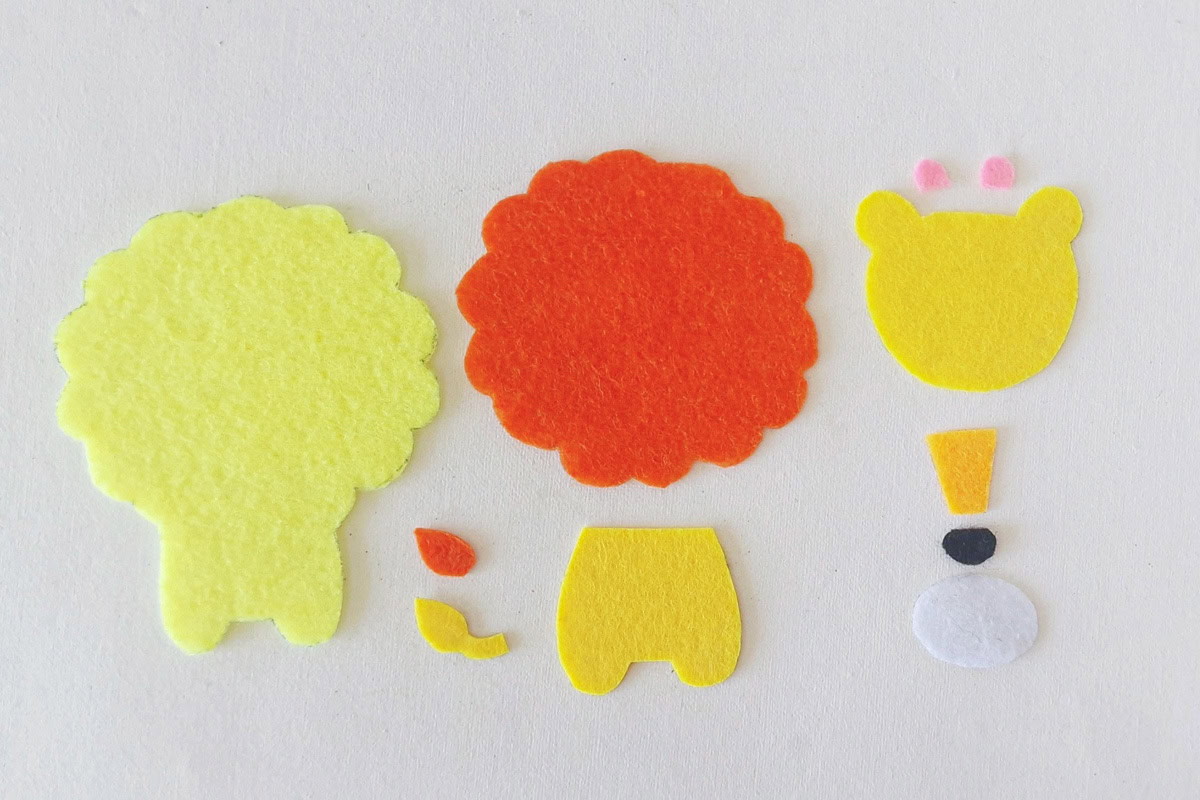
Step 2: Arrange the ears and nose
Place the small pink inner-ear pieces on the ears of the yellow head. Set the black nose tip near the edge of the white muzzle piece so you can check the placement before stitching.
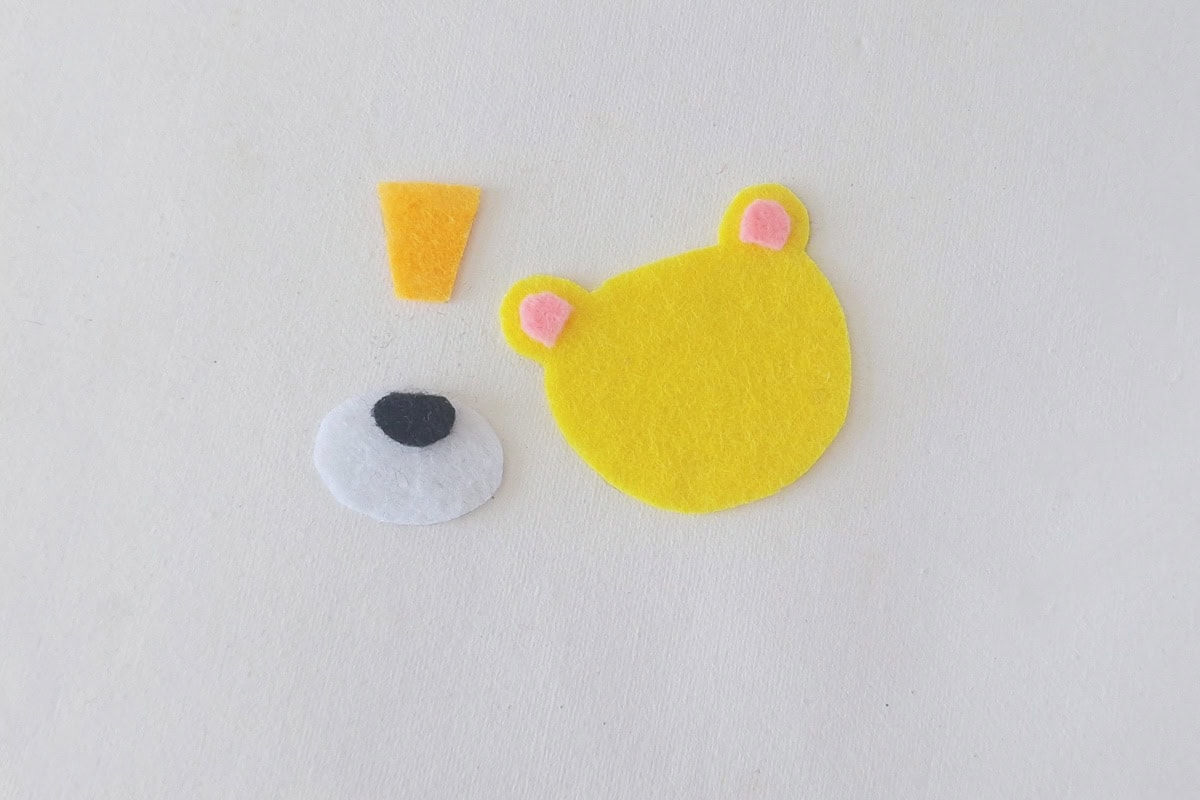
Step 3: Stitch the inner ears
Use matching thread to secure the pink pieces inside the lion’s ears. Small stitches around their edges will hold them in place.
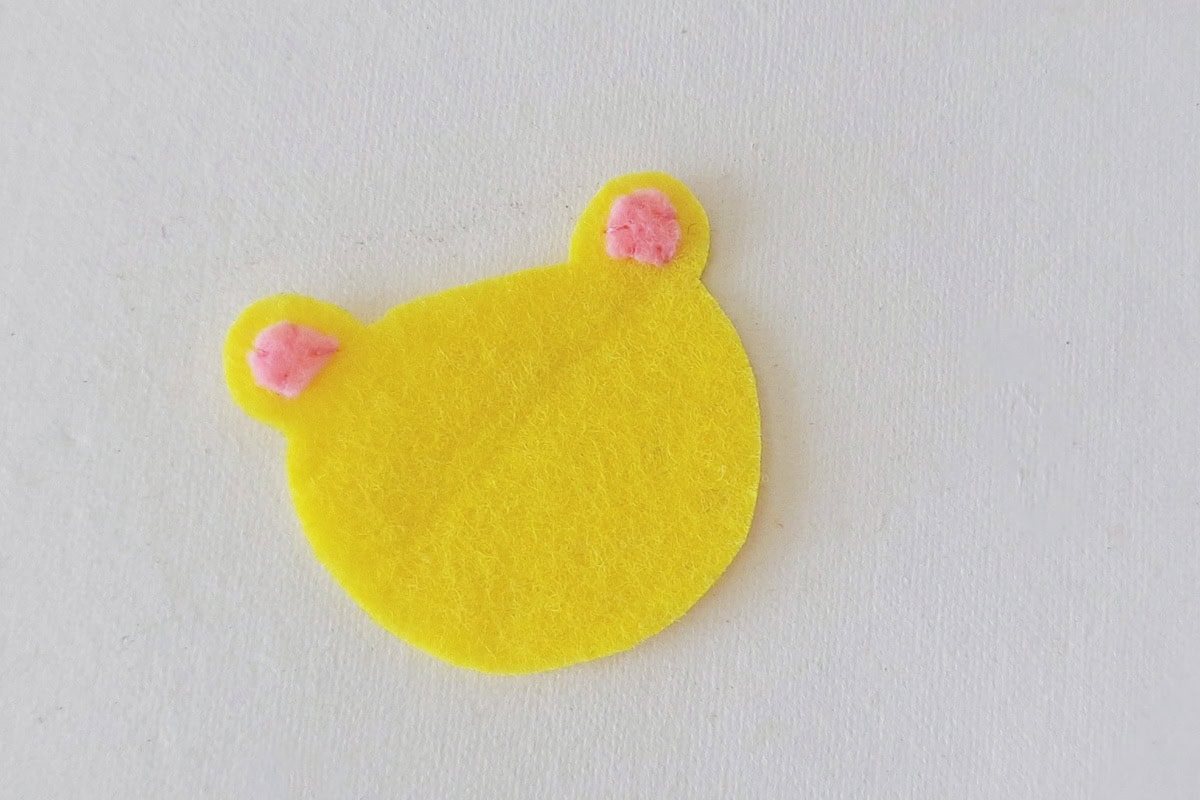
Step 4: Position the nose bridge
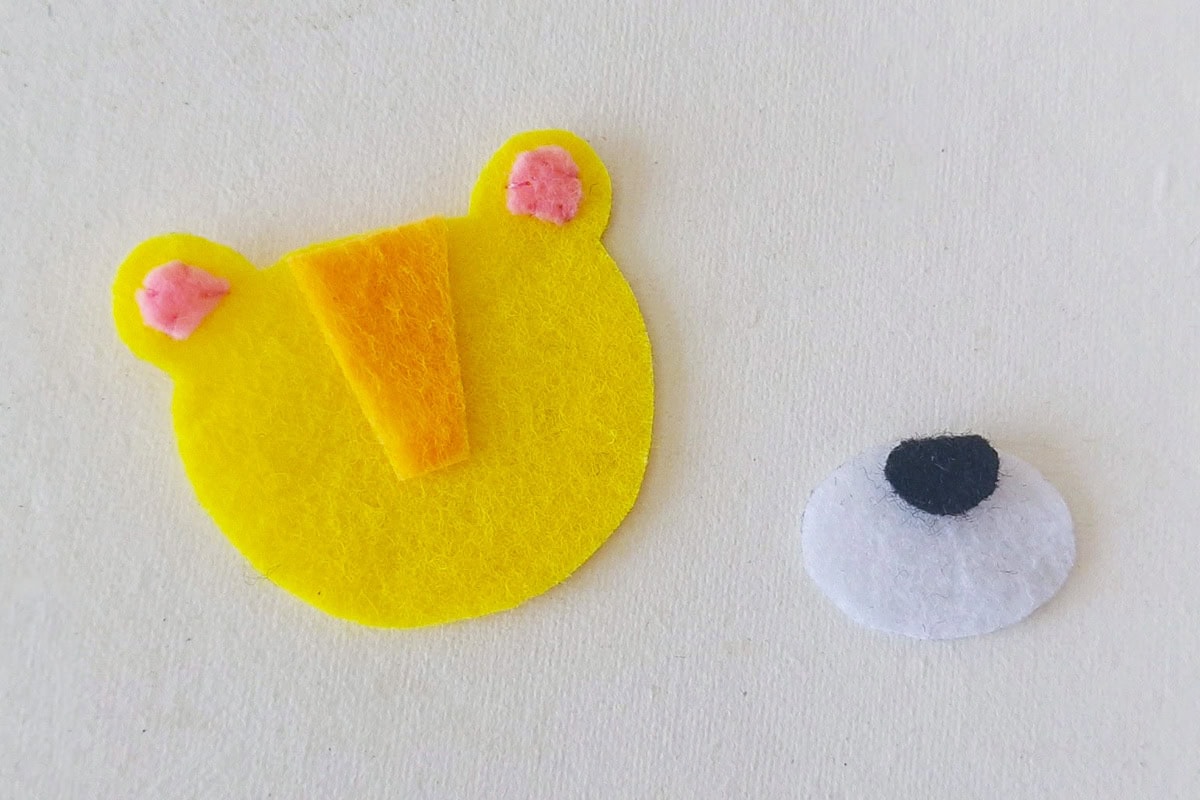
Place the yellow nose-bridge piece at the top center of the head, with its wider end toward the forehead and its narrow end toward the muzzle.
Step 5: Add the muzzle
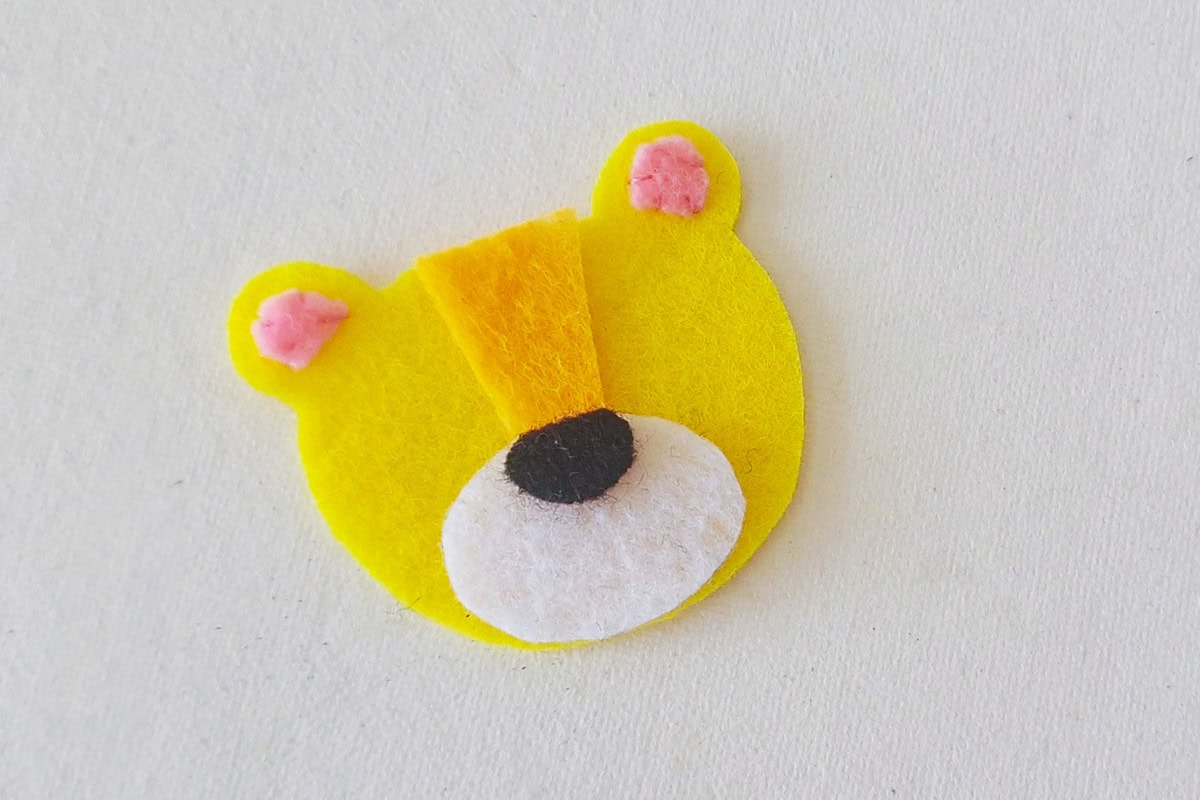
Position the white muzzle below the nose bridge, with the black nose at its top edge. Stitch the pieces to the face so they stay in place.
Step 6: Place the face on the mane
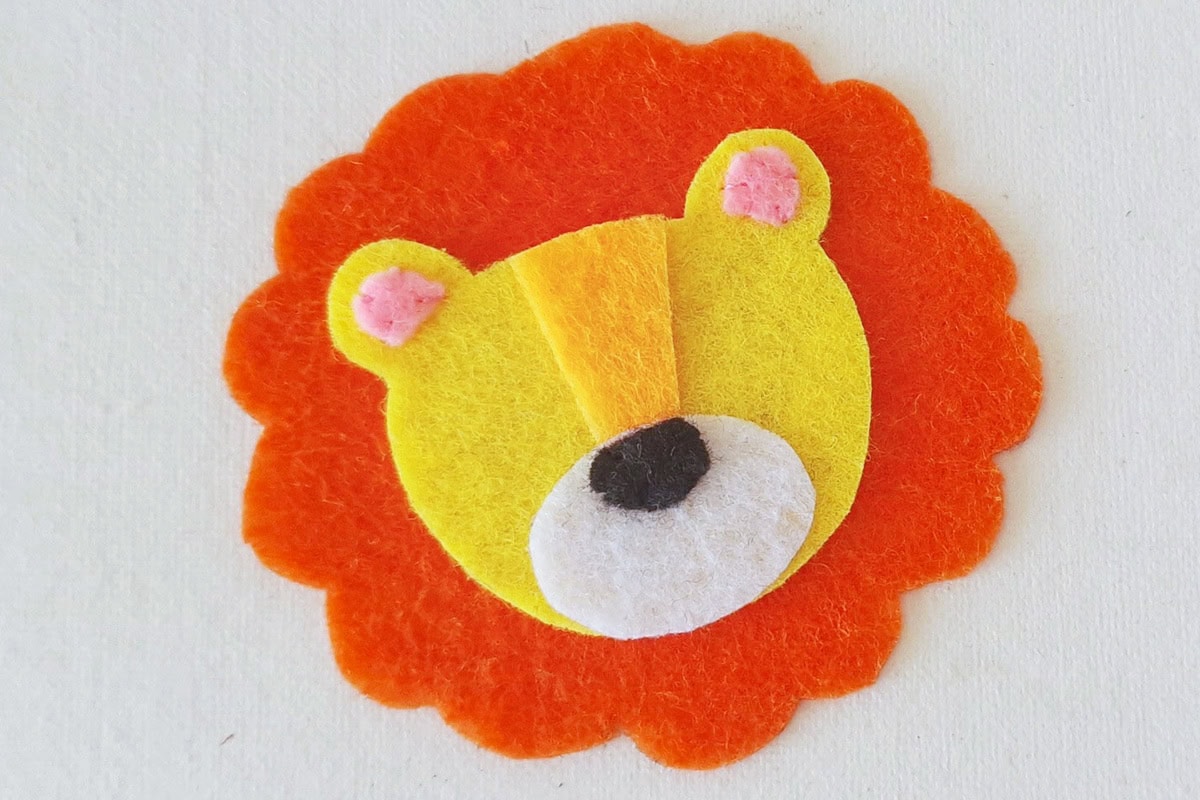
Center the finished face on the orange scalloped mane. Make sure the ears sit above the upper edge of the face.
Step 7: Stitch the face and prepare the tail
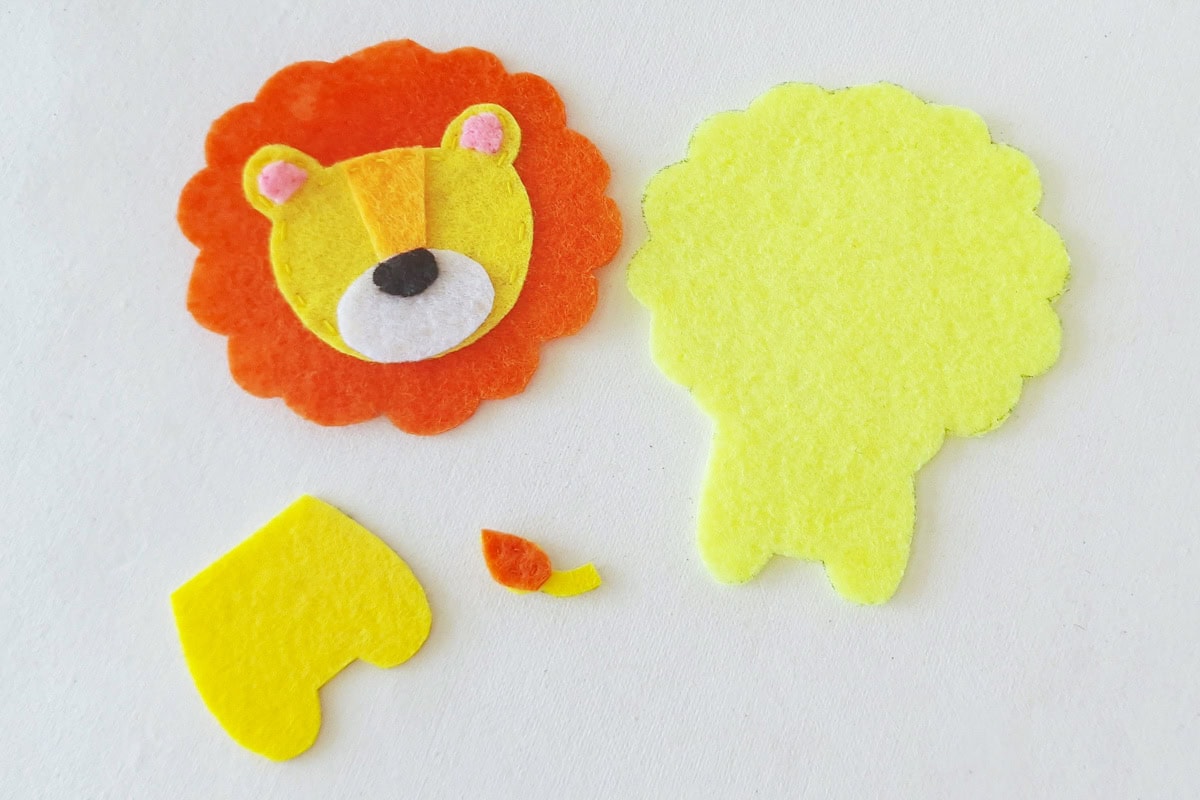
Sew around the face to attach it to the mane. Place the orange tail tip on the narrow tail piece and stitch the tip in place.
Step 8: Attach the tail
Lay the large body-base piece flat and position the inner end of the tail along one side. Stitch the tail to the base so the tuft points outward.
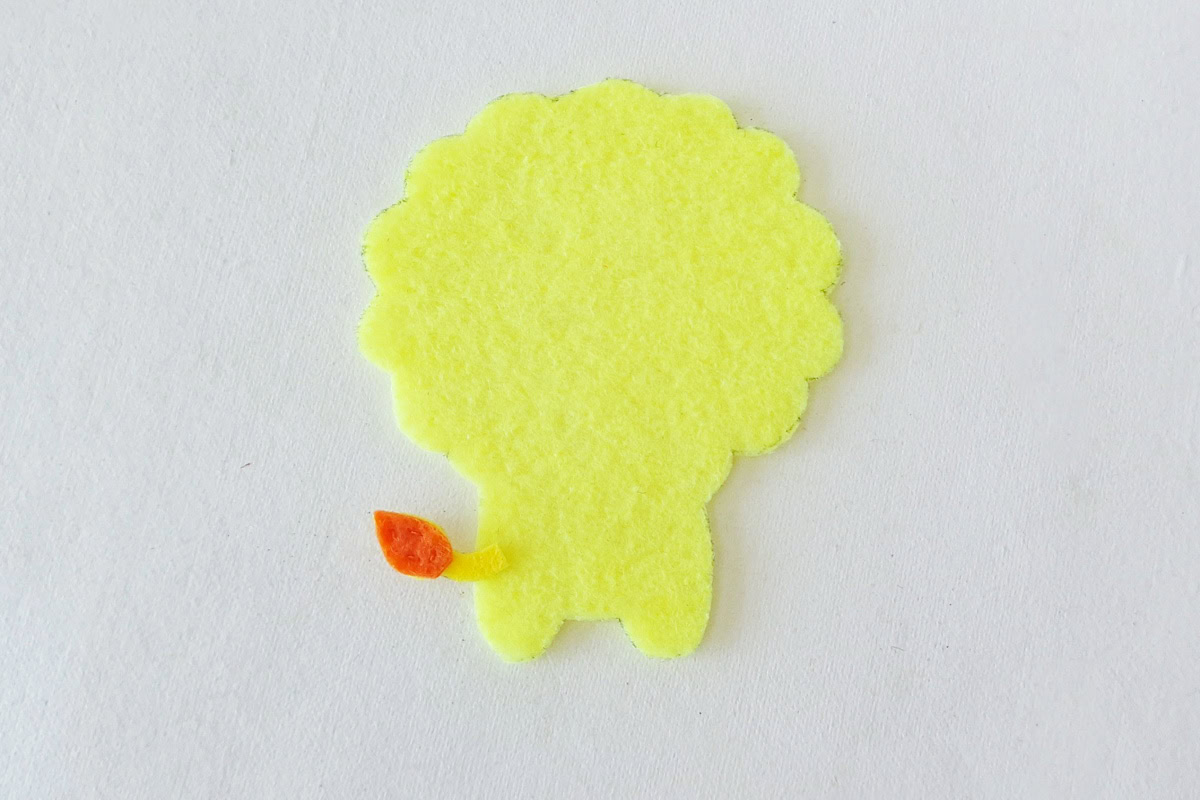
Step 9: Place the lower body
Set the separate yellow lower-body piece over the bottom of the large body base, aligning the legs and outer edges.
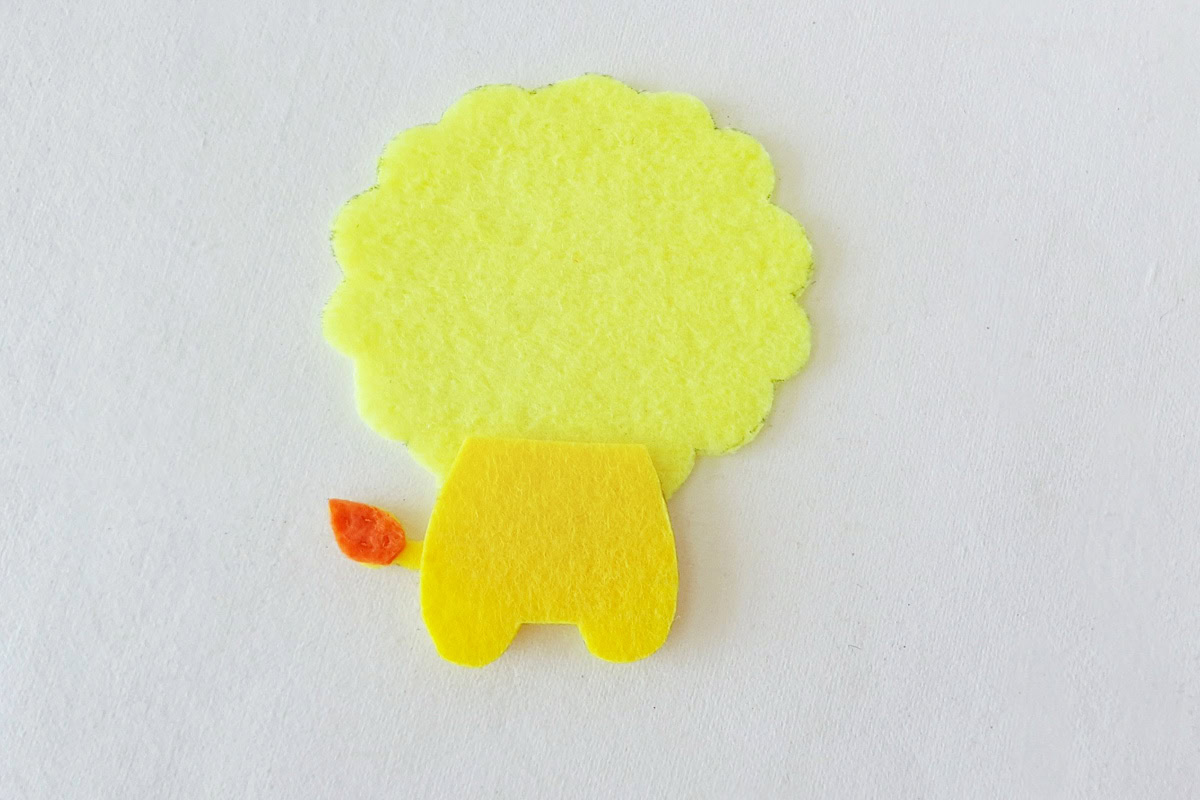
Step 10: Sew the lower body
Stitch along the outer sides of the lower-body piece to attach it to the base. Leave an opening on the inner edge for stuffing.
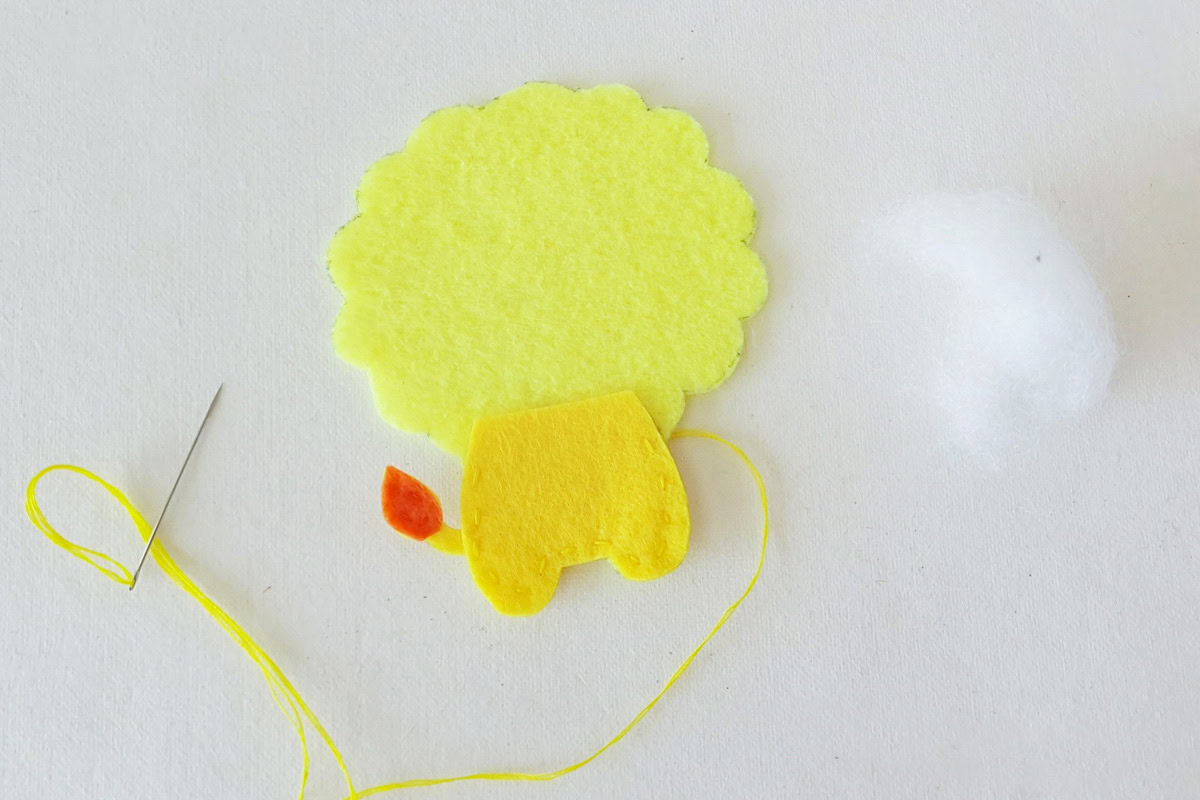
Step 11: Stuff the body
Add small amounts of cotton or scrap felt through the opening. Spread the stuffing into the legs and body without packing it too tightly.
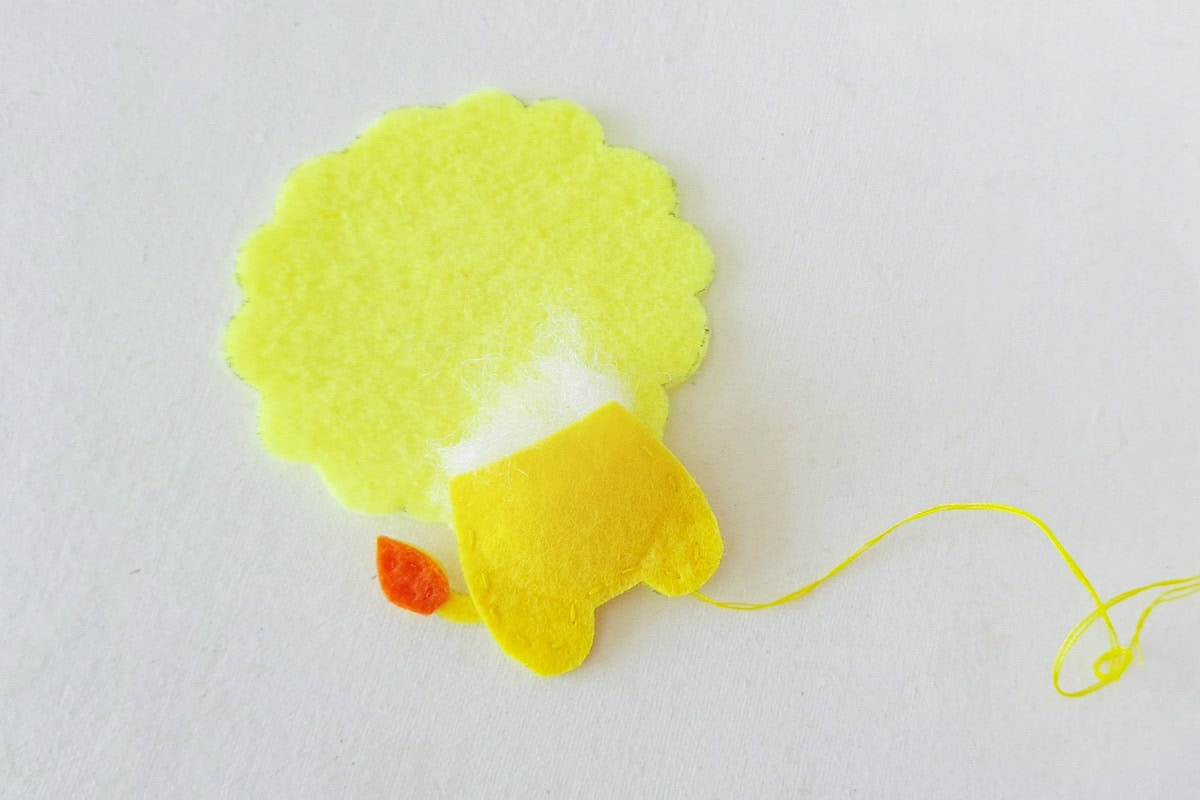
Step 12: Position the head
Lay the finished face and mane over the head portion of the body base. Check that the face is centered and the body sits below the mane.
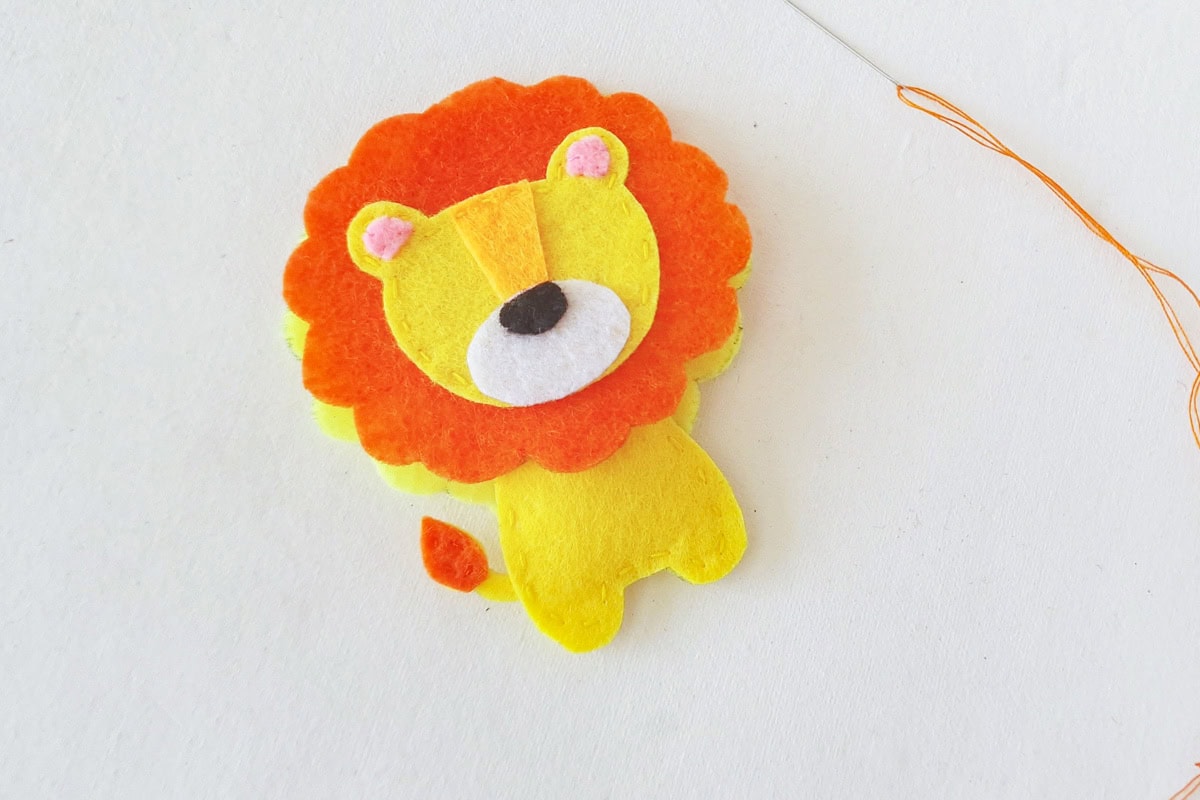
Step 13: Sew around the mane
Stitch around the open edge of the mane to join the head to the body base. Work around the scalloped edge carefully and leave a small opening for stuffing.
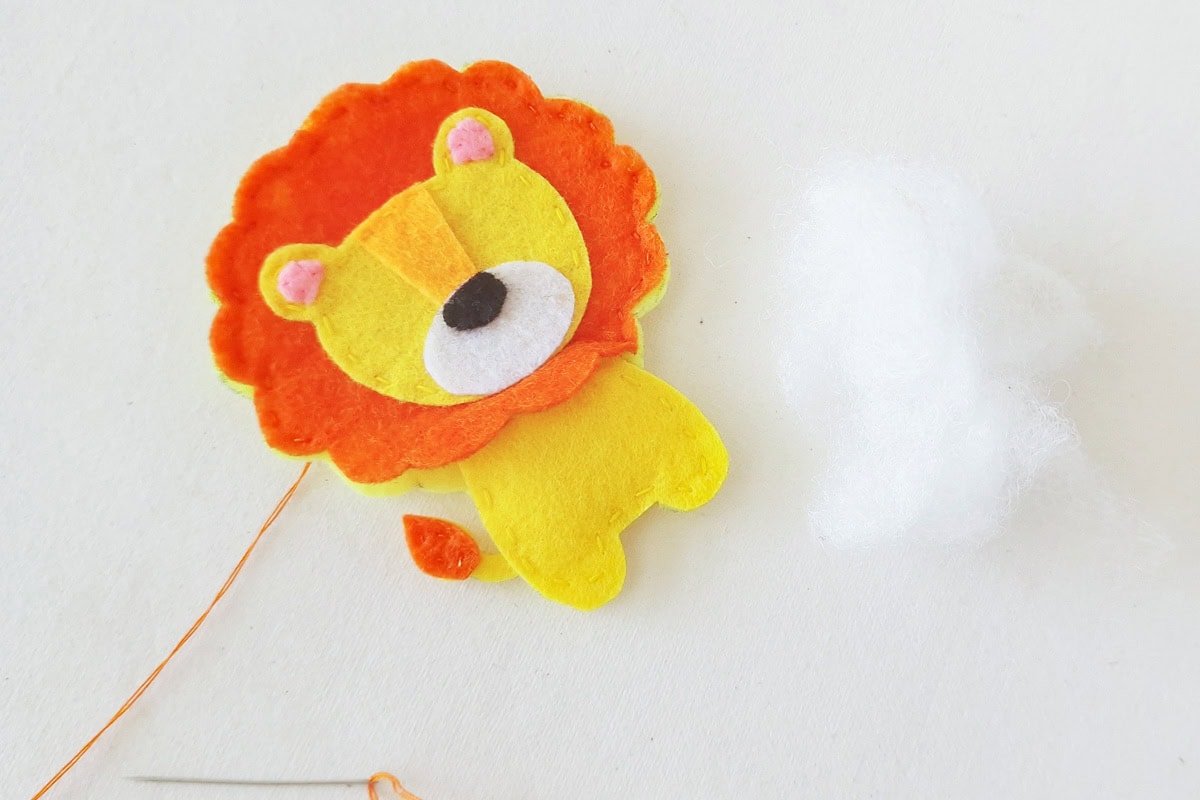
Step 14: Stuff the head
Fill the head through the opening a little at a time. Gently shape the mane and face as you add stuffing.
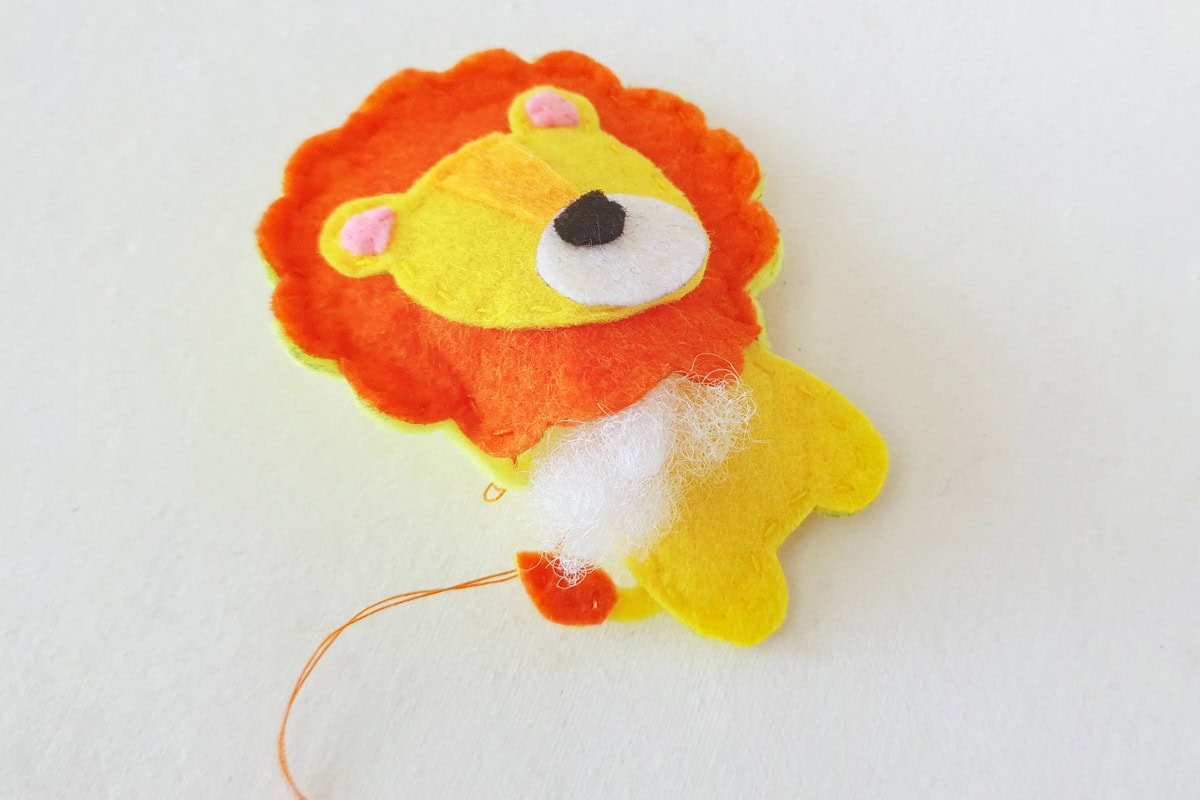
Step 15: Close and draw the face
Stitch the opening closed. Use a fine-tip marker to draw the closed eyes and a small smile on the felt face.
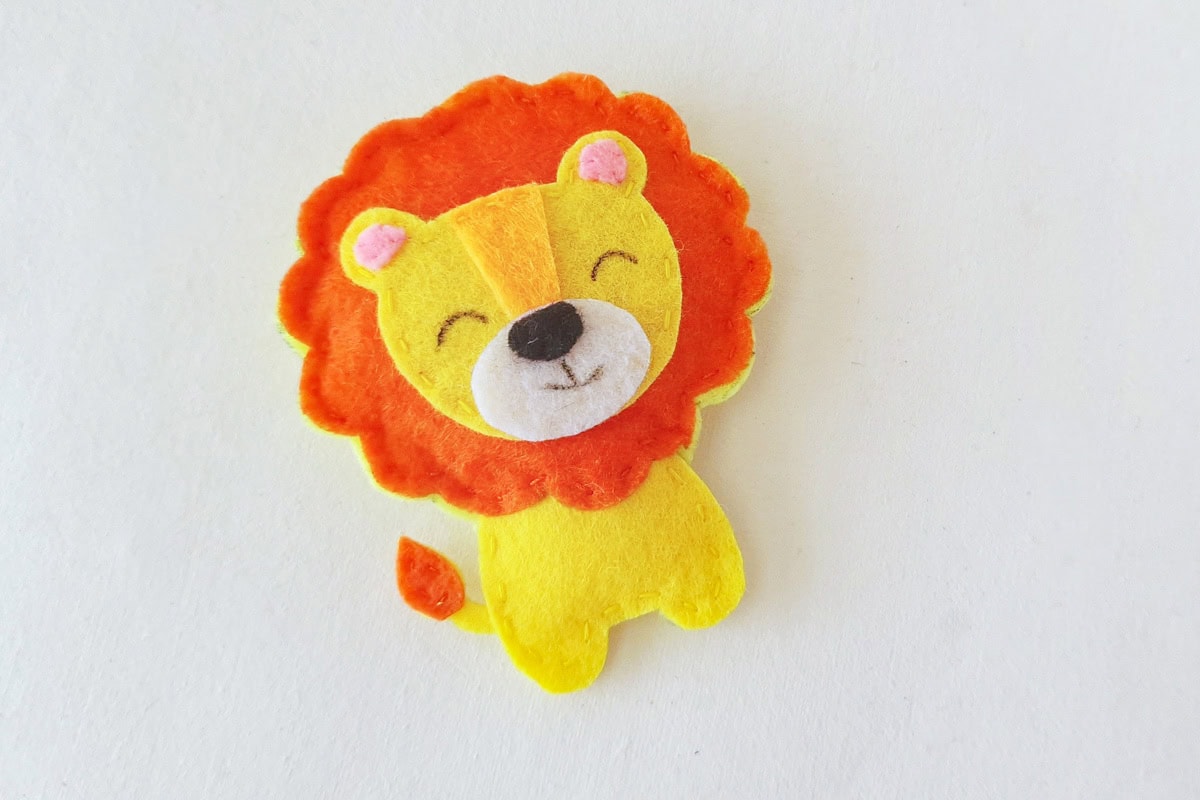
Tips for Sewing the Lion
Keep your stitches small around the rounded ears and scalloped mane. Before joining the front to the back, lay the pieces together to check that the tail points outward and the face is centered. Add stuffing gradually, especially around the narrow legs, so the finished lion keeps its shape.
For a simpler lion activity that does not require sewing, try our handprint lion craft. Our lion coloring pages can keep little helpers busy while an adult stitches.
Make a Felt Lion Ornament
To turn this plush into a felt lion ornament, add a hanging loop before you finish closing the head in Step 15. Fold a short piece of ribbon or sturdy thread in half. Tuck both ends between the top edges of the mane and back, leaving the loop above the lion’s head. Stitch through the felt and both ends several times so the loop stays secure. Use a little less stuffing if you want the ornament to hang flat.
Make It Your Own
Try a different shade for the mane, or make a small pride of lions with different felt colors. Once yours is finished, you can choose a name from our lion name ideas.
Grab the Free Felt Lion Pattern
Put your name and email in the pink box below, and we’ll send the free felt lion pattern straight to your inbox.
Subscribe to our newsletter and get this printable sent straight to your inbox! Already a subscriber? Don’t worry you won’t be subscribed twice but it will send this printable straight to your inbox!
(We will never share or sell your personal information. Read more on our privacy policy.) We will use the information below to send you our newsletter with latest posts and special offers.