Super Cute Painted Mason Jars for Christmas
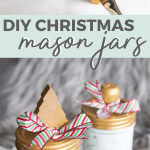
Today we have a super cute mason jar craft. These mason jars are decorated for the Christmas season. They are super cute and make wonderful gifts.
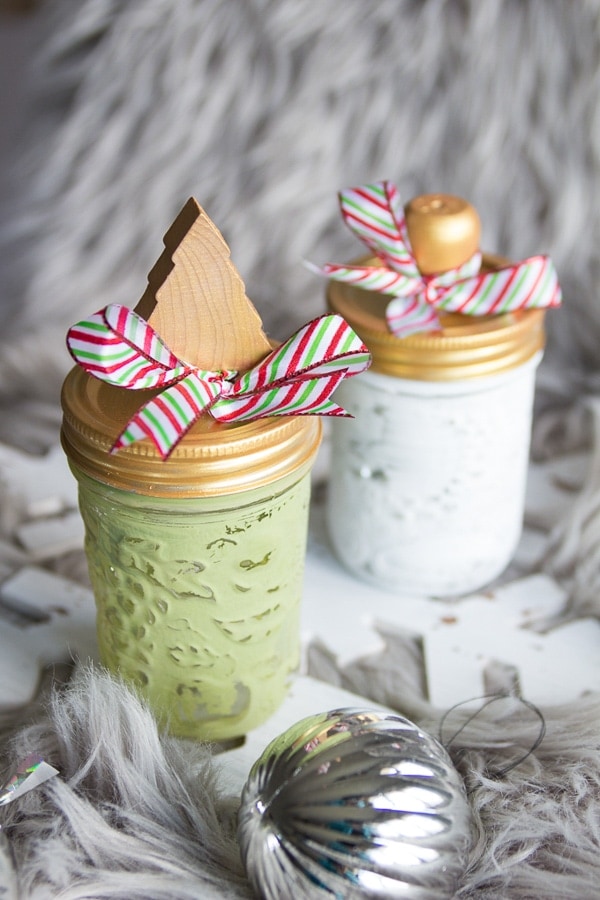
I am loving this Christmas craft!
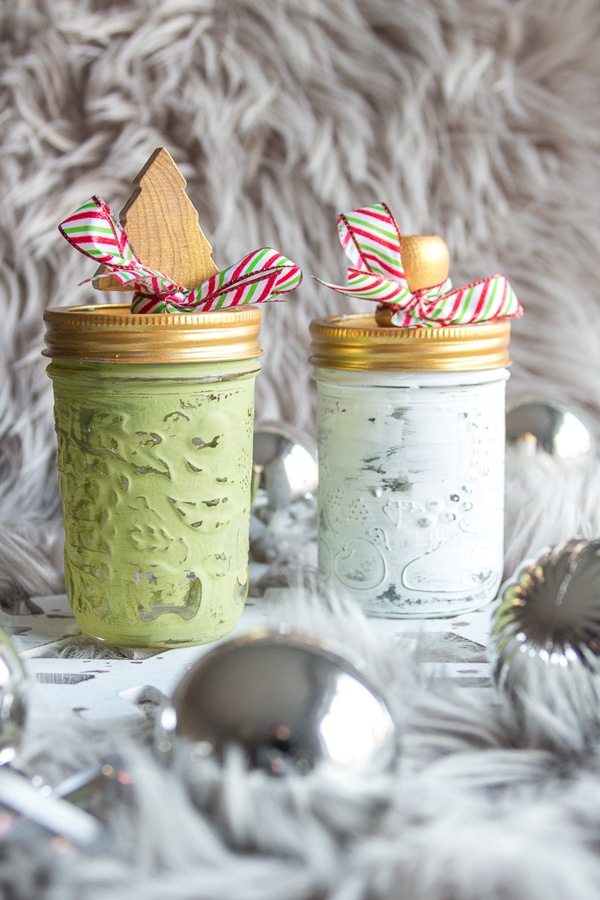
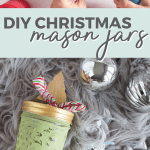
These painted mason jars are decorated for the Christmas season.
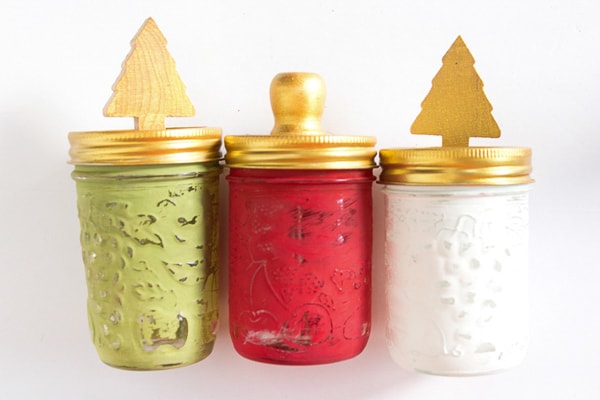
We used a combo of Christmas colors that are somewhat muted to get that farmhouse look, and glued a few cute bobbles to the top of the lids to make super cute Christmas handles.
You can fill them with lots of fun goodies and they make fantastic mason jar gifts at Christmas time!
We’ll show you step by step how to decorate mason jars to give as Christmas gifts!
This post may contain affiliate links. This means if you click a link and make a purchase, we may earn a commission at no cost to you. You can read our full disclosure here.
Supplies Needed to Decorate Mason Jars for Christmas Gifts
To make mason jars similar to the ways ours look here’s what you’ll need:
- 8oz Mason Jars: We used 3 wide mouth jelly jars like these with pretty patterns in the glass.
- Chalk paint: We used Decoart Chalky Finish paint in Romance, Everlasting and New Life.
- Gold metallic paint: We used this metallic paint
- Paintbrush
- Fine grit sandpaper: We used 180
- Wooden Christmas bobbles: We used a Christmas tree and candle cup
- Hot glue gun
- Clear craft glue or super adhesive E6000
How to decorate mason jars for Christmas gifts
To decorate your mason jars for Christmas gifts, start by grabbing all of your supplies and having them ready.
Step 1: Paint the Mason Jar in Christmas Colors
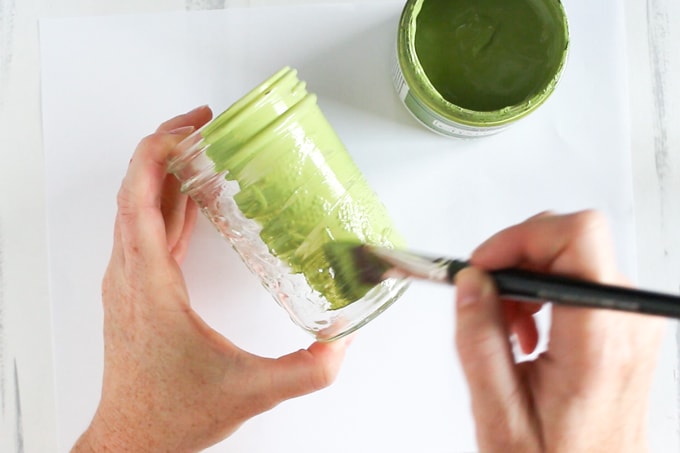
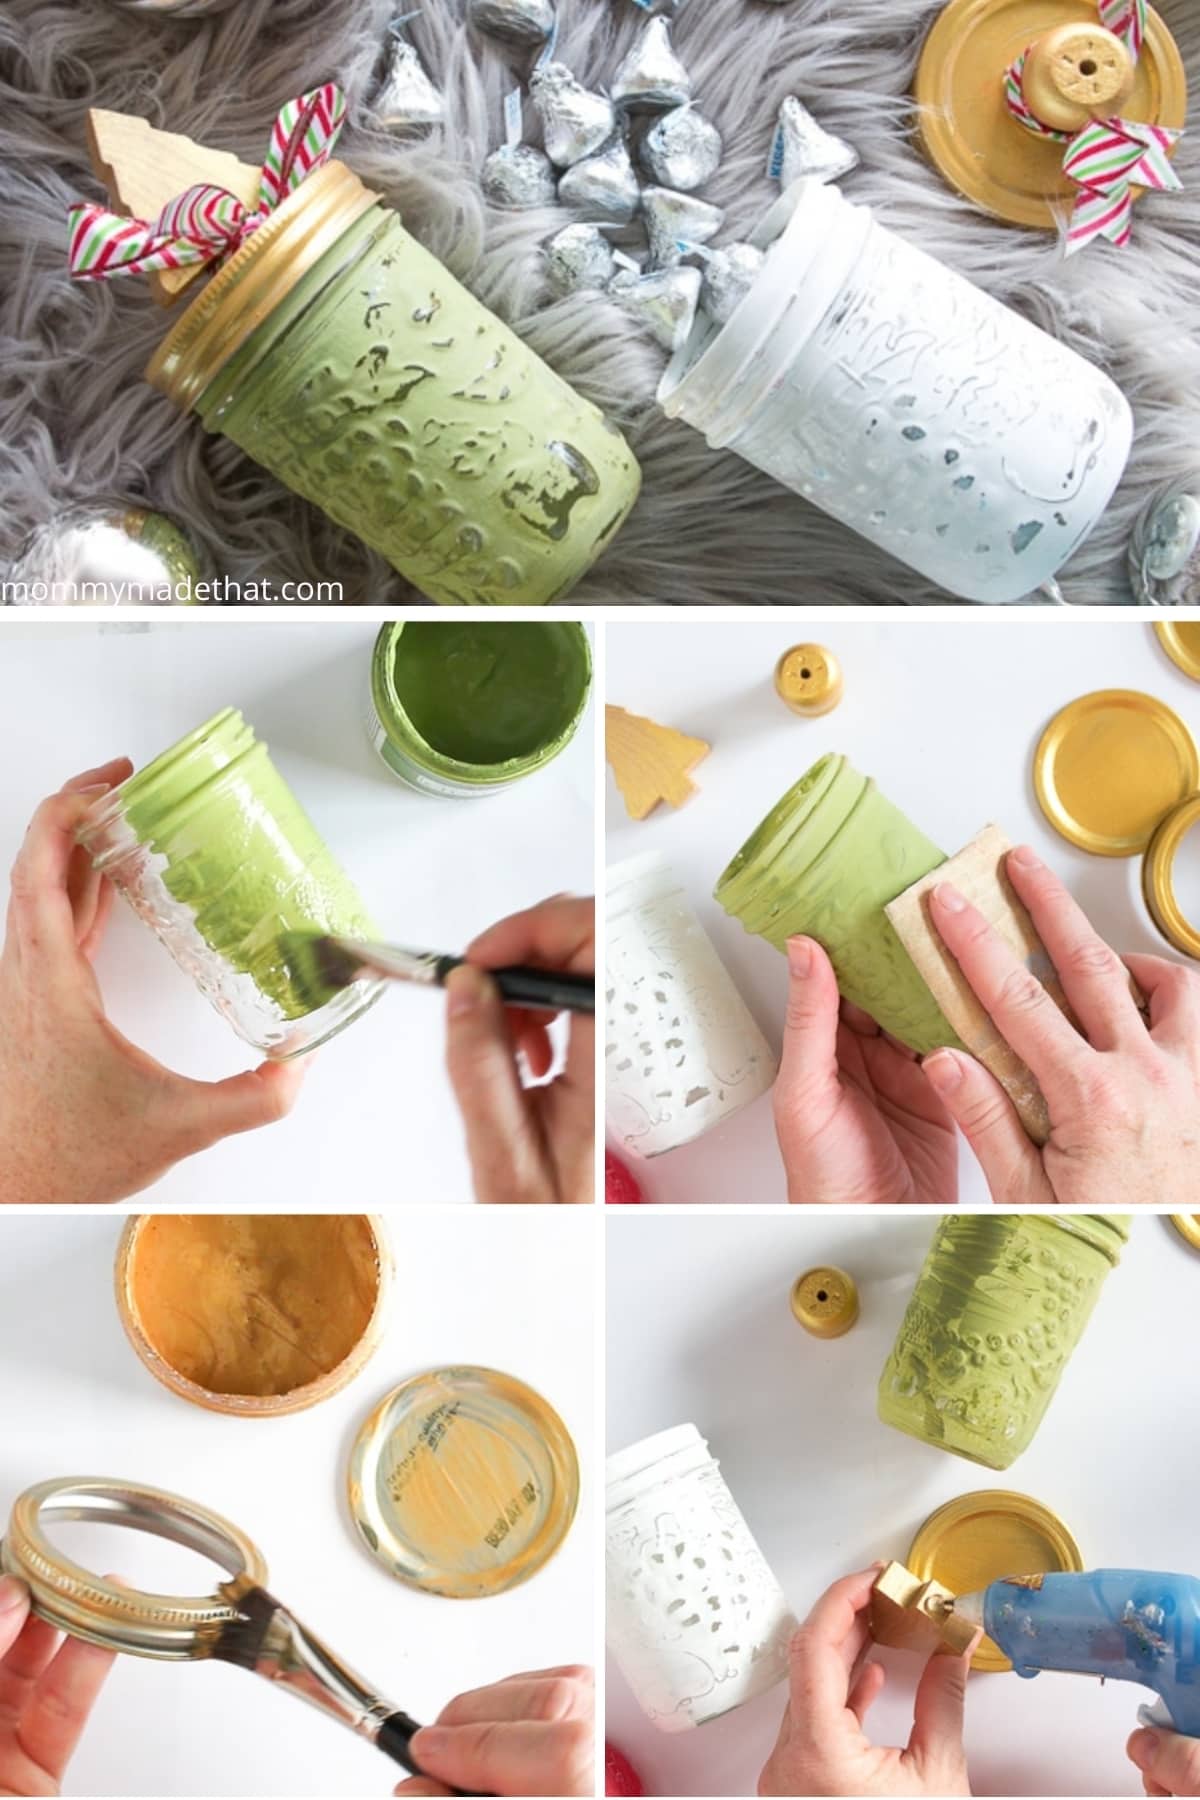
Starting with one of your Mason jars, paint the entire outside of the glass jar with one of the Christmas colors.
Red, green or white work really well.
For this mason jar we are using the green New Life paint. It gives a nice chalky finish for a pretty farmhouse chic look.
Once the jar is completely painted, let it dry completely.
Step 2: Lightly Sand the Mason Jar
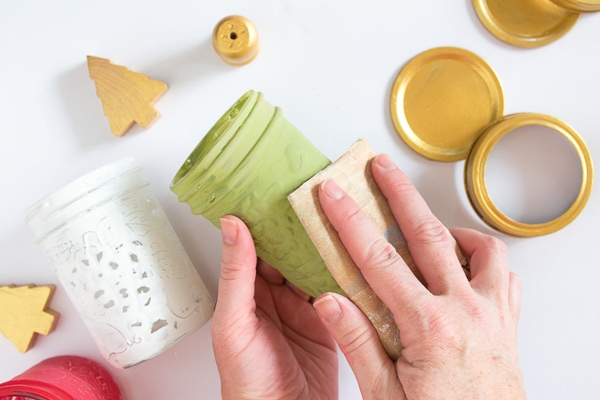
Once your jars are all painted, lightly sand the jars to allow the textured surface to shine through.
This gives a distressed finish to the jar and a shabby chic look.
After your mason jar is sanded down a bit, wipe clean with a slightly damp cloth.
Step 3: Painting the Lids
Now that your jars are finished and ready, let’s start decorating the lids with the Christmas bobbles.
Paint the inside and outside of the mason jar lids with the golden metallic paint.
Make sure to pain both the rim parts of the lids and the flat parts as well.
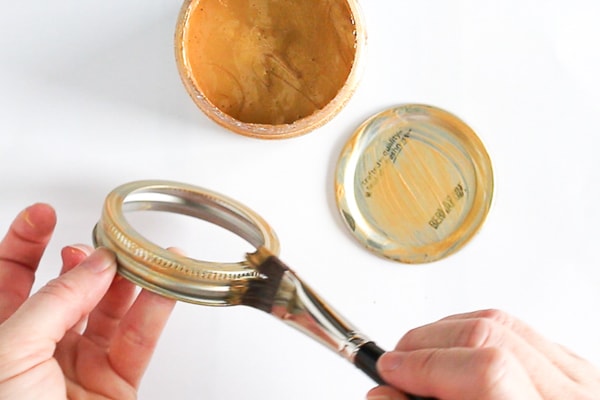
Grab the various wooden bobbles and paint with the metallic paint.
You may need to paint the lids and wooden findings with multiple layers of paint to completely cover them.
Make sure to allow the lids and bobbles to dry completely between each coat.
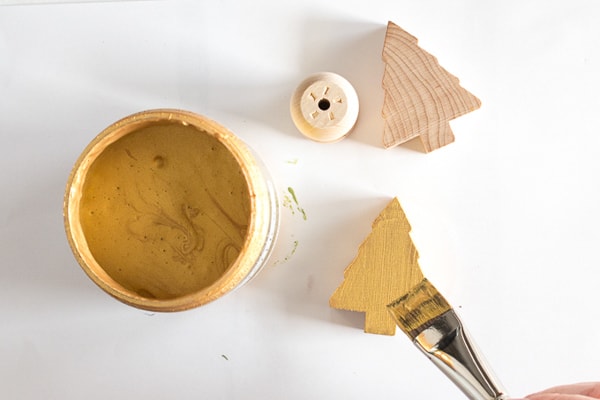
Aren’t the little golden Christmas tree’s cute??
Step 4: Assembling the Mason Jar Lids
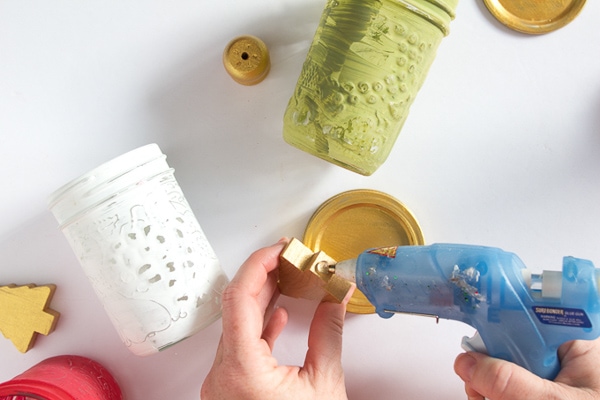
Once all of the paint has dried on the mason jar lids, its time to start using the hot glue gun to glue all the pieces together.
First, glue the inner lid to the rim of the mason jar lid.
Then, glue the Christmas bobble to the middle of the assembled lid.
This will create a nob on your Christmas gift jar.
Step 5: Adding Decorative Christmas Ribbon
Once your mason jars are painted and your lids assembled, it’s time to add the finishing touches on your gift jars!
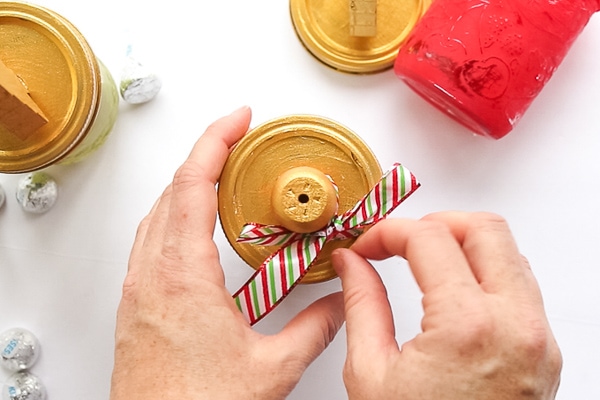
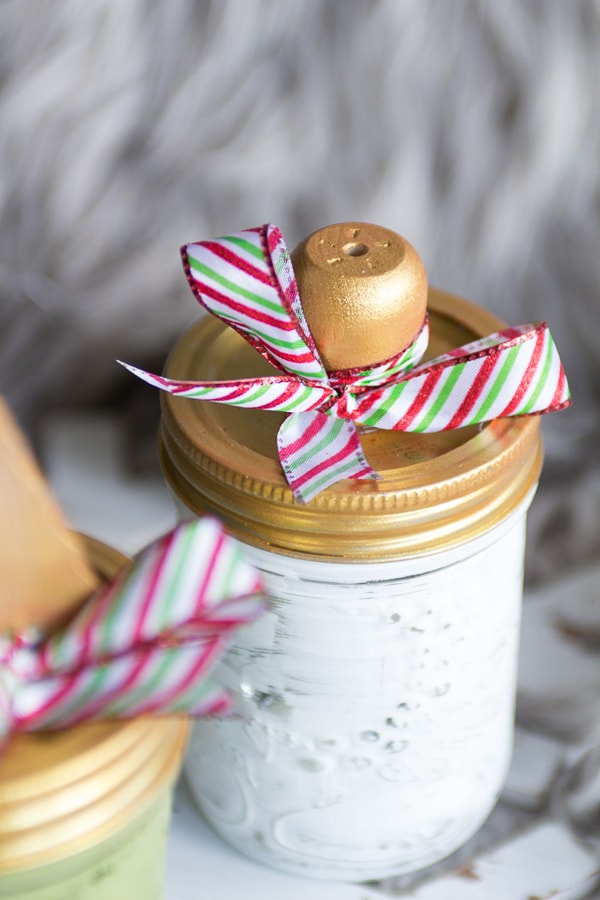
Grab a bit of decorative Christmas ribbon, and tie around the nobs of your mason jars.
We used coordinating Christmas colors.
And that’s it! Your decorative Christmas gift mason jars are all finished. These make great containers to give smaller Christmas gifts or as a great Christmas craft to make and sell.
If you have more lids than you have jars, you can also create these cute Christmas ornament made from the mason jar lids.
Now you just have to fill them!
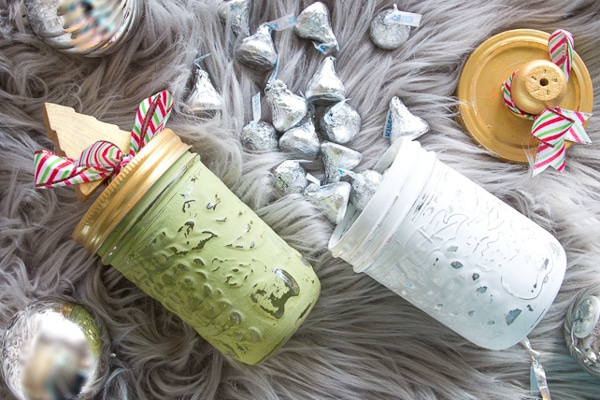
We filled ours with Hershey’s kisses. Yum!
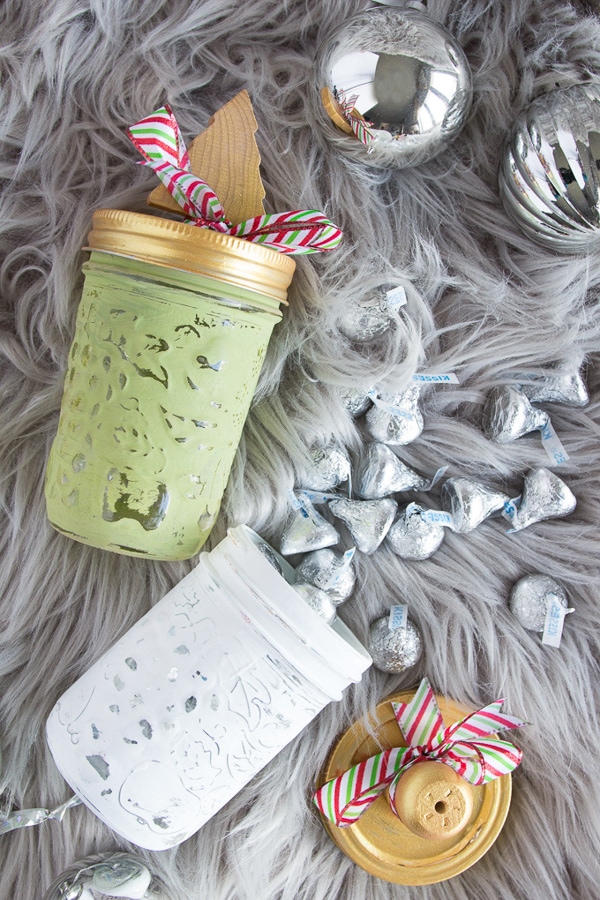

I love the idea of filling the mason jars with candies as gifts!