Cute Felt Witch (Grab the Free Printable Witch Pattern!)
This cute and fun felt witch is a fun felt craft perfect for Halloween. Make sure to grab the free printable pattern and make one of your own!
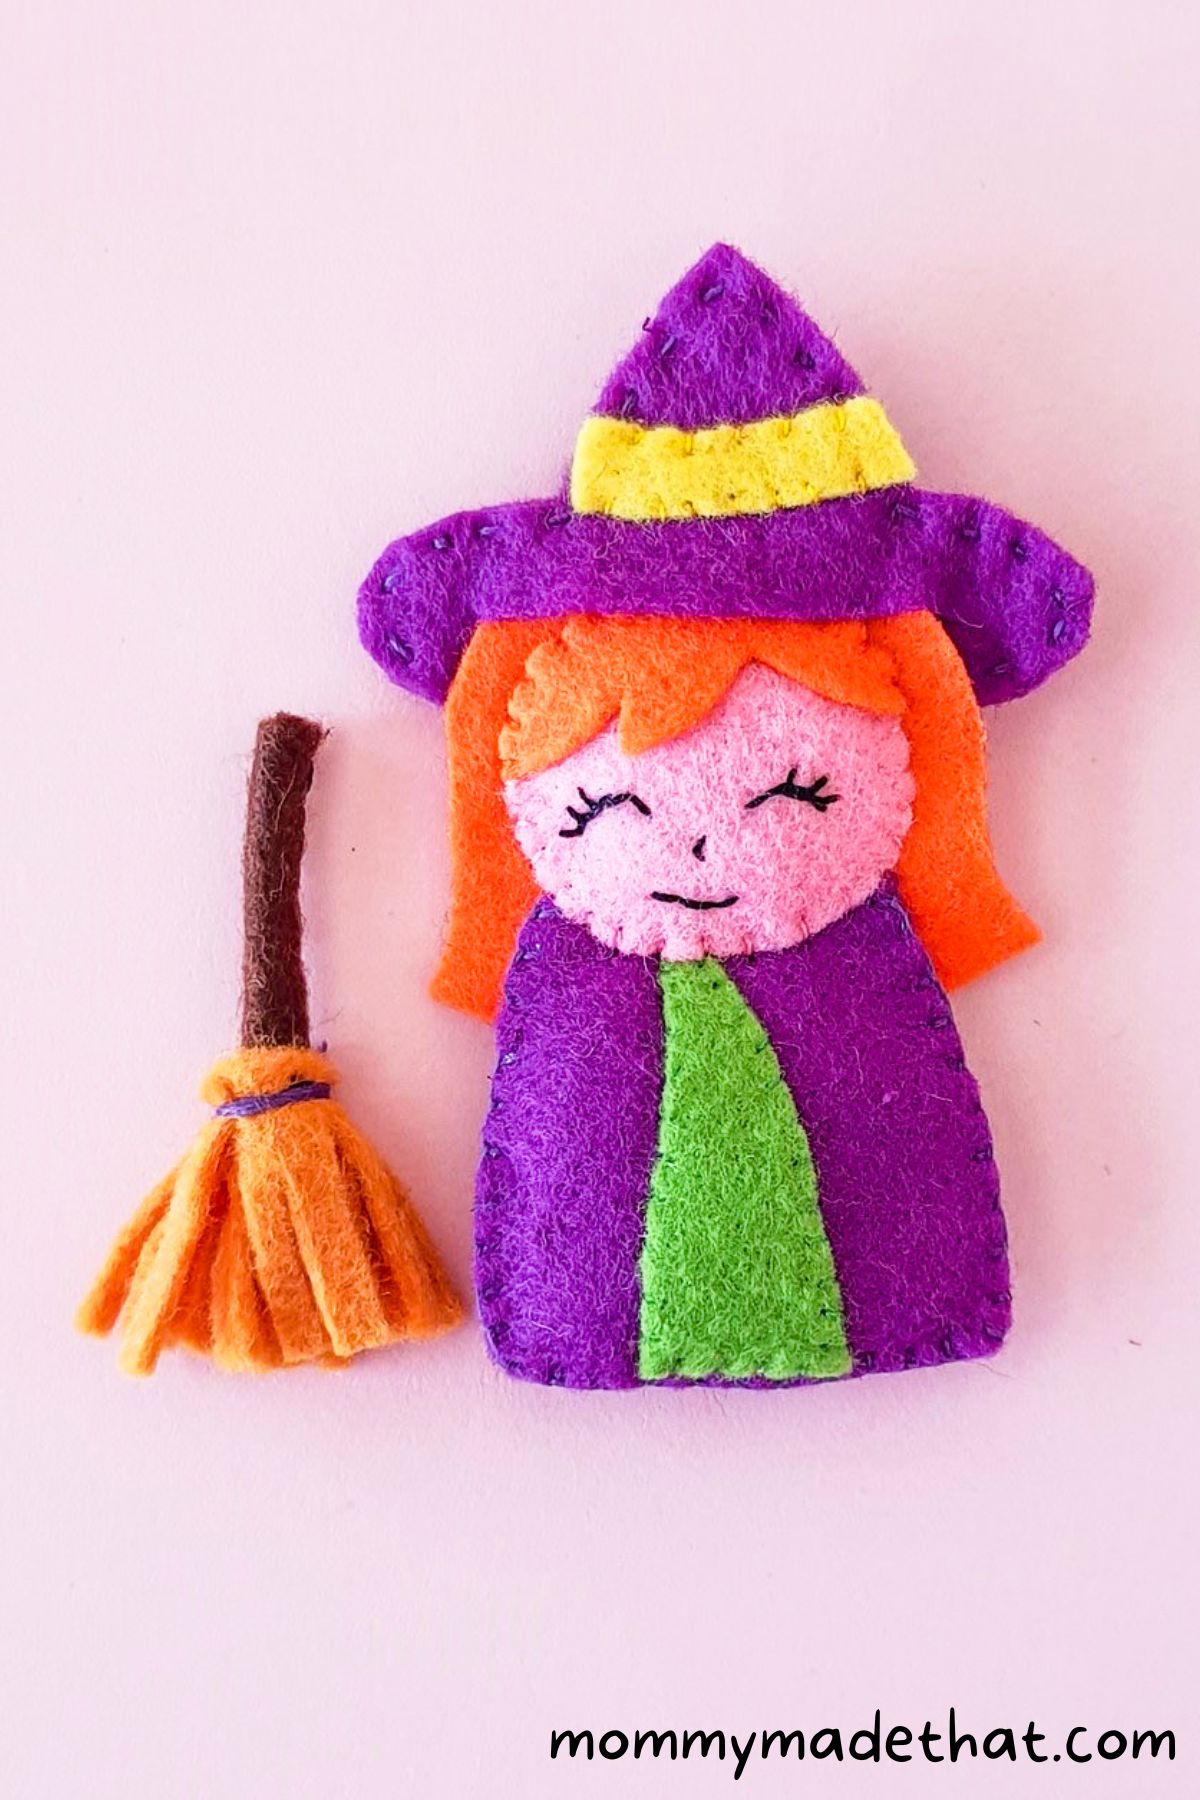
Looking for a fun and easy Halloween project?
This DIY felt witch craft is perfect for Halloween! Honestly, this may be one of my favorite witch crafts.
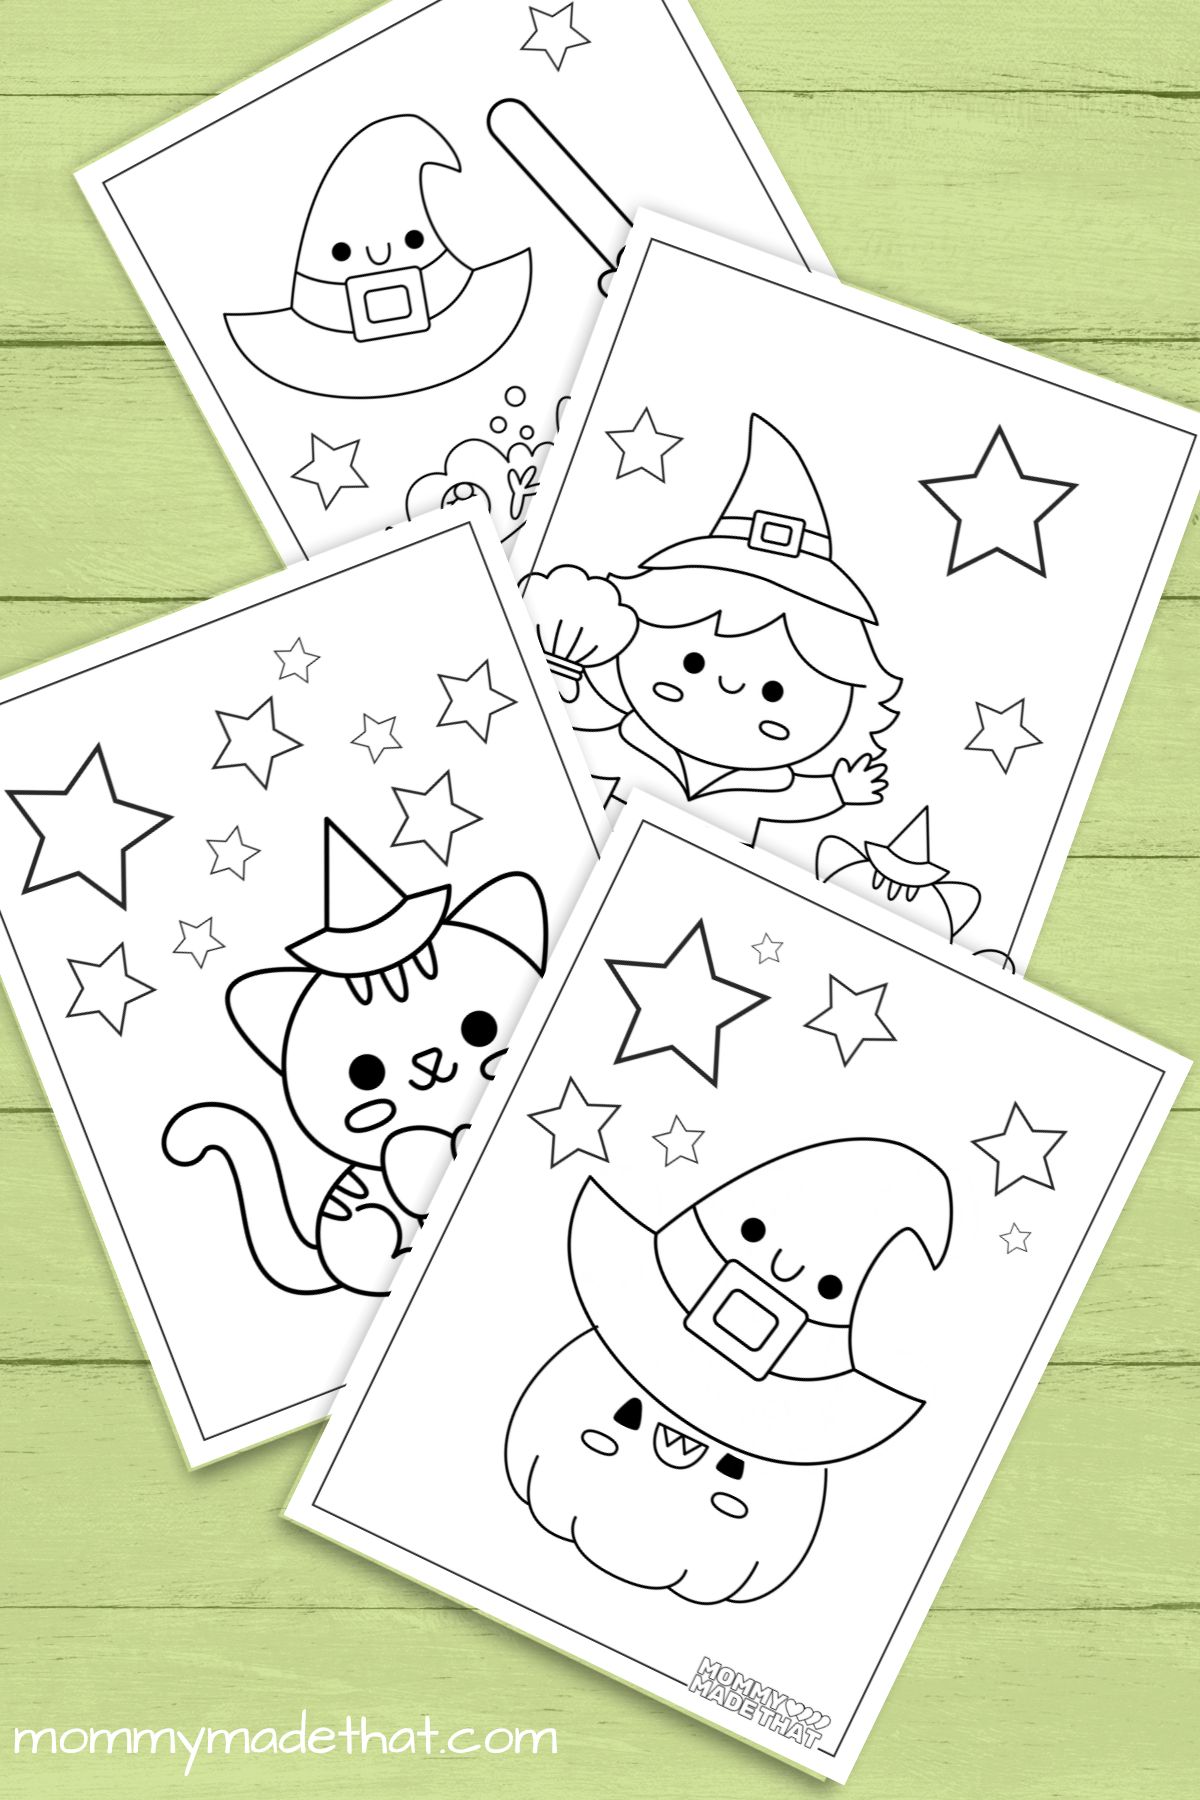
And it would pair perfectly with our witch coloring pages.
We created a free printable pattern, so it’s simple to make your own felt witch.
This would make an adorable felt Halloween ornament or even a quirky Christmas one!
Table of Contents
Materials
To make your own felt witch, you’ll need some of the following materials.
Colored felt fabrics: We used
Felt witch pattern: You can grab the printable pattern for free at the bottom of the tutorial.
Matching threads: The witch looks best if the colors of the thread match the colors of the felt.
You’ll also need some basic supplies like:
- Needle
- Pencil – to trace the template
- Sharpie or gel pen
Instructions
To get started, print out the witch pattern. Then grab your different colored felt fabrics.
We used pink for the face, purple for her clothes, orange for the hair and green and yellow accents.
The pattern includes a head, backside of the hair, front of the hair, 2 dress pieces, 2 hat pieces, the belt of the hat and an accent piece for the dress.
Step 1: Cut out the Pattern Pieces
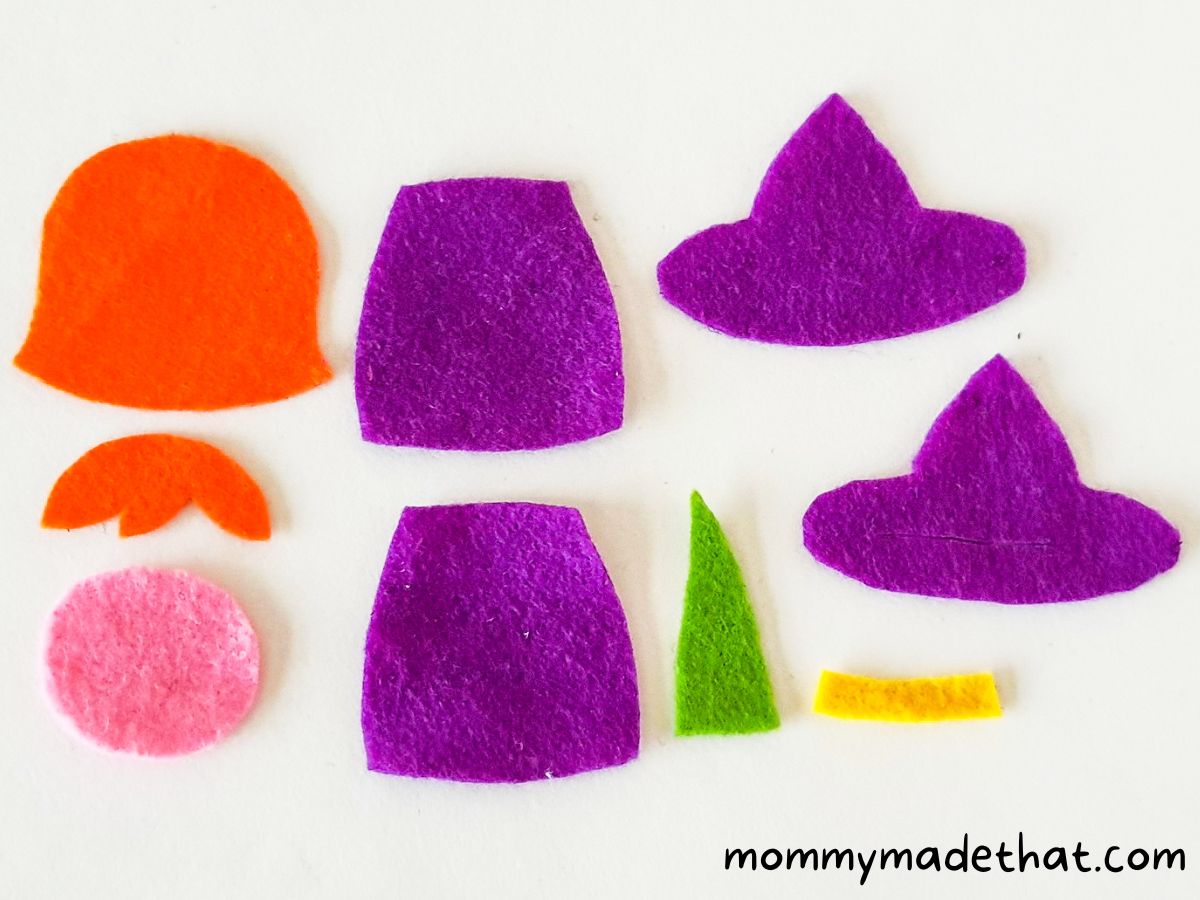
Trace and cut out all of the pattern pieces from the felt fabric.
I recommend using very sharp scissors.
Step 2: Create a Face
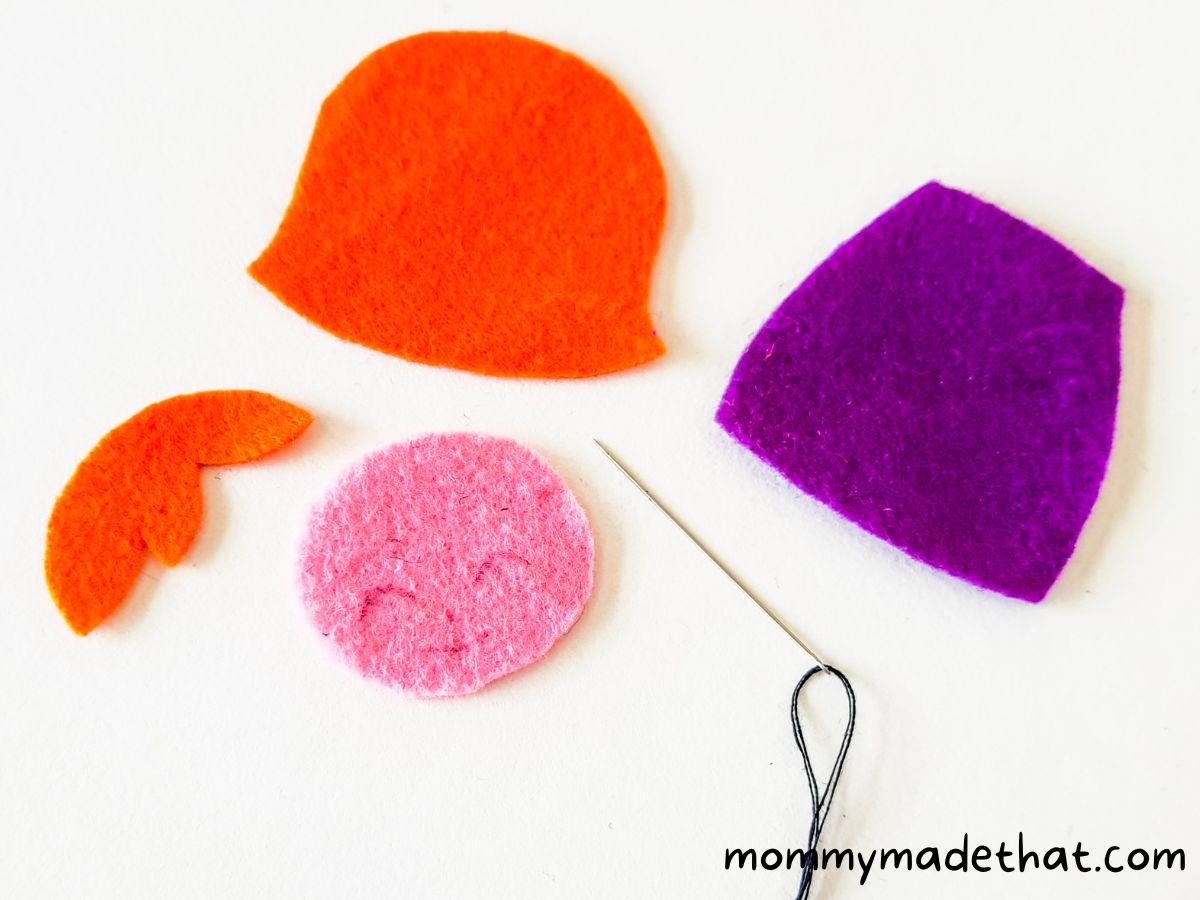
Grab the head pattern and use a gel pen to draw on eyes, a nose and a mouth.
Then thread a need with black thread.
Step 3: Attach the Hair
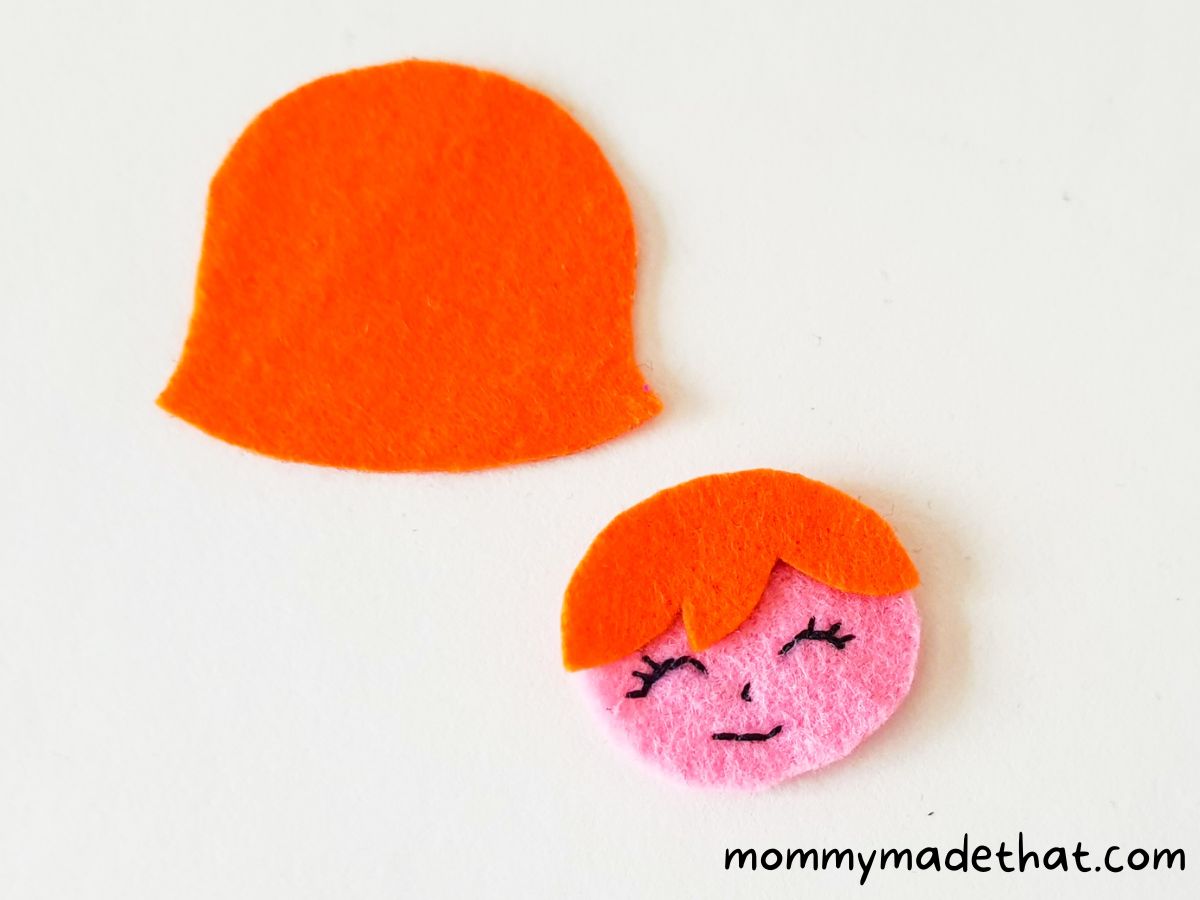
Stitch along all the traced pieces of her face with the black thread.
Then place the top of the hair pattern onto the top of the head.
Step 4: Sew Together
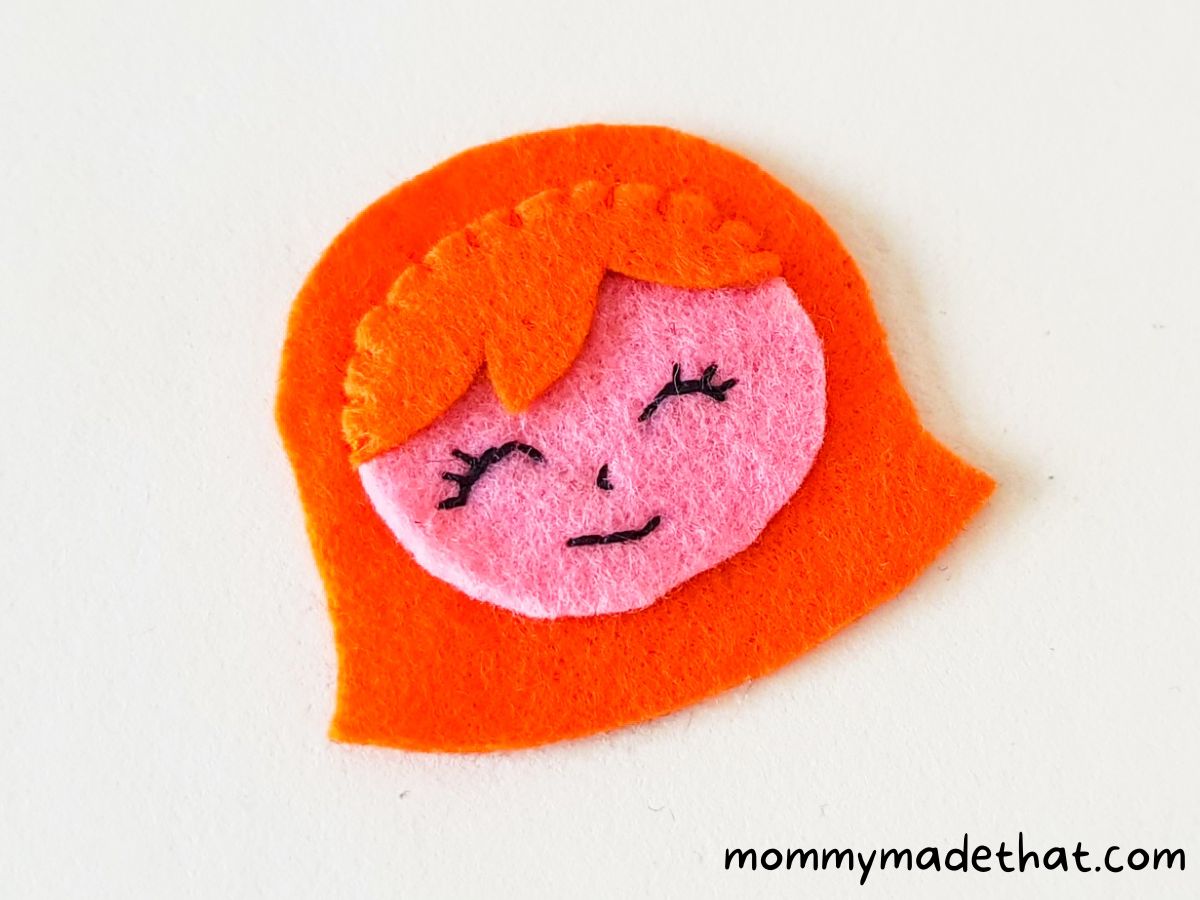
Next, place the head onto the hair base pattern, which will be the backside of the witch’s hair.
Using thread that matches the color of the hair, stitch together the head and both hair pieces along the top side of the hair.
Step 5: Stuff the Head Pattern
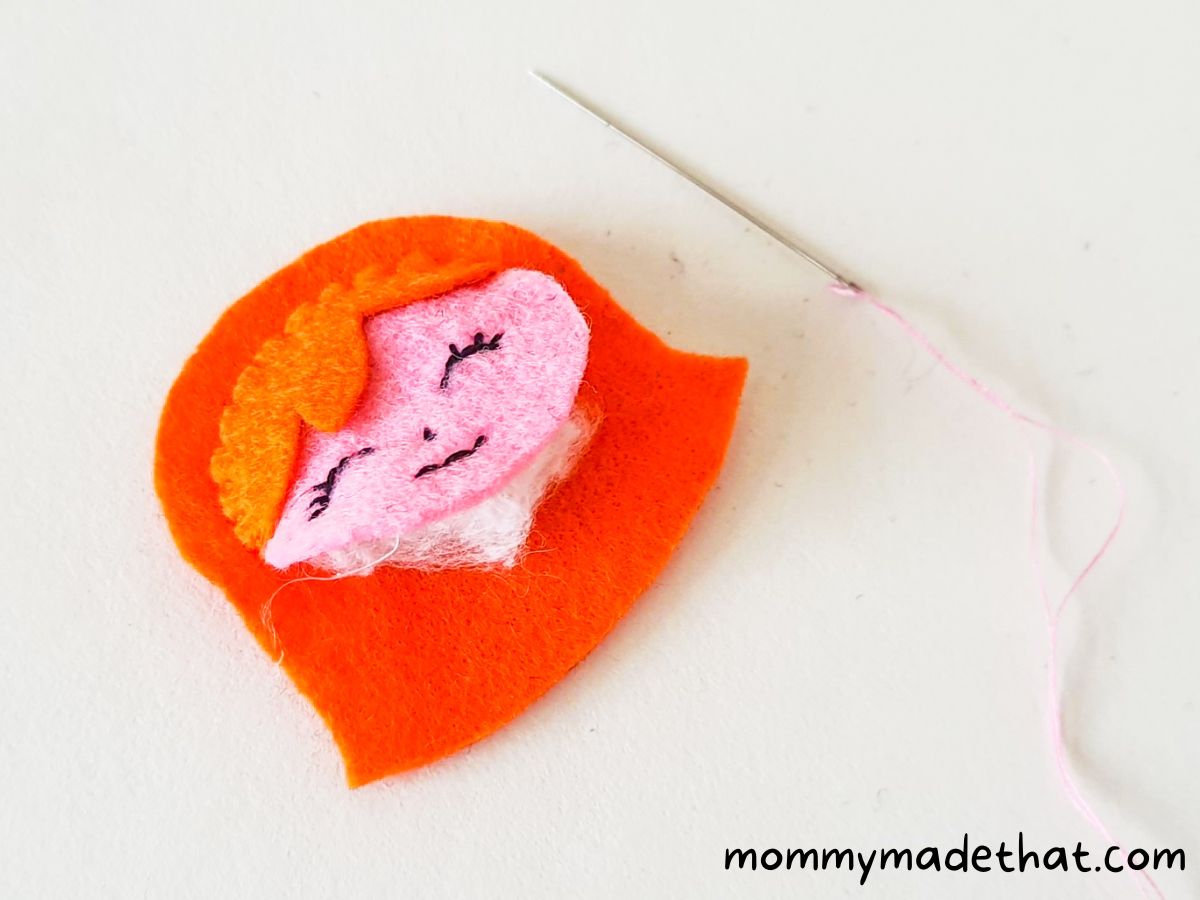
Stuff the witch’s head with a bit of cotton or leftover scraps of felt, through the bottom open area, like shown above.
Step 6: Start the Witch Dress
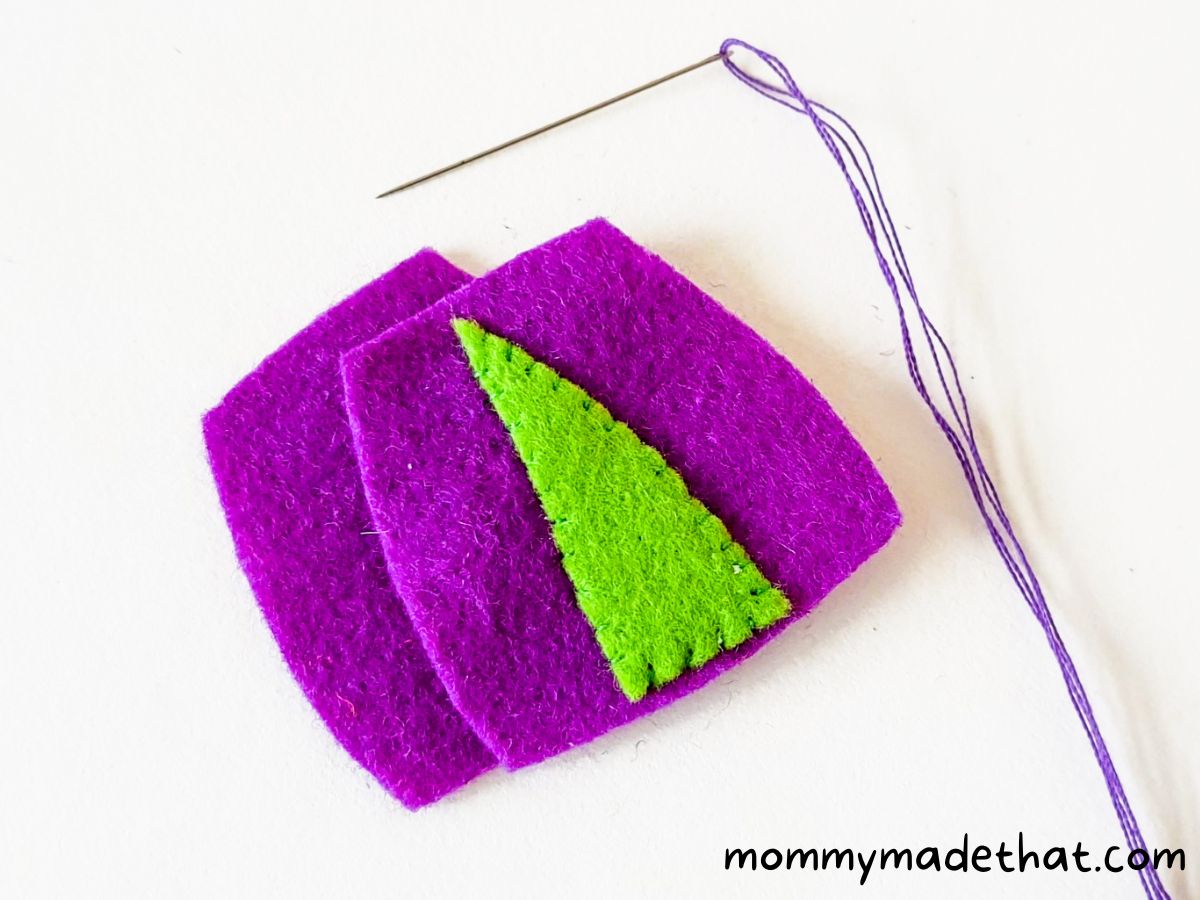
Grab the two dress pieces. On one piece stitch the dress accent vertically on the center of the dress.
Step 7: Stuff the Dress
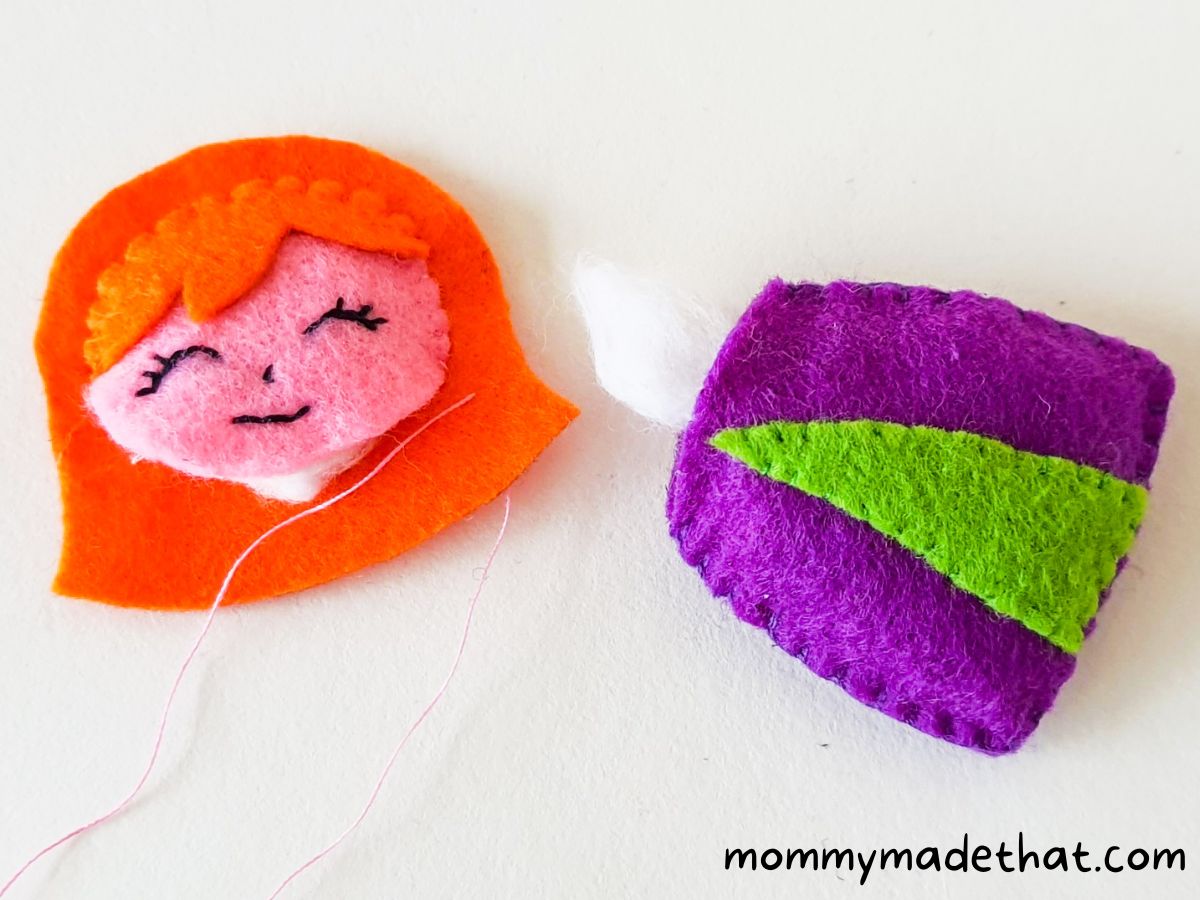
Stitch together both of the dress pieces together along both sides and the bottom, keeping the top part open.
Stuff the dress using cotton or leftover felt scraps in the open are at the top.
Step 8: Attaching the Head and Body
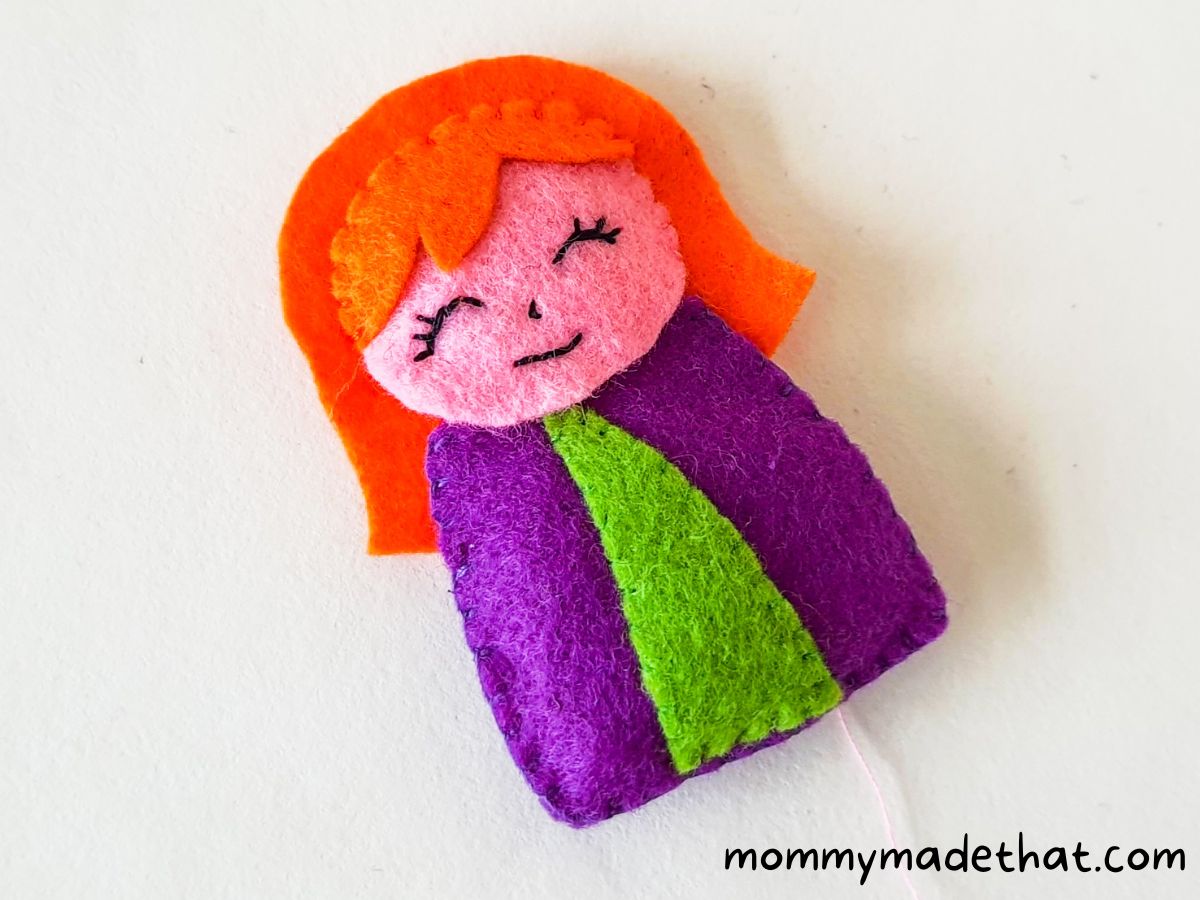
Place the open end of the dress through the bottom, open end of the head.
Step 9: Stitching them Together
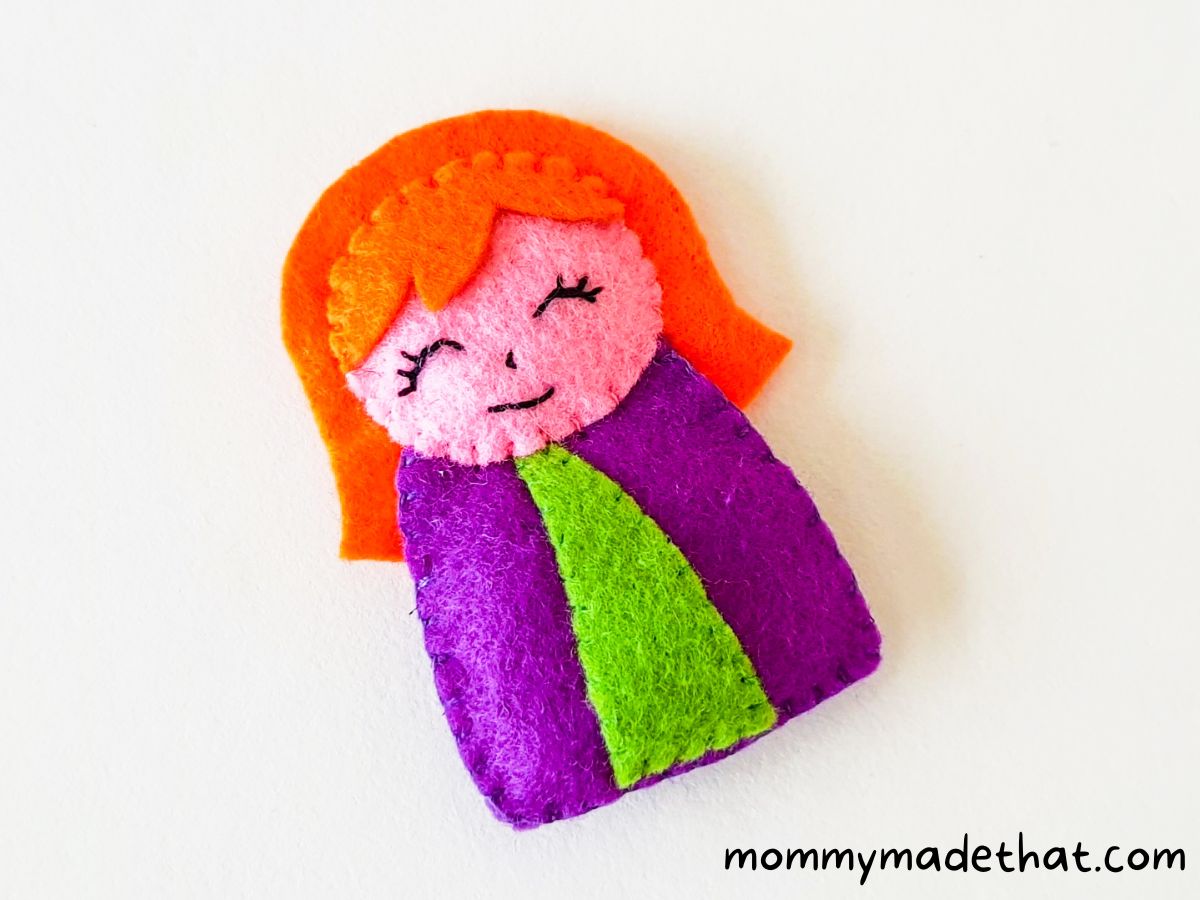
Then stitch the head and the dress together, making sure they are overlapping.
Step 10: Starting the Hat
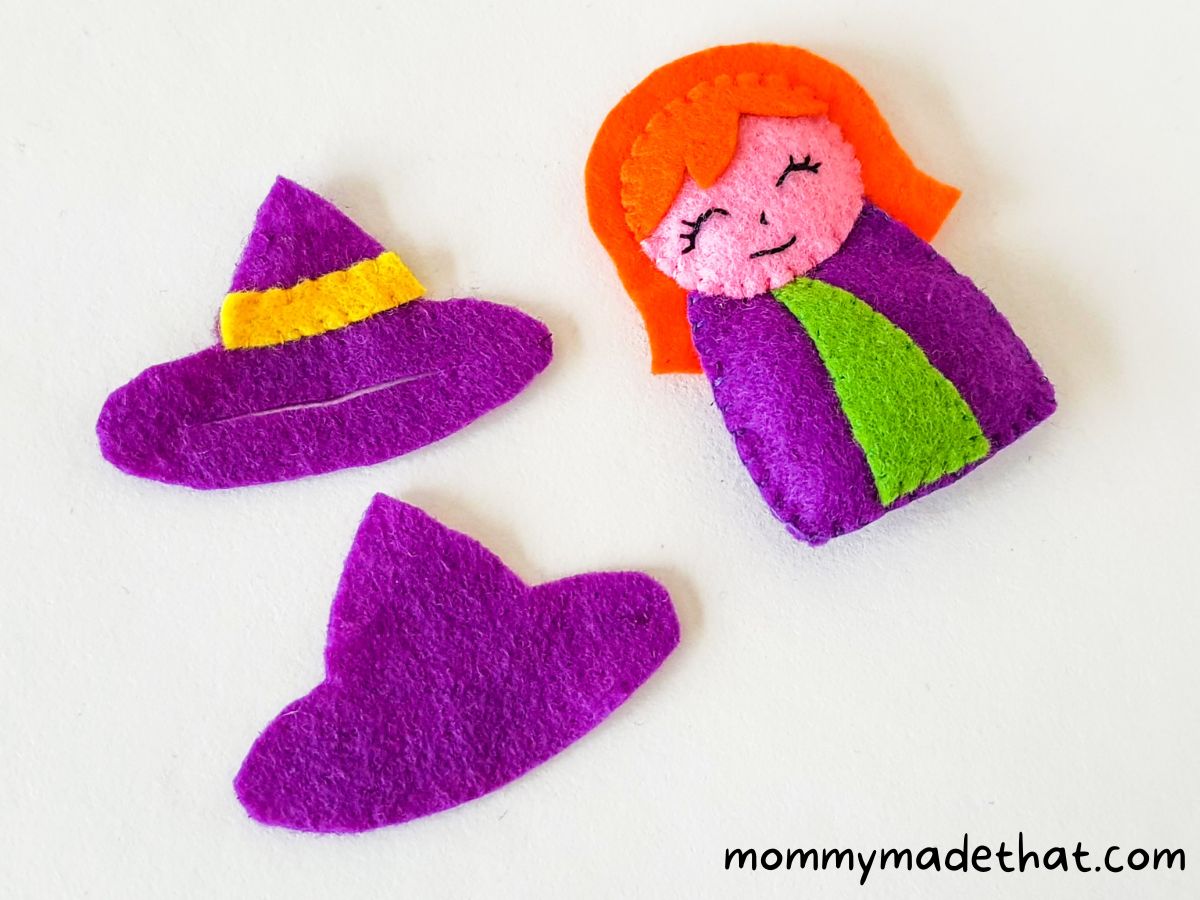
Now we can start working on the hat. Grab the two felt hat pieces.
Attach the belt to one of the hat cutouts. Then cut a slit along the marked line inside the hat pattern.
Step 11: Sewing the Hat Pieces Together
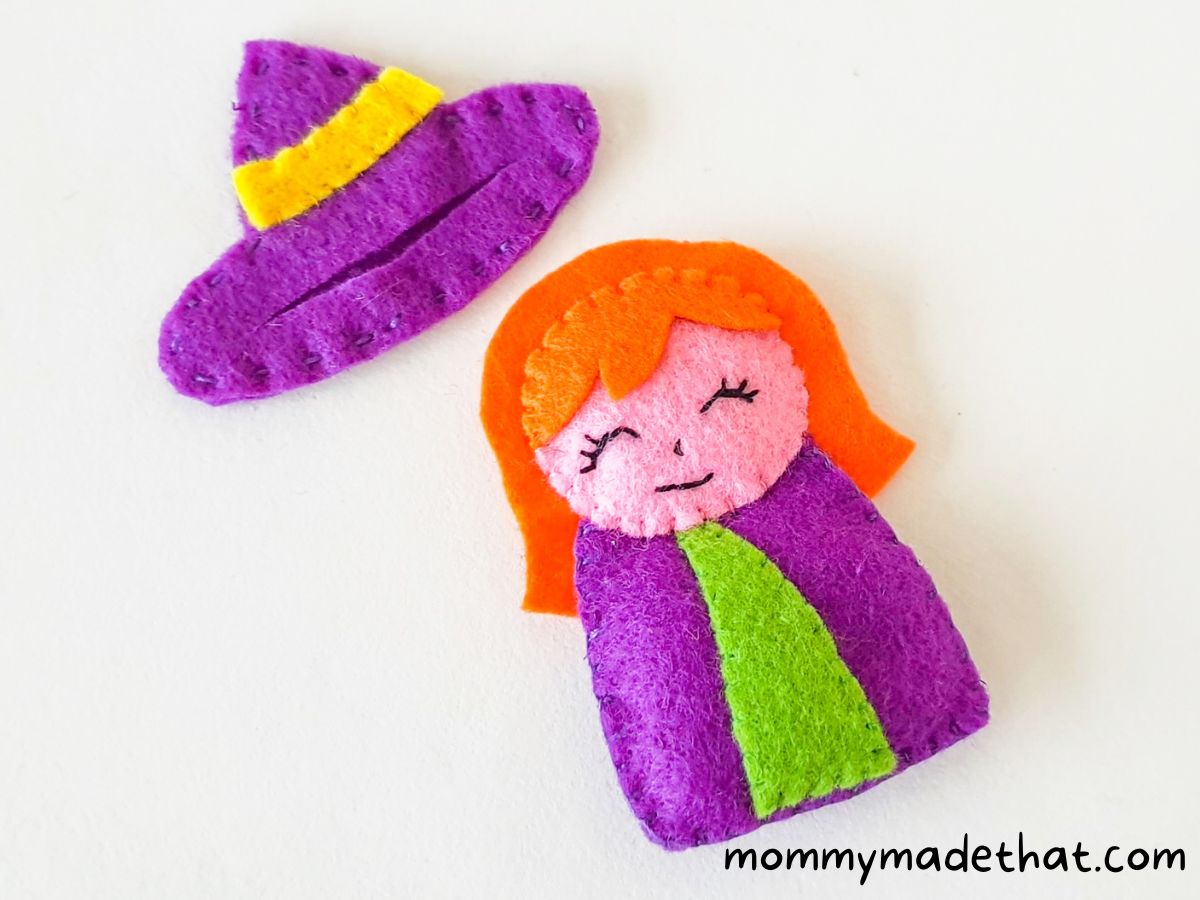
Stitch the hat pieces together around the side.
Step 12: Attaching the Hat to the Witch
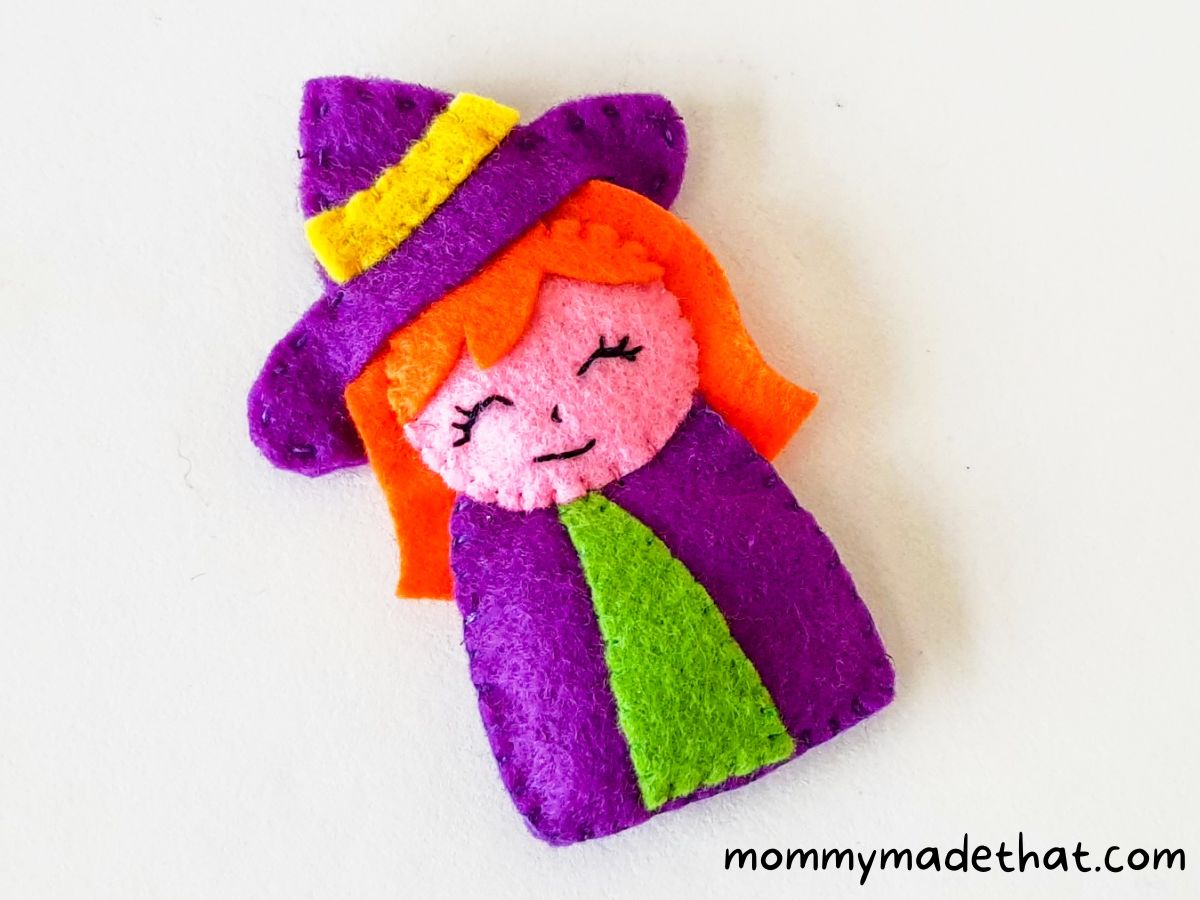
Finally, place the hat on the witch by sticking her head through the slit on the front of the hat. You can stitch it on if you like.
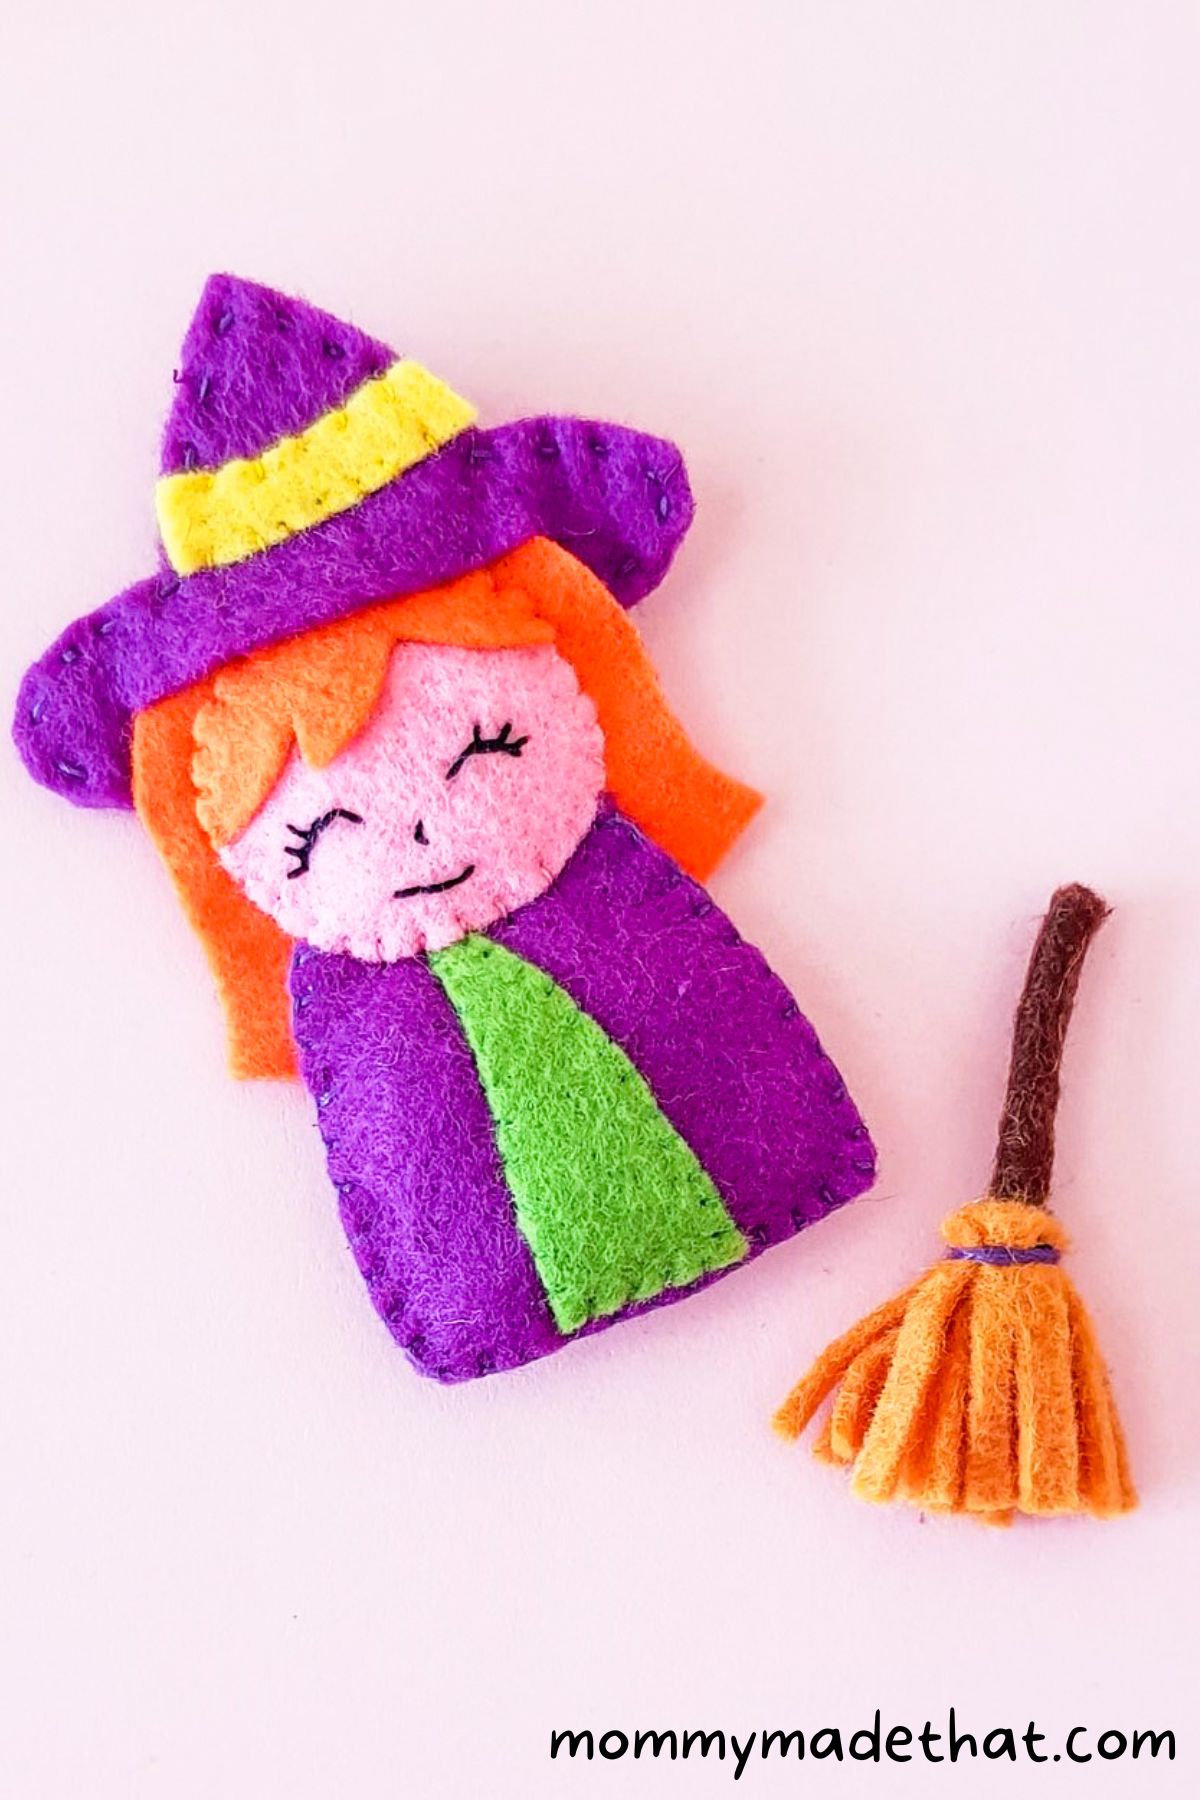
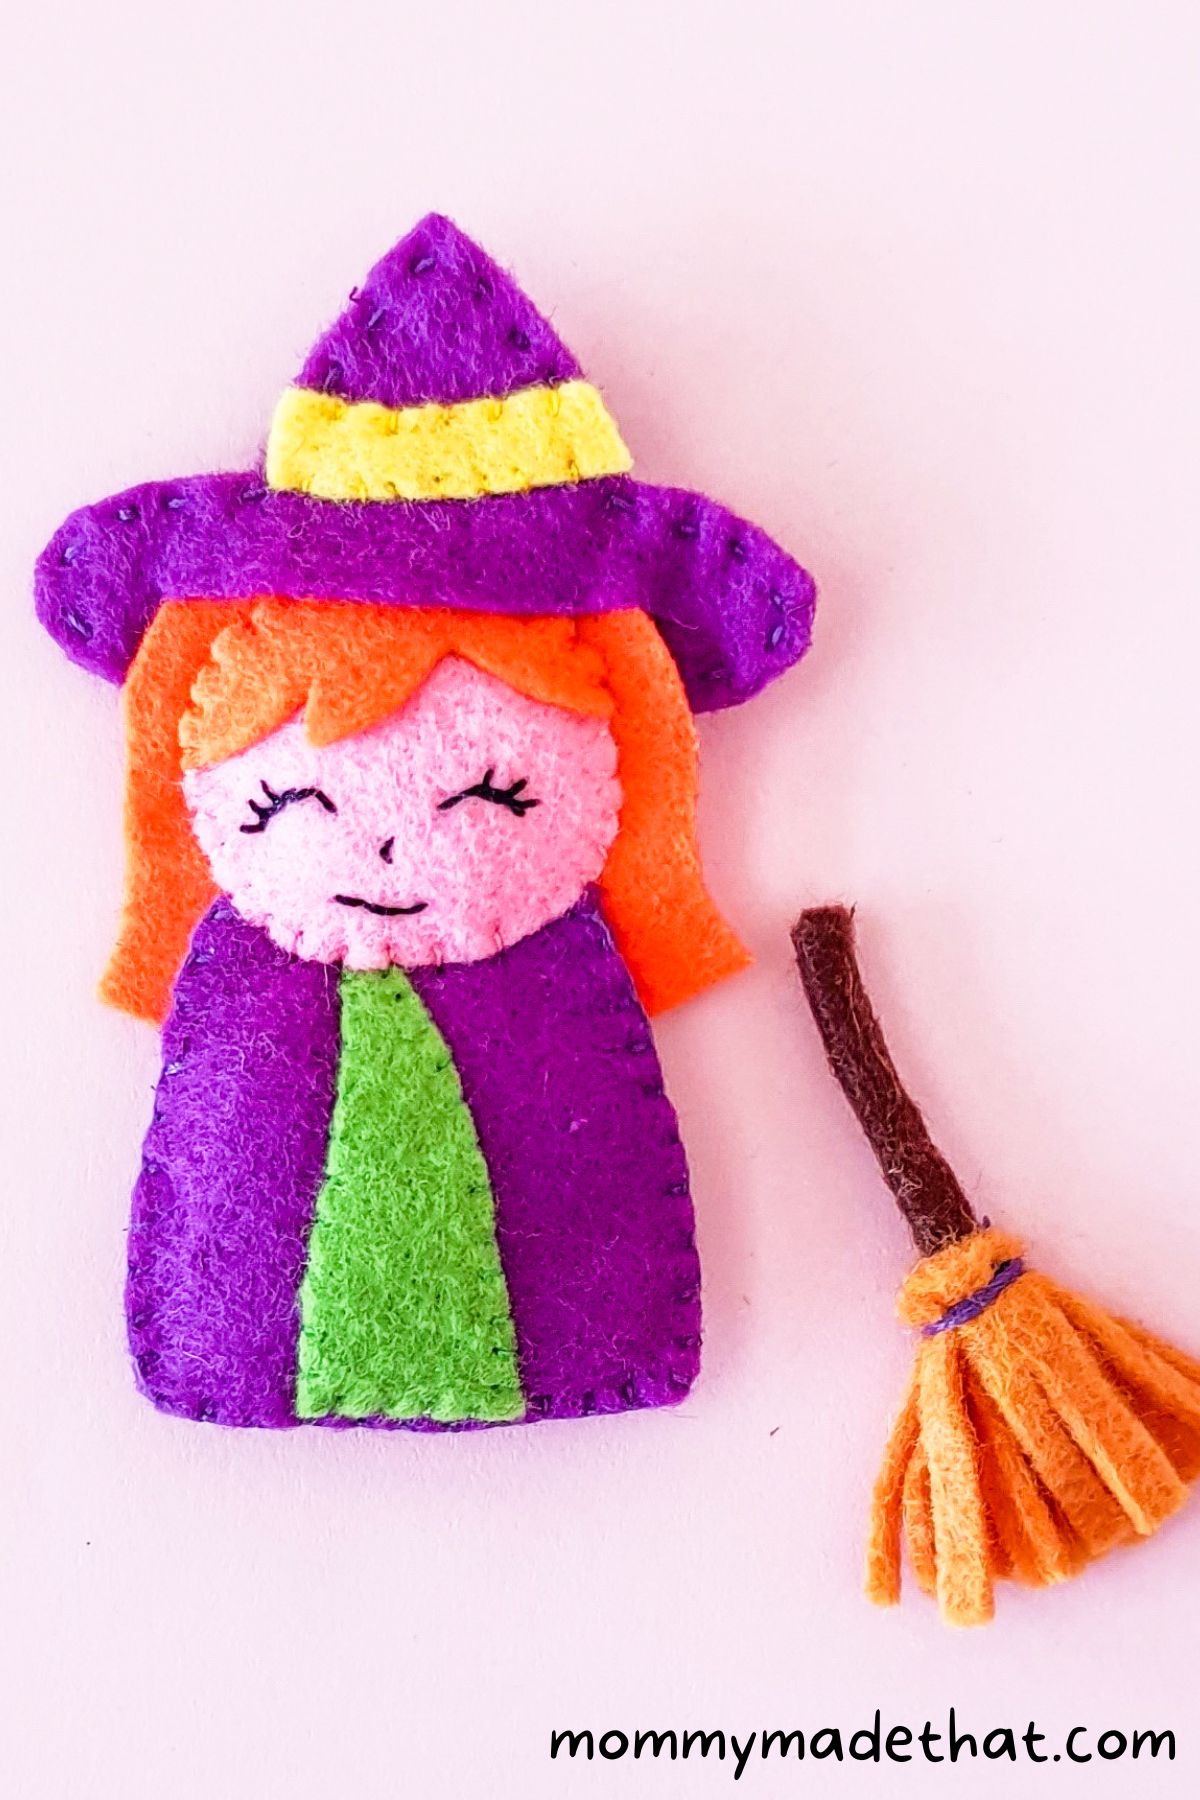
And that’s it. Your felt witch is all finished. She’d make a great ornament. All you’d have to do it attach a ribbon loop to the back of her.
Grab the Free Printable Pattern
To grab our free printable felt witch pattern, place your email in the box below.
We’ll send the template straight to your inbox, and let you know when we come out with more free printable patterns!
These patterns are for personal or classroom use only, not for commercial use. But you are most certainly welcome to sell any felt ornaments you make! (Just not the pattern!) Thank you!
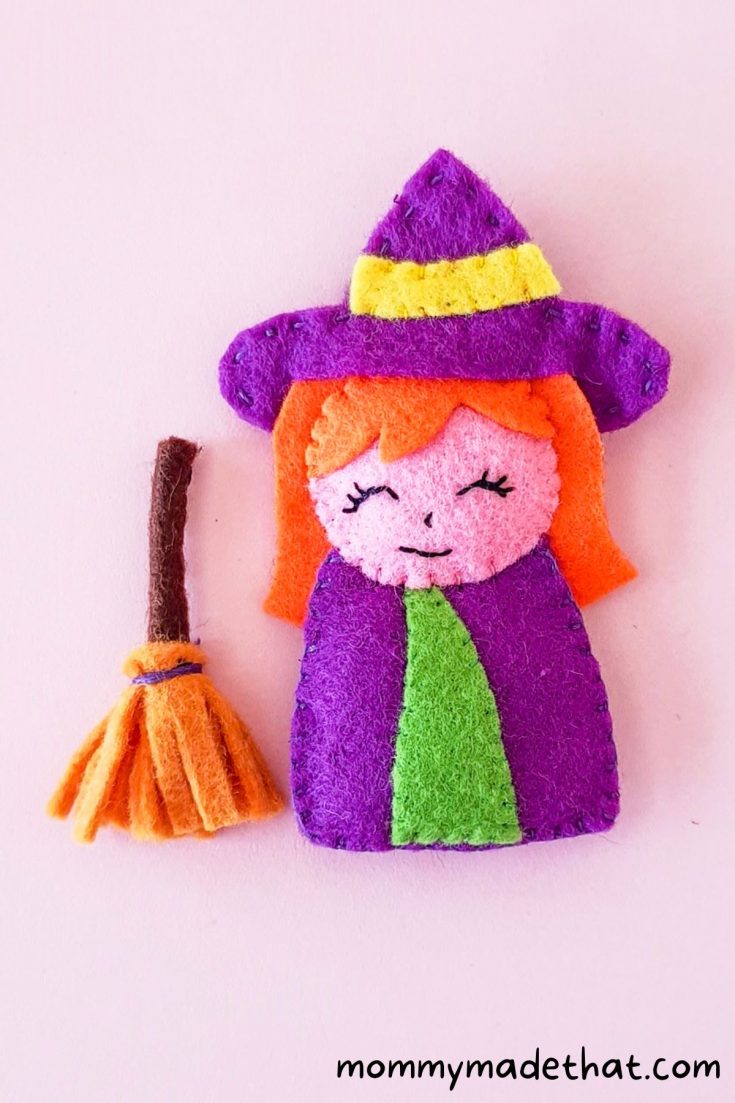
Felt Witch
This super cute felt witch is a fun Halloween craft! Halloween ornaments are a lot of fun to make, but she'd make a great Christmas gift for witch loving individual.
Materials
- Felt fabrics
- Witch template
- Matching thread
Tools
- Needle
- Pencil
- Black marker or gel pen
Instructions
- Trace and cut out all of the pattern pieces from the felt fabric.
- Grab the head pattern and use a gel pen to draw on eyes, a nose and a mouth. Then thread a need with black thread.
- Stitch along all the traced pieces of her face with the black thread. Then place the top of the hair pattern onto the top of the head.
- Place the head onto the hair base pattern, which will be the backside of the witch's hair. Using thread that matches the color of the hair, stitch together the head and both hair pieces along the top side of the hair.
- Stuff the witch's head with a bit of cotton or leftover scraps of felt, through the bottom open area.
- Grab the two dress pieces. On one piece stitch the dress accent vertically on the center of the dress.
- Stitch together both of the dress pieces together along both sides and the bottom, keeping the top part open. Stuff the dress using cotton or leftover felt scraps in the open are at the top.
- Place the open end of the dress through the bottom, open end of the head.
- Then stitch the head and the dress together, making sure they are overlapping.
- Grab the two felt hat pieces. Attach the belt to one of the hat cutouts. Then cut a slit along the marked line inside the hat pattern.
- Stitch the hat pieces together around the side.
- Finally, place the hat on the witch by sticking her head through the slit on the front of the hat. You can stitch it on if you like.
Notes
You can choose any color of felt you'd like for the witch. I think a green face would be fun too with a black dress. The possibilities are endless.

