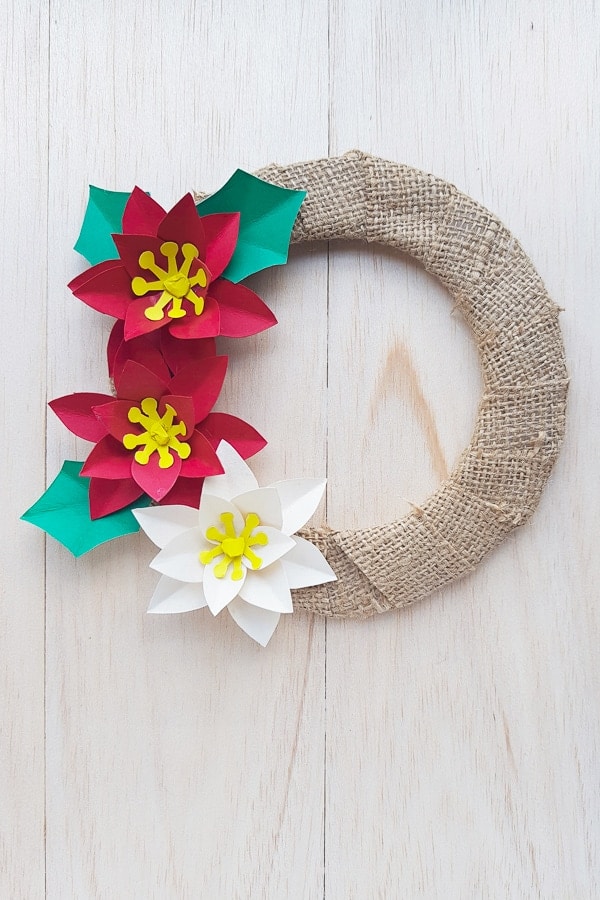
DIY Paper Poinsettia Flower Wreath
Today we are having fun making paper poinsettias! Since Christmas is near we are turning them into fun paper flower poinsettia wreaths!
We love DIY Christmas wreaths! And this is a fun and pretty winter craft.
There are so many lovely ways to decorate for the holiday season.
This paper poinsettia wreath is no exception. After all, poinsettias are THE Christmas flower, and we love making all sorts of fun paper flower crafts.
Today we have a full step-by-step tutorial on how you can make your own poinsettia wreath.
We even made it a super easy craft idea by including a free paper poinsettia flower template!
This post may contain affiliate links. That means if you click a link a make a purchase, we may earn a small commission at no cost to you. You can read our full disclosure here.
Table of Contents
List of Supplies Needed for Paper Poinsettia Wreath
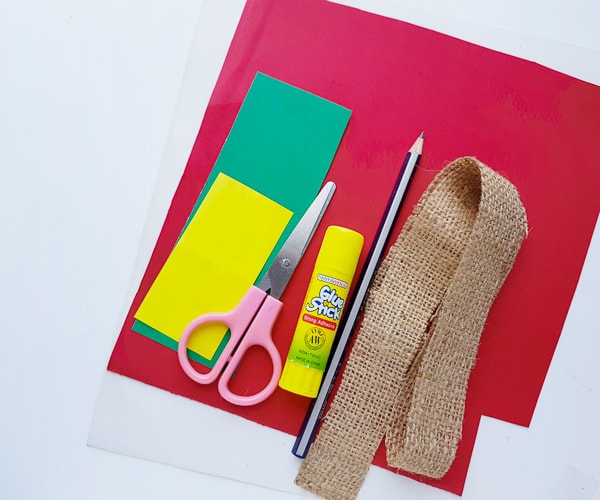
To make the paper poinsettia wreaths you’ll need:
- Colored cardstock (we used red, white, green and yellow)
- Burlap ribbon
- Our paper poinsettia template
- Craft glue
- Scissors
- Pencil
How to Make A Paper Poinsettia Wreath
To make this wreath, first, we’ll start by making the wreath base.
Then move on to how to make the paper poinsettias.
And finally moving on to putting the whole Christmas wreath together.
Making the Wreath Base
Let’s start with creating the wreath base.
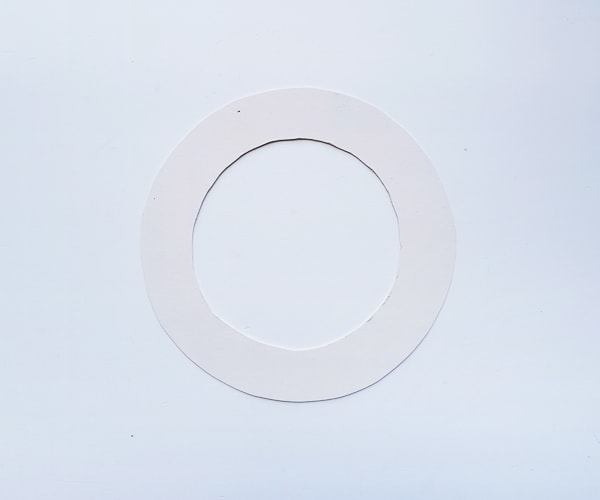
Step 1: Creating the Wreath Circle
To make your wreath, start by deciding how large you want your wreath.
Using a piece of cardstock or thin cardboard cut out a round wreath base.
Ours is about 8 inches wide and the circle is an inch thick.
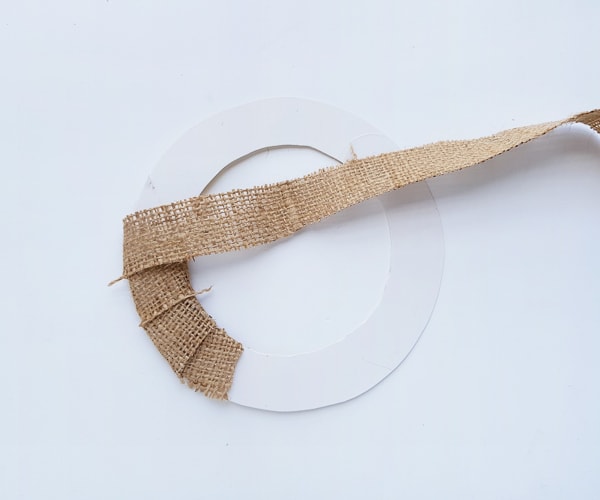
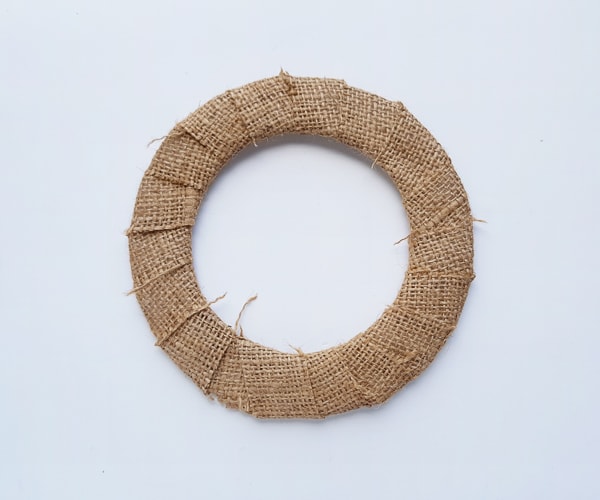
Step 2: Cover in burlap fabric
Next, you’ll want to cover the wreath base in a pretty covering.
We used burlap ribbon to wrap around the base, creating a pretty rustic feel to our poinsettia wreath.
You can use burlap ribbon like this or grab a piece of larger burlap and cut it into 1-inch strips.
Wrap the base by applying glue to the base and tacking down the strip of burlap, then continue wrapping your wreath.
Step 3: Covering the Wreath with Burlap
Continuing covering the whole wreath base with the burlap ribbon.
When it’s entirely cover, glue the end of the strip to the back of the wreath base.
How to make Paper Poinsettias
Now that your wreath base if all finished, let’s move on to making the paper poinsettia flowers.
Make sure to grab the printable 3D paper poinsettia template in our free craft library.
Download the PDF file and print out the template.
Step 4: Tracing the Poinsettia Template Pieces
Now trace each of the poinsettia petals onto the card stock you’d like your flowers to be in.
We used both red and white flowers.
Make several of the cross shapes circle shapes out of yellow cardstock.
For each of the poinsettia flowers:
- 6 large petals for the outer layer
- 3 Large petals for the middle layer
- 3 Small petals for the inner layer
- 2 Cross shapes and 1 round shape (yellow) for the center of the flower
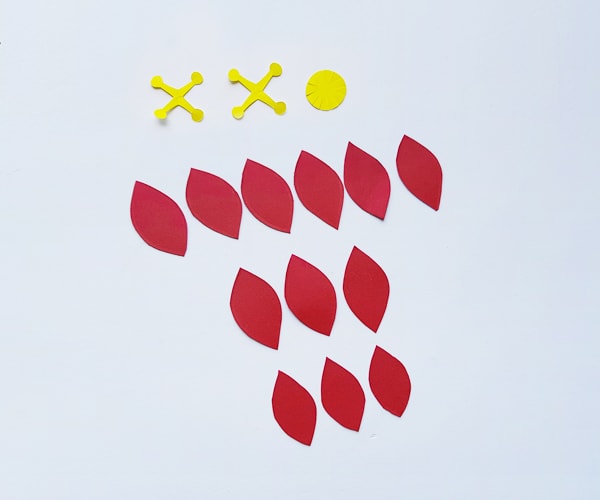
These pieces will all make 1 (3d) paper poinsettia.
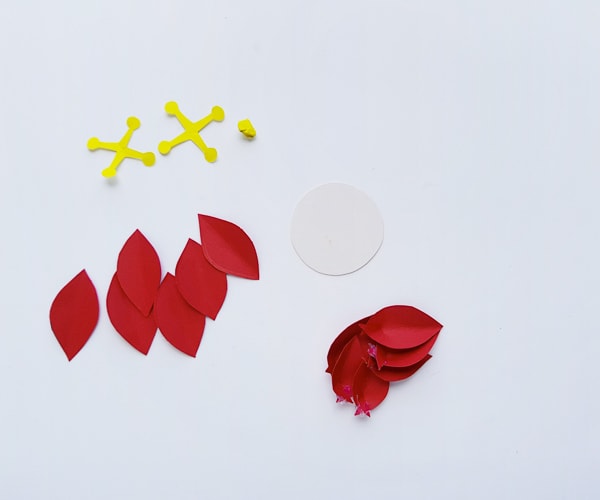
Step 5: Creating the Petals
Now that you have all of your pieces cut out for an entire flower, start piecing together your poinsettia.
Grab 3 large petals and 3 small petals. Cut 1-centimeter slits into their tips.

Overlap the petal slits and glue them in place like the photo below, to create a more 3D petal.
Step 6: Crease the Larger Petals
Next, crease the 6 large petals down their center.
Take your yellow circle shape, and roll it up to create a ball to be placed in the center of your flower.
Cut out a round base from the cardstock, to create a paper base to glue your petals to.
Step 7: Attaching the Petals
Now attach the 6 large creased petals onto the base in a round, flower shape, like shown below.
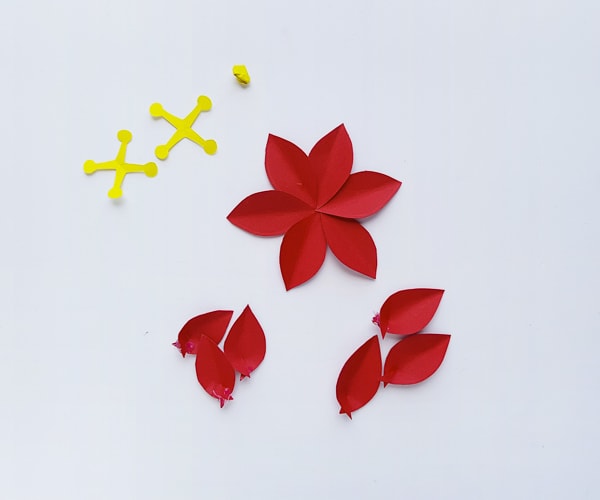
Step 8: Layer the Poinsettia
Now, attach the 3 curved larger petals onto the flower base for the next layer of the poinsettia.
Then attach the 3 smaller curved petals towards the center of the base, building a 3D poinsettia flower.
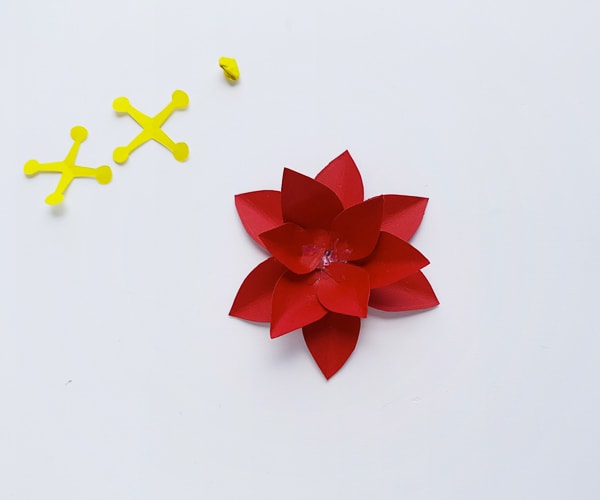
Looking good so far right?
Don’t worry about the glue in the center. We’ll cover it up with the inner flower pieces.
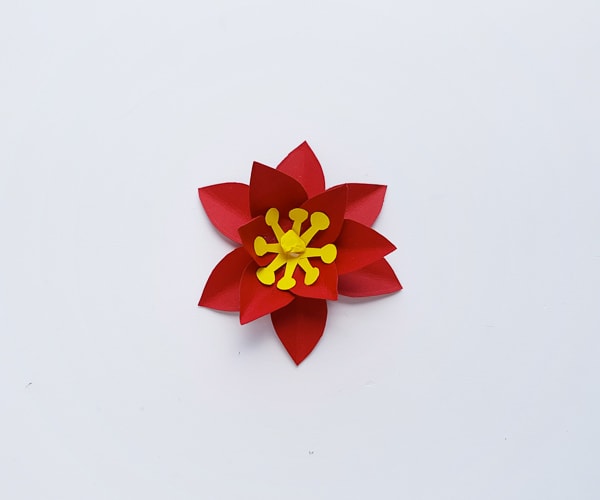
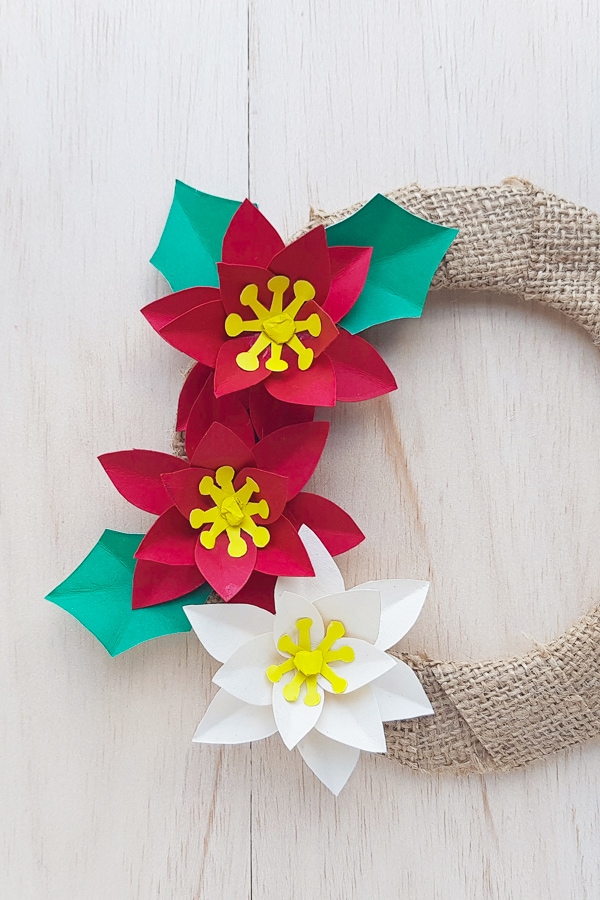
Step 9: Form the Center of the Flower
Now attach the 2 yellow cross patterns diagonally of each other, onto the center of the poinsettia flower.
Attached the crumpled up round piece to the center of the criss-cross pattern.
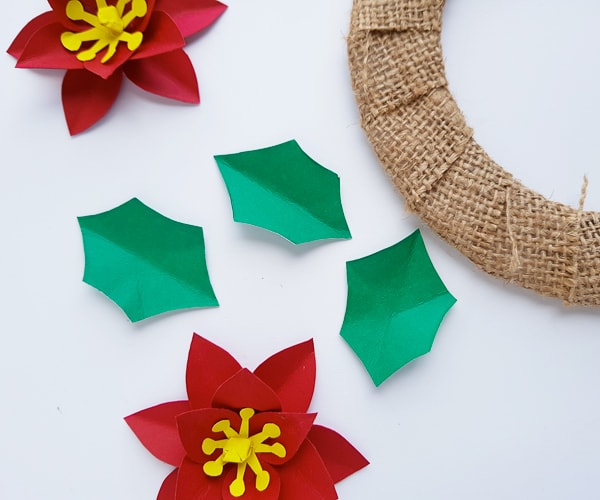
Step 10: Cut out Leaves
Now cut out a few green leaf patterns from green cardstock to add accent leaves to the wreath.
Create a few more flowers and leaves to fill in a good chunk of your Christmas flower wreath.
Step 11: Attaching the Poinsettias
Finally, attach the poinsettia flowers and leaves onto your burlap wreath base until you are happy with how they look.
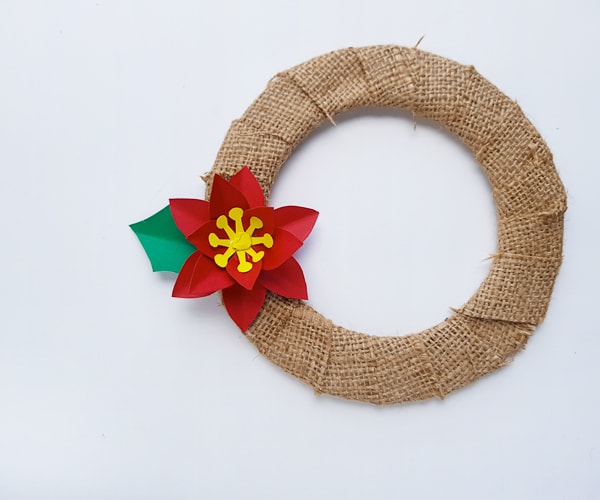
We used 3 of the Christmas flowers for our wreath and several of the leaves to fill in the empty spaces.
You can also make a few extra flowers to use as gift wrap decorations.
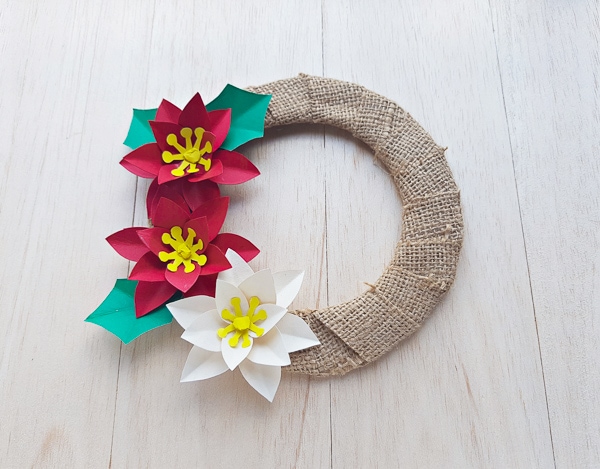
And now your paper poinsettia wreath is all finished! Cute right?
Now it’s your turn to make this craft! Be sure to grab the poinsettia paper craft template! (In the library)
It’ll make the craft so much easier.