
Toilet Paper Roll Witch Craft for Halloween
Make a cute toilet paper roll witch with colored paper, an empty cardboard tube, and our free printable template! Follow the step-by-step photos below to give her a pointed hat, braided hair, and a little purple belt.
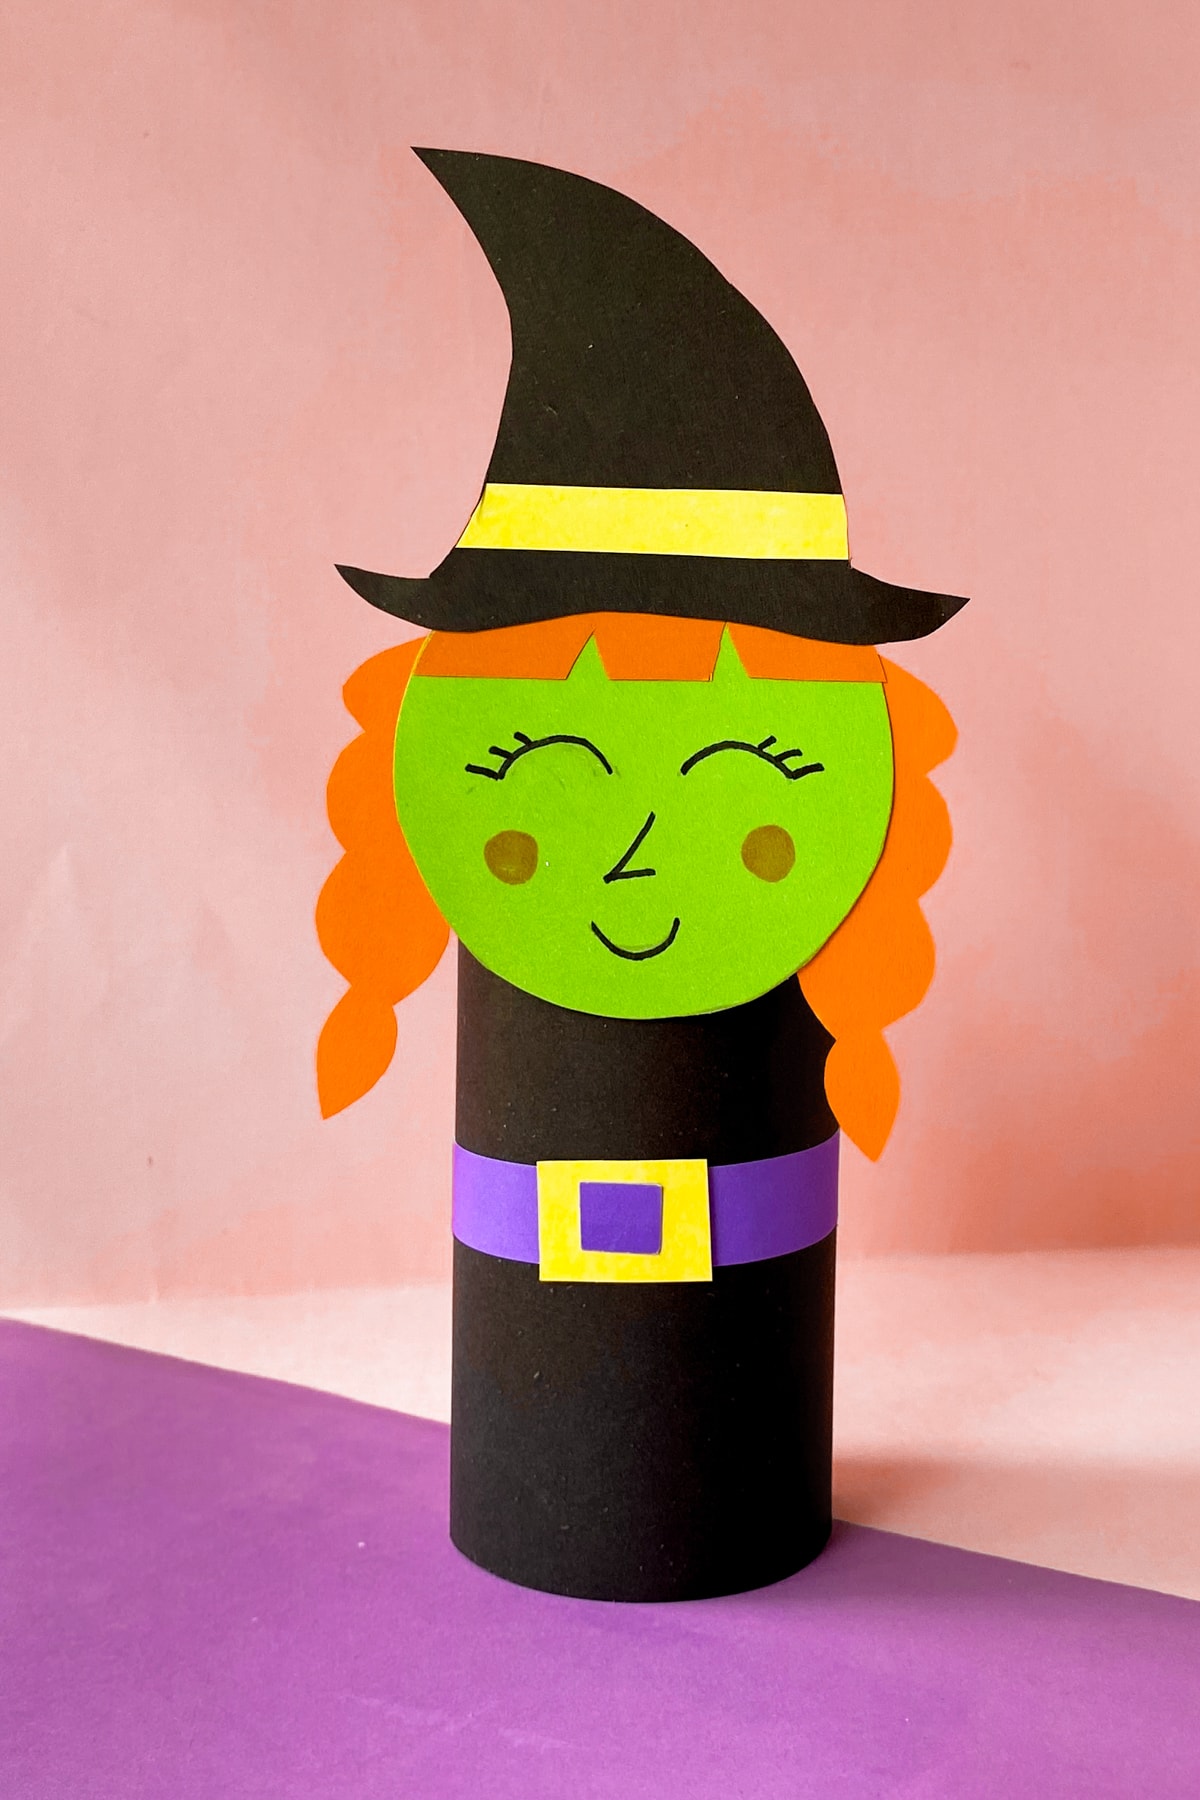
This Halloween craft for kids makes a sweet little decoration for a shelf or classroom display. Kids can choose the colors and draw their own witch’s face.
Save a few extra tubes for our other toilet paper roll crafts, too. You can grab the free witch template below before getting started.
Materials & Supplies
To create our toilet paper roll witch, we’ll need a few very basic supplies and materials.
Empty toilet paper roll: You’ll need one clean, dry cardboard tube for each witch. You can also cut a paper towel tube down to the height you want; adjust the paper wrap to fit.
Colored craft paper: We used green for the face, orange for the hair, black for the dress and hat, purple for the belt, and yellow for the buckle and hat band.
Toilet paper roll witch PDF template: You can grab our witch craft template at the end of the tutorial.
You’ll also need some basic supplies like:
- Scissors
- Craft glue
- Pencil
- Ruler
- Markers
Directions
To make your paper roll witch, start by grabbing all of your supplies. Then download and print out the toilet paper roll witch craft template.
If you’re crafting with younger children, cut out the small pieces ahead of time and let them arrange, glue, and decorate. For a group, set out one tube and one set of paper pieces per child.
Step 1: Cut out the Pieces
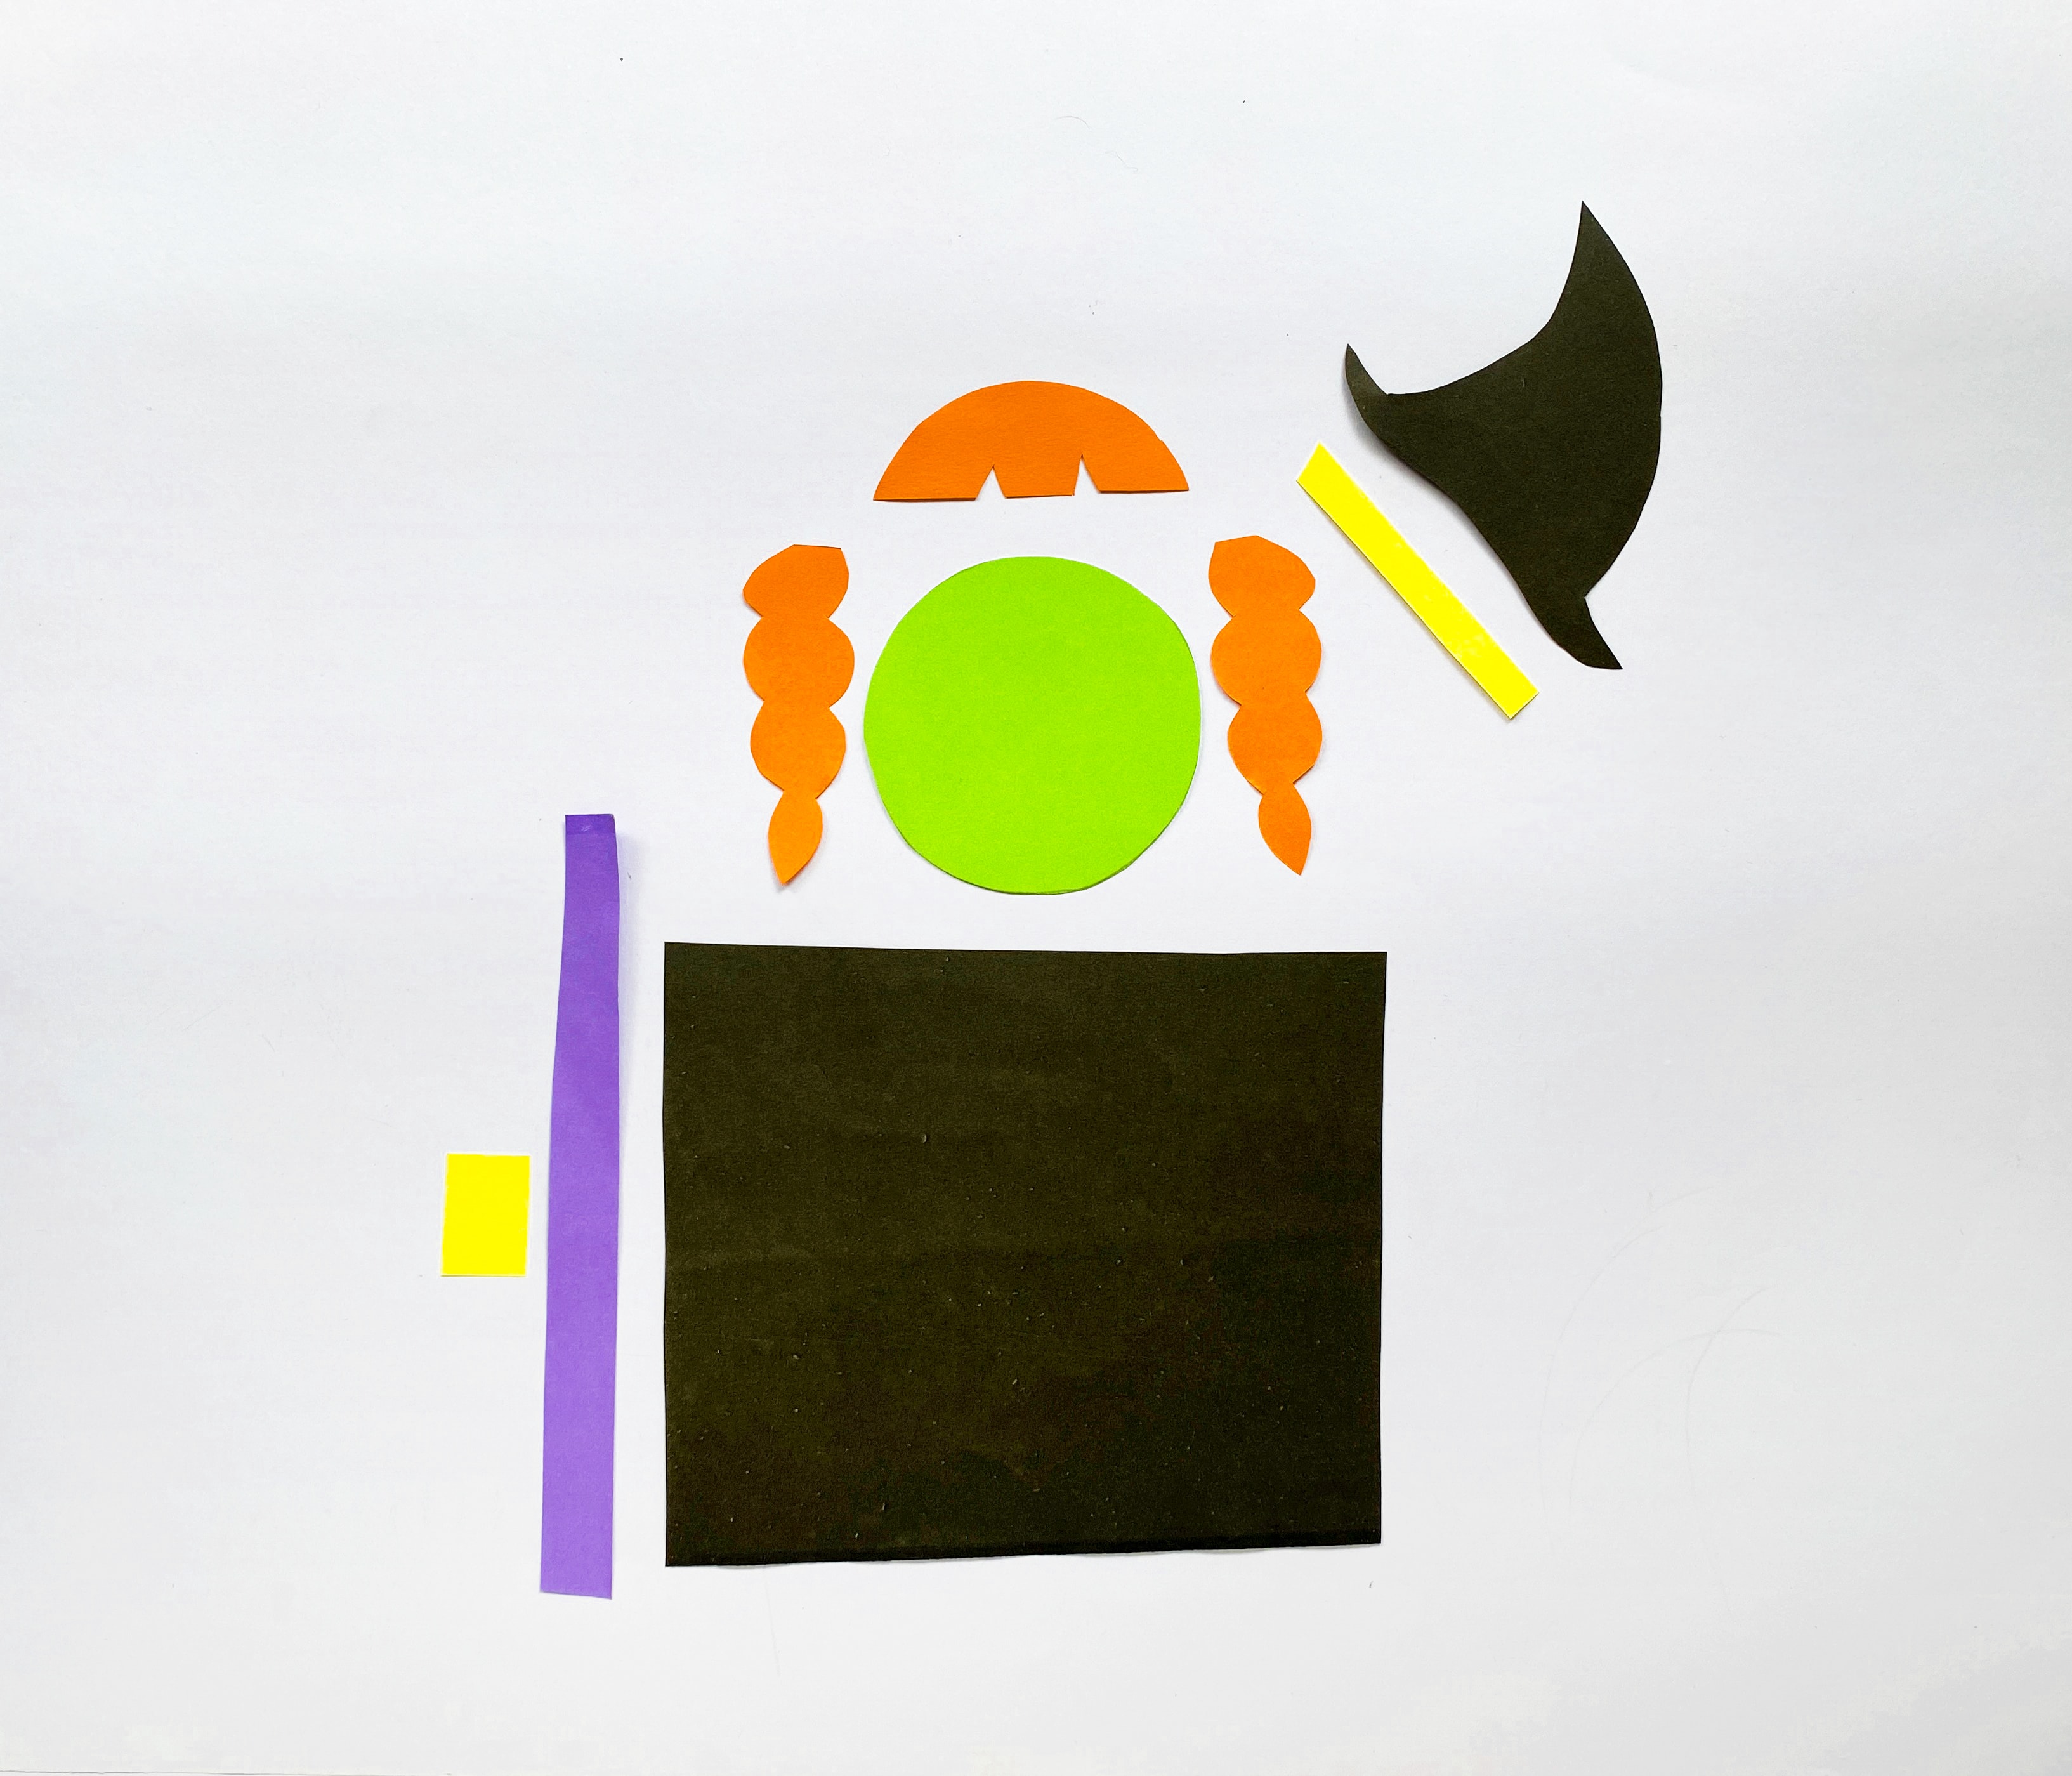
Once the template is printed out, trace out the different template shapes onto your colored craft paper and cut out each piece.
You should have a bunch of witch pieces that look like the ones below.
Step 2: Assemble the Witch’s Head
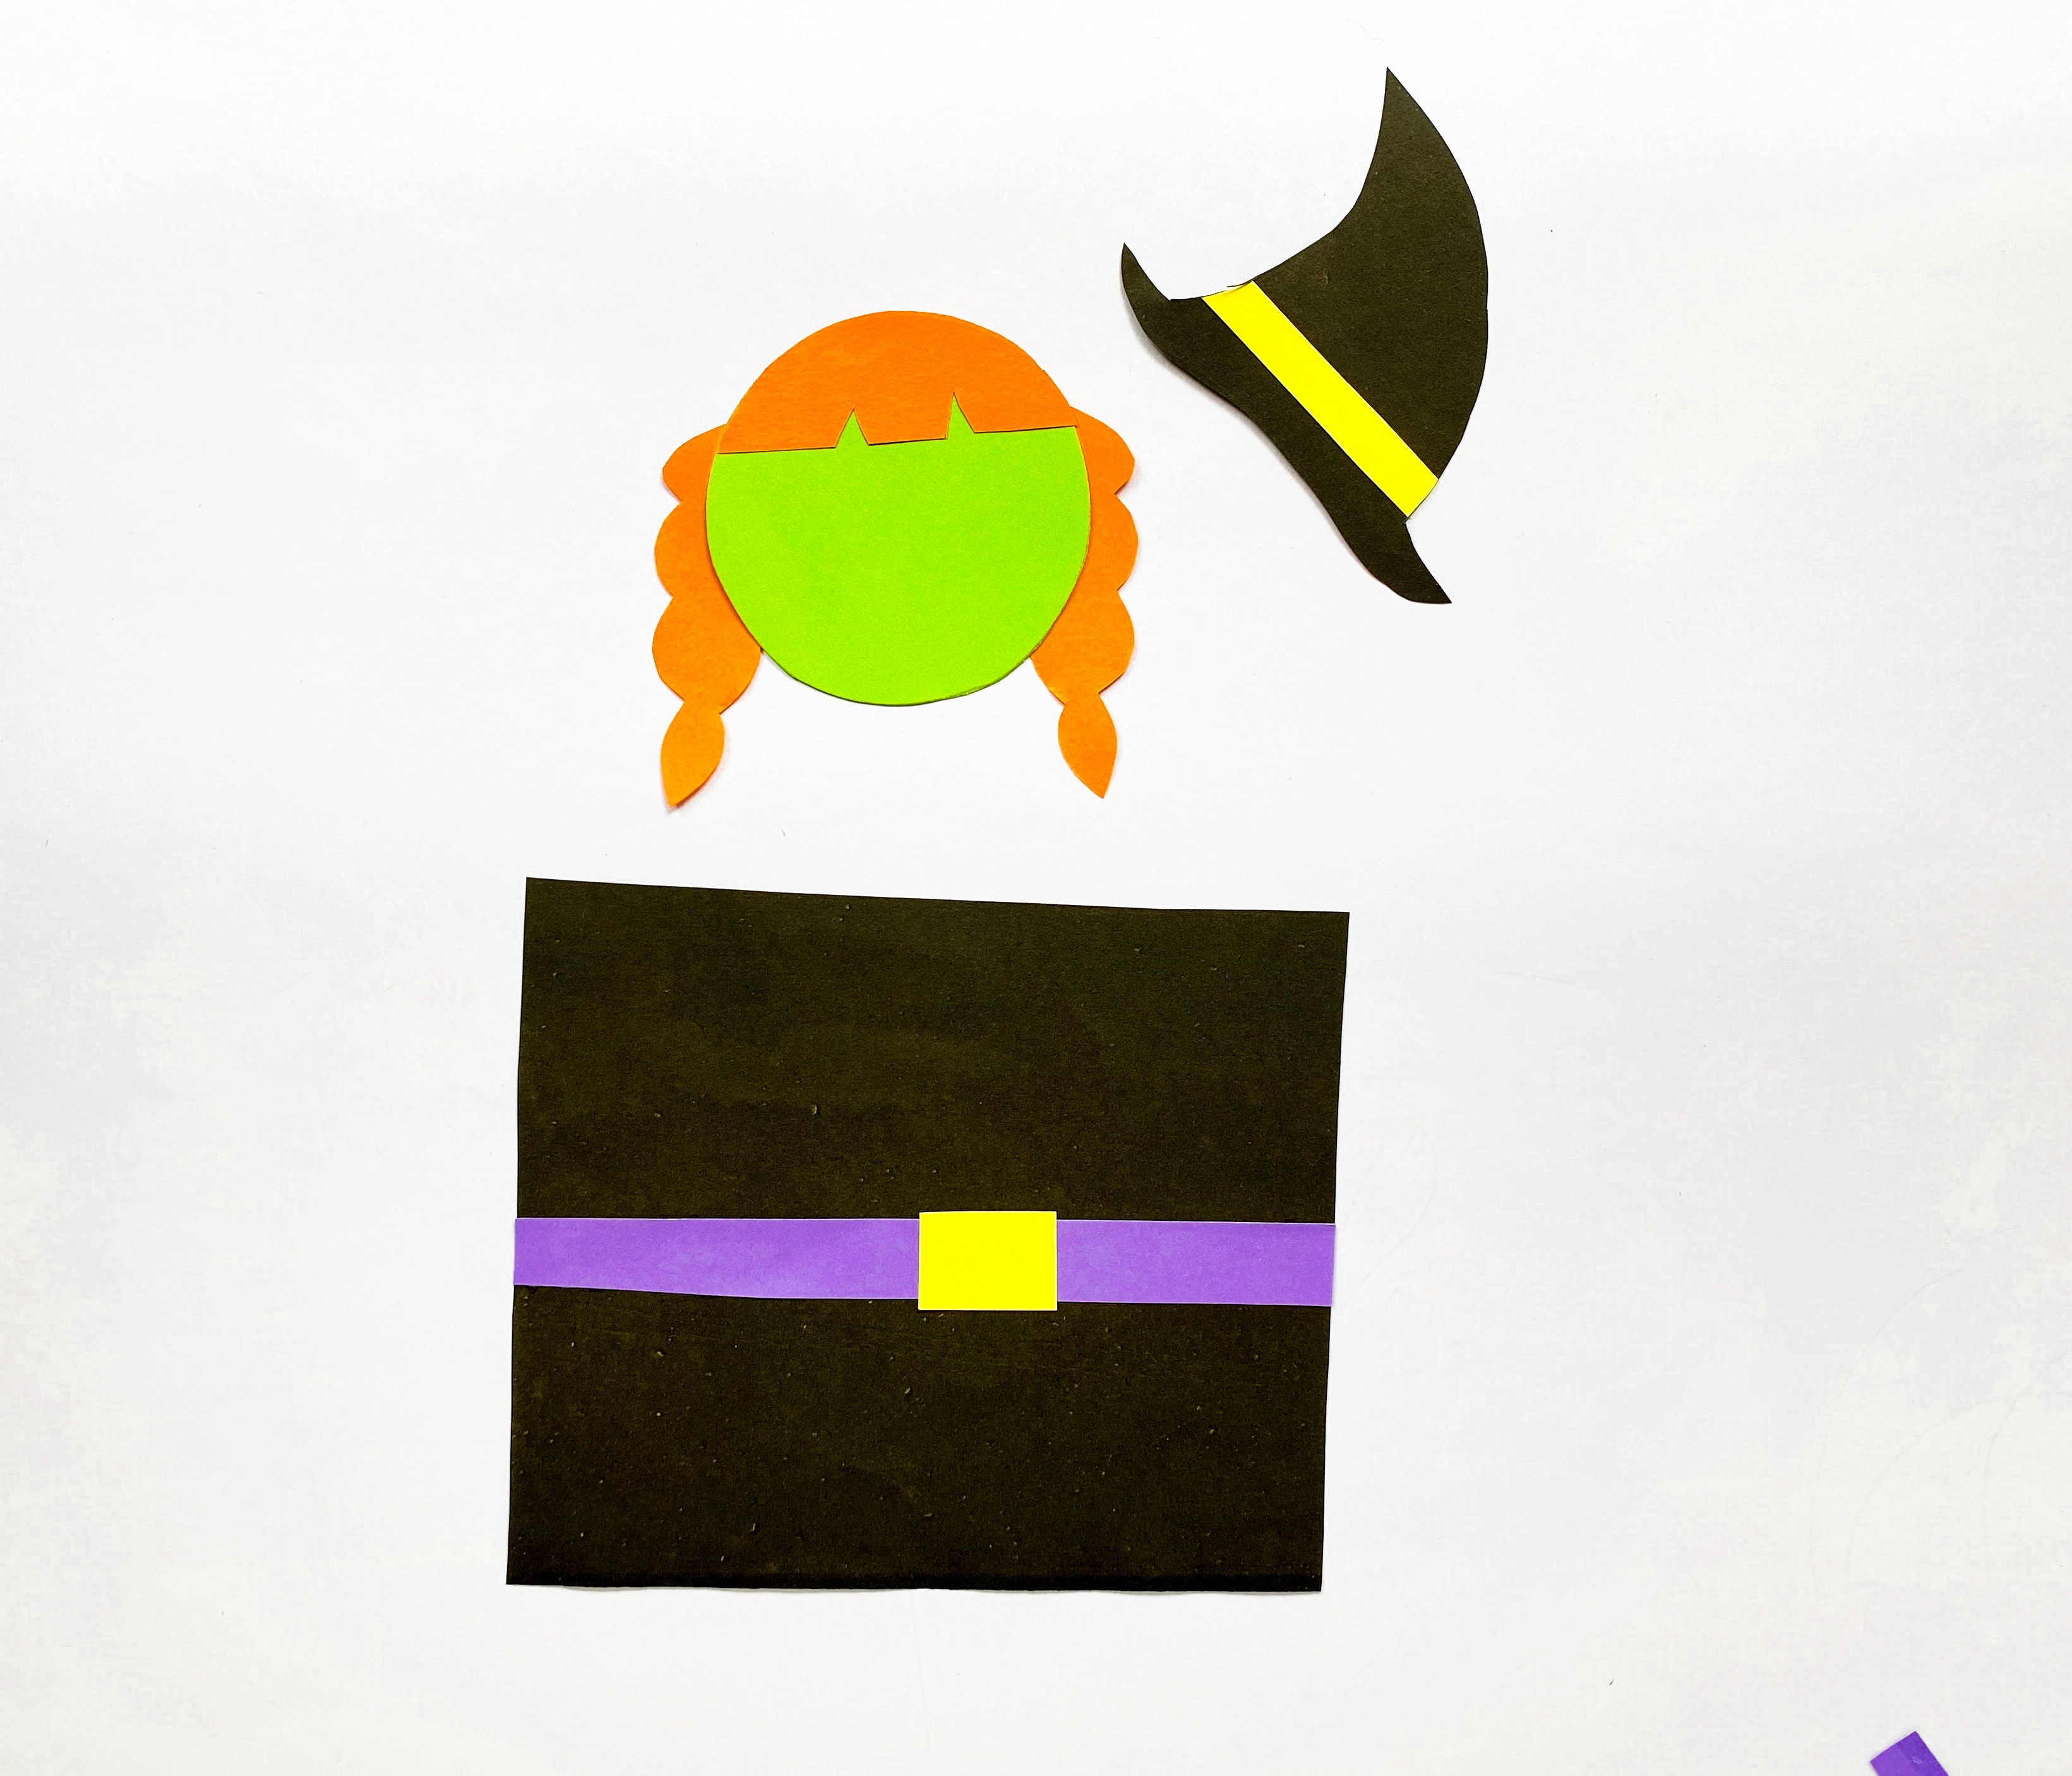
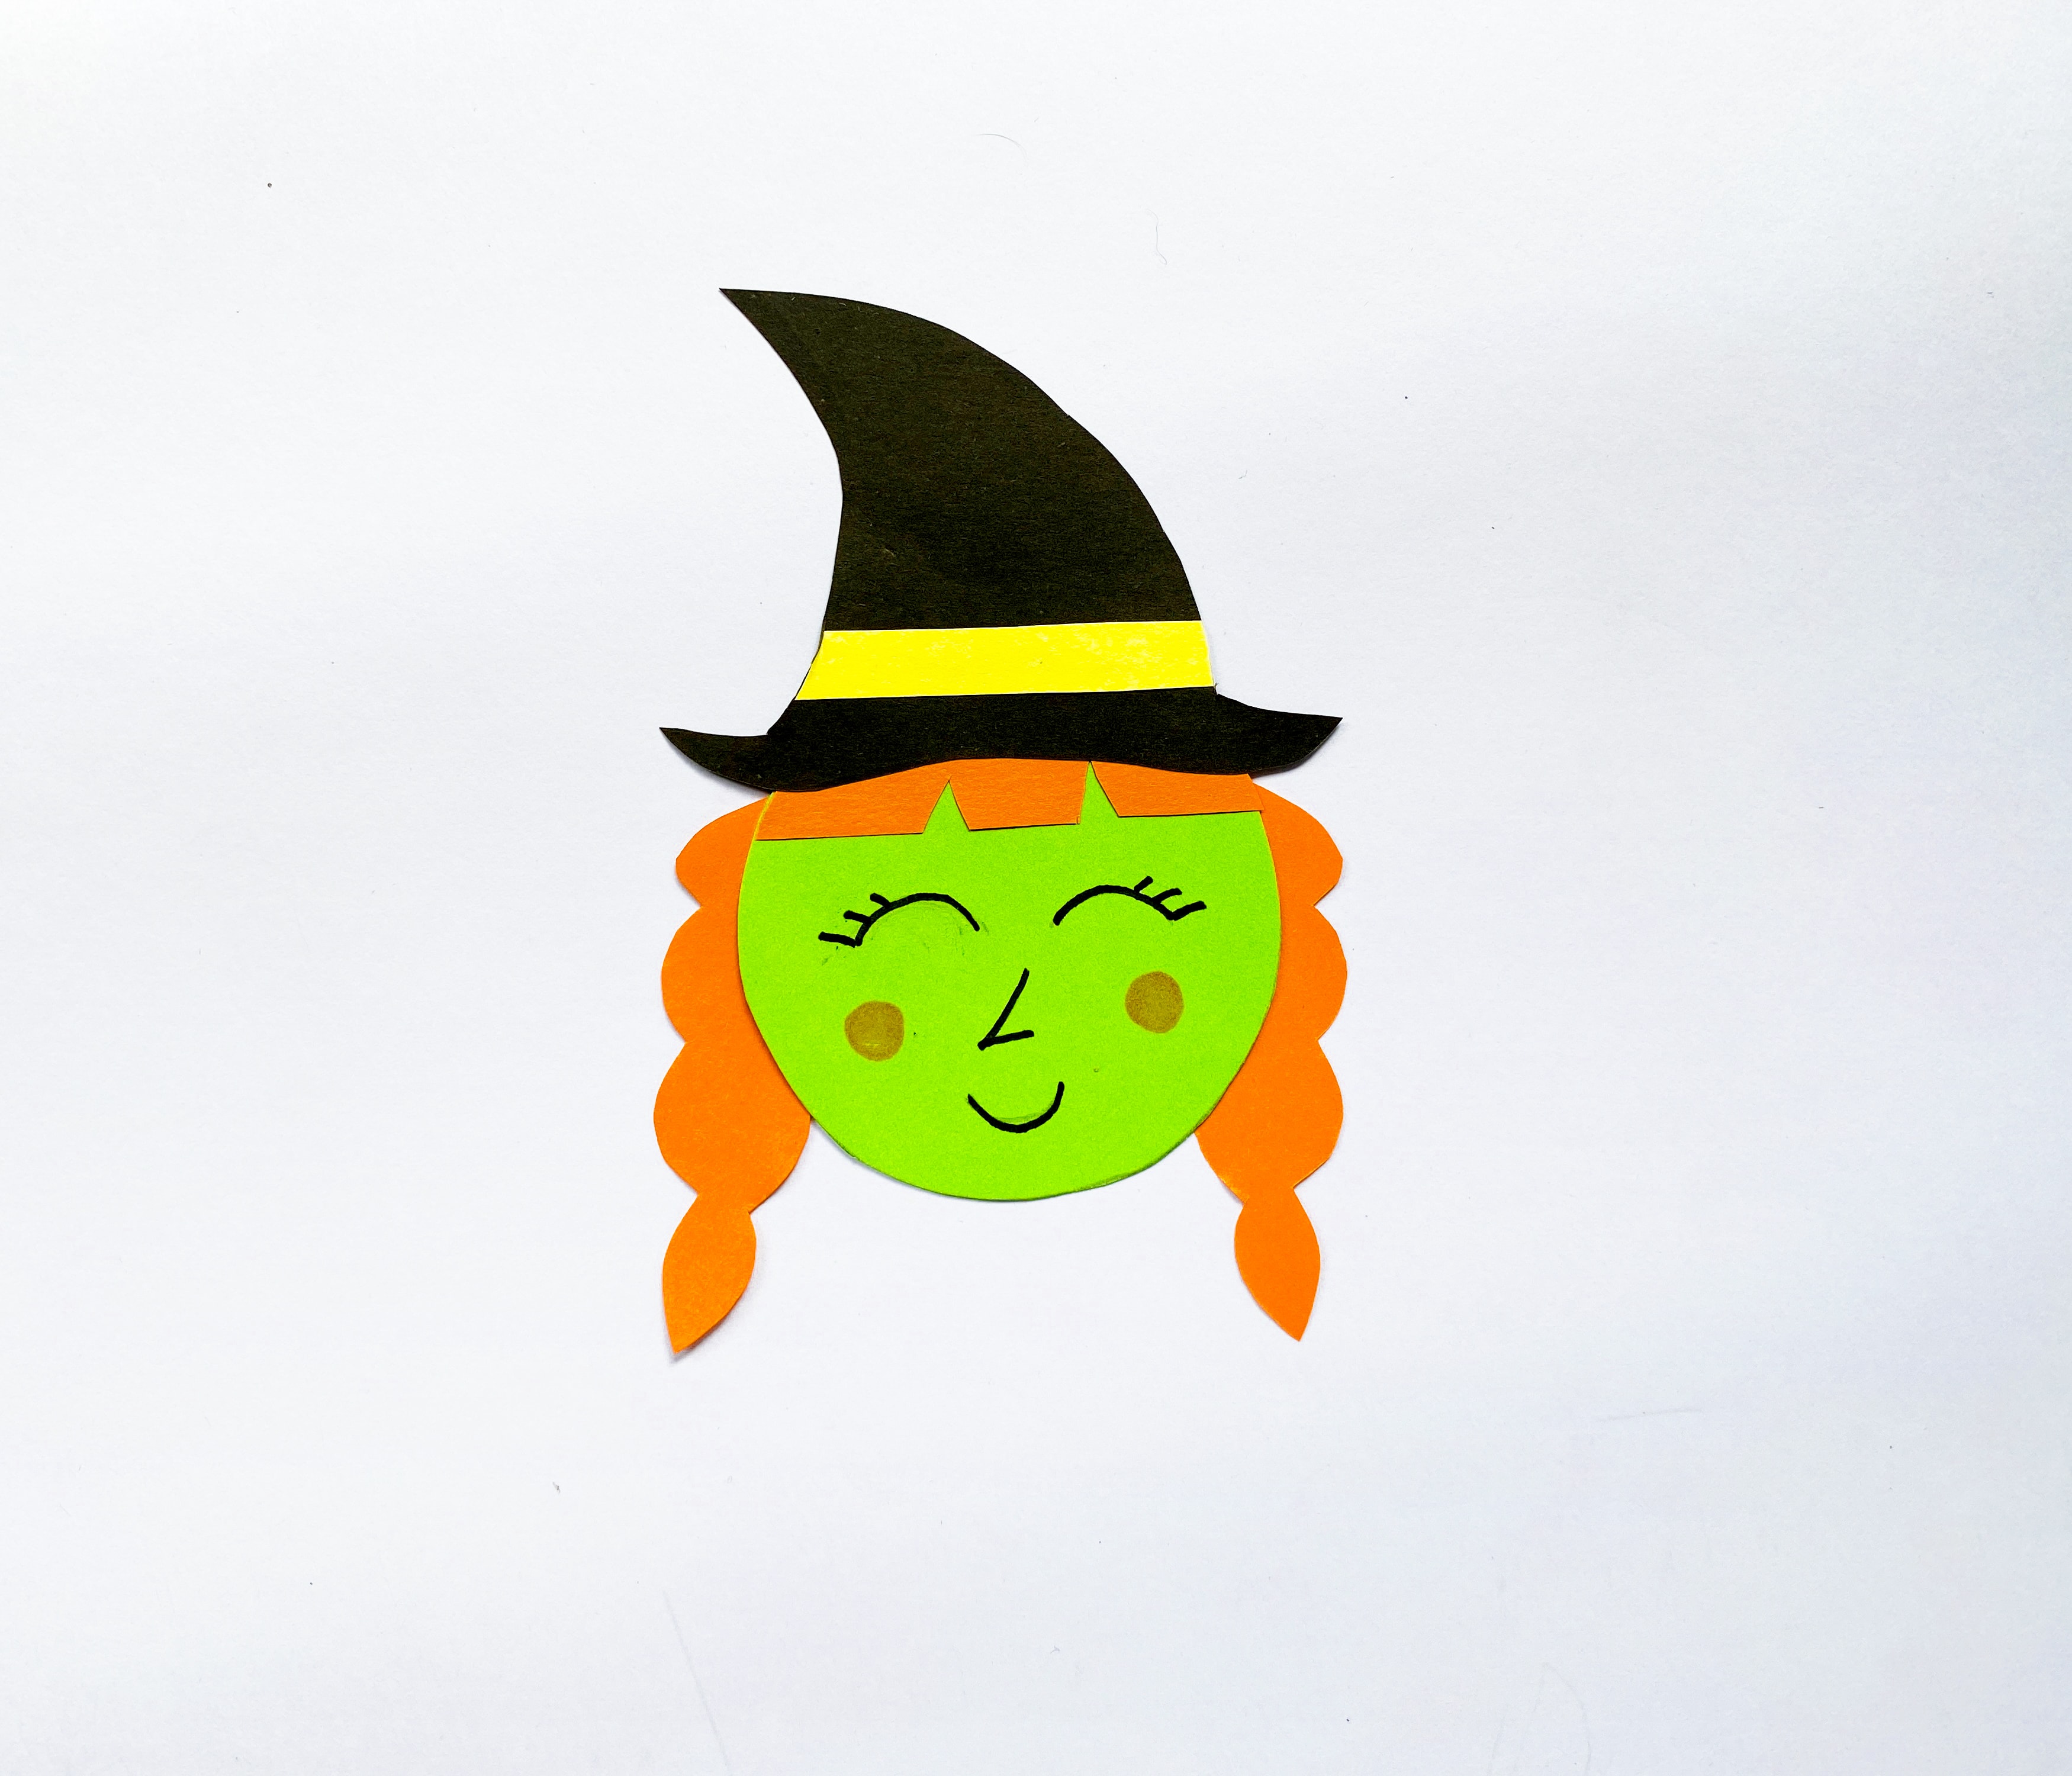
Now that you have your pieces, glue the bangs and the two braid pieces of the witch’s hair onto her head.
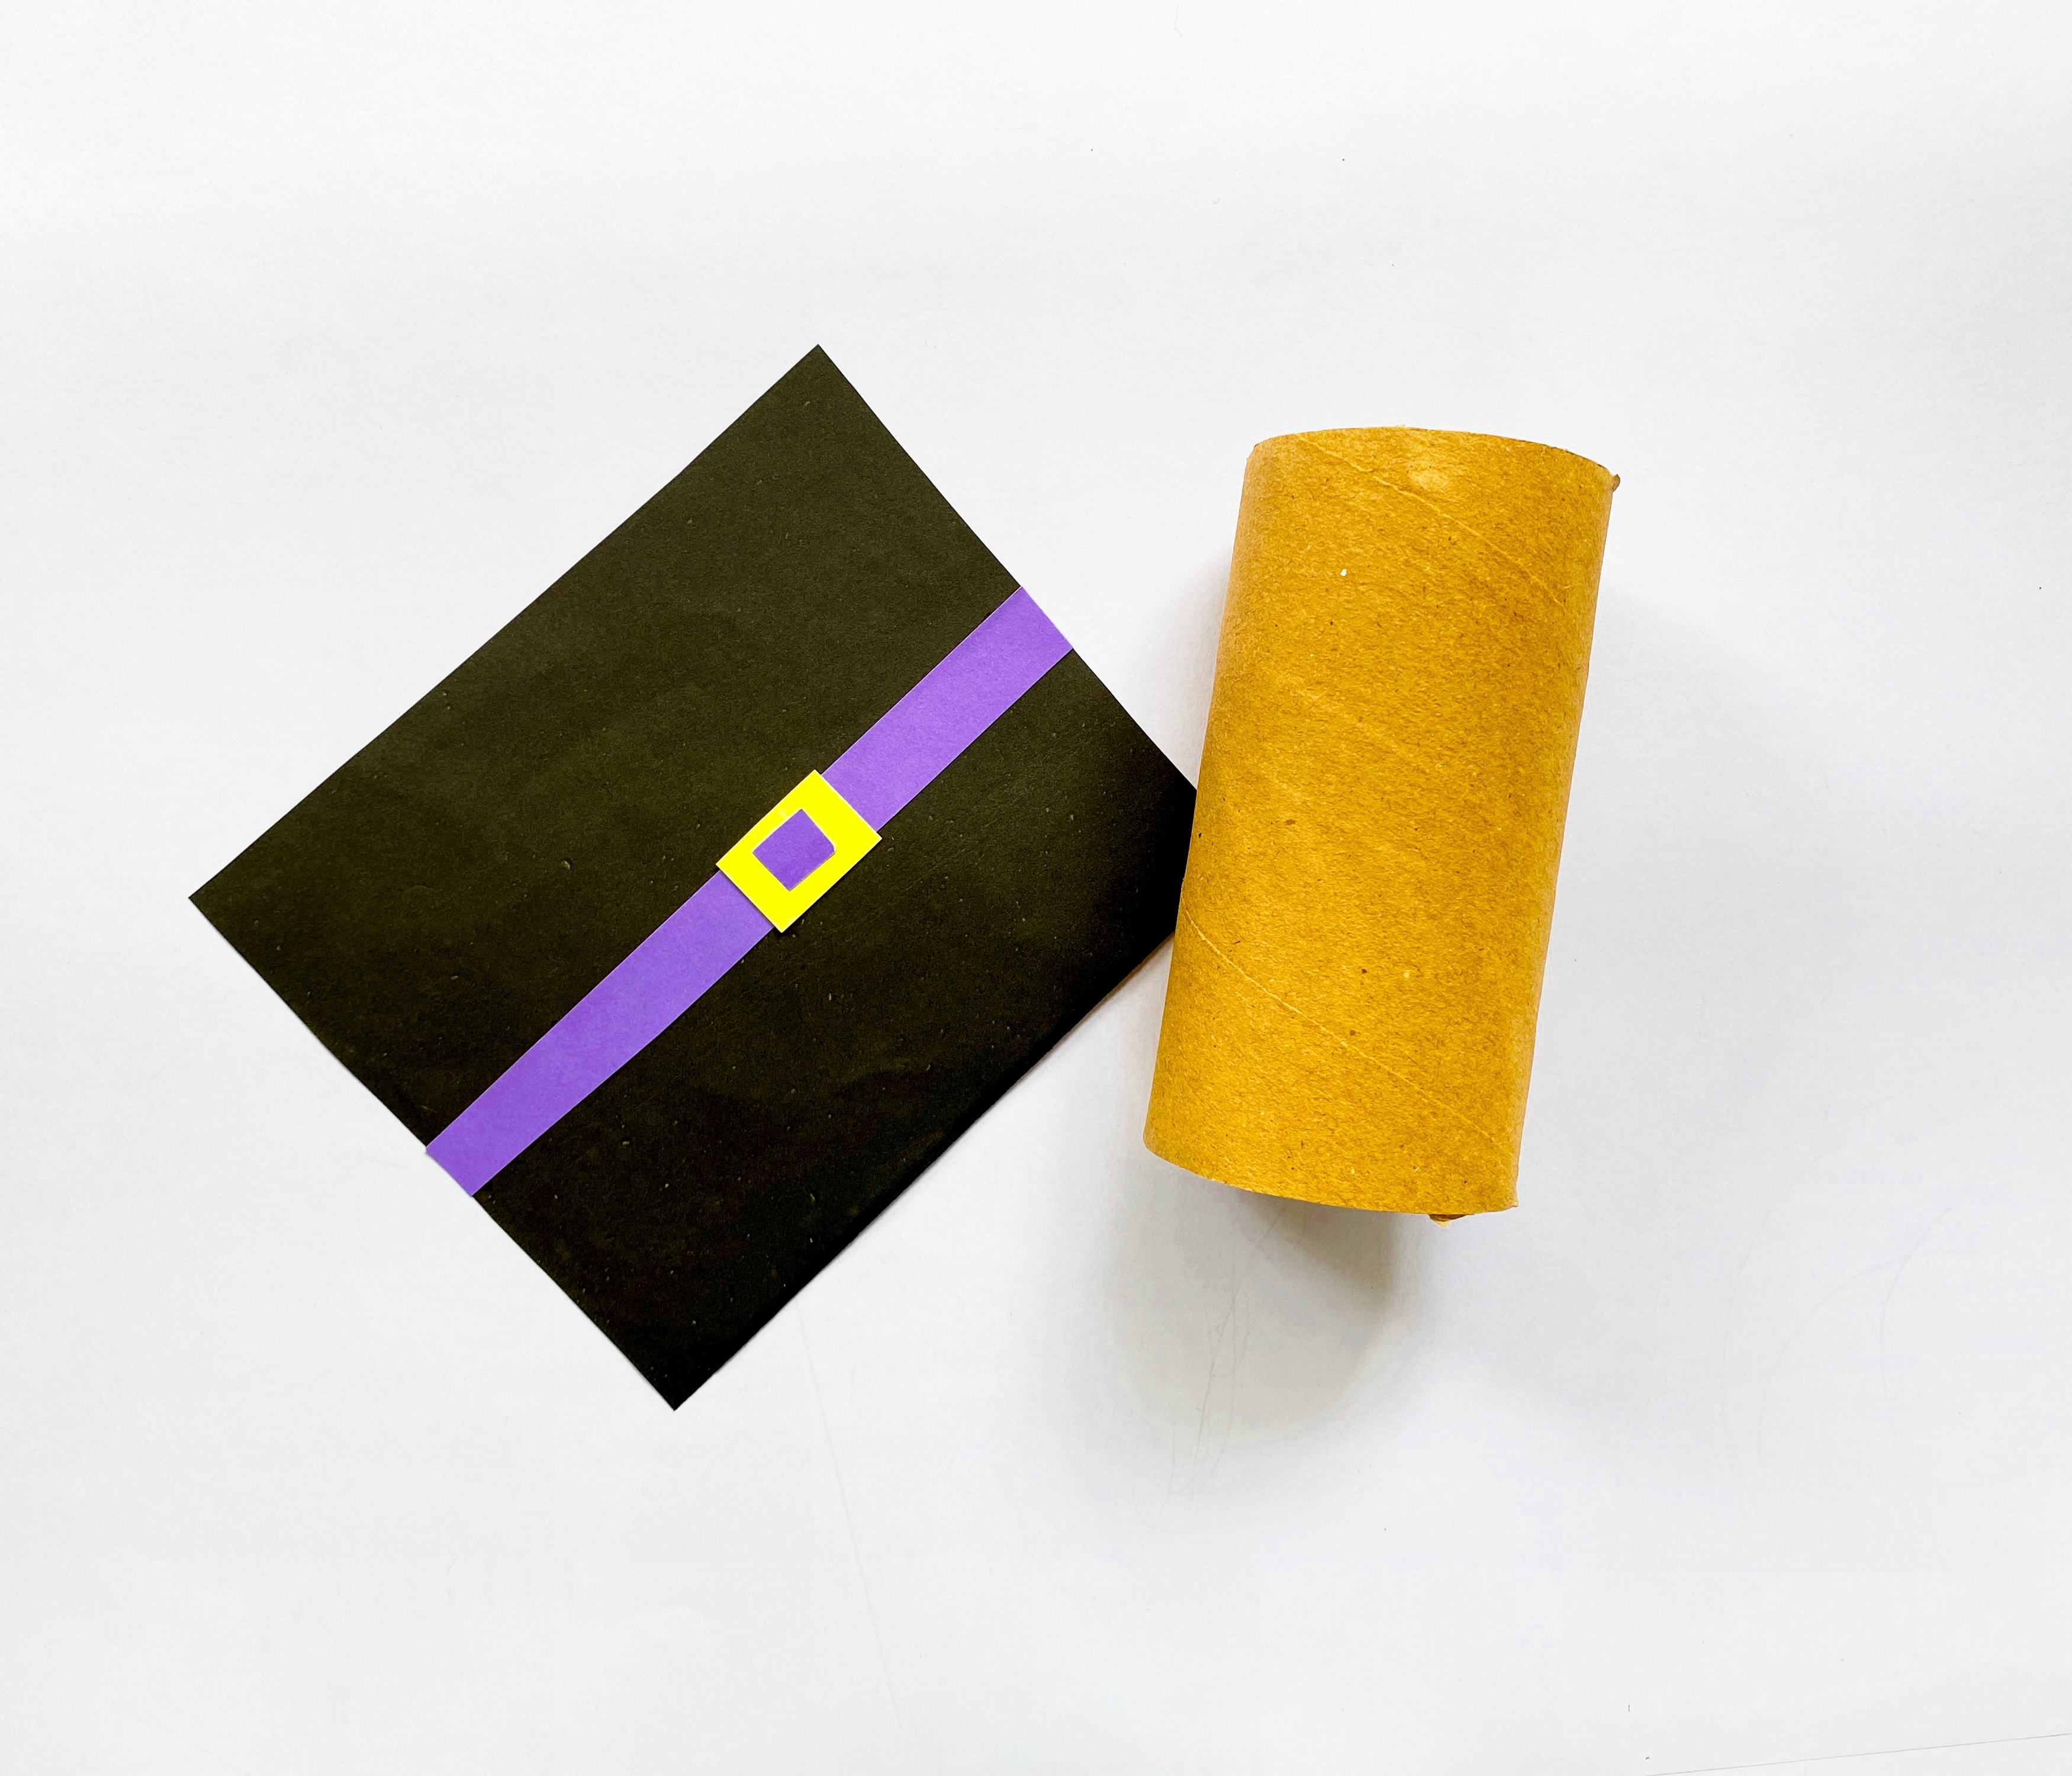
Then attach the purple belt and yellow belt buckle to the large black rectangle piece (her dress.)
Glue the thin yellow paper strip across the hat to make the hat band. You don’t need actual ribbon.
Step 3: Draw the Witch’s Face
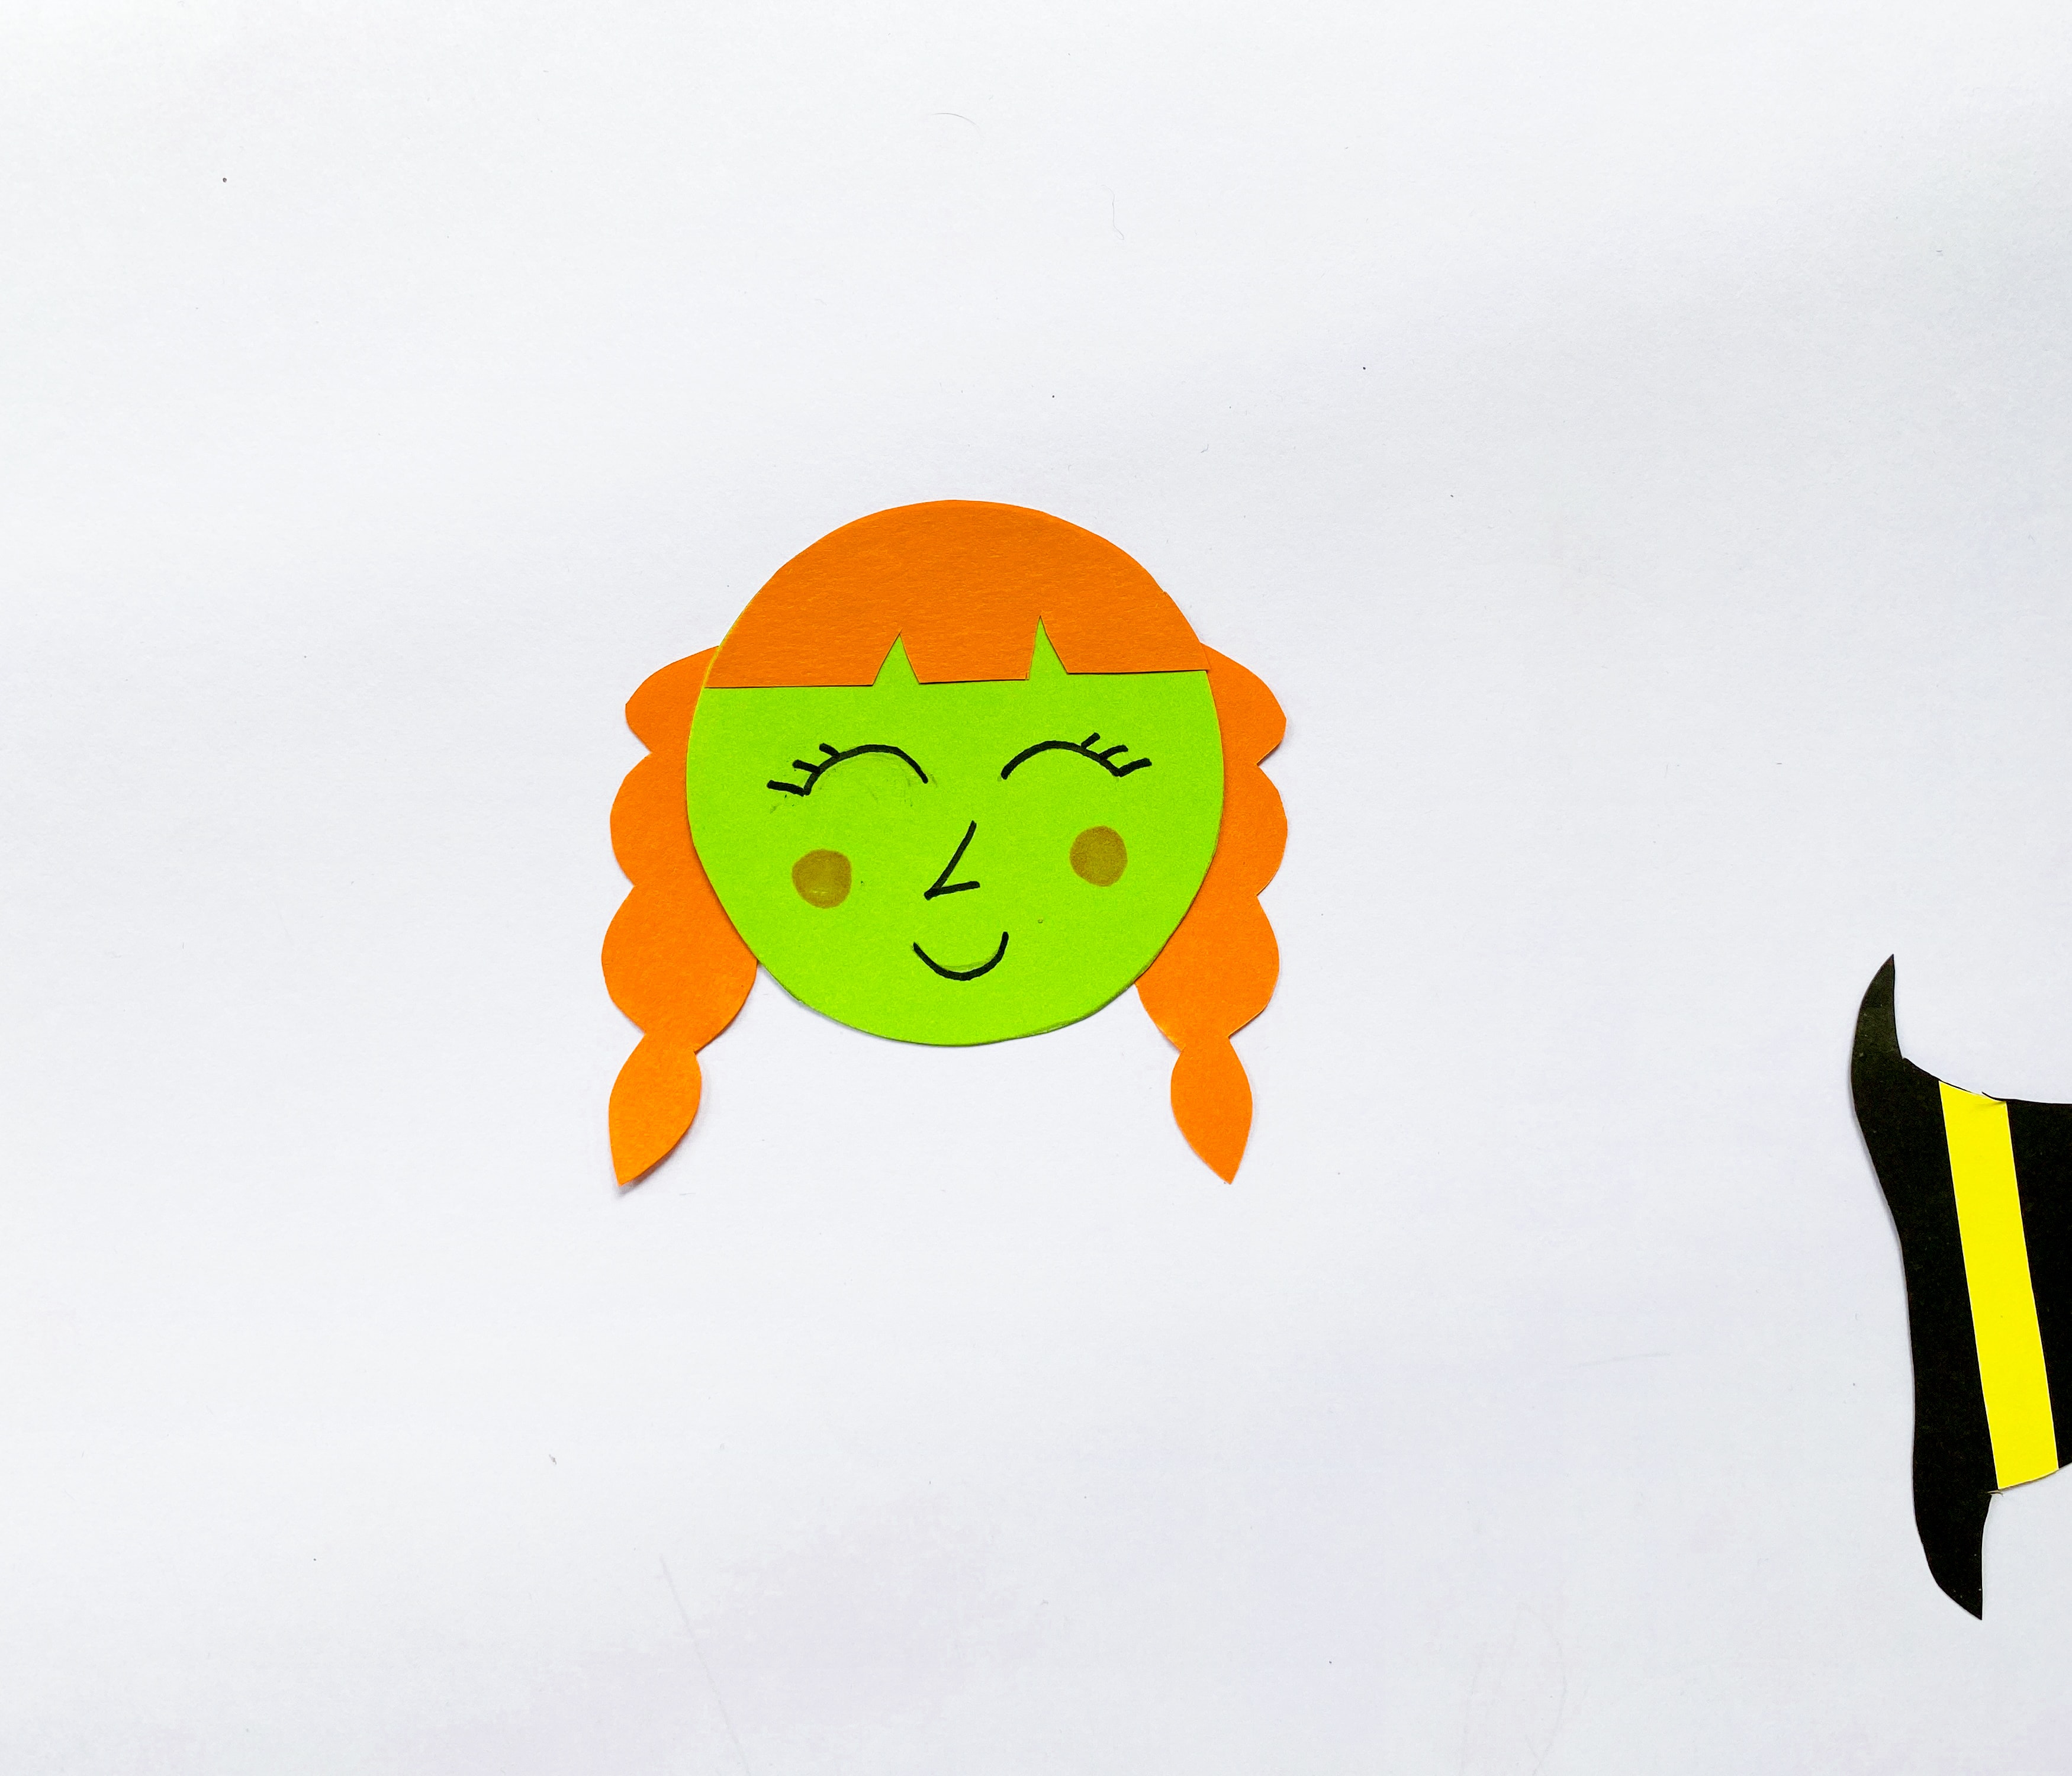
Next, draw a face onto your witch’s head. Add eyes, a nose, a mouth and colorful cheeks if you like.
Of course, if you want a more spooky witch with less cuteness going on, you can always add a big wart to the nose and less pink to the cheeks.
Step 4: Add the Witch’s Hat
Next, attach the hat to the top of the witch’s head with a small amount of craft glue.
Isn’t she looking cute already!
Step 5: Grab Your Tissue Roll
Set the finished head aside while you fit the black paper rectangle around your empty toilet paper roll.
Check the fit before gluing: the paper should cover the tube’s height and wrap all the way around with a little overlap. Trim excess paper, or cut a larger rectangle if your tube is wider.
Step 6: Attach the Witch’s Body
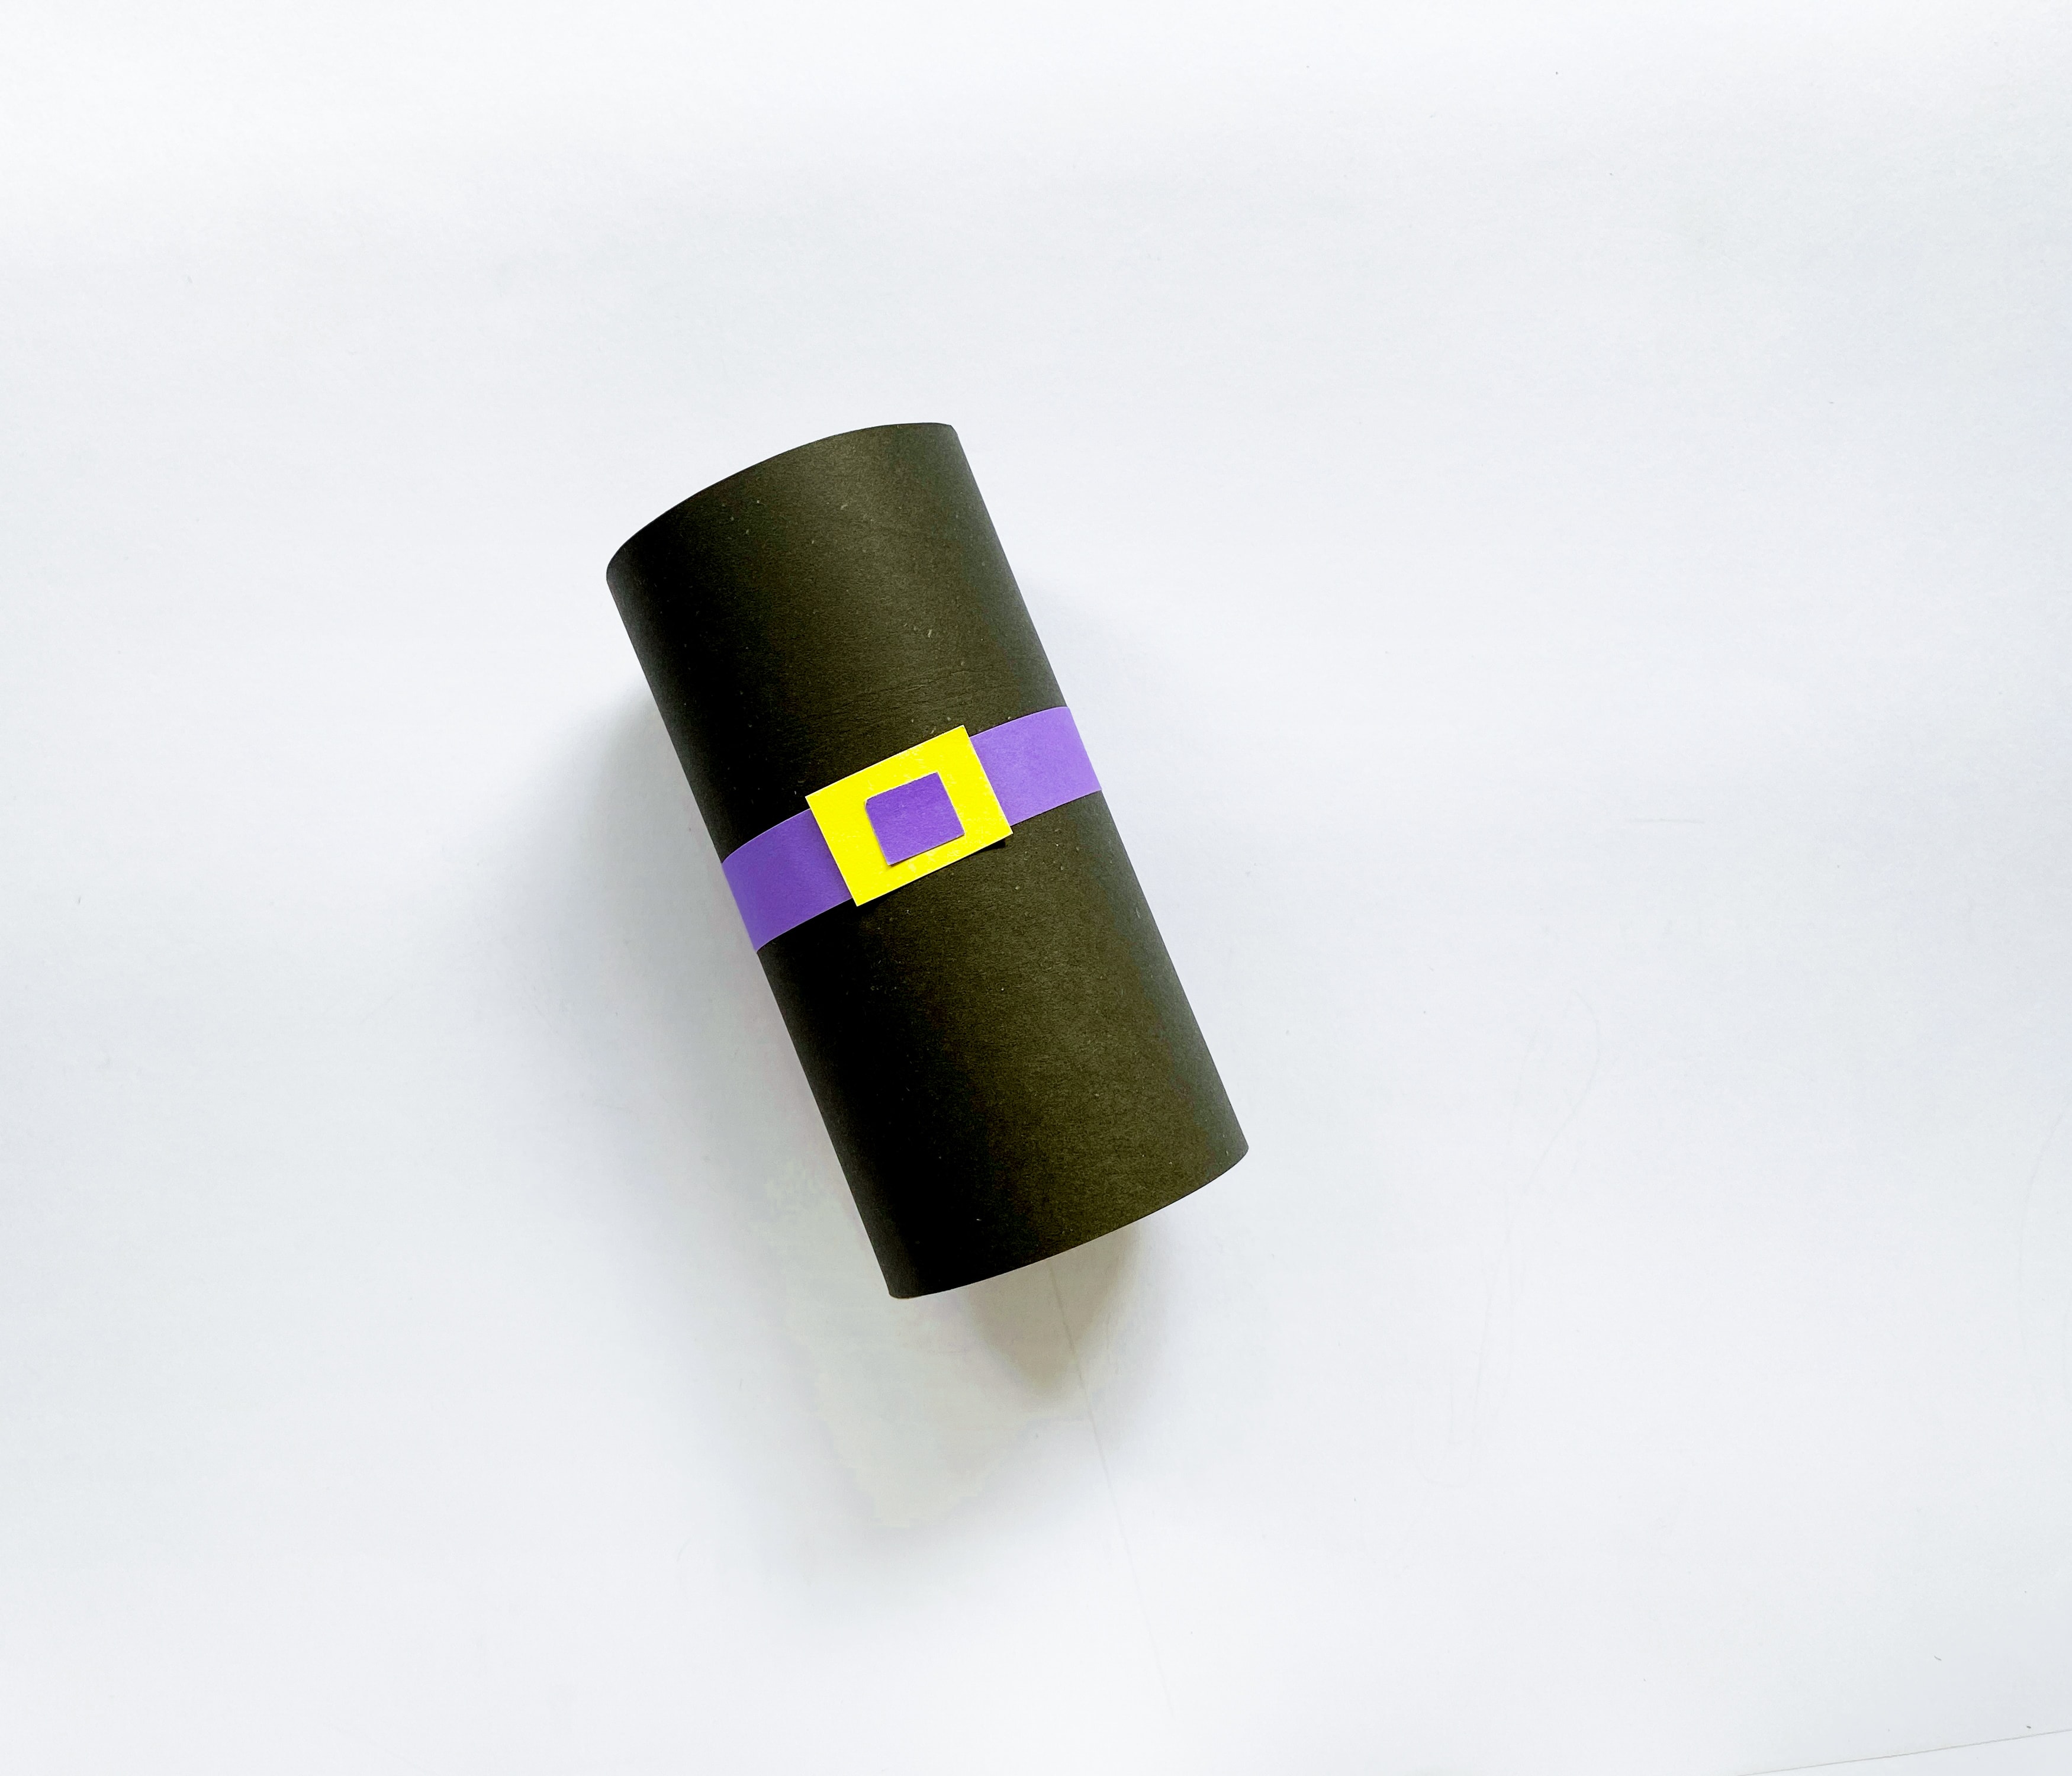
Wrap the black rectangle around the tube with the belt facing out and the buckle at the front. Overlap the paper edges at the back and glue the seam.
Hold the seam together until the glue grips, then let it dry enough that the paper stays in place.
Step 7: Attach the Witch’s Head
Glue the lower back of the witch’s head to the upper front of the paper-covered tube, centered above the belt buckle. Let the glue dry before standing her up or playing with her.
Try different hair, face, and dress colors to make each witch her own character. For another Halloween friend to stand beside her, make our toilet paper roll vampire.
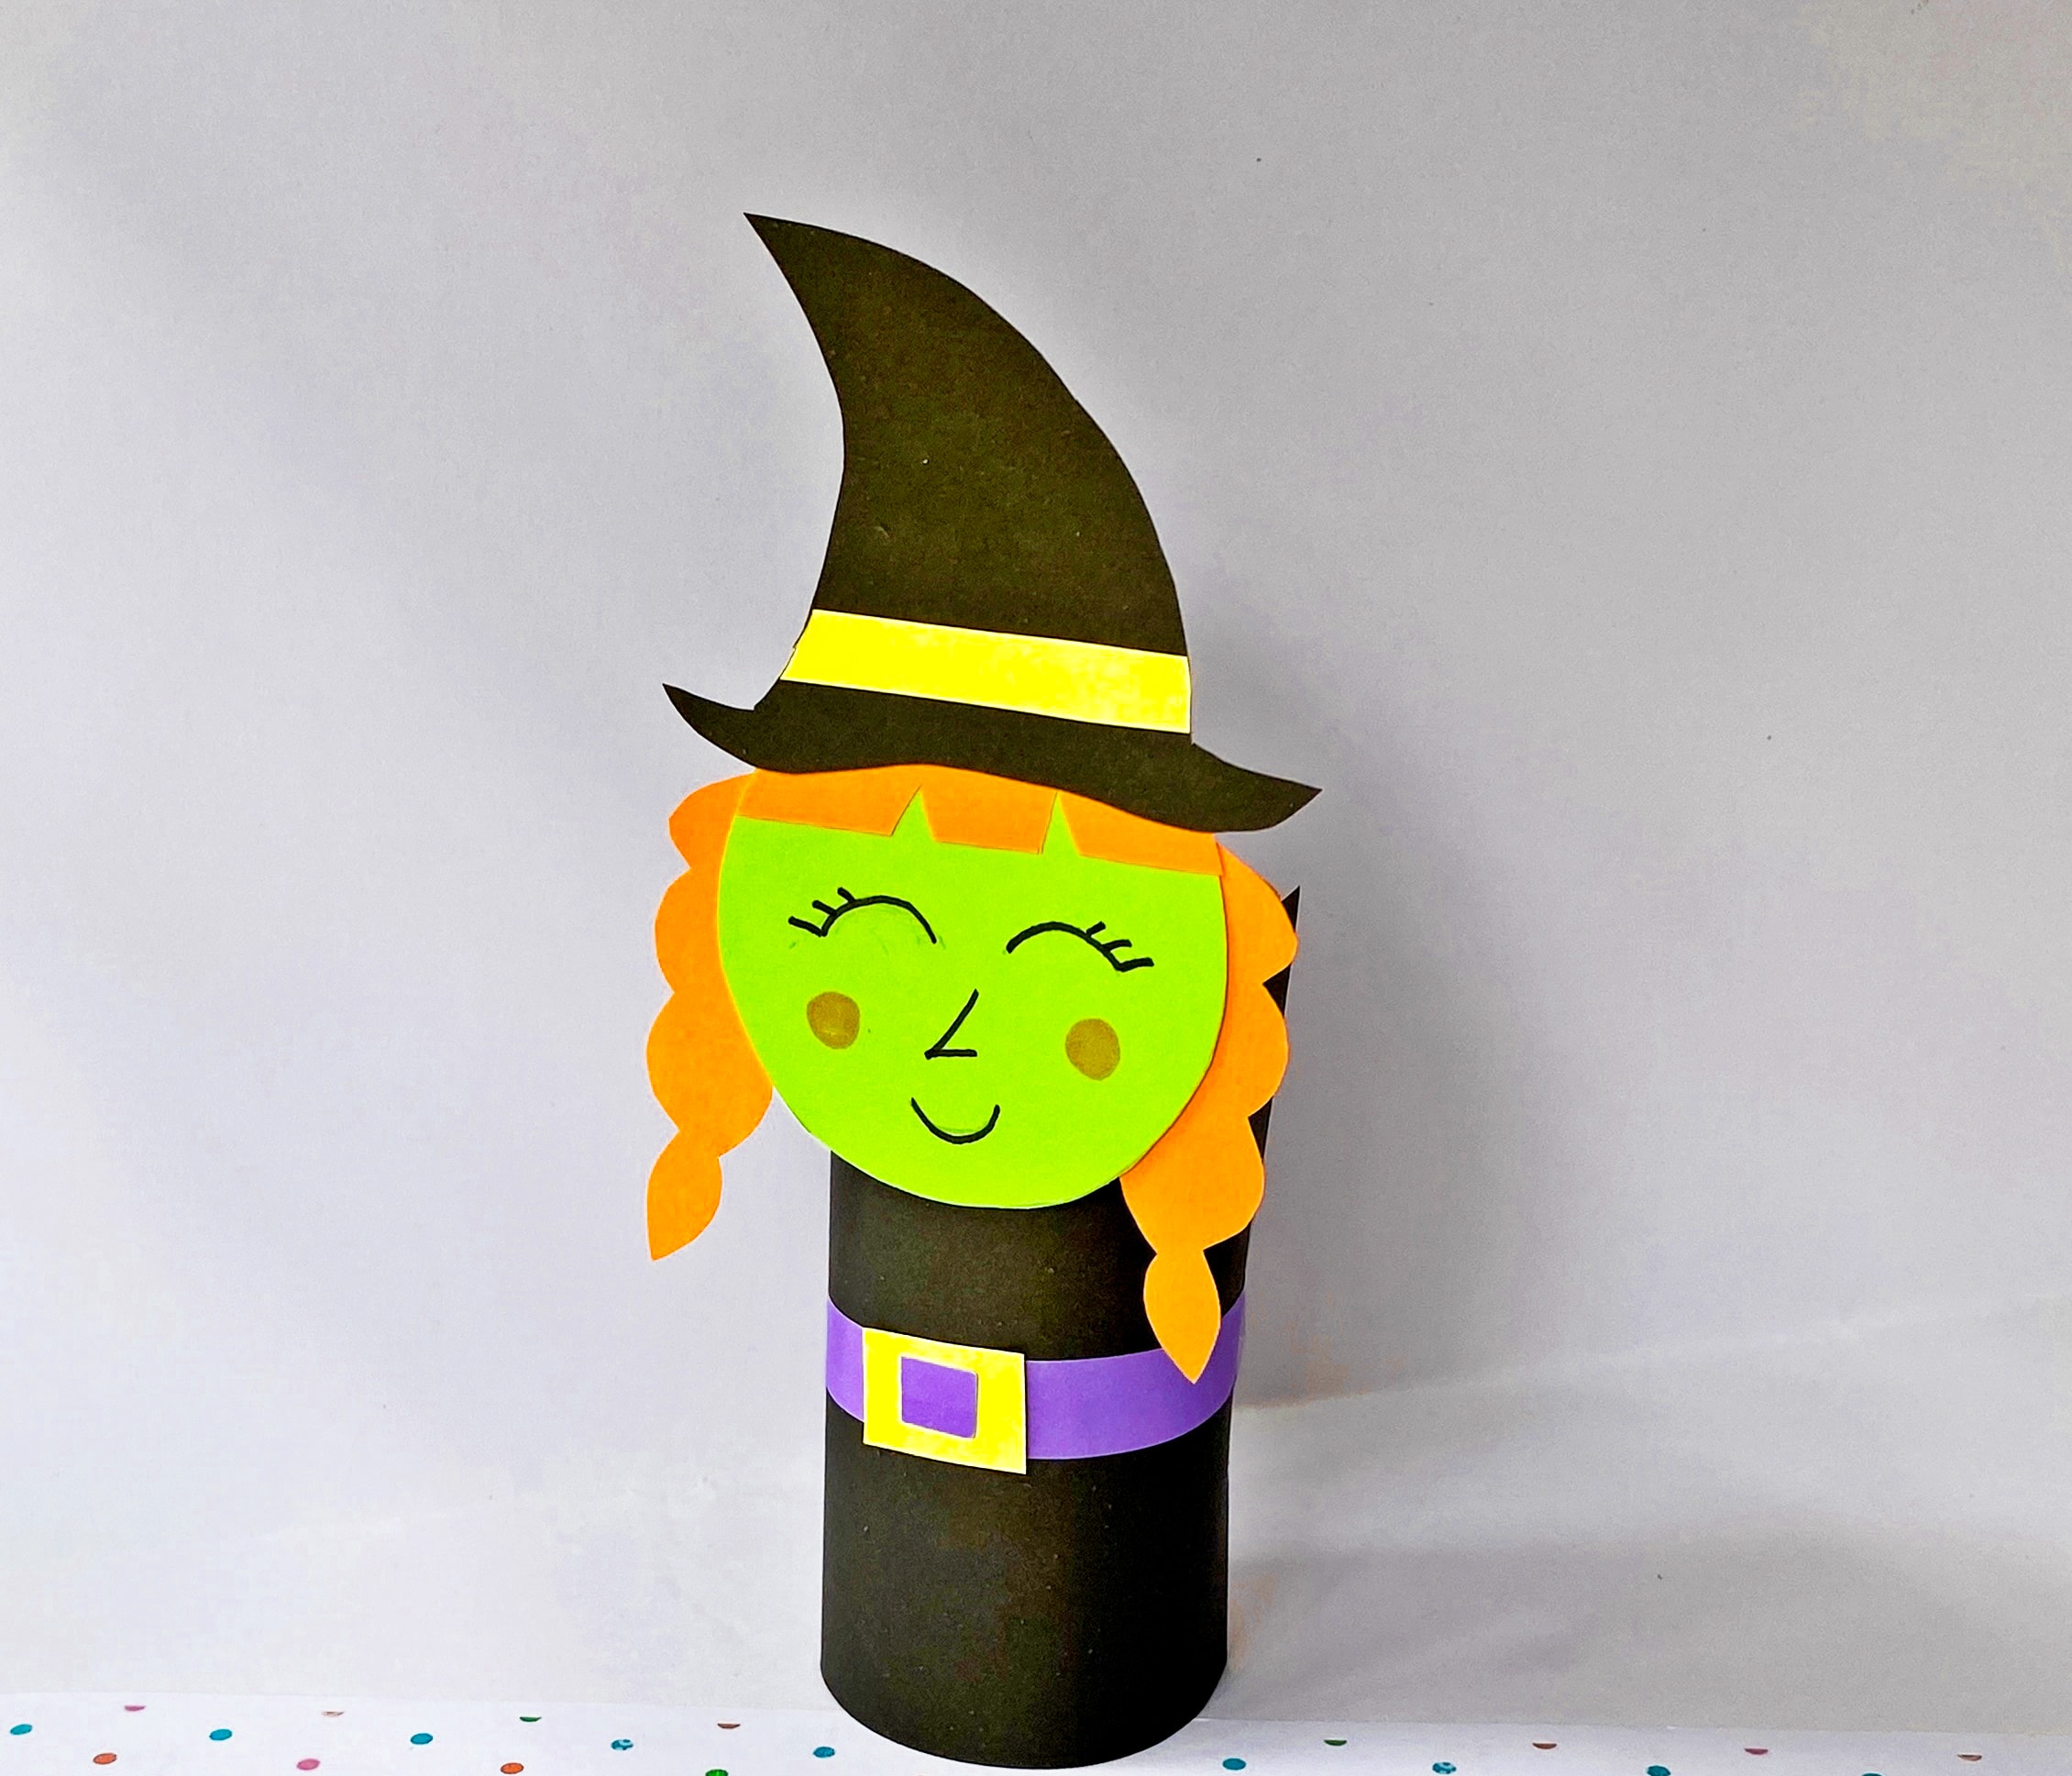
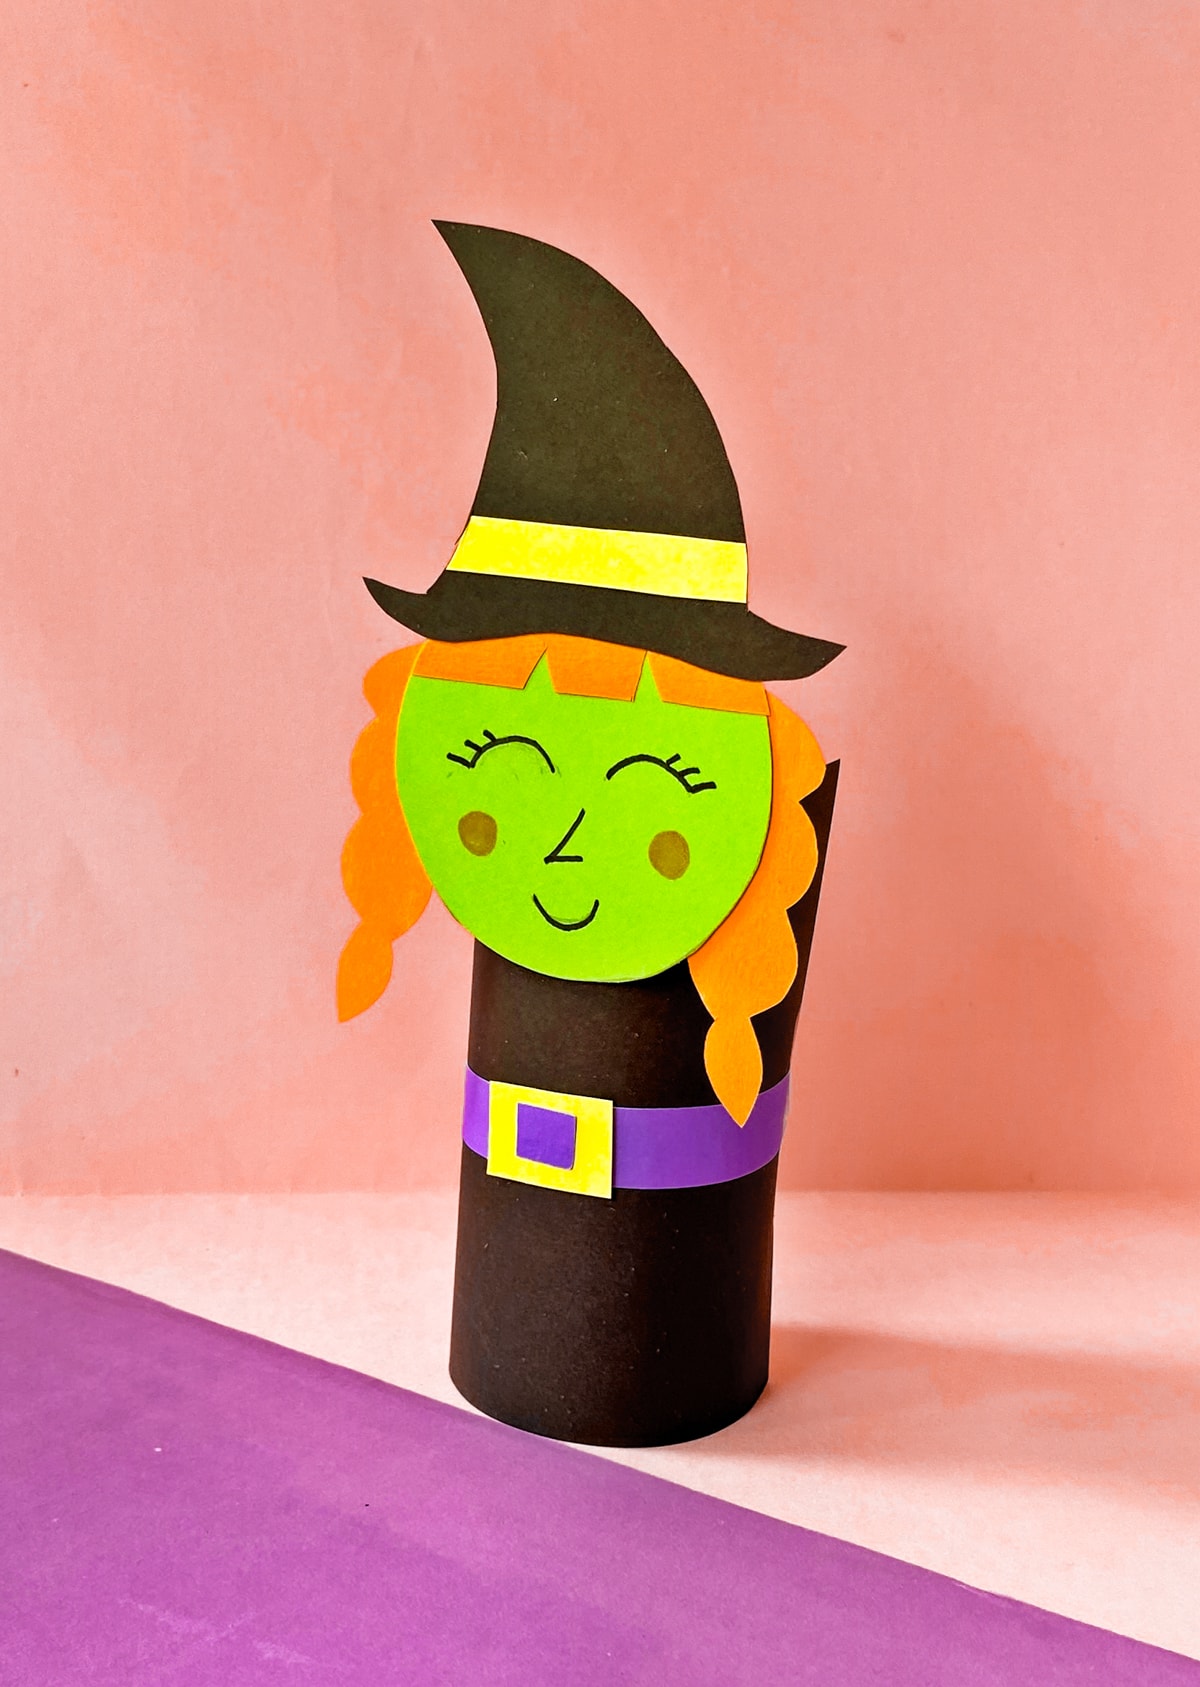
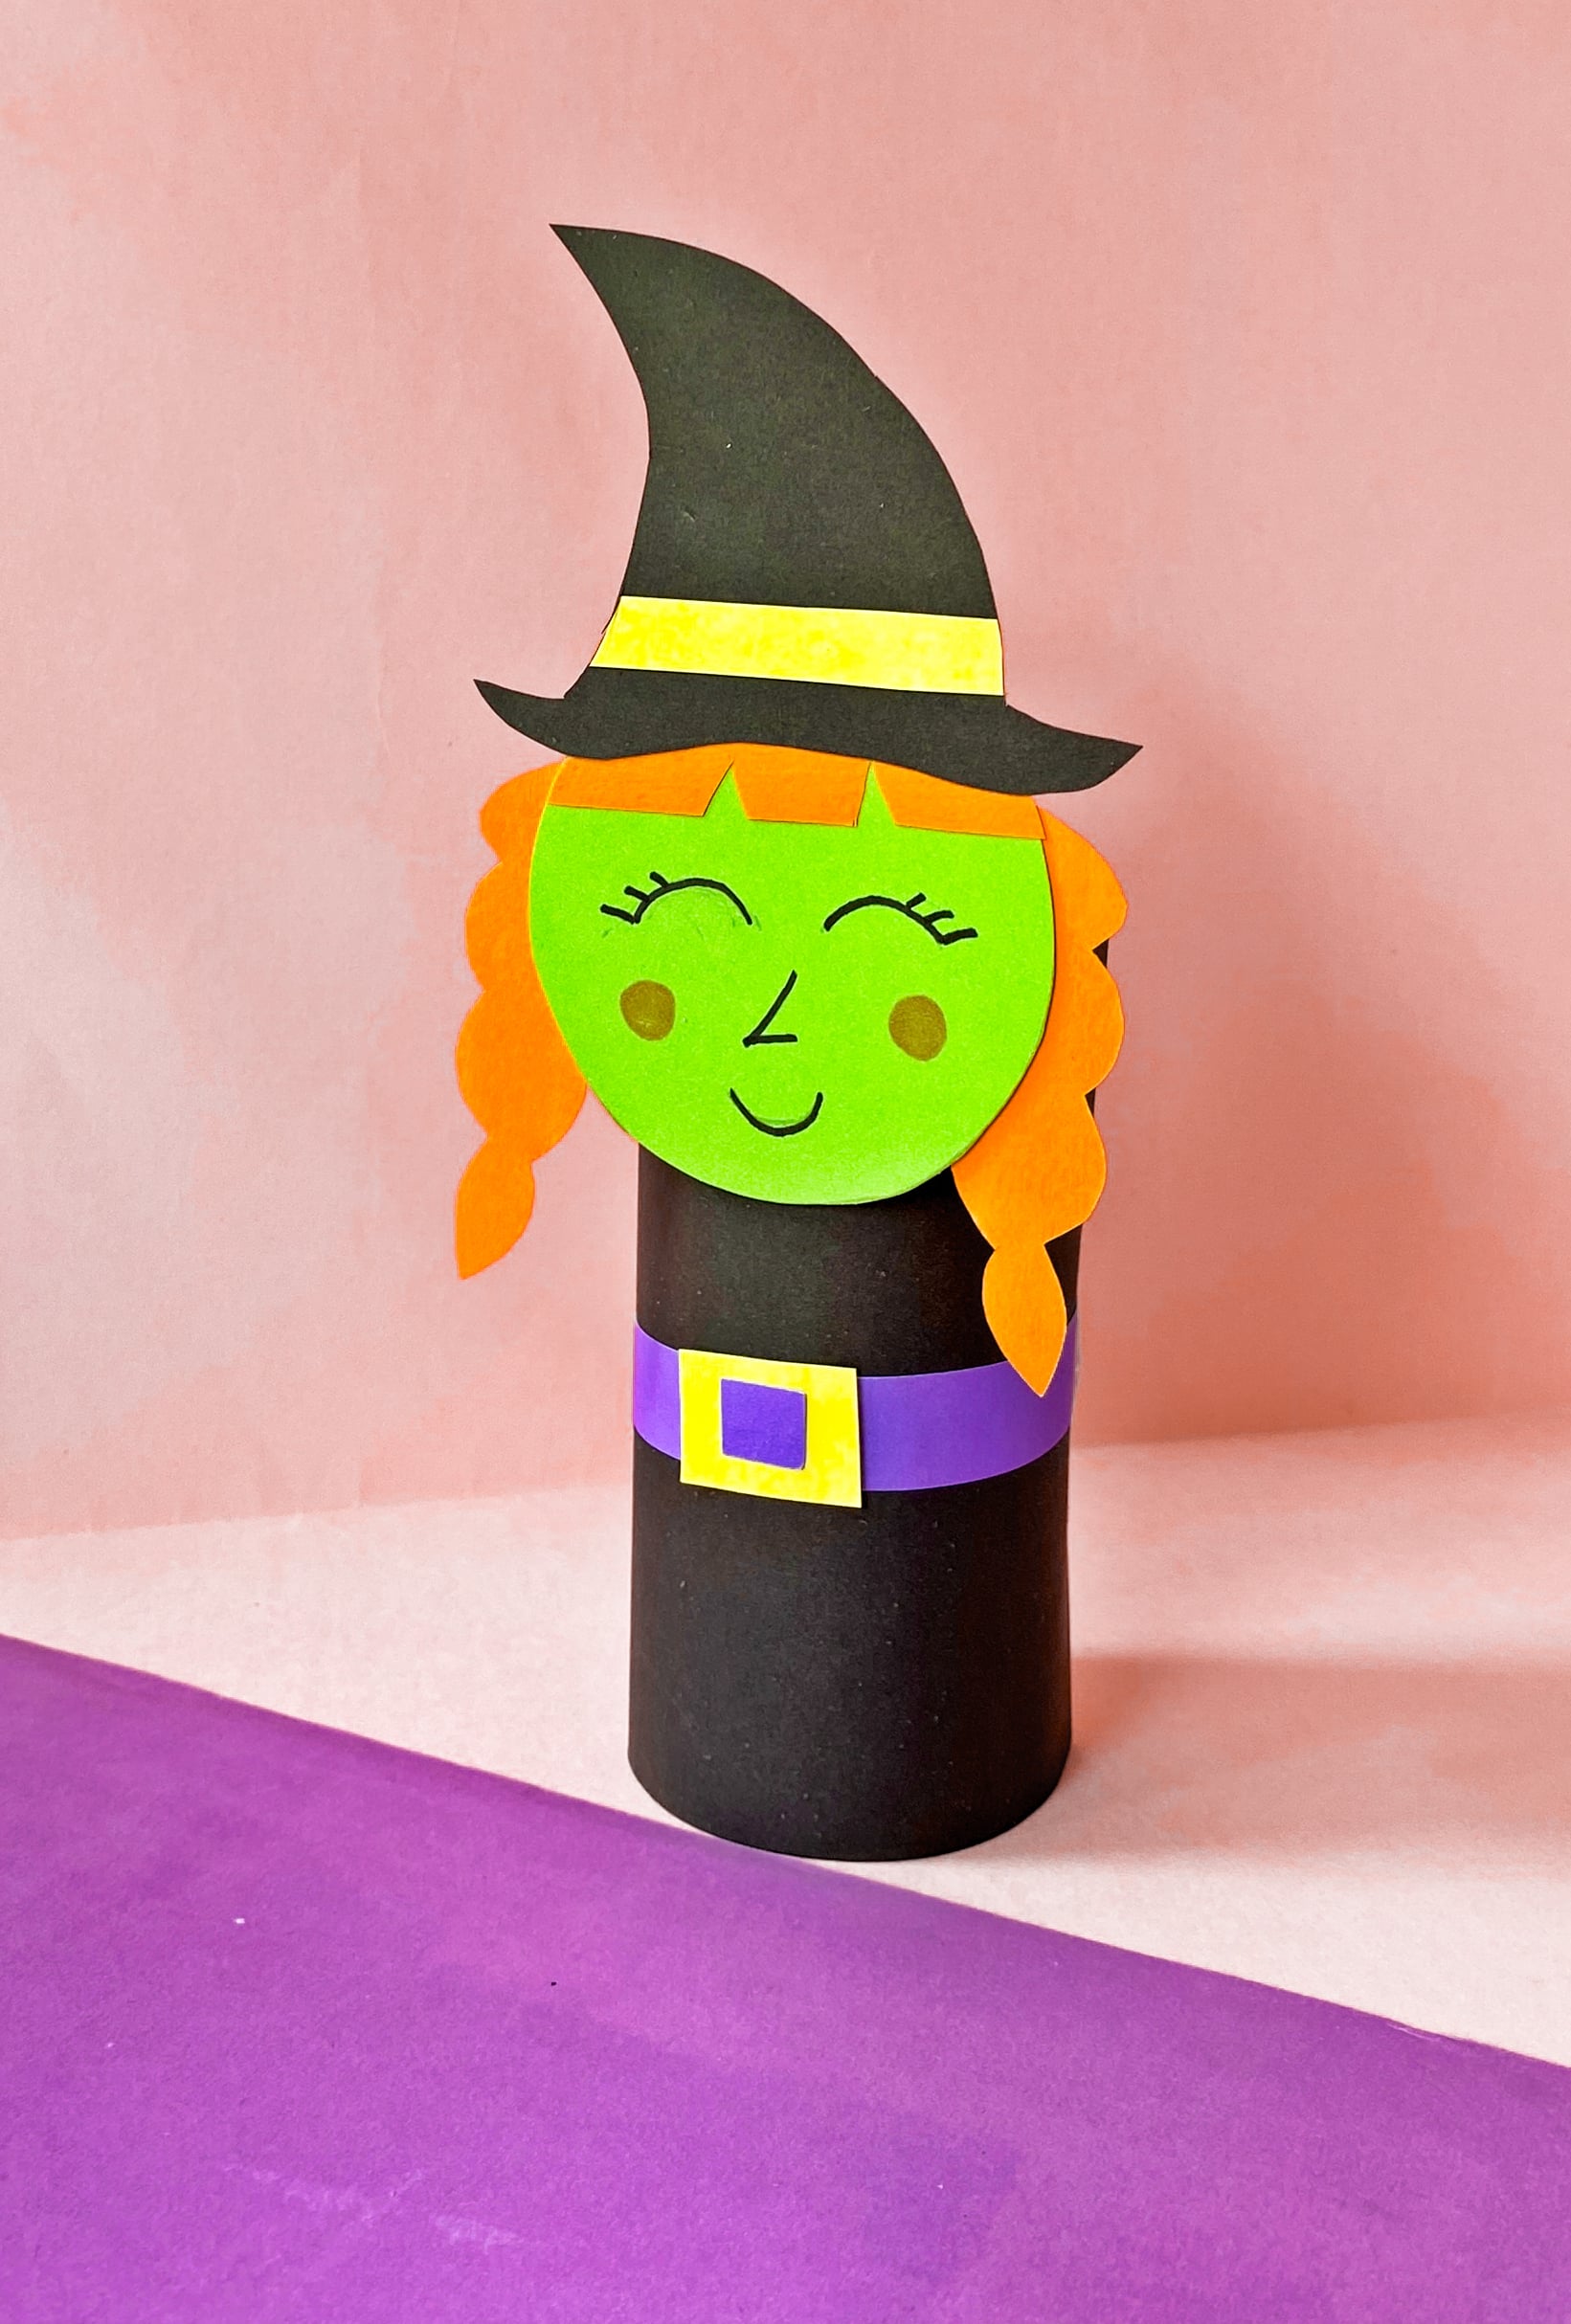
Pick a name from our witch names guide and let the storytelling begin! Display your finished witch on a dry indoor shelf, or try another of our witch crafts for kids. Store the paper witch upright in a box so her hat and braids don’t get squashed.
Grab the Witch Template
Enter your first name and email address in the pink box below to have the free toilet paper roll witch template sent to your inbox.
The printable template is for personal or classroom use. Please do not sell or redistribute the template.
Subscribe to our newsletter and get these printables sent straight to your inbox! Already a subscriber? Don’t worry you won’t be subscribed twice but it will send this printable straight to your inbox!
(We will never share or sell your personal information. Read more on our privacy policy.) We will use the information below to send you our newsletter with latest posts and special offers.
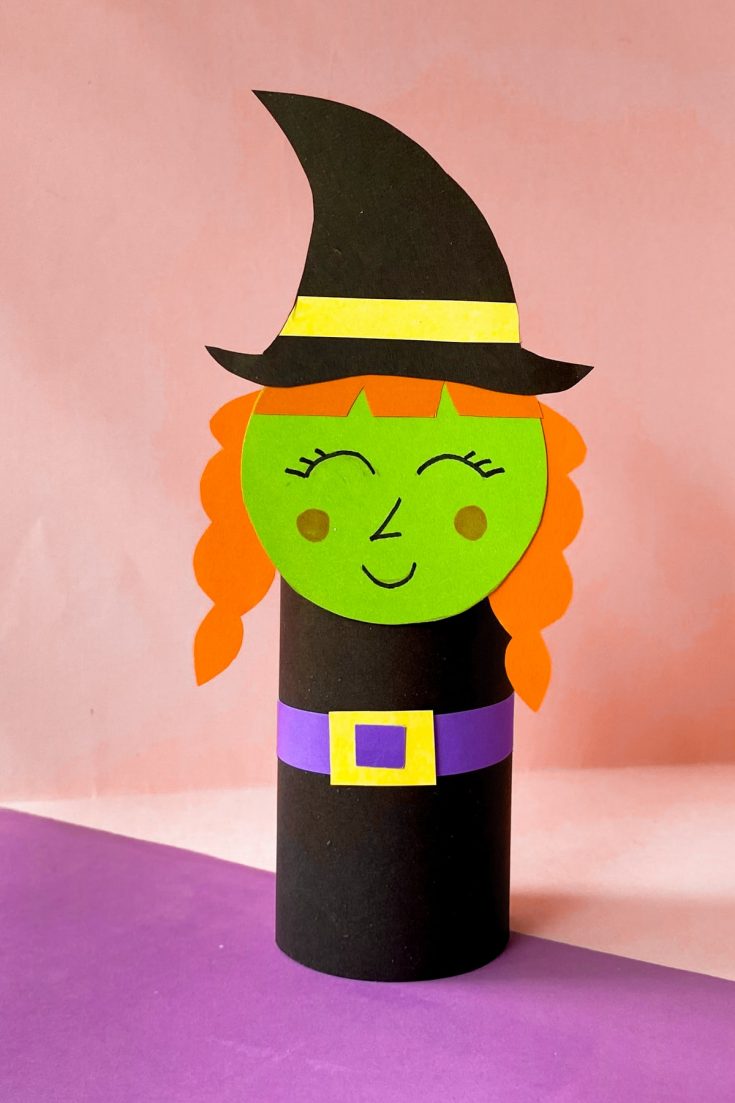
Toilet Paper Roll Witch
This cute toilet paper roll witch craft is a fun and easy kid's Halloween craft. Making fun characters out of empty tissue paper rolls is always a fun time!
Materials
- Colored Craft Paper
- Empty Toilet Paper Roll
- Toilet Paper Roll Witch Craft Template
- Glue
- Markers or Pens
Tools
- Scissors
- Ruler
- Pencil
Instructions
- Print the witch template, trace the shapes onto colored craft paper, and cut out the pieces.
- Glue the bangs and braids to the head. Add the purple belt and yellow buckle to the black rectangle, and the thin yellow paper strip to the hat.
- Draw the eyes, nose, mouth, and any cheeks or warts you like.
- Glue the hat to the top of the head and set the head aside.
- Check that the black rectangle covers the tube's height and wraps around with a little overlap. Trim excess paper or cut a larger rectangle to fit your tube.
- Wrap the rectangle around the tube with the buckle at the front. Glue the overlapping seam at the back and hold until it grips.
- Glue the lower back of the head to the upper front of the covered tube, centered above the buckle.
- Let the glue dry before standing up or playing with your witch.
Notes
Choose your own hair, face, and dress colors. For younger children, an adult can cut the small pieces ahead of time. Allow extra time for cutting and drying.

Love to have the witch template!
please send me the toilet paper witch template. thank you so much!