Heron Printable Craft (Free Cut and Paste Template)
Long legs and a sweeping neck make this free heron printable craft an interesting addition to a paper pond scene. Kids can color, cut, and arrange the pieces to create a standing bird.
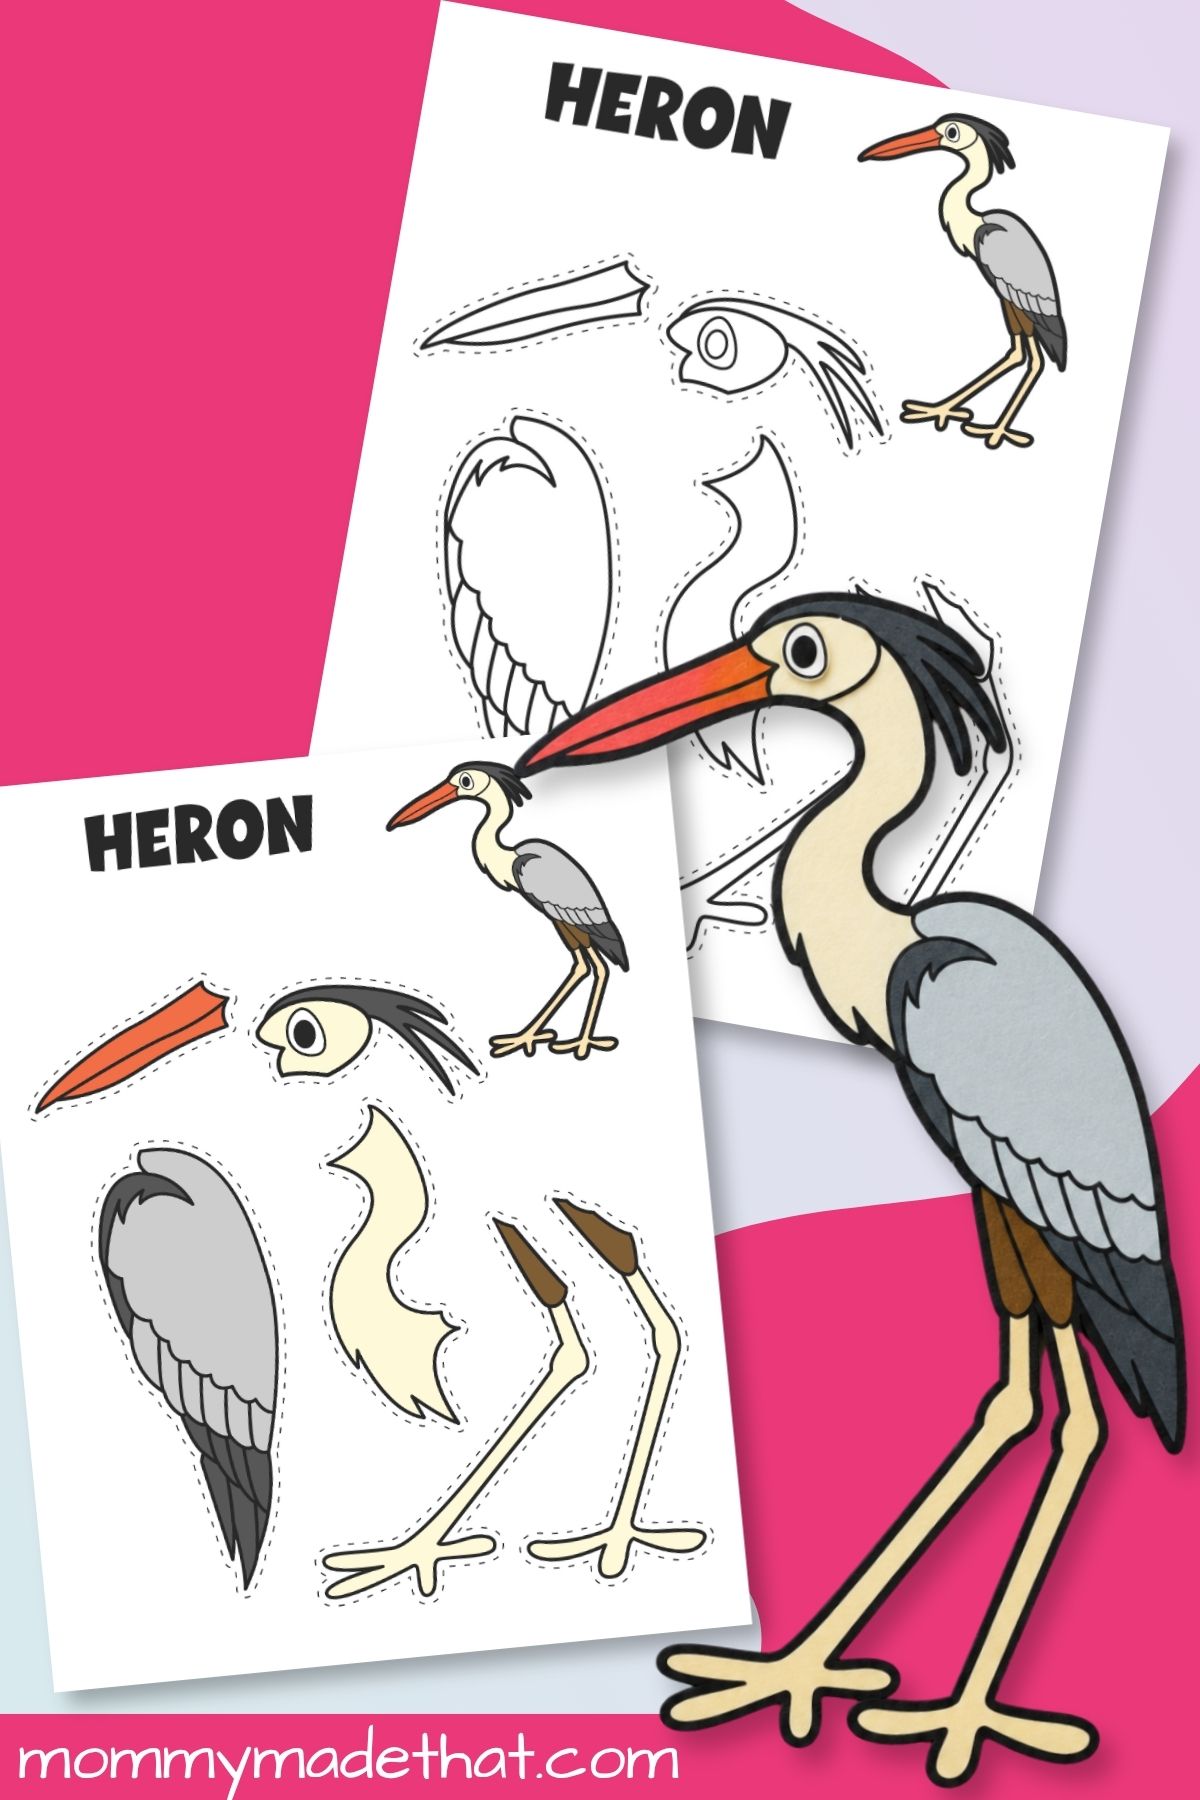
There are broad pieces for the body and wings, plus slender legs and a pointed beak that benefit from a little extra patience. It is a good shared craft: an adult can help with tricky cutting while the child handles the layout and gluing.
Add a smaller bird to the scene using our duck templates.
The heron’s tall outline gives a spring pond display a different shape from rounder animal crafts. Build a water scene with a paper goose near the bank and a catfish printable craft below the waterline. Browse our spring crafts for kids for more seasonal projects.
Why You’ll Love This Heron Craft
- Two ways to make it: Pick the ready-colored pieces or let kids decorate the coloring version.
- Everyday materials: Paper, scissors, and glue are the essentials.
- A picture to follow: A small assembled heron on the sheet helps children work out where the pieces go.
- Room to practice: Cutting, placing, and joining the shapes gives the activity a clear sequence to follow.
What’s Included
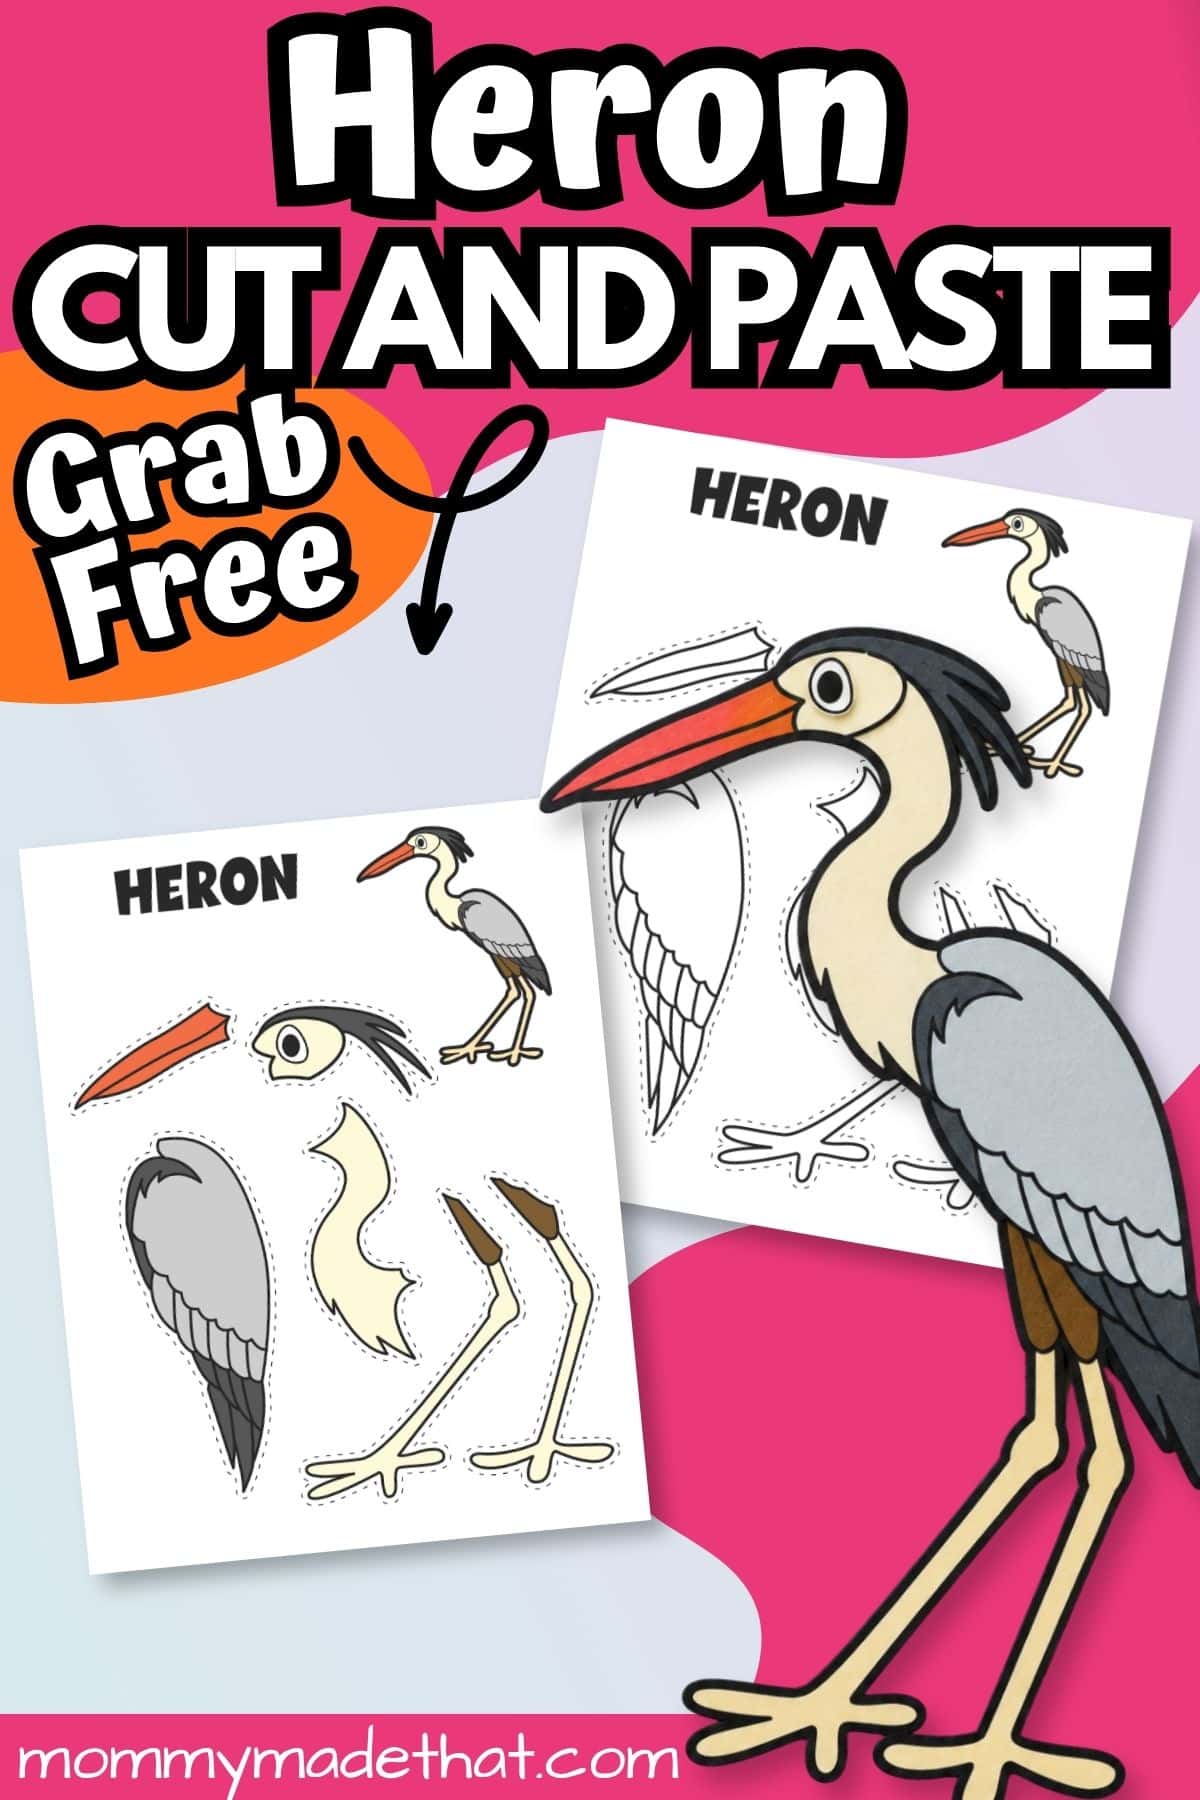
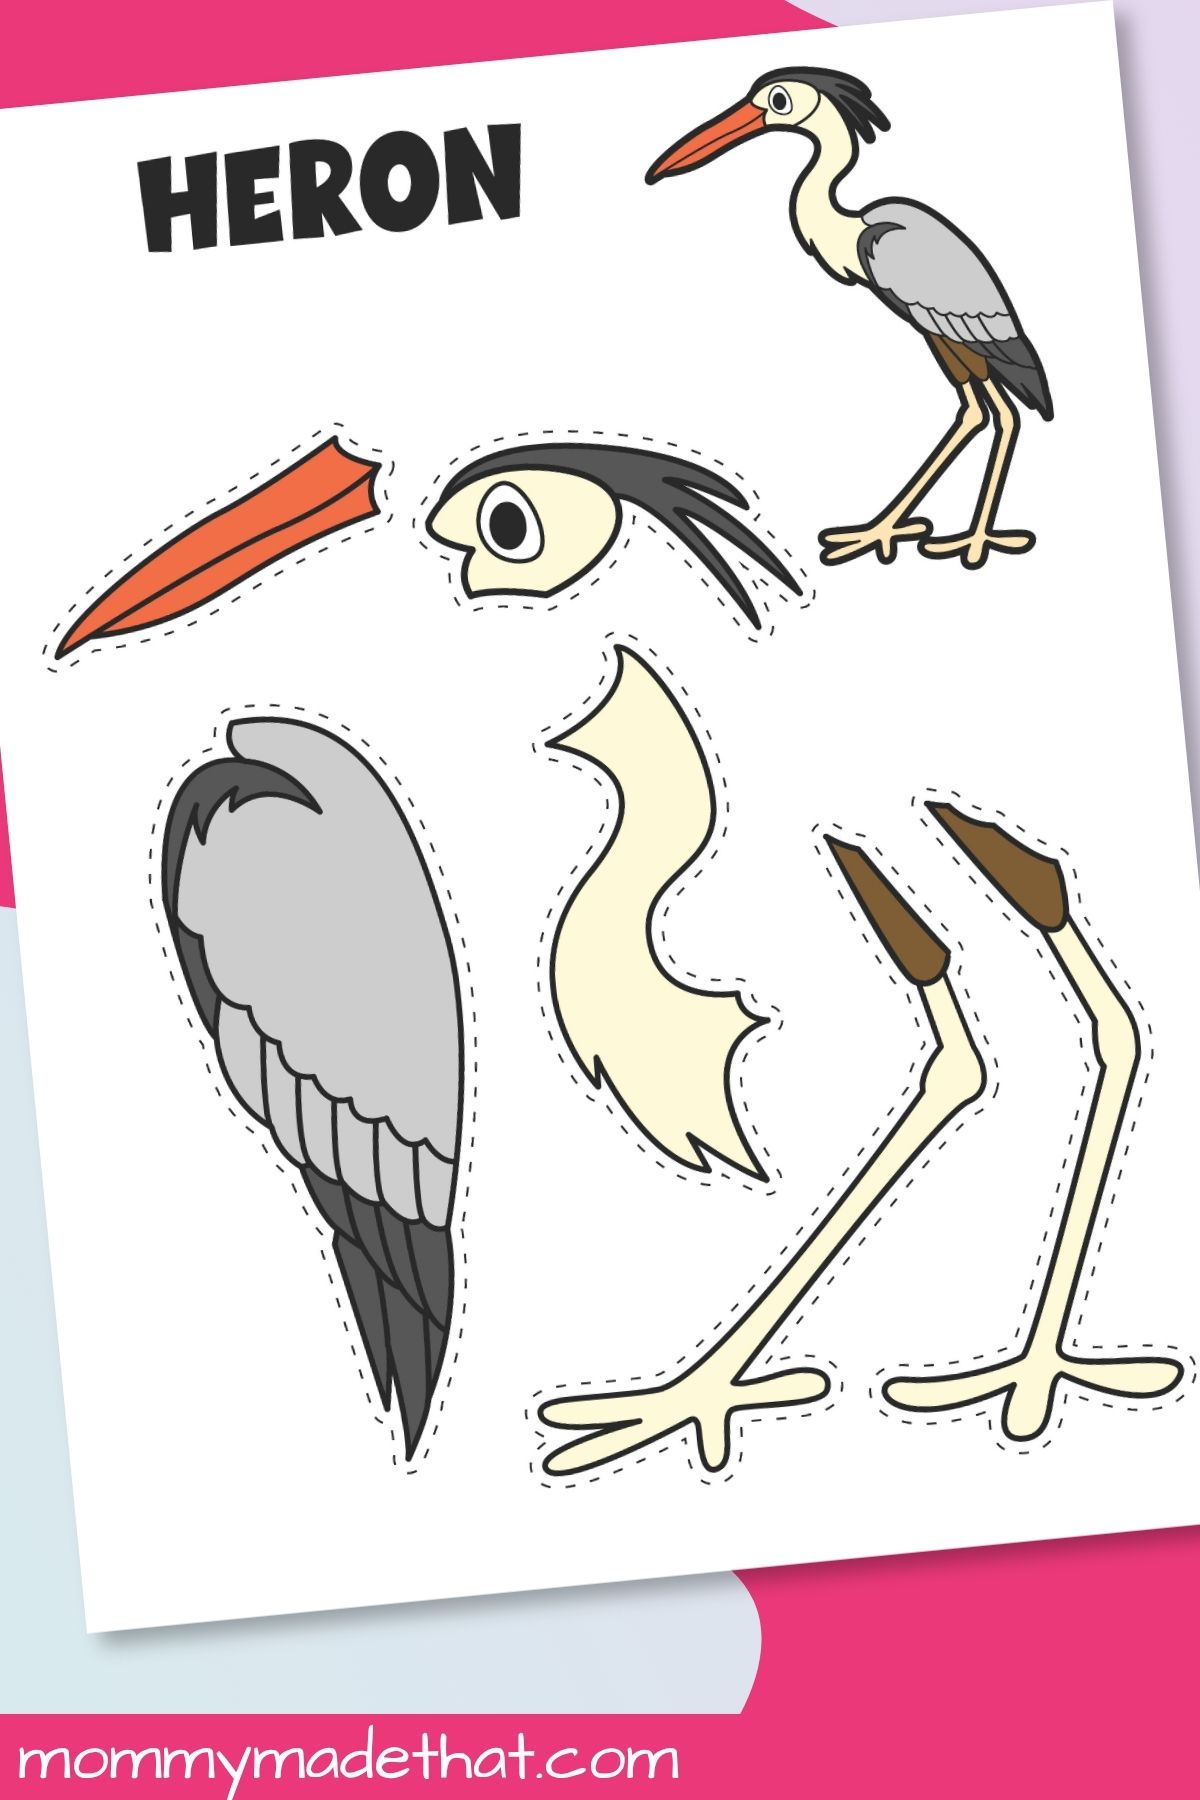
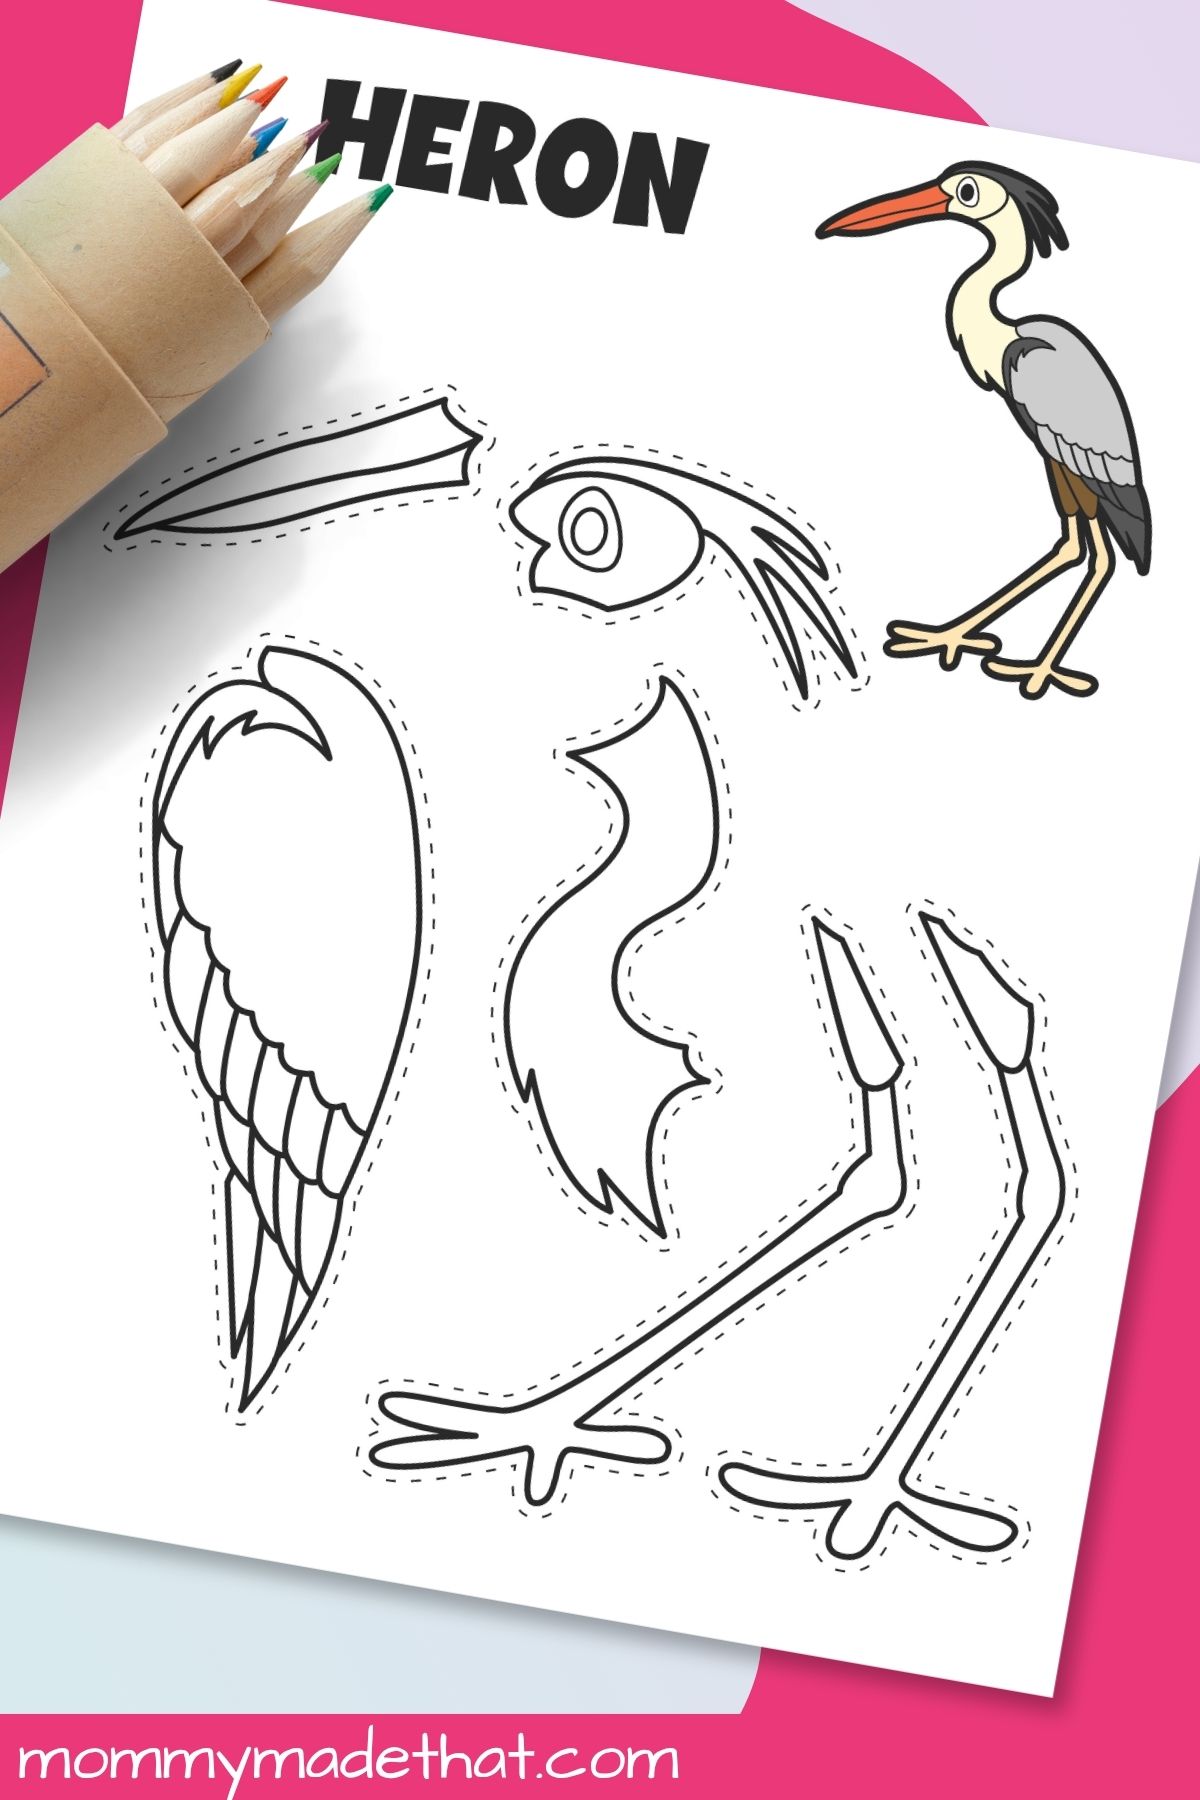
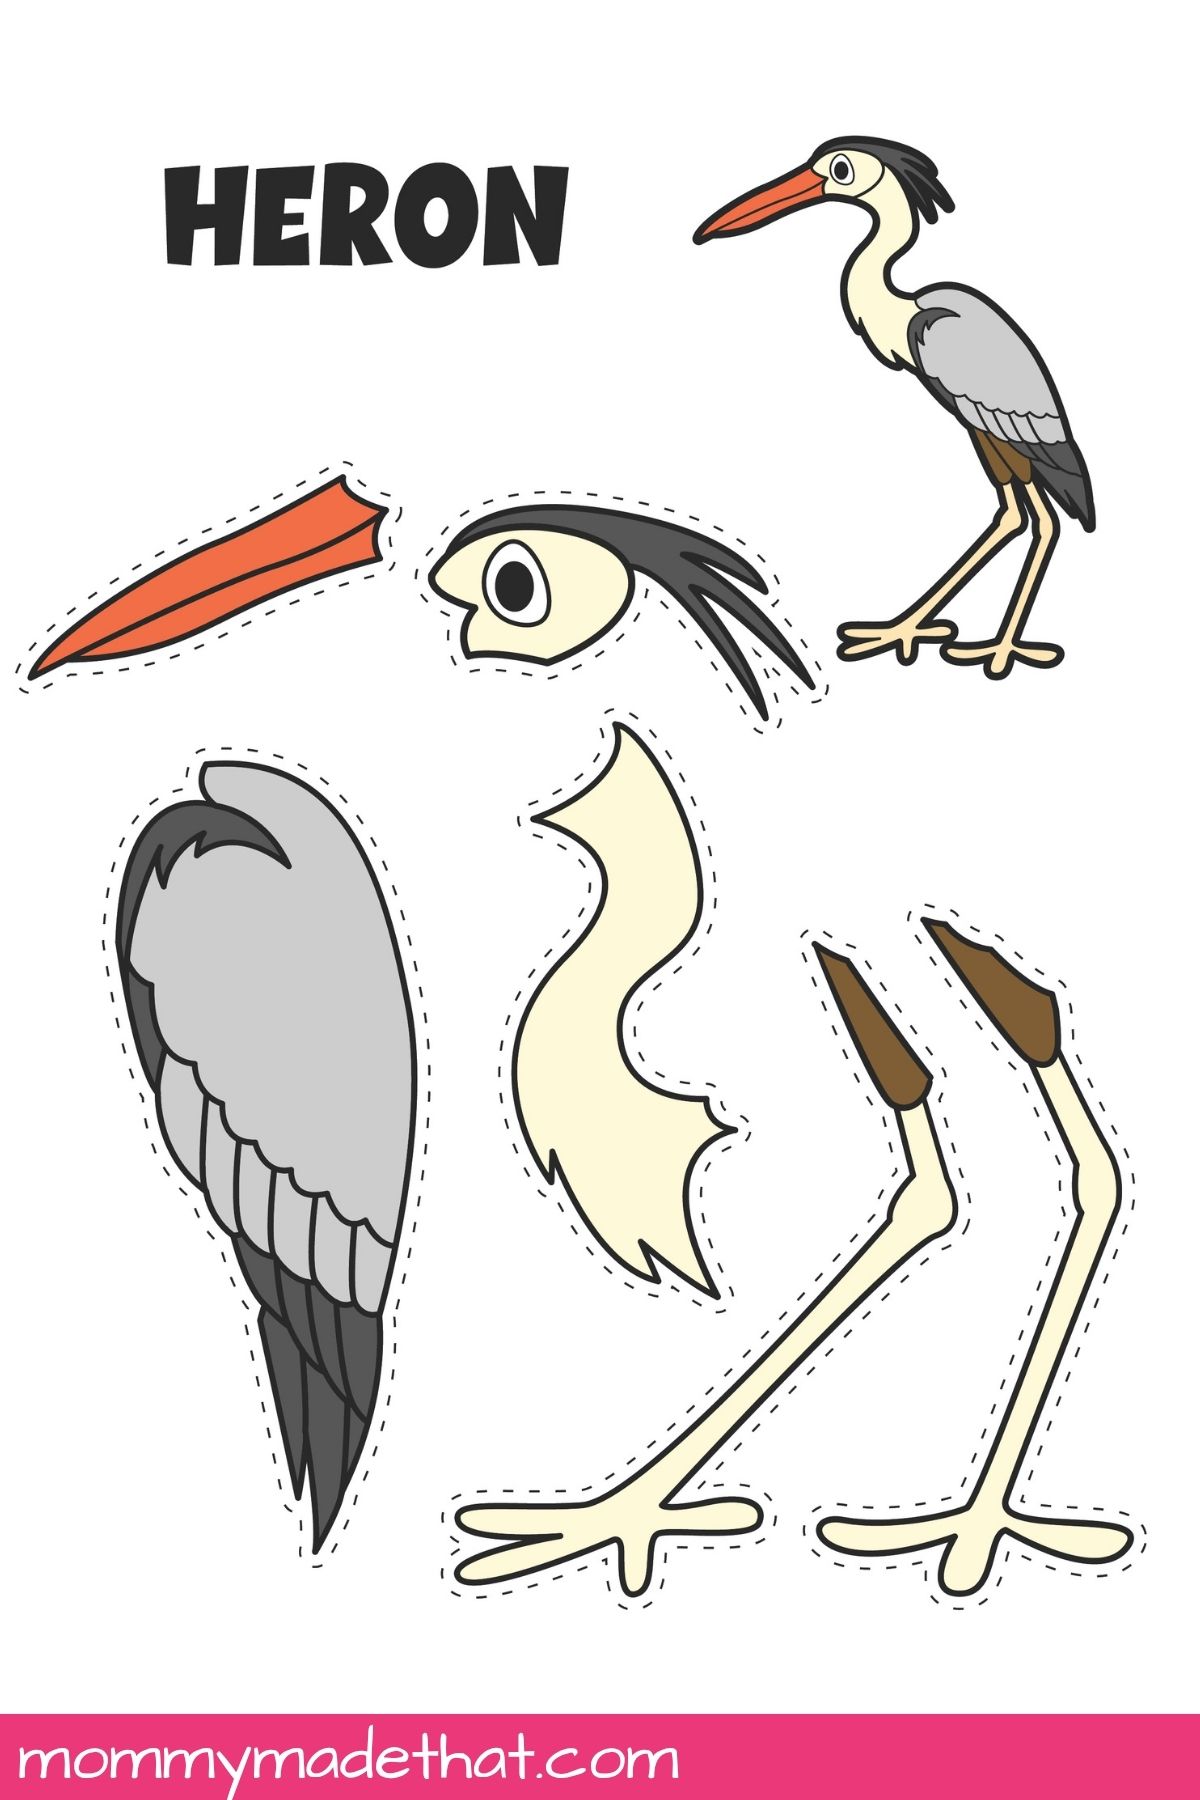
The printable comes in two versions of the same design. The precolored heron is gray and cream with a dark head detail, an orange beak, and yellow-brown legs. On the coloring version, the large craft pieces are uncolored, while the little completed example is still in color.
The sheet includes a feathered body and wing section, a long neck section, a head with the eye already printed on it, a beak, and two long legs with feet. Dashed guides mark the outside cutting edges. Each version contains the pieces for one heron, so choose one version per child.
Materials
- Heron printable template: Choose the precolored or coloring version.
- White paper or lightweight cardstock: Paper works well on a background; cardstock gives a loose cutout more support.
- Scissors: Use a pair suited to your child’s cutting skills, with adult help for small details.
- Glue stick: Apply small amounts at the joins.
- Crayons or colored pencils: For the coloring version.
- Optional background paper: Use it to hold the pieces in place and create a scene.
How to Make the Heron Cut and Paste Craft
Start with printing and coloring. Print the version you want. If you chose the coloring sheet, decorate the pieces while they are still on the page. Then cut around the dashed outside guides and keep the small pieces together in a dish or tray.
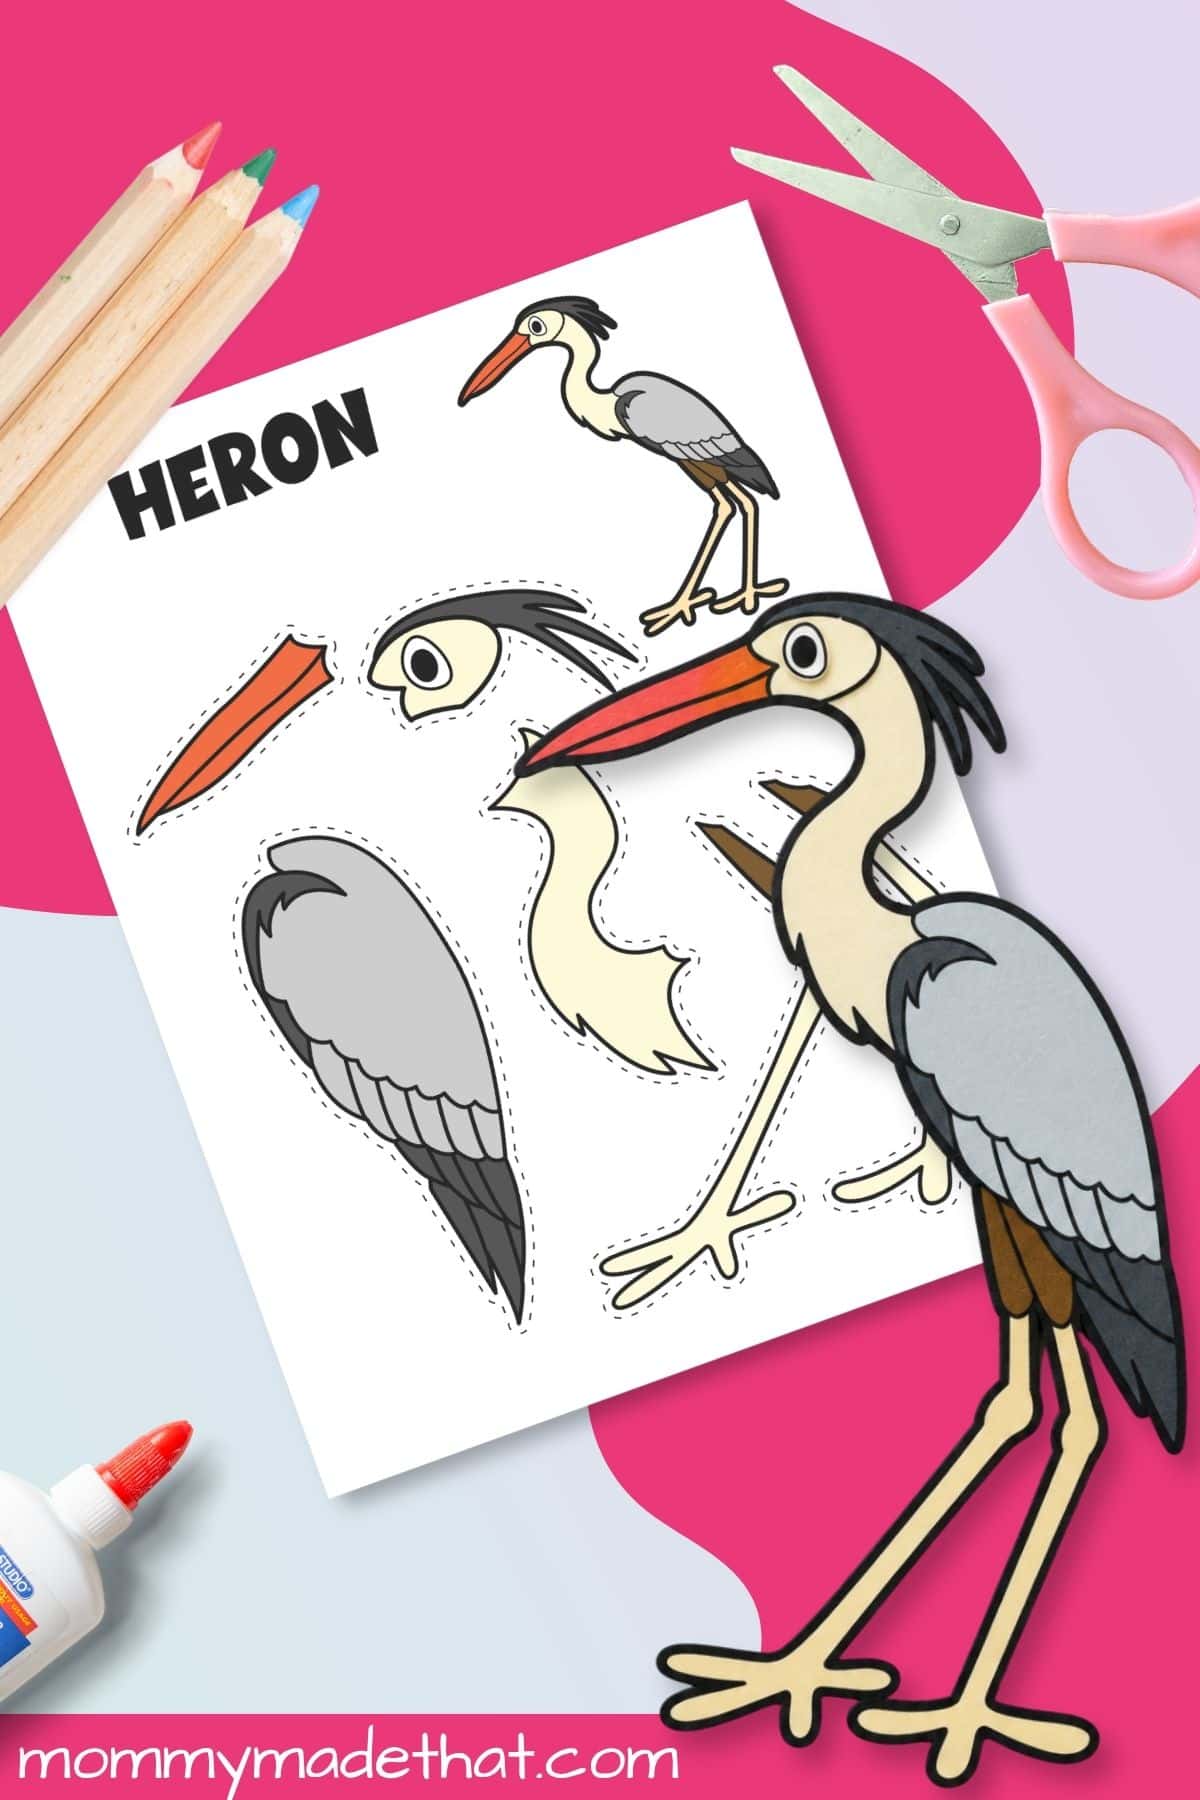
- Lay the body and wing section in the center. Arrange the long neck at the front so its curve matches the small completed bird.
- Fit the head at the top of the neck, then place the long pointed beak at the front of the face.
- Position the legs under the body. Check the feet against the example before gluing, and keep the leg pieces supported on the table.
- Glue the body, neck, head, beak, and legs at their overlapping edges. Attach the heron to a backing sheet for an easy-to-handle finished picture.
Top Tips
Lightweight cardstock can make the legs less floppy, but it may be harder for beginners to cut. Another option is to use regular paper and glue the pieces straight onto a background. Leave the feather detail lines intact.
Arrange both legs beneath the body before gluing anything down. A backing sheet makes it easier to keep the thin sections in position while you add the neck, head, and beak.
Ways to Use the Finished Craft
Create a water’s-edge scene with a strip of blue paper and tall paper reeds. Ask children to compare the long, narrow leg shapes with the wider wing shape, then describe their bird using words such as tall, curved, and pointed.
For another project to add above a paper pond, try our paper dragonfly craft.
Printing Tips
Print in portrait orientation and check the preview before printing. Use “Fit” if any parts are being clipped, and keep the page proportions unchanged. Print a single test sheet before making copies for a group.
Choose color printing for the precolored version. Grayscale works for the coloring version; the small colored example will appear in shades of gray. Use the same print settings for all pieces so they stay in proportion.
Grab the Printable
Grab the heron printable craft here!
Put your name and email in the pink box below, and we’ll send the free printable straight to your inbox.
Subscribe to our newsletter and get these printables sent straight to your inbox! Already a subscriber? Don’t worry you won’t be subscribed twice but it will send this printable straight to your inbox!
(We will never share or sell your personal information. Read more on our privacy policy.) We will use the information below to send you our newsletter with latest posts and special offers.
Choose your favorite version and get ready to build a paper heron. For more simple projects to keep on hand, browse our easy crafts for kids.