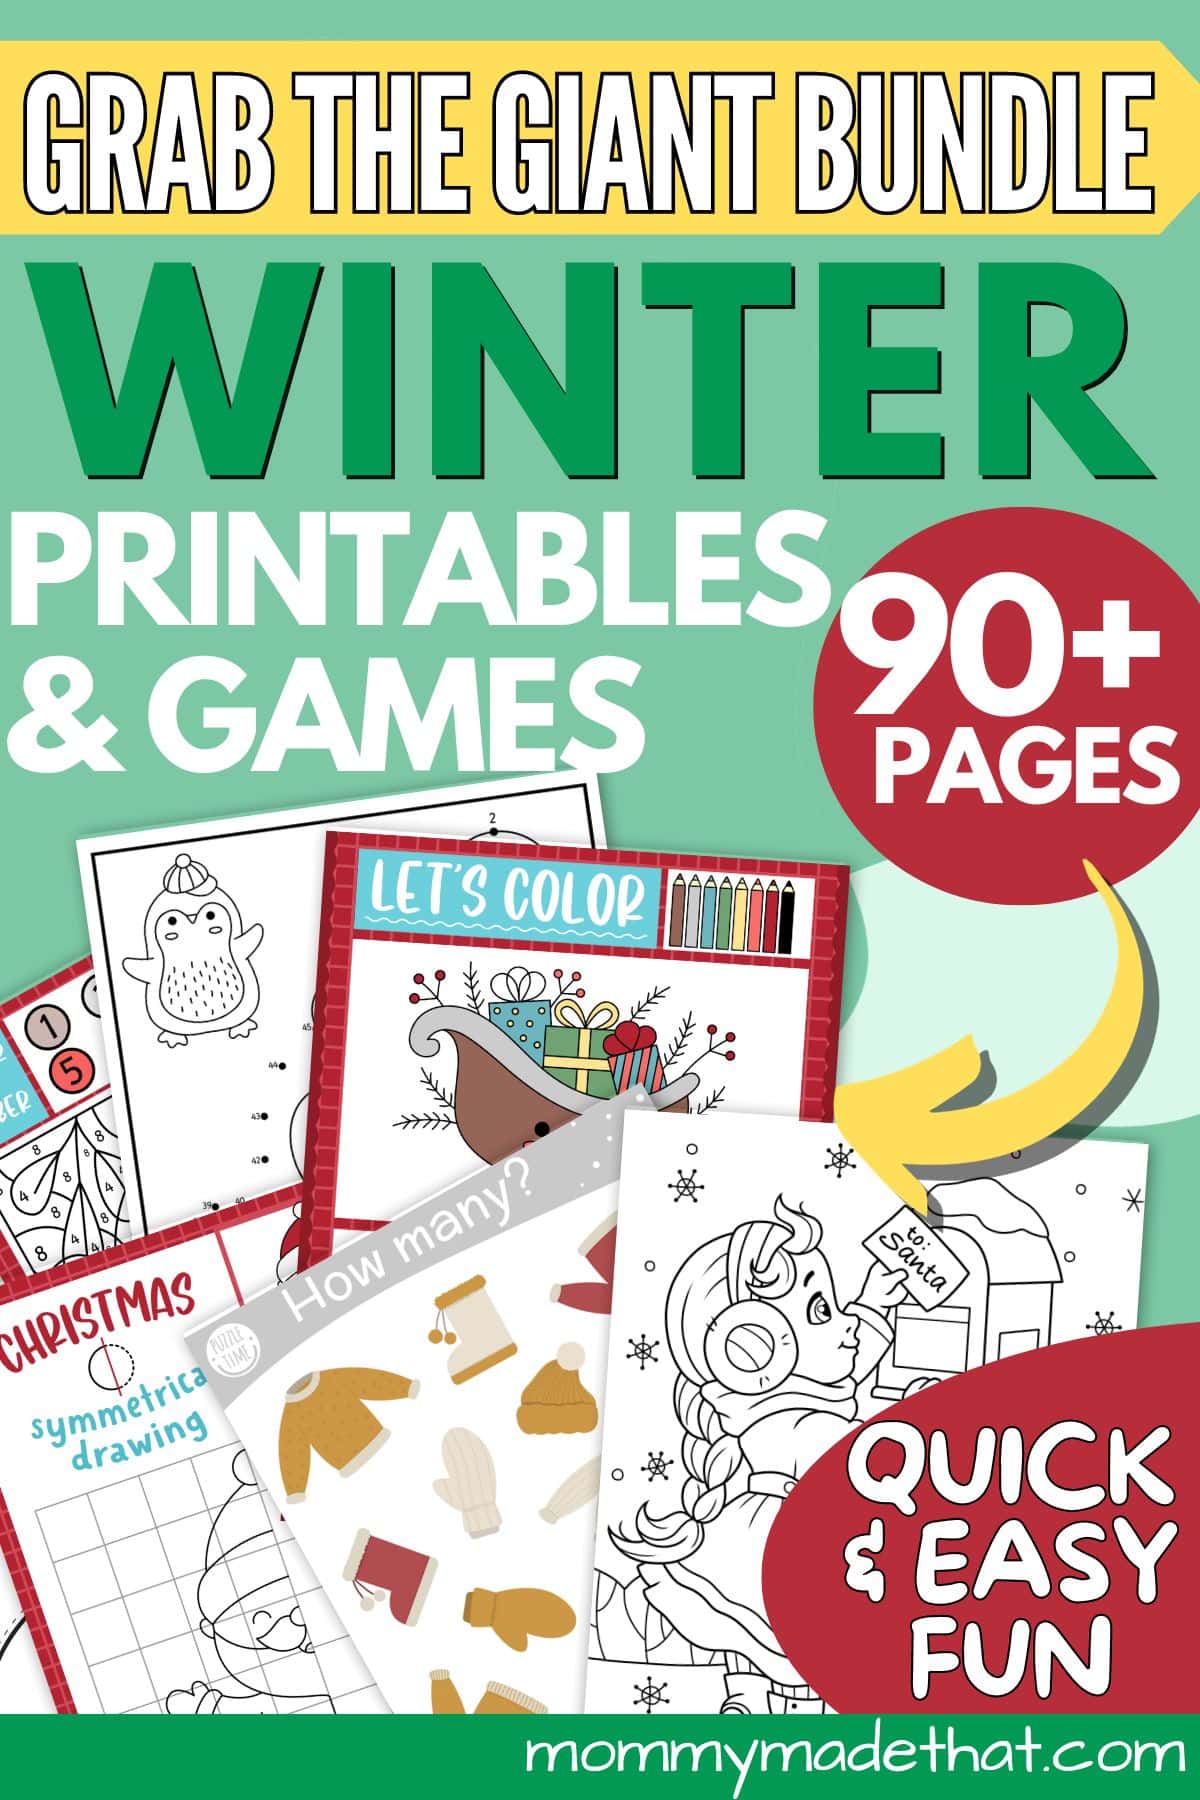
Cute Nativity Wreath (A Cute Christmas Craft with Free Template)
This nativity wreath is a fun Christmas craft perfect to do at home with kids. Plus it makes super adorable Christmas decor too.

If you’re looking for a fun and unique Christmas craft that showcases the reason for the season, check out this great DIY nativity wreath!
It’s a fun spin on the traditional Christmas wreath and would look great hung up on the front door and a fun winter craft.
Although this is more of an inside wreath than an outdoor one.
It’s just the cutest, right?
I’m always looking for something different and fun that the kids and I can do together and I about flipped out when we were able to create this.
Last week we made a Mother Mary and baby Jesus craft.
I’m in love with how it looks and it was really simple to do.
It would also make a fantastic Sunday school Christmas craft.
We’ve got one displayed at home but I also think that this would be a really cute gift for family and friends or even a Sunday school teacher from church.
This post may contain affiliate links. This means if you click a link and make a purchase, we may earn a commission. You can read our full disclosure here.

SUPPLIES NEEDED FOR THIS NATIVITY WREATH CRAFT
- Cardstock wreath base
- Burlap fabric
- Cardstock paper
- Glitter paper
- Dry twigs
- Felt fabric
- Pencil
- Scissors
- Craft glue
- Sharpie
Alternatives: While we used felt and burlap, you could easily just make this a paper nativity wreath as well.
Just use the template and cut everything out on construction or colored craft paper.
It’s totally up to you what materials to use.
HOW TO MAKE THIS DIY NATIVITY WREATH
To get started making this adorable nativity scene Christmas wreath, start grabbing the template at the end of the tutorial.
Print it out and grab all of your supplies. Then follow this step by step tutorial.
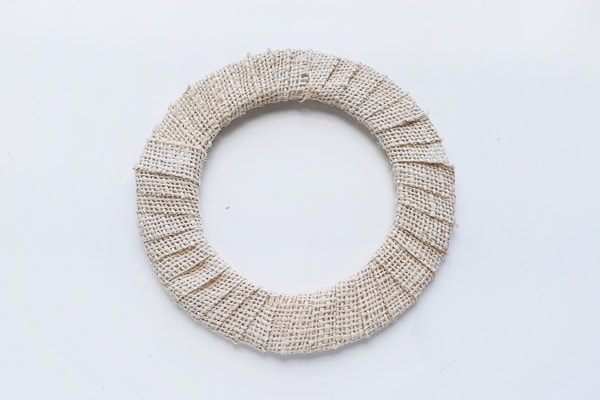
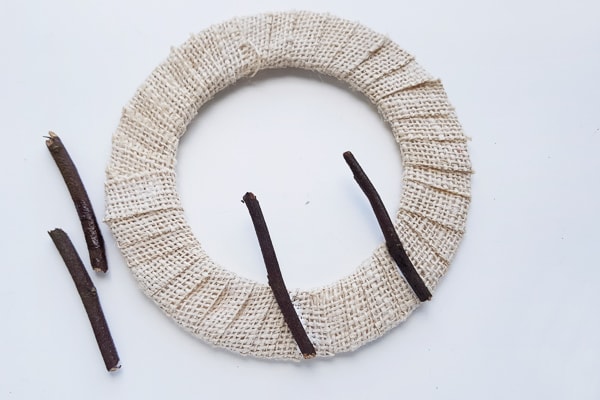
Step 1: CHOOSE THE SIZE OF THE WREATH
Pick out the size of the wreath and cut out a round wreath base from paper.
Take and prepare a long strip (or strips) of the burlap fabric.
Then, wrap the base of the wreath to cover it.
Apply your glue and the beginning and then again at the end of the burlap fabric to keep it in place
This will be the base for the nativity scene.
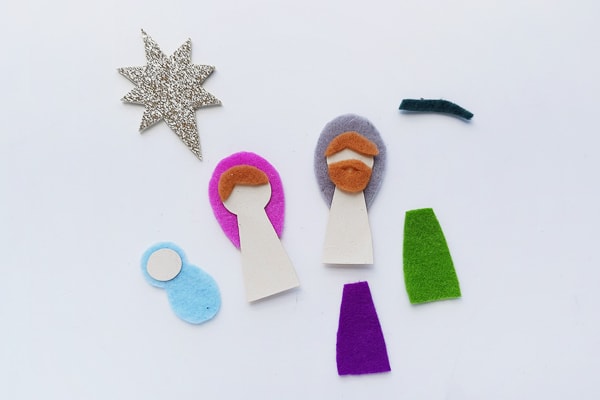
Step 2: PREPARE TO USE THE TEMPLATES
Print out the templates and cut them out. The template includes pieces to make the following figures from the nativity scene:
- Mother Mary
- Joseph
- Baby Jesus
- The Star
Trace all the template parts of the different characters on felt or paper and cut them out.
We cut out Mary and Joseph’s bodies on paper, and baby Jesus’s face on paper as well. The rest of were on felt.
Don’t forget to trace and cut out the star on pretty glitter paper or foam.
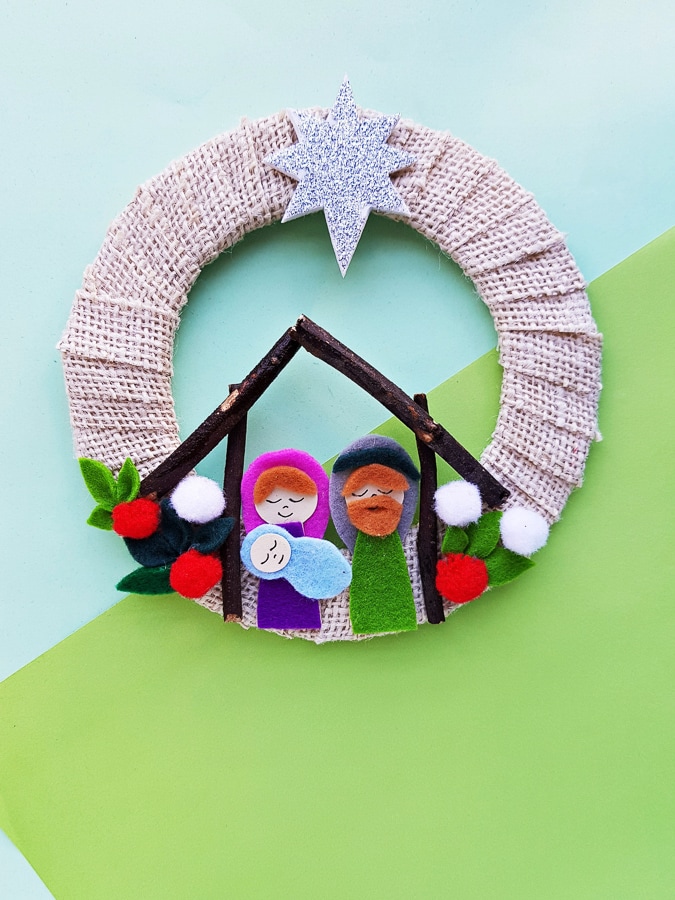
If you’re looking for color ideas, you can look at the paper below to get an idea of what colors we chose.

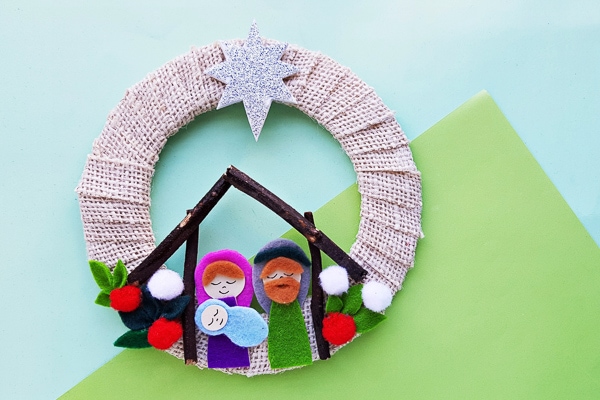
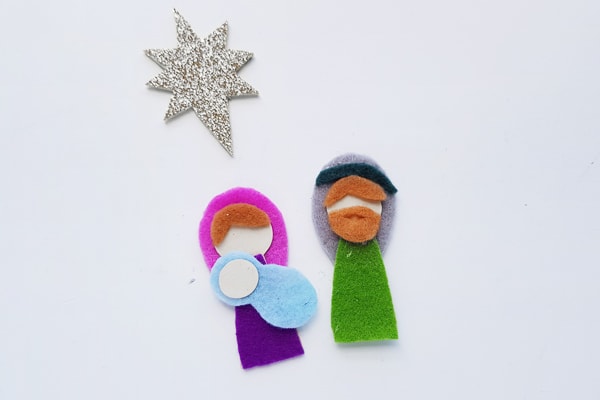
Step 3: ATTACH THE PARTS
Take the parts that you’ve cut out of the characters and attach them as shown below.
Step 4: ATTACH BABY JESUS
Take the baby Jesus and put him on the lap of Mary.
You can use a black sharpie to give them faces, too.
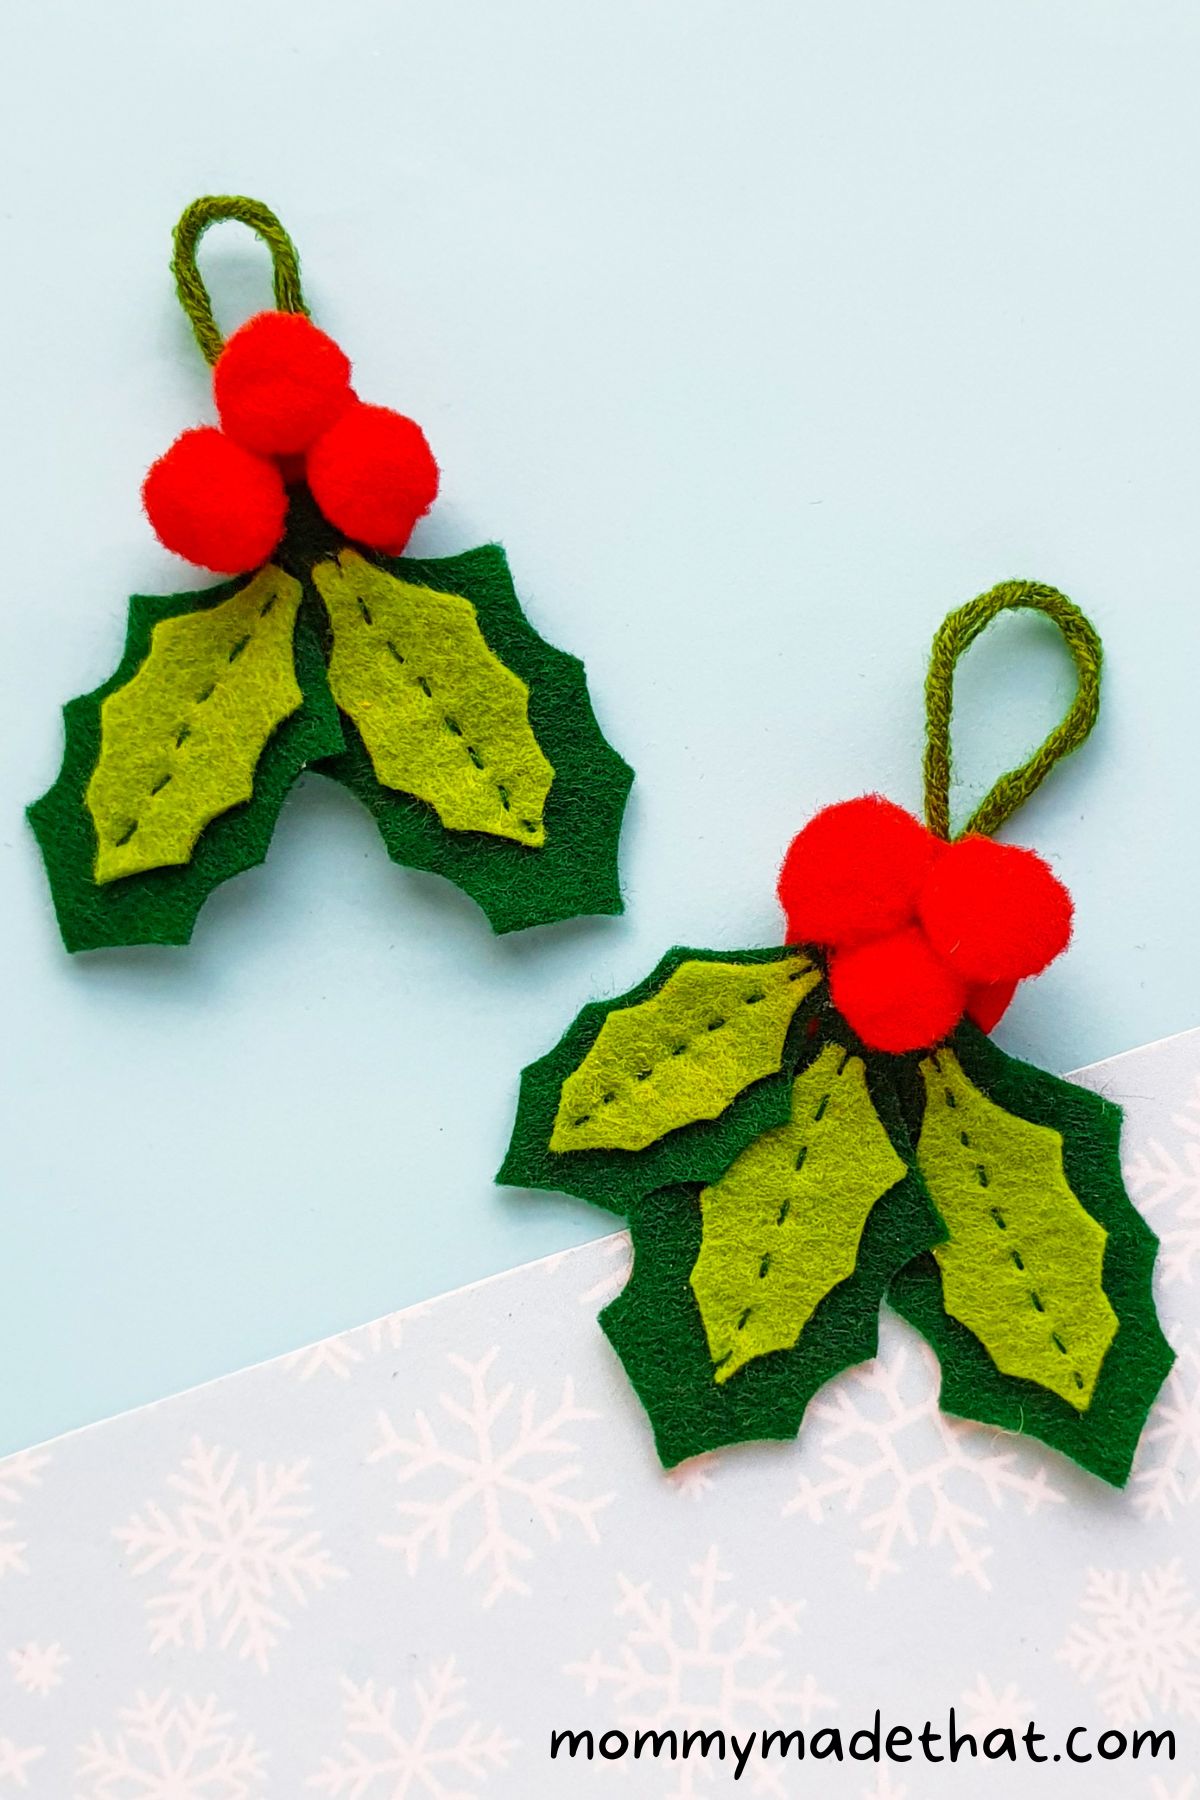
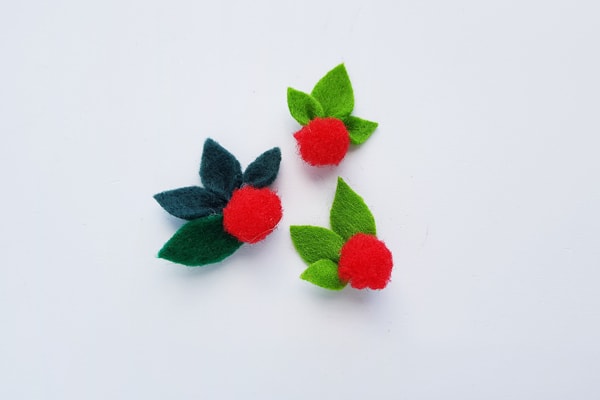
Step 5: CUT OUT LEAVES
Using your green felt fabric, cut out some leaves.
We used a combination of light green and dark green felt.

Step 6: GIVE THE LEAVES A 3D LOOK
Take your leaves and make a thin fold halfway through the middle.
Glue that fold. This will make them look 3D.

Step 7: GlUE THE LEAVES
Grab 2 or 3 of the leaves and attach them together.
Glue a pompom with the leaves as well.
This will create cute little holly berries to attach and decorate your nativity wreath.
Step 8: ADD IN THE TWIGS
Take your wreath and some twigs and attach a couple of them parallel on any one side of the wreath.
This will be the stable that houses baby Jesus, Mary and Joseph.
Leave a gap between the twigs so that you can place Joseph and Mary between them.
Step 9: ATTACH MARY AND JOSEPH
Take Mary and Joseph felt figures and attach them onto the wreath, between the twigs.
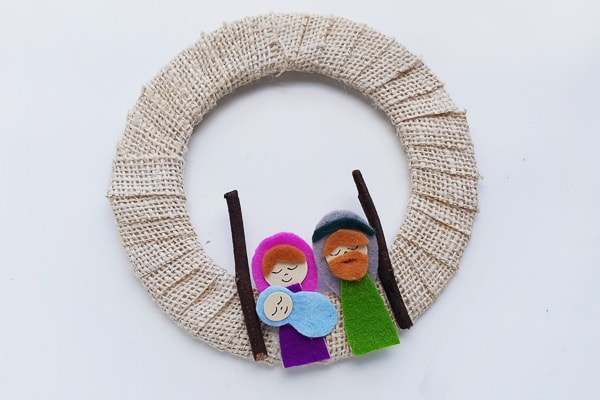
Step 10: ADD MORE TWIGS
Next, take 2 more twigs and put them on the top side of the parallel twigs and form a triangle pattern.
This is the bottom side of the wreath.

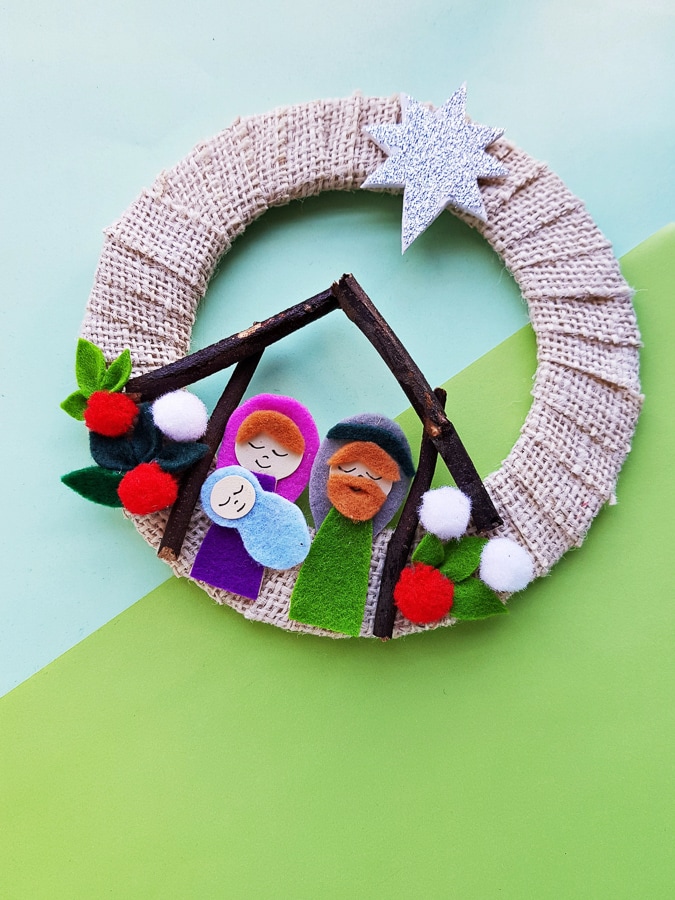
Step 11: PUT THE STAR ON TOP
Add your flitter star on top. And now your nativity scene is complete!
Hang once done!