Cute DIY Halloween Pudding Bowls
 Halloween is a favorite in our house. So naturally, we like to make lots of cute Halloween treats.
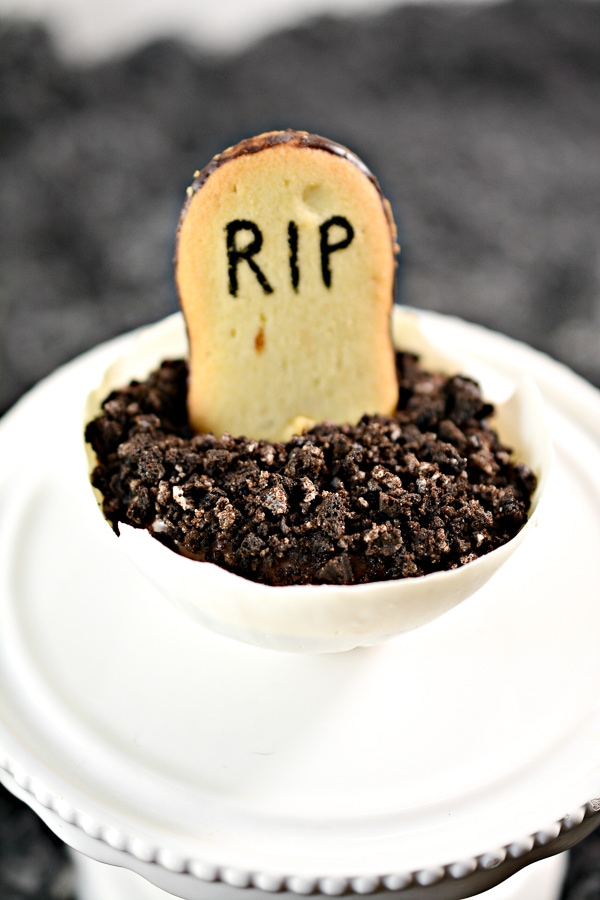
One fun one is these Halloween pudding bowls!
This is no ordinary Halloween pudding though! Everything about this treat is edible. We even made the bowls ourselves!
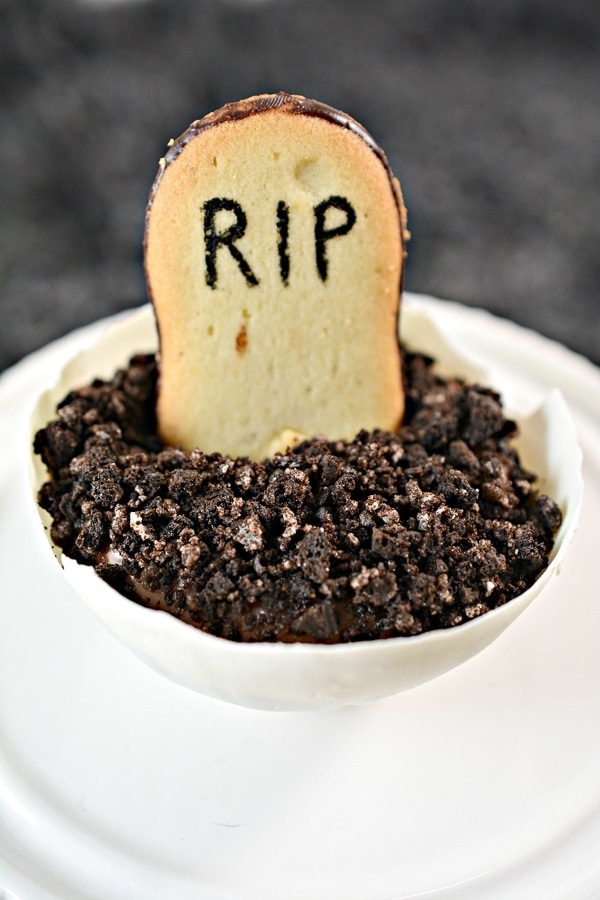
Then we added some cookie “dirt” and a cookie “tombstone” to give the pudding a spooky graveyard feel.
The great thing about this, it isn’t nearly as hard as it looks. We’ll walk you step by step how you can make these cute halloween pudding cups yourself!
Supplies Needed for Halloween Pudding Bowls
This recipe will make about 4 pudding bowls. Making the candy bowls and waiting for them to dry is the most time-consuming part of this whole treat, but well worth the fun of eating the bowl!
- 4 Balloons
- 1 Package of white candy melts
- 1 Box of Chocololate instant pudding
- 2 Cups of milk
- 8 Oreo cookies (for the dirt)
- 4 Peppridge farm Milano Cookies (for gravestones)
- Cooking spray
- Black edible marker
- Parchment paper
How to Make the Halloween Pudding Cup Candy Bowls
Like I said earlier, making the candy bowls for the pudding will probably be the most time consuming part, but its not complicated.
Start by inflating all 4 of your balloons. You want them just big enough that the bottom half will make a nice sized bowl.
Tie the balloons off and spray each one with a decent amount of cooking spray.
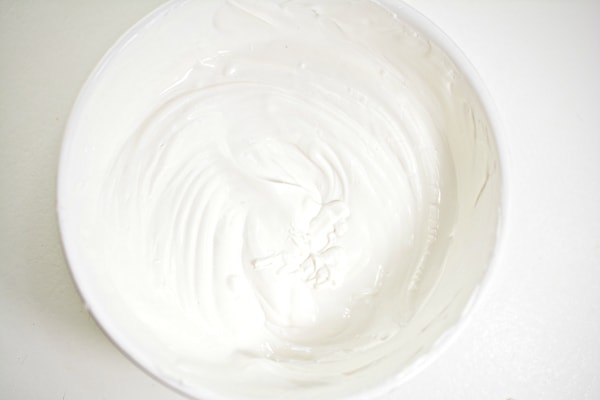
Set them aside and grab your candy melts. We used white, but you could use a bright Halloween color for your pudding bowls if you wanted a fun change.
Melt you candy melts in a microwave safe bowl. Heat for 30 seconds at a time on the defrost setting until they are totally melted.
Make sure to stir your candy each time to check if they have melted.
Next, you’ll want to set up a drying area for your candy bowls.
You can do this by lining a tray with some parchment paper.
Now dip one of your balloons into the melted candy so that the bottom third of the balloon is coated in the melted candy.
To get good coverage, we dipped and used a twisting motion to get a good coating over the entire bottom of the balloon.
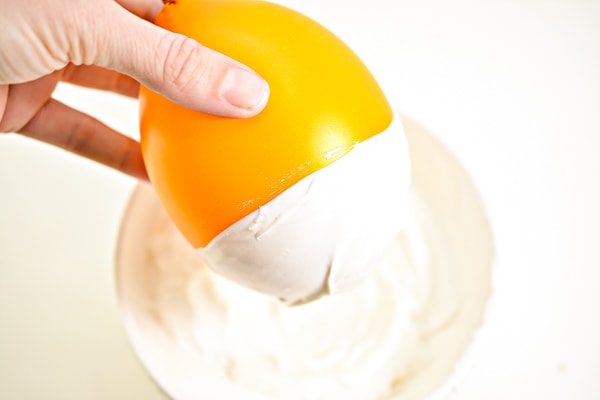
Place the coated balloon onto your parchment paper and let set for a few minutes. We put ours upright and held it in place until it was stable.
The excess candy tends to drip down the balloon to form a sturdy, flat base for the bowl.
Once it has set for a few minutes redip your balloon into the candy to make your bowl thicker. Repeat this process 4-5 times with each bowl.
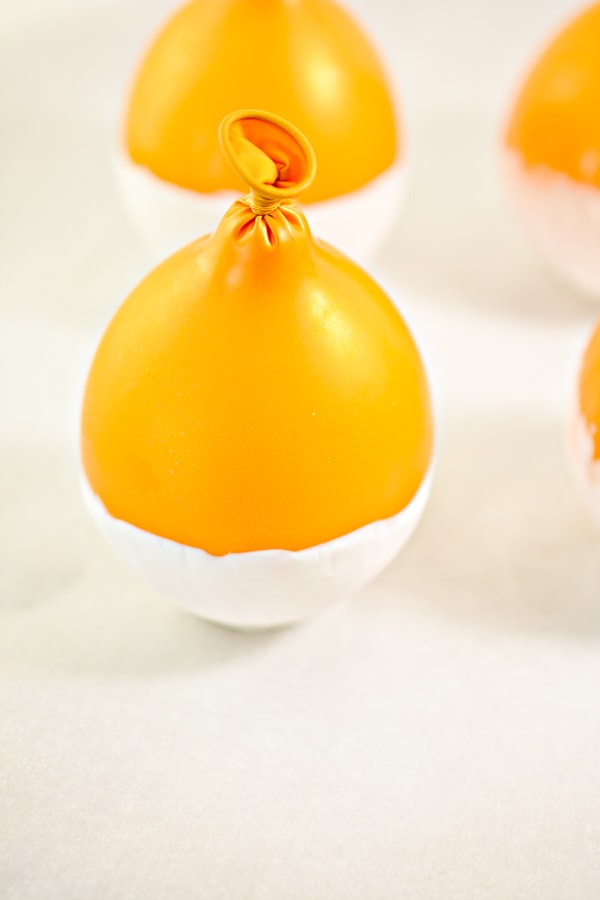
Once all of your balloons are dipped and coated with a thick layer of candy, put your bowls in the fridge and let them set for atleast 30 minutes.
If your bowls are really thick, they may need more time.
Once the bowls are totally dry and hard to the touch, you can remove them and deflate the balloons.
We just gently made a hole in the top to help them deflate slowly. If you deflate the balloon by popping it quickly, you could risk breaking your candy bowl.
Remove the balloons from your pudding bowls.
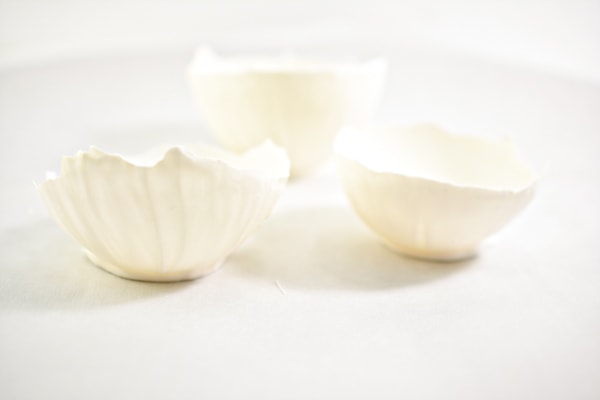
Now your bowls are ready to be filled with your pudding!
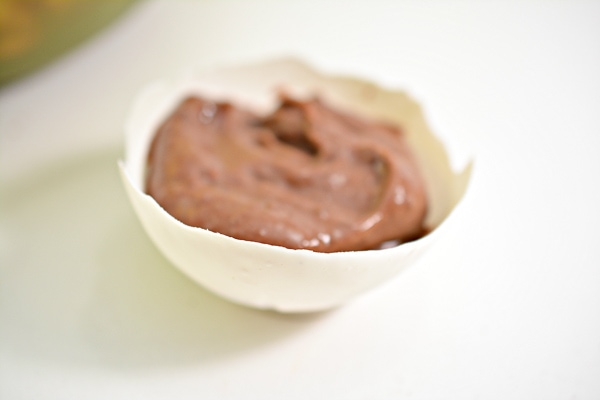
Place your instant pudding mix into a bowl and whisk in your 2 cups of milk. Stir until all of the lumps are gone and your pudding is smooth
Let the pudding set until it is thick and creamy.
Now fill your candy bowls with the pudding leave a bit of room toward the top of your dirt and gravestone.
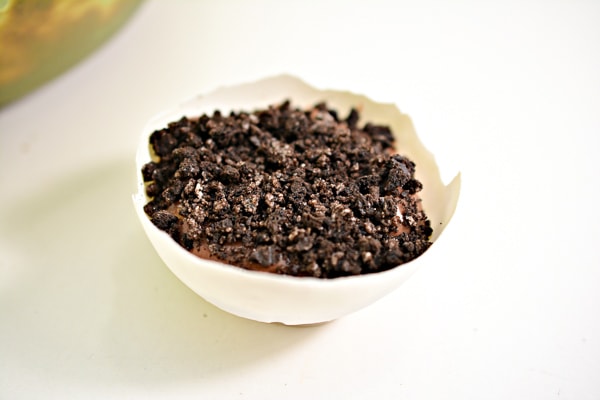
In a plastic zip lock bag, place your oreos and crush with a rolling pin (a can works well too) to make lots of cookie crumbs.
Sprinkle the cookie crumbs over each of the pudding cups to form a layer of cookie dirt over the pudding cups.
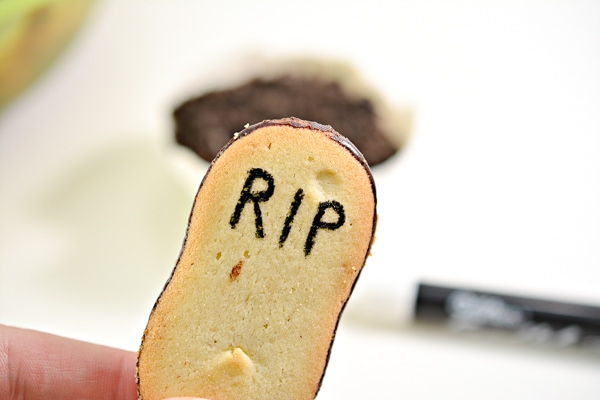
Using your edible food marker, write “RIP” onto each of your gravestones. (The Milano cookies!)
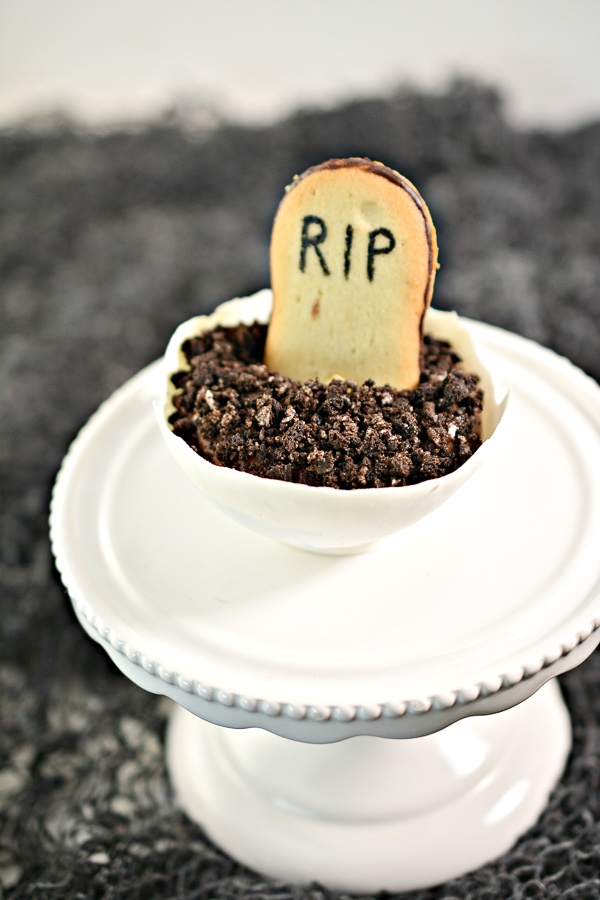
Stick a gravestone into each one of your Halloween pudding cups to form a tiny graveyard scene.
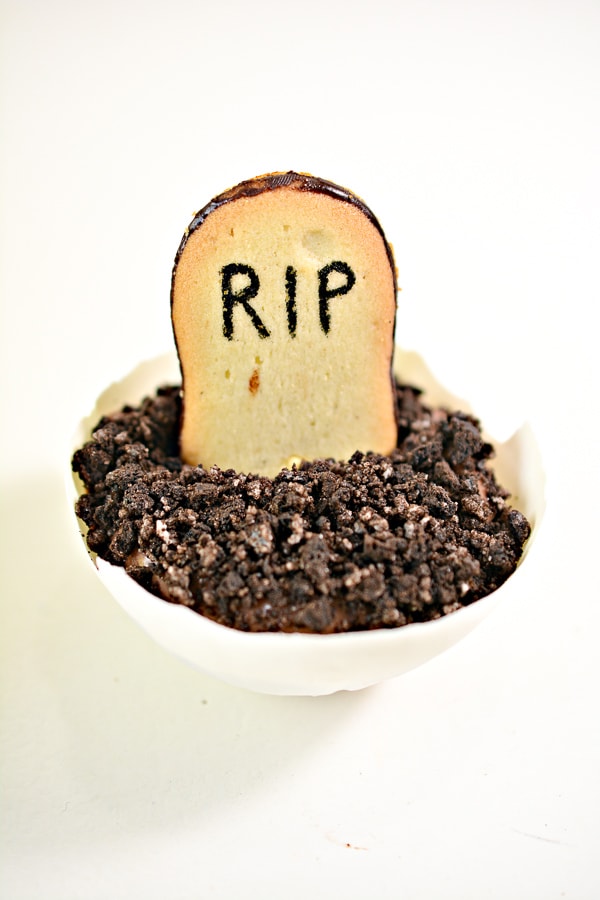
And that’s it! Your Halloween pudding is all ready to serve.
If you don’t plan on serving right away, store in the fridge until ready.