Easy Butterfly Handprint Craft for Kids of All Ages
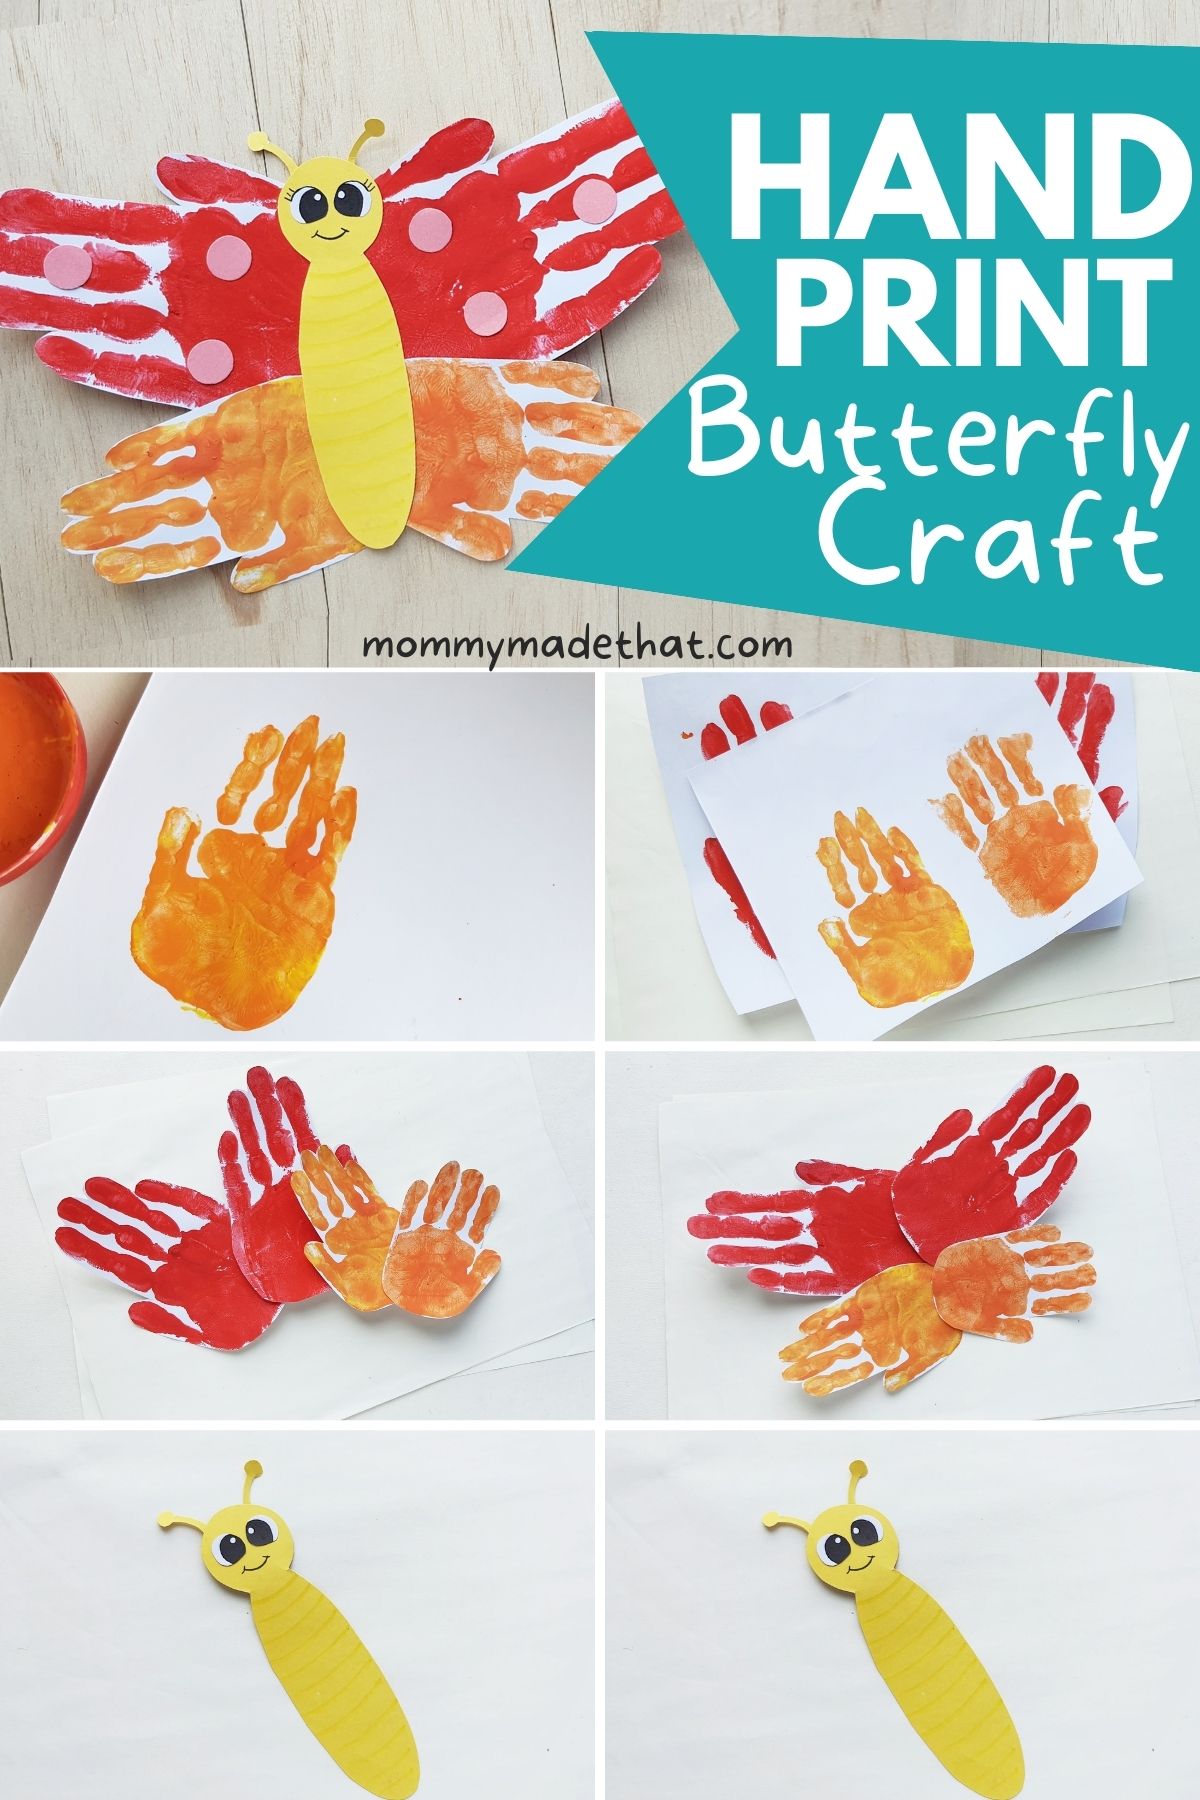
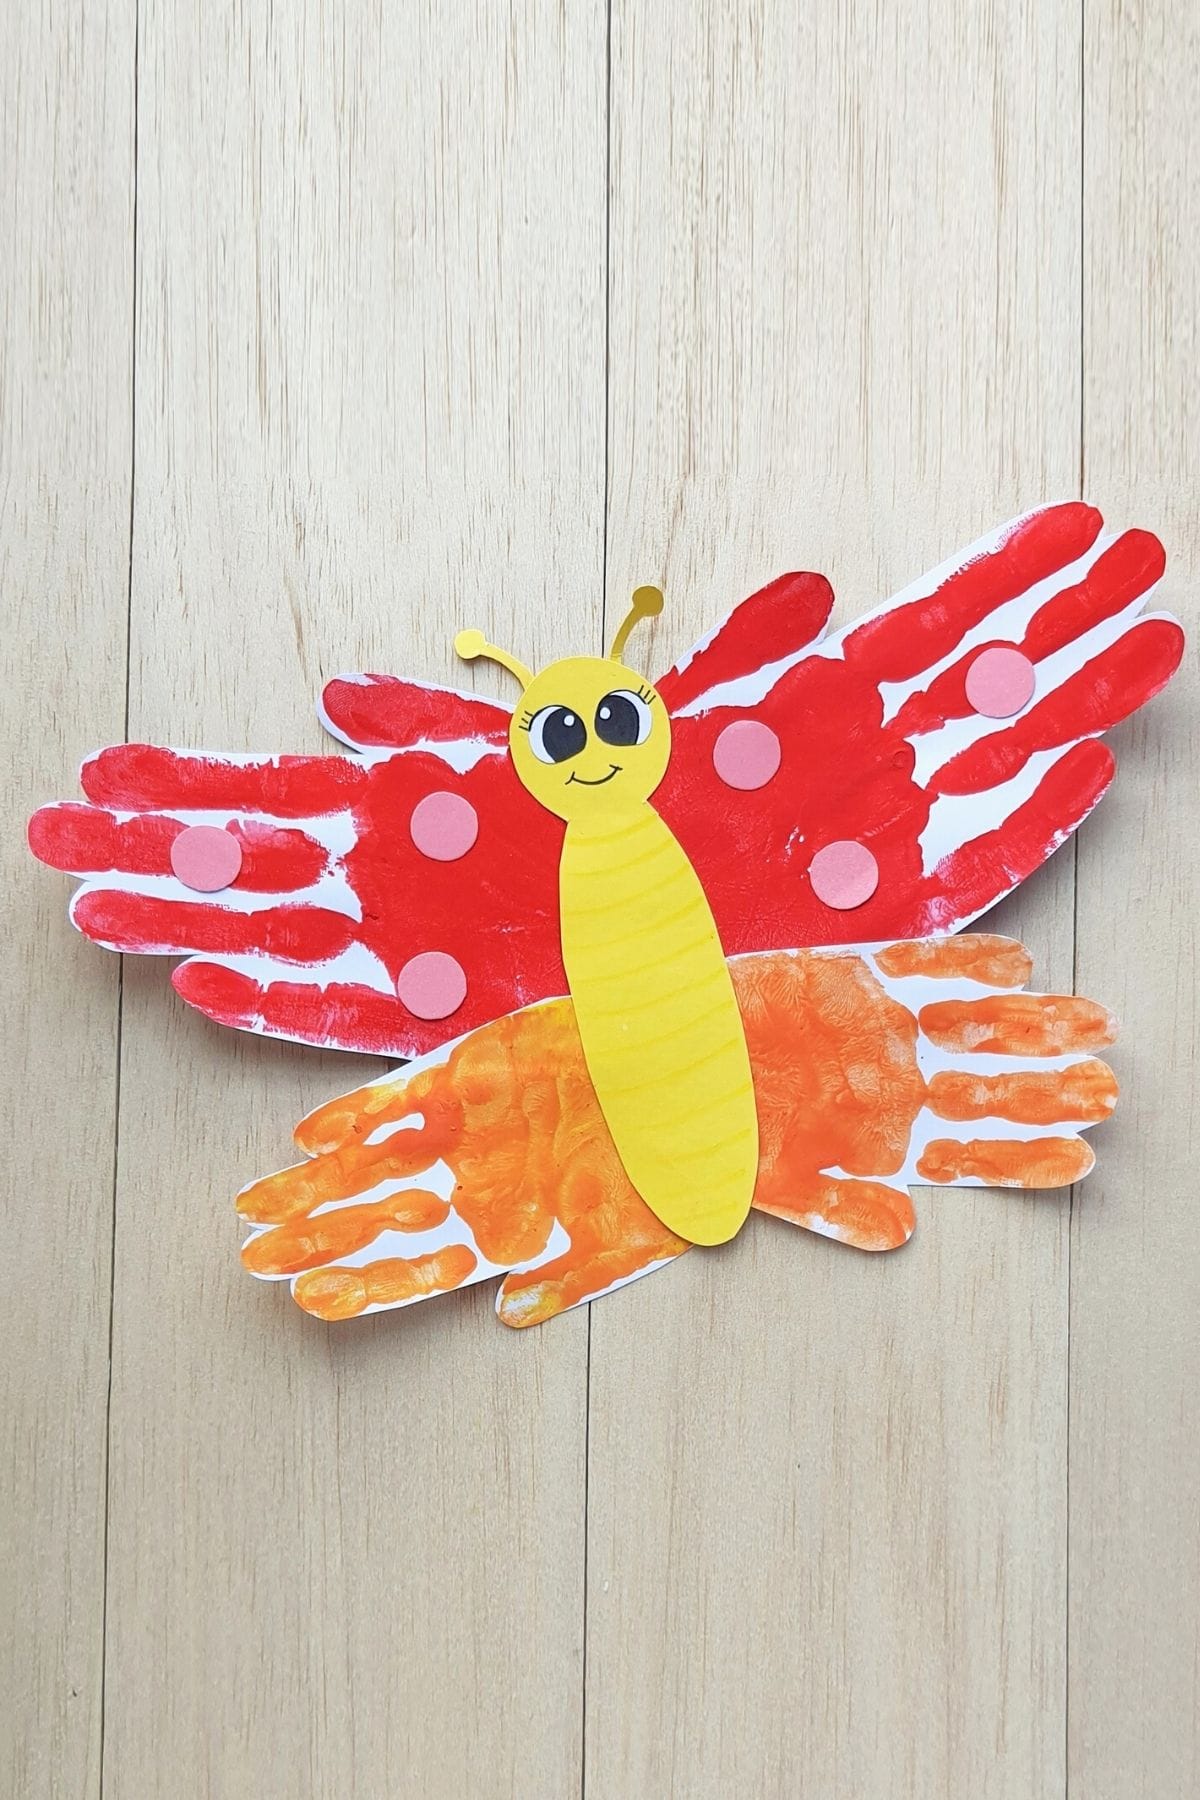
Today we have these fun handprint butterflies! They are such a fun art project and craft that kids will love to put their hands on!
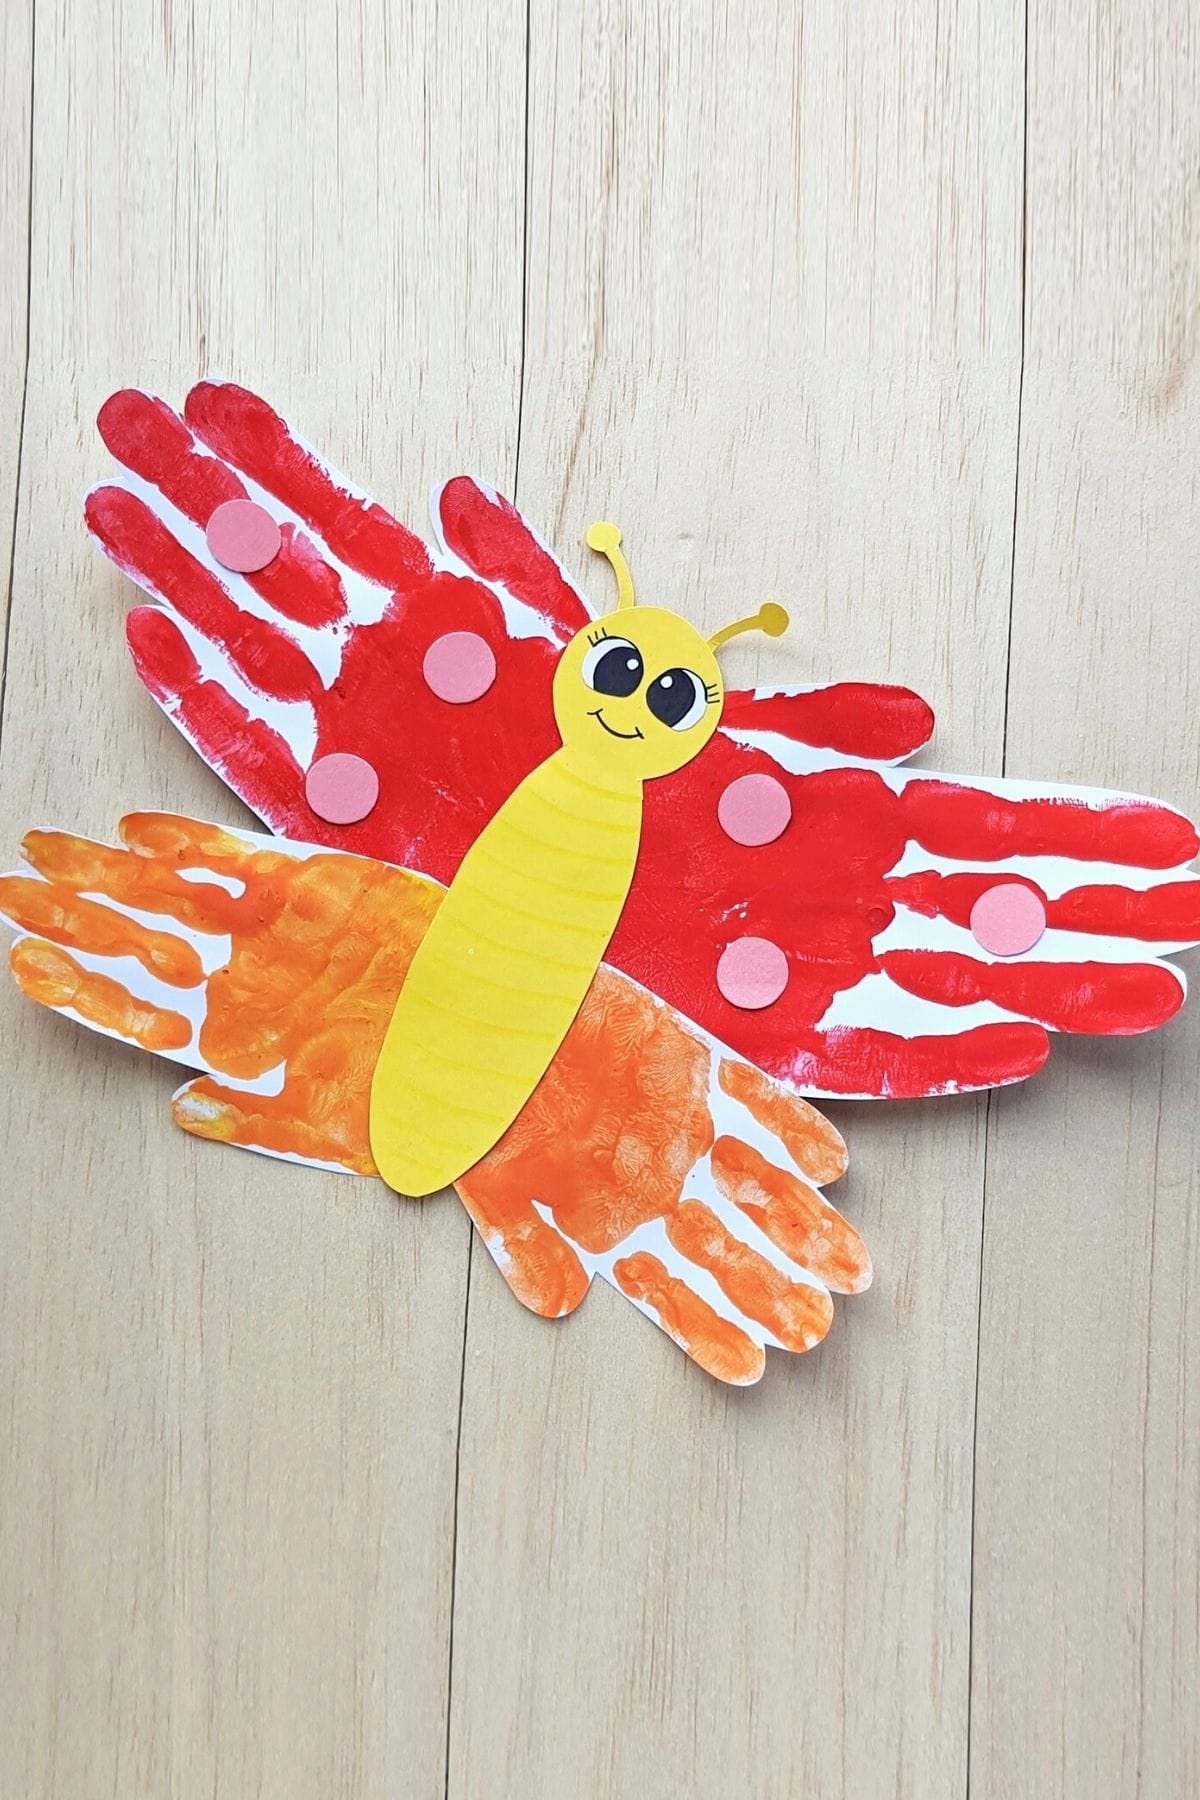
Spring has sprung. And we’ve been making lots of fun spring crafts for kids.
Handprint crafts and bug crafts are some of our favorite kinds to make!
Today we are making a fun handprint butterfly craft!
Kids of all ages love making handprint art. But this art project makes an especially good butterfly craft for preschoolers and toddlers.
There’s just something about putting your hands directly into the paint and touching the paper.
And there’s something so special about a child’s handprints. Like a moment in time printed forever.
Which is also why this makes a great mother’s day craft.
Materials Needed
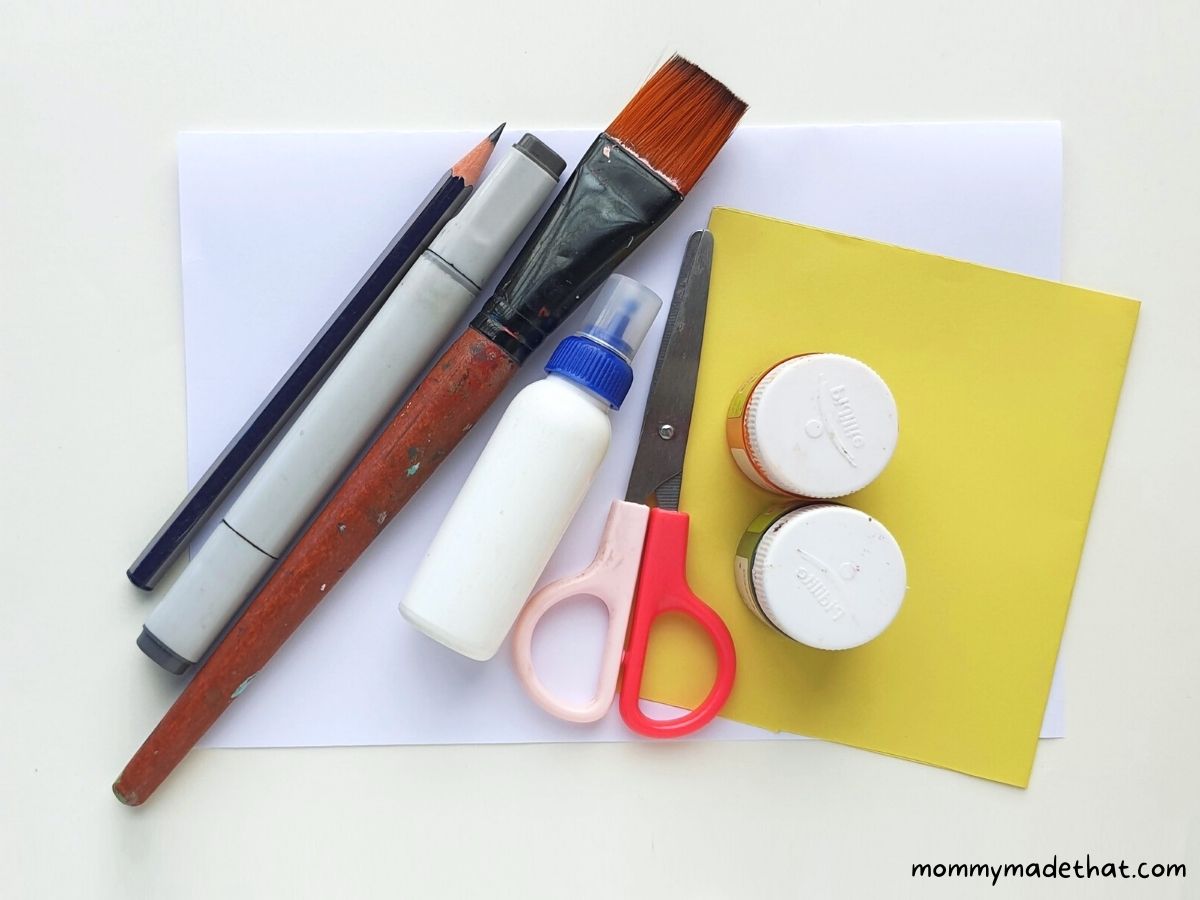
Colored Craft Paper: Or construction paper in 3 different colors
Acrylic Paint: We used two colors. Red for the upper butterfly wings and orange for the lower wings.
Handprint Butterfly Craft Template: A printable template for the butterflies body. It includes eyes for the butterfly. Or you could use some googly eyes if you have those on hand.
You’ll also need some basic supplies:
- Paint brush
- Black marker
- Craft glue or tacky glue
- Pencil
- Scissors
How to Make Butterfly Handprints
Start by printing out the butterfly template. You can find it at the end of this tutorial.
To start with, there are two ways you can go about making these handprint butterflies.
I love this as a parent-child craft, and it makes such a wonderful Mother’s day craft.
So you can do this one of two ways.
1. You can make one set of wings, the upper wings from the big hand prints (like mom’s or the older sibling) and the second, smaller set of wings from the smaller hands, the child’s or younger sibling.
2. You can use the same hands for both sets of the wings. It’ll still come out beautiful and wonderful.
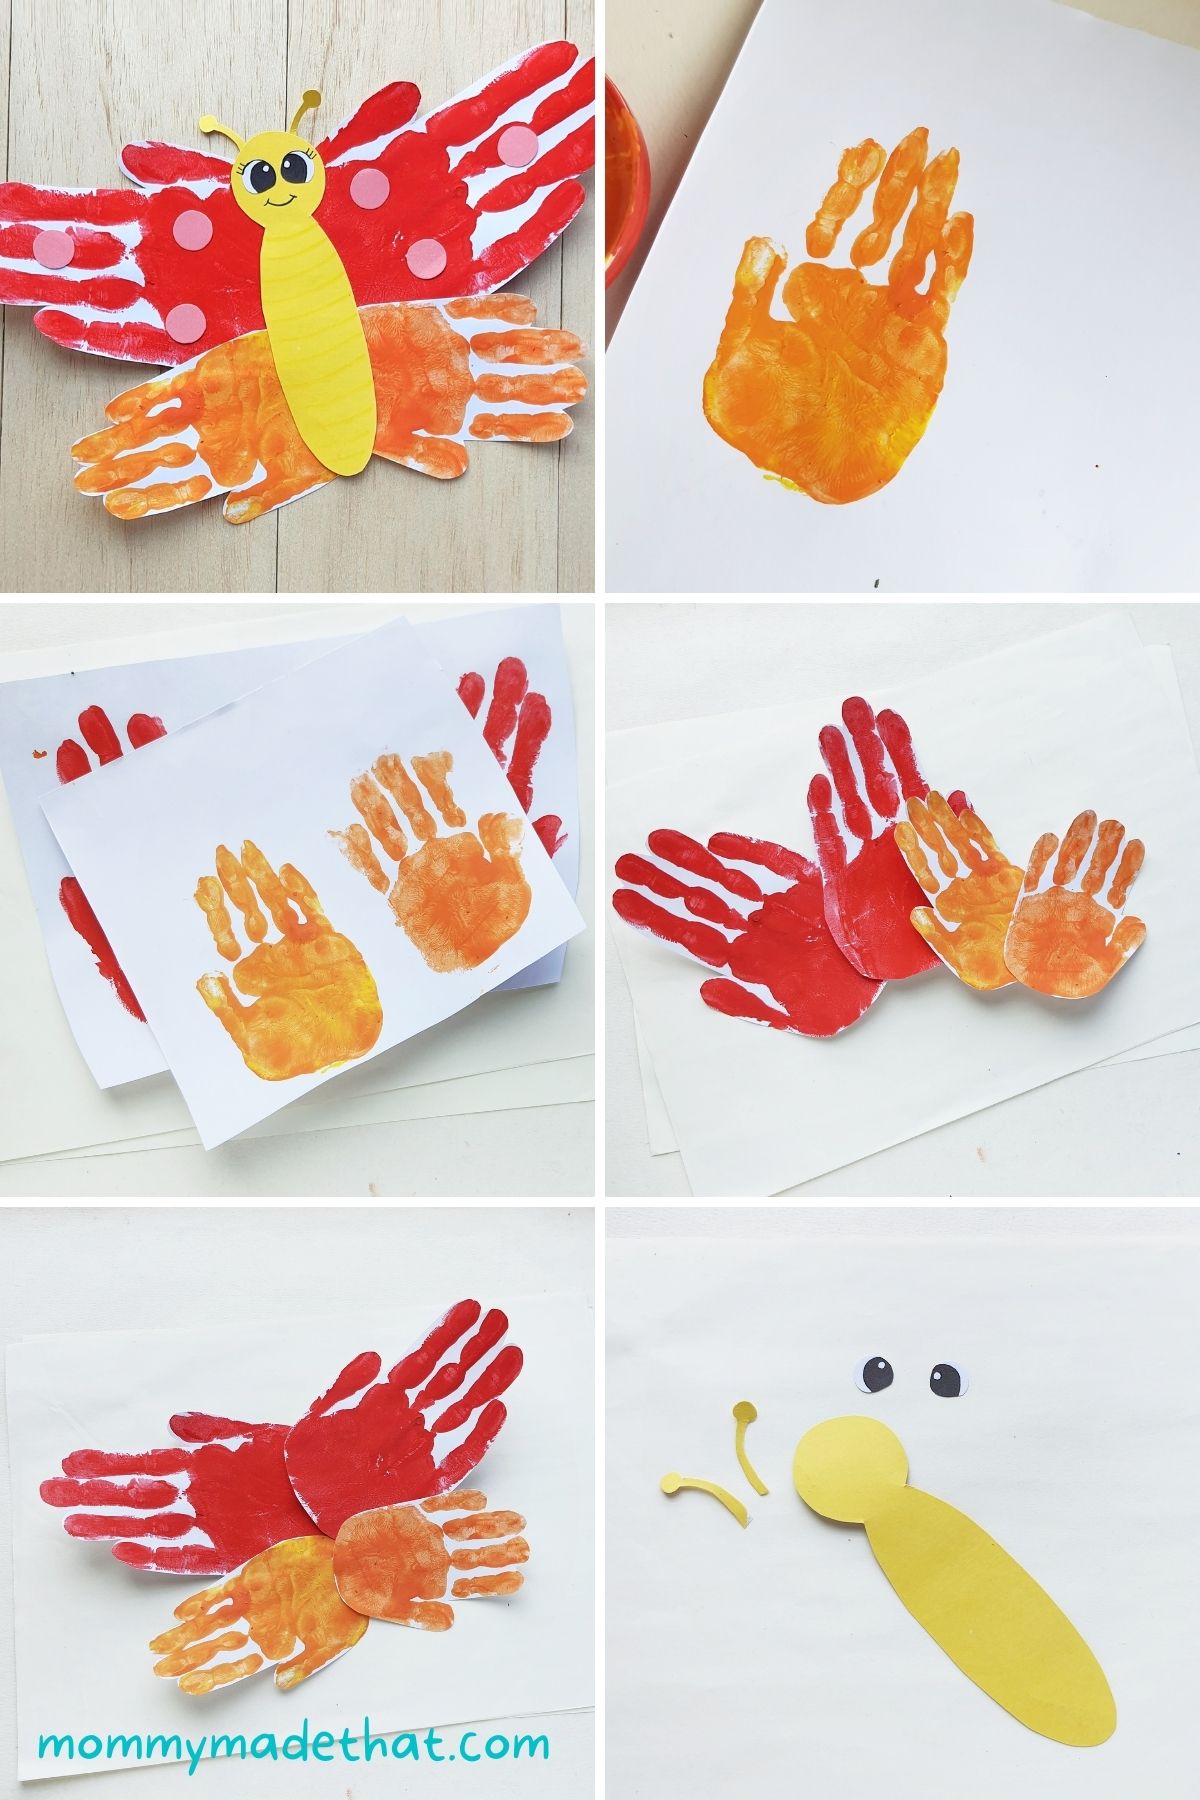
For our handprint butterfly, we used mom’s handprints and the child’s handprints to form a big pretty butterfly. And in this case the little hands will be the bottom wings and the big hands will be the upper ones.
To start, grab your craft papers and acrylic paints. I recommend acrylic paint because clean up is easier than with other paint types.
Pick two or three colors for your craft paper or construction paper. We used yellow for the body of the butterfly and white for the wing area where the handprints will go.
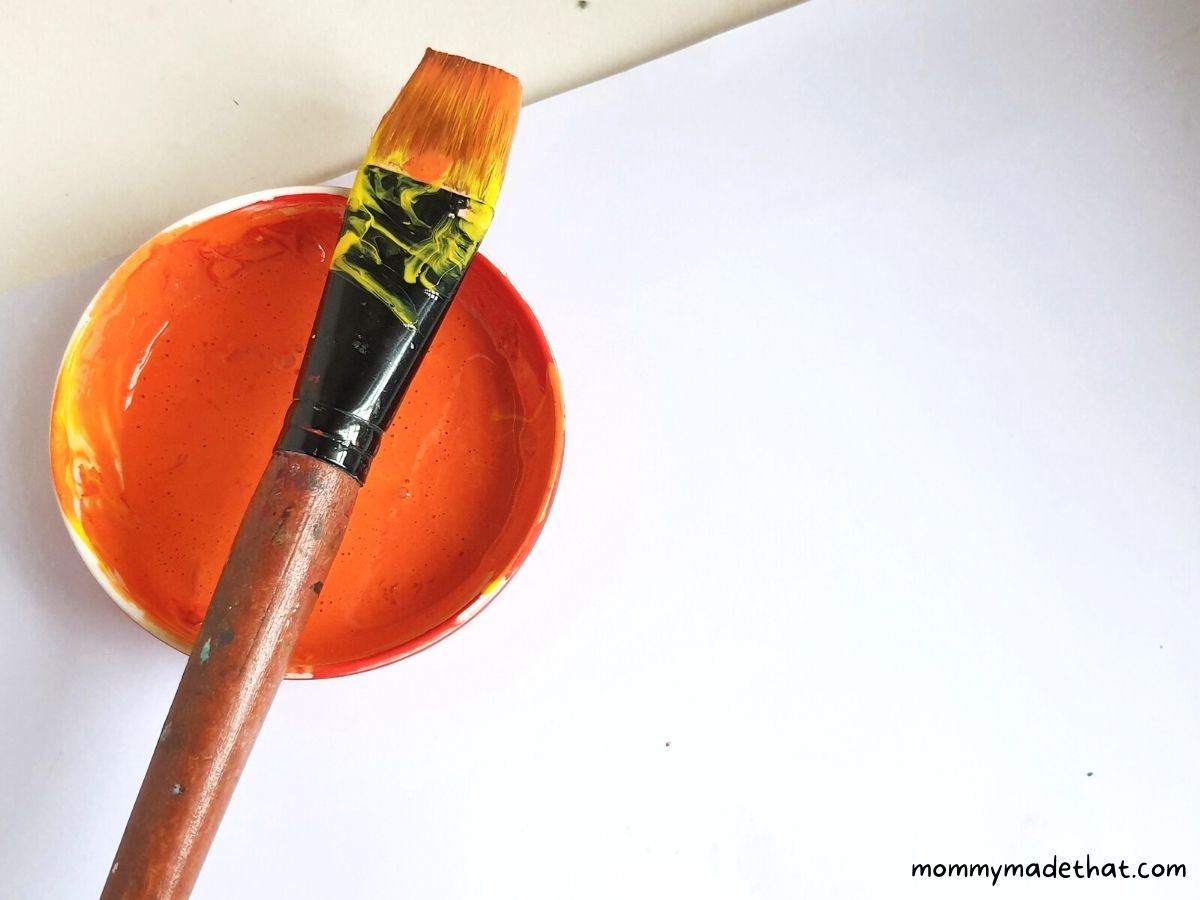
Using a big thick paint brush, apply one of the colors of paint to the palm of child’s hands (or your hands if you will be making the butterfly)
Make sure to cover the palms and fingers with a thick even coat.
Then take a piece of white paper or cardstock and gently but firmly press the entire palm of your hand against the paper, making sure all areas of the hand touch the paper.
Then gently remove the hand from the paper.
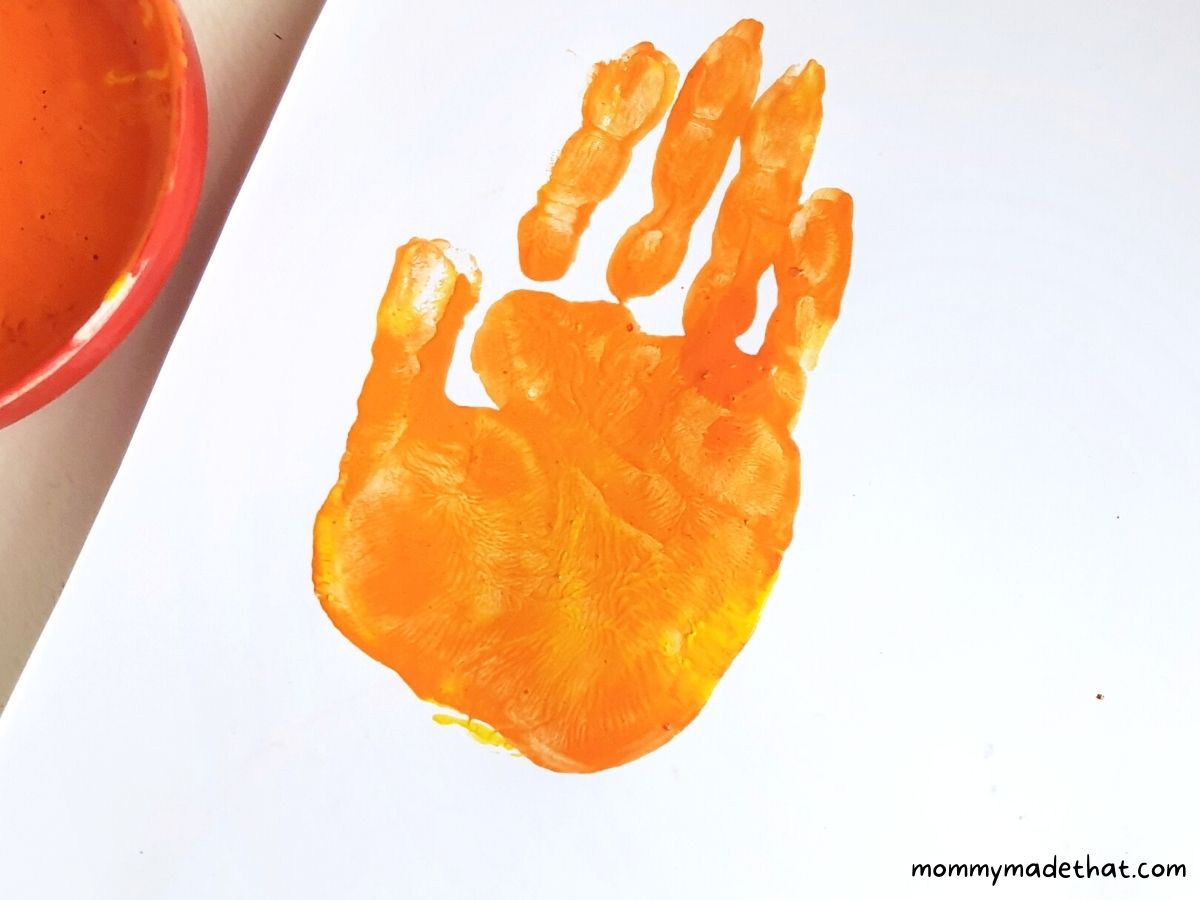
Do this again with the other hand so you have two wings in that color.
Next, using the second set of hands, like the parents hands or older siblings hands (or the same hands if that’s what you prefer) create a second set of wings using a different color of paint.
Similarly, create hand-print with the other hand. Use a different colored acrylic paint to create another pair of hand-prints.
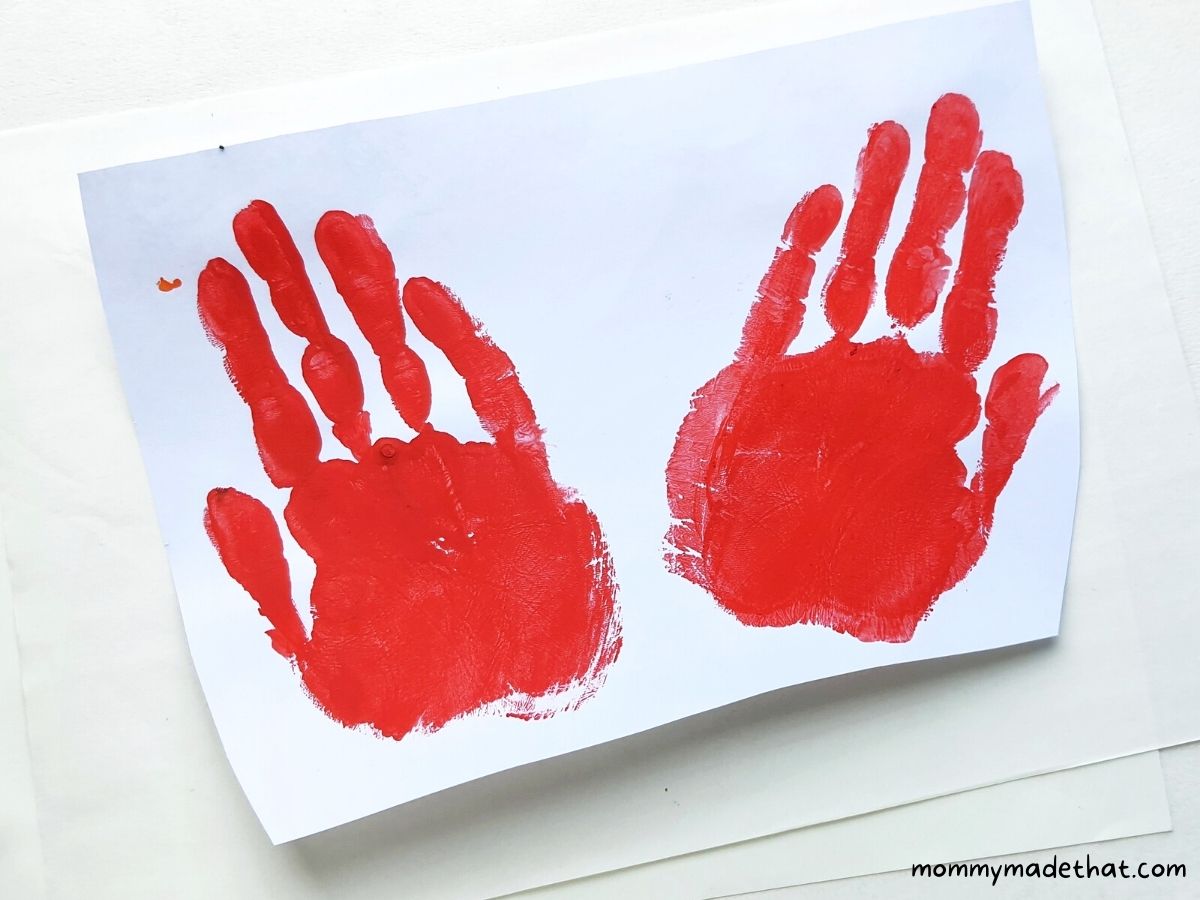
Now you’ll have two sets of butterfly handprint wings.
Let the paint dry completely before cutting out the wings.
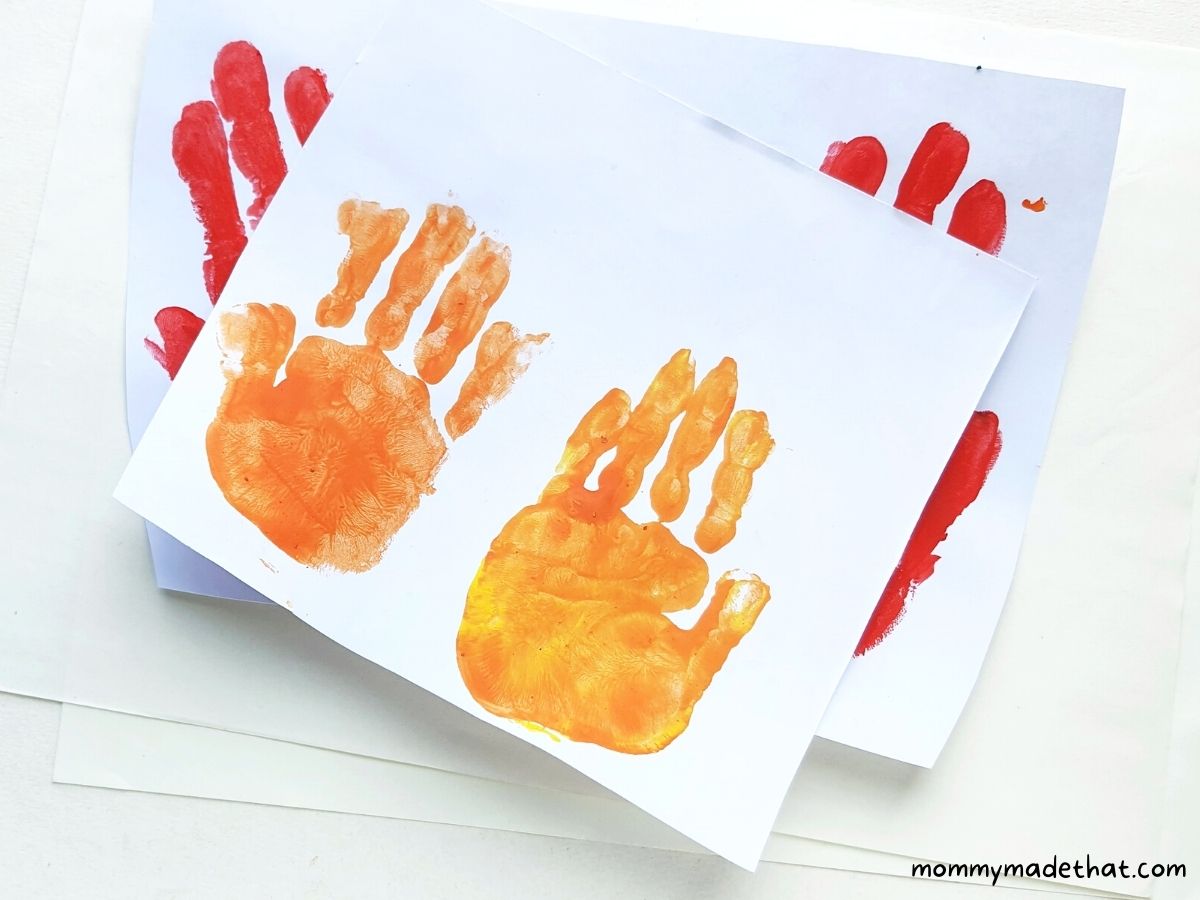
Once the handprints are completely dry, cut out each handprint carefully using a pair of scissors.
You’ll end up with two pairs of handprint wings.
Seeing the big handprints next to the little handprints just makes my heart completely melt with this craft.
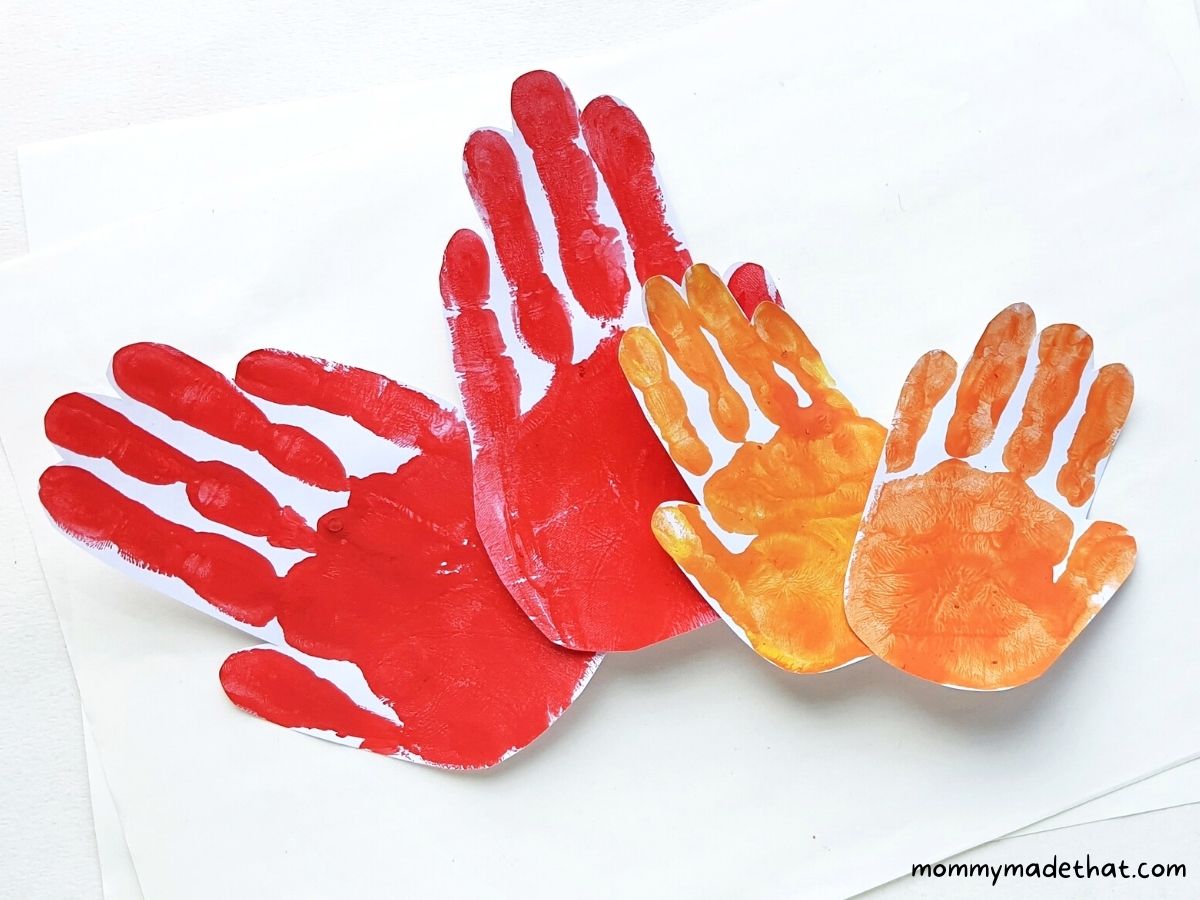
Now take one big hand print and one little handprint and attach them side by side, keeping the thumbs facing outward, to create one side of the butterfly’s wings.
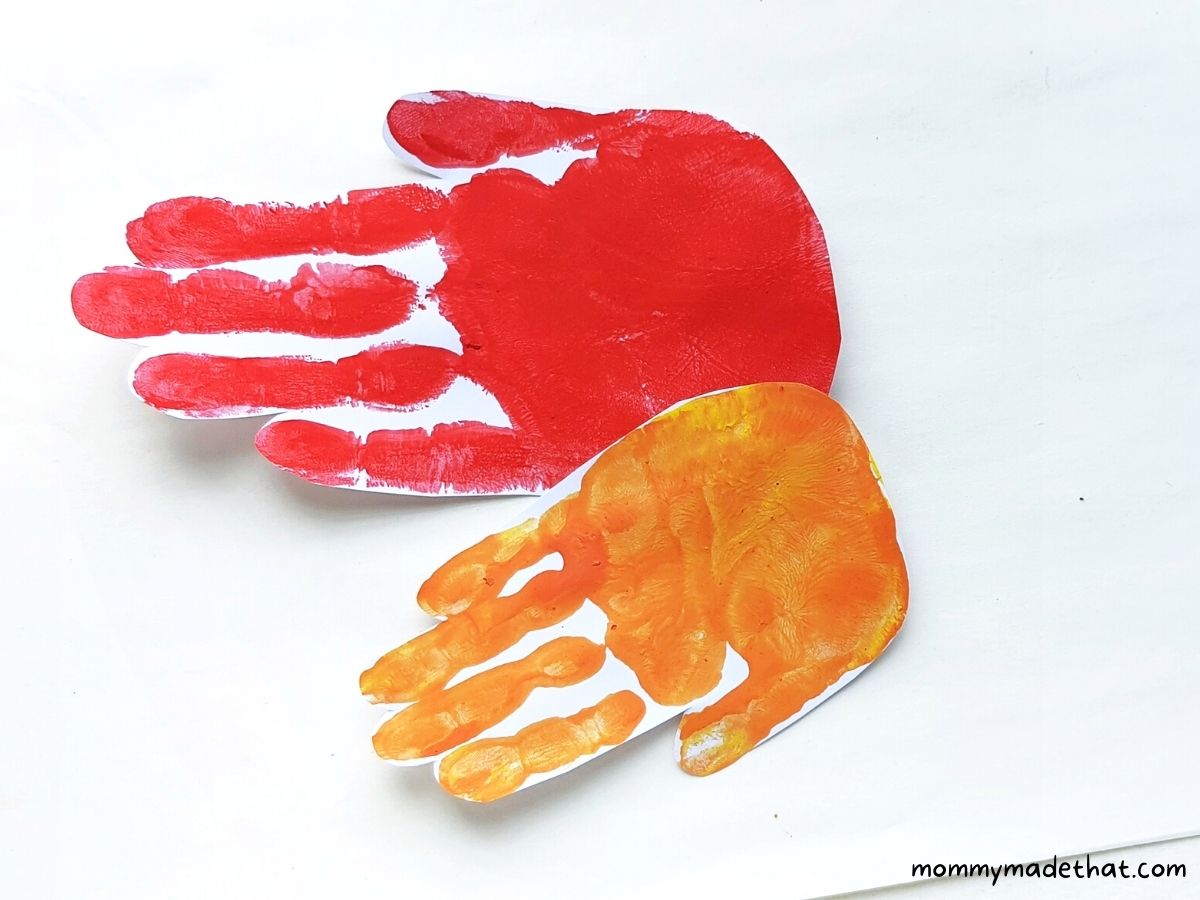
Now do the same with the last two sets of handprints to create the other side of the butterfly’s wings.
Then attach them together.
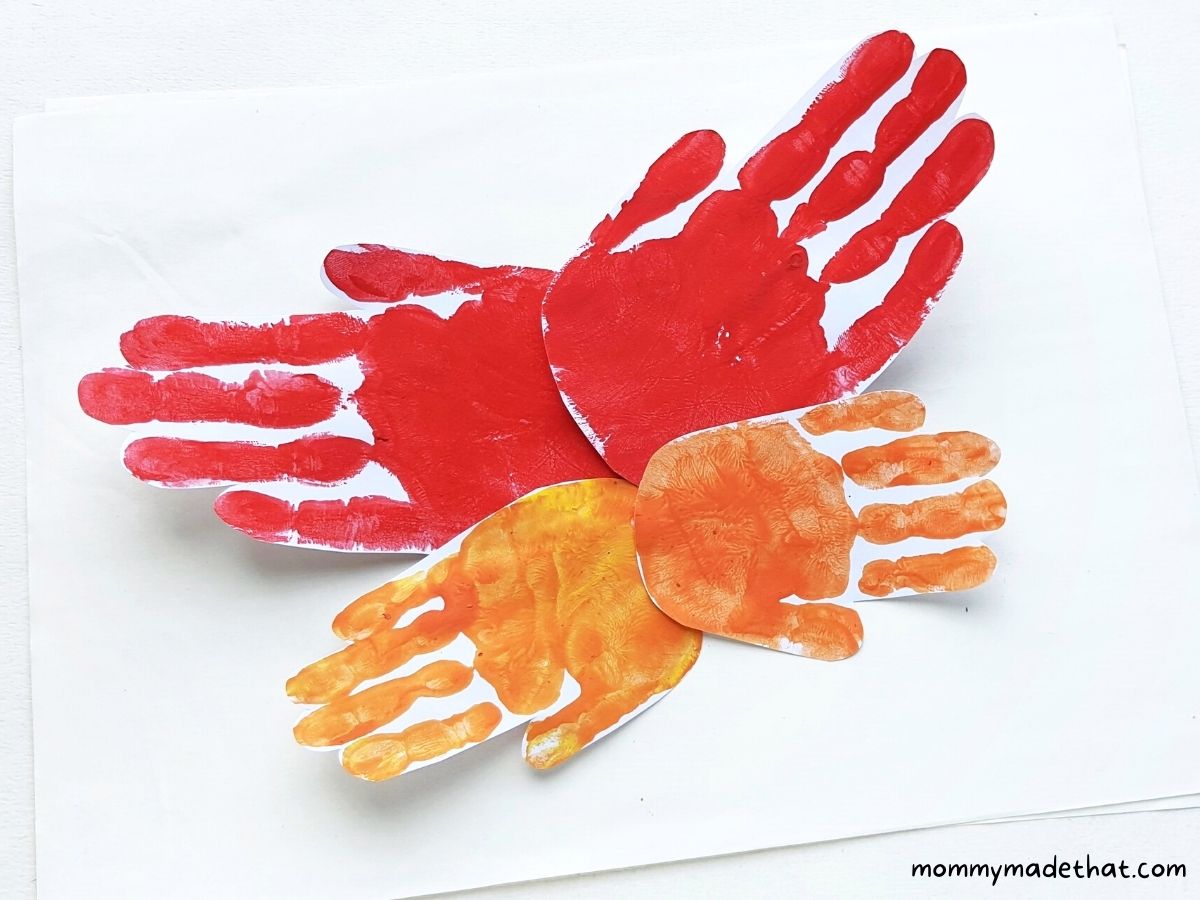
Can you see the butterfly starting to form?
Next using the handprint butterfly template, trace and cut out the butterfly body base, the antenna and the eyes.
We included a few different sizes for you to choose from. So pick which ever one that you want for your craft.
You can also cut out some pretty round shapes from different pieces of colored paper for spots on the wings.
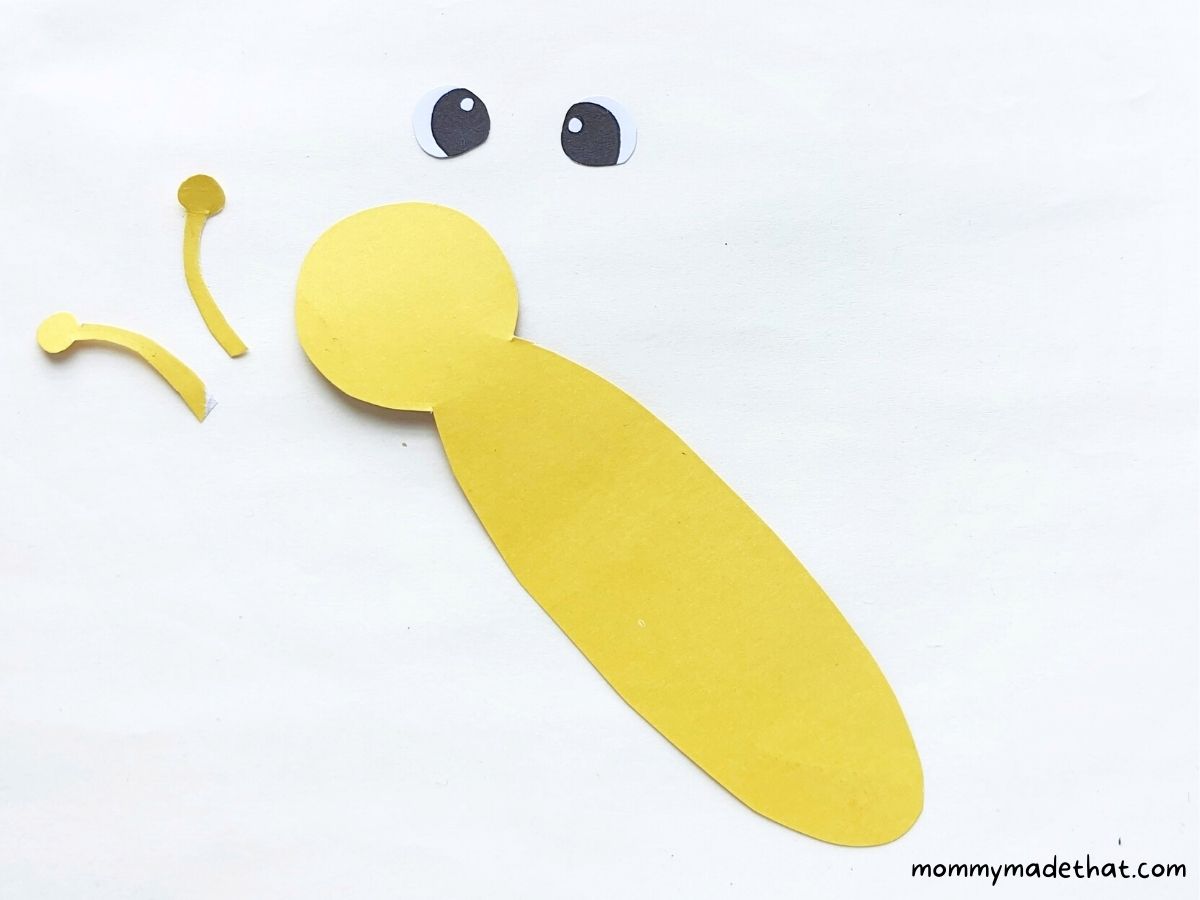
Now start attaching the cut outs to your butterfly’s body and use a black marker to draw a mouth.
If you’d like, you could also use googly eyes and pipe cleaners for the antenna instead.
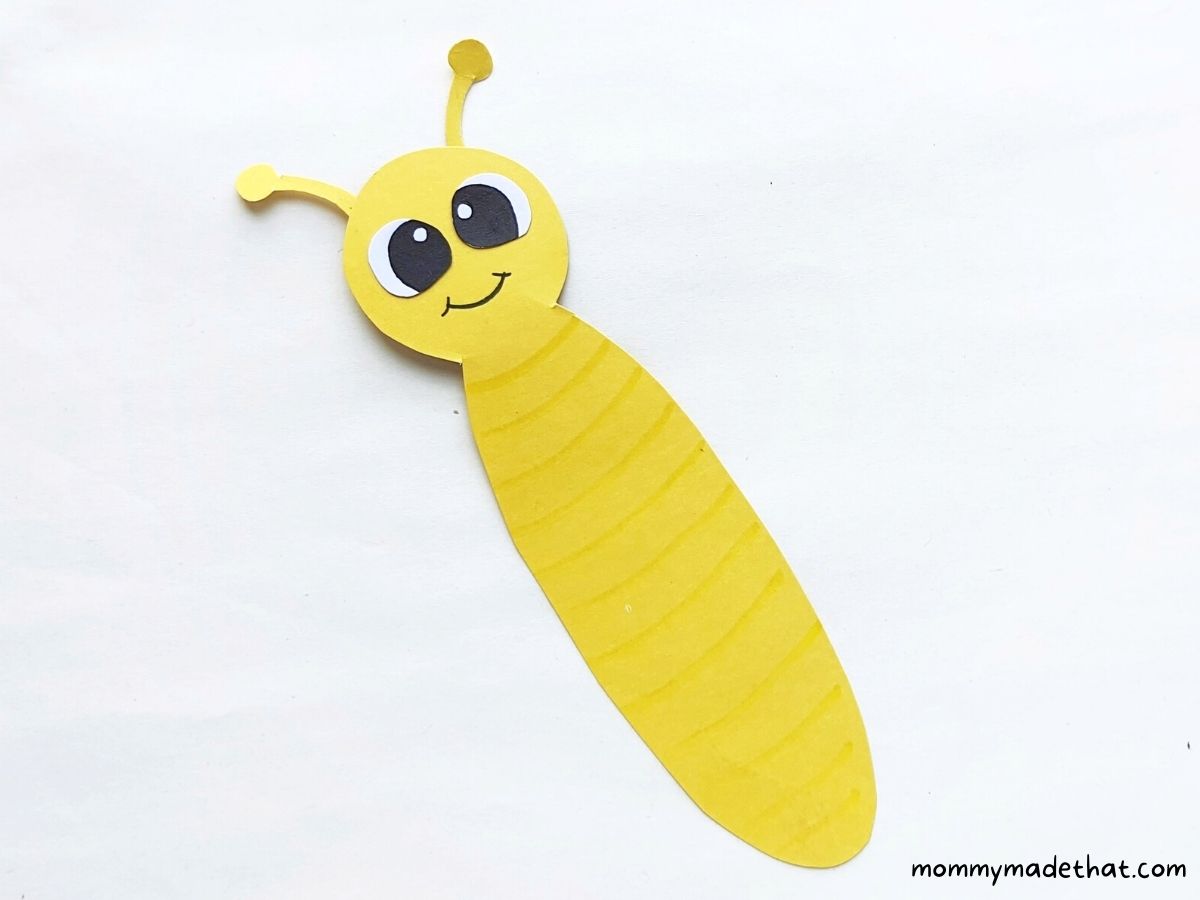
Finally attach the butterfly body to the middle of your hand print wings.
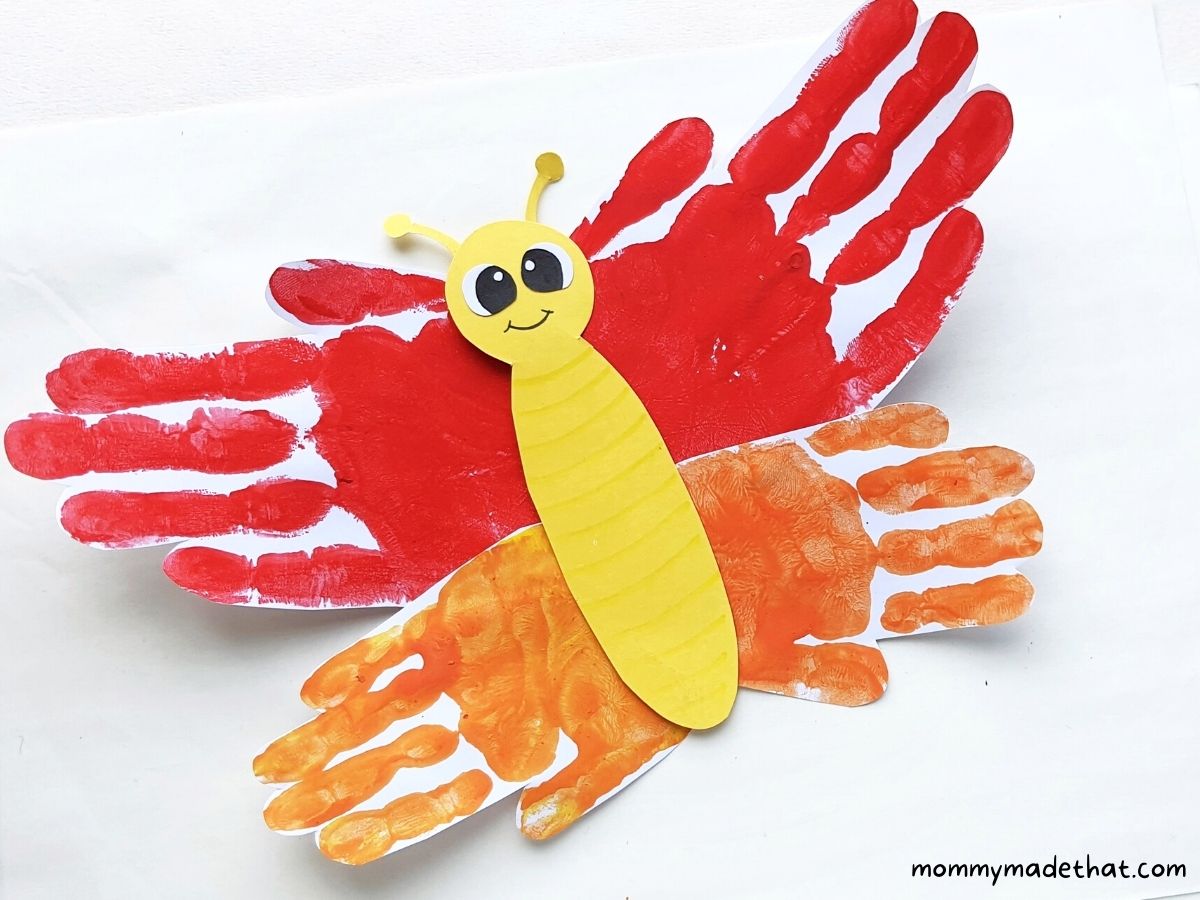
Finally decorate your butterfly with the spots and you’re all finished with your handprint butterfly craft!
Feel free to get as creative as you want and even glue gems or other decorative items like pom poms onto the wings.
If you enjoy easy crafts like this you’ll also love our handprint ladybugs. I hope your kids have fun making these pretty little butterfly!
