Adorable Cricut Thanksgiving Faux Pumpkin Craft
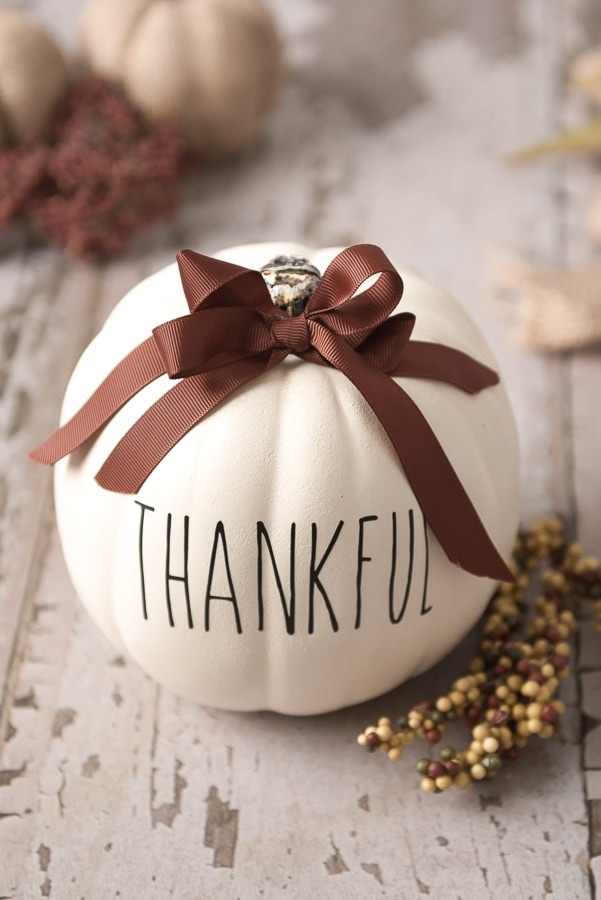
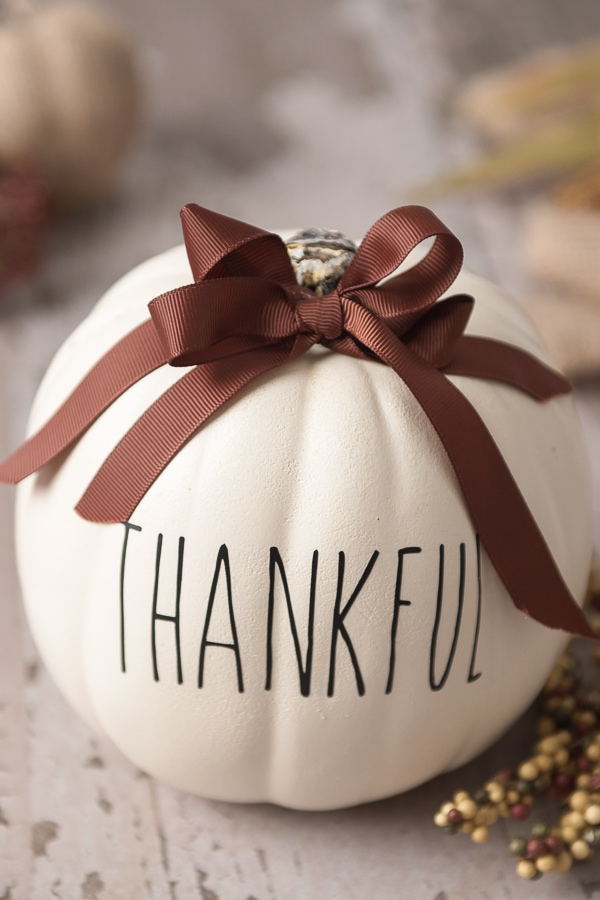
Today we have a super adorable faux pumpkin craft! We are using the Cricut to turn this faux pumpkin into gorgeous thanksgiving decor. We used a “Rae Dunn” inspired font to a nice look and feel to this “thankful” pumpkin.
We love decorating fake pumpkins! With just a bit of creativity, they can work so well for Halloween, Thanksgiving and even Christmas.
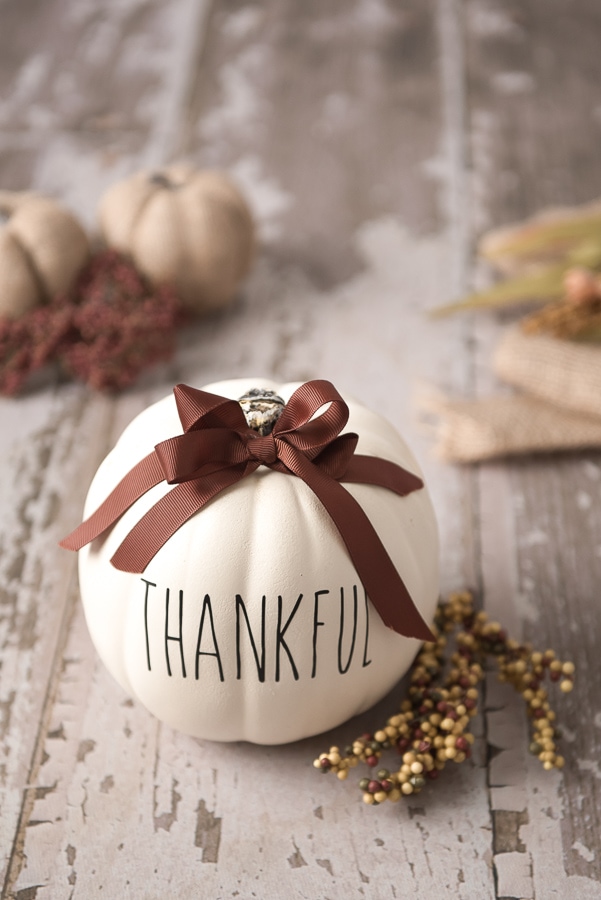
Today we are turning this little cream color craft pumpkin into Thanksgiving pumpkin decor.
We used the Cricut to print and cut the word “Thankful” and applied it to our pumpkin to create a cheerful and welcoming Thanksgiving table centerpiece.
We’ll even walk you through the tutorial, step by step, so you can make your own Thanksgiving pumpkin!
Table of Contents
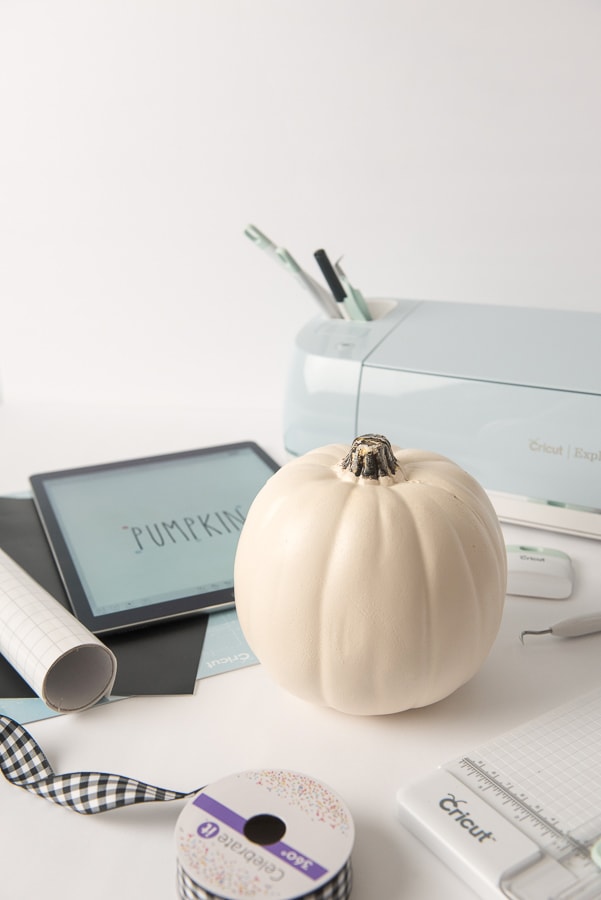
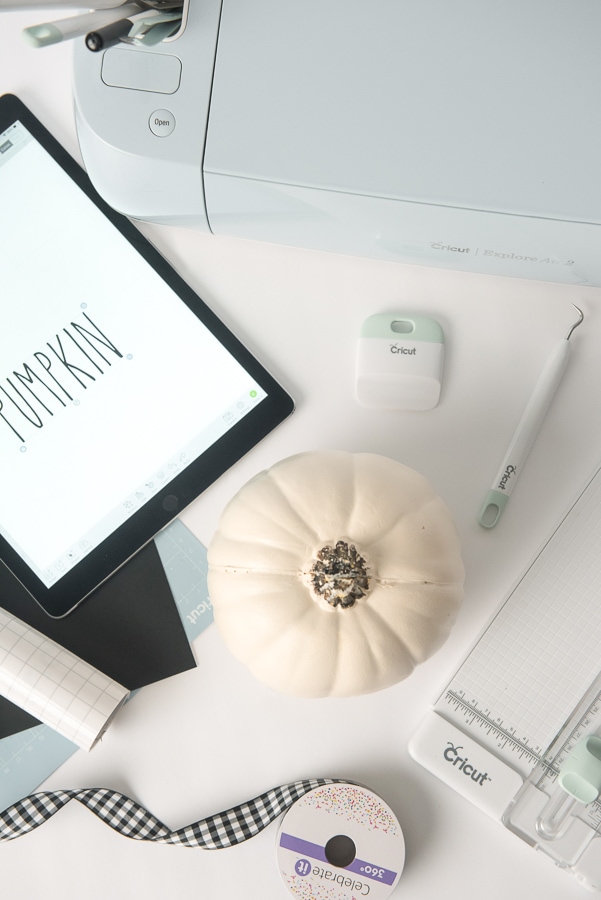
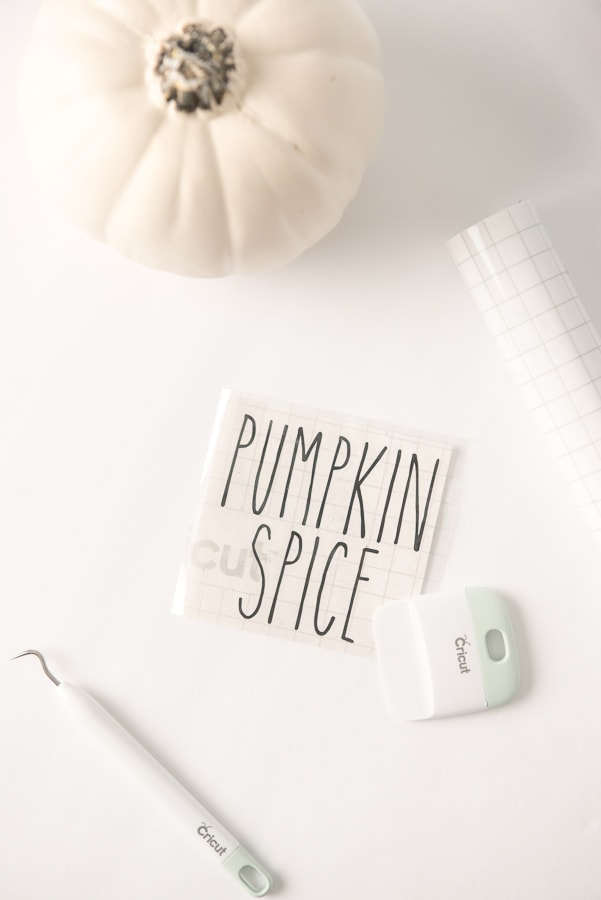
Supplies Needed for the Cricut Thanksgiving Pumpkin Craft
- 6.5” cream colored craft pumpkin (we got one at Michaels)
- Cutting machine like a Cricut or Silhouette
- Blue light grip mat
- Matte black Oracle 651 permanent vinyl
- Transfer paper (I’m suing Cricut brand but dollar store brand works fine)
- A weeding tool
- A scrapper tool
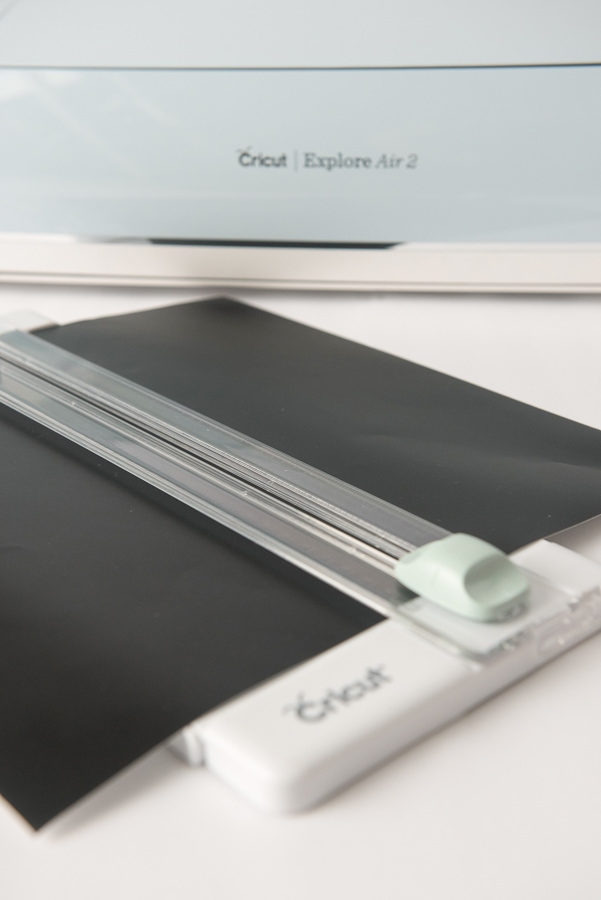
- Scissors or cutter tool
- Fall colored ribbon
- iPad or computer with access to design program
How to Make this Thanksgiving Pumpkin Craft
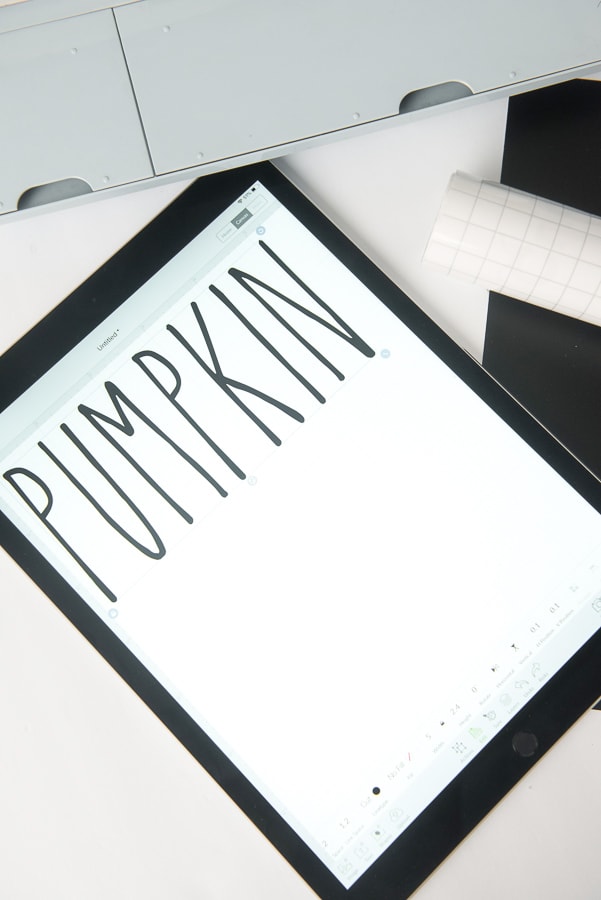
To make this fall pumpkin craft, start by downloading the font of your choice.
We used a font called “the skinny” which is a Rae Dunn inspired font.
You can check it out yourself here.
In the design space, type out your phrase and measure your font accordingly.
The dimensions will be approximately 4 to 4.25” width to cover a good portion of the pumpkins surface area.
The height will vary depending on the phrase.
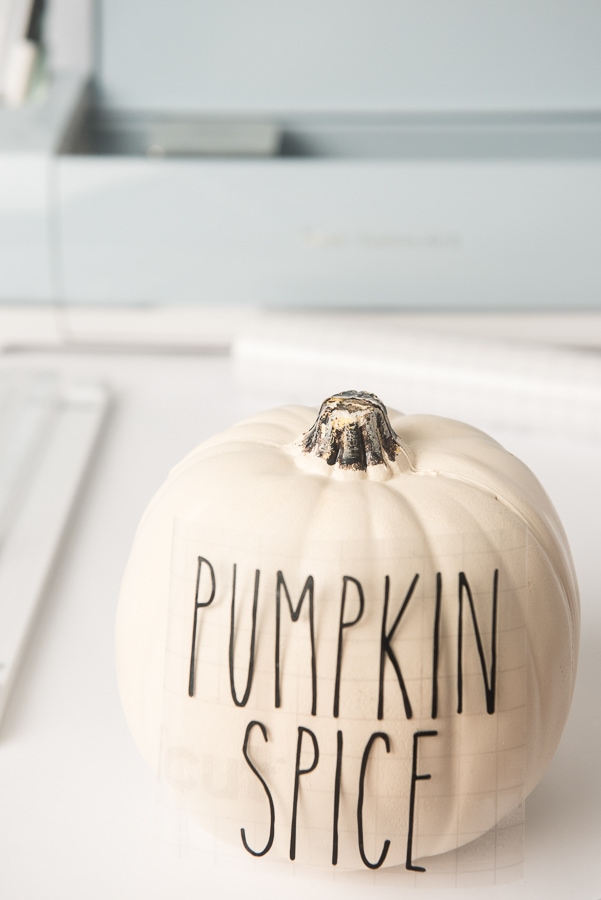
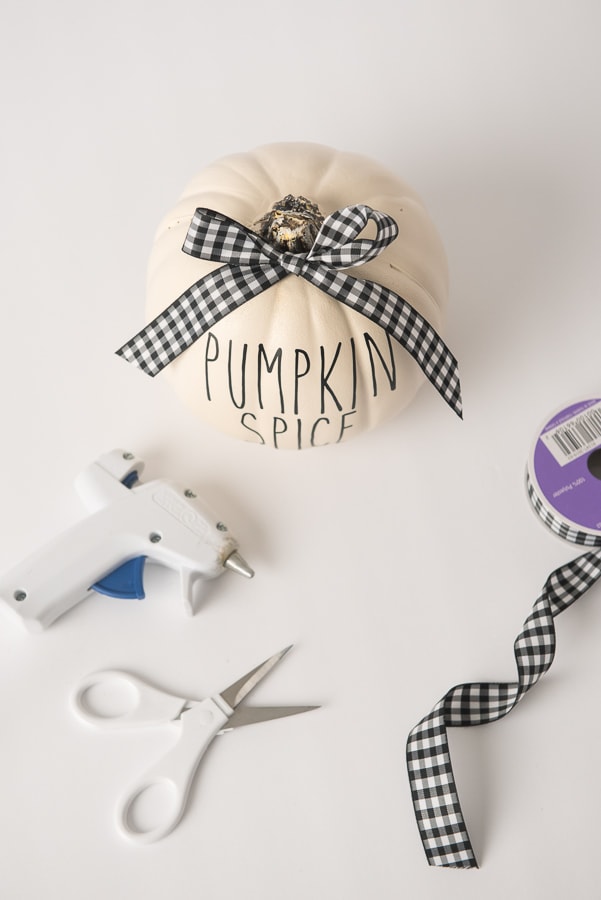
“Pumpkin spice” is a different pumpkin we created but ended up loving the “Thankful” phrase the most.
Now using the cutting tool or your scissors cut the vinyl to your phrase measurement.
Try not to cut to much or too little. If you are unsure, more is better though.
Next, align and press the vinyl onto your blue grip mat.
Load it into your machine and let it cut.
Don’t forget to adjust your material dial to vinyl!
Once the words are cut out from the cricut, unload the mat, and remove the vinyl.
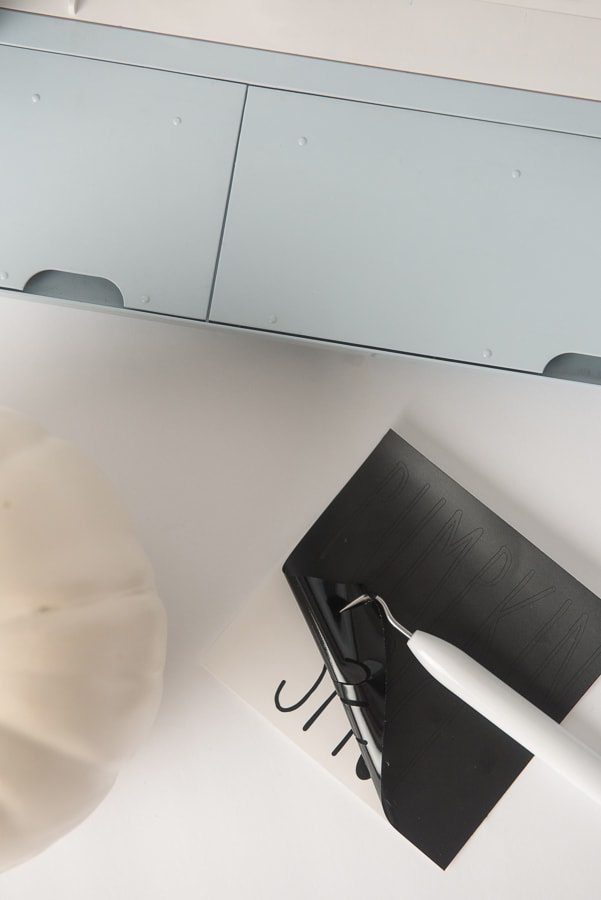
Using the weeding tool (the one that looks like a dentist pick) begin to weed around the letters, along with the spaces within letters.
Make sure to not only remove the spaces around your letters, but inside the letters with holes too, like the P’s, D’s, Bs and Os.
Now, measure your transfer paper according to your vinyl.
Cut the transfer paper and very slowly and carefully apply it on top of the vinyl sheet.
Use the scraper tool to help get rid of any air bubbles and help the vinyl adhere to the transfer paper.
Line the transfer tape with vinyl attached very lightly on the pumpkin to draft how the vinyl will look.
Now is the time to make any adjustments as needed, before applying any pressure.
Once you like the placement, you can start smoothing and applying pressure to apply your words to the fake pumpkin.
It’s easiest to start from the middle and work your way outwards.
Remember you are working around a curved and grooved surface.
Use the scraper tool to smooth over your vinyl phrase.
Apply firm pressure and very slowly (this is important) roll the transfer paper away from the pumpkin.
Doing this will leave the vinyl on the pumpkin.
Tips for Making Your Fake Pumpkin Craft Work
Since the font we used for this craft is so thin, you may need to apply a lot pressure along the vinyl while rolling the transfer paper away from the pumpkin.
You can use the scraper over the adhered vinyl once you remove the transfer paper, to make sure there are no bubbles and that its completely secured.
Now cut your fall-themed ribbon (about 8 inches), tie into a bow.
Hot glue it to the stem and your pumpkin is ready!
This little guy would look great as a centerpiece for Thanksgiving!

