
DIY Gnome Ornaments (Grab the Free Pattern!)
Today we are making DIY gnome ornaments! In this tutorial, we are creating a Christmas gnome complete with a snowflake on his hat and a big white gnome beard! They make festive Christmas decor and fun handmade Christmas ornaments.

This DIY gnome ornament is a great way to add a little whimsy to your holiday decor and makes for a fun Christmas craft.
Made from felt, this gnome is simple to make and can be customized to match your own personal style.
He’s one of our favorite DIY felt Christmas ornaments.
Or if you’re giving them away as gifts, you can customize them for your loved ones, using their favorite colors or stitching in their initials instead of the snowflakes.
We have a free pattern so you can easily create your felt gnome.
And if you enjoy making this gnome, you might also like our felt gnome plushies and our no sew felt gnomes.
These adorable gnomes look great on the Christmas tree or hung up together as a bunting.
We also have lots of other fun DIY Christmas ornaments.
Table of Contents
Materials:
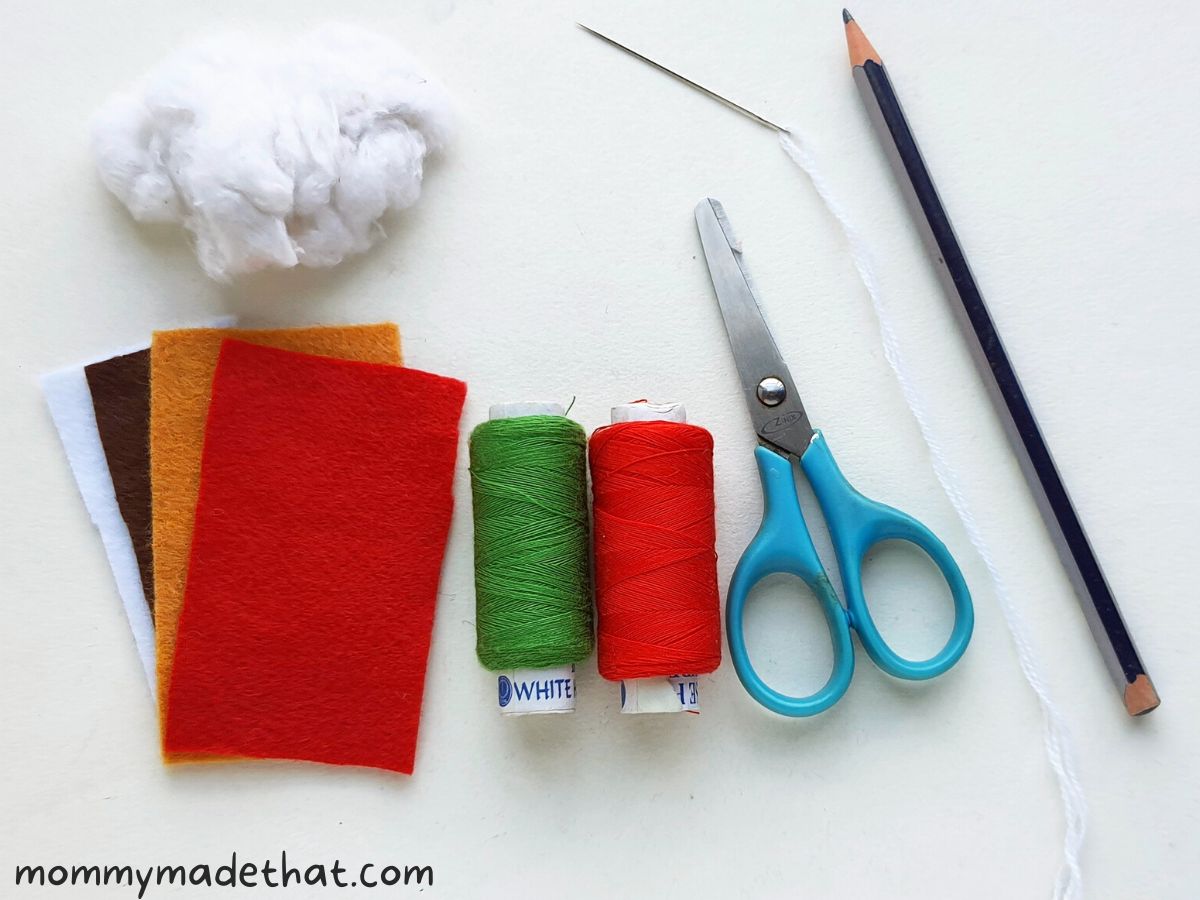
Felt Gnome Pattern: You can grab the exact gnome template we used to create our felt gnomes. Its a printable PDF pattern that you can grab at the bottom of the post.
Felt Fabric: We used regular felt fabric that you can find in hobby stores and even at Walmart. For our gnomes, we used tan for the base color, white for the beard and mustache, dark brown for the shoes and bright red/forest green for the shirt colors.
Wooden Beads: We will be cutting these in half and using them to create a nose for your ornament
Cotton: For stuffing your felt gnome. Or you can use leftover felt scrap pieces.
Ribbon: To turn the gnome into a Christmas tree ornament. You could also use yarn loops. But if you don’t want an ornament and just to make the gnome, you can skip this part.
You’ll also need some basic craft supplies:
- Needle
- Thread
- Fabric glue
- Pencil
- Fabric scissors
How to Make a DIY Gnome Ornament
To start, download the gnome pattern and print it out. Then follow our step by step tutorial.
Step 1: Cut out the Gnome Pieces
Start by grabbing your felt fabric and cutting the template patterns. Trace them onto your felt and cut out all the pieces.
The pattern includes a base for the gnome ornament, a gat, shirt, shoes, beard and mustache.
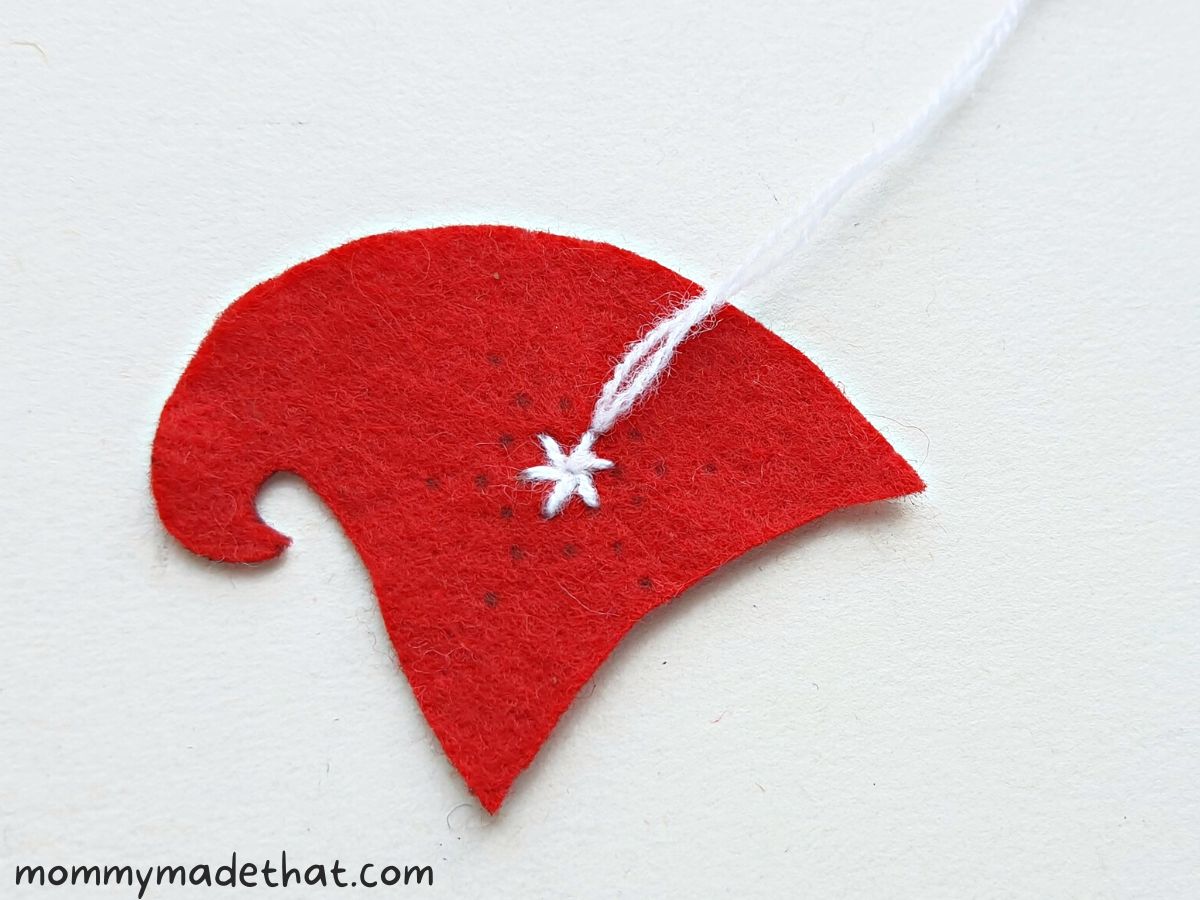
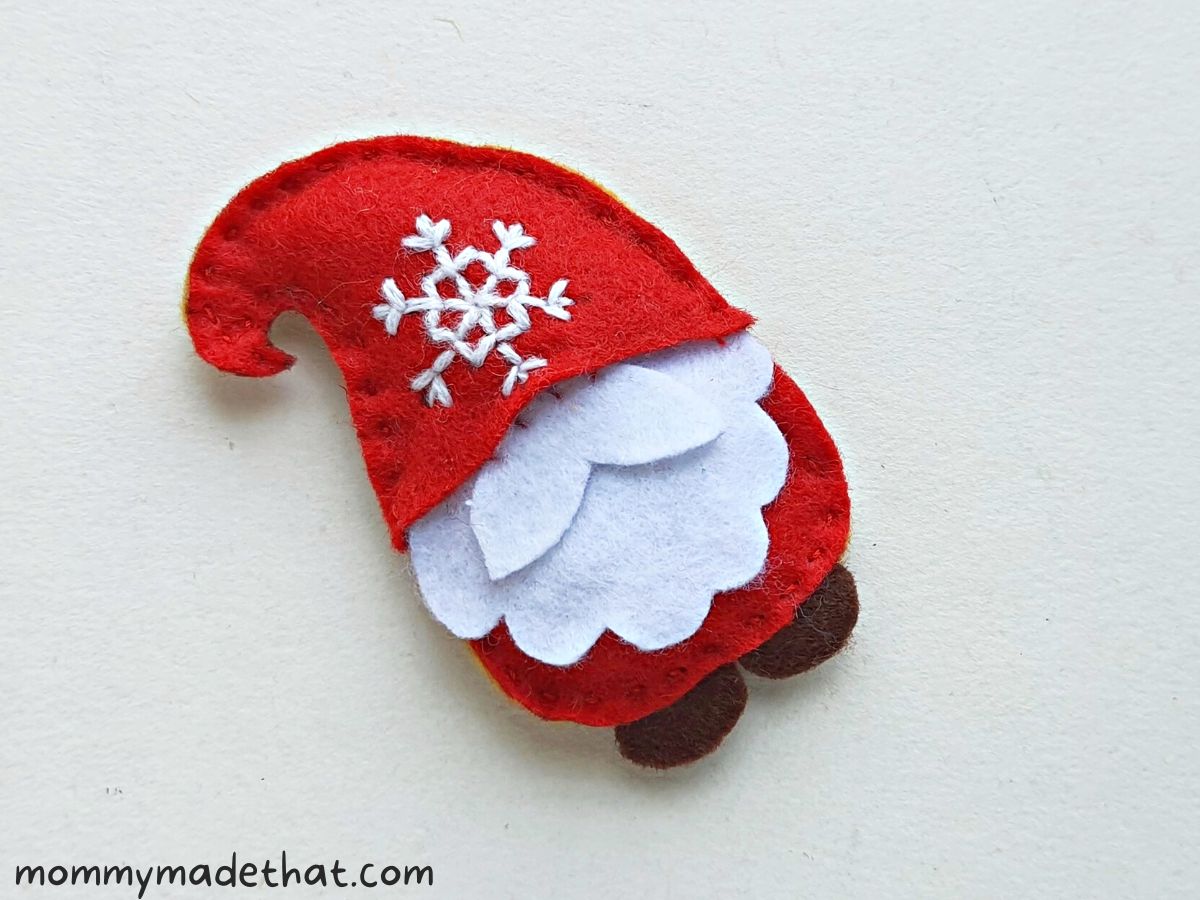
Grab your gnomes hat and start stitching a snowflake pattern like shown above.
We started from the center of the snowflake and stitched 6 arms from the center.
Step 2: Making the Snowflake
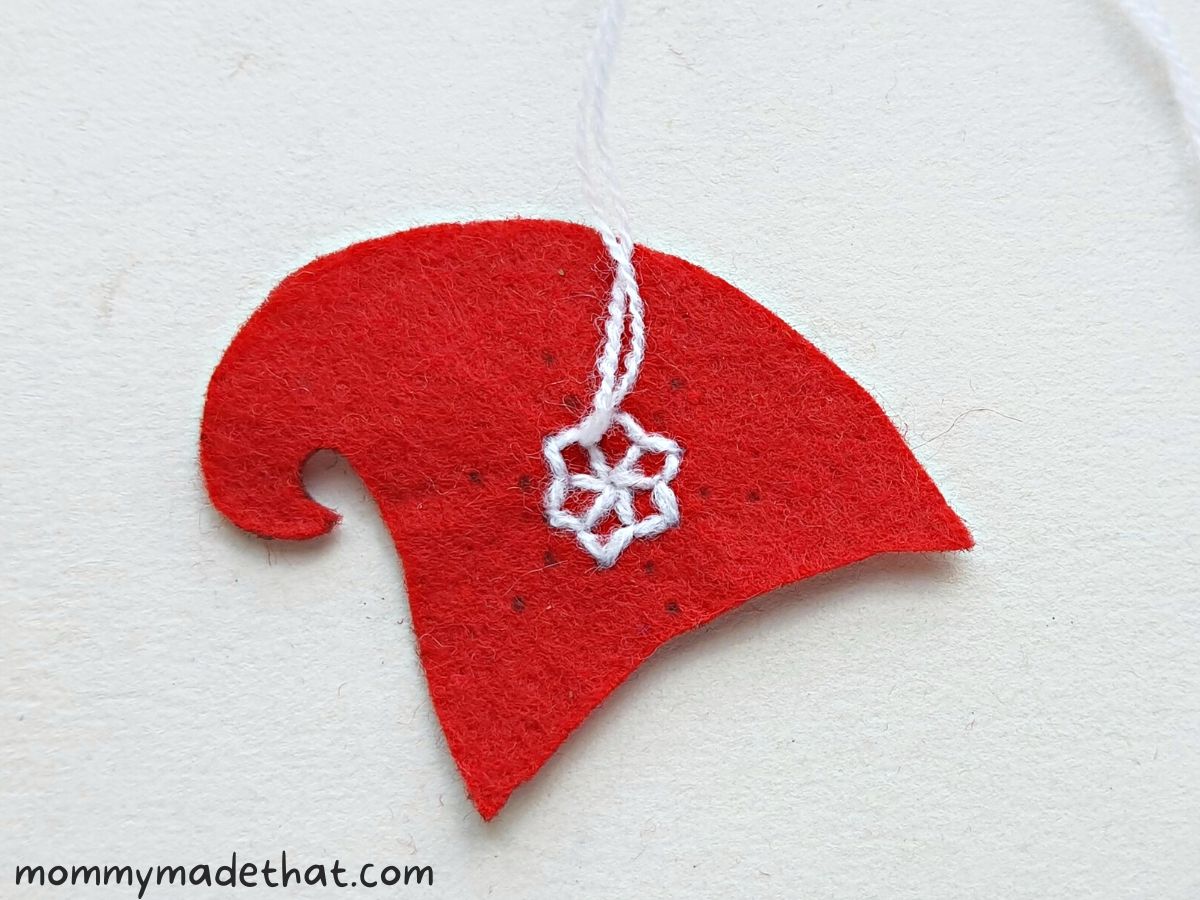
Next, join the arms by stitching an arrow pattern between each of them. Forming a 6 point star pattern.
Step 3: Finish the Snowflake
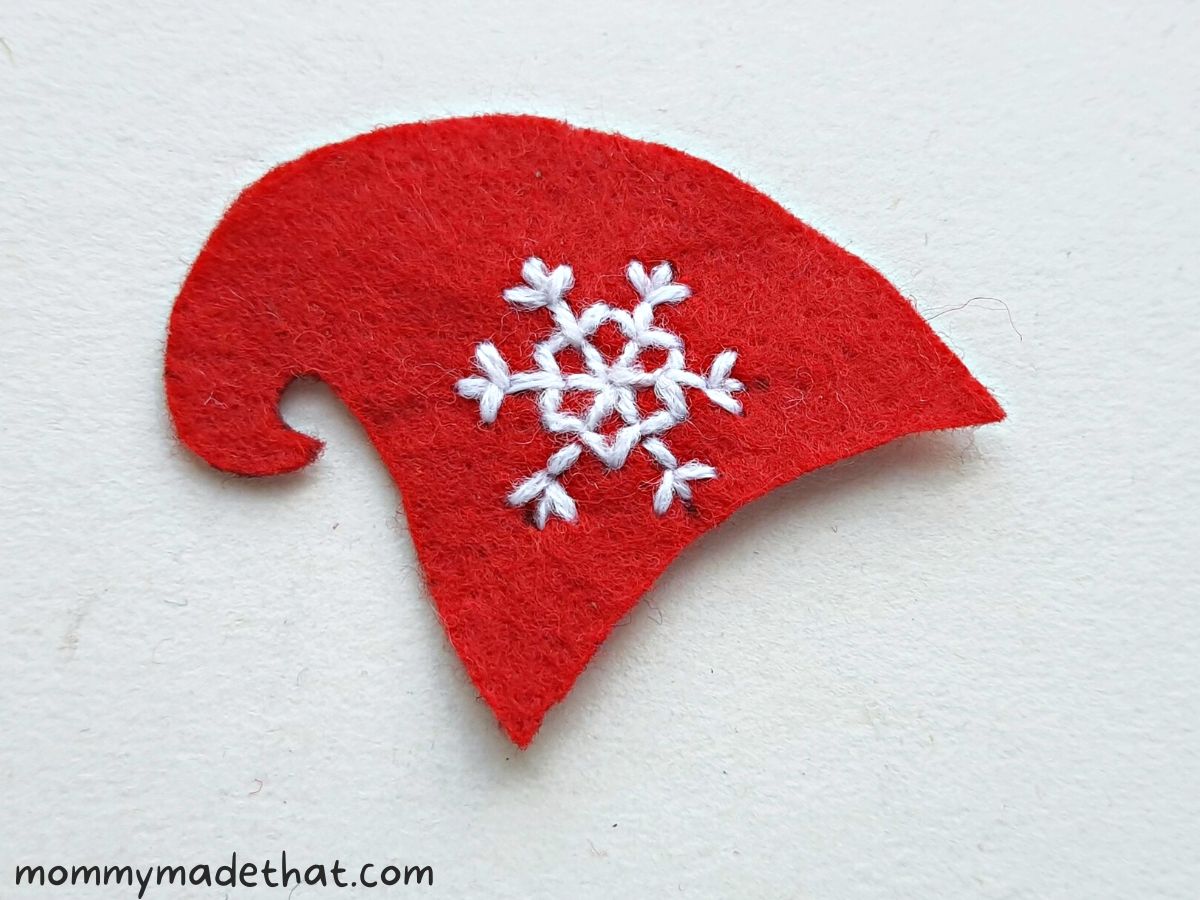
Next, stitch 6 more outer arms for the snowflake to complete the pattern. Put the needle to the
backside of the hat and tie of with a strong knot, and trim any excess thread.
Step 4: Create the Base of the Gnome
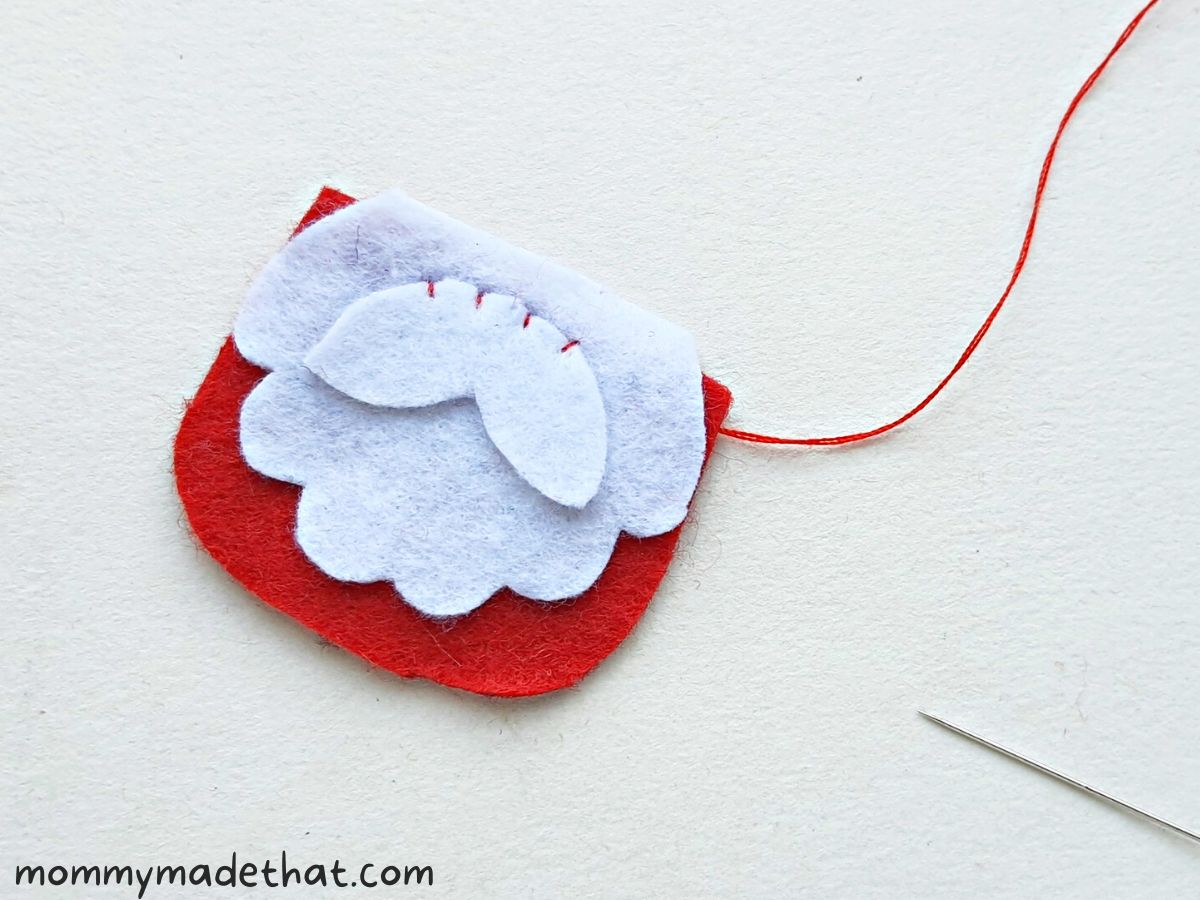
Next, grab the gnome’s mustache and place it near the top part of the beard cutout.
Then layer the beard at the top-center part of the shirt pattern. Join the three pieces together by stitching along the top side of them.
Step 5: Place the Shoes
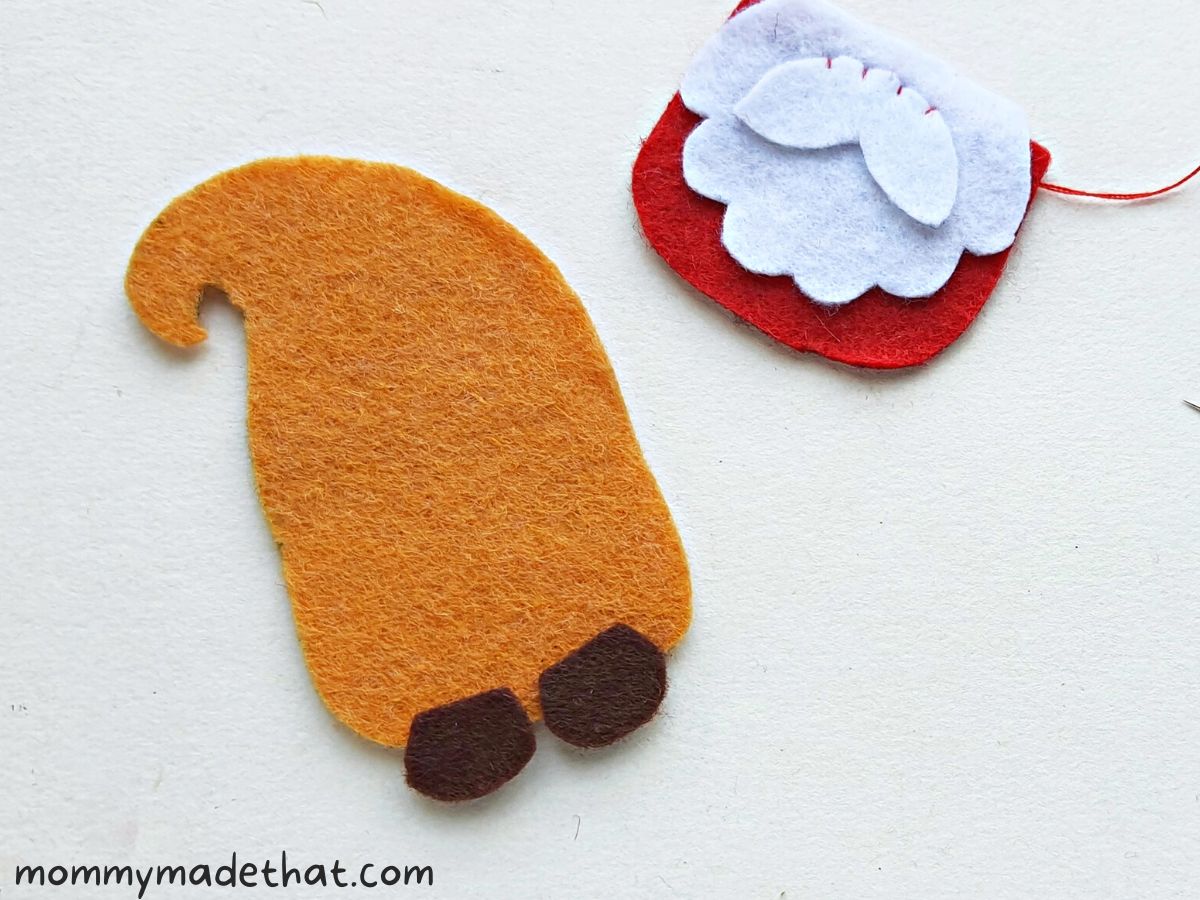
Now, grab the shoe pieces and place them on the bottom side of the gnome base piece. Slightly overlap them so they stick out of the base a bit.
Step 6: Attach the Gnome’s Body
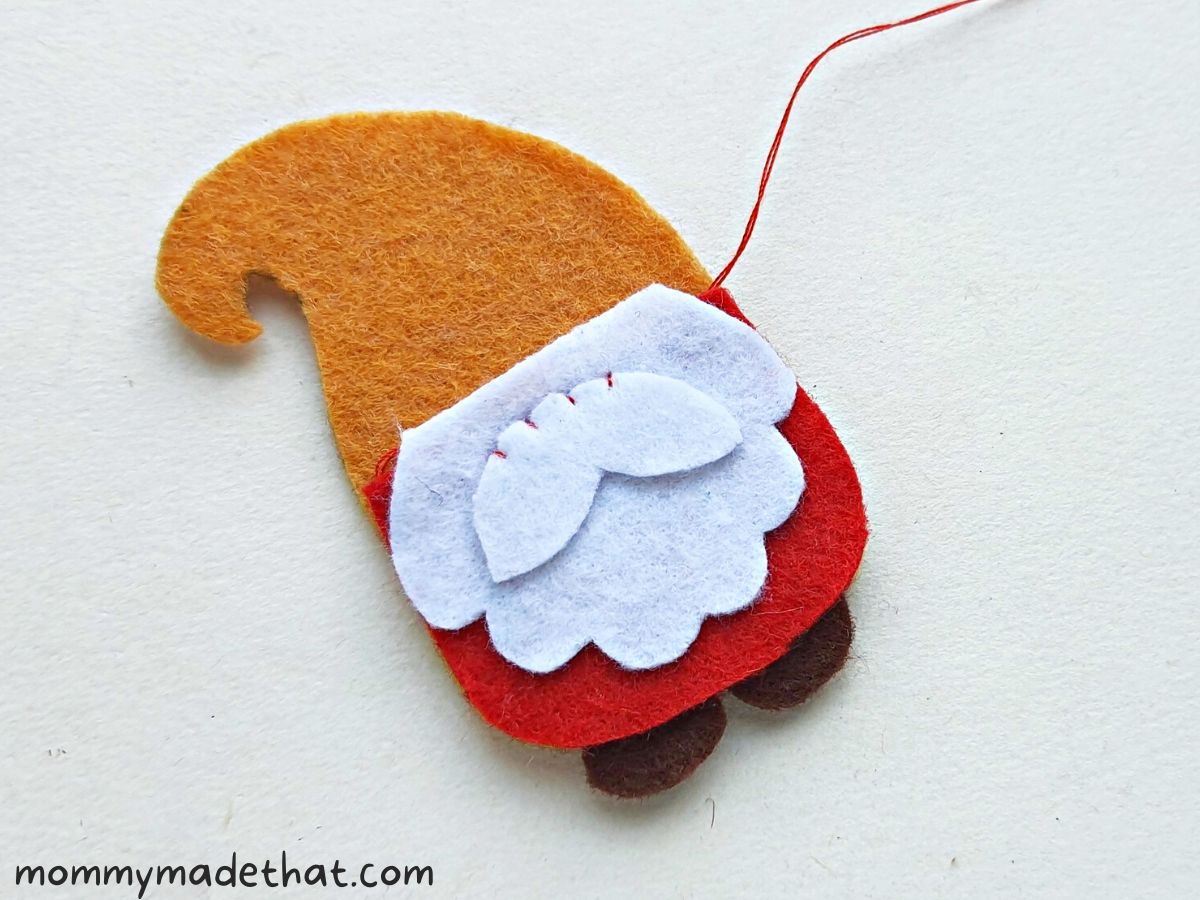
Next, grab the 3 piece shirt/beard piece and layer it over the shoes on the gnome base.
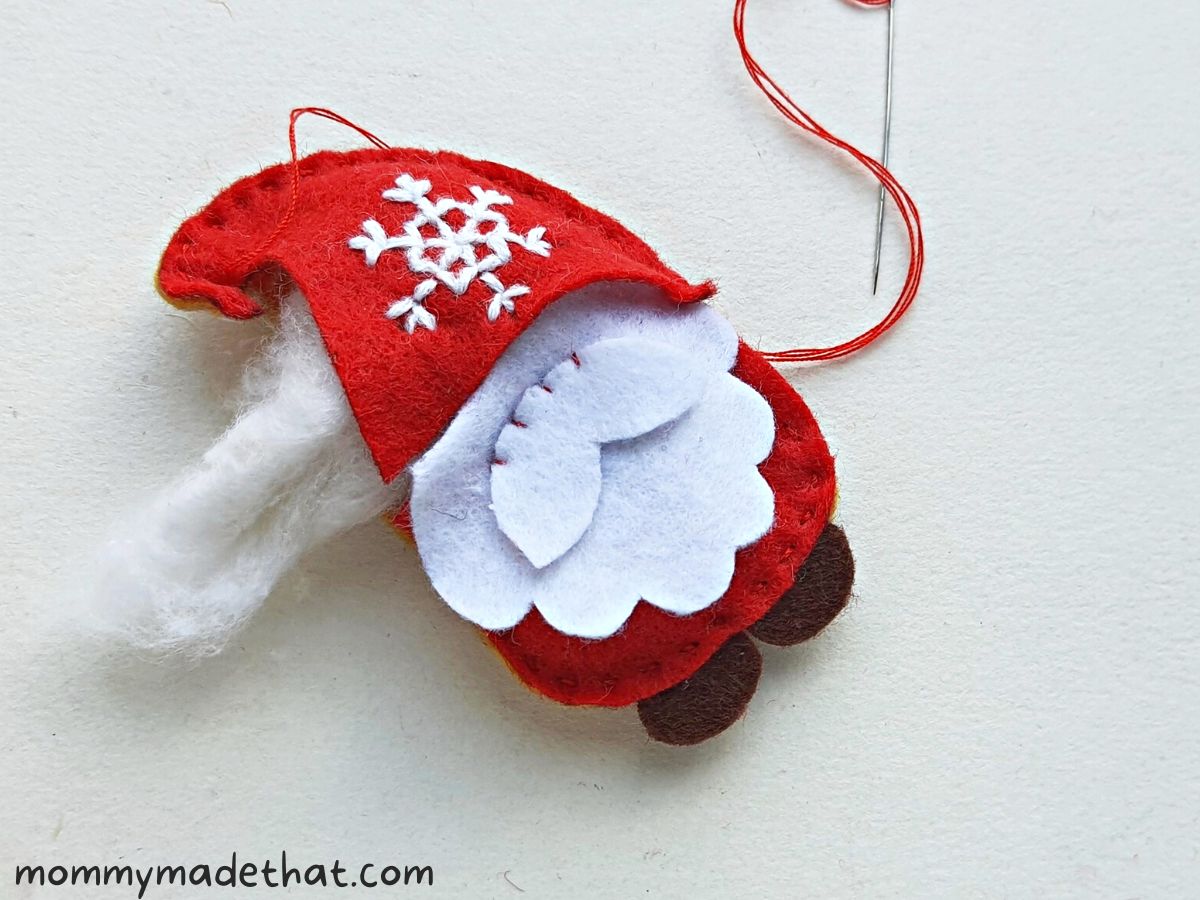
Thread a needle with some matching colored thread and stitch around the side of the shirt piece, keeping the top side (where the gnome’s beard begins) open for now.
This will be a pocket for stuffing.
Step 7: Attach the Gnome Hat
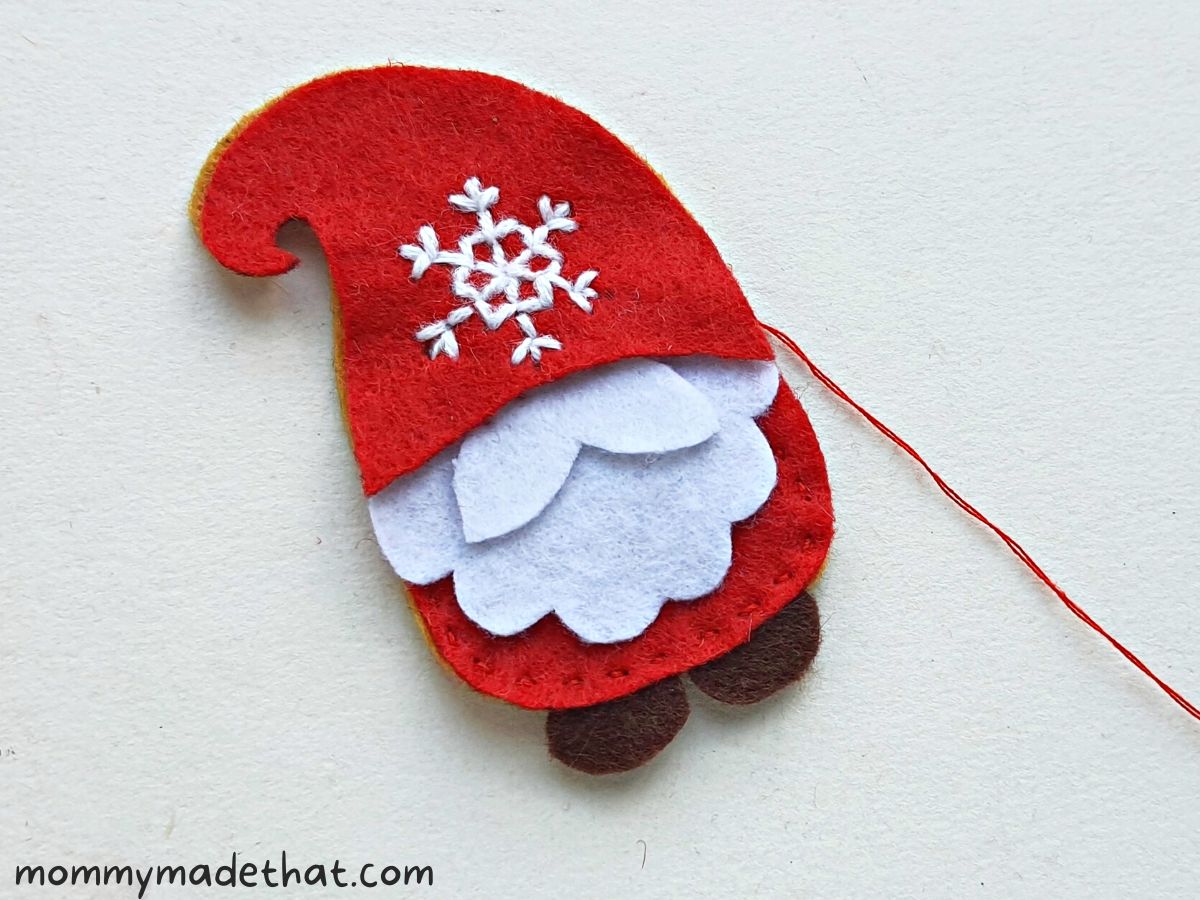
Now place the gnome’s hat pattern on the top side of the base layer.
It should cover up the top half of the mustache and a little bit of the beard.
Stitch around the outside of the hat and join it to the base.
Step 8: Stuff the Gnome
Leave a small opening on the side of your gnome, so that you can stuff your ornament.
You can use a few cotton balls or scrap felt pieces to stuff your gnome.
Step 9: Close up the Gnome
Once you’ve filled your felt gnome with stuffing, close the open end with a few neat stitches.
Step 10: Add a Button Nose
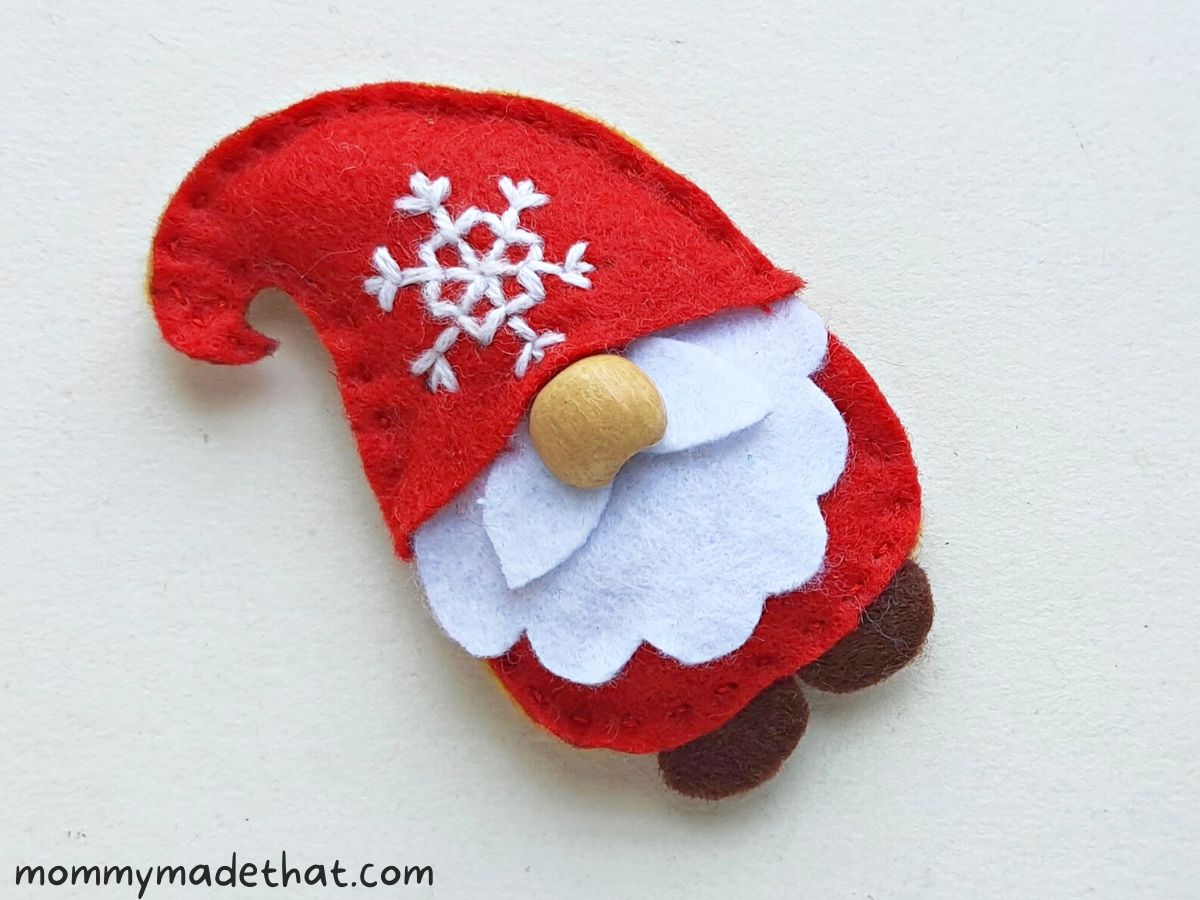
Next, cut a small wooden button in half.
Use some craft glue to attach the bead right below the hat, but on top of the mustache.
Close up the bottom side of the hat with some craft glue or a few stitches.
Step 11: Create the Ornament Hanger
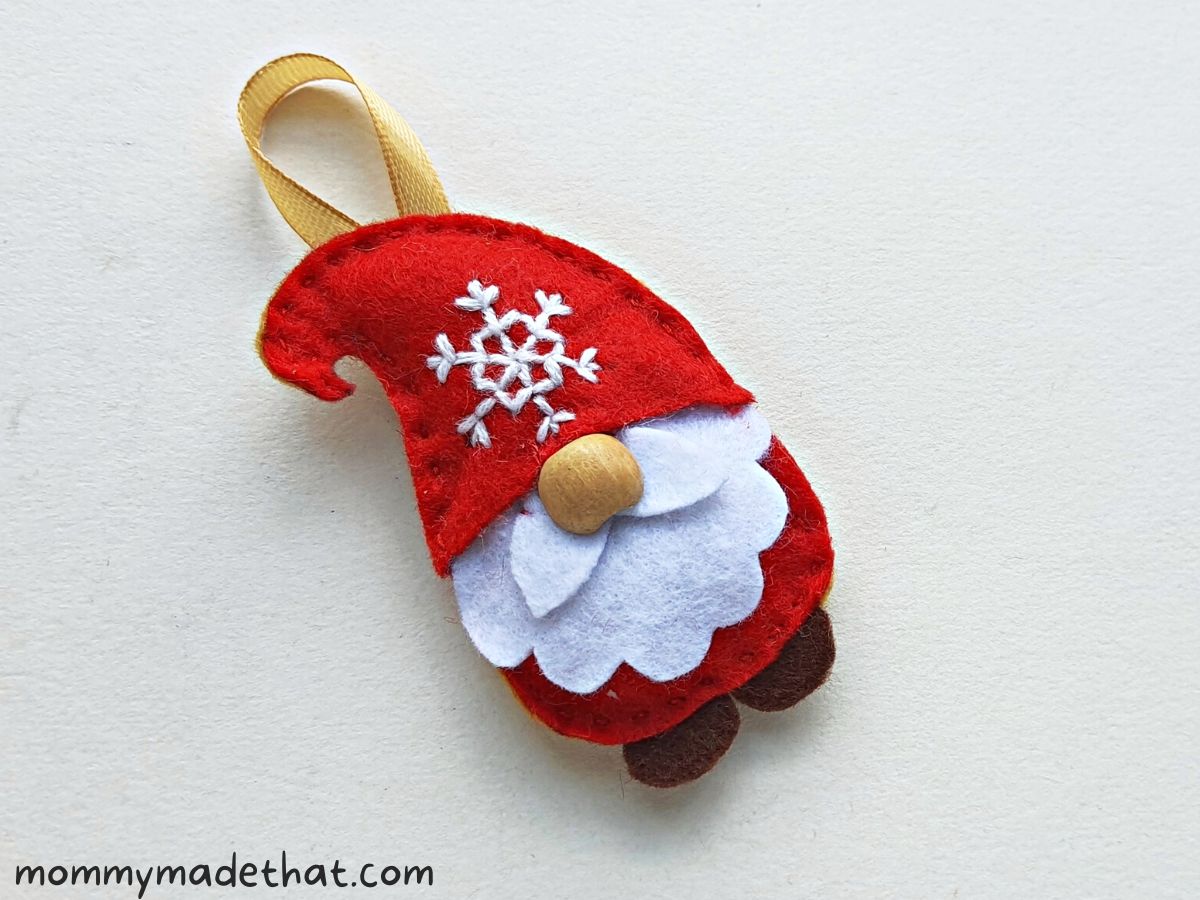
To turn your felt gnome into a Christmas ornament, create a loop with a tight knot from some thin ribbon.
Attach the ribbon to the back of your felt gnome to complete the ornament.
Don’t these make just the cutest gnome Christmas ornaments?
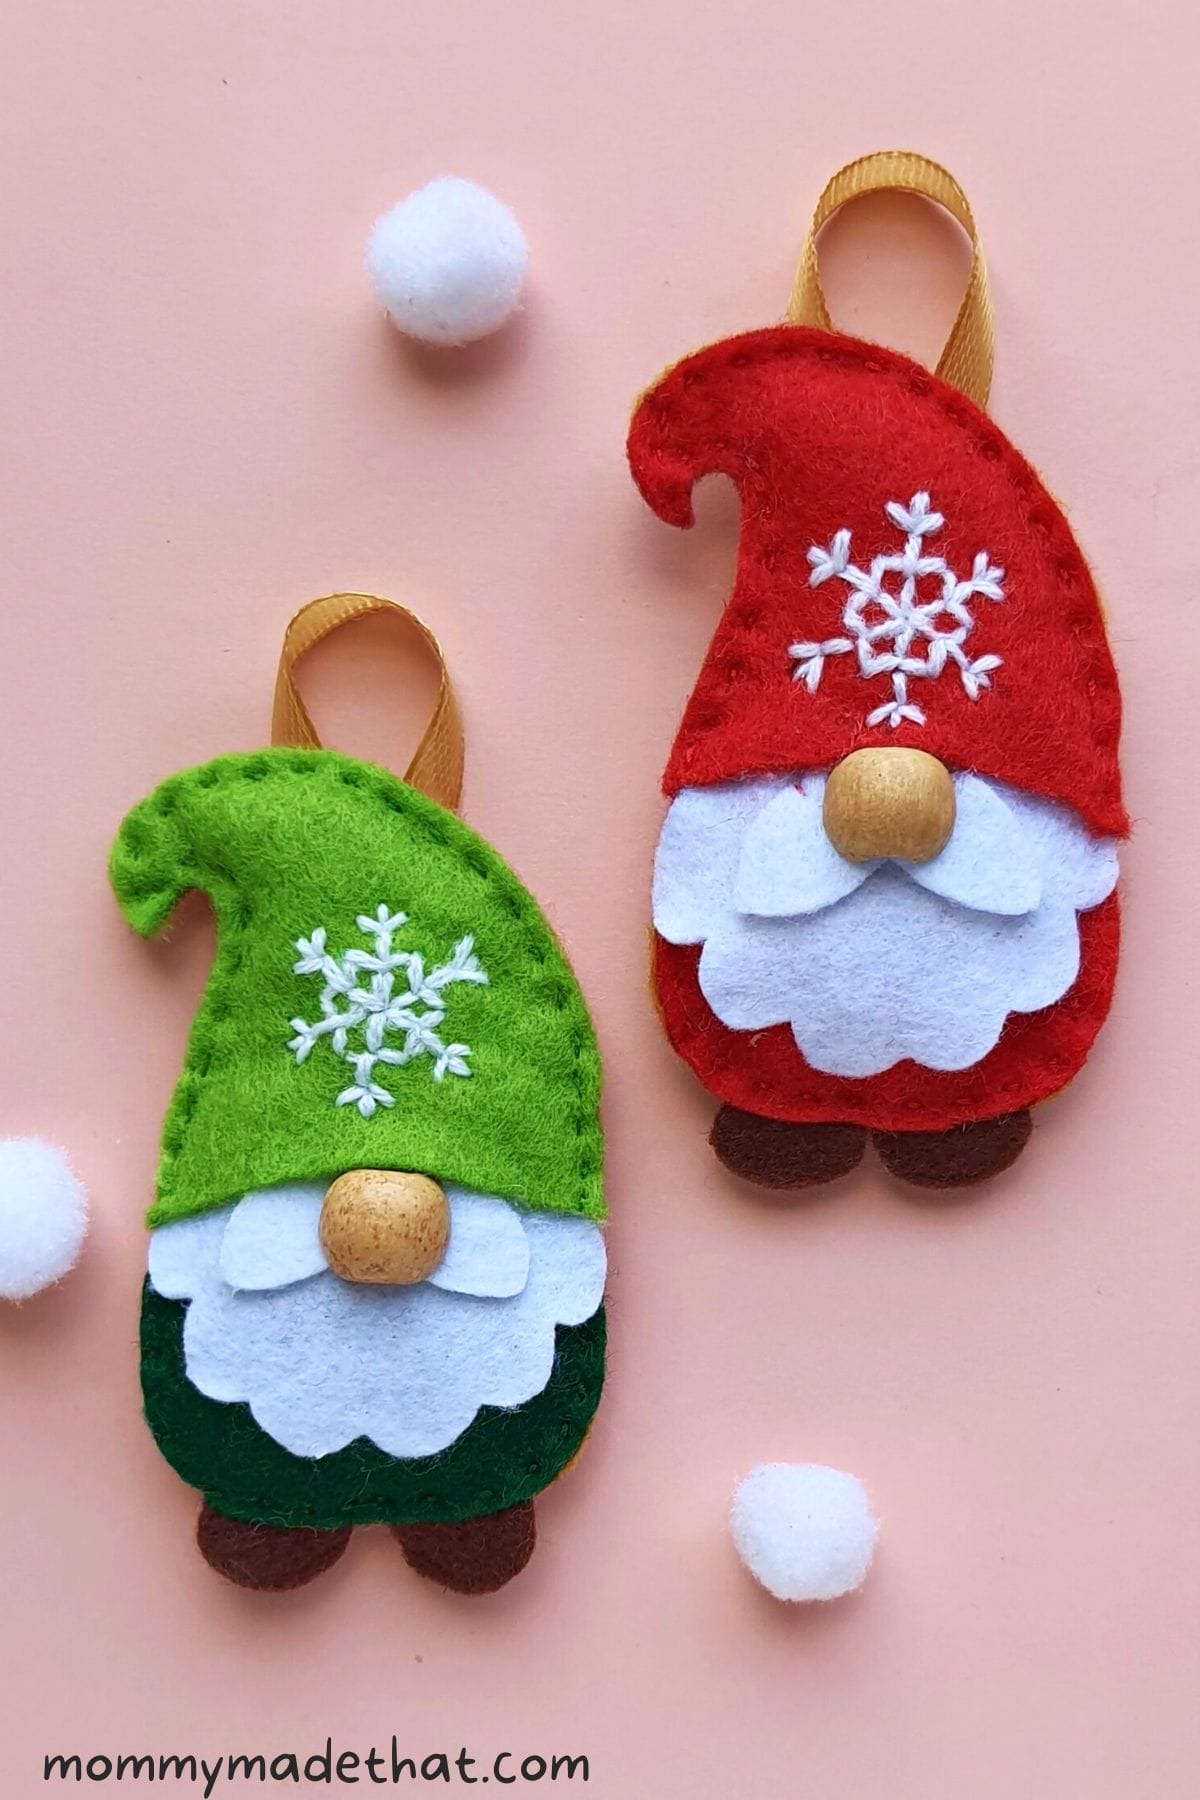

Isn’t he cute! We love our little DIY Christmas gnome ornaments.
Grab the Free Gnome Pattern
To grab our free printable gnome template, put your email in the box below. We’ll send it straight to your inbox.
We also send lots of other fun goodies!
These are for personal or classroom use only please. Not for commercial use. *However if you want to make the gnomes from our template and sell your finished creations, that’s ok with me! You just can’t sell the actual template.
Printing Tip: Once you download the PDF you’ll be able to print it and get started crafting! You can scale the page to create bigger or smaller patterns as well. Experiment until you get the right size you are looking for.

DIY Gnome Ornament
These adorable DIY gnome ornaments are a festive felt Christmas ornament craft you can make this holiday season!
Materials
- Felt Gnome Pattern
- Felt Fabric
- Wooden Beads
- Cotton
- Ribbon
Tools
- Scissors
- Pencil
- Glue
- Needle
- Thread
Instructions
- Download and print out the gnome ornament pattern template.
- Trace out all the gnome pattern pieces onto your felt and cut out.
- Grab the hat piece and for a snowflake onto the hat. Tie off on the backside of the hat and trim excess thread.
- Layer the gnomes mustache onto the top of the beard piece. Then layer those pieces on top of the shirt piece pattern and stitch together along the sides, leaving the top side open.
- Next, grab the shoes and layer them on top of the base pattern, making sure to overlap them so they stick out from the bottom of the gnome.
- Grab the shirt/beard piece and place on top of the base, sandwiching the shoes between the base and shirt.
- With a matching color thread, stitch around the sides of the shirt piece and the base, keeping the top side open.
- Place the gnomes hat pattern on top of the base layer, overlapping the mustache and beard.
- Stitch around the outside of the hat and join it to the base, leaving a small opening on the side.
- Stuff the gnome with cotton or fabric trimmings.
- Close up the open side with a few stitches.
- Create a loop from the ribbon and attach it to the back of your gnome ornament.
Are you going to try and make your own gnome Christmas ornaments? If so let us know!
Be sure to check out some of our other favorite felt Christmas ornaments like our adorable felt fox ornament or our cute felt reindeer. (Both have free printable PDF patterns.)


Love all your items. Is it possible to get the instructions and patterns for all the Christmas ornaments featured at once? I’d love to make them for my grandkids and embroider their names and year on them.
I love felt patterns
Me too! I’m glad you are enjoying these =)